
At this time for the upcycling project, I have managed to make the final product somewhat close to the initial idea. I started off with using solar panels from my calculators to charge Li-ion Rechargeable Button Cells(LIR-2032), 3.6 V that would power a Red LED inside a Crystal Ball Souvenir. My circuit consisted of a 330 Ohm resistor based on simple calculation from Ohm’s Law. I decide to add a diode(1N4007) in order to hinder the backflow of current in the solar panels which would have led to the draining of the battery. Upon further reading about battery charging using solar panels, I decided to discard this idea. Although this circuit would have worked until the battery got charged, after complete charging the battery could have overheated and caught fire. That would be a fire hazard if left unattended and even if it didn’t, it seemed like a wrong engineering application. The correct way of doing it would be using a battery charging module with a protection IC (TP-4056). Since I did not come to this conclusion soon enough I did not order the module on time. This led me to take a different path in the project.

Circuit Diagram: The circuit diagram is pretty simple as shown-

The following Materials were used in this project:
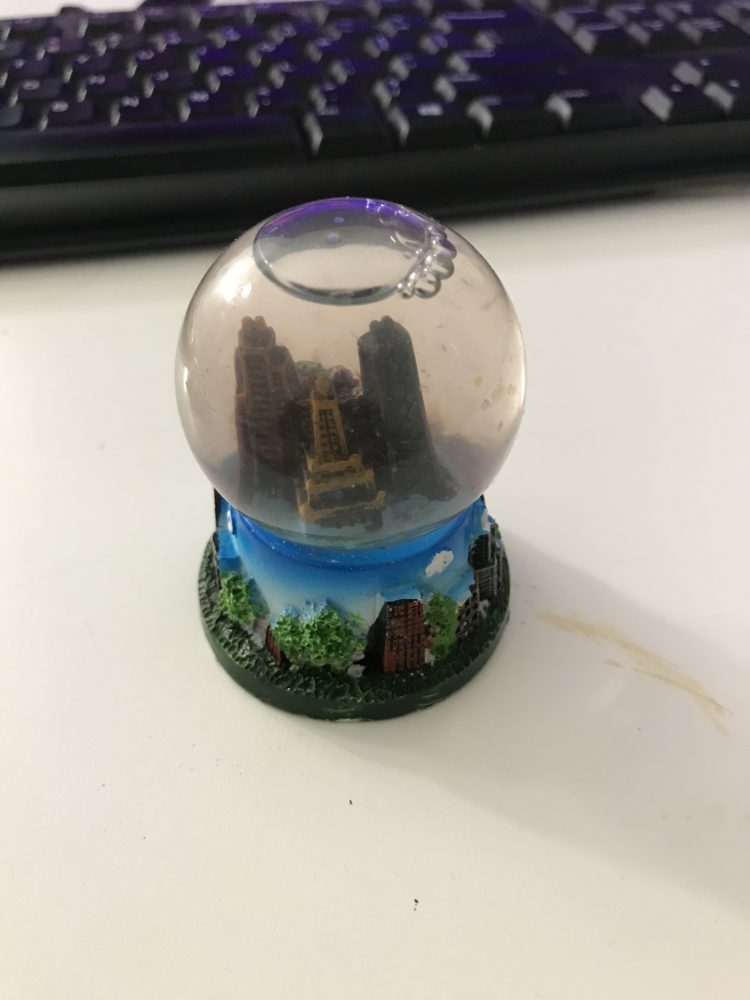
Crystal Ball Souvenir- pre-owned-around $5- 1 number
Red LEDs- pre-owned- about $0.61 each- 3 numbers
Sparkfun Inventor kit with Arduino Red Board, Bread Board, Mounting Board, resistor and jumper cables-pre-owned- $99.95- 1 number
Tools used- Soldering Iron Kit, Glue Gun-All pre-owned
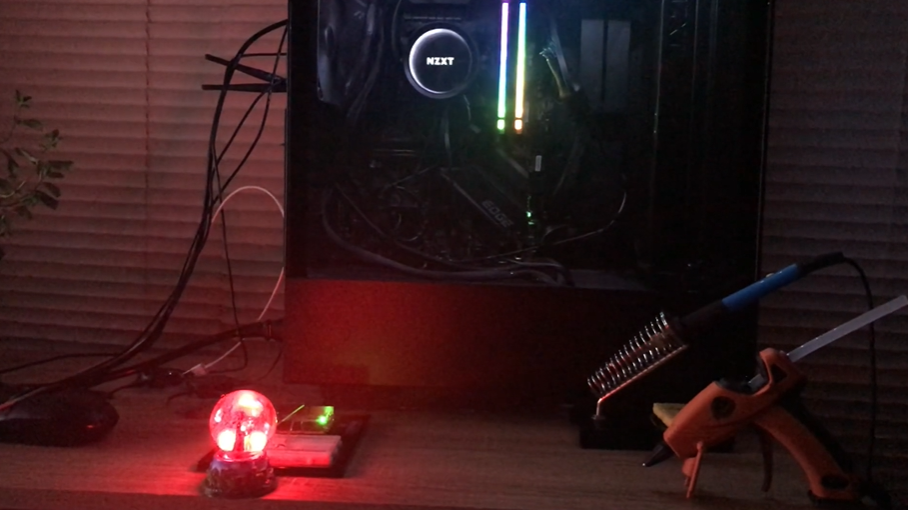
The final artefact:
The final artefact consists of 3 Red LEDs connected in parallel under the crystal ball that glows and fades off with a 50-microsecond delay. Obviously, I could not design and print the PCB for this project so the Arduino became an integral part of the artefact. The artefact can be docked to the Arduino and the fading and brightening begin. I wrote a simple script for fading and brightening of LED as shown below:
void setup()
{
pinMode(9,OUTPUT); //SET PWM PIN 9 AS OUTPUT
}
void loop()
{
for(int signal=0; signal<=255; signal=signal+3) //DEFINE SIGNAL AS STRENGTH OF DUTYCYCLE AND INCRMENT FROM 0 TO 100 PERCENT
{analogWrite(9, signal);
delay(30);
}
delay(50); //DELAY OF 50 MICROSECONDS
for(int signal=255; signal>=0; signal=signal-3) //DECREMENT DUTYCYCLE STRENGTH FROM 100 PERCENT TO 0
{analogWrite(9, signal);
delay(30);
}
}
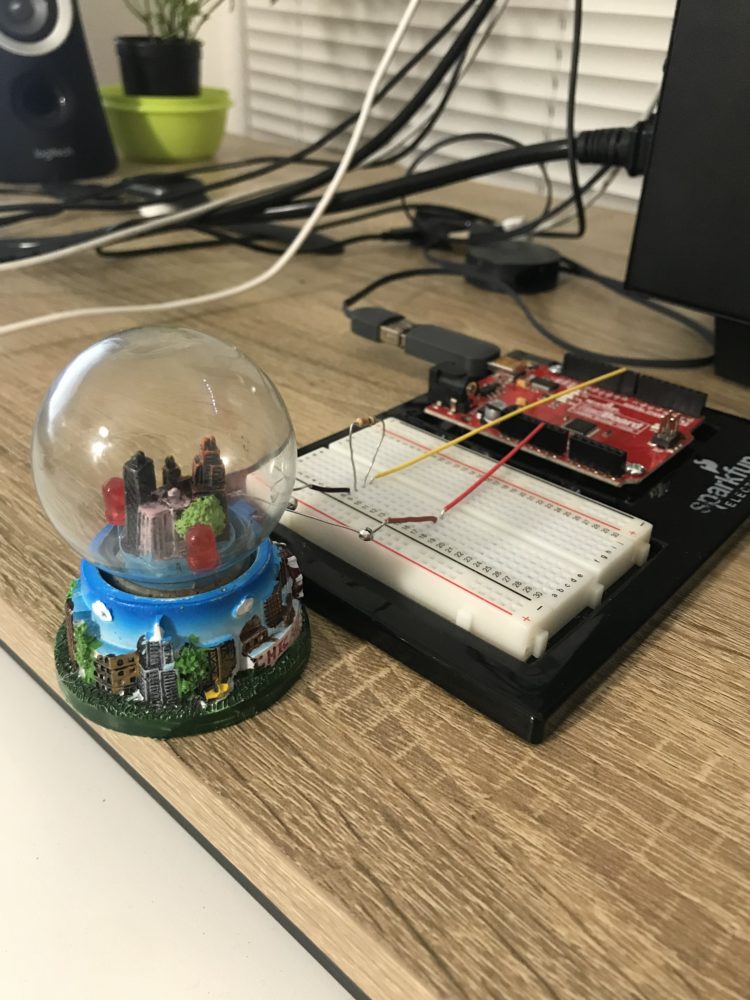
This simple design allows me to dock the Crystal ball to the terminals sticking out the Arduino and the soothing effect of LEDs lighting up and fading begins.
If I could have done something differently it would be ordering the battery protection module on time and sticking to the original plan of using solar panels to complete the artefact.
I don’t believe I will refine the artefact. I will probably keep the crystal ball with the LEDs inside as it is not completely useless. It seems soothing with lights turned off.
Link to video presentation:
https://www.youtube.com/watch?v=zpZZaApucMo
2 Comments. Leave new
Hey Ankit. The choice of using the snow globe is really cool and I think the concept of using programmable lights definitely upgrades the piece into the aesthetic you explored. I hope you continue with these kind of projects because I feel like the intuition is there for future endeavors.
Hey Ankit! I love the decision to use a snow globe that has meaning to you, especially since you’re revamping it, and giving it new life! I think its super cool that you were able to work with an Arduino to make you project, great job using the extra electronics and resources you had at hand. Nice work!