
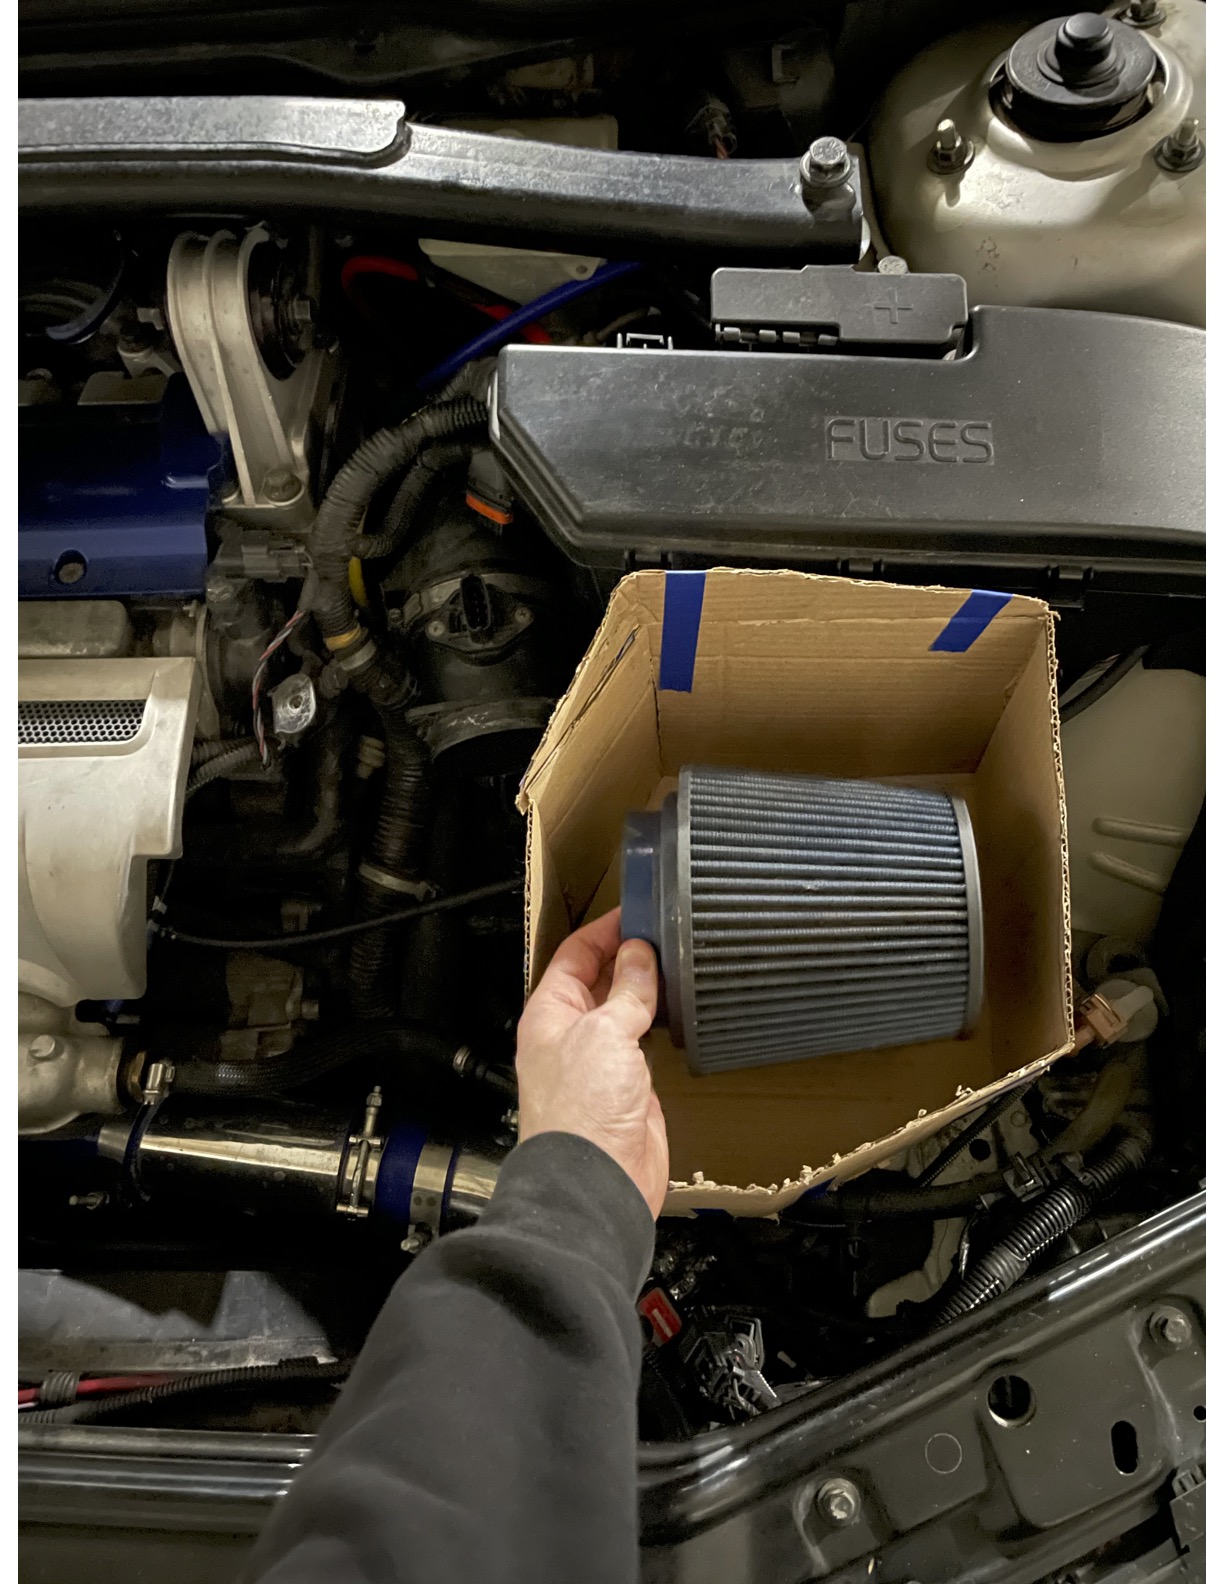
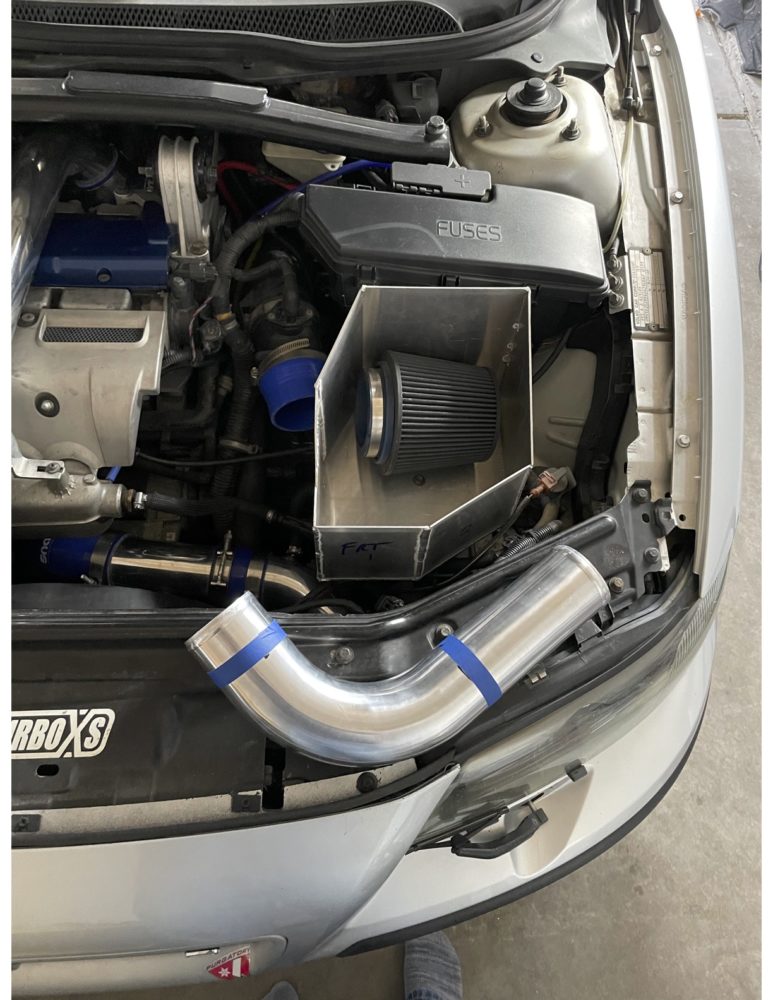
For my final design project, I decided to make an air intake system for my car to both improve the aesthetics of the engine bay and improve performance. I wanted the whole system to look like it belongs in the engine bay, almost as if Volvo offered it as a factory upgrade. I tried to match contours and shapes that were already in the engine bay such as the shape of the radiator support, and the shape of the fuse box. I started by taking out everything that would no longer be needed like the cover panel and the air filter so I could design directly in the area. I was lucky enough to find a good mount to build off of that would be solid enough to hold the weight of the airbox and tried to build around that.
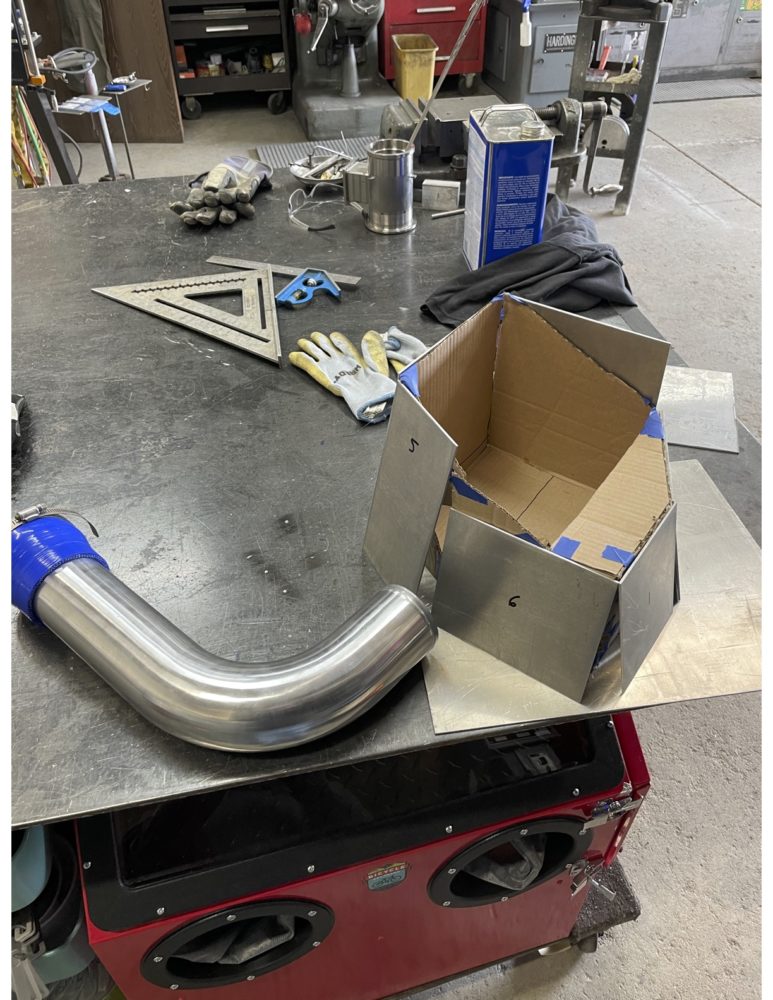
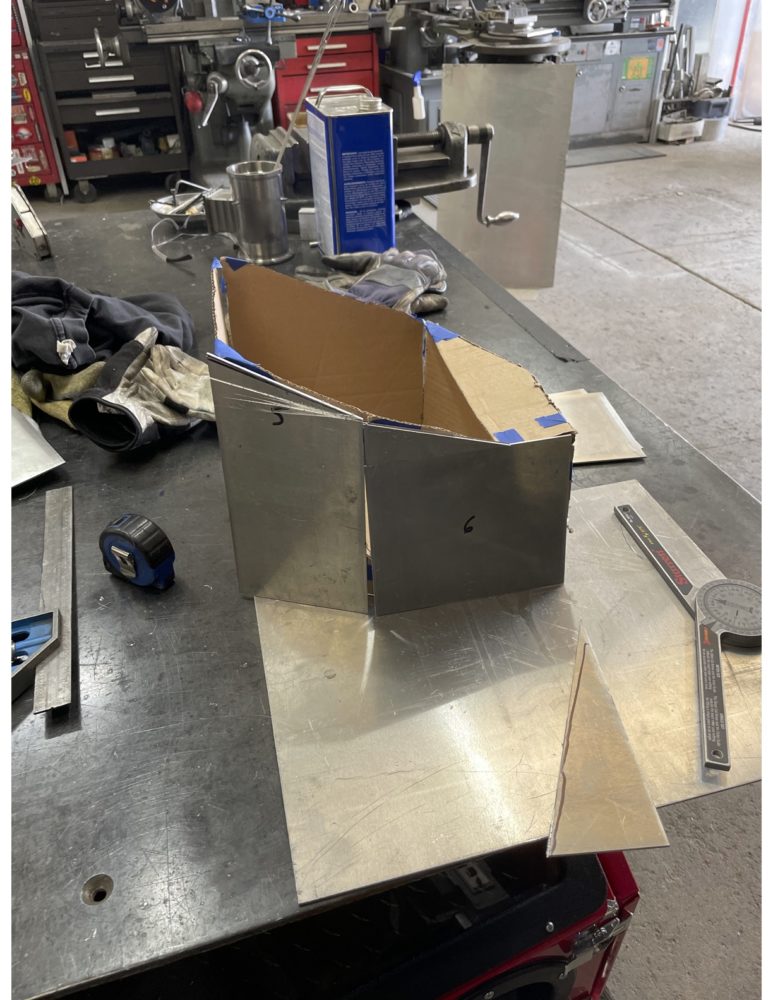
I primarily used cardboard to construct my prototype, as it is easy to cut and bend, and secured all the pieces with masking tape. After many test fits, and more than 3 different designs, I decided on this one because I feel combines ease of construction with good aesthetics in the engine bay. I really tried to get the angles to match the other features in the engine bay, without making it overcomplicated.
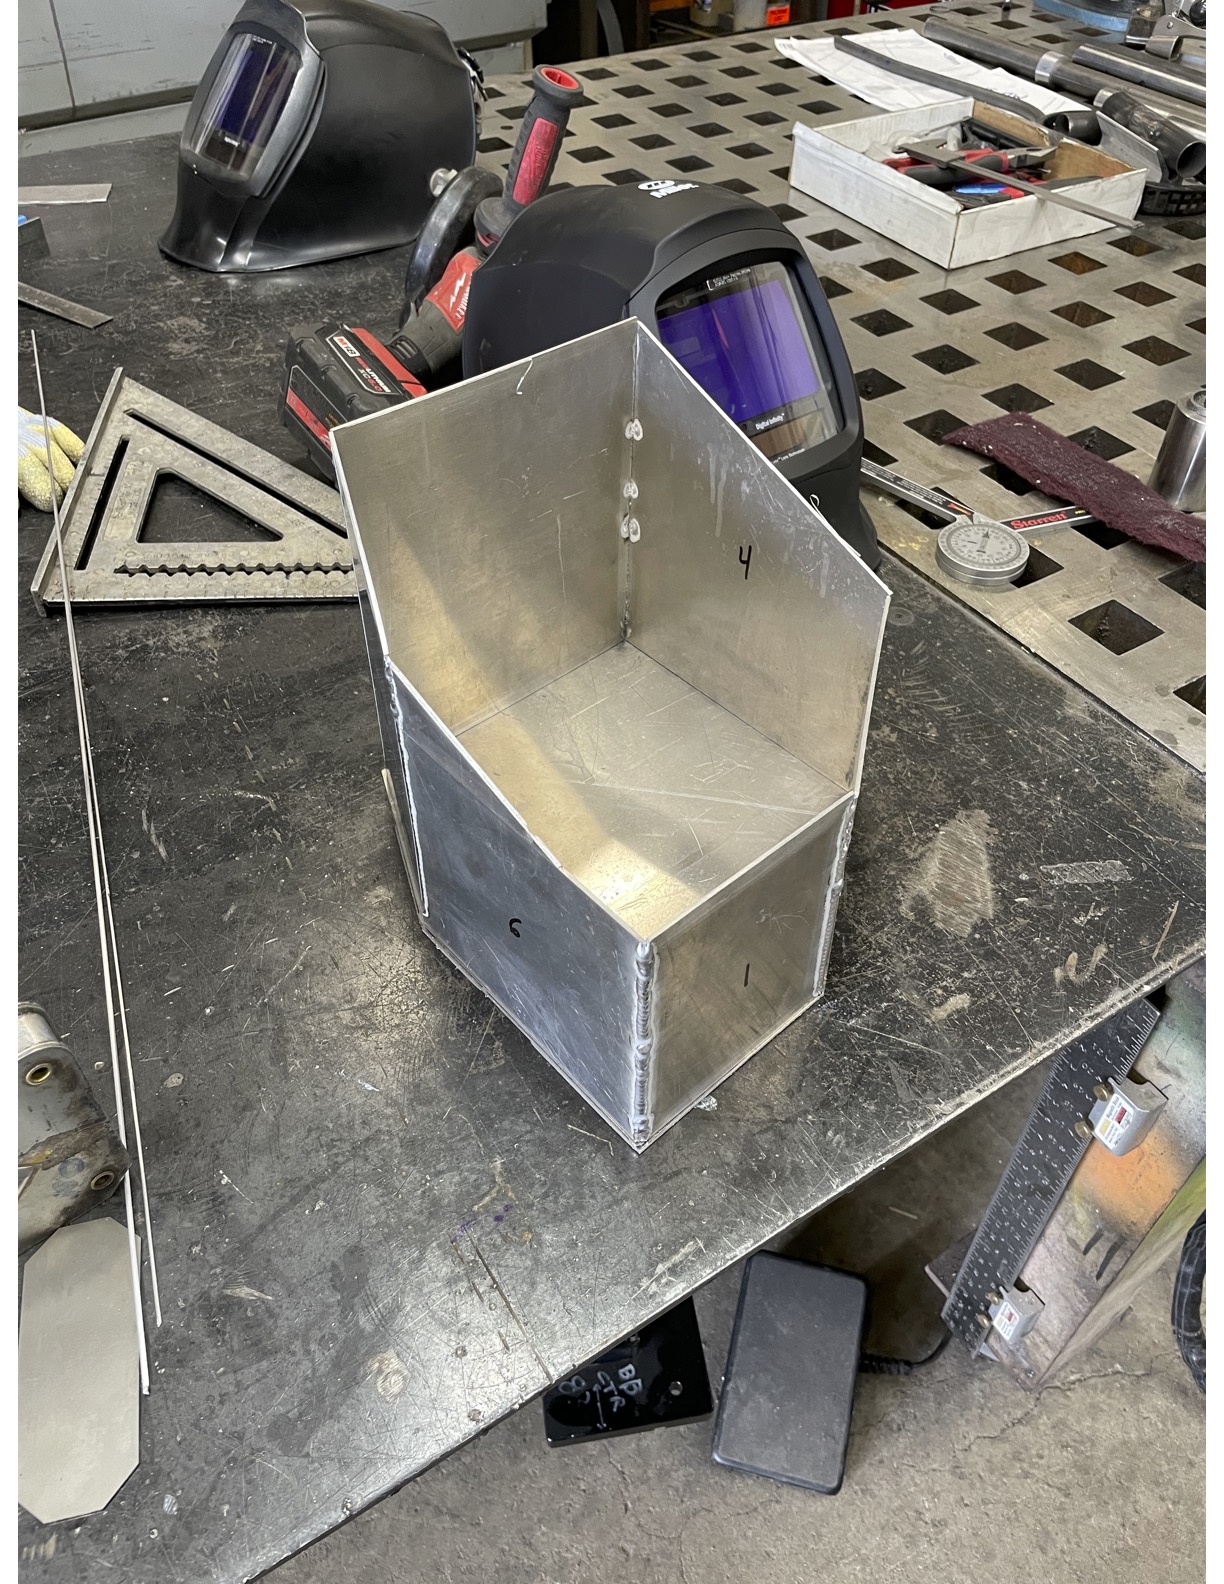
My next step was to turn this prototype into a piece of metal. Luckily, I was able to find someone to allow me to use their shop and tools to cut all the pieces and weld them together. I cut all the pieces out of sheet aluminum using a band saw for perfectly straight cuts. This is when I learned that fitting the pieces together is not as easy as anticipated even though you used the best tools. I found that in some cases I had to grind the pieces some to make them fit together properly.
Once I had all the shapes cut out of metal, it was time to weld it all together. Unfortunately, I have never done any welding in my life, so I had to learn in order to complete this project. I started on stainless steel because it is significantly easier, and then transitioned to aluminum. The owner of the shop I was working at is a master welder and he was able to help me a lot, both teaching me tricks and doing the most visible welds on the airbox for me. He also went back and cleaned up my mistakes on the back. Without him, this result would not have been as professional.
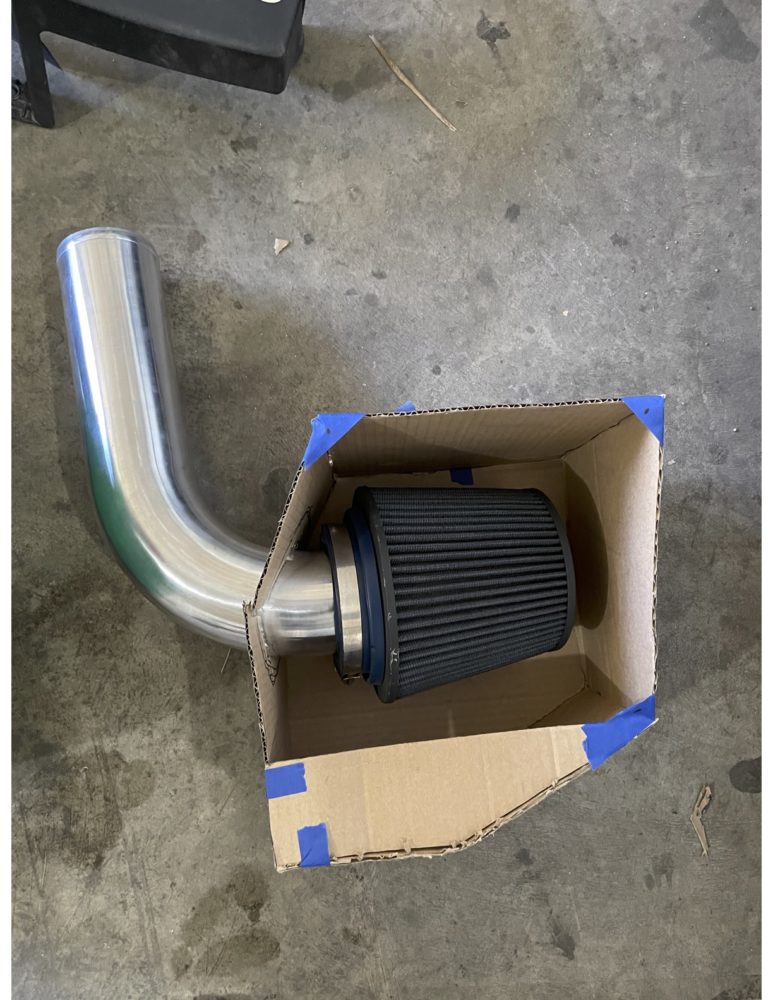
I still have quite a bit of work to do, I plan on enclosing the box to keep the heat from the engine out. This means I also must add provisions for fresh air inlets. I also need to cut the hole for the intake elbow that will connect the mass airflow sensor to the filter and shorten the elbow. Overall, I am very excited about this project and can’t wait to see the results. I am wondering if I should give the final product a brushed or a polished finish, and I would love your input in the comments.
If you would like to watch my live presentation of this, here is a video: https://vimeo.com/531573980
2 Comments. Leave new
Hi Zack,
Personally I am a fan of the brushed look as far as anything engine bay goes. It looks like you have made significant headway! On top of cutting holes for the intakes breathability, have you considered wrapping the intake tube itself in insulation just to continue to keep the intake air “cooler”?
Thank you for your comment Josh, I have actually considered adding insulation to the intake elbow but I was worried that it would ruin the smooth aesthetic of the elbow because I would need to use something like tape. However, I think I will end up putting some heat reflective tape on the side of the enclosure closest to the engine to minimize the heat getting into the airbox.