
For my final project, I decided to make a PC stand, to keep my PC off the carpet and improve overall airflow, as well as build on the overall aesthetic of my setup. I took my initial inspiration for this project from a few PC stands I found on Amazon while looking to buy one. As I was browsing through my options, I decided that I didn’t really like any of the designs offered, so I might as well attempt making my own.
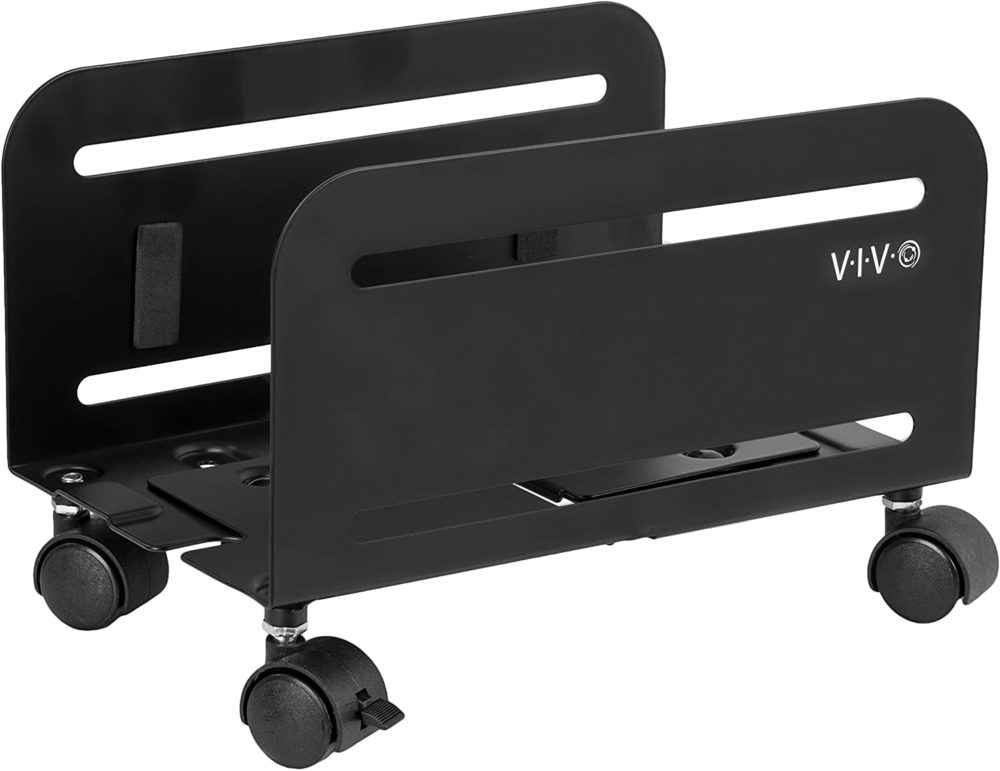
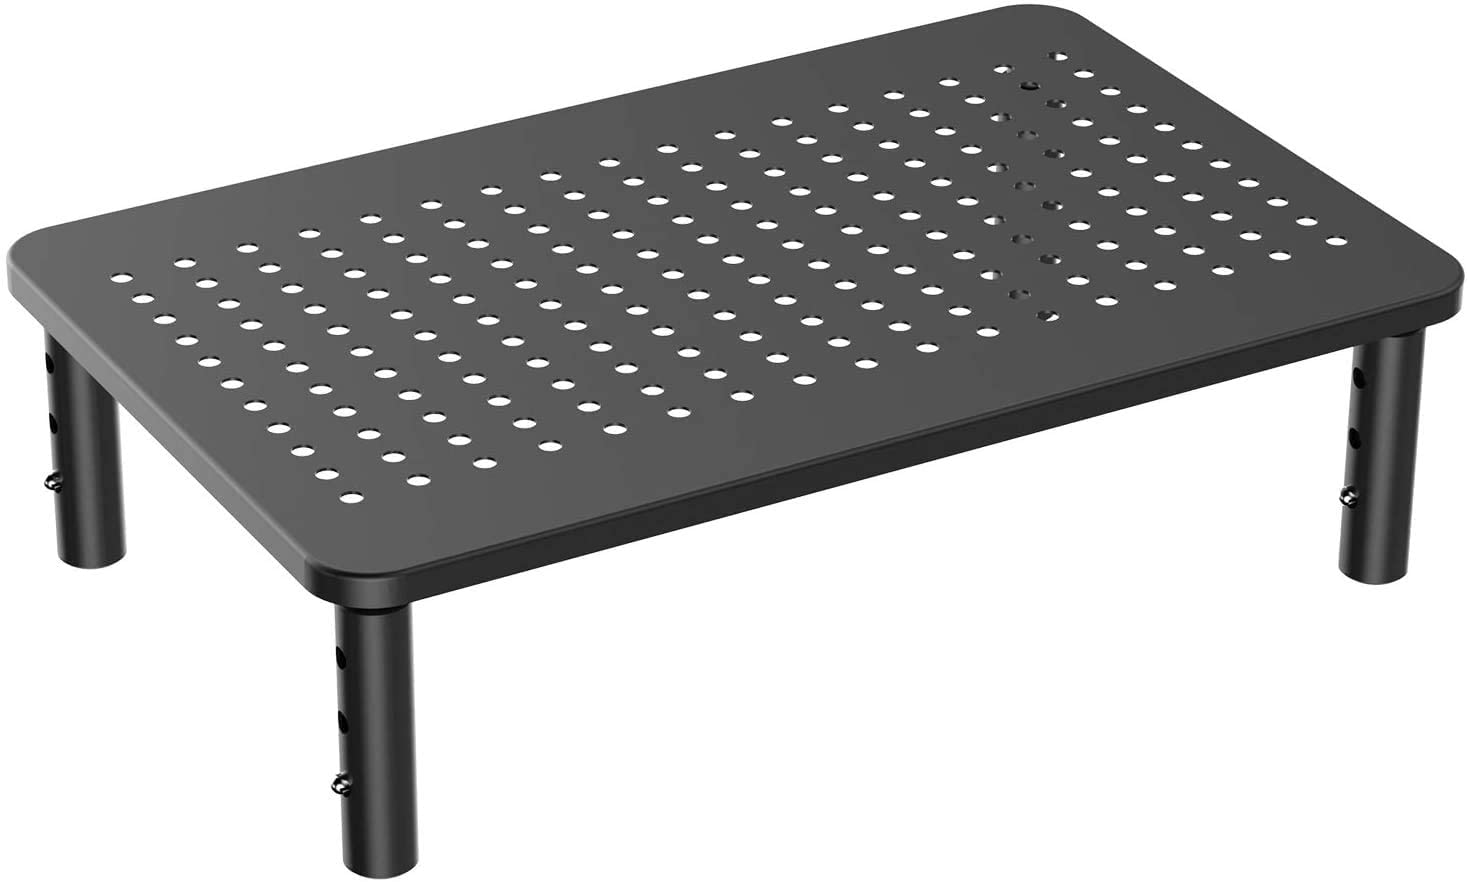
From Left to Right: A rolling stand design found on Amazon, A stationary stand design found on Amazon
Instead of this smaller design that simply sits under the PC, I am going to make a stand that fully surrounds the computer. By making the stand bigger, it allows me to incorporate more design elements that contribute to the overall aesthetic. In order to enhance the gaming aesthetic my PC already has, I want to incorporate Art Deco into the design as well, since there are some very interesting geometries that I believe would enhance the look of the stand. I want to have cutouts of these geometries on the front panel of the stand, since it is the most visible, and the bottom plate, for improved airflow. Since my PC has RGB lighting and a clear side panel, I am hoping that the light from the PC will shine through the geometric patterns on the stand, illuminating them from behind.

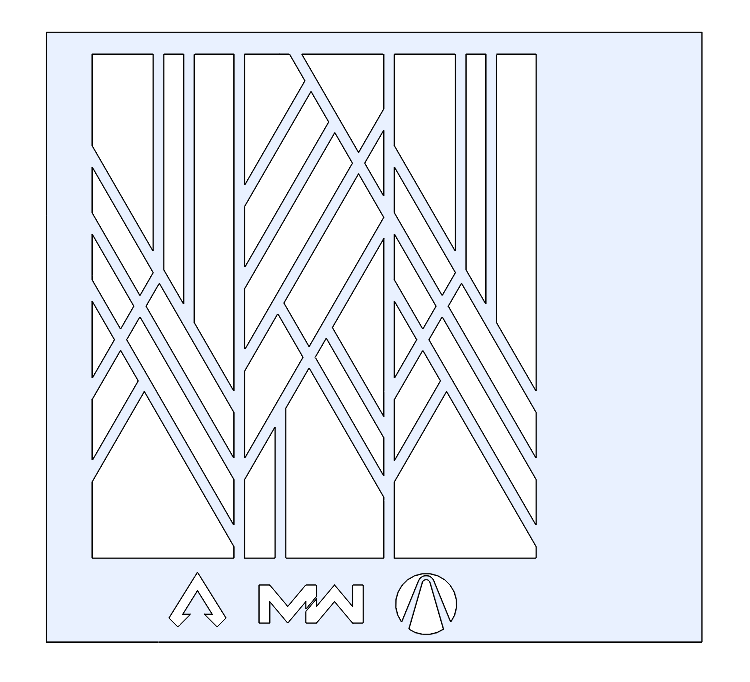
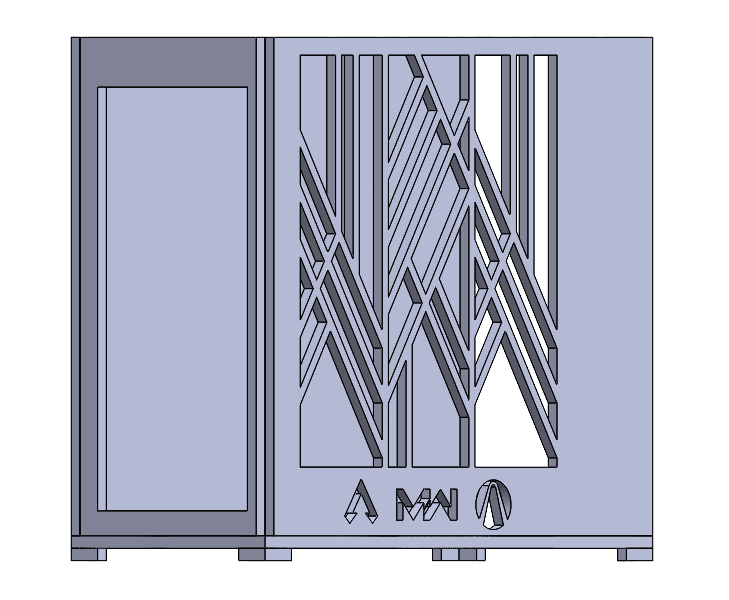
From Left to Right: The Geometric Design I wanted to incorporate into my design, The front panel of my PC Stand Design
In addition to the geometric pattern, I also incorporated some of the logos from my favorite video games into the front panel. These games include Apex Legends, Call of Duty: Modern Warfare, and the Borderlands Trilogy. I also incorporated a much smaller and simpler geometry into the baseplate of the stand, to increase the airflow to the PC.

The baseplate of my PC Stand Design
I did not include any special geometries or patterns into the back plate or connection plate, as these parts either had functional uses or simply would not be seen. The connection plate, for example, had to have a cutout large enough to accommodate all the cables coming out of my PC, so it was difficult to find enough space to include any notable design elements. Once I had all of the pieces designed, I designed some small corner stands that attach to the baseplate, to keep it off the carpet. A preview of my full initial design can be seen below.
My Complete Initial Design for the PC Stand
When it comes to how I actually plan to build this, there are still a few options I have to consider. I am still unsure of what material I would like to use for this project. I was initially planning on using wood, and this is still the option I will most likely pursue, but I need to check with the ITLL and Idea Forge at CU to see what thickness wood they are able to cut. If they are not able to cut my desired thickness, I will either explore other material options, or thinner wood options. For my initial design, I have designed the stand under the assumption that it will be made out of wood. As of now, I am planning on screwing the individual pieces together, and using hinges on the front plate to allow easy access to the PC.
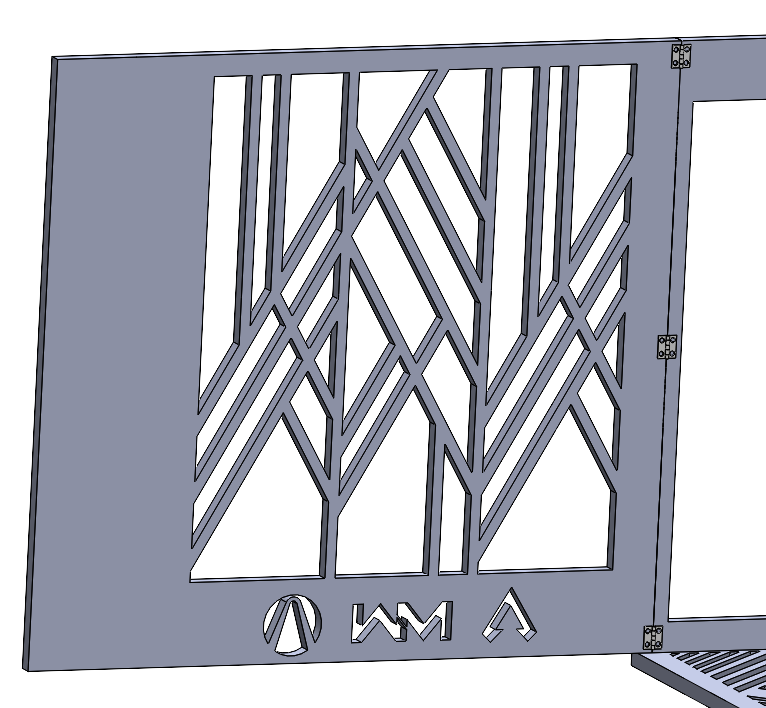
The hinge design on the front plate of the stand
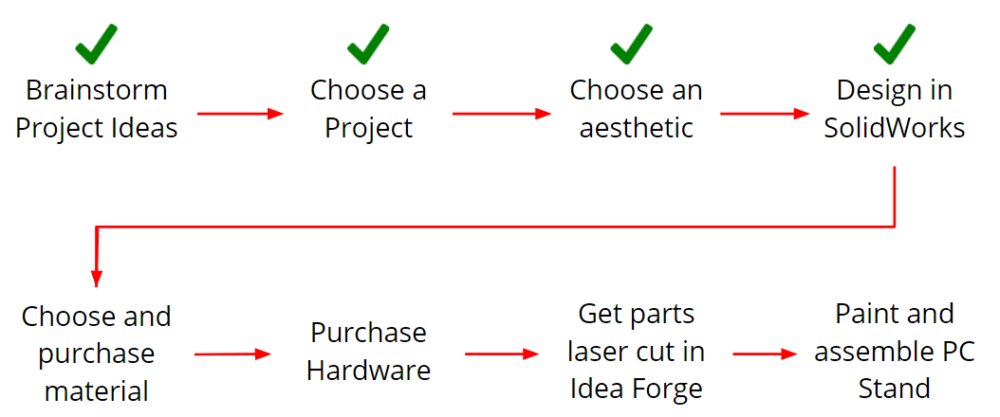
My only worry with the hinge design is that due to the shape of the piece they will be connected to, the hinges must be very small. This may be an issue when it comes to supporting the weight of the front plate. The current hinge design also causes there to be some inconsistencies in the case when the front panel is shut, although they are small and hard to notice. So far, I only have the CAD model completed, and even then there are still some decisions to make before I can begin on the final product. My next steps moving forward are to contact the Idea Forge and ITLL about the capabilities of their machines, and choose a material based on that information. Once I have a material chosen, I can modify my design if needed, and pick the hardware needed to assemble it. Finally, I will send it off to either the Idea Forge or ITLL to have it cut, after which I will paint the pieces black and assemble them. Below is a timeline of my progress.
Over all, I think my design is coming along quite nicely, and I am happy with how the initial CAD model is looking. There are still a few decisions left to be made, but this should be able to happen soon, and I will be able to finalize the design.
Video Link: https://vimeo.com/544352154
1 Comment. Leave new
I really love what you did with the design on the side of the case. While simple, I feel it really embodies the art deco aesthetic and lettering style is the icing on top. It looks great!