
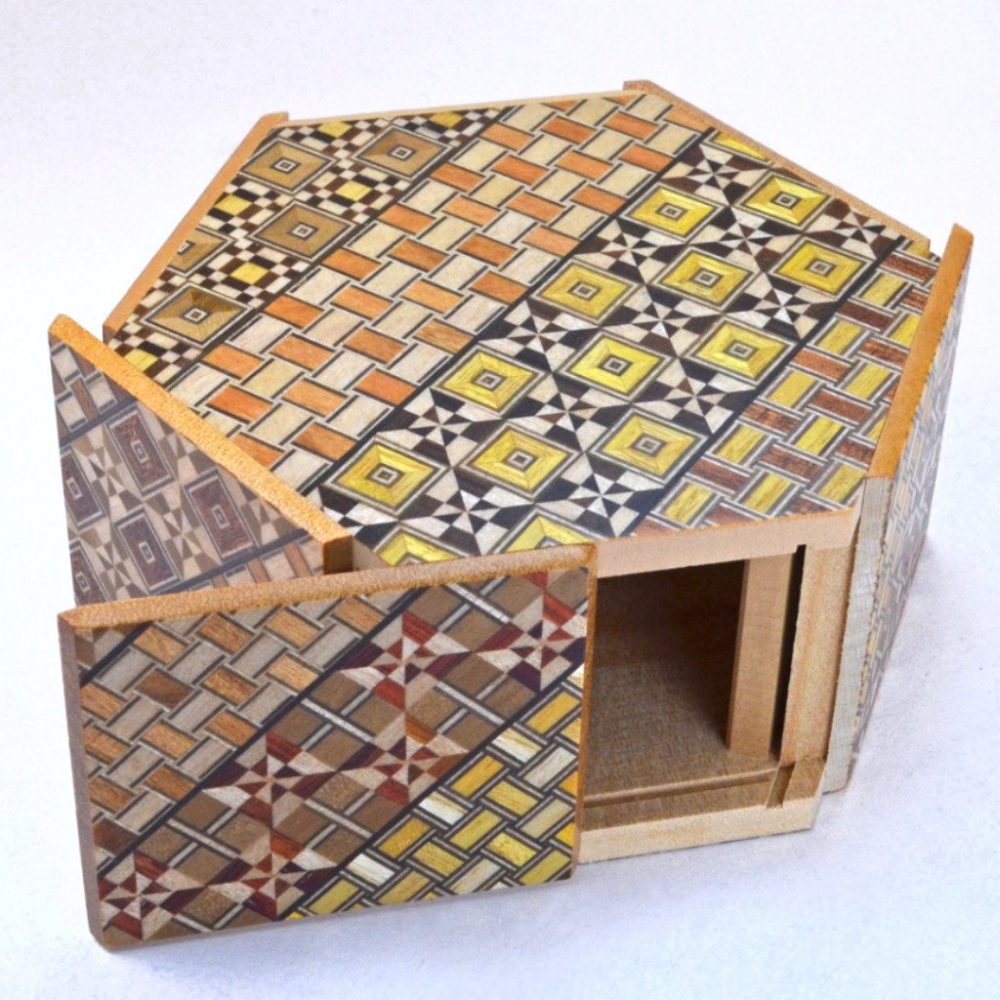
I enjoy indulging in YouTube in my free time, where I came across several puzzle box videos. I took an interest mainly in Japanese puzzle boxes, because I enjoyed the overshadowed precision behind every box. As I delved deeper into the history of the puzzle box, I noticed that form the very first puzzle boxes that originated from japan in the early 1800’s; to protect tools for the everyday worker, to the appearances in England Victoria in the 19th century; mainly for entertainment purposes, that all the puzzle boxes consisted of flat faces. As I did more research I learned that one of the first known puzzle boxes that did not consist of flat sides was Da Vinci’s Cryptex. Although I enjoyed the shape of the Cryptex, I wondered if I could create a cylinder puzzle box that could work as a jewelry box and stand on its own. I wanted the innovative shape of the cylinder, but I found myself wanting to use movable rings and to use a visual solution instead of symbols to incorporate the early Japanese style.
What I wanted for my puzzle box was to function as a jewelry box, with a simple and minimalist design while still being visually pleasing. I leaned towards a smaller project, as I personally find them more aesthetically pleasing and that’s what led me to make a handheld puzzle box. I want my puzzle box to use simple materials, specifically wood, and materials that are easily accessible, helping to manage the price and accessibility for anyone to make this puzzle box. These materials will also enforce the aesthetic I’m working towards. My puzzle box should lock and unlock two drawers where the inside should be secure. Only with the knowledge of the solution should the puzzle box be opened, keeping the valuables safe. My puzzle box should allow the owner relatively quick and easy access to the valuables inside, while still being complex enough to keep out every other person besides the creator and or owner.
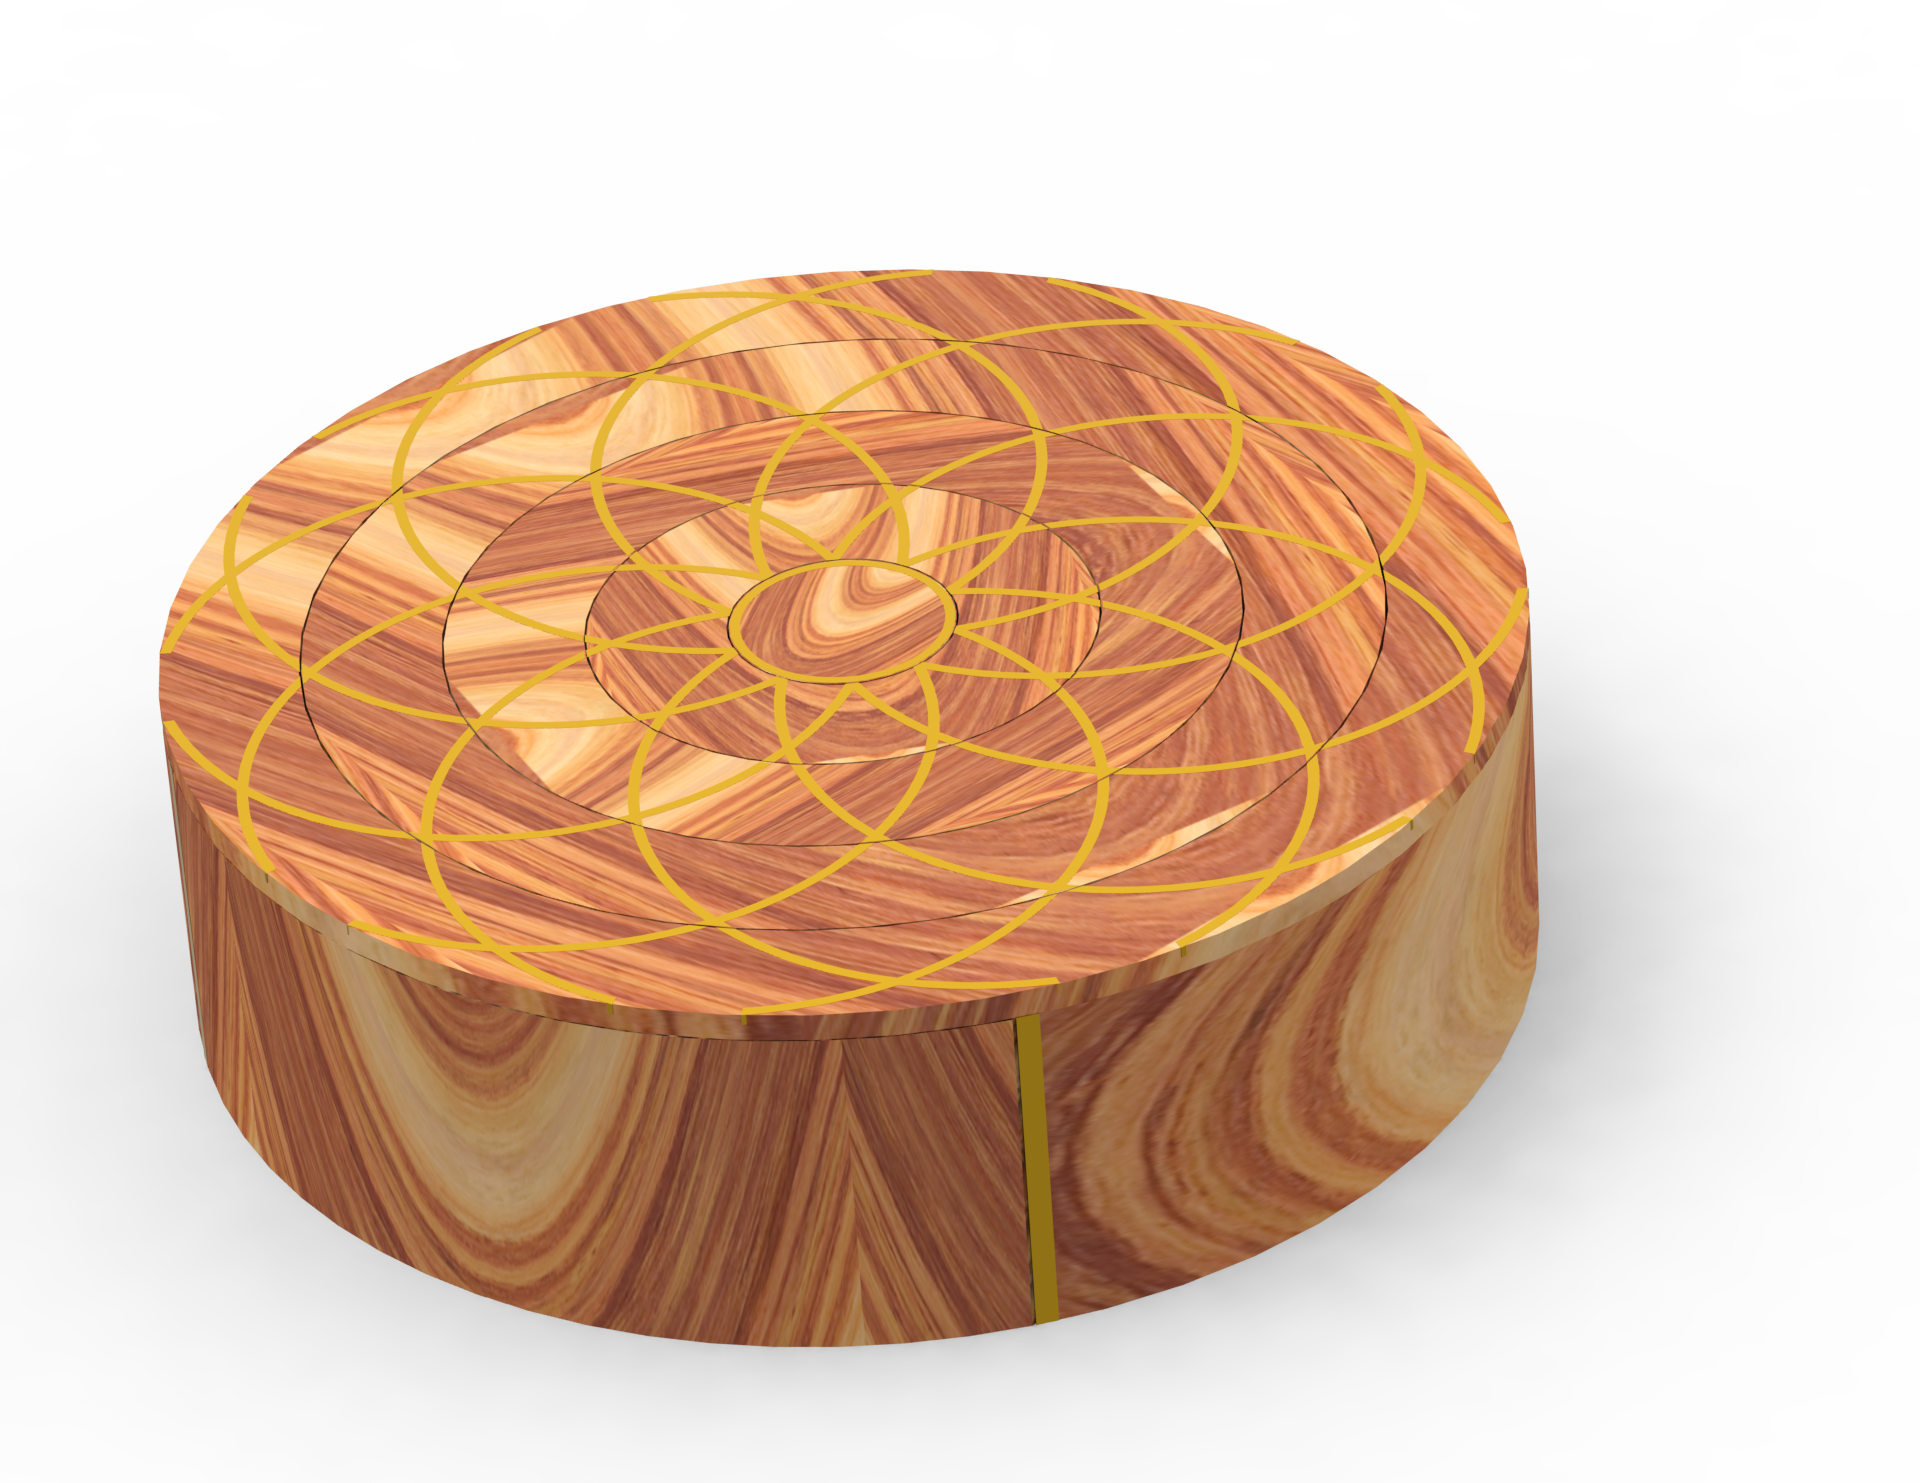
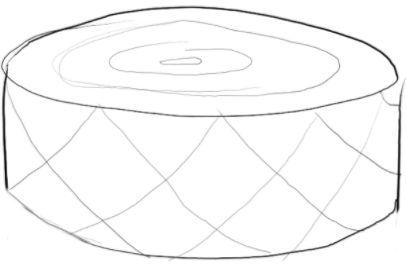
I wanted to give my puzzle box a mysterious and timeless aesthetic, I did so by using simple materials found in most eras but also a complex artistic design not only in the wood, but in the shape itself. I wanted my puzzle box to go beyond any sense of time or era, adding to the mysteriousness of the box itself. I used brass and wood to give it an antique feel, but also a modern feel, as these materials have been accessible and exploited for quite some time and I don’t see the use of wood or brass dwindling anytime in the foreseeable future. I gave it a dated spin by the simplistic structure and build of the box itself, but a modern design due to the fact that my puzzle box is a cylinder whereas most puzzle boxes in the past consisted of flat sides. I wanted my puzzle box to move past a construct of time to give it a looming sense of curiosity, and a classic look. I also used curves due to the contour bias and wanting to really exploit the familiarity that comes with curves as it does with classic or timeless items. Adding to that I wanted to include aspects of my personal aesthetic into the project with a geometric pattern on the top of the box as pictured and a smooth glossy lacquered appearance for the wood. This is an initial sketch of my design:
And here is the completed CAD model of my project:
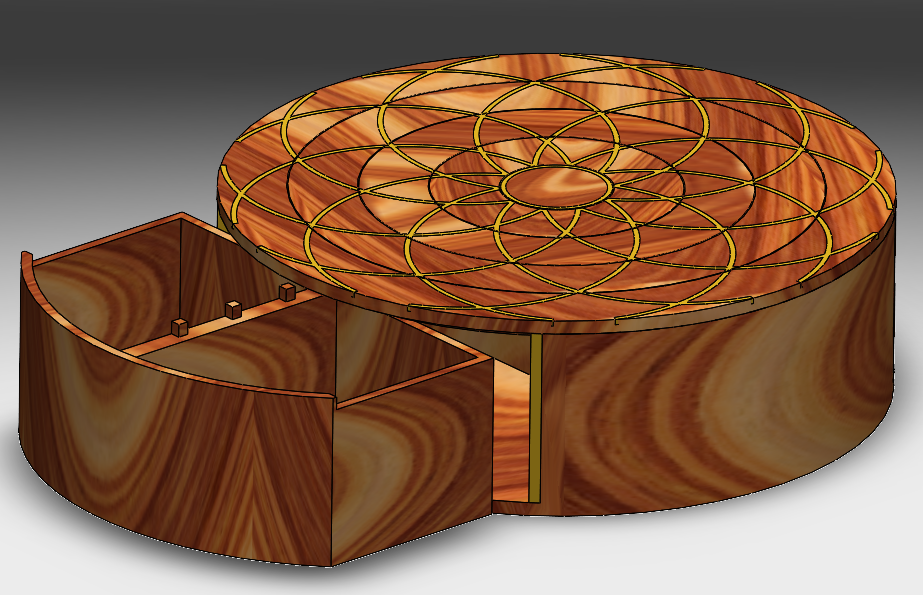
The fabrication process for this process is relatively simple if time consuming. Sadly with Covid and my subsequent time management of the project I was unable to produce a physical product. This is how the box would be constructed. All the wood pieces are designed to be cut with a bandsaw from standard wood sizes. Once cut out they would be assembled with glue and finish nails with the exception of the locking rings and the drawers. For the locking rings, the center is glued down and each larger ring is held in place with a tab that slides under the next smaller ring. This is a crucial aspect of the design and necessitates very high tolerances as all the rings must be able to spin freely.
As for the drawers, they will be constructed with glue and nails as before, however for the front of the drawer the wood is designed especially thin as to allow for it to be bent into shape. This should not necessitate the addition of relief cuts. The last piece of the box is the the brass accents. This fully cements the aesthetic of the box making it very timeless and more visually interesting with the geometric pattern. These brass pieces will be inlaid into the top and sides of the wood box. This can be done manually with much difficulty, however the inlay would be easy to complete with the help of a CNC mill to cut the groves for the brass inlay. Once the groves are cut the brass in inserted and glued into place and the finishing process can start.
To finish the puzzle box intensive sanding is needed to first prepare the surface before the lacquer is applied to the wood where it will need to be given time to cure. Then after polishing the brass inlay, a clear coat of gloss epoxy is applied to the surface of all outside surfaces. This epoxy layer will need to be sanded with progressively higher grits of paper and then buffed to achieve the desired gloss effect.
All in all, I am very proud of the aesthetics of box. I feel that it perfectly fits the mysterious and timeless aesthetic both in its function and design, and I could not be more happy with it. However other aspects of the project were not as well executed. My design process for this project was fundamentally flawed because I did not have a consistent schedule that I stuck throughout the project. In general most of my process was ideation and by spending too much time in that phase I ran out of time for fabrication and iteration of the design. This is one of my biggest regrets of the project. Luckily while this may be the end of the class, this is not the end of the project for me and I plan on continuing and manufacturing this box as a gift.
Lastly, here is the video of my in-class presentation:
2 Comments. Leave new
Hey Stephen,
I was really impressed by your project. I went ahead and watched the attached video which added a lot with the CAD walkthrough. Do you have any plans of fabricating this project after this course?
Hi Stephen,
This is a super cool project! I’m sorry you didn’t have the time to complete the physical product, but I think your CAD model is intricate and very well done. I think it’s great that you pulled from old japanese aesthetics and artifacts but also made it “timeless” and your own with the use of a cylindrical shape. I’m glad you’ve decided to continue with the fabrication of this process anyway and am excited for you to have the finished product!