

I chose a headphone stand for my upcycle project as a way to improve my carpentry skills and to create a functional piece of art for my workspace. I decided to choose minimalism as my inspiration, and so it is a relatively simple design composed of a base and a “tree” to hang the headphones on. The base is made of a piece of scrap wood from the Idea Forge Makerspace, and the “tree” is made of scrapped wooden dowels also sourced from the Idea Forge.
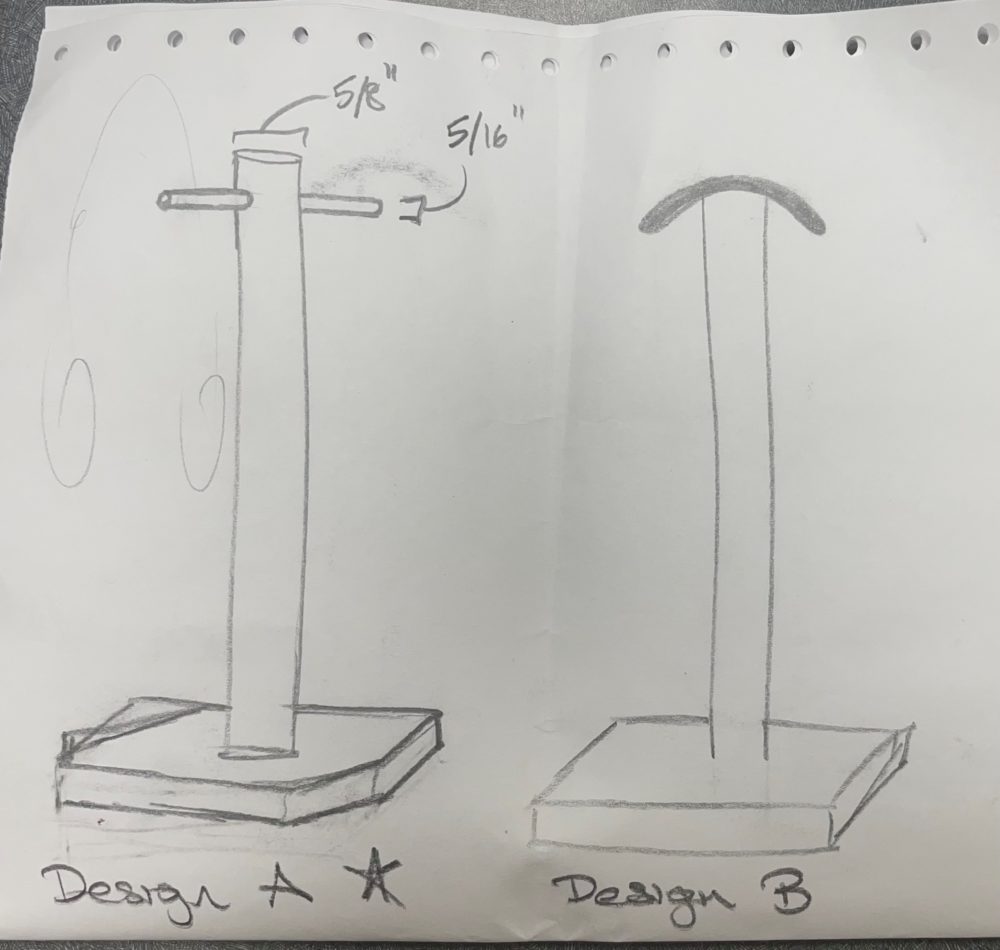
The dimensions of the headphone stand are about 9” x 6” maximum outer dimensions for the base, and about 10” tall with the tree attached. The project involves measuring, cutting, and sanding the wooden base and dowels, assembling the base and dowels with wood glue, and painting the final assembly.
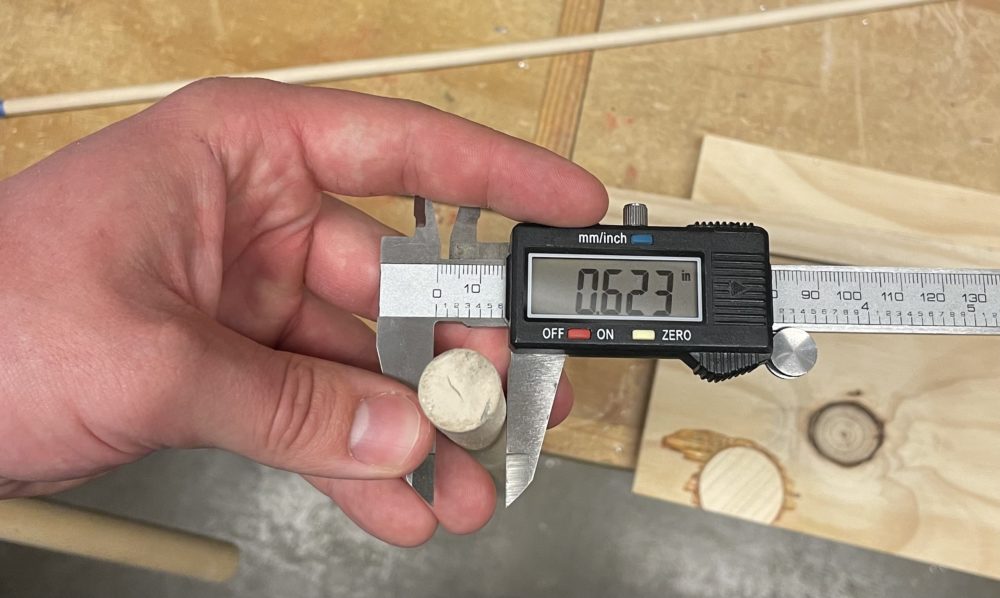
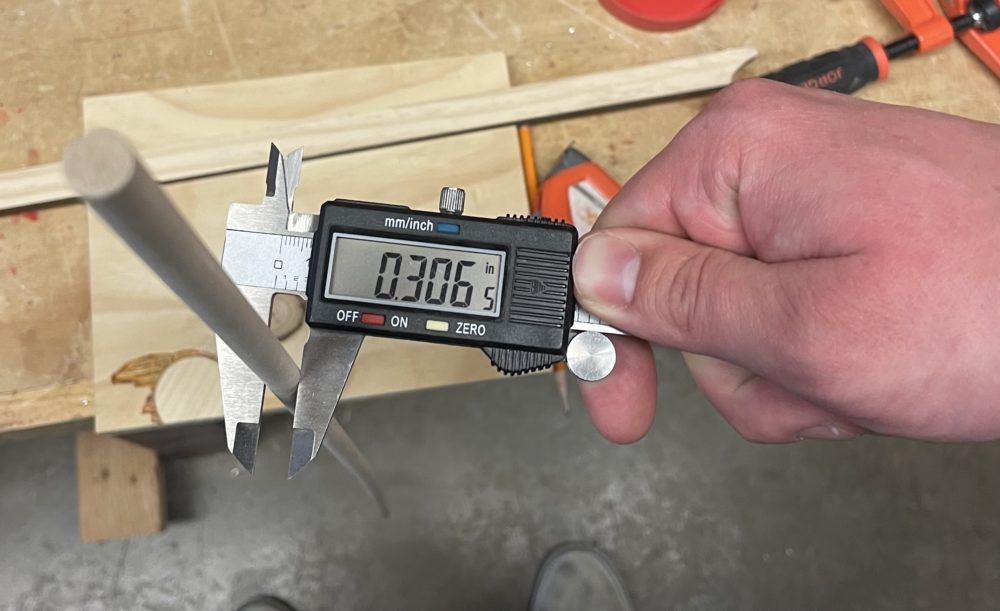
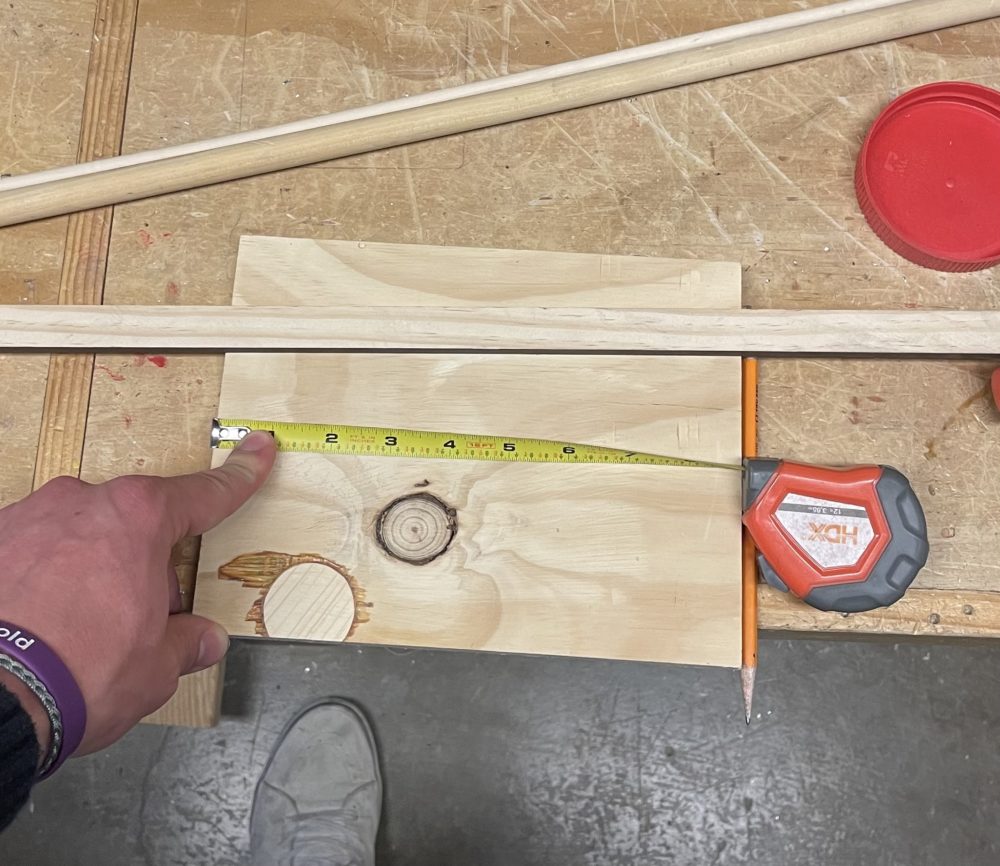
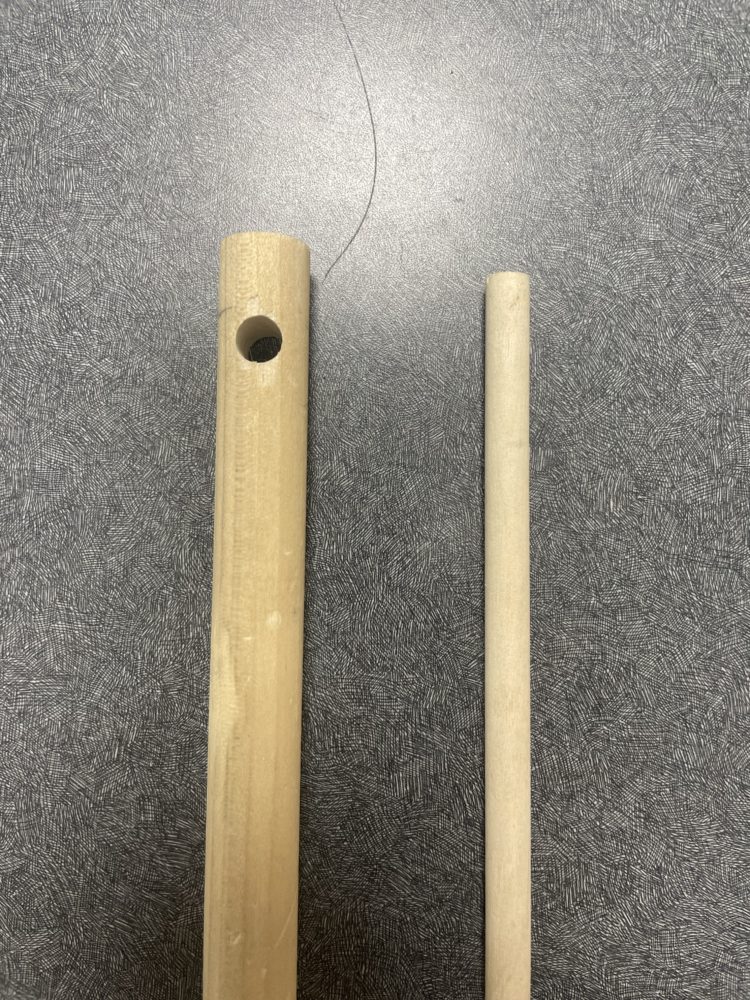
I started the project by sourcing the wood and cutting it to the correct dimensions, then adding some angled cuts to make a more custom fit for my workspace. I measured the dowels using calipers to figure out what size drill bits I needed to use for the dowel assembly. I then sanded the wood on a belt sander to ensure a smooth surface for connections and painting. After sanding, I will assemble the base and dowels using wood glue and clamps.
Once the base and dowels are assembled, I am going to sand them again to remove any excess glue to ensure a smooth surface for painting. Once it is ready for painting, I intend to spray paint it black, which will allow the woodgrain to show through and match the style of the desk it will reside on.
Currently, the headphone stand is in its intermediate stages of completion. I have cut the base and dowels to size, and drilled the necessary holes with a drill press. My next step is going to be sanding down again, this time with sandpaper, allowing me to remove the minor imperfections that survived the belt sander before assembly and gluing.
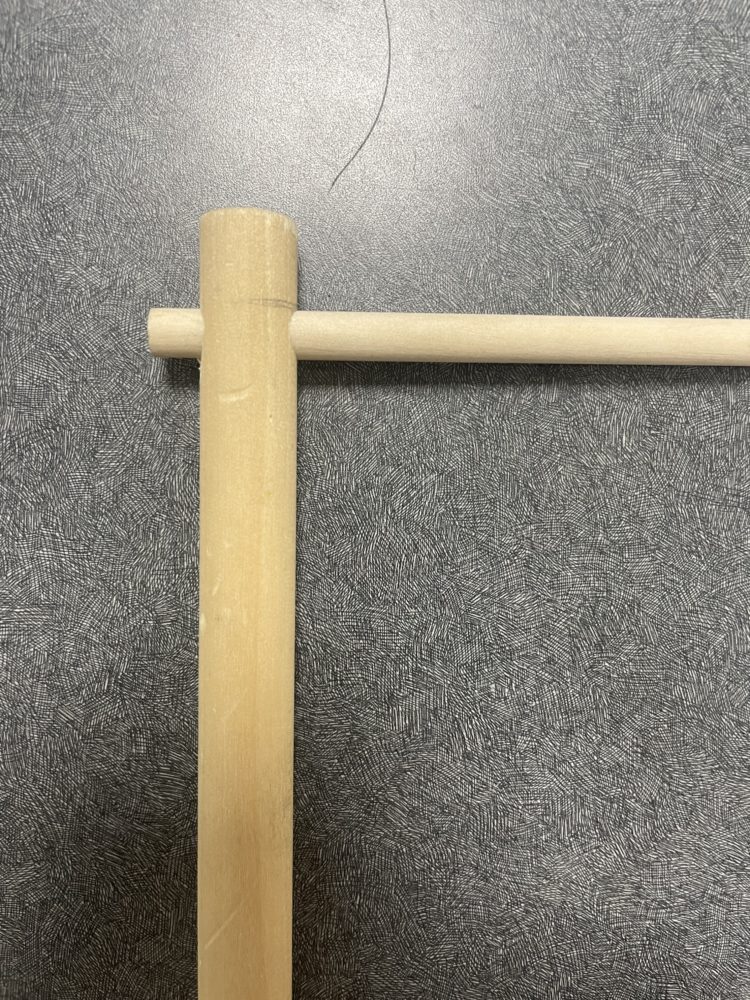
One challenge I have faced so far was making the angled cuts on the base. The chop saw doesn’t have a wide enough range of motion to cut the angles I needed, so I had to first make a jig to offset the wooden base enough to meet my desired angle. Another challenge was drilling the hole in the larger dowel to fit the smaller dowel through. I needed the hole to be exactly the right size, and in the right position on the dowel. To achieve this, I made another jig to use with the drill press to ensure that I drilled my holes as planned.
Overall, the construction of my headphone stand has been an enjoyable and educational experience. The project has allowed me to improve my carpentry skills, familiarize myself further with the Makerspace, and will eventually give me a functional sculpture for my workspace. I am looking forward to wrapping it up this week!
2 Comments. Leave new
Jon,
I love this project! I 3D printed a headphone stand for myself last year. It’s a super useful product and I’m glad you will find a use for your project. Have you thought about a design you could implement on the stand?
Thanks for the comment! It’s starting to come together now and I am excited for it to be usable. I was thinking about trying to wrap the stand with leather or something like that, as of right now I am just proceeding with black paint but maybe I’ll add to it more in the future