
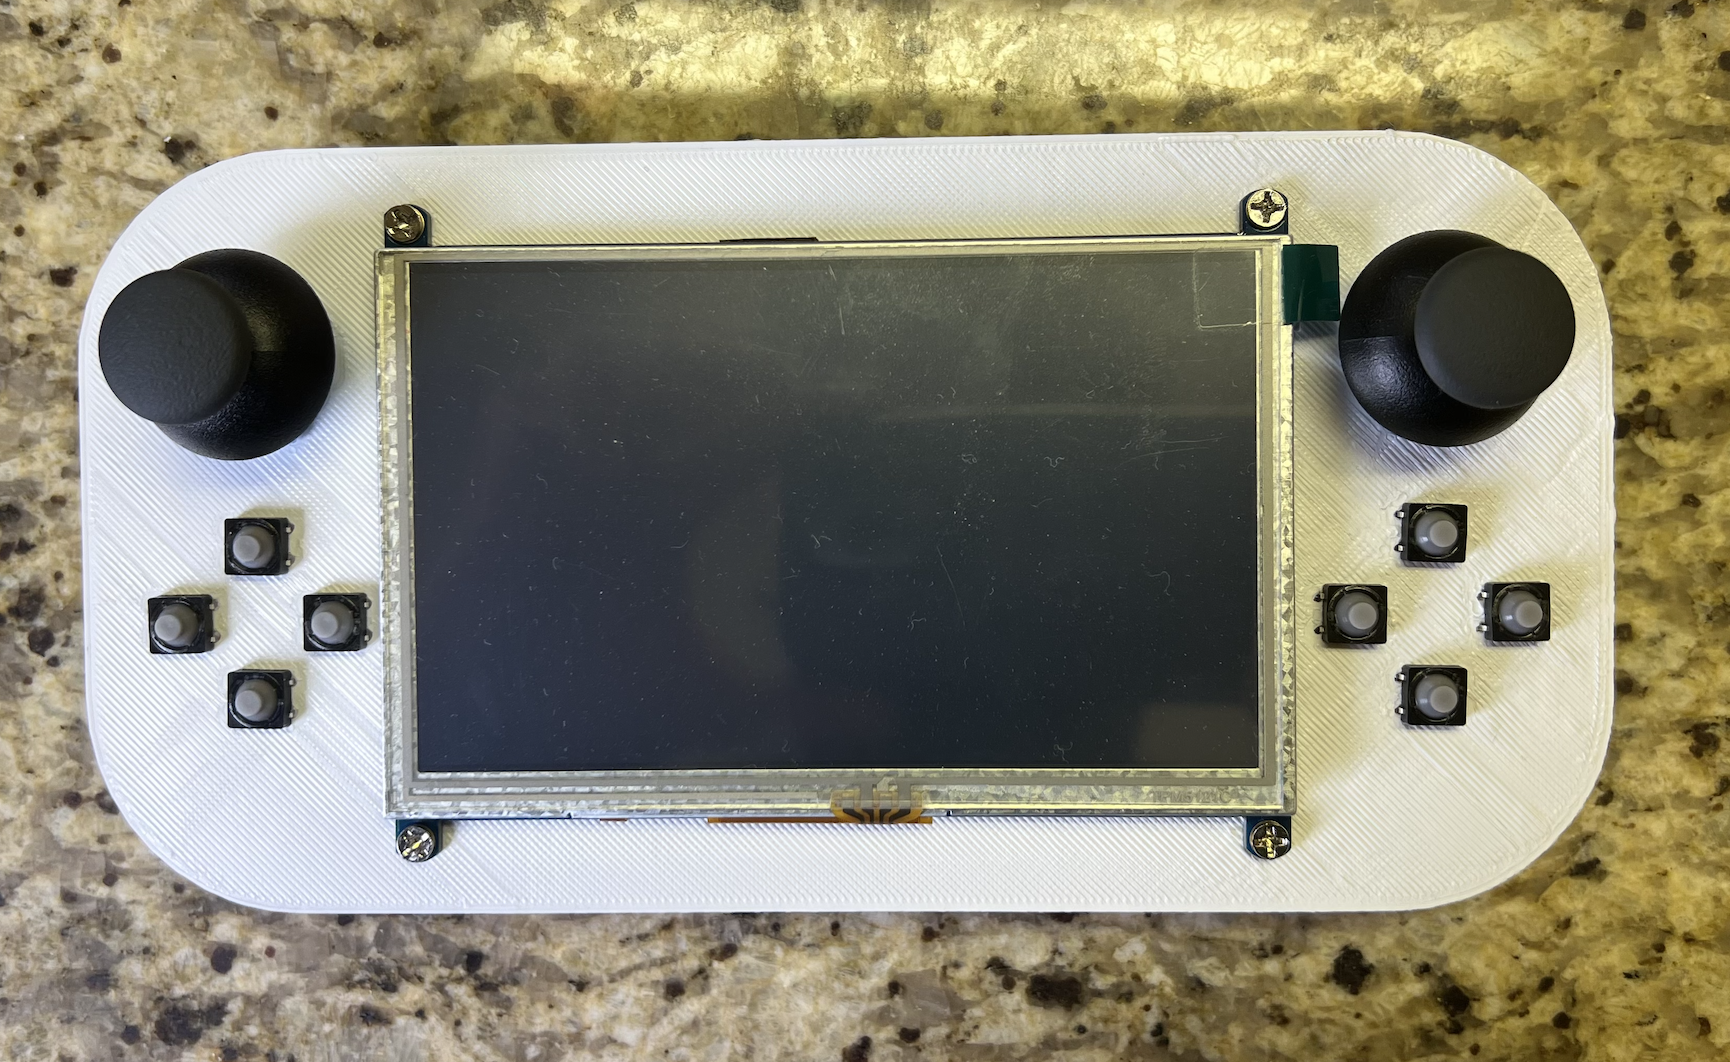
This weekend I 3d printed a mock “pcb” for my handheld emulator. I did this instead of designing and ordering an actual bread board as it was far cheaper and faster, and I wasn’t sure exactly where I wanted the buttons and joysticks etc (this was heavily inspired by Leandro Linares project https://www.youtube.com/watch?v=gkook0l_gsM where he takes the same approach to build a hanheld emulator). This helped me finalize some more dimensions and get a better idea of how I want the exterior shape to turn out.

With what I learned from my rough model first print I modeled the rest of the basic shape of the case in Solidworks. On the final print I’ll glue the buttons down and solder them all together from the back.
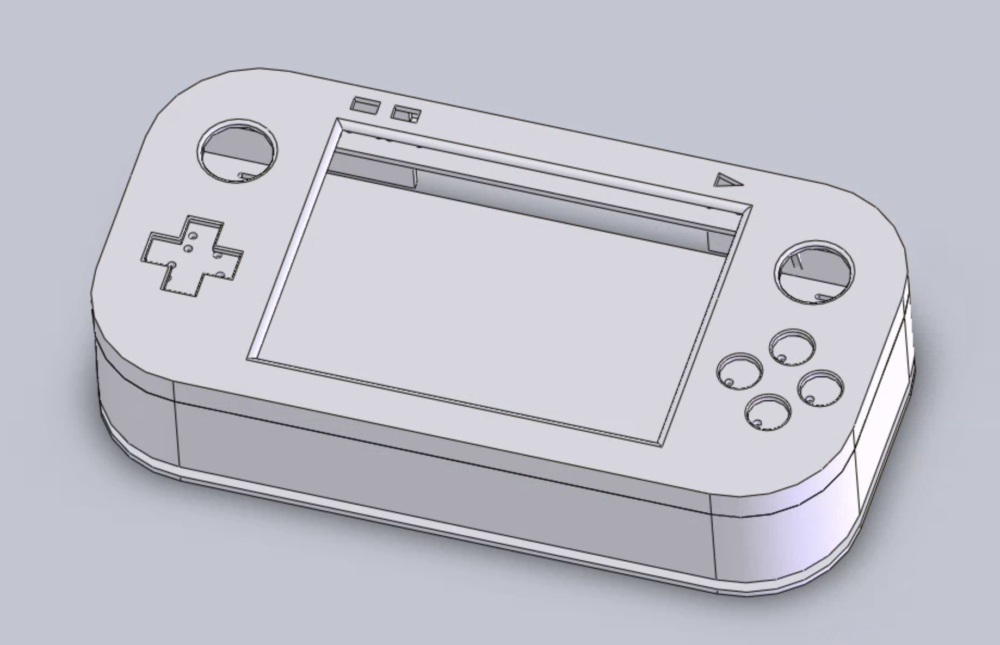
Currently it looks very brick shaped, and while that is the most space conscious solution in this instance, I know I want my case to have some ergonomic additions to make it both more comfortable to hold and more friendly looking. So in my final 3d print i’ll either add bump outs to the sides of the base plate, or style handles coming off of the sides similar in shape to those on the xbox one controller.
Components:
“silent” buttons – https://www.adafruit.com/product/3101
Dpad and joysticks – https://www.amazon.com/Controller-Thumbsticks-Joysticks-Headphone-Replacement/dp/B09ZDT952G/ref=asc_df_B09ZDT952G/?tag=hyprod-20&linkCode=df0&hvadid=647227245595&hvpos=&hvnetw=g&hvrand=13327770056588129201&hvpone=&hvptwo=&hvqmt=&hvdev=c&hvdvcmdl=&hvlocint=&hvlocphy=9028817&hvtargid=pla-1953947279196&gclid=CjwKCAjwov6hBhBsEiwAvrvN6M4kDgQer7jCn2owHCWuxlNuRbKqhk5NuIV5SDKBoNWSjvXQXeVd1hoCNMsQAvD_BwE&th=1
Waveshare 5″ LCD – https://www.amazon.com/waveshare-Raspberry-LCD-5inch-HDMI/dp/B00TIA0PMQ
pi-sugar s – https://www.amazon.com/Portable-Platform-Raspberry-Accessories-handhold/dp/B097RCFHD2
Raspberry pi. –
Still Need:
analog to digital converter for joysticks
amplifier/speakers
~re-solder and move power switch, backlight power switch, usbs to external
2 Comments. Leave new
This is so awesome; I use emulators all the time. I find myself on the go pretty often too, so something like this would be super useful to me (and to many others, I’m sure). I noticed that there are a couple of buttons on the top of the screen – I assume they’re menu/pause/power buttons – in the CAD model, but not in the printed model; will those be included in the final model?
This project/artifact is super cool and unique and I really appreciate how you are showing the Iterative process of creating the design. I am curious if the final / updated model will have enough space inside to allow for the housing of the parts and pieces to be hidden or exposed. Either way, I’m sure it will look and function great.