
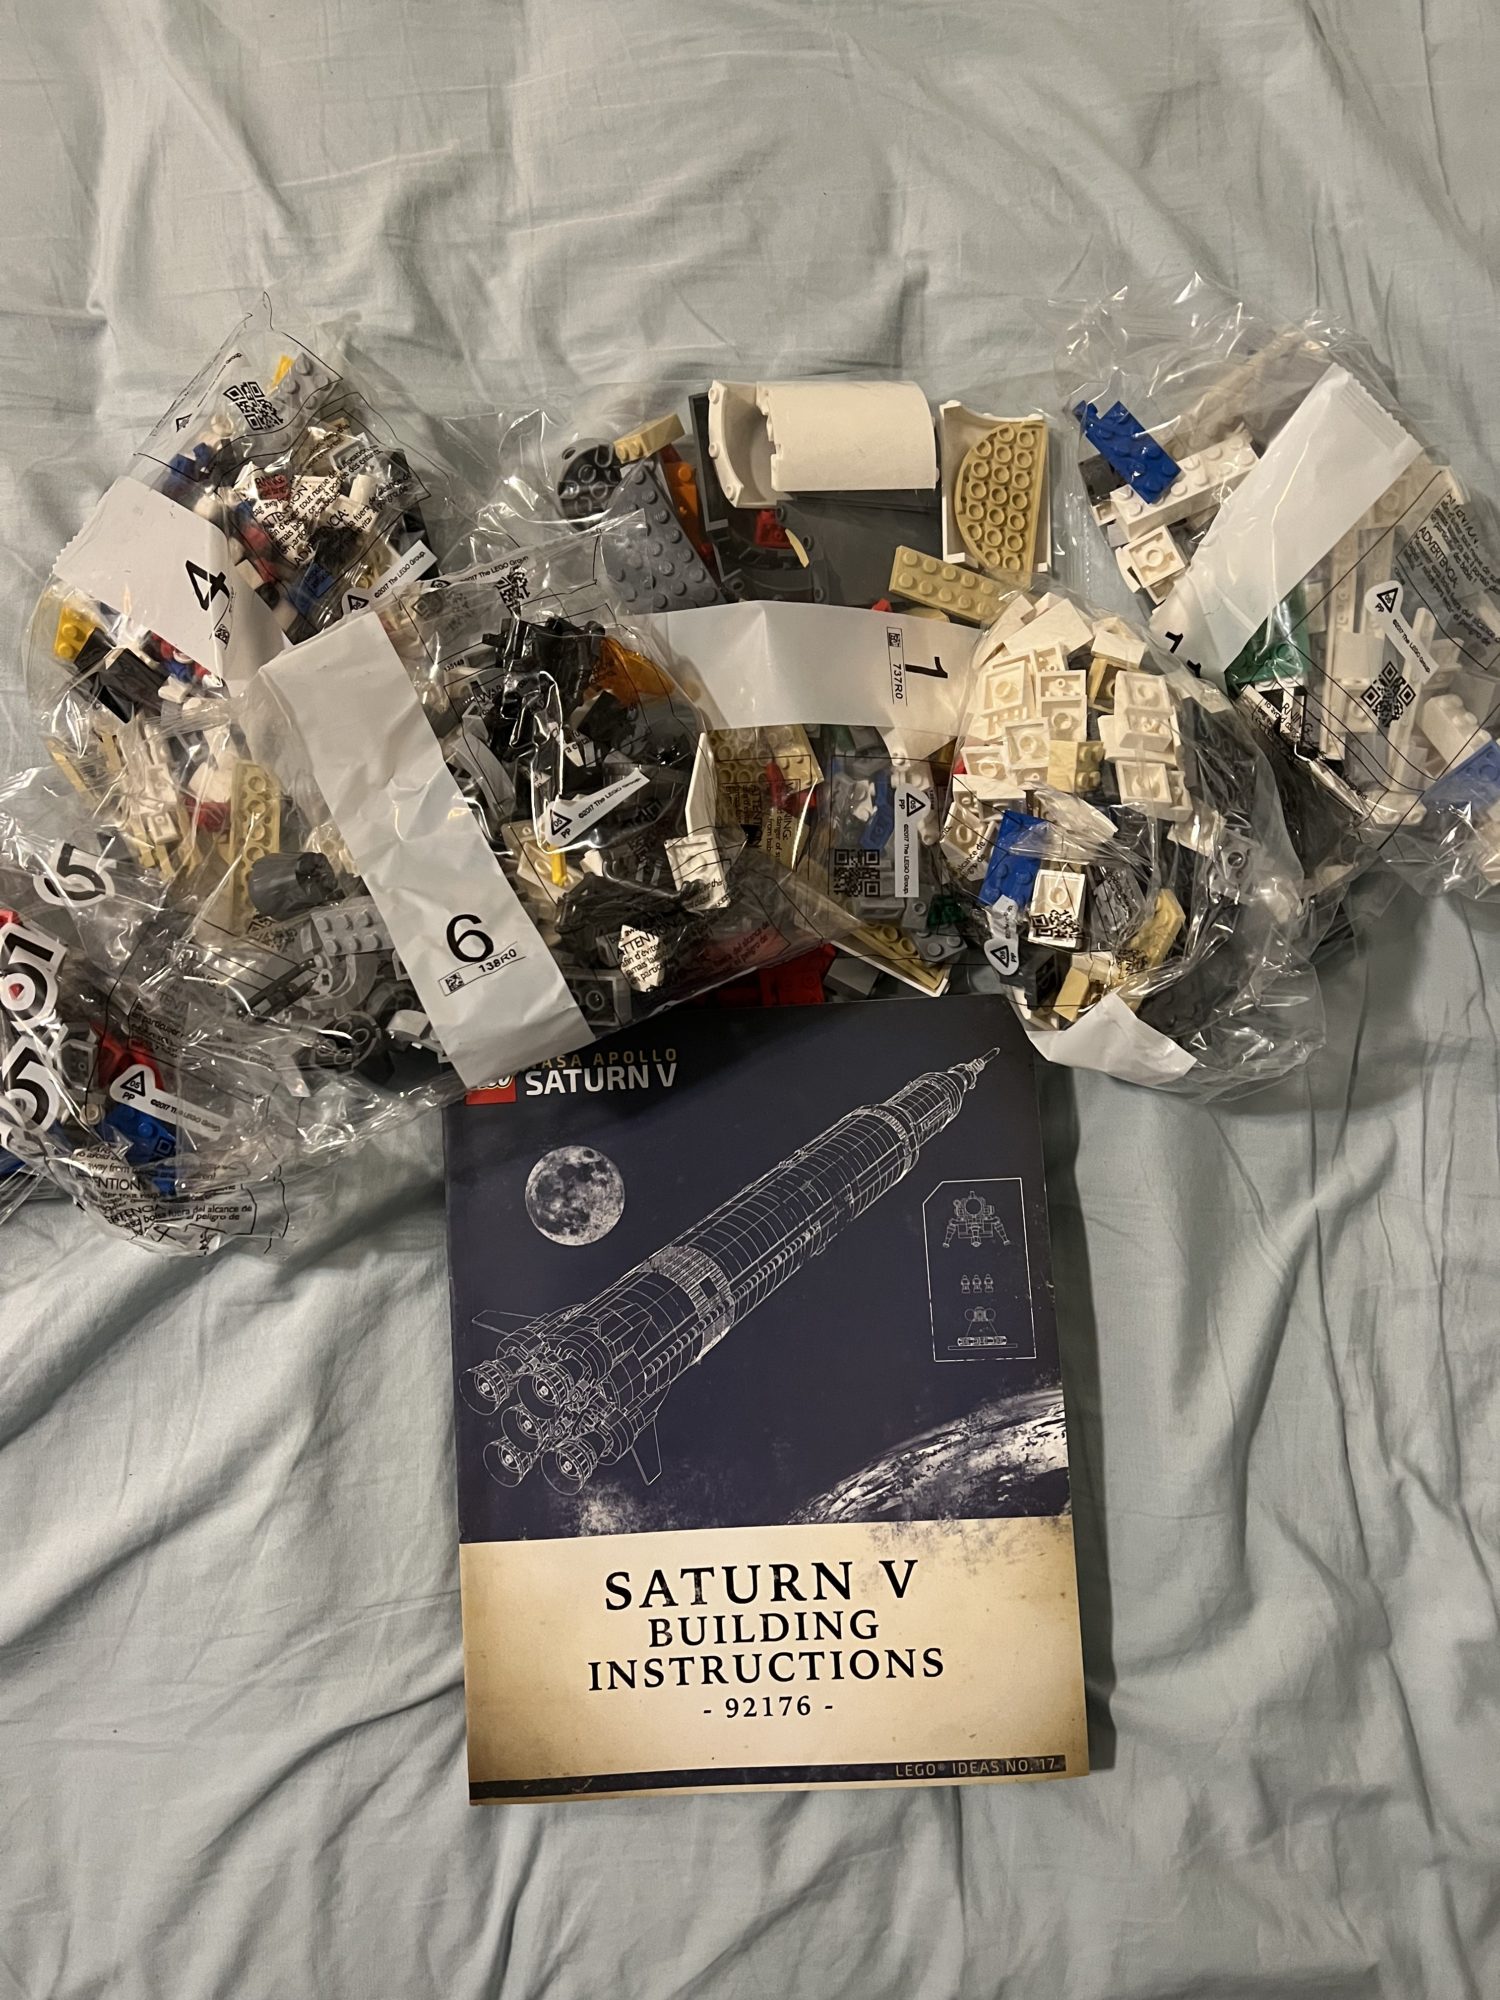
Above are the Legos and the manual needed for the set. The rocket is separated into the actual segments from the Saturn V so really I just need the base first to in order to test this thing out. The bags shown are what it takes to build the bottom half of the rocket. I also have fishing line from my fishing rod that I can use to tie the wooden dowel to the model rocket so that it is more stable. In addition to this, I have sourced the wooden plank and the dowel that will be used for stabilization.
At the first go of it, I messed up the 3D print. I set up the bed incorrectly and as I went to remove the print, I accidentally tore up the print since the bottom was still stuck and the 3D print itself was relatively long. In my frustration I threw away the print before I thought to take a picture of it and document my progress regardless of what had happened. But I will persevere. I’ve started a second print that will hopefully be done by tomorrow or the day after that and I changed some dimensions to make it slightly easier to print. I shortened the height by about 1 inch and made the wall thickness of the cylinder to be about 0.75 inches. This cut down will hopefully make it faster to print and, even though the walls are thinner, the shortened height will hopefully make it easier to remove without damaging it.
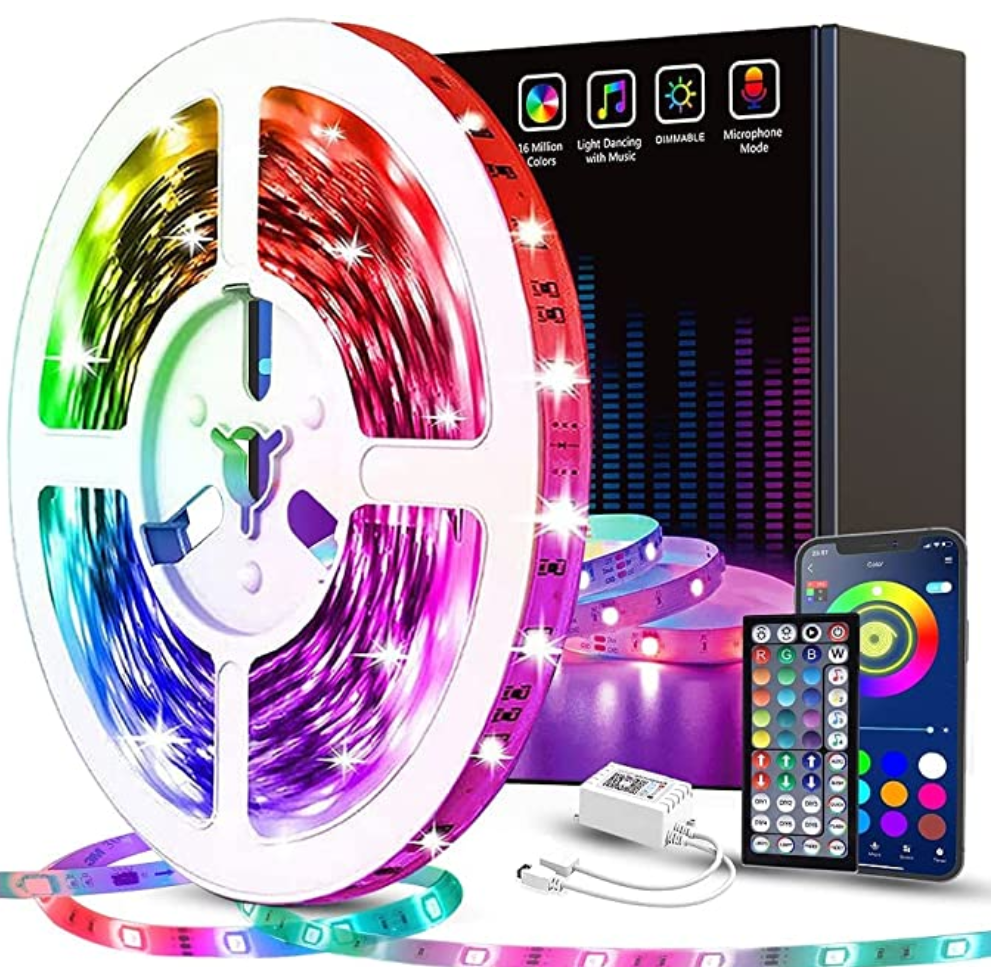
Above are the LED light strips I’ve purchased from Amazon. They are color changing and have an app built in that actually uses my iPhone’s microphone to “react” or change color to sound. While the lights are still on the way, I’m hoping that I can have them react to the sounds of the actual Saturn V rocket launch that way they’ll flicker and potentially change color according to the sounds of the launch itself which would be really cool. Worst comes to the worst the lights have a manual mode where I can change the by hand so that will also be an option as well.

Here is the cotton I’m using. This change was spurred by discussions in the pods where people asked me how I was going to arrange the cotton so that it would look like a smoke plume. Originally I was going to use cotton balls but then I realized how much that would take and how difficult it would be for it to hold its shape. I saw these cotton sheets used for medical purposes and realized it might be a better alternative. The sheets means that I can wrap it around the 3D printed stand and diffuse the lights better. It also allows for me to better shape and tear up the cotton so that it can look more realistic and fluffier. Cotton balls may still be used for finishing touches but this will form the mainstay of the smoke.
2 Comments. Leave new
You got good progress! The rocket is a lot larger than I thought it’d be. How long do you think it’s gonna take to assemble the whole thing?
Hi Cody, It’s a bummer that your first print didn’t survive “take-off” from the printer (pun intended). I’m glad you persevered and redesigned the part to be easier and faster to print. I like the LEDs you purchased since they give you the freedom for any color from your phone! Are you planning on gluing the LEGO pieces together for added stiffness and structure? Excited to see the finished product!!