

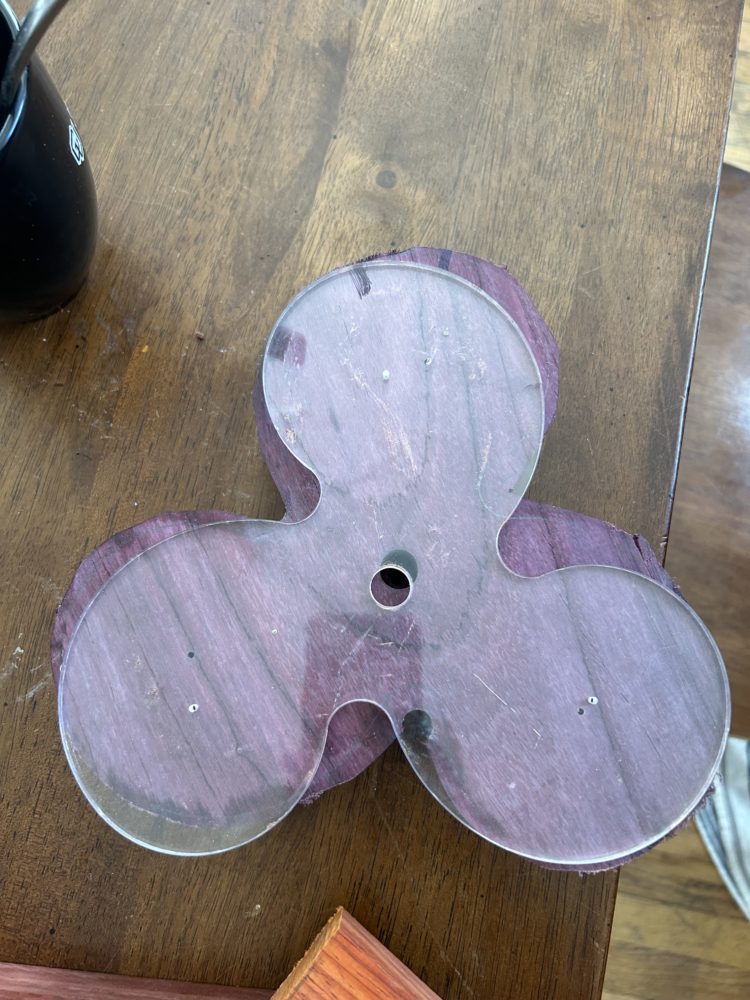
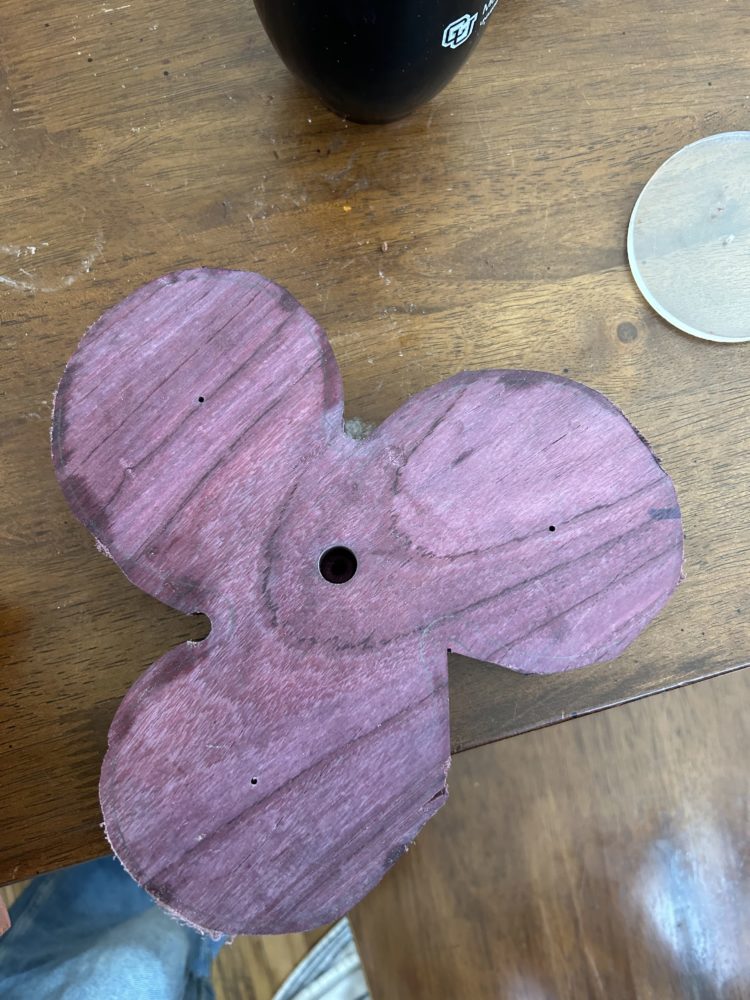
In order to create my puzzle box, I first determined which wood would be used for each part, then ordered S4S hardwood blanks corresponding to exactly what I needed. I then spent several days trying different ways of indexing different templates, as I needed to route the outer shape, but once I do that I lose my reference for hole placement. I came up with a jig that has 3 pieces and began by laser cutting these from acrylic (an arduous process when determining how to get a precise cut with <.020″ features) and boring the center hole on the bottom piece (purpleheart). At the same time, I drilled reference holes at the center points for each storage pocket. I traced the template and moved to the bandsaw, where I rough cut the shape before taping the template back on, using two drilled points as my constraints for alignment. After this I used a table router to follow the template and trim up the shape. Because of the density of the exotic wood and the presence of natural oils, this was a difficult process. The material kept dulling the blade and most router bits are too short for the thickness of the blank and the template was not thick enough to counteract the gap between cutting edge and follow bearing, so I struggled, especially because this species really likes to tear out when routing with the grain. I have a specialty bit arriving Monday which should expedite the process.
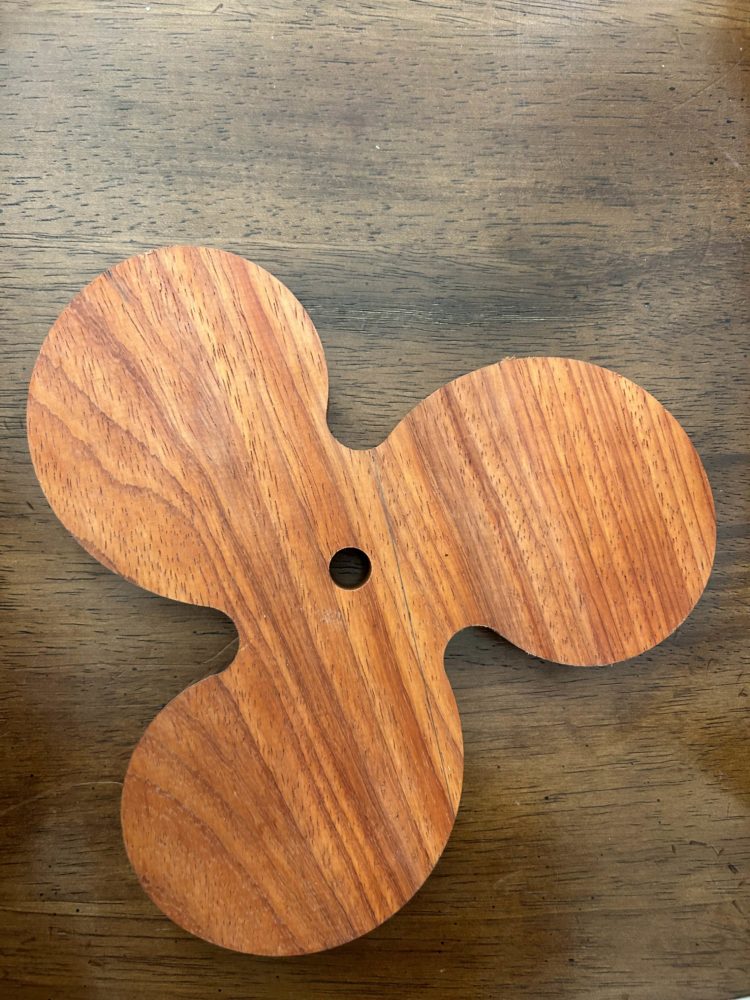
For the center section, I repeated a similar process with the padauk wood (orange) to drill the center hole, mark the side which will have a tab, and cut out the rough shape with a bandsaw before routing down to the template with several different bits, being careful of the natural oils and managing my speed to avoid burning or chipping out.
![]()
![]()
![]()
![]()
![]()
![]()
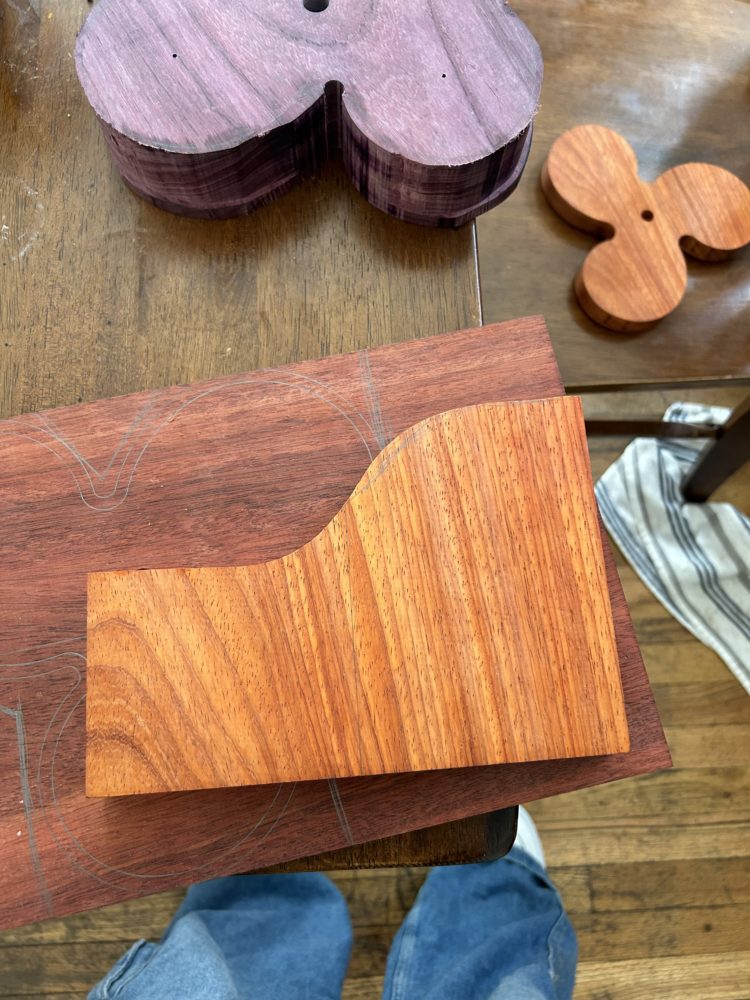
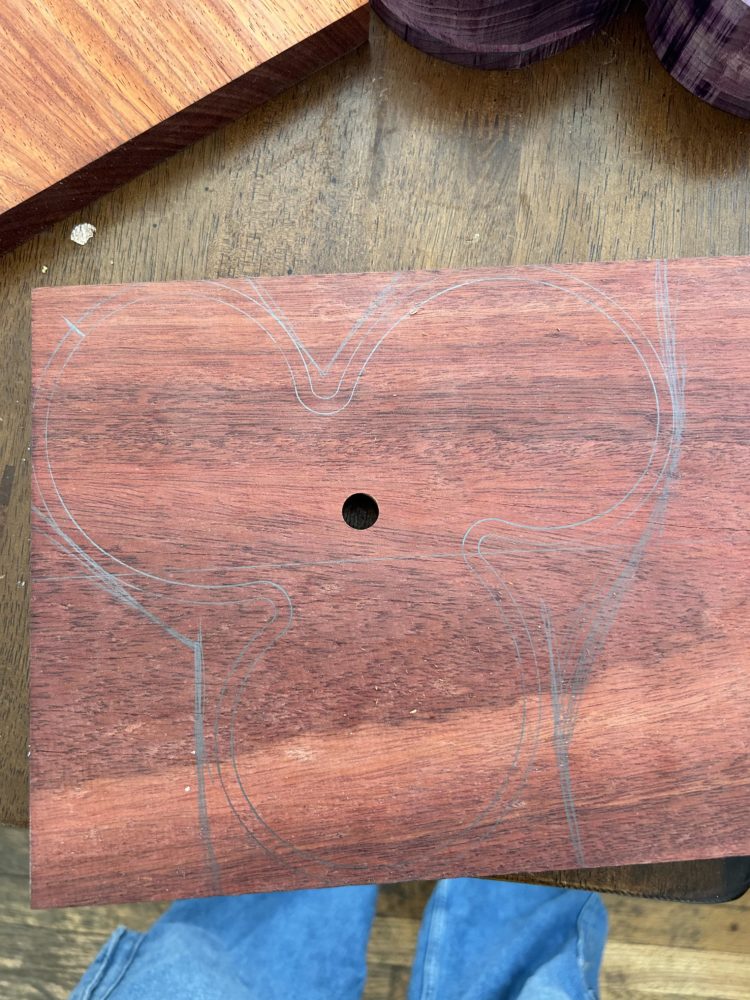
Currently, the top section (bloodwood) has the center hole drilled and the shape traced, with the tab side marked and cutting lines which I will use as guides when I bring it to the bandsaw on Monday. I still need to bore the storage holes on the bottom section (purpleheart), carve the slot on the middle section (padauk) and route the partial slot on the top section (bloodwood). I also will need to complete the template routing of the top section, then I can create the tab for the bottom and corresponding cavity on the middle section and assemble everything to ensure function. From there, I will use my remaining time to add dremel carvings on top of the bloodwood, whose figuring should add a great deal of depth to the final project. I will use a boiled linseed oil blend (Tru-Oil) to finish my project, due to its durability, thinness, and resistance to yellowing, as well as its quick finishing process.
2 Comments. Leave new
I really enjoyed listening to your presentation on your design last week and where you were at. I think puzzle boxes are super cool and intricate, and the fact that you did all of the manufacturing on this yourself is really impressive. I really enjoy hearing your plan for how you are going to finish this and I am just wondering if there is anything you might’ve done differently up to this point, that maybe could make work easier and or the process less tedious?
This looks amazing! Your progress since your last post is awesome, and I hope it turns out incredibly well! Way to overcome adversity with the router and other tools. My question is, what is the scale of your piece? From the photos is looks like it’s about the same size as someone’s hand, but I’m not sure. Good luck!