My project is a wooden frame built to display old license plates that I previously mounted to my walls using sticky putty. The aesthetic that I’m trying to achieve is Rustic Americana, basically just trying to emulate western American culture while combining it with the use of old, weathered looking wood to try and evoke feelings of warmth and comfort.
Since my post last week I haven’t made much head way in terms of work on my project, but I have been planning my next steps carefully for when I have more time to get work done on my license plate frame. My first step in this planning process was just seeing what the license plates looked like laid out on top of the large board I had gotten from Resource Central (1). Upon seeing they fit, I lined them up in a brick pattern that I wanted to use to make the frame looked more interesting than just straight up and down license plates. When I had placed them out with the layers perfectly aligned so the start of the next layer was lined up with the middle of the previous layer, I noticed that the edges of the board were a bit too close to the edges of the plates, which wouldn’t give me much room for the frame pieces. In order to accommodate the frame and the brick pattern I want to implement, I decided to decrease the space of the stagger between layers so that the start of the next layer starts closer to a third of the way into the plate on the previous layer instead of halfway through. This cleaned up the look in my opinion while still having the visual interest that I wanted from the brick pattern in the first place.

(1) My board from Resource Central with three of my Colorado Plates
After firming up my project idea I decided to create a drawing to better envision the specific details of what I need to do (2). I realized already that the board was larger than I needed to fit all eight plates in the brick pattern, but it wasn’t until I drew it out that I realized that I’ll have to remove a larger portion than I expected to get it to the size I need.

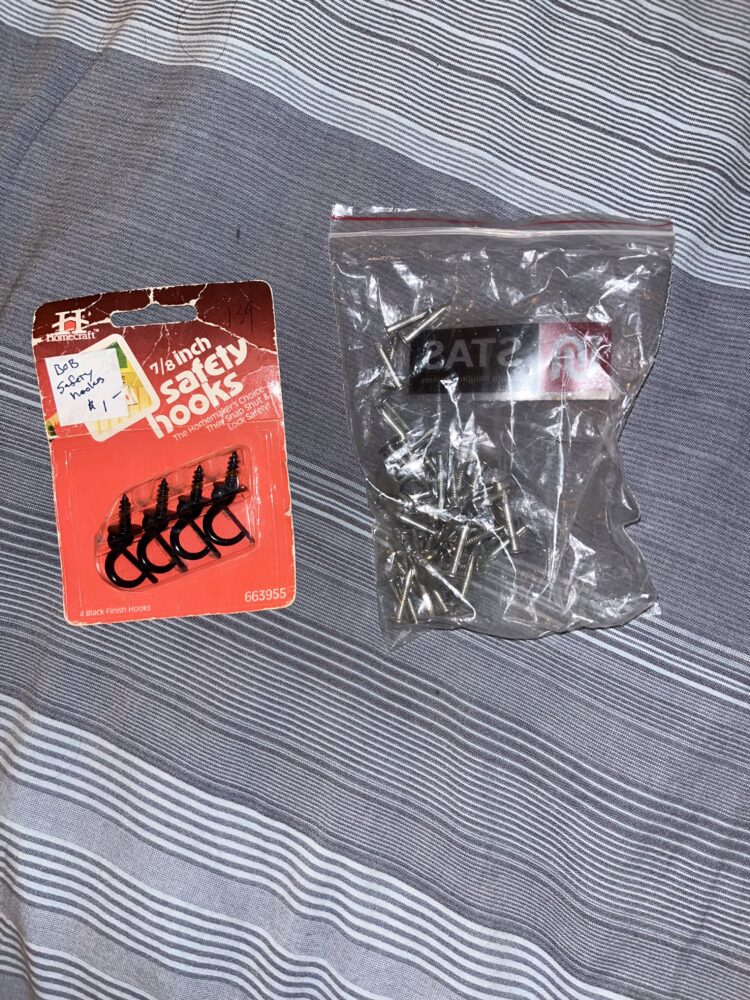
Following the board resizing, I plan on using either dark paint or wood stain to make the board look uniform and clean instead of the messy plywood. Then, using the screws I also got from Resource Central (3) I will mount the plates to the board. The final step of my project is to mount trapezoid shaped pieces of wood on all four ends surrounding the plates the complete the frame. I plan on making the frame pieces the same color as the board using either the paint or stain and mounting them using wood glue so that there aren’t any extra nail holes. The only thing I still haven’t come up with yet is how I plan to hang the frame on my wall. With the wooden board backing everything, the project is going to end up being pretty heavy, so if I use a wire on the back that hangs on the safety hooks I got from resource central (3) then I need to come up with a way to secure that wire tightly to the board. I plan on starting fabrication as soon as possible and once I’m able to get the main parts of the project finished I can determine a better solution for hanging the frame.