

Hello all, now that we are reaching the end of the semester and we only have a couple of weeks until our final projects are complete I would love to share all of the work I have put into mine so far. My project has been quite labor intensive and even more so than I expected because I have done a lot of things for the first time this project. It has really stress tested my skills and my ability to learn new skills and then give my best shot when I only have one opportunity to get things right. However this project has been extremely gratifying already and I am very proud of how much progress I’ve made and how much I have learned. As a preface I am not going to go into absurd detail on the process so far and will save that for my final report.
Progress
So far I have completed the bulk of the material processing, am almost 100% complete with the “box” of the nightstand and will soon do the big glue up, and have almost completed the legs of the nightstand.
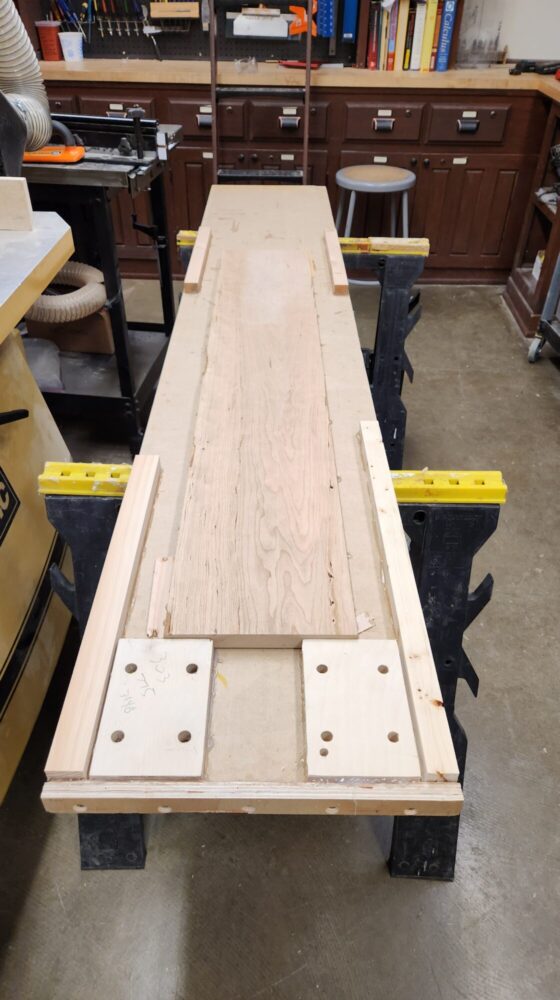
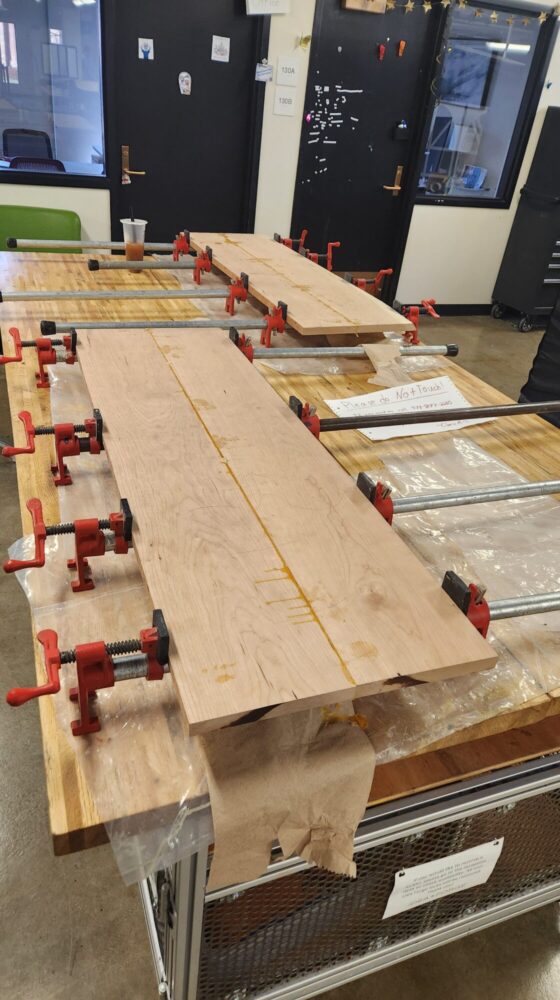
The material processing took up the bulk of the first 2 weeks of production, it included planing boards flat, cutting them square on the table saw, hand planing the panel glue up joints to have no more than 0.005″ gap, and then the big panel glue up. Images of all of these steps can be seen below. While this part of the project was essential to have the form I wanted and further steps easier, it still felt like a drag compared to actually making the nightstand. Essential but brutal.


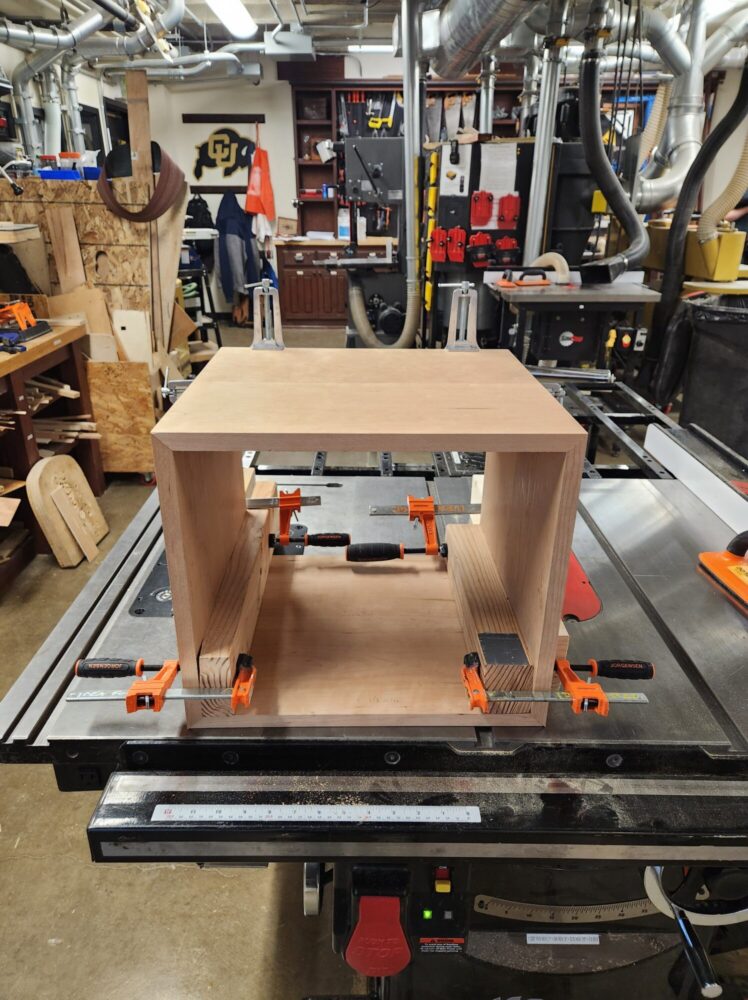
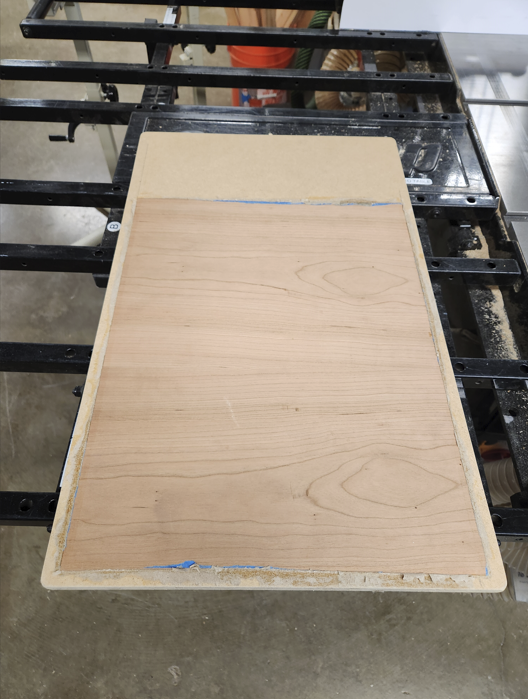
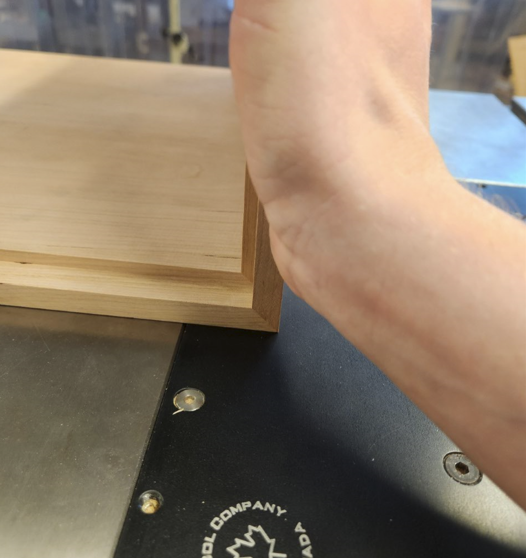
Once I had completed the materials processing though I was eager to jump into actually making the nightstand, and I started with the “box.” First I cut the panels to size and then I was able to cut the miters that made the corner joints of the box, this was the most nerve-wracking part of the project so far as it was completely new to me. They turned out pretty good and I have a trick to hide any imperfections once they are glued up.
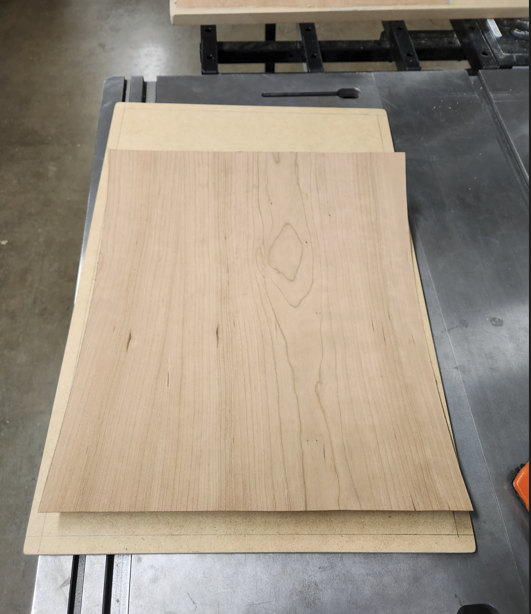
After I cut those miters I had to start on the back panel, which was originally going to be made of solid cherry (same stuff as the rest of the box) but I realized that this would swell when exposed to moisture and may push the box apart if I ever brought the box anywhere with higher humidity. So I opted to make the back panel veneered MDF, which is thinner, and more stable than actual wood. This process was entirely new to me so it was awesome to learn a new skill once again. You can see some progress pics of the veneer process below.

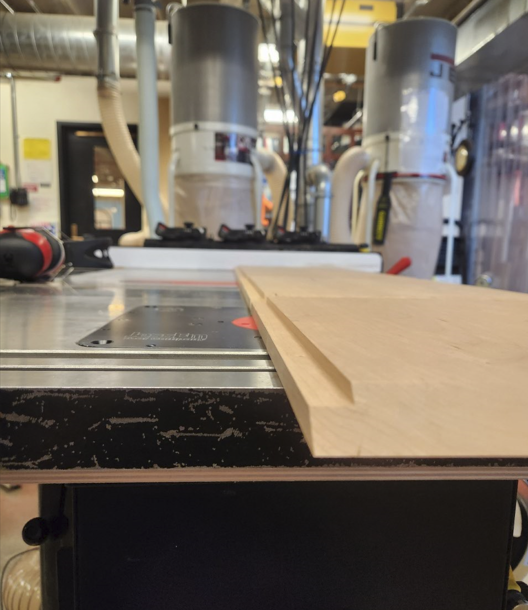
Once the back panel was veneered and cut to rough size I could route a rabbet in the back of the box panels to accept the back panel, this was my first time using a router table and I thoroughly enjoyed the experience (much better than a hand plane where applicable). The rabbets were cut to a depth equal to the thickness of the back panel so it would sit flush with the box.
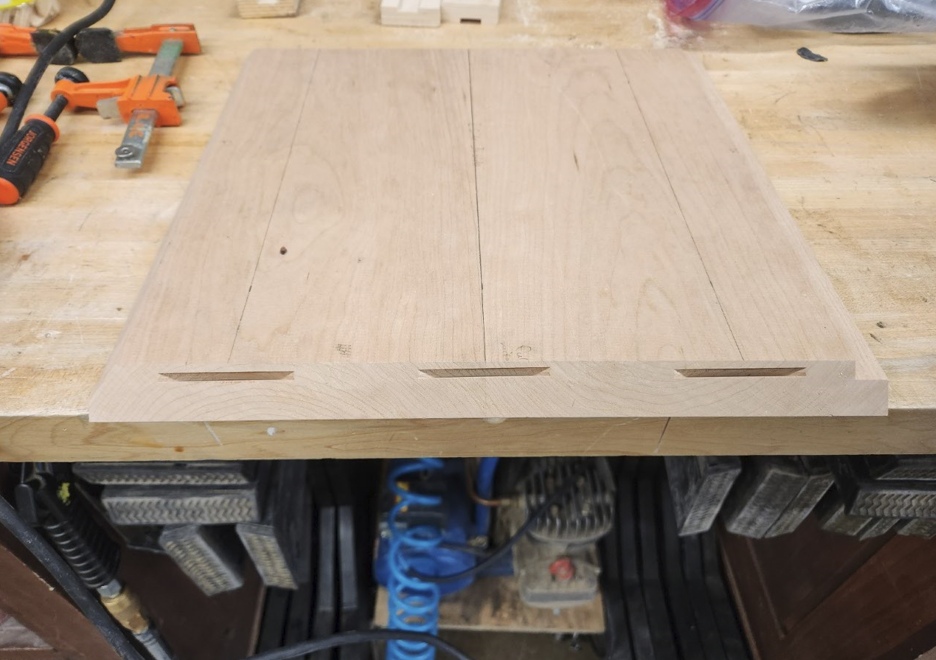
Finally I could cut slots for biscuits in the 45 degree miter joints, biscuits will provide stability and aid with alignment while gluing the box together as well as providing a bit of strength.

The only step left on the box is to route two slots for the shelf that spans the space between where the drawer will be and where the open cubby will be, as well as cutting that shelf to final size. Once these two operations are done I can glue the box together, which will be the scariest glue up of the project.
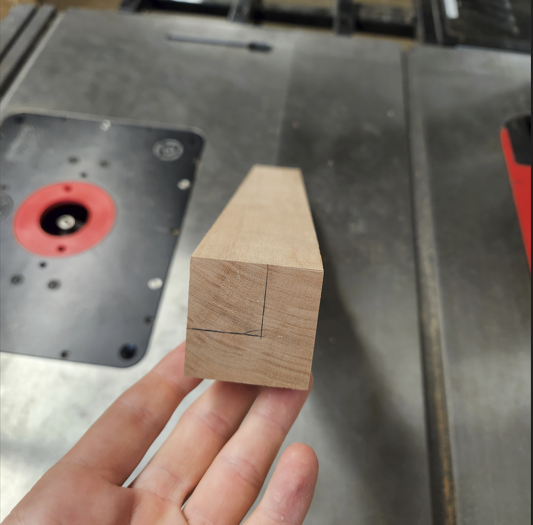
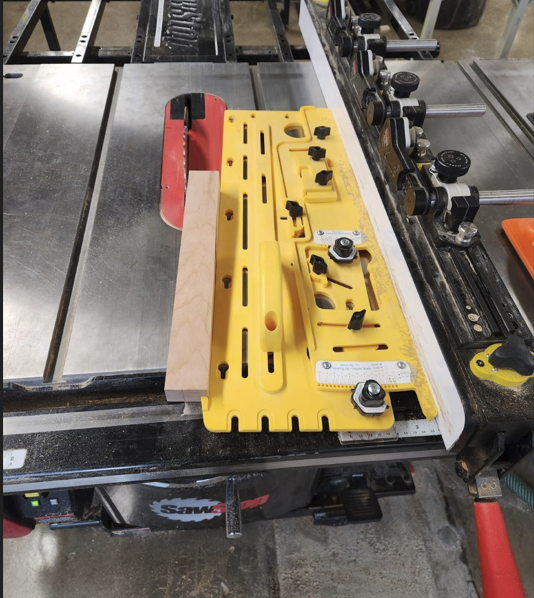
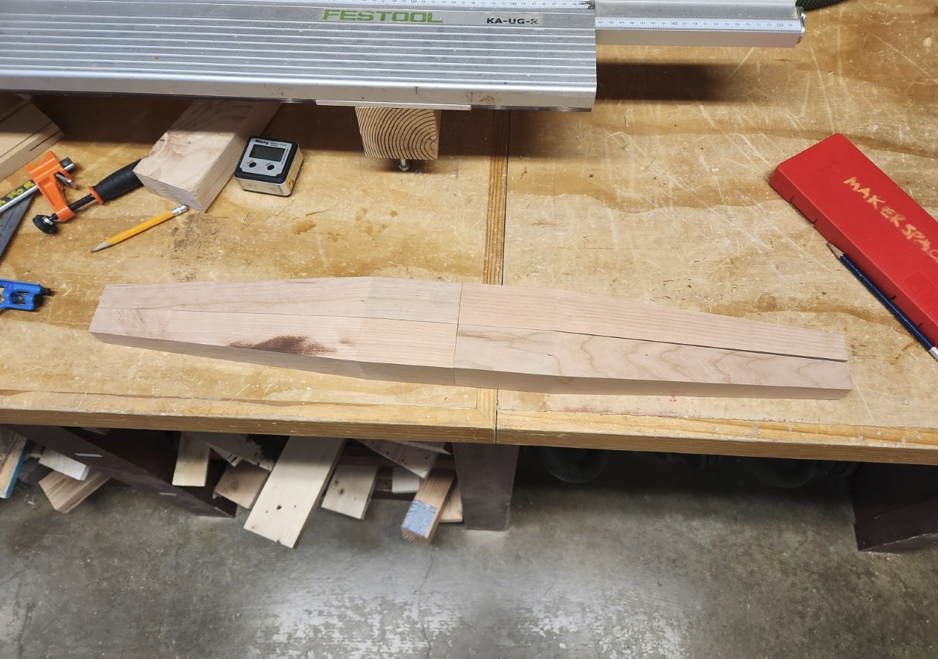
Most recently I began work on the legs, I cut the legs from a 2″ thick 8″x14″ board I got from a local private hardwood lumber salesman. The first step was to cut them to 1.75″ square then taper on on corner the legs from 1.75″ to 1″ at the bottom. This also was a first for me and I had to use a taper jig on the table saw, once again I only had one chance at this unless I bought more material, luckily I got it right on the first try!

Next steps are to finish the box, make the braces that go between the legs and cut the castle joints in the tops of the legs. After that its time for the big glue up, and then finish out with making the drawer and coat the whole piece in finishing oil. I look forward to the rest of the project and hope you do to!
4 Comments. Leave new
Hi Chris,
I am super impressed by all of the woodworking skills that have gone into this project! I’m sure you’ve learned a lot from this project. Do you think using MDF and veneer will make this table significantly lighter?
Hey Chrisanna! Thanks for your reply and sorry mine is so late. I think using the MDF definitely has made it lighter than another full panel of cherry would’ve been, but I’m not sure exactly by how much.
Hi Chris! I love your progress so far. It looks like it’s really coming along, and I hope the final project turns out as you image.
I was wondering if you could include some brief about the purpose/reason of steps. For instance, why are you gluing some of the pieces together, how do you anticipate the seam between the boards, why did you glue the veneer in a vacuum bag, etc. It would help connect/explain some of the steps to people without woodworking experience (me).
Hey Annie, thanks for your kind words. Sorry my reply is so late but most of those questions are covered in the full fabrication process post. But briefly: I had to glue the boards together to get a wider width panel, otherwise I would’ve had to mechanically fasten those boards and I don’t think that would look great. To ensure the seam between the boards was negligible I clamped the boards together and hand planed the faces so that they were identical, then would check how big of a gap there was, I got it to under 0.005″ gap across the whole length, and you can barely see the seam now. And I used a vacuum bag to glue the veneer because the vacuum applies even pressure across the whole surface of the veneer. Thanks again!