
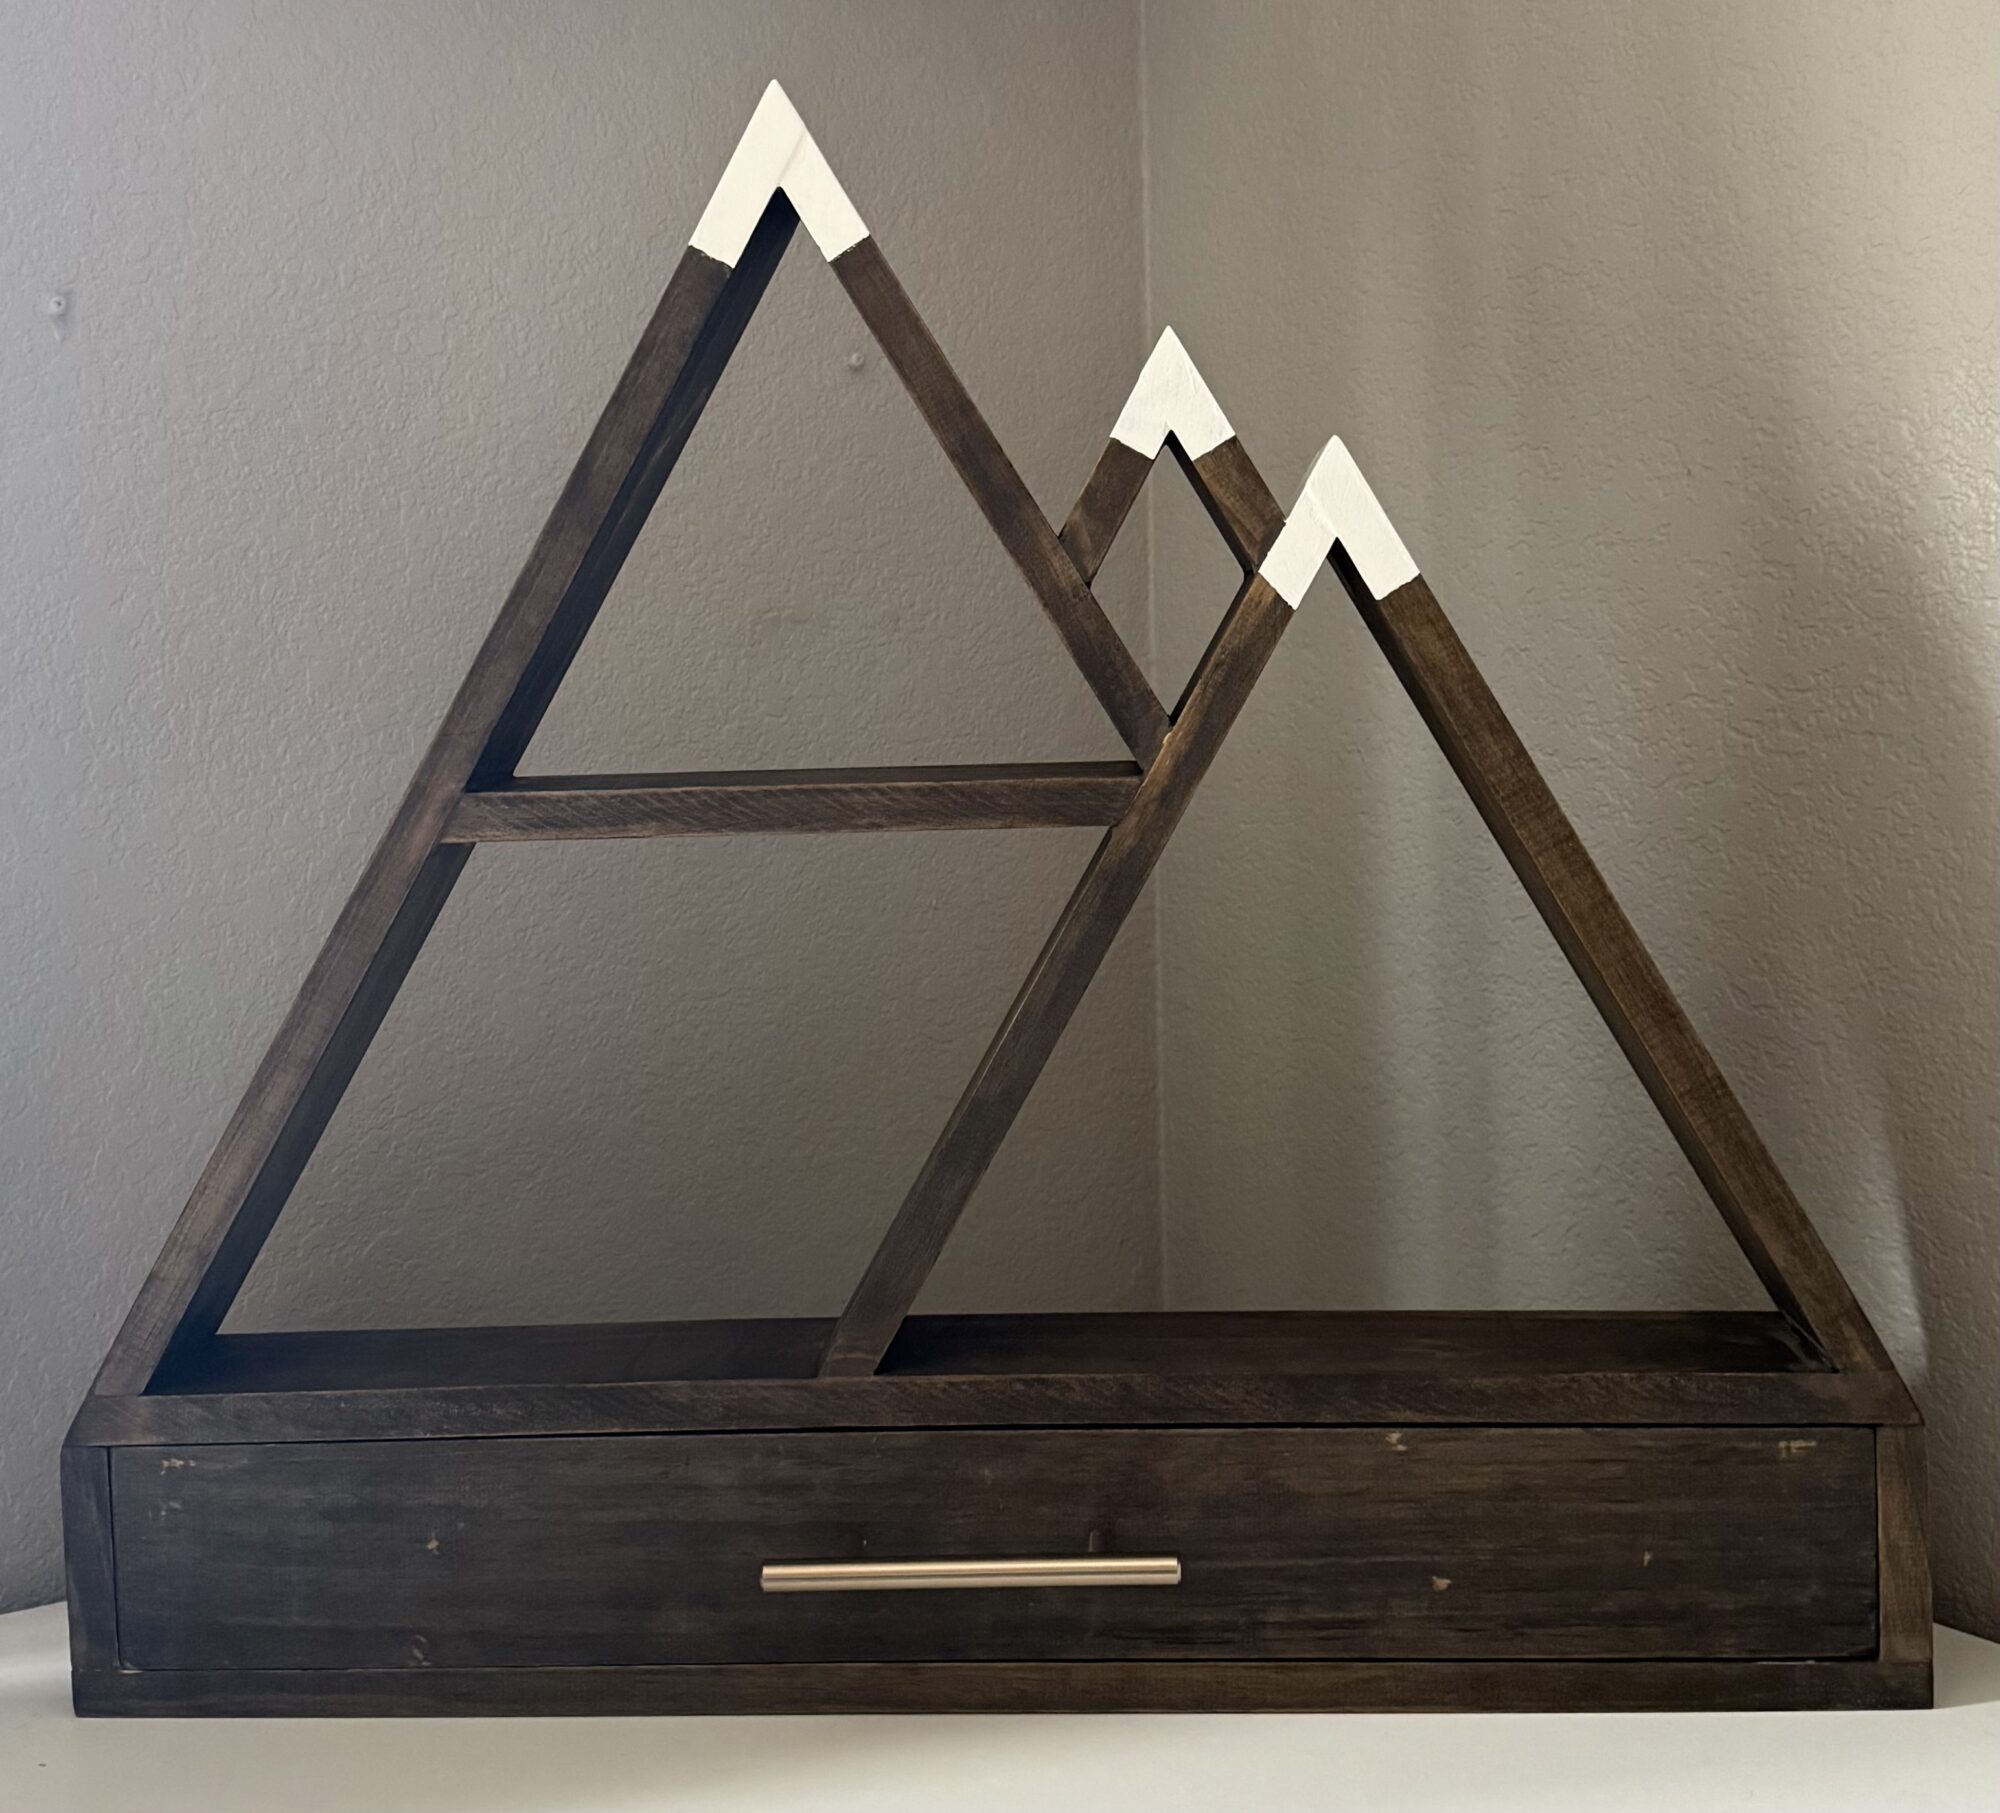
For my final project, I wanted to revisit and refine a past creation—a mountain shelf I originally made a few years ago. The inspiration came from my appreciation of clean yet warm design styles and a desire to bring functionality into a decorative piece. I aimed to modernize and elevate the original shelf by making structural and visual improvements, with the most significant design addition being a built-in drawer to fulfill the dynamic requirements of this project.
The design aesthetic I pursued was Rustic Modern—a blend of traditional, natural elements and contemporary clean lines. This style is characterized by warm tones, organic textures, and refined geometry. I envisioned a piece that was not only functional but also served as a beautiful and intentional focal point on any wall. I believe the final result embodies the Rustic Modern vision quite well. From the color palette to the angular silhouettes and thoughtful construction, the shelf captures both warmth and simplicity in one cohesive form.
Timeline
To stay organized and ensure I had ample time for refinements, I developed a project timeline early in the process. Figure 1 illustrates the key phases I followed. Remarkably, I completed the project about 10 days ahead of schedule, which gave me the flexibility for documentation completion.

The following section outlines each step in the fabrication process, correlating with the timeline shown.
Fabrication Process
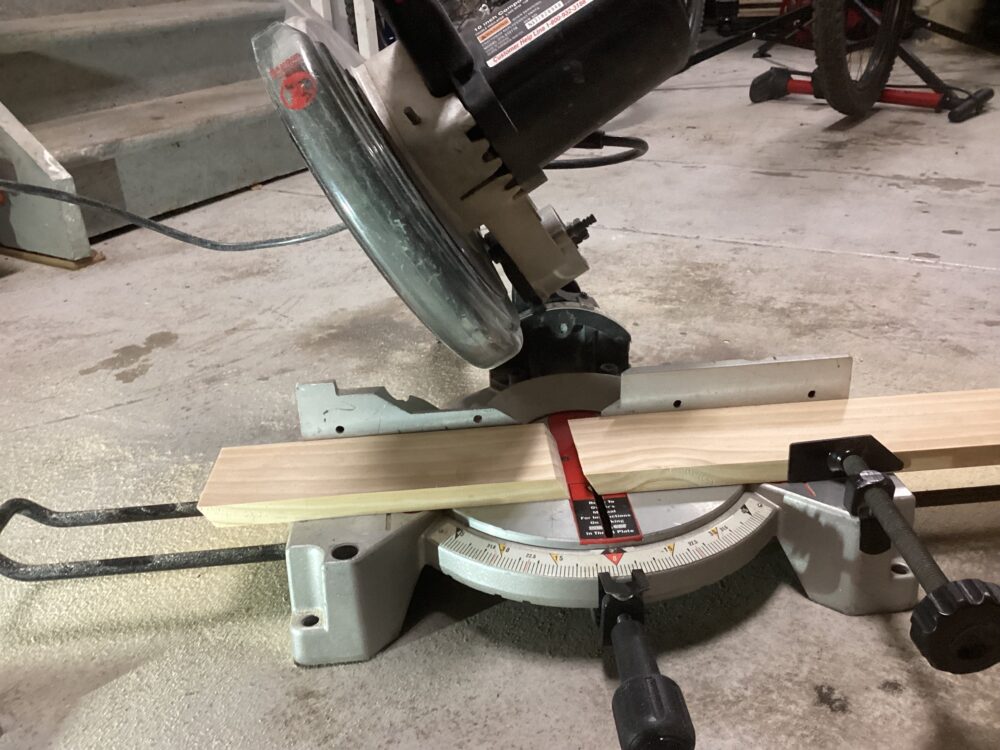
Step 1: Cut 1″x4″ Boards to Size
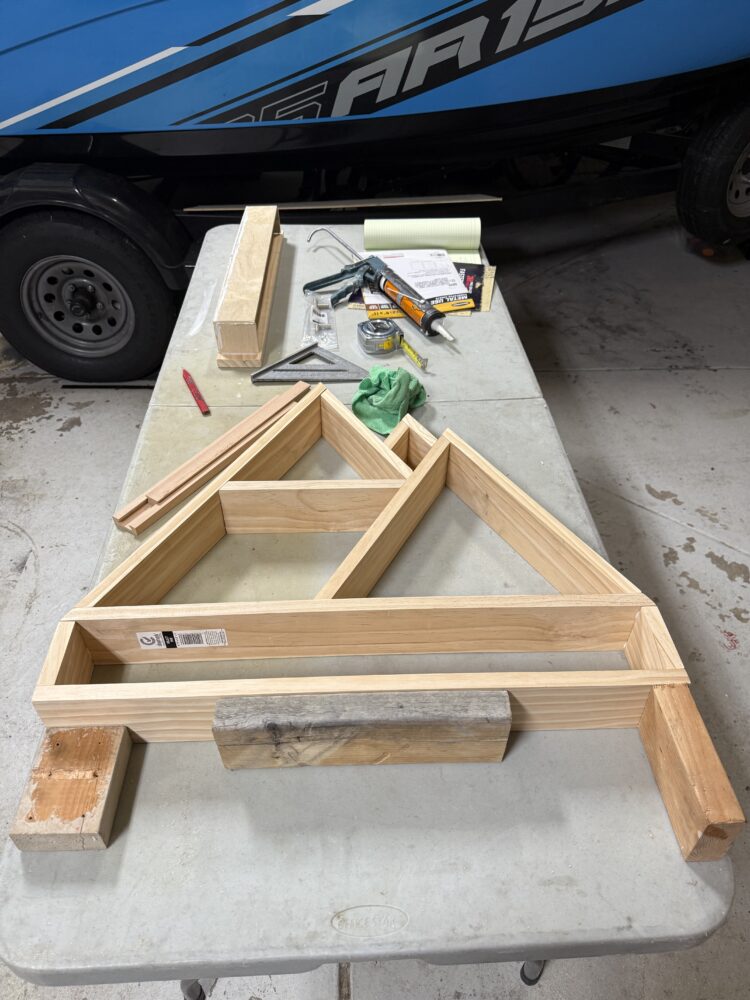
The initial step involved cutting the wood to form the main structure of the shelf. I used a miter saw, making precise cuts at either 0 or 30 degrees. These angles were intentional and essential to achieving the mountain-like profile. The resulting shapes—trapezoids, parallelograms, and rectangles—became the foundation of the mountain outline, the drawer frame, and the drawer face.
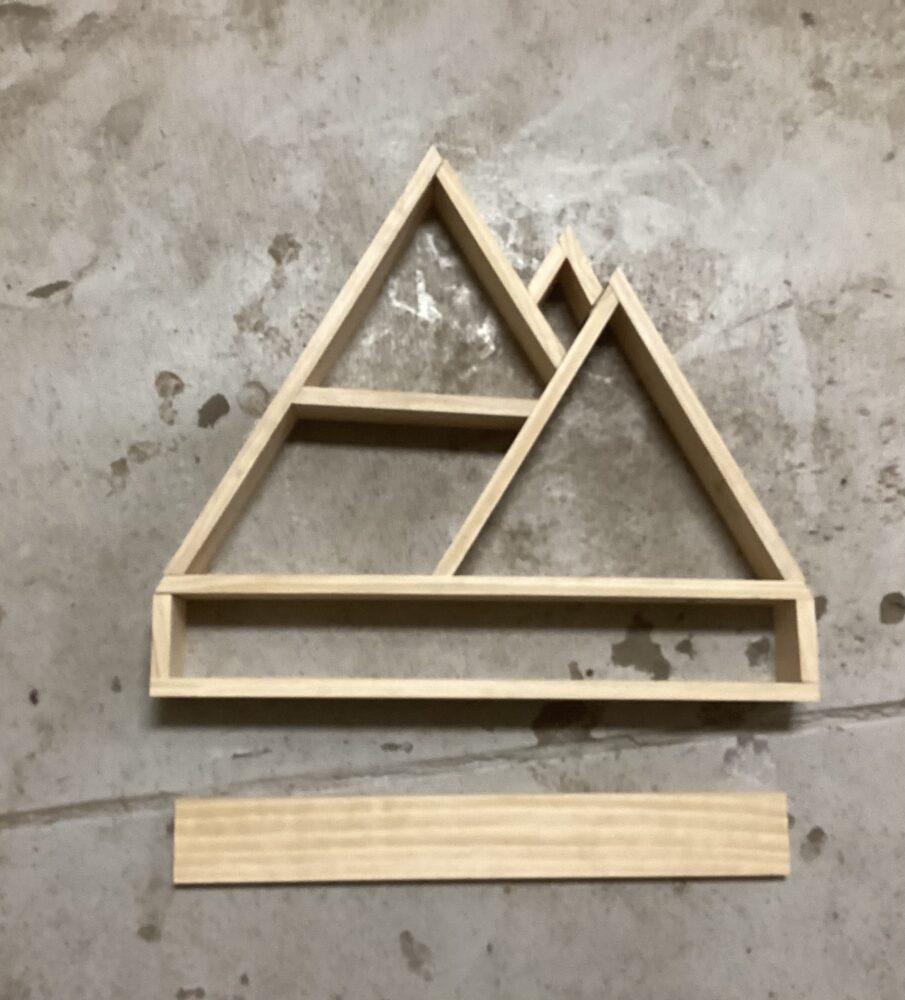
Step 2: Ensured Cut Accuracy
To confirm the accuracy of my cuts, I arranged all of the pieces on a flat surface in their intended design layout. This dry-fit step allowed me to make minor adjustments before beginning assembly.
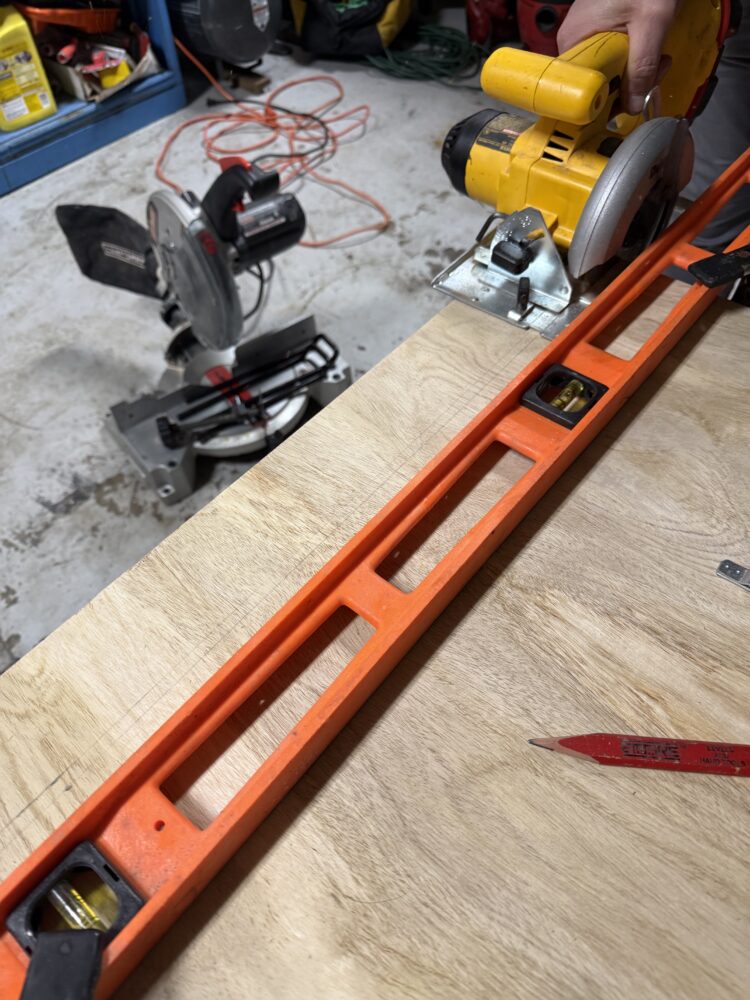
Step 3: Cut Wood Panel to Size
Using a jigsaw, I cut a 1/4″ thick plywood panel for the sides, bottom, and back of the drawer. This plywood is lightweight and easy to work with, though I later learned it had some limitations in durability and joinery.
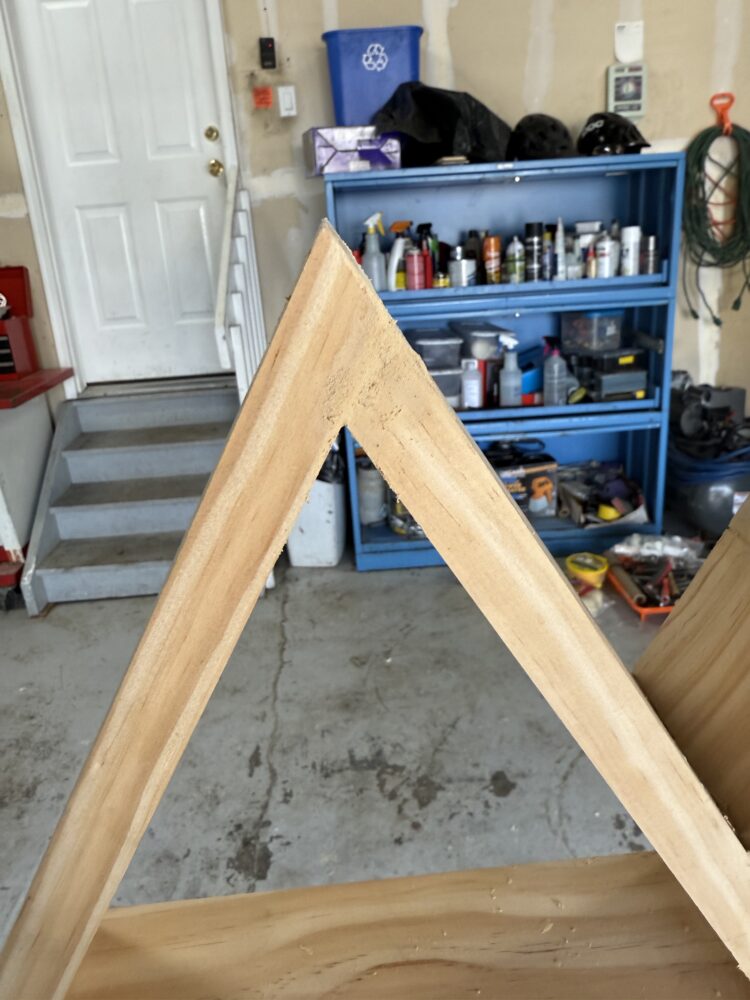
Step 4: Assembled with Adhesive
For joining the parts, I opted for a high-strength construction adhesive. Its fast tack time—approximately 30 seconds—allowed me to precisely position each piece. I focused particularly on ensuring tight joints, especially at the shelf’s base, using temporary wood supports to maintain alignment while the glue set.
Step 5: Reinforced with Nails
To enhance structural integrity and ensure the shelf could support weight when mounted, I reinforced each joint with nails using a pneumatic nail gun. Each joint received two nails or staples. Precision was critical here, particularly when shooting at angles to avoid splitting the wood or misfiring.
Step 6: Filled Holes and Seams
After securing the joints, I used wood filler to hide all nail holes and smooth any visible seams. This step significantly improved the final appearance, giving the surface a seamless, polished look.
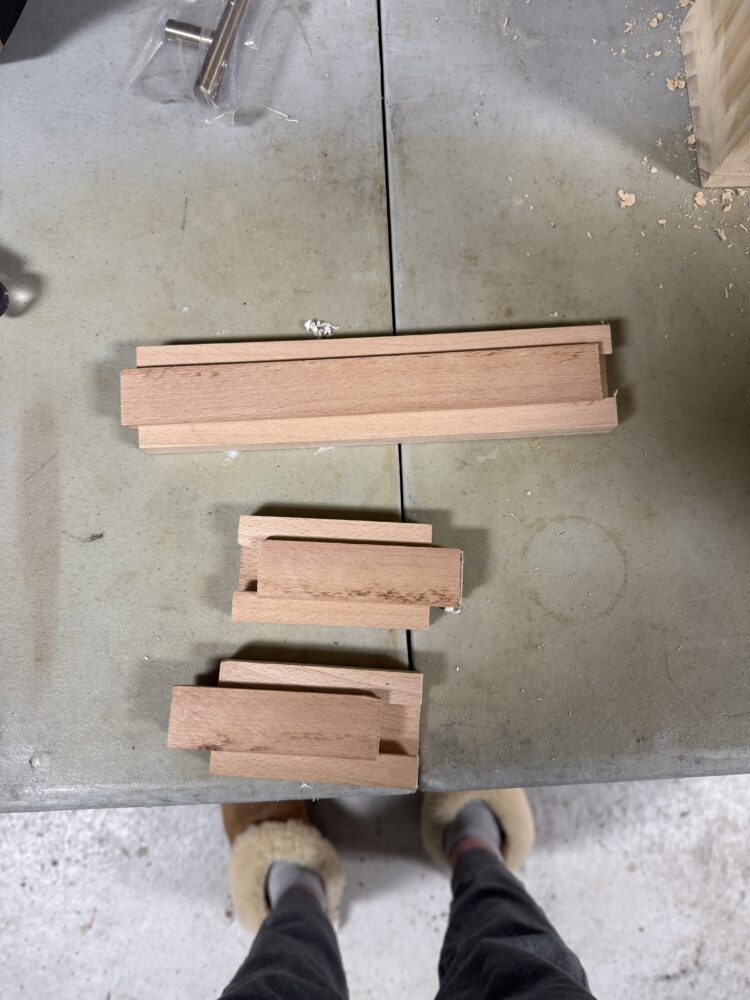
Step 7: Prepared Drawer Rails
To simplify the drawer installation, I purchased pre-made wooden drawer slides. They were sold in standard lengths, which I trimmed with the miter saw. This solution was functional, though not as smooth-operating as metal drawer slides.
Step 8: Sanded the Piece
Before staining, I sanded every surface with 220- and 400-grit sandpaper. The result was a clean, smooth finish that was pleasant to touch and allowed the stain to absorb more evenly. This step also eliminated any sharp edges or uneven surfaces.
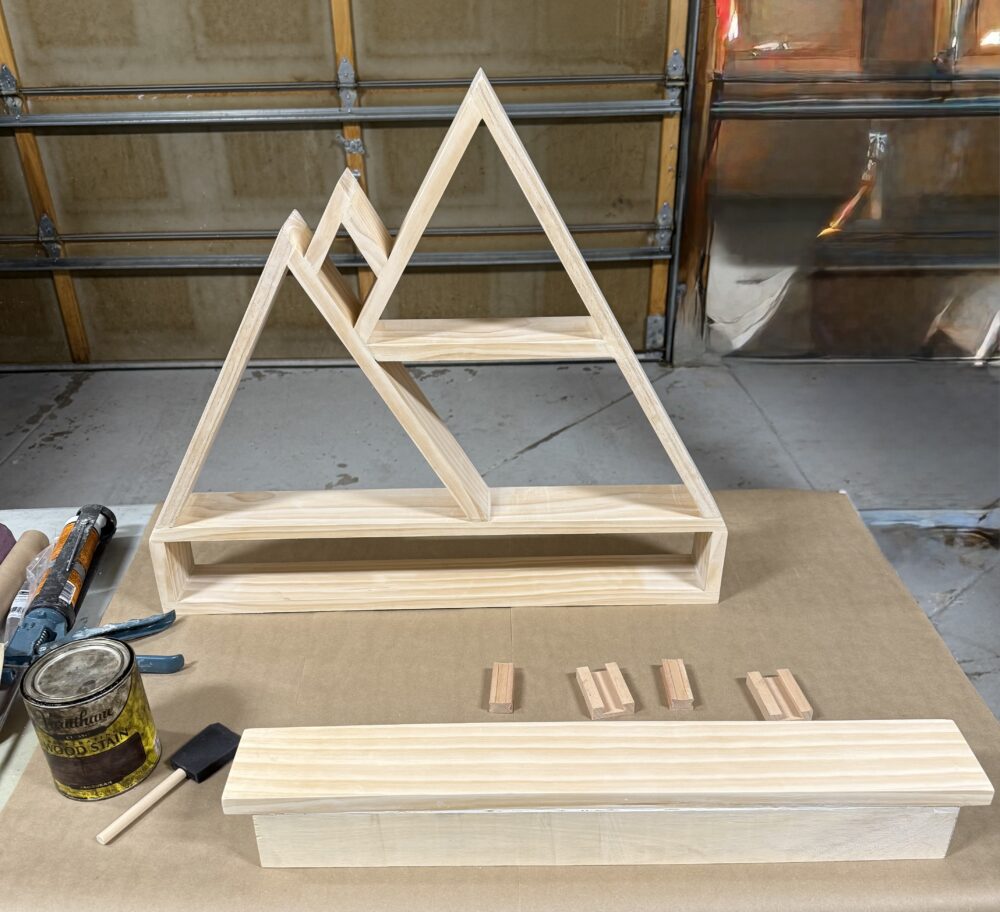
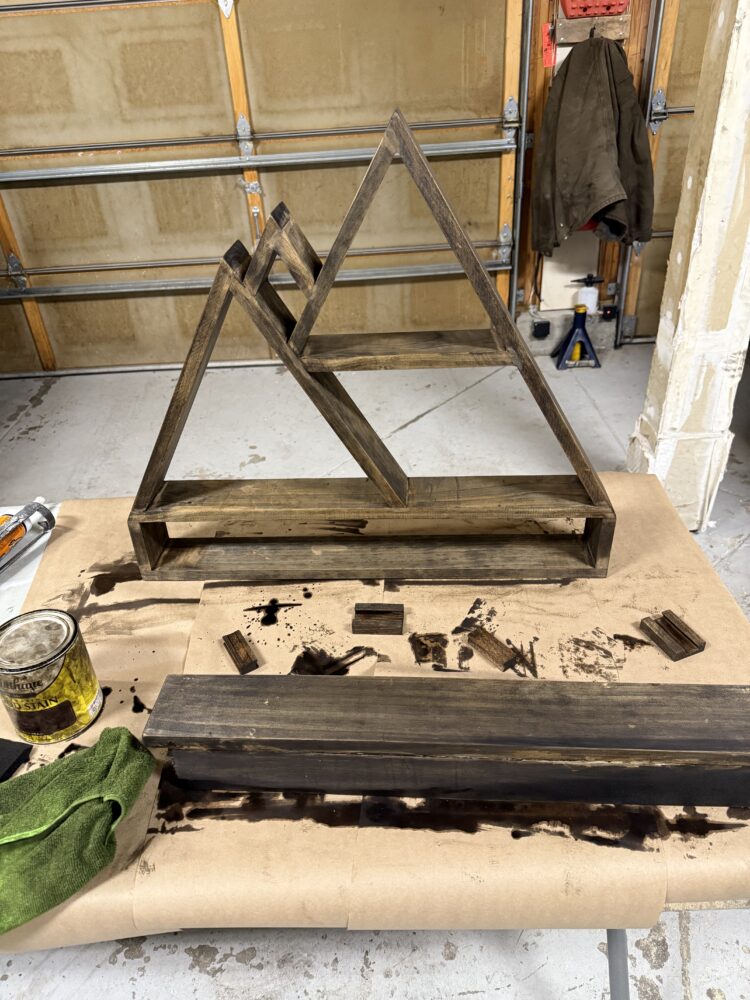
Step 9: Applied First Coat of Stain
To apply the stain, I used a foam brush, which helped reach tight crevices. However, it did apply the stain quite heavily, so I used a microfiber towel to wipe off the excess immediately after brushing. The first coat brought out the natural grain of the wood beautifully but appeared slightly uneven in tone.
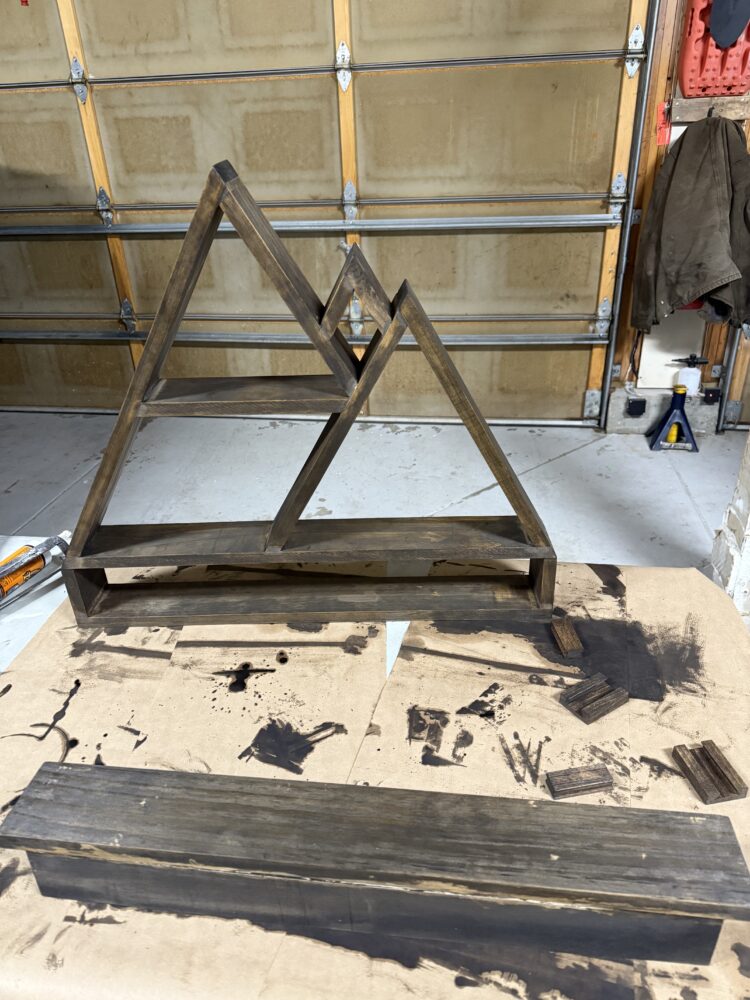
Step 10: Applied a Second Coat of Stain
To address the uneven finish from the first coat, I applied a second layer of stain using the same method. This deepened the color and provided a more consistent finish across the entire piece.
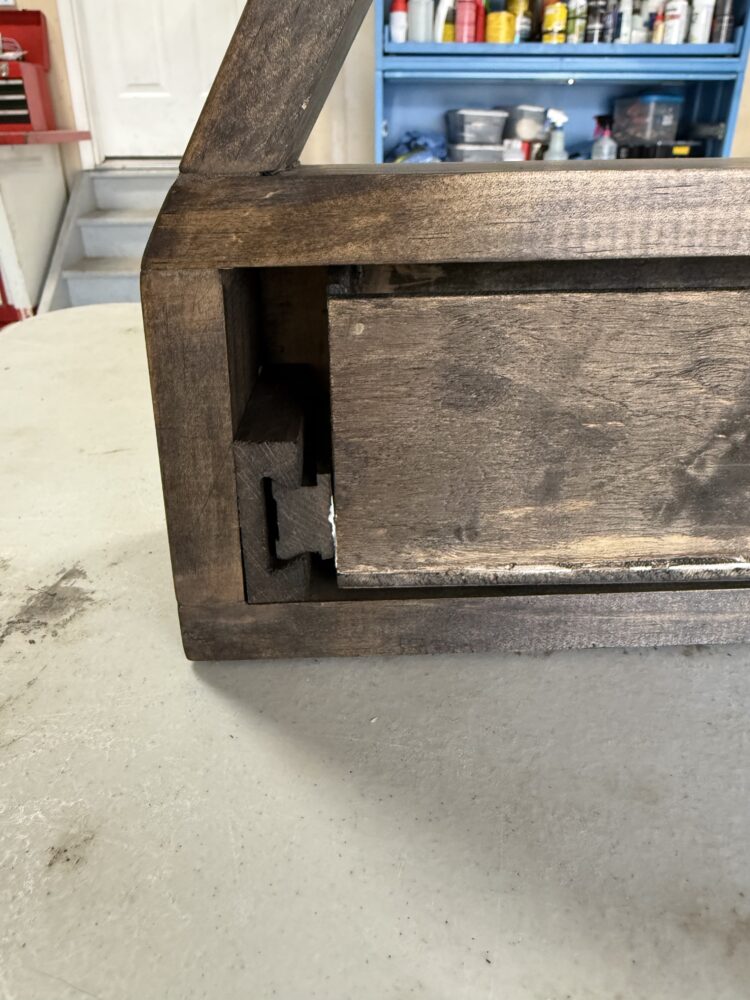
Step 11: Installed drawer slides
Installing the drawer slides was a two-step process. First, I glued the external slides to the shelf frame.
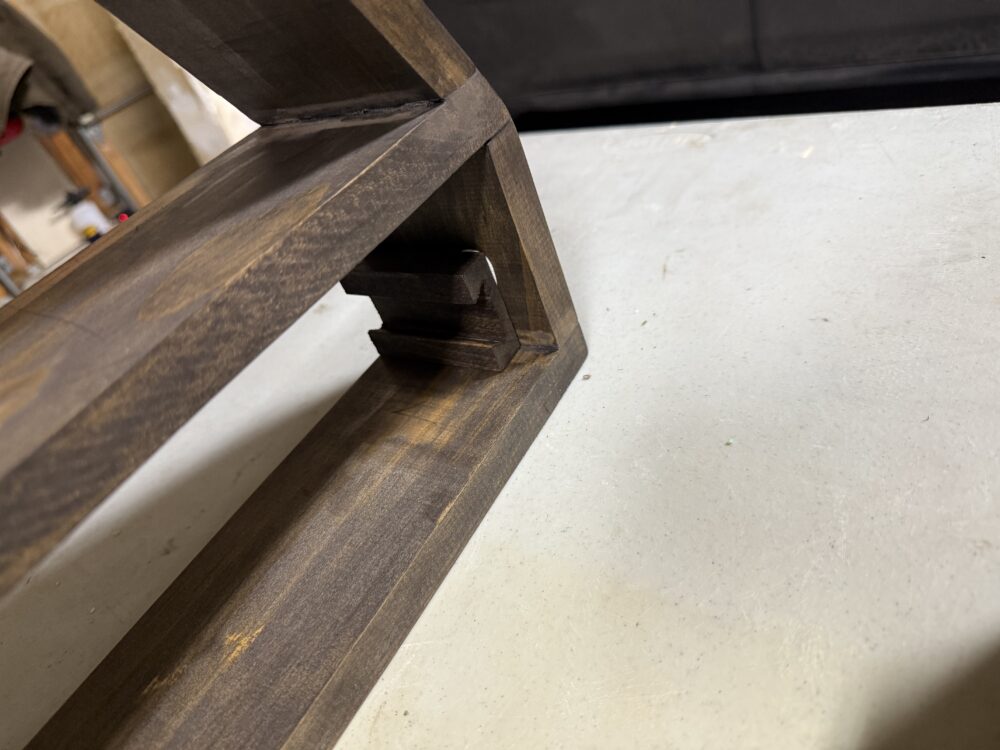
Then, I glued the internal slides to the drawer itself. To ensure a perfect fit and alignment, I temporarily placed the drawer into the shelf while the glue dried. Unfortunately, the internal slides did not adhere as securely as needed, so I reinforced them using nails for added strength.
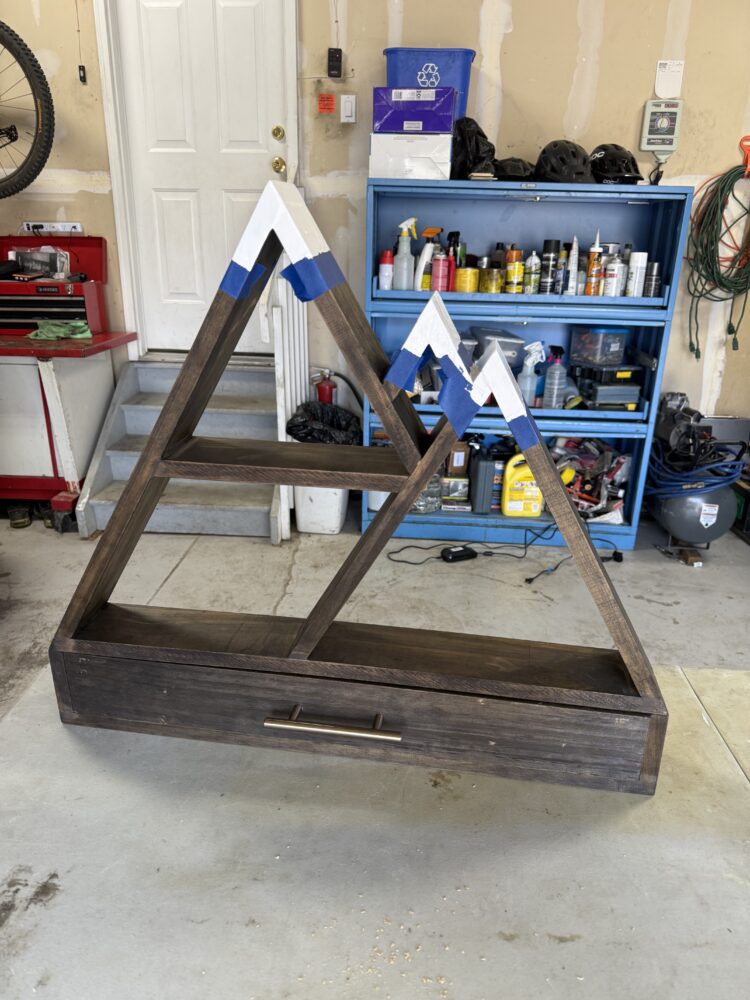
Step 12: Painted White Peaks
After much deliberation, I chose to paint white peaks on the shelf to echo the snowy mountain tops from my original design. I used painter’s tape to achieve sharp, clean lines and applied two coats of white paint with a foam brush to ensure solid coverage.
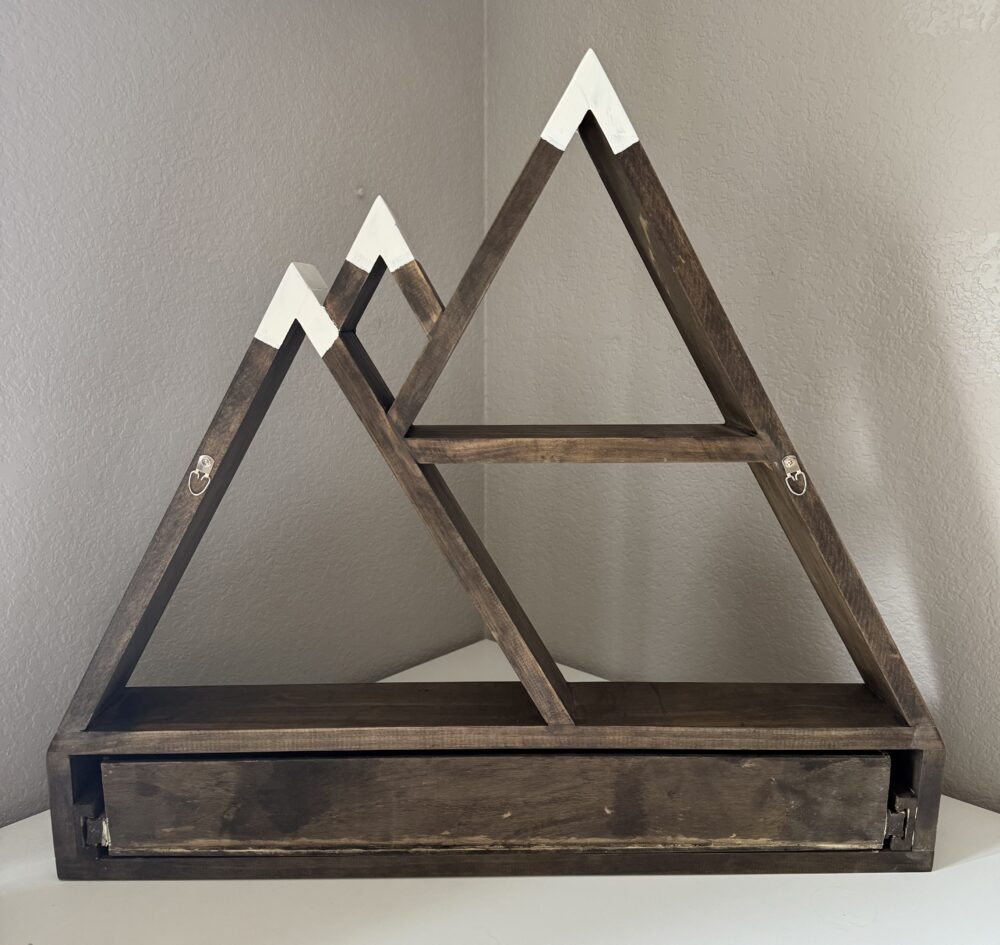
Step 13: Installed Wall-Mounting Hardware
To mount the shelf, I used D-ring picture hangers—similar to what I used on the original shelf. These were screwed into the back at an angle, aligning with the slanted wood pieces so they wouldn’t be visible when it is not hung. This design choice kept the back clean and visually consistent with the rest of the piece.
Conclusion
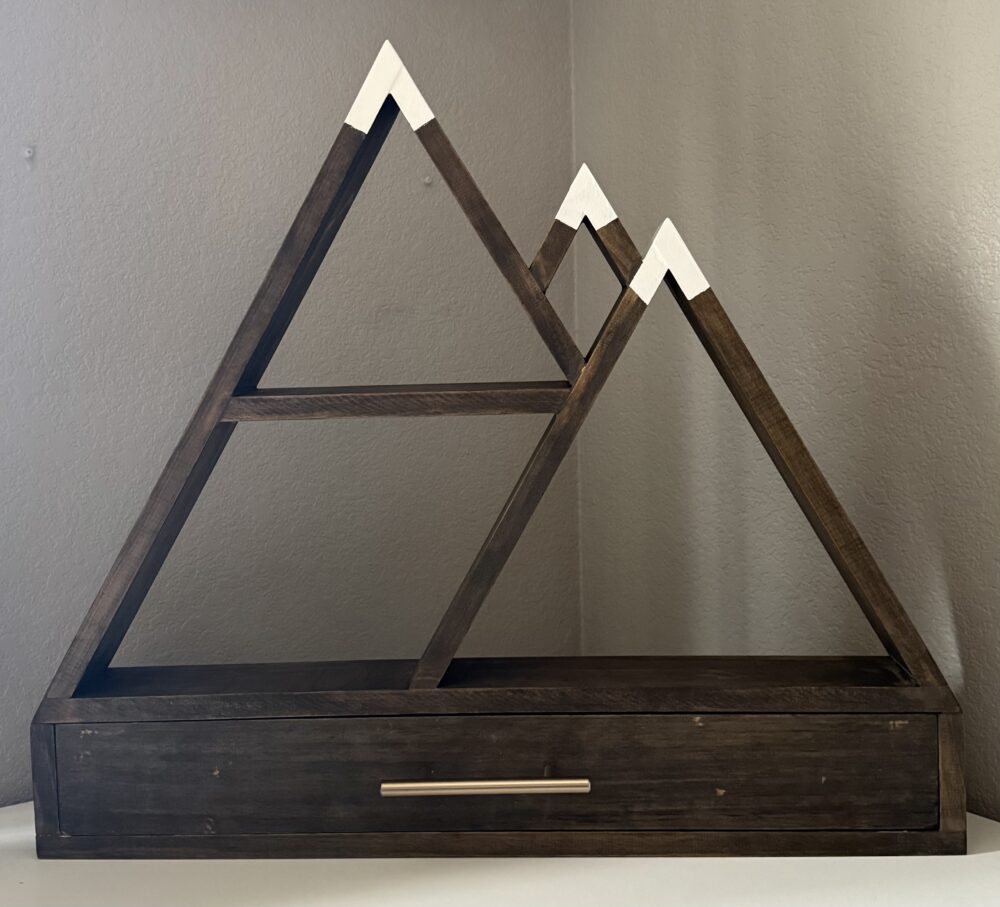
In the end, I’m very proud of how my final piece turned out. It closely resembles my initial CAD model, which I used to guide my measurements and cuts throughout the project. Sticking closely to the model helped keep the construction process efficient and precise.
One of the major improvements I made over my previous shelf build was choosing simpler angles and dimensions, which streamlined both the planning and execution. That said, if I were to do anything differently next time, I would opt for thicker material (at least 1/2″) for the drawer panels. The 1/4″ plywood I used was too thin to staple effectively, which limited my options for joinery.
Additionally, I originally considered using metal drawer slides for a smoother operation, but due to the drawer’s shallow 3″ depth, I couldn’t find metal slides in the right size. Instead, I used wooden ones and applied wax to reduce friction. However, if I find appropriate metal hardware in the future, I’d like to try incorporating that.
In terms of aesthetic goals, I believe the project was a success. The warm brown stain and brass drawer handles reinforce the Rustic Modern theme, while the clean lines and thoughtful geometry make it feel contemporary. The visible wood grain emphasizes the textures of the natural materials commonly seen in Rustic Modern designs.
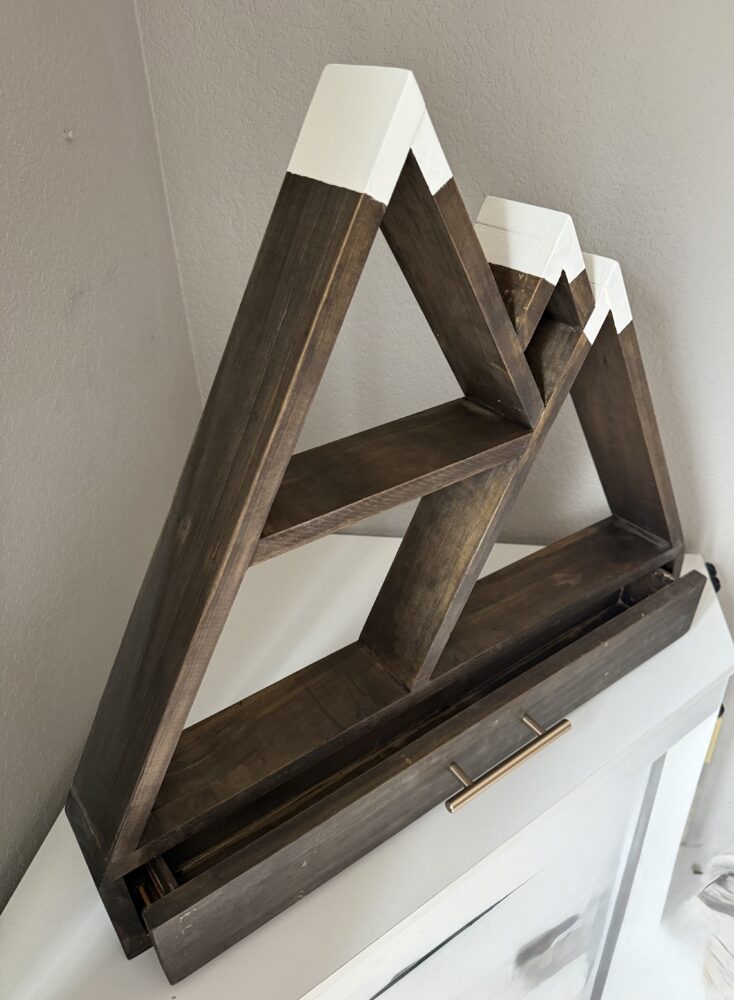
Overall, I’m incredibly satisfied with how the piece came together. It functions well, looks beautiful, and meets the dynamic and static criteria of the project. It was rewarding to revisit a past design and bring it to the next level with improved skills, better tools, and a clearer vision.
5 Comments. Leave new
Did you have a specific mountain range in mind for the inspiration?
The mountain shelf looks super clean and thoughtfully crafted. Could you explain more about how the wooden drawer slides performed over time with daily use?
Thank you, Matthew. The wooden drawer slides stick a little bit when opened, but I think over time it will become more smooth as the surfaces sand each other down.
Great job! I like how the stain and the white caps of the mountain contrast so realistically yet also seem to fit in a cozy setting as well. Great job in creating a versatile aesthetic with the angles of the shelf along with the colors.
Thank you, Anthony!