
Vision/Aesthetic
Jewelry box’s are so lame. There are just classy wooden boxs that are timeless and beautiful, so I plan on reinventing them. But what do I plan on changing the shape of a jewelry box to you might ask…a Galician horreo!!! Now I am aware that is seemingly random. However, this is because I plan on making a jewelry box in the shape of a Galician horreo for my girlfriend, who is Galician. She is perfect and awesome and she deserves something incredible to store the magnificent jewelry I intend on buying her(probably like ring pops).
Galicia is a region in the northwest of Spain where they speak there own language, live in a humid, wet climate, and have the best tasting food in the world. Furthermore, the people are awesome, especially my girlfriend.

Figure 1: Galicia on a map

Figure 2: An example Galician horreo
I will take this overall shape and try to convert it into a jewelry box. You might be wondering what is a horreo? Well it is a grain storage device used by Galician farmers. They have slits around them for airflow but don’t let any water in thus letting the grain dry. Most have crosses on them since Spain is very Catholic and a lot were built around churches. The Horreo is on stilts, or pegollos, because the stilts are used as “mice stompers” to keep out rodents.
Specifications
- The number one thing I wanted my project to be was a successfully 3D printed Galician horreo. This meant that all of the dimensions are correct and that the overall shape of the jewelry box resembles a Galician horreo. If I can do this then I am at bare minimum achieving an aesthetic that looks like a Galician Horreo.
- Next, I wanted the aesthetic of the Horreo to feel real, like an actual scaled down model of the actual thing. I believed I can achieve this with a stone finish (like from a spray paint) and accurate color matching.
- I needed the Horreo lid to lift off and be able to be easy attached with magnets. This will allow the user ( my girlfriend) to put the lid on easily and for it to stay on. Also this will allow access to the inside storage for jewelry(primarily rings).
- I needed the pegollos(the stilts on the botton) to be level. This will allow the entire project to be stable and feel professionally done.
- Finally, I wanted the Horreo to feel well made, and that it would last a long time. This will hopefully lead to my girlfriend using it everyday and not afraid that it will break.
If I can successfully achieve these 5 specifications above, then I believed that I will have achieved a traditional Galician aesthetic. I prioritized a highly detailed CAD model because once the CAD model is done, the jewelry box should look very much like an horreo.

Figure 3: A CAD model taken during the final stages of its design
Top 5 Constraints
- The main constraint I thought I would face is producing a CAD model that can be 3D printed without problems. This model had a lot of opportunities to produce an error or cavity problem while 3D printing.
- Another problem I thought of was the time it will take to produce this CAD model. I believed that this could take a long time and I didn’t want to rush myself, so if many things go wrong then I thought it would be hard to produce a good model on time.
- Furthermore, I wasn’t very experienced in finishing a 3D print, and making it look less 3D printed, so I was wondering how well it would turn out. However, since I was using a resign printer, I hoped the lines don’t show up to much and it would look classy.
- I was not super experienced with 3D printing, so I was worried if I could easily support those large structures without them failing.
- Finally, the top pieces of the horreo are traditionally crosses, but I wanted them to be different Celtic symbols or Galician cultural pieces. So I was worried about being able to find them online or if I was capable of making them myself.
I thought the toughest constraint to deal with was 3D printing the horreo without any errors. However, I believed that with enough effort, I would be able to do this.
Initial Sketches

Figure 4 & 5: Brainstorming and initial sketches of my horreo design
As you can see in figure 4 & 5, I did a lot of brainstorming to start my project. I was wondering if it would be better to make the horreo as a case to a pencil sharpener, or possibly add a wireless phone charger to the base, or make it somehow an attachment to a flower bouquet. However, after all of my brainstorming and sketches I settled on making it as I originally planed, a jewelry box holder. However, I did change a few things. Initially, I thought it would be cool if the top of the horreo was connected to a fishing line, where you can pull the top string and it drags the top of the horreo into the sky which has earrings dangling from it. This would allow my girlfriend to easily display her earrings and have them fit nicely into a box. However, the function of this seemed quite complicated, and I don’t think my girlfriend wanted all of this added complexity. Furthermore, this project was more about the aesthetics anyway, so I rejected this idea. Therefore, I decided instead to make it primarily a ring holder, where the jewelry box would contain these little spires that could hold rings in a organized way.
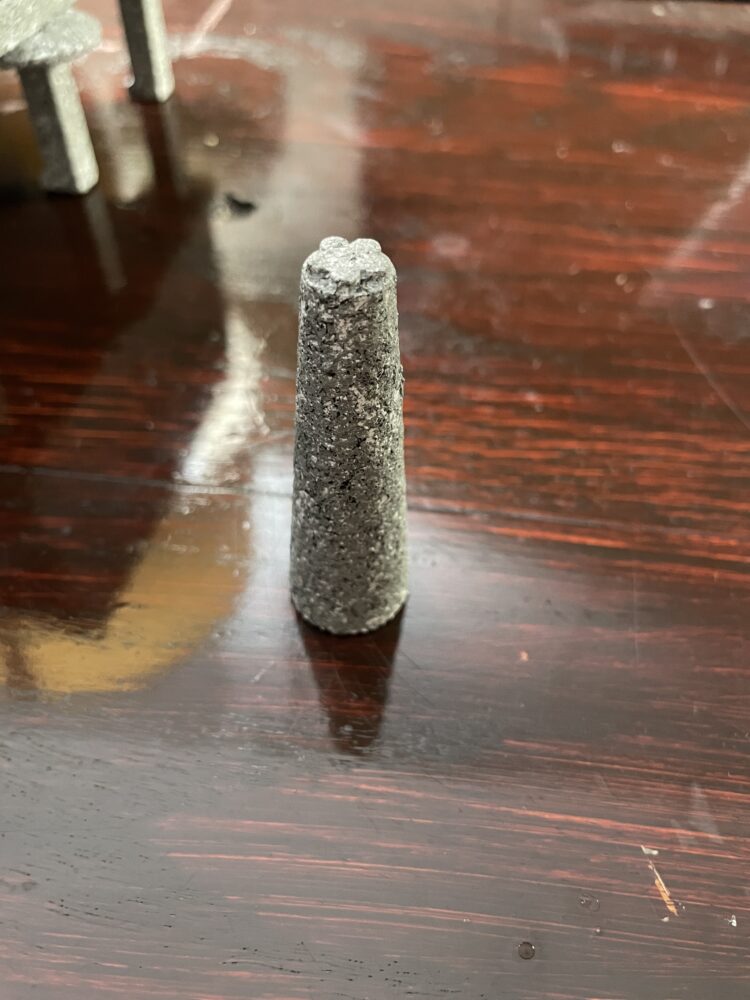
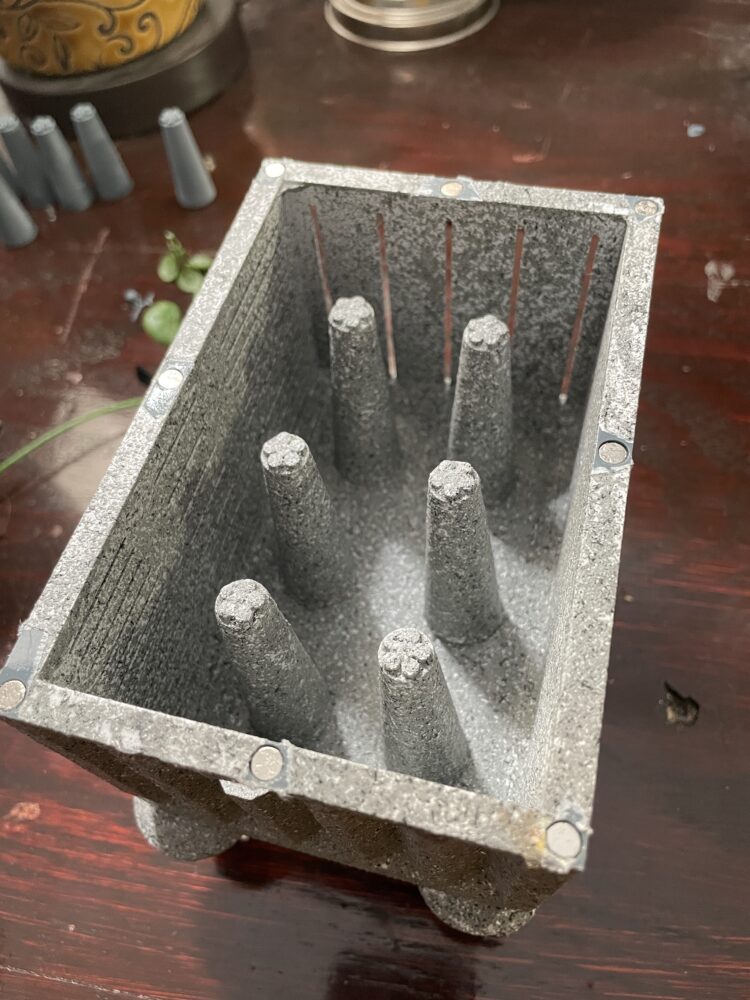
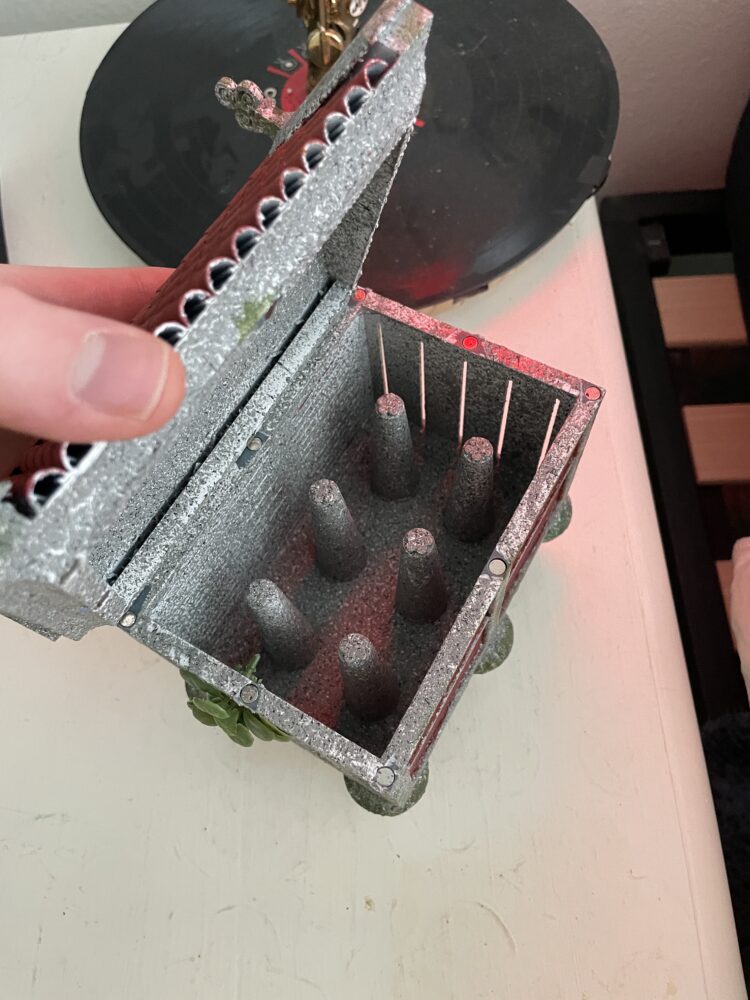
Figure 6 &7: Ring holders I designed
These ring holders sit nicely into the jewelry box, and they are simply used by placing a ring onto a spire and letting it fall. They are wide enough at the bottom so most rings don’t hit the base. Furthermore, for their aesthetic I added these little flowers to the top, and when painted with this stone texture, I believe they look quite old and Galician.
In addition, I planned on the roof of the horreo to be connected with magnets, to make the alignment way easier. I did this by getting some small fridge magnets on amazon, and perfectly designing holes in the wall of the horreo to house them. 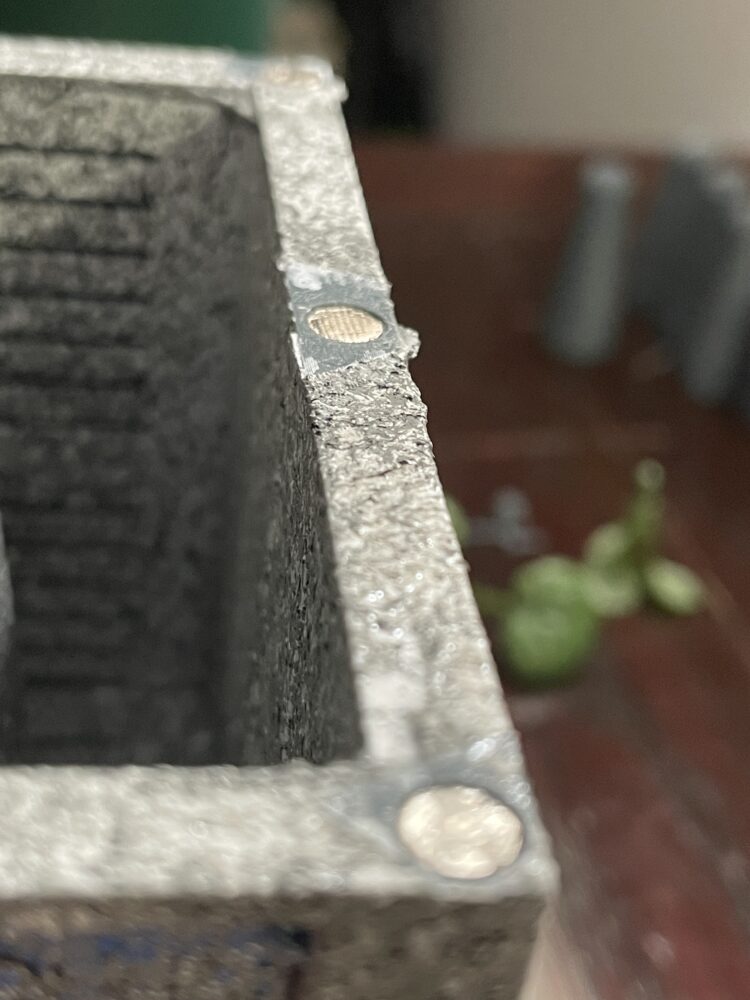
Figure 8: Magnets 🧲 in the horreo
The fridge magnets work quite well, and placing the roof back on after getting or leaving a ring is quite easy. Plus, it is super satisfying as it aligns effortlessly.
Final Design Plans
My final design was created on the computer using SoldiWorks(I will detail the SolidWorks process in the next post). This was the heart of the project because if the SoldiWorks file looked good, then the jewelry box would actually look like an horreo. This is why I spent so long on it and got with the following result.
Figure 9: Solidworks model of the jewelry box
I believe that it turned out exactly how I wanted. I think it fits the traditional Galician aesthetic perfectly, as it looks just like a real Galician Horreo. Furthermore, the magnets fit nicely, it can open and close with no problems, and it holds rings like no jewelry box in the world.
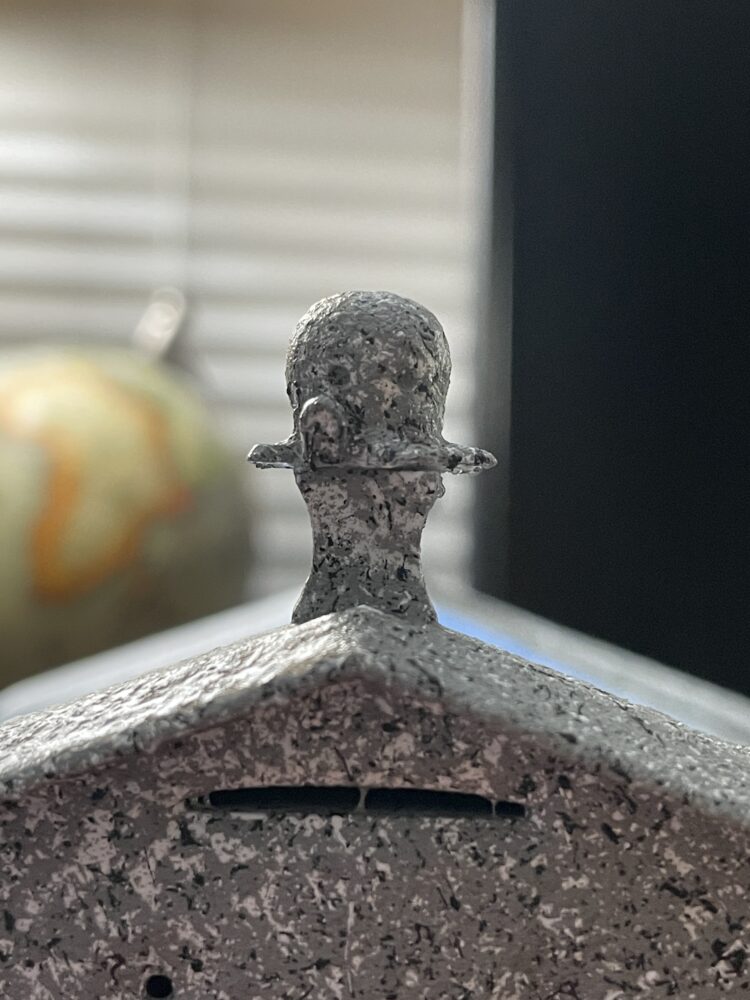
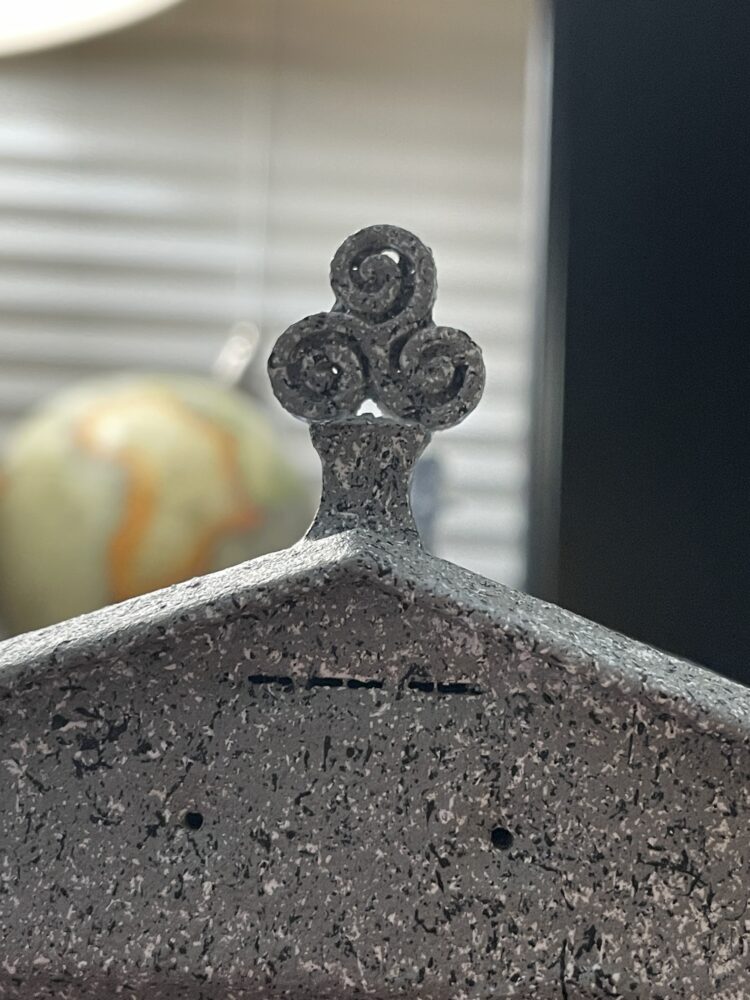
Figure 10 & 11: Spires on top of the jewelry box
I also added these symbols on top of the horreo jewelry box. This is because traditionally horreos have these on top of their roofs, but in the shape of a cross. However, since my girlfriend isn’t religious I replaced them with symbols from Galician culture. This includes a octopus and a celtic symbol. Octopus, or Polbo in Galician, is one of the most traditional meals of Galicia, and I thought it would make a great addition to the horreo. I also added a Celtic symbol, as Galicia was actually inhabited by the Celts till around 25 BC, and it is a large part of their culture.
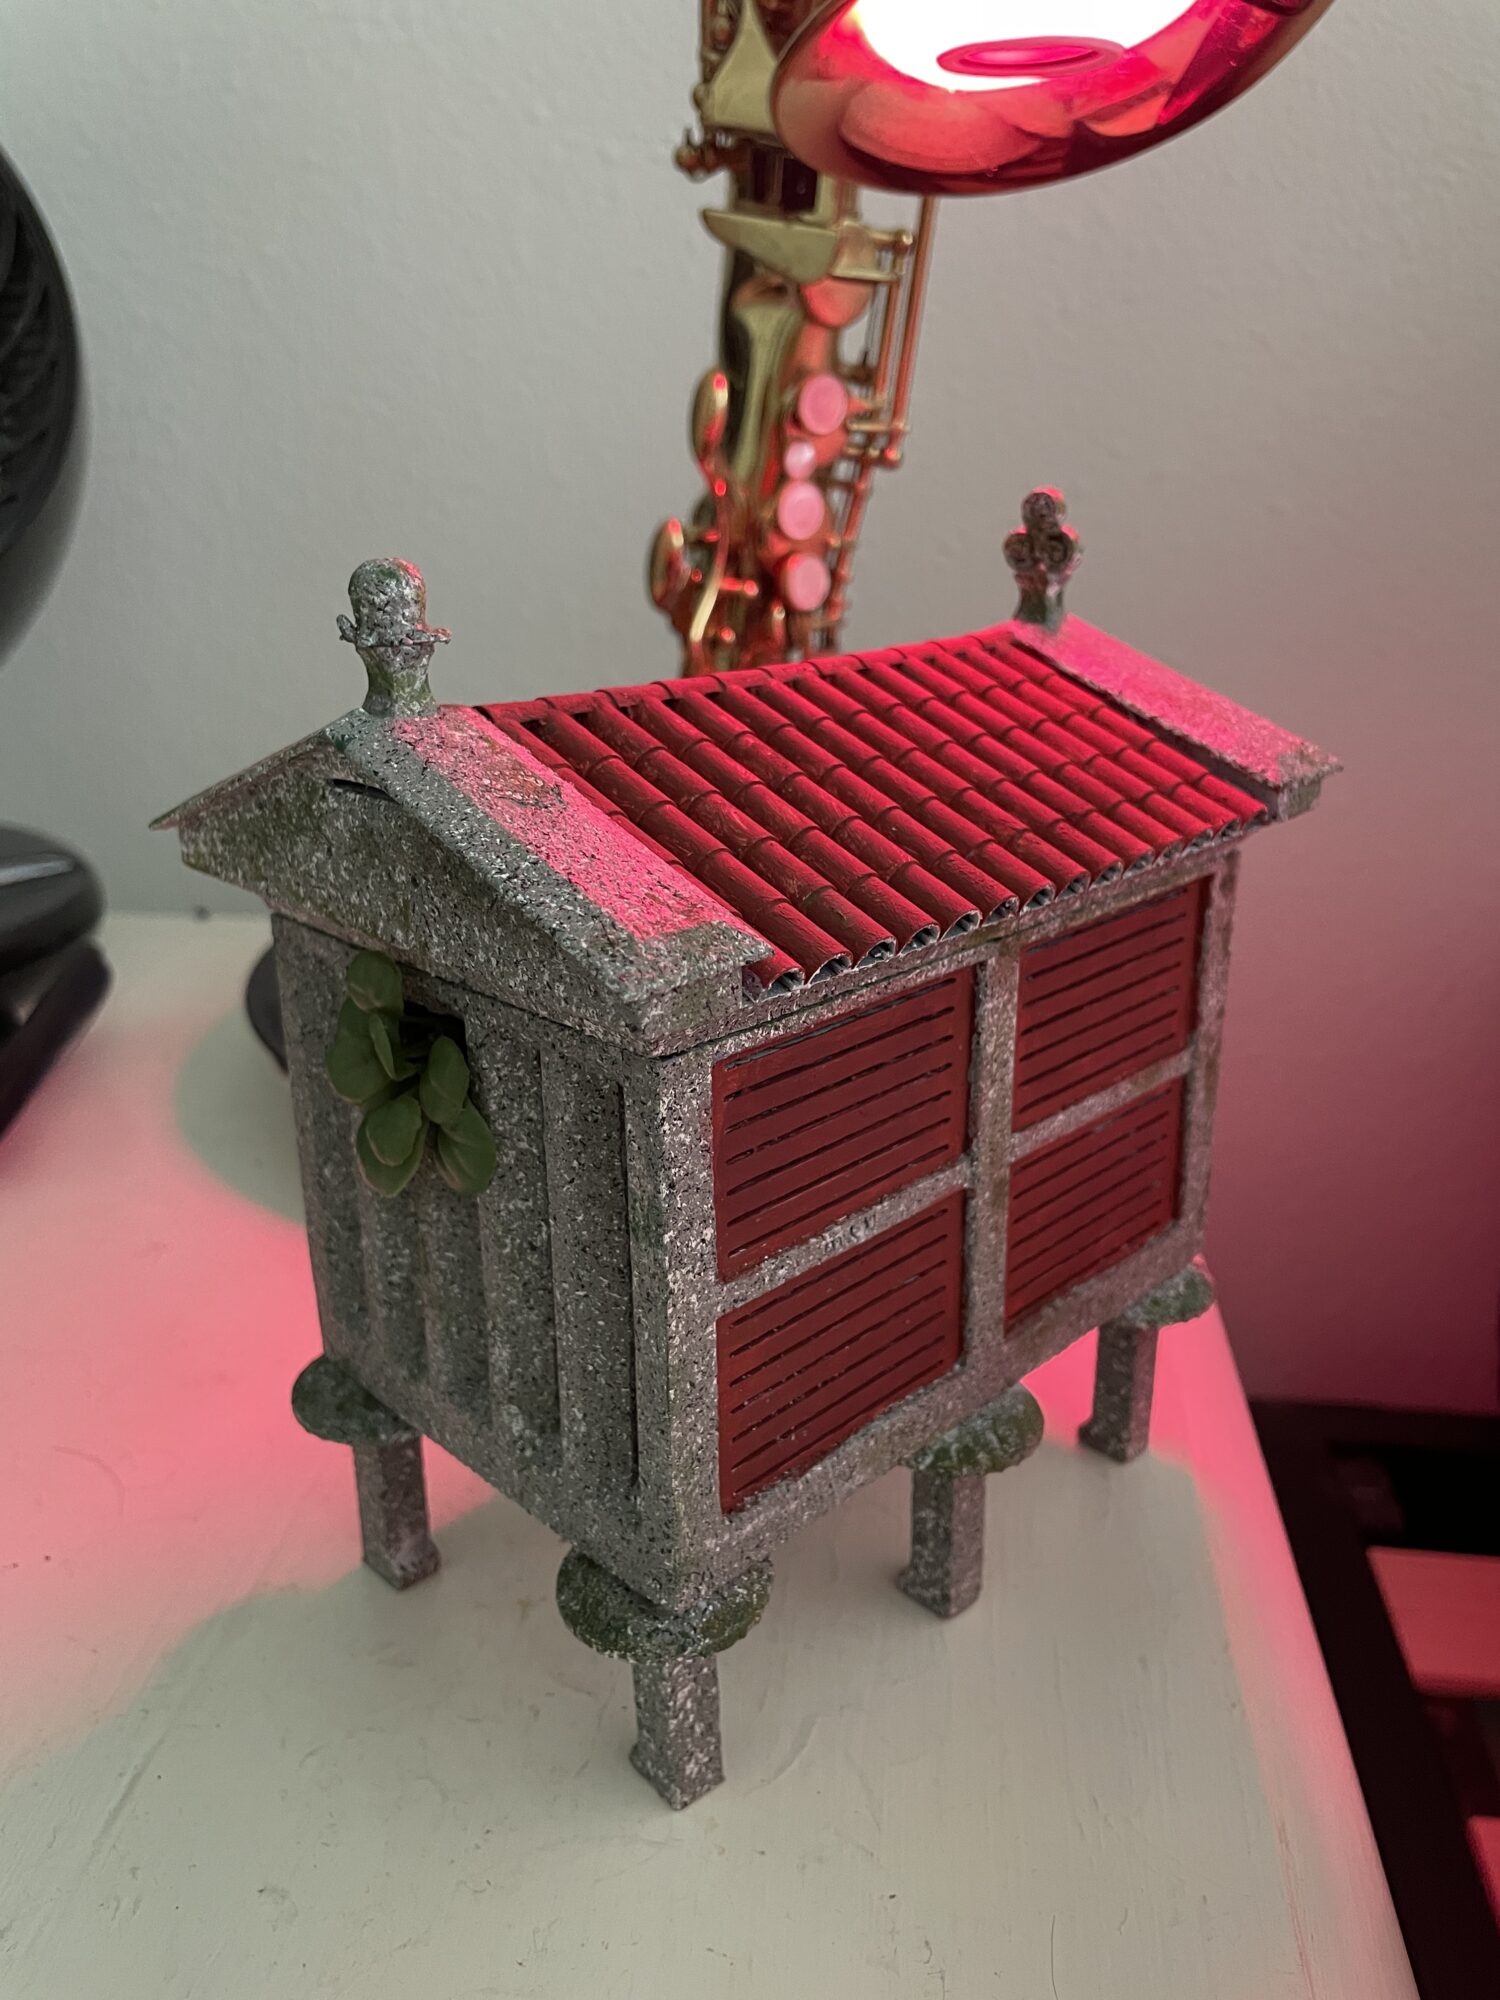
Final Design

In summation, this is my final design for a jewelry box in the aesthetic of a Galician horreo. I painted the roofs and walls this red, maroon color, typical of Galician horreo’s and houses in the region. Furthermore, I added some fake plants growing from inside the horreo to give the box some life, and some green accents can be seen across the box to give it a mossy texture.
Citations
[1] https://en.wikipedia.org/wiki/Galicia_%28Spain%29
[2]https://www.polyglottando.com/?p=979
[5] Pictures of Horreos found on google street view in the town of Combarro, Pontevedra Spain.
4 Comments. Leave new
Hi Max! This turned out amazing, I really like how much attention to detail there is throughout the entire design. You mentioned that you added some green accents to give a mossy texture, how did you accomplish this? Was it just another kind of paint?
Hi Delos, thanks for the comment! I achieved the mossy texture by using some green paint, simple but cool!
This looks incredible! Would you ever create a series of similar designs?
Hi Sylvia, I think I might create a similar series of designs but probably not all horreos. Thanks for the comment.