
1. Introduction: From Concept to Creation
What began as a solution to a practical storage issue in my bedroom evolved into a functional tribute to 1970s design. This project documents the development of a locking, hexagonal bookshelf, a piece that balances aesthetic nostalgia with structural ingenuity. My goal: to blend artistic exploration with hands-on learning through woodworking and design while also creating a storage location for my large quantity of books.
2. Inspirations & References
The 1970s served as my primary design inspiration—an era known for its bold geometry, warm earth tones, and experimental furniture forms. Designers like Milo Baughman influenced the modularity and material contrast seen in this project. The rotating feature was inspired by simple wooden dining turntables ([2]), reimagined here as a sculptural, interactive component. Fluted wood paneling and brass hardware, both nods to retro opulence, round out the look ([3], [4]). The fluted wood paneling has been hard to figure out, so at the moment I am holding off on doing this.
3. Project Vision: Function Meets Form
My aesthetic priorities were warmth, functionality, and tactile engagement. The material I choose to use is oak, but it will be finished with a Walnut-stained plywood body and an additional hinge and latch. The color scheme / visual aspect I wanted to convey was a warm brown with subtle accents of silver from the moving parts. I want to make sure that the wood doesn’t stand out in my room but rather compliments the room aesthetic. The overall shape will be a central hexagonal column with a trapezoidal flanking shelf that will give off 70s geometrical design. The moving component was meant to be a rotating core that adds both functionality and nostalgic flair, but this was expensive and hard for me to implement so I am sticking to the opening and closing flange.
Functionally, I wanted the design to fit in a tight corner of my room (dimensional precision). Support a lot of books securely so they won’t fall out when

messed with. As well as include a hinged lid for ease of access. I also want it to be modular enough to expand in the future so i could potentially fit all
my books in another shelf and have them all work together.
4. Design Development: From Sketch to CAD
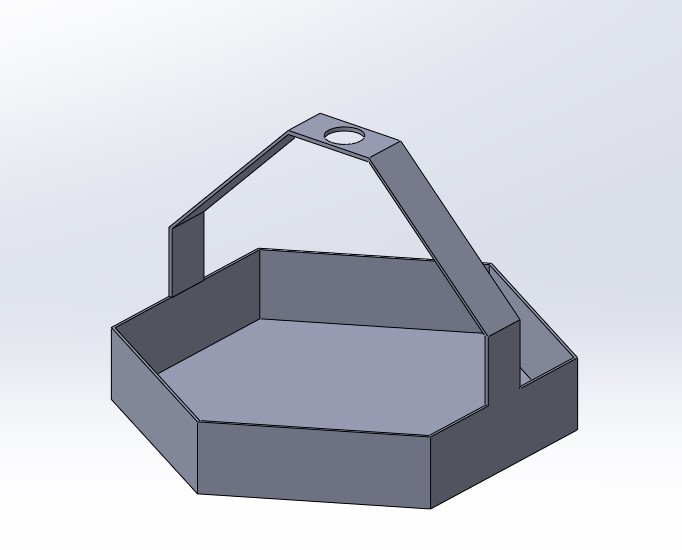
The design process began with hand-drawn sketches, translating vision to paper. I modeled the bookshelf in SolidWorks, paying particular attention to the size and dimension of things and the moti
on of the central column. This CAD model was crucial for estimating dimensions, angles, and how everything would integrate with the base.
6. Artistic Goals & Aesthetic Exploration
As I developed my vision for the bookshelf, I considered three main stylistic directions: Bohemian, Space Age, and Retro Minimalist.
Bohemian aesthetics, with elements like macramé and layered textures, initially appealed to me for their warmth and eclectic nature. However, I found this style too visually busy, it would compete with the natural grain and fluted patterns in the wood, rather than complement them.
Space Age design, characterized by sleek curves, chrome, and plastic, felt too synthetic for what I was aiming for. It clashed with my focus on natural, tactile materials like oak, plywood, and brass.
Ultimately, I settled on a Retro Minimalist approach. This style struck the right balance between visual simplicity and nostalgic flair. Clean lines, geometric shapes, and warm, earthy materials pair well with subtle brass accents and organic motion, allowing the design to feel grounded yet expressive.
This exploration helped me clarify how to incorporate warmth and tactility into a clean, geometric form that nods to the aesthetics of the 1970s without feeling like a pastiche.
7. Materials & Procurement
Using my CAD model, I developed a bill of materials and sourced components from Home Depot. Key purchases included:
1″x4″x8′ common board for the frame
2’x4’ project board for the base
Brass and zinc hinge and latch for the top lid
Wood finish (walnut)

Heavy-duty bearing for the rotating base
Total cost was around $85. A breakdown:
Plywood: $60
Oak/brass/bearing: $75
Stain, felt, misc.: $15
8. Constraints & Risk Management
Time: Balancing this with coursework meant tight windows for woodworking. Budget: I had to compromise between high-end materials and affordability.
Skills & Tools:
Workspace: Limited space led me to use idea forge for safe assembly.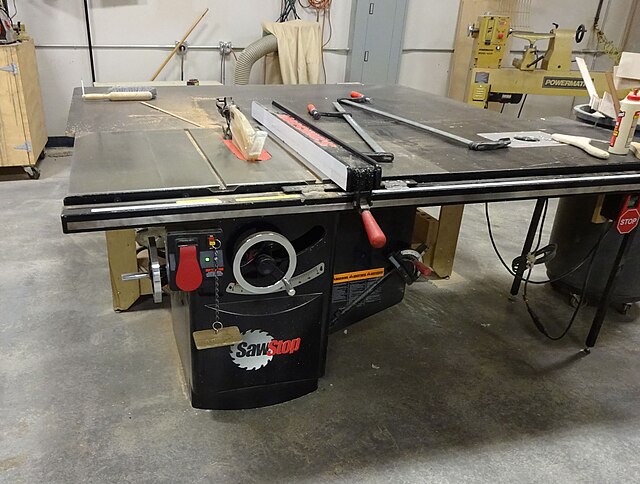
Tools: Table saw, band saw, sander
10. Skills Gained
Learned to safely make angled cuts through practice on scrap.
Gained experience with mechanical bearings and load balancing.
Refined hand tool technique (jigsaw, pocket holes, hinge fitting).
Researched woodworking finish workflows, consulted local hobbyists on when to apply stain.
11. Reflection
This project has pushed me to integrate design aesthetics with engineering principles. It’s been both a learning tool and a functional improvement to my living space. The most rewarding part has been making something with my hands that captures a specific era’s spirit while serving a modern-day function.
Citations:
[1] Milo Baughman Cabinet Design on 1stDibs [2] Walmart Wooden Turntable [3] Amazon Fluted Paneling [4] Wood Magazine Router Tips [5] 1stDibs Bookcase Example [6] Homedepot [7] https://stylebyemilyhenderson.com/blog/the-unexpected-2020-design-trend