
Timeline of the Design Process
When I started this project, my goal was to bring a popular kinetic sculpture to life by blending the famous Strandbeest mechanism with the popular aesthetic of steampunk. This creation would celebrate both motion and artistry and become a sculpture where every gear and linkage wasn’t hidden, but proudly displayed.
The Fabrication Process: How I Made My Artifact
Step 1: Research and Exploration
-
I first immersed myself in the world of knockoff Strandbeests looking at how hobbyists had adapted them for 3D printing.
-
I knew from the start I didn’t want a minimalistic design. I wanted something that showed visible mechanics with a detailed, steampunk flavor.
Step 2: Selecting and Modifying the Design
-
I browsed websites like Thingiverse, Printables, and Cults3D and found a model by Engineezy that matched my vision: a small, gear-driven Strandbeest with lots of exposed mechanical elements.
-
I downloaded the STL files, and sorted them in accordance to color. So it would make it easier to figure out the paint scheme to make my aesthetic obtainable.
Step 3: Materials and Tools Acquisition
-
I sourced the following materials:
-
Filament: White PLA so basically all parts would be primed before I painted them
-
Paint: Metallic spray paints (brown, gold/brass, gunmetal)
-
WD40: I used a lot of this in order to make the linkages move smoothly especially after painting them.
-
Masking Tape: This was used to cover important joints so that the paint would not impact the motion
-
-
I already had access to a Bambu Labs P1P and the other basic hand tools needed.
Step 4: 3D Printing
-
Over several days, I printed the parts in batches:
-
I tried to print all the large stationary parts first, those were the ones that I used brown spray paint on.
-
Gears and the propeller were next which I spray painted gold
- Lastly linkages which were all painted black because I loved the look of the metallic paint
- Another part I forgot to mention was all the U-clips which were originally going to be random colors but I chose to make them all gold last minute.
-
-
Failed prints were inevitable so I did them all in one batch. Those parts were mainly the U-Clips, major shafts, and a few of the linkages.
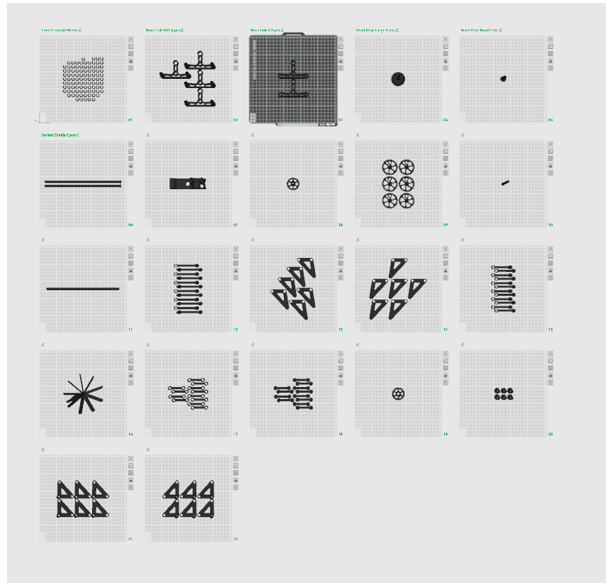
Image 2: Build Plate in Bambu Studio
Step 5: Assembly (Part 1 – Modules)
I began assembling the individual modules. These are the leg units and hold the beest up. After I assembled each one I could ensure they moved freely.
This modular strategy made it easier to troubleshoot small subassemblies before committing to the full build.
Key Focus:
Ensuring smooth rotation at all pivot points
Keeping tolerances tight but not binding
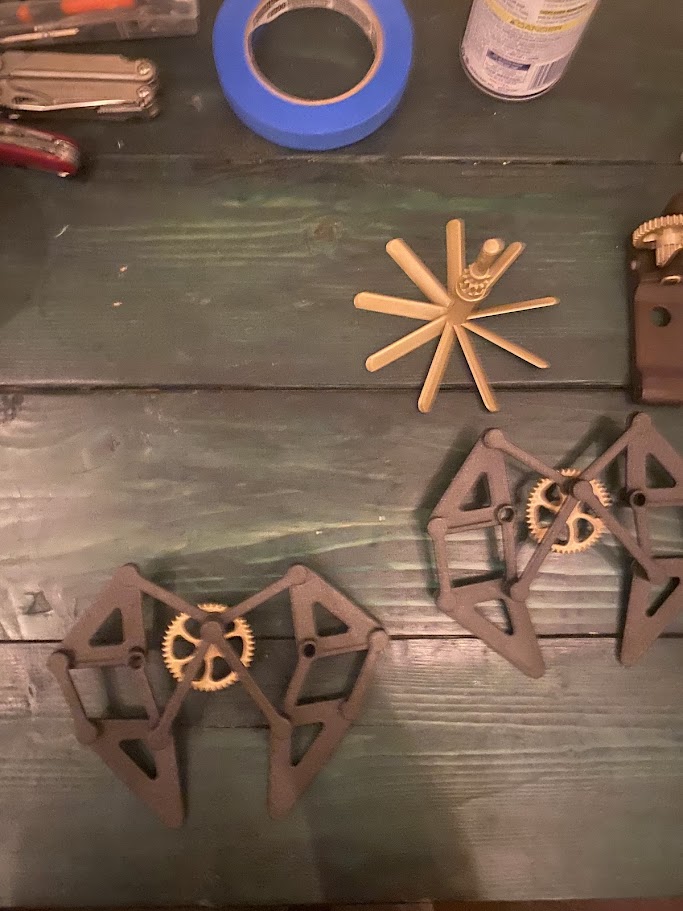
Image 3: Individual leg modules
Step 6: Assembly (Part 2 – Stacking and Linking)
Once modules were completed, I stacked and linked them together:
One of the hardest challenges was to offset every other module by 120 degrees. This was to ensure that there at least half the legs on the ground at all time. There were markers for this but I painted over them and they were hard to see.
Axles and connecting rods were added progressively.
About halfway through, I paused to test the collective motion and ensure no locking occurred.
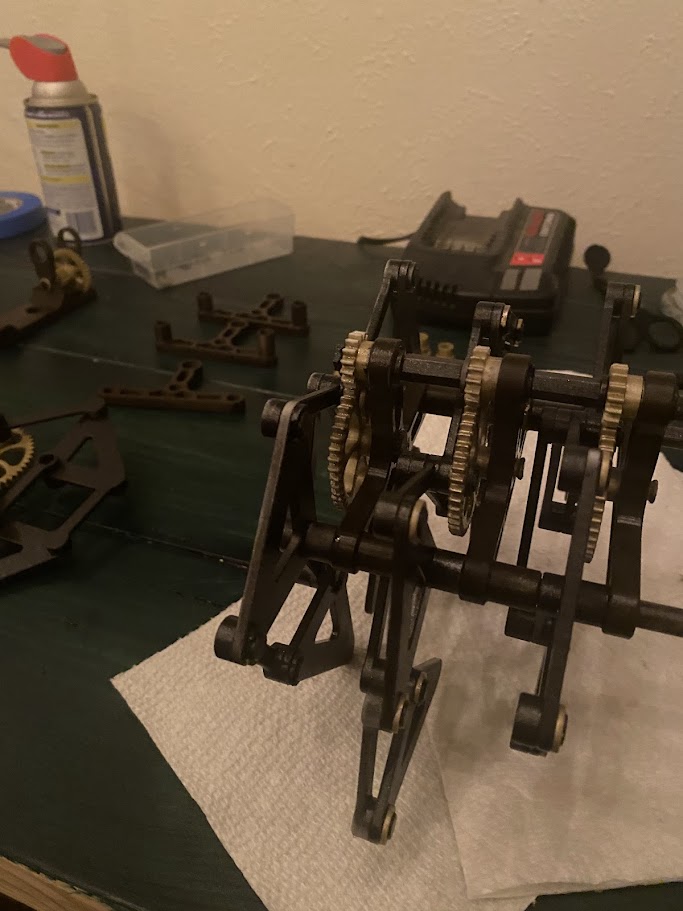
Image 4: Halfway through the build
Step 7: Final Touches and Documentation
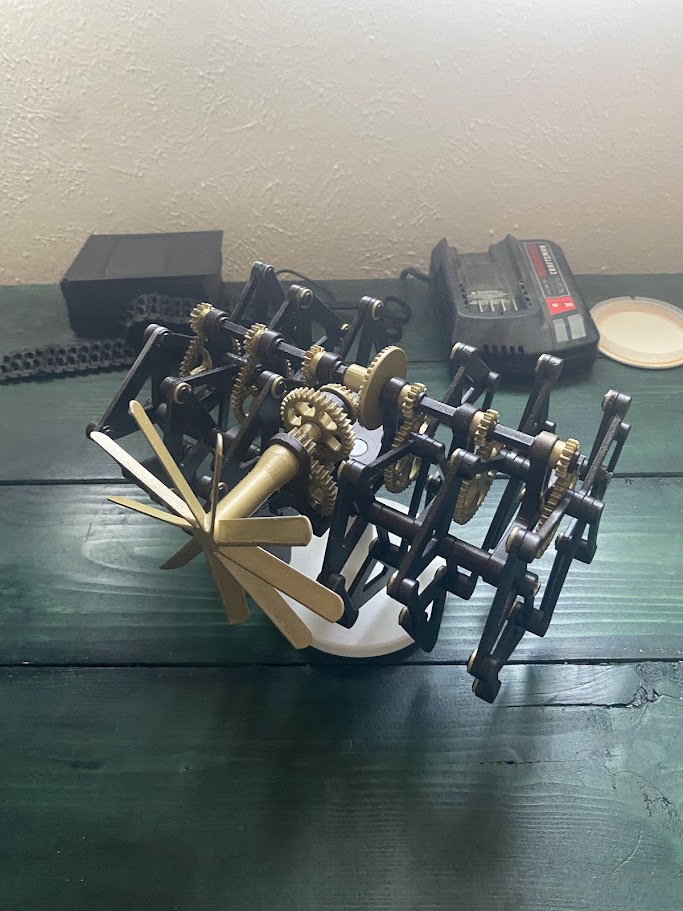
After full assembly, I touched up scratches and paint wear from assembly.
I took final documentation photos showing:
Full assembled sculpture
Detailed shots of linkage mechanisms
Surface textures showing steampunk finishes
I kept additional notes for possible future upgrades, such as adding a motor or better surface treatments.
Reflection: Comparing Plans to Reality
What I Wish I Had Done Differently:
-
I wish I had invested in higher-end metallic filaments rather than relying so heavily on paints. Real metallic PLA would have added natural gleam.
-
I should have printed small leg prototypes first to check clearances before committing to full-scale prints. I would not have had to use as much WD40.
-
I would have taped a lot more had I known the paint would be such a problem.
What Will Happen to My Creation Now:
-
The sculpture will be displayed on my desk or somewhere in my house.
-
I might add a small dc motor and switch to turn it automatically it needs a really big fan to make it move.
Ultimately, this project became not just about the functionality of a moving Strandbeest but more about the steampunk aesthetic.