

This post is late because I had to scramble to pull this project together in the last three weeks of the semester. In March, I tore my rotator cuff playing hockey, which put me in a sling and left me unable to use one arm for a while. That made working safely in the woodshop impossible, and I had to slow down my schoolwork. Once I regained some movement and could handle the pain, I headed back to the shop.
 The first step was figuring out the size of the circles for the project. This depended on several factors: how long the cuts could be while keeping the decorative border intact on the sheet metal, prepping the surface, aligning the patterns to ensure the fused sections were invisible, and confirming the design would fit into a ⅛-inch drill bit cut using the hand router. I also had to determine the required wall thickness (about 3/16 inch) to ensure I didn’t accidentally cut away too much. Once that was settled, I calculated the necessary dimensions to house the spice jars and finalized their placements.
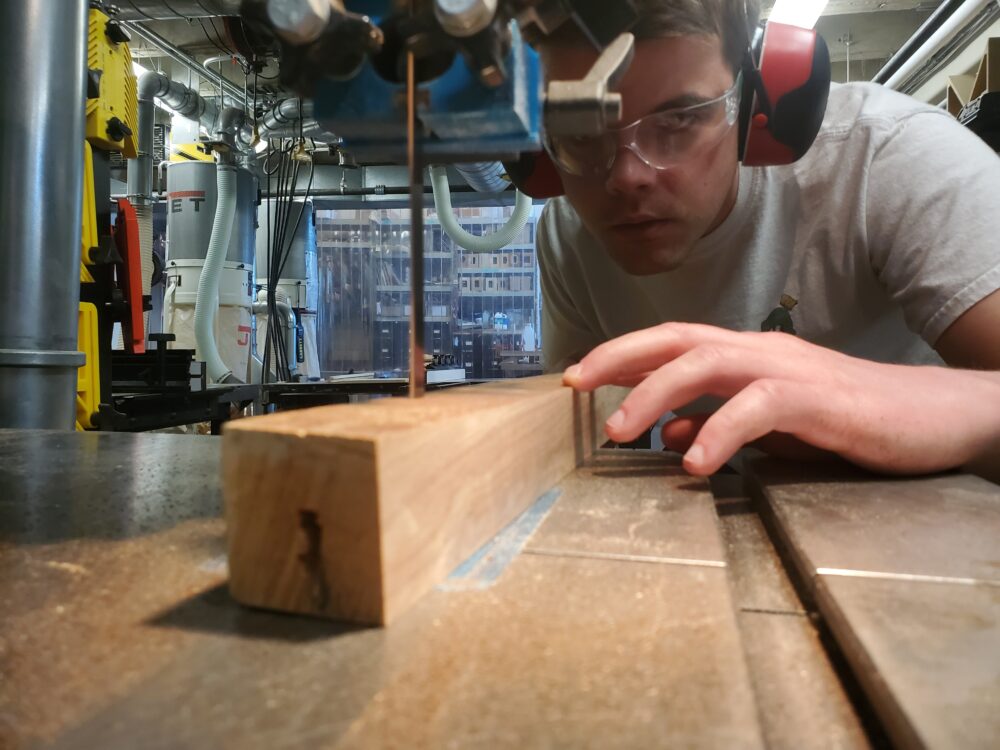
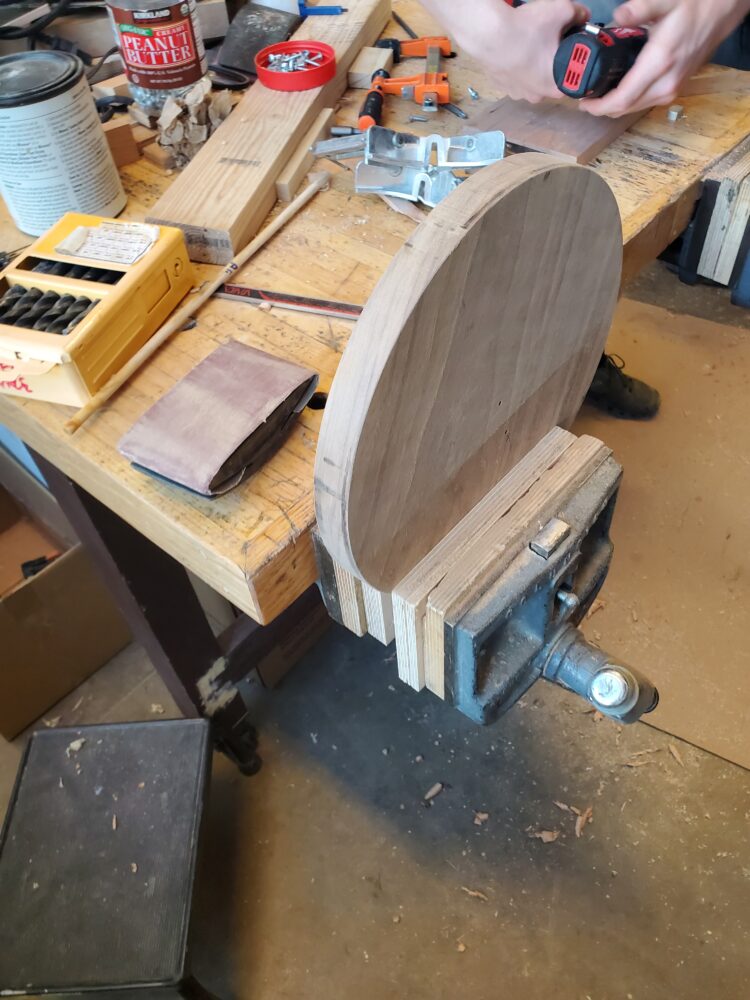
 For the fabrication, I began with the 10-inch dowel, made from an old chair leg. The leg was rough and uneven, requiring multiple cuts and sanding to create two flat datum surfaces. I ran it through the planer several times to achieve the correct diameter, and then passed it through the router table, leaving the ends square for stability. Cutting the four corners to shape the one-inch dowel proved difficult when the table shifted, creating an uneven edge that needed to be sanded down. Cutting the square ends off gave me a proper datum for the 10-inch cut. This process was a wake-up call—it took nearly four hours just to get a 10-inch-long, one-inch-diameter dowel.
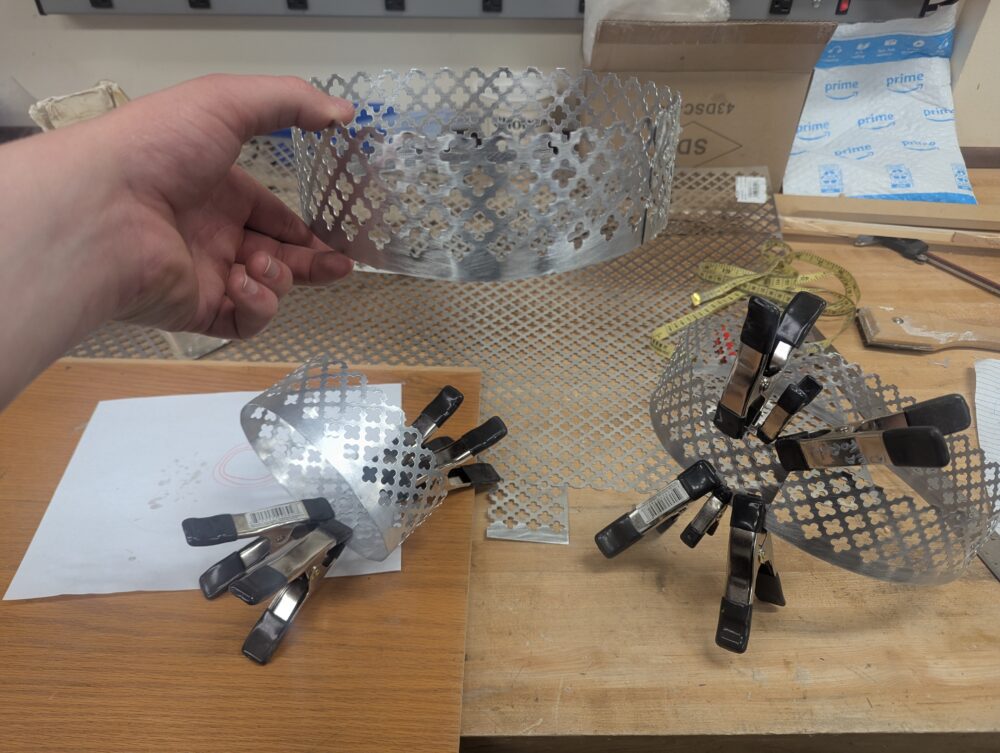
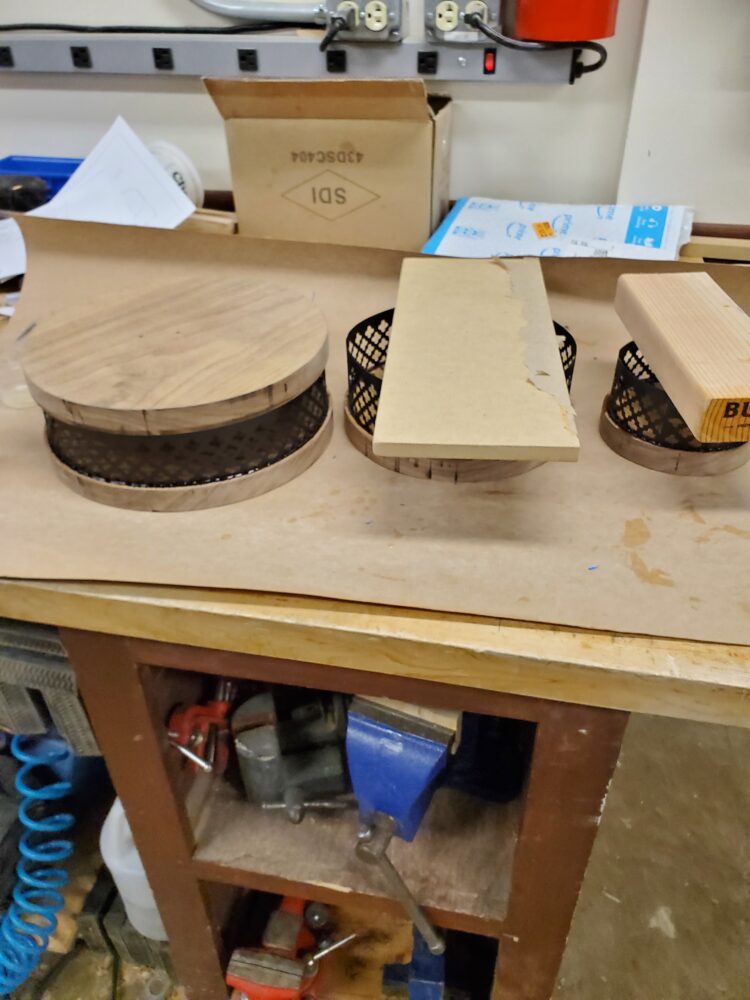
Next, after finalizing the fencing diameters, I carefully cut the strips to the perfect length so that the three patterns would overlap seamlessly. Any more overlap would cause the patterns to offset, and any less would prevent them from sticking properly. I sanded the strips to prepare them for adhesive and paint, cleaned them thoroughly, and applied ten-minute epoxy to secure the pieces in place, ensuring the height and length were properly aligned. Clips held them together as they dried. However, the circles had flat sections that needed to be bent, and since the epoxy dried brittle, I had to apply it two more times. Excess epoxy squeezed out, which I cleaned up using a curved swivel blade and sanding—a tedious process that made me rethink how much epoxy I would use in the future. Once cleaned, I painted the pieces outdoors, hanging them in a tree and applying layers of primer and paint. The wind added texture, but it wasn’t too bad.
The main cuts for the rack were next. I had to learn how to use the hand router, which was a new tool for me, so I practiced a lot on scrap wood to perfect my technique. The router works by drilling a center hole for a ⅛-inch dowel pin, which then allows you to make a circular cut. Since I was using a small drill bit on hardwood, I had to carefully manage heat buildup. Switching to a ¼-inch router bit for the outer cuts added another layer of complexity. Once I felt confident, I drew out the cuts on the board using a compass, drilled precise ⅛-inch pilot holes with a drill guide, and made shallow one-inch dowel holes to aid in later cuts without weakening the wood. I did the channel cuts in multiple passes, unplugging the router and cooling it with rubbing alcohol between each pass to prevent overheating.
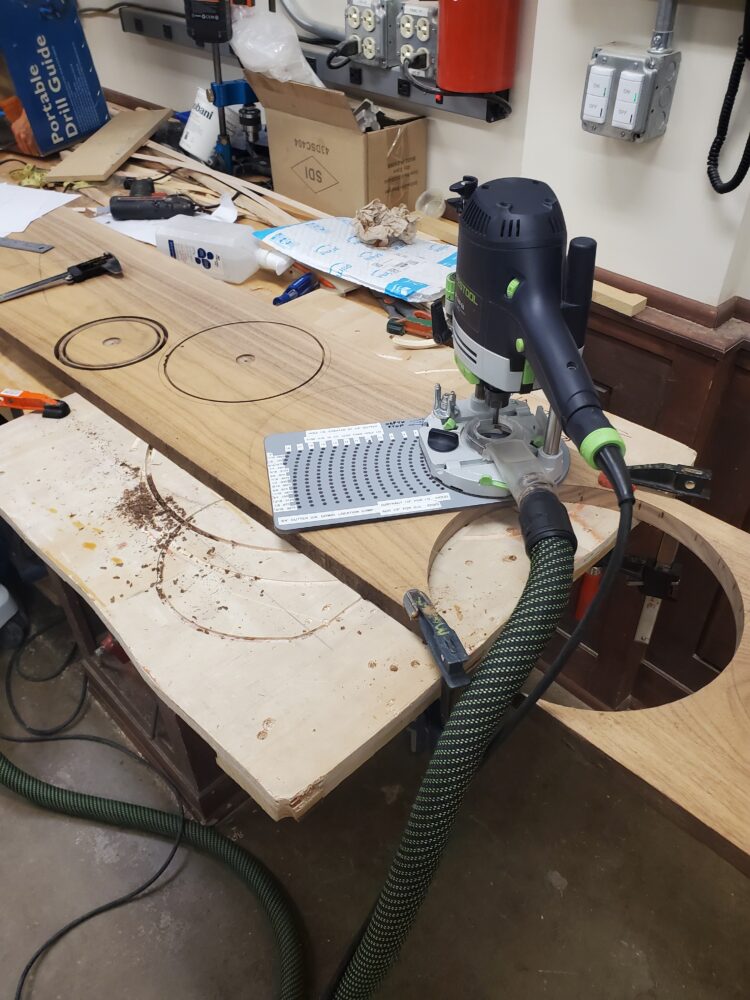 However, I soon realized I had mismeasured: I hadn’t accounted for the extra ¼ inch on each cut outside the channels, making the circles too close together. Since I’d already drilled the dowel holes, I had to start over on a new board. I redrew the plan, made safer cuts by securing the work with a sacrificial backing board, and continued.
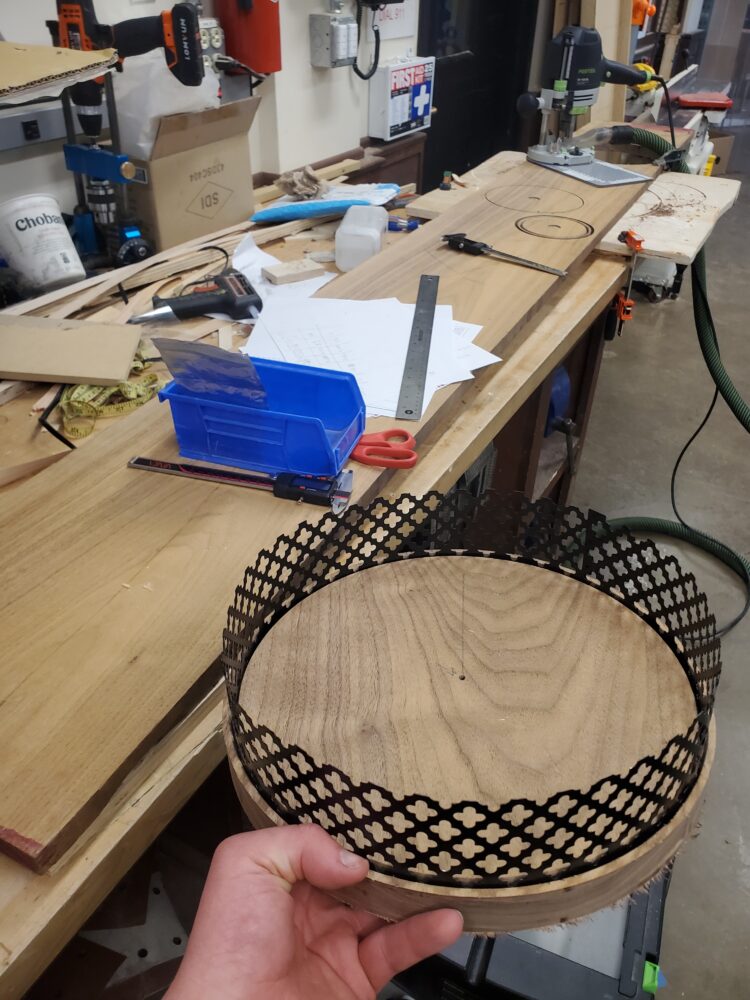
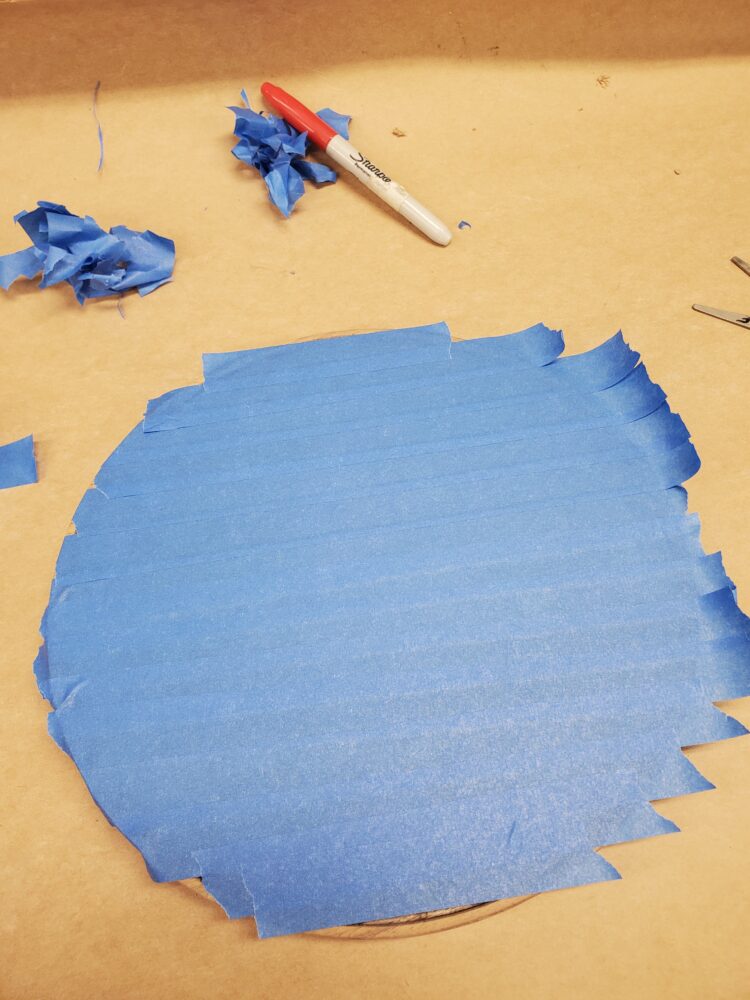
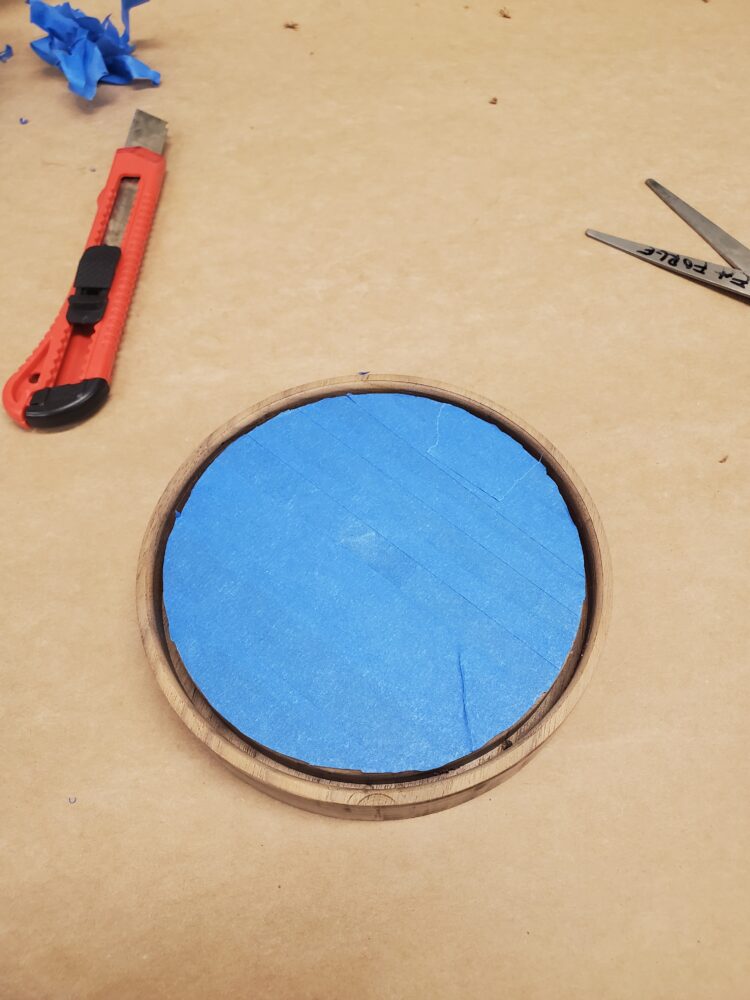
Once the cuts were made, I clamped each circle, sanded the edges, and prepped them for staining. Unfortunately, the burn marks from the router didn’t sand off easily, so I stopped to avoid making the cuts lopsided. I then refitted the fencing, touched up the paint, masked off the surfaces, and carefully applied epoxy again. This time, I used a syringe to apply the epoxy slowly to avoid overflow. I let the pieces cure for 36 hours, ensuring the pieces were securely bonded.
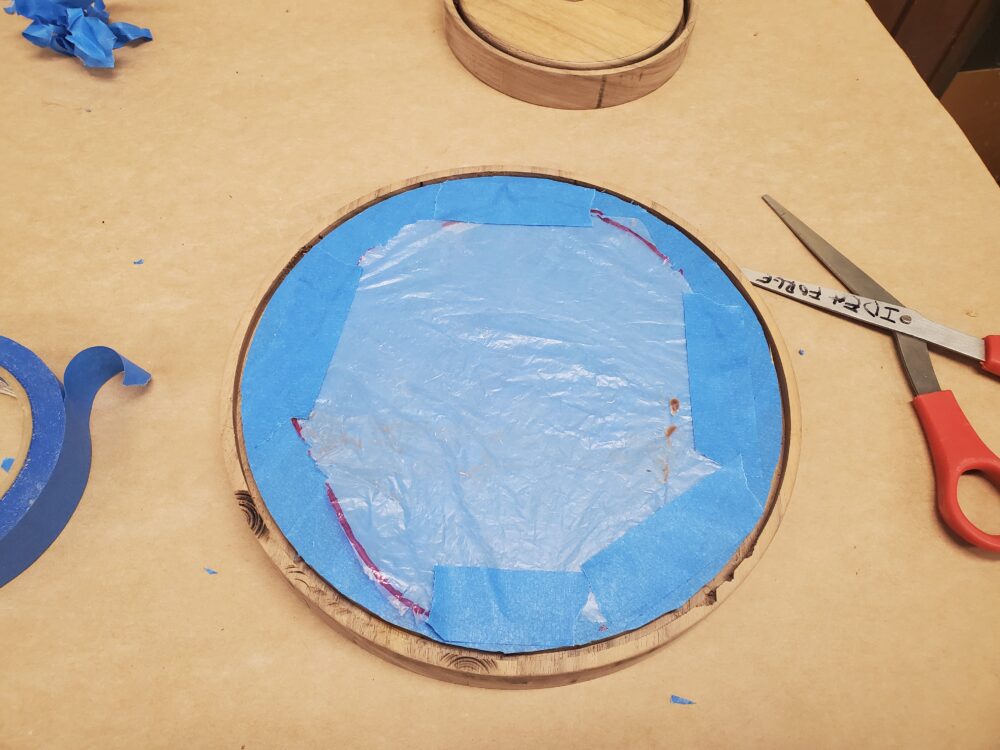
For the final assembly, I glued the smaller diameter sections to the larger ones to create the stepped effect, then drilled the dowel holes and glued them to hold the layers together. After letting it dry for 24 hours, I masked off the fencing again and applied a dark stain to bring out the wood grain and hide any imperfections. However, I quickly realized that the glue and wipe-off process had created a thin layer that resisted the stain, resulting in blotchy sections.
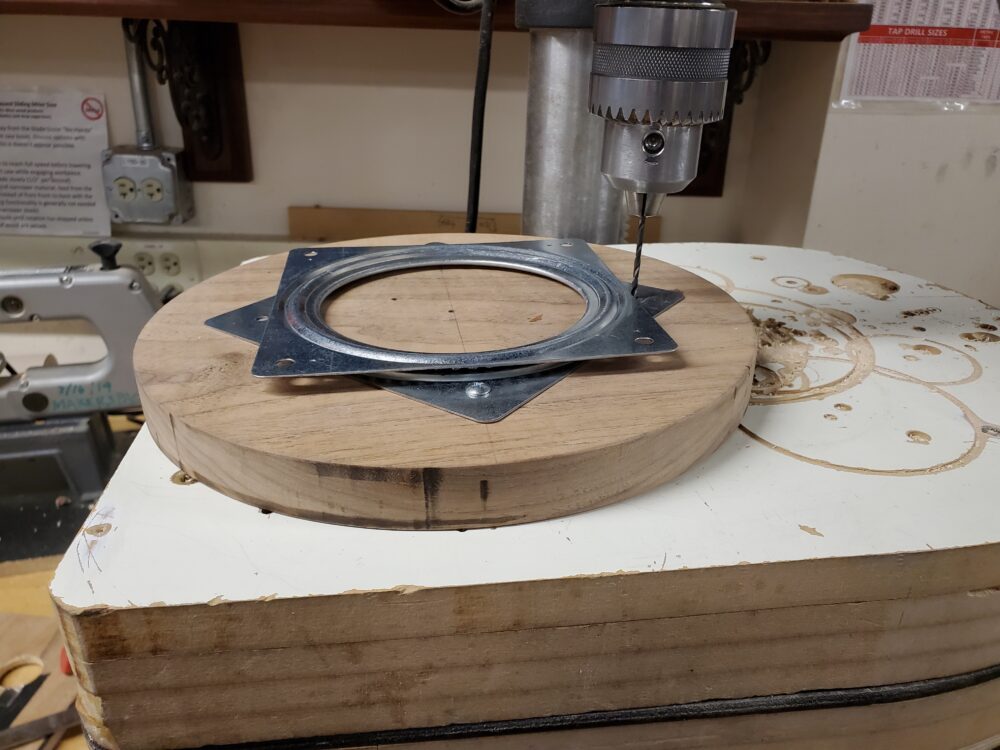
The final step was attaching the Lazy Susan hardware. I carefully measured and drilled pilot holes for the mounting plate, then drilled access holes on the bottom to tighten the screws. Although the holes were slightly off-center, they were very close to perfect. The final product came together well, reflecting both the technical challenges and creative aspects of the project.
