
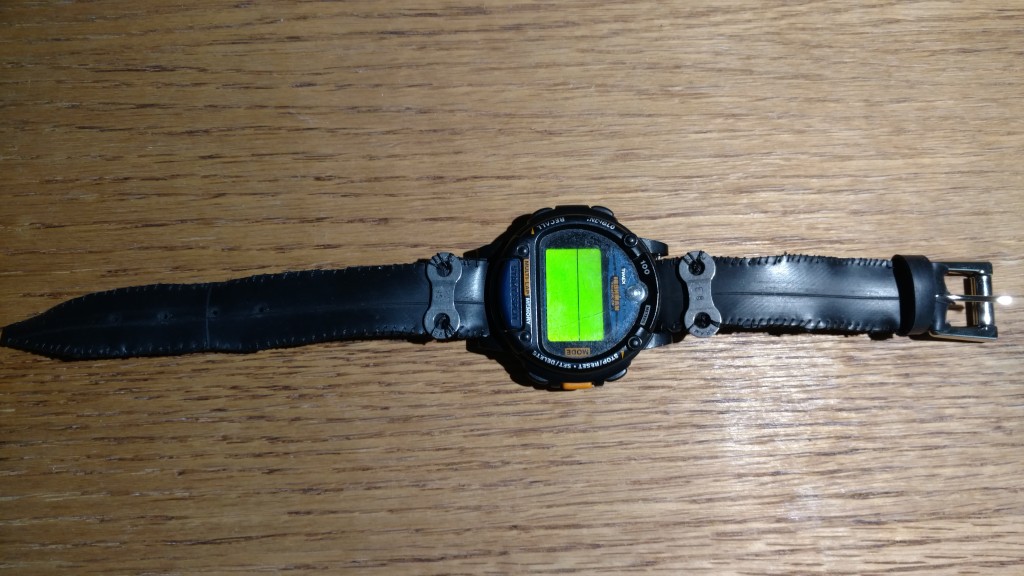
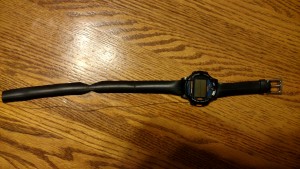
After a long two days of cutting, sizing, and stitching, I have finished my inner tube watchband. So far, it’s turned out a lot better than I thought it would. I initially chose to do this because I am a bike racer who has lots of bike parts lying around and I wanted to use them. Inner tubes are perhaps the most versatile of all bike parts, as their rubber construction makes them well suited to a variety of waterproof or elastic applications. Wanting to not be cliche and do something already done before such as tube wallets, I decided instead to make a watch wristband.
First, I gathered all the parts I needed for the project. These included an old inner tube, an old watch, a watch buckle, needle and thread, a couple of chain link plates, and a hole punch/wood block/hammer.
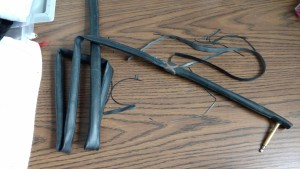
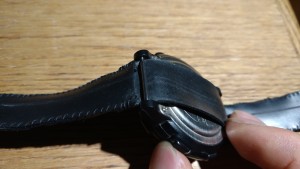
The first step was to remove the original wristband from the watch and cut the length of inner tube needed to make the new one. I measured the width at the pin, the length of the band, and the width of the original band. I then doubled the length of the band because I wanted to fold it back on itself to create a thicker band. The band was one long, continuous piece of rubber, attaching to the watch by routing it above the pins and under the watch itself. Also cut from the tube was the little loop to retain the band after it goes through the buckle.
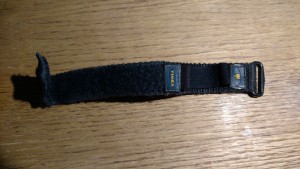
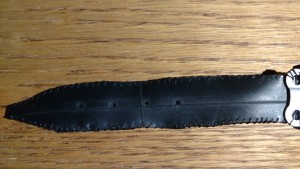
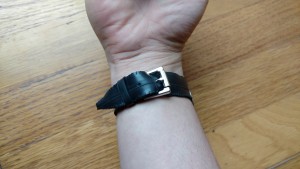
The next step was to attach the buckle and sew up the wristband. This was done by sewing the band around the buckle and the loop. The sewing itself was done using needle and thread. I chose to sew instead of glue the band together (despite some suggestions to do so) because it would look better and more like an actual wristband. The name of the class has “aesthetics” in it, after all. Also, before the sewing, the tips of the non-buckle side were cut so they tapered to a point.
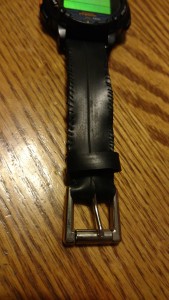
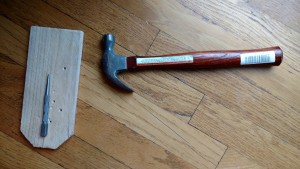
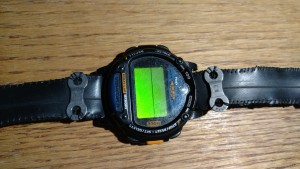
Finally, with the band sewn together, the last step was to embellish it. The hole punch, wood block, and hammer were used to make the holes for the buckle to hook into. And finally, in keeping with the bike aesthetic, I decided to sew on a couple of chain link plates near the top of the bands for decoration. I opted against perforating the band for ventilation because it’s already pretty thing, and extra holes would compromise the strength of the butyl rubber in the band. And drawing designs on the band in sharpie wouldn’t look very professional.

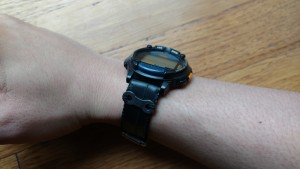
I think this project was a success. The band works exactly like a normal watchband, and is comfortable due to the elasticity of the rubber. Because it’s rubber, it’s waterproof too. And finally, its utilitarian materials means that it upholds both an outdoorsy and bike-themed aesthetic. If you ever have inner tubes you have no use for, making a watch wristband out of it would be a good way to go!
1 Comment. Leave new
This looks so cool! What a great idea. I like the clean look you went for with the hand stitching. It looks like leather! I also like how you used the bits of the chain on the band