
A lot of progress has been made on the build of the coffee brewer. I bought all the materials that we’d need over the weekend and started building early this week.
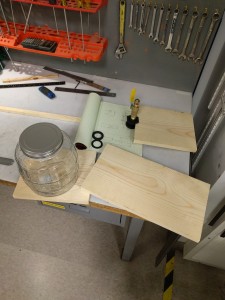
Started by cutting the wood planks down to size.


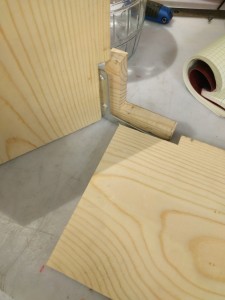
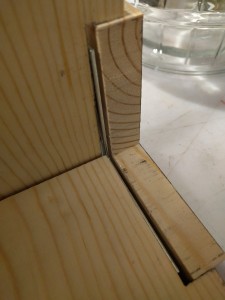
Then cut out slots for some L-Brackets to help support the weight of the water, jug, and coffee ground.
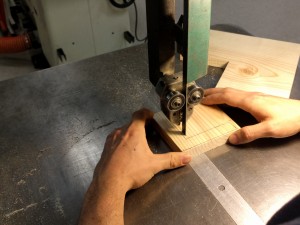
We used a band-saw to cut the covers for the L-Brackets. The plan is to have them hidden on the inside so that all that can be seen on the outside is the wood. The pictures below should help with visualizing the effect.
The covers aren’t finished yet, but I plan on finishing them soon, after I figure out how to properly secure the rest of the frame together.
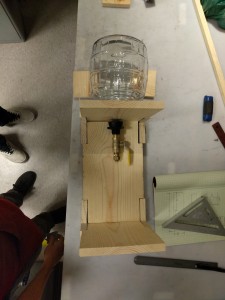

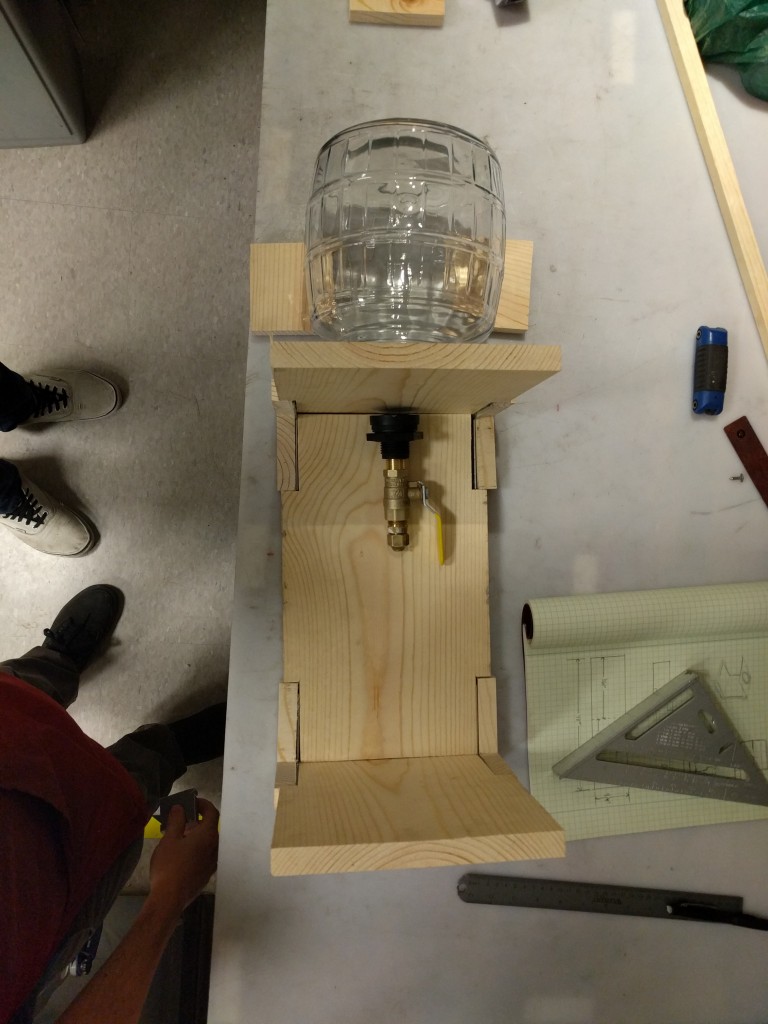
Here is a dry assembly (mock-up) of what the project could look like. To achieve the inside curves I plan on cutting a square chunk of wood in half along the diagonal and then use a round sander to help shape it. We might abandon that idea though, as we are really enjoying the grains of the wood and took extra care to make sure they lined up as close as possible when the pieces are assembled.
It is turning out to be a lot bigger than both my friend and myself have originally thought. This is okay though, because we added a lot of extra “slack” in the design in case something went wrong. I plan to keep building tomorrow and should have the frame basically done. We bought two different kinds of stains and plan to stain the insides and outsides different colors.
I hope to have the container done soon as well. The only thing that needs to be figured out to finish the jar is how to punch/cut a hole into a stainless steel lid.
6 Comments. Leave new
[…] Start of Manufacturing […]
[…] build is mostly done! It was quite the process. The previous process can be seen in my other blog here. From the last point where the wood was cut to size, I started by using a hole saw to cut the hole […]
Love your project so far, I think it is really coming together. Like everyone has been saying i like the industrial look you accomplished, but I think the covers you added to the brackets are kind of hiding the flair. I think you should fully embrace your aesthetic and go with the bare brackets. The exposed brackets will contrast really nice with the valve as well. As for you problem of punching a hole into the cap, you can try to clamp it into a mill and just do a circle pocket feature with the CNC. This will probably give you the smoothest result. Your project is really coming together, I hope you get everything sorted by Expo!
You can never have too many ways to make a killer cup o’ jo. I really like the industrial looking valve that contrasts with the careful woodwork you’ve accomplished, it screams business. Do you have any idea of how you plan to actually brew the coffee in between the valve and cup? Is it going to be a simple drip coffee device with disposable filters? I’m excited to see how this turns out as it already looks really cool!
Great progress on your project! I think this is your most productive week in the project! I like how everything is coming together smoothly and as expected. You are right this looks big! I am not sure if you can cut some corners on the wood so it can have a foot print, but you can definitely bring the top piece of the wood a little lower so it looks smaller. Also are you going to color the wood or put a finish on it? Are you going to change the on and off valve? If not then it gives it an industrial look, which your friend might like. Concerning the balance issue that Brittney brought up, I think they are valid but they can be easily solved by limiting the amount of coffee that goes in the top jar or have a smaller jar, maybe. I also saw this video that cuts a hole into a stainless steel sink: maybe that can be done with the sink. https://www.youtube.com/watch?v=ABIUnStC1G0
Good luck you are almost there.
This is a great idea of making a coffee brewer! I like the old,rustic look you are going for by using the wood. Only question I have is how are you going to get it to stand up straight? Is there something you are going to mount the whole unit on and will the container be easy to clean after uses? Also, just an idea but maybe you could add a plastic circular shaped drop catcher at the bottom. You could even use the lid of a jar, but I think it would be good to protect the wood at the bottom from coffee stains.Overall, though great job and keep up the good work!