

To begin this project I was concerned about the difficulty of creating a cosplay sword out of pure wood. Especially one with complex edges and contours. I wanted to pursue creating something that I would actually use and as I am planning a Cosplay of the character (Emiya) from Fate Stay Night: UBW as shown here:

The only thing that I was missing was the swords, and very simplistic looking versions of them run around $70. So I thought I would kill two birds with one stone and try to create them myself. After some debate with others about wanting to use the traditional EVA Foam I chose to stay with wood as I wanted to work on my wood mastery and it would allow me to have something durable, nicely weighted, and a more craftsmanship feel. Ultimately the aesthetics I was looking towards was fantasy and somewhat Gothic, as the story have a presiding Chinese Folklore story and in general have a yin and yang design.
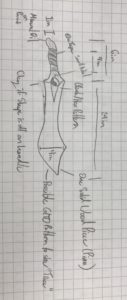
My initial sketches showed the estimations of what I wanted for the sword and the detail going into them. The only big change was abandoning the hexagonal red pattern as it detracted from the overall look towards the finish.
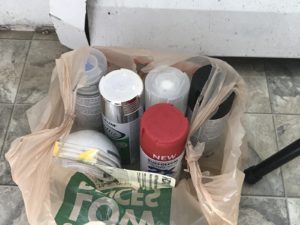
Acquiring the supplies I decided to by a 2×4 Kindred Dried Pinewood from Home Depot that was 8′ long cut in half. For the paints I chose a metallic silver paint, semigloss black paint, wood stain, and some GITD spray paint. The rest were masks, gloves, and a wood sealant plus the natural mineral oil I had from the last project. The overall cost of this project was around $53 with $50 coming from the spray paints which I still have plenty of.
To begin the wood work I need an outline created with the dimensions shown above. So I marked it out on some cardboard and cut it out. The only issue was that the blade width was too thick and I was unable to mark it on the 2×4’s. The good thing is that since the dimensions I created aren’t to any reference but my own I was able to leave those parts out and do it by eye during the sanding phase.
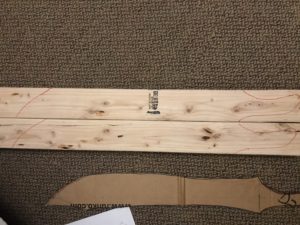
The next step was cutting out the handle and tip as best I could with a band saw.
After that I was able to use a new machine that I have had no prior experience with, a spindle sander.
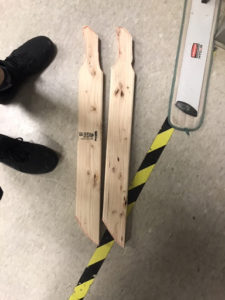
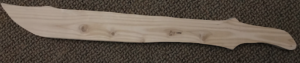
After going through the understanding I was able to create this shape on both the swords. (To ensure that they matched I did the first one then traced the outline onto the other).
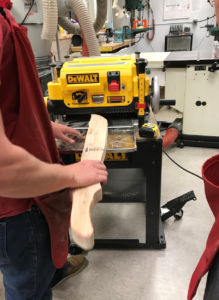
The next thing I needed was to make the thickness smaller as it was about an inch and three quarters which makes a fairly thick blade. Using a planar cutter I was able to make the whole sword about seven eighths of an inch.
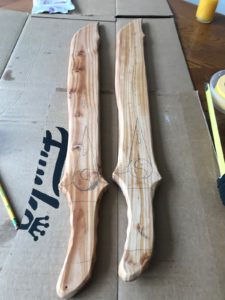
Once this was done, I went back to the spindle sander to smooth around the edges and create the handle and blade look.

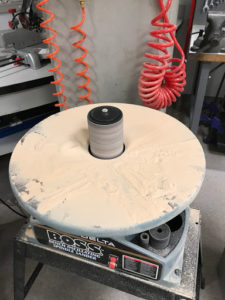
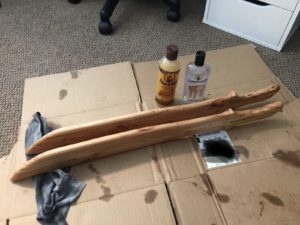
And to make it look pristine I applied some 600 and 1200 grit to them and rubbed them with mineral oil to achieve this look.
Once this was done it was time to paint. This process took many iterations and about two all nighters to accomplish, but the major differences can be shown here.
First outlining what needed to be where.
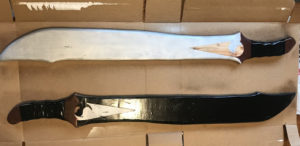
Getting the initial sprays and wrapping the handle in electrical tape (probably should have waited to do that)
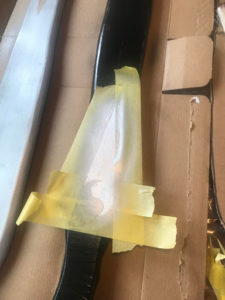
This was how I accomplished the difficult designs, though this was the lowest adhesive tape some dried paint still came off.
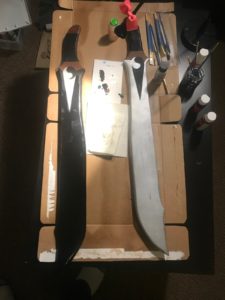
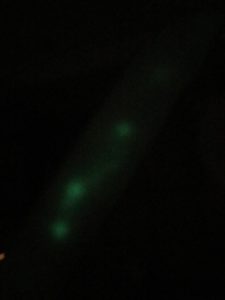
To touch it up I used some acrylic to fill in the gaps and give it a more professional look. To keep the semigloss look I sprayed it with mod podge semigloss sealant. When the initial spray paints were used there was another sealant applied for the wood in mind. And the final application was the GITD Paint. The fluorescent isn’t too great on it to capture with a picture so you’ll have to trust this low res photo.
And then when everything finally cured after carefully letting it dry it came out to look like this.
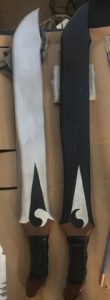
I really enjoyed how they came out and hope that they last until the convention. I will probably reapply the tape closer to the date and do minor touch ups if the paint comes off.
My presentation for this project can be found here:
https://vimeo.com/user95189799/review/335037789/2b47e26bad
*All photos were taken by me unless stated otherwise in the description/caption
1 Comment. Leave new
Great work with the wood. I think you made it further with the design than your design review feedback would have suggested. I would recommend a dark base coat for the metallic paints that were used.
What do you think you could do to further enhance the lighting effects? Are you interested in refining the shape to better approximate an actual weapon, or is this fitting the aesthetic as intended?