
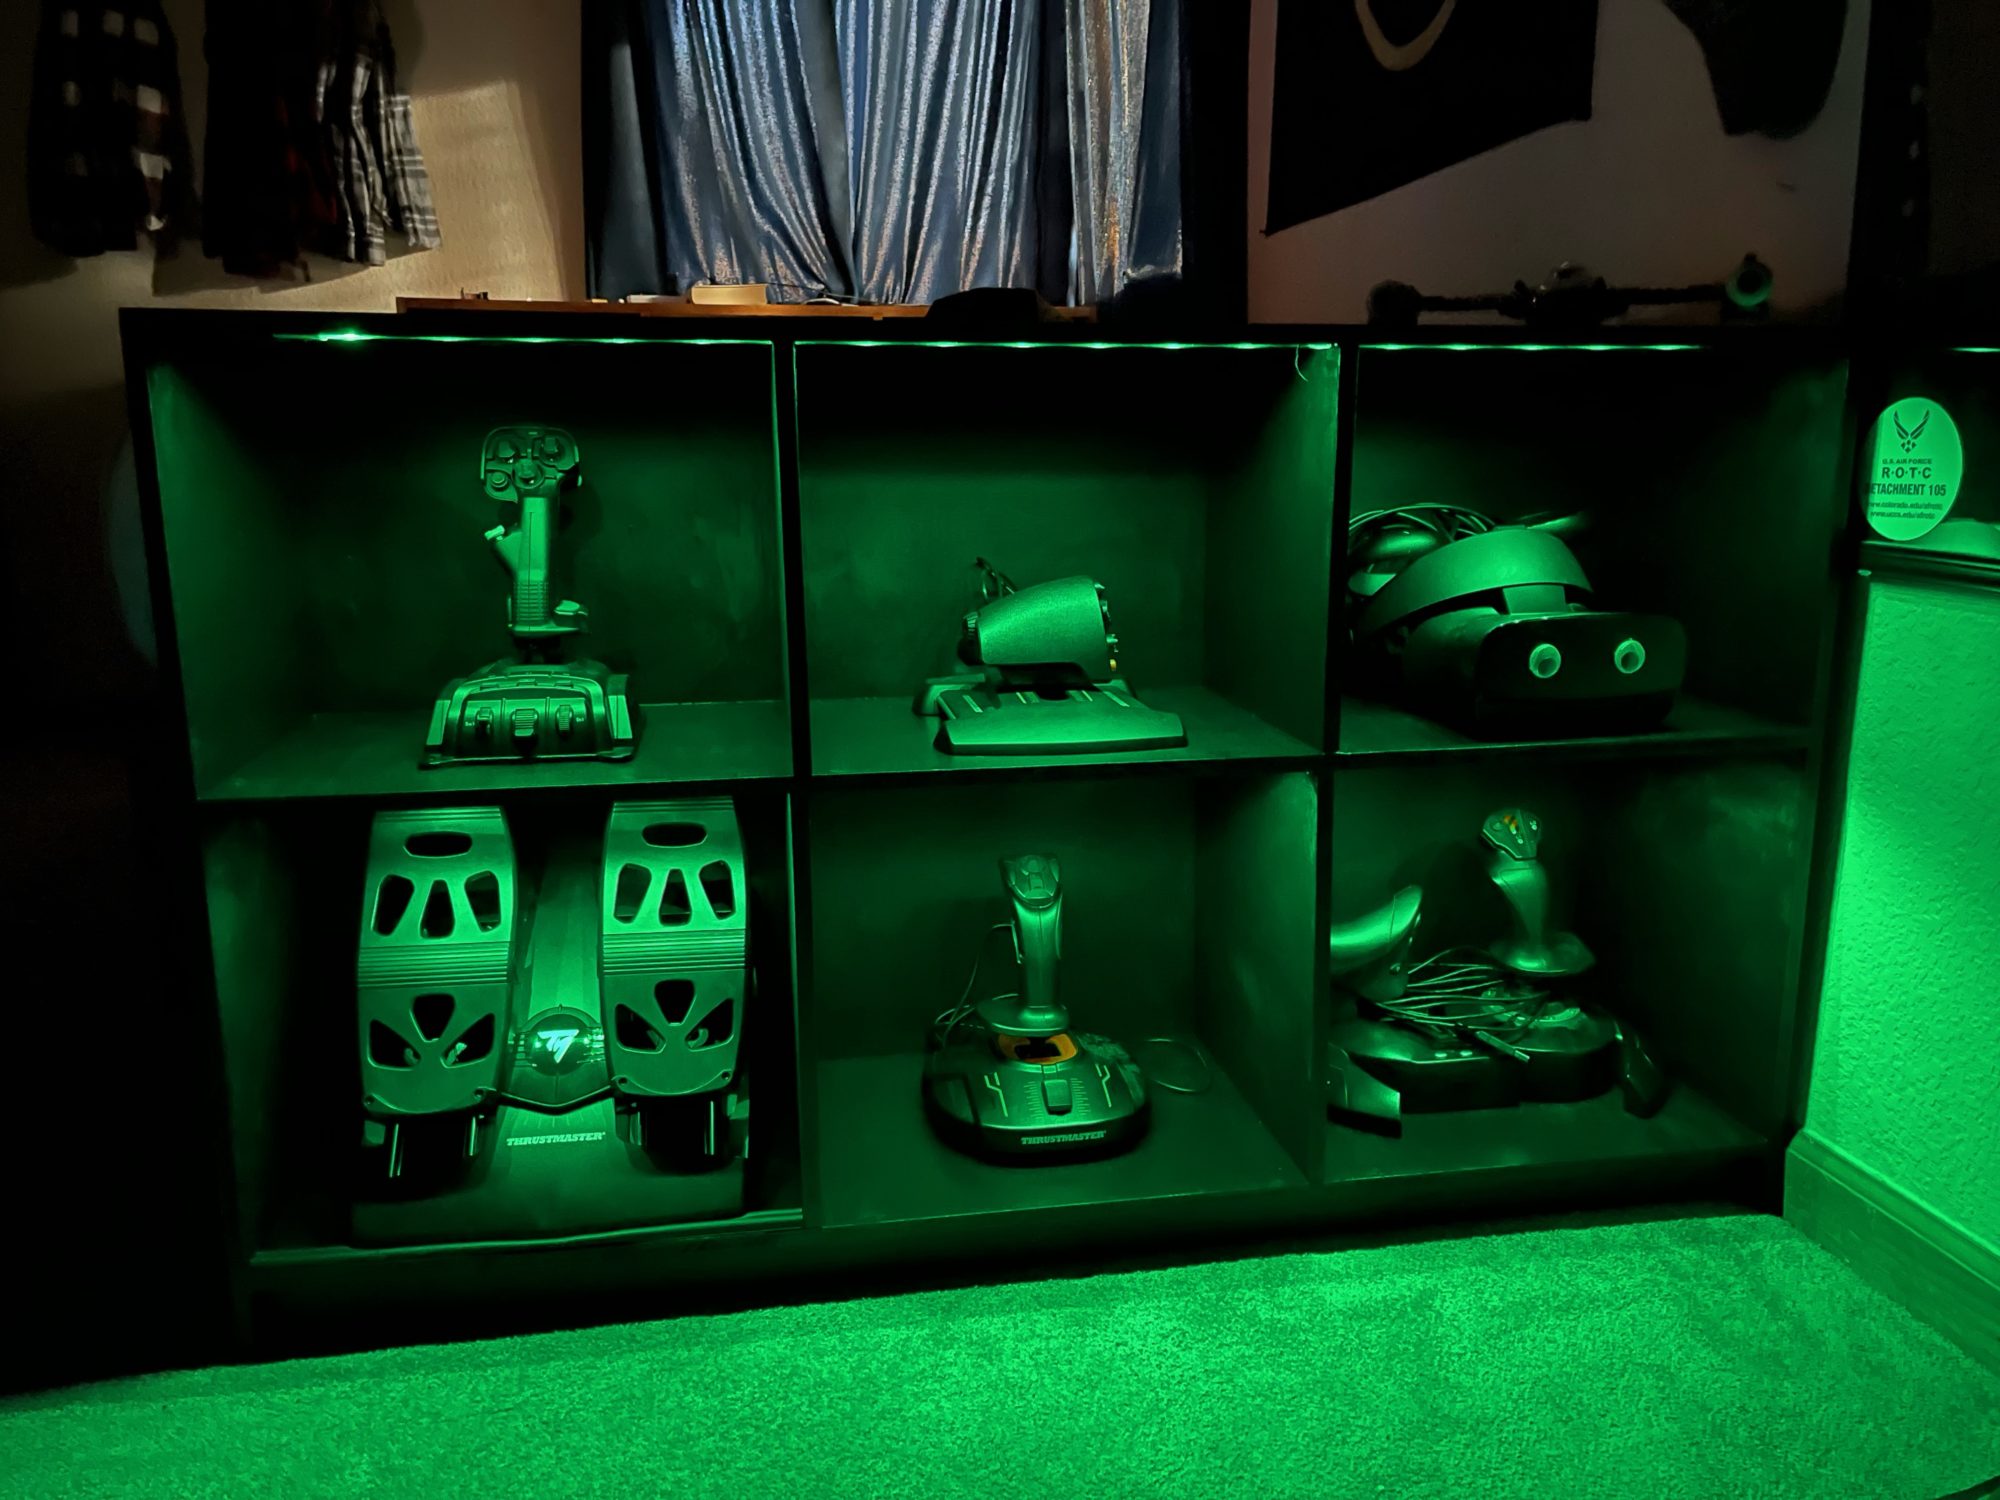
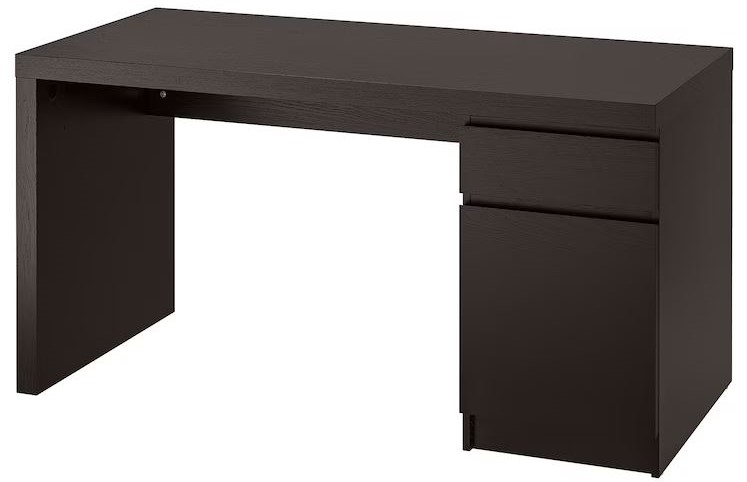
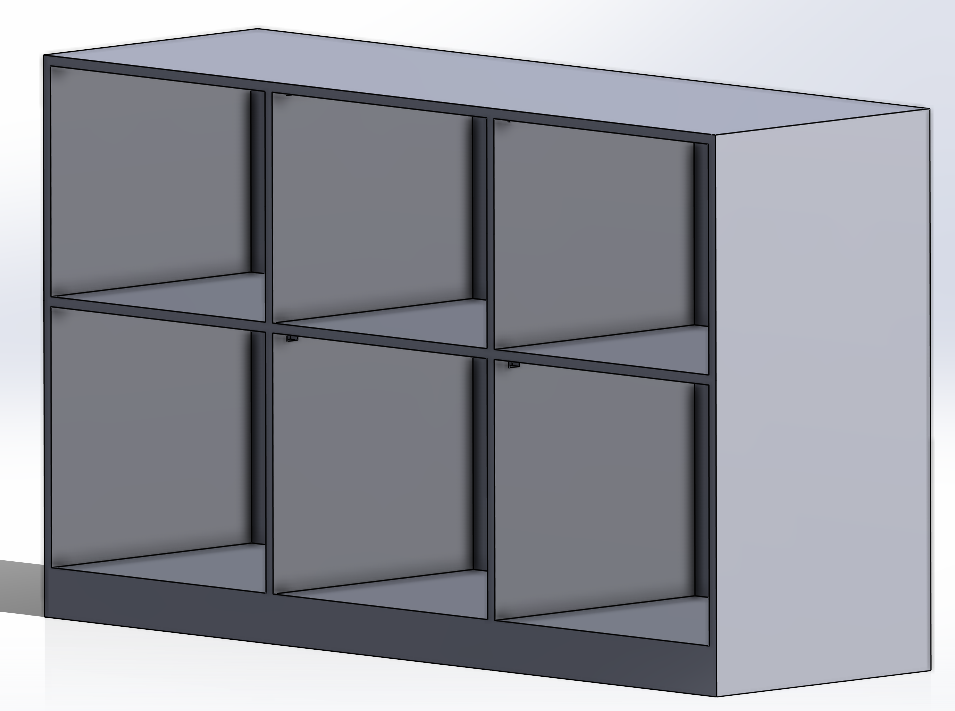
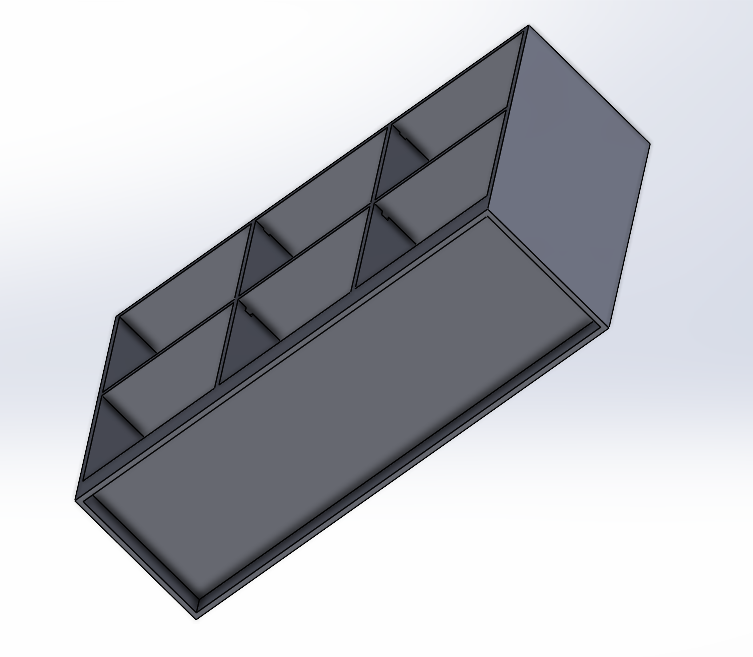
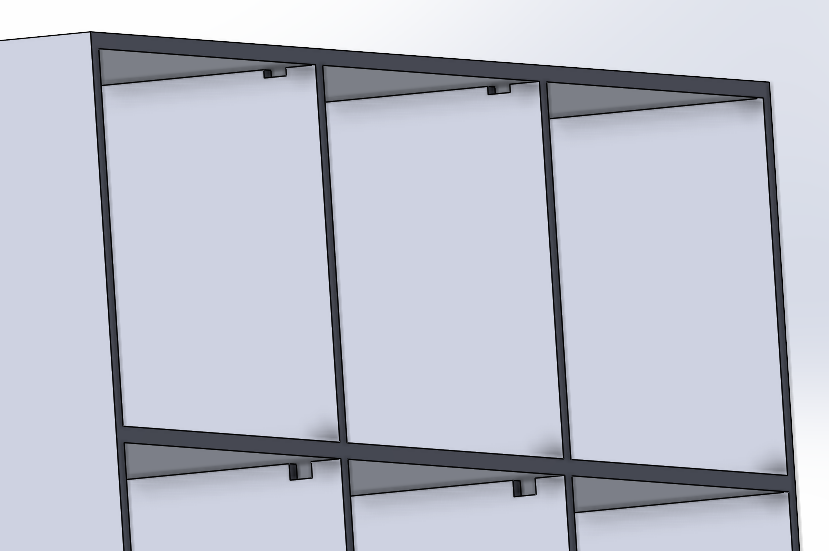
As with any good engineering project, I started with a problem that I wanted to solve. I frequently entertain myself with PC gaming, and some of that involves flight sims, including Atmosphere and Newtonian space. As such I have a decent collection of joysticks, throttles, and pedals that unfortunately frequently end up in a pile beside my computer itself or at the end of my bed. Both places are ugly and messy looking and difficult to get what I want when I want it and it recently started to bother me enough to want to fix it, so this project came along and gave me the idea to kill two birds with one stone. Create something that looks good and helps tidy up my room, subsequently making my room look much better. My primary design inspiration is my desk, it is of the Malm series of IKEA desks, the largest one in the series nonetheless. I spend the majority of my time at the desk, either working or gaming and I believe it dominates the room alongside my bed, so I think it is a great basis for establishing a theme for my room. As probably the most expensive thing in my room, my computer also helped me establish this theme. I have spent a respectable amount of time building it and making it look the way I want, so I think it is also a great aspect to integrate. So combining these two things, I decided to make a shelf specially fitted to the joysticks in a black minimalist style (of the desk) with LEDs incorporated (of the computer). My design process mostly consisted of working out dimensions for what needed to fit on the shelf, (like any good engineering project, start with fixing the problem, then make it look good). I took measurements of all 3 dimensions of the sticks and accessories. I originally thought about building each compartment of the shelf to the exact size it needed to be for the item it would house, but that became too geometrically and aesthetically challenging. After that, I designed a shelf around those constraints and added the facilities to implement the LEDs with channels for them to pass through and places for the wires to route out the back and to a controller (please click through the image slider below, I left these in gray box for easier understanding).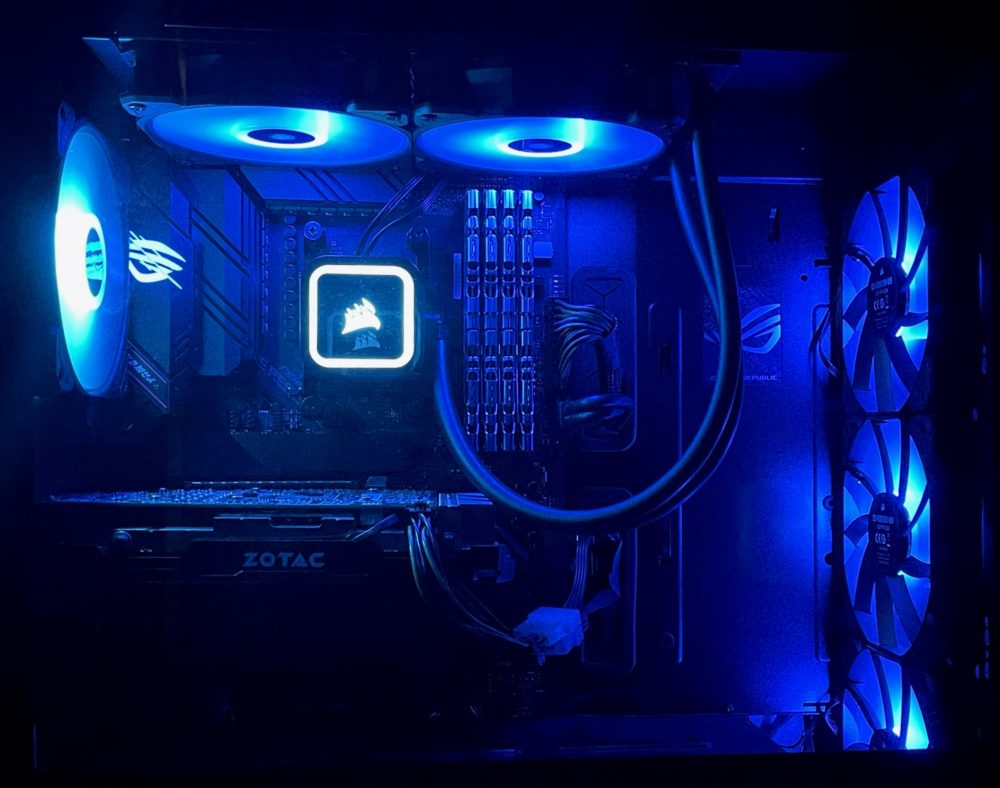
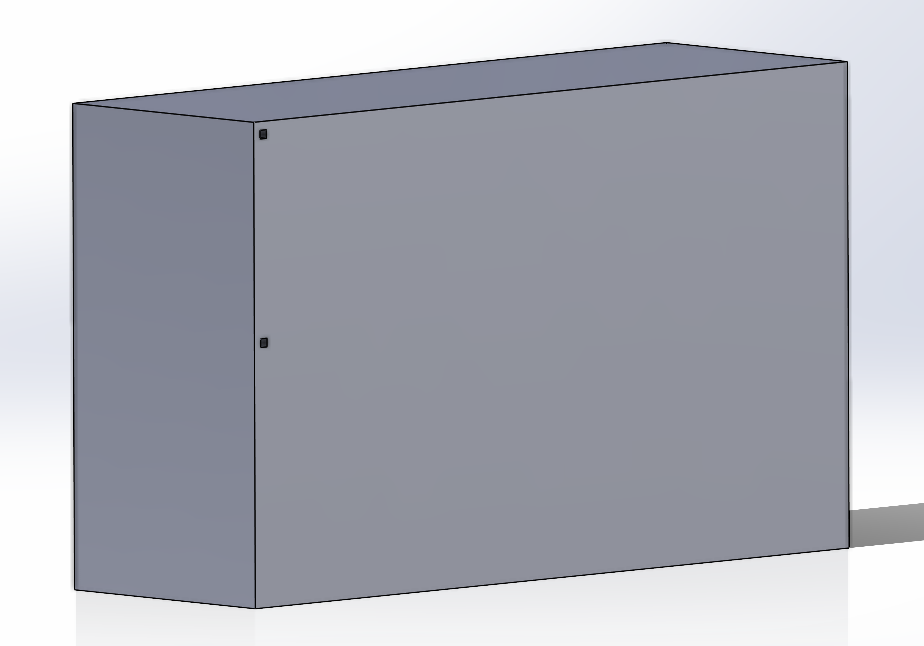
Actual construction plans consisted of MDF boards (better structurally, aesthetically, and from a practical perspective than plywood), black satin paint, and LEDs. I have cut channels with a router to inlay the LED strips above the shelf units. The table router made it quite easy by just setting a depth and making a few passes for some of the thicker sections. Light dispersion from the LEDs was a concern of mine, but I cut the channels to be the exact size they needed to be to get the strips just barely out of view and dispersion is still very good. Structural integrity was also a concern, but I was able to keep enough material to still be structurally sound enough to drag the shelf up my stairs by myself with no issues. I ended up using a countersink drill bit to chamfer the edges of my pilot holes so the screws could be sunk into the material and covered with wood filler before painting, thus aiding in keeping the design minimalist looking. I will include more details on these processes and the tools used in the How Post next week. I also added a piece of marine weather stripping to the bottom of one of the units to help prop up the largest piece that I wanted to house.
Overall, I am immensely happy with the end result of what I have made. I believe it holds well to the aesthetic that I was aiming for with its black satin paint with straight and simple lines. The masking of the construction elements helps maintain it even better than I originally had planned and creating the channels for the lights really helps to sell the system as a more refined idea than when I set out on this project. I am very happy with my own execution of the project as well. I learned some new things, learned about some things that I didn’t even know existed like the specialty drill bit, and used some new tools to fully achieve what I set out to do. I am much more confident in my abilities to make something similar in the future if I should want to. I think the piece still needs some fine-tuning like some sanding to smooth off some of the paint and maybe a clear coat, but as it stands I think it looks really good and fixed the problem that I sought to solve when I began.

5 Comments. Leave new
[…] 4/26: Installation of LEDs into channels. Order broken LED part. Document for Final Report Part 1. […]
Derek I really like how your product looks. It seems like you are exposing art pieces in a museum and helps to keep everything organized. I agree with Cody that the LED lights fit really well with the furniture. Have you thought about using diferent colors for the LED’s?
Yes, they are fully customizable RGB lights, I have set their default color to be a soft blue, but at the time I had broken one of the connectors while doing final assembly so it only would do green before this post was due.
This is really impressive, I think that the final product looks like something you would see in the store. I think that the black paint works really well in the overall aesthetic of the shelf. The LED lights also add a nice ambiance to the thing. Also could not help but wonder if you are a VR sim enthusiast based on what you store int he shelf?
Yes, I am, a lot of flight simulators and I also have a driving rig that lives in my closet when I’m not using it!