

This has been a very learning-intensive project for me. I am quite unfamiliar with woodworking in general and have never built a piece of furniture before. As such I asked a lot of questions of my roommate who is much more knowledgeable and experienced in these areas. This project turned out significantly better with his recommendations than it would have if I was left alone to complete it.
My timeline for this project ended up breaking down as follows:
Week of 3/27: Finalize rough idea. Take measurements. Create CAD model to present in design preview.
Week of 4/10: Calculate needed materials and finalize shopping list. Ordered LEDs and accessories to meet needs.
Week of 4/17: Get viciously sick and get nothing done for next week and a half. 🙁 Set me very far behind where I wanted to be and had to finish later than anticipated.
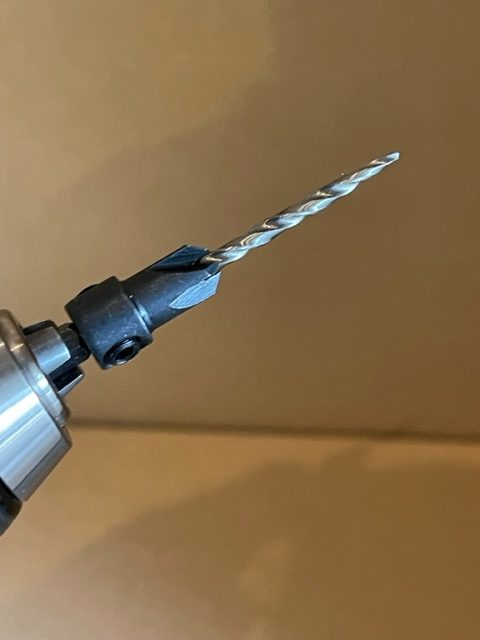
4/19: Shop at home depot for MDF boards, paint, respirator, countersink drill bit, etc. Finalize cutting plans.
4/21: Cut all sections and create mockup assembly to verify correct sizes of sections before proceeding.
4/24: Cut LED channels with table router. Secured all pieces together using countersink bit, interior screws, and some glue where necessary. Filled countersink holes with filler and allowed glue and filler to dry overnight.
4/25: Sanding of minor construction faults and filler. Prep for paint with compressed air. First and second coats of paint applied. Allowed to dry overnight.
4/26: Installation of LEDs into channels. Order broken LED part. Document for Final Report Part 1.
4/28: Replace broken part and restore full functionality to artifact.
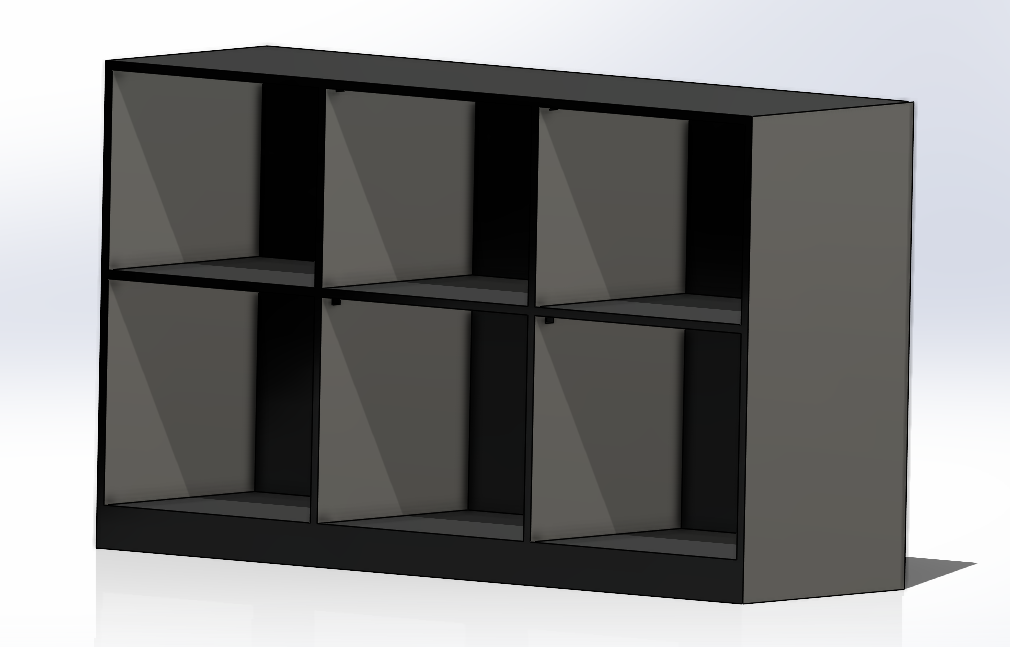
I started by making a CAD part that met my specification and made sure that I could at least theorize with something that looked good before I started getting deeper into the design process. I measured the individual items that I wanted to store in the shelf. I originally had an idea to attempt to make each compartment specifically designed to the size required for the particular item to be stored. I quickly realized what a headache this would be from a geometric, aesthetic, and construction standpoint and abandoned that idea. Instead, I decided to create compartments that could interchangeably store all of the items I wanted to house in the shelf. This would allow me to change the positions of things if I found myself using some more than others and could adjust accordingly. This would help with the permanence idea that I had decided would be a primary specification.
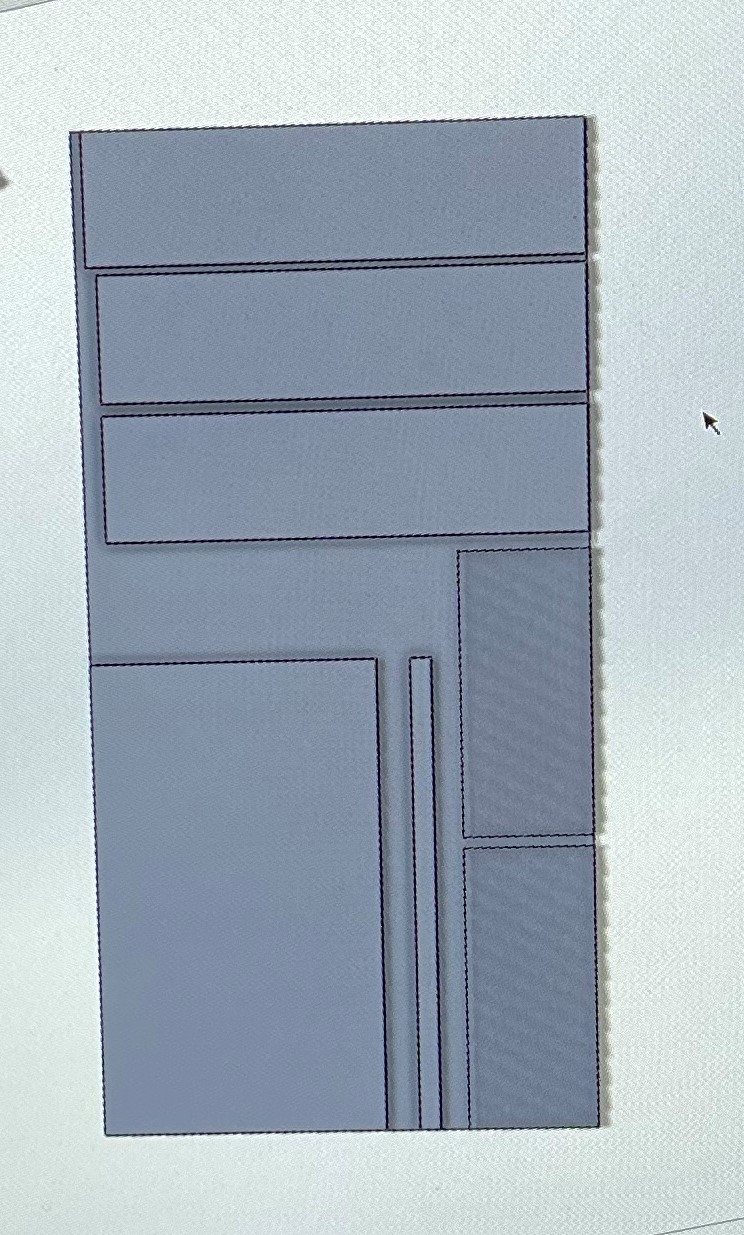
I next did some more CAD modeling for each part and added them to a Solidworks assembly to ensure the part measurements I had originally thought of would complete the structure properly. I then made a template of a 4’x8′ sheet of MDF and began configuring the parts that I had used for the other assembly onto the sheet so I could work out how many sheets of material I would need. This greatly shortened the time required to do this math and generally figure out how I would cut the parts out of the larger sheets. I also did some research and ordered some preliminary items for the LED system. Some of which had to be changed to achieve the desired effect once I had some more practical experience with them and a more hands-on understanding of the artifact. But most were relatively cheap and accessible from Amazon.
Got sick to the point where I was pretty much non-functional for over a week which was detrimental to the progress of this project and other classes.
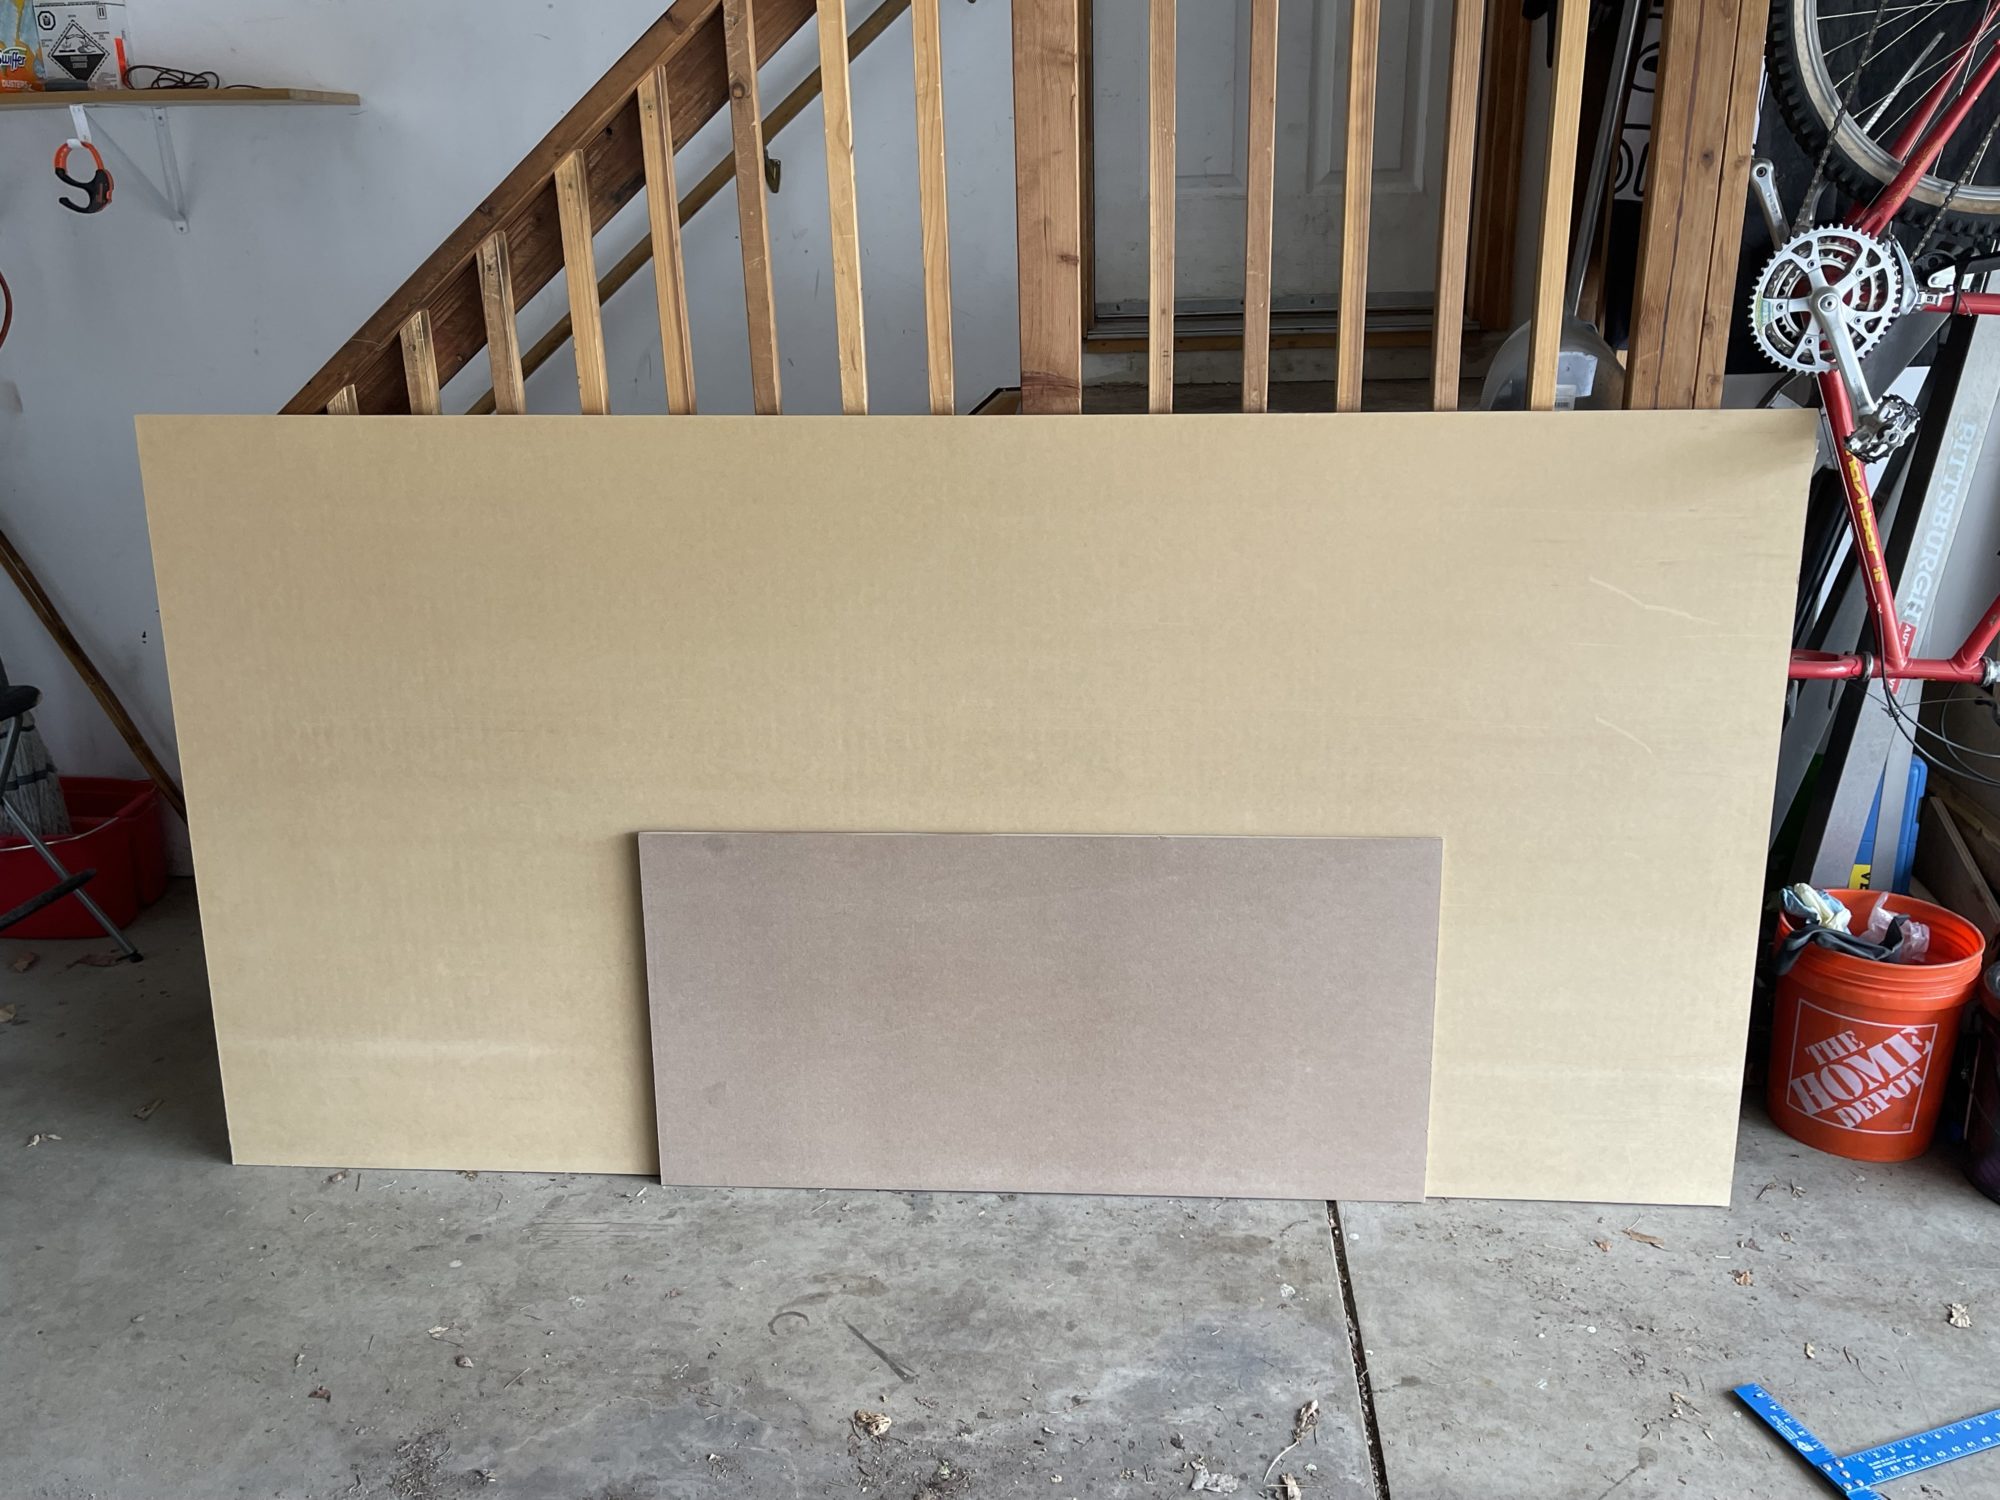
On the first day that I began to feel somewhat better, I used my restored energy to obtain the rest of the materials for the project including:
- One full sheet (4’x8′) of MDF
- One quarter sheet (4’x2′) of MDF
- Paint materials (Respirator, paint, paint cup & brush)
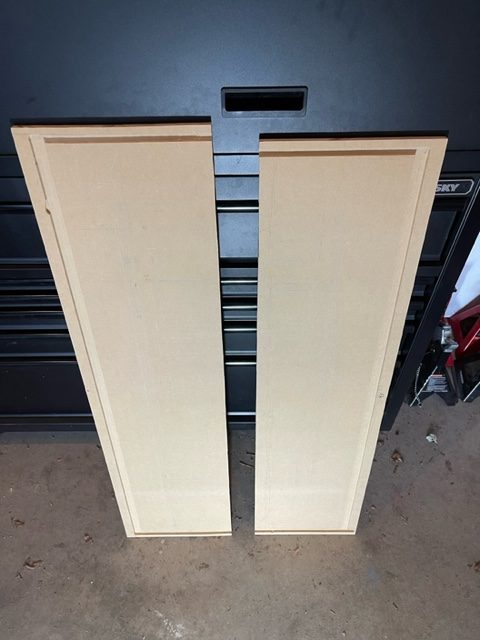
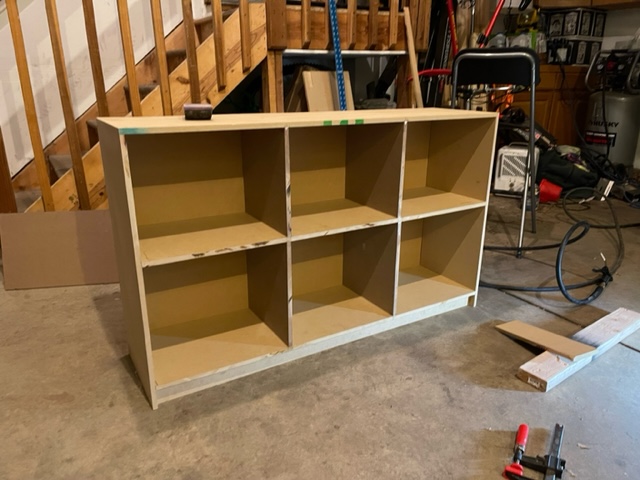
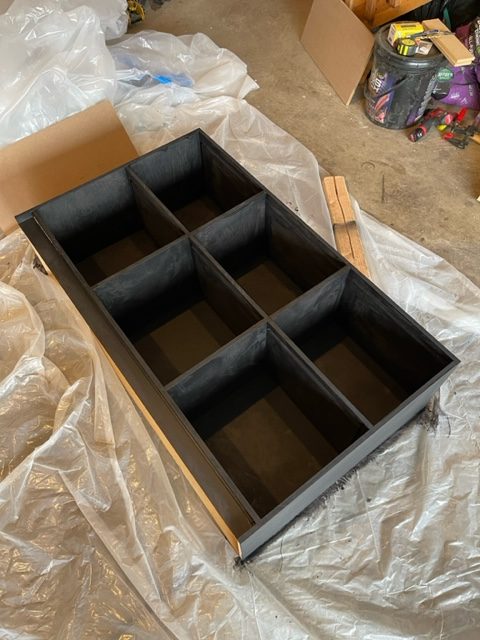
Later that week, I copied some notes down to my notebook about how I planned to cut the sections out of the sheets of MDF and cut all of the parts out. I time-lapsed this process. I verified that all of the parts that I had cut were correctly sized and shaped by roughly assembling the shelf, being held together with two scrap boards on the sides and the banister of my garage stairs to hold the back upright. This verified that nothing needed to be recut, which I was thrilled about, especially after having to recut several pieces for my upcycle project.
The following week, I spent a few hours cutting the LED channels into the bottoms of the top piece and the middle shelf. This was fairly painless, although made slightly more difficult by the relatively small size of the table router compared to the scale of the project I was working on. All of the mistakes I made in this process were minor and are indistinguishable unless directly sought out on the finished project, so that is very helpful. I then began assembly.
The process I used for securing each piece to another is as follows:
- First measure and mark where the hole needed to be to properly intersect with the piece that I was aiming to secure.
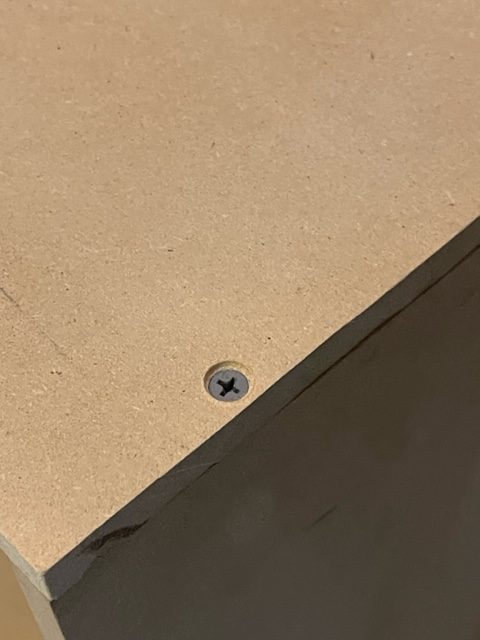
- I then drilled the pilot hole with the countersink drill bit and verified the holes were aligned and where they belonged.
- I carefully drove the scews into the pilot holes with a low setting on an electric drill.
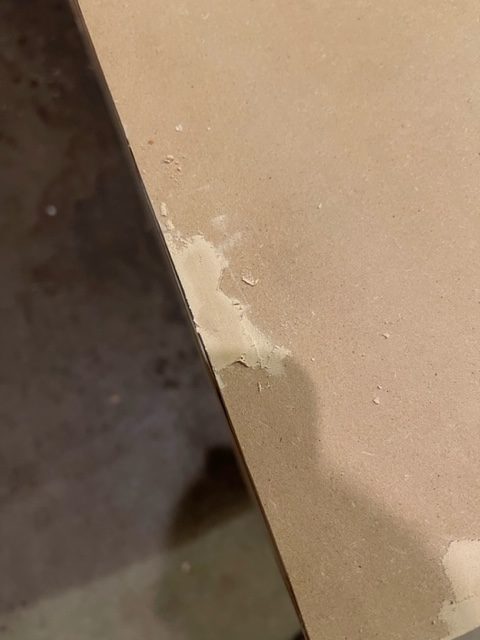
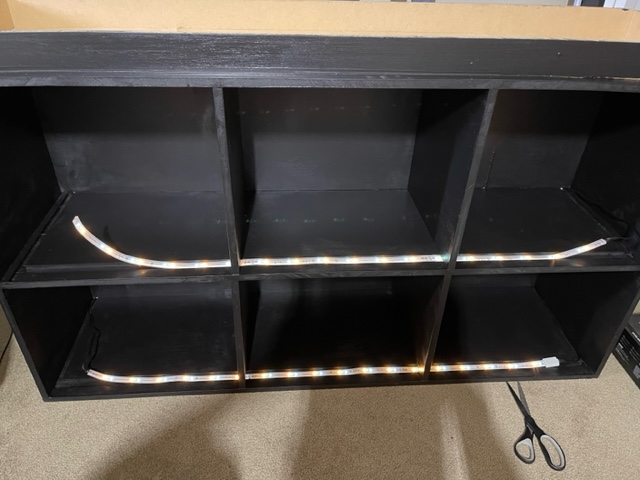
I drilled a 1/2″ hole in the back of the shelf to allow the routing of the LED wires along the channels and out the back of the artifact. After all the screws were in place, including some that I had to redrill because of my poor alignment of the pilot holes, I filled each countersink with wood filler and applied glue where necessary, mostly in some places where larger-than-acceptable gaps were present. I left all this to dry overnight.
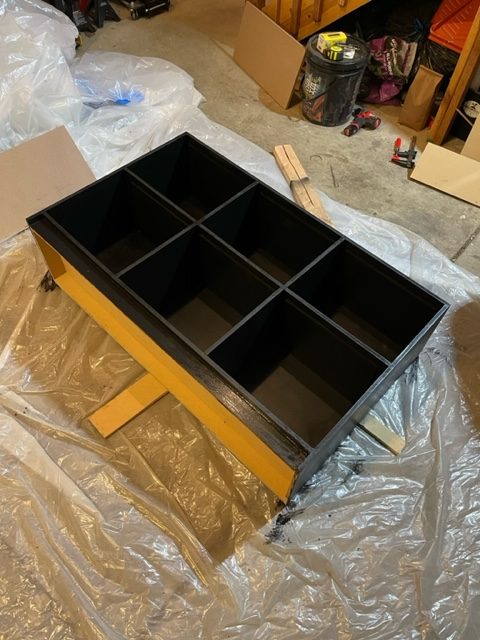
The next day, I prepped for paint by sanding the wood filler down smooth and managing any slightly misaligned edges. I also gave all corners a quick brush with the sandpaper just to remove any excessively sharp edges. I liberally applied high-pressure air to the entire shelf to make sure I had removed all particulates from the surface before painting. I laid the shelf on its back to give me easier access to the deepest parts of the shelf without covering my arms in paint. I applied two coats of paint on the accessible and necessary sides (not the back, yet) and allowed it to dry enough to stand it up, and applied two coats to the back of the shelf. I allowed it to dry overnight while propped up on some scrap wood to make sure no wet paint remained underneath the shelf or stuck to the tarp (potentially causing chipping when moved).
The very next day, I installed the LED lights while they were plugged in to make sure all the connections were good and behaving correctly(correct orientation of plugs, etc.) I used small amounts of hot glue to secure the wires in place as they routed out the back of the shelf. I had to apply some super glue to a few of the sections of LEDs due to the less-than-great adhesive (also possibly my error in installation) to hold them up in their channels properly. I also added a small piece of automotive weatherstripping to the bottom of one of the units to help keep the largest item in place. It is longer than the rest by about two inches, but I did some math prior to construction to make sure that it could fit in the space propped up, saving a lot of wasted space and material should I have had to make the entire shelf 2 inches deeper.
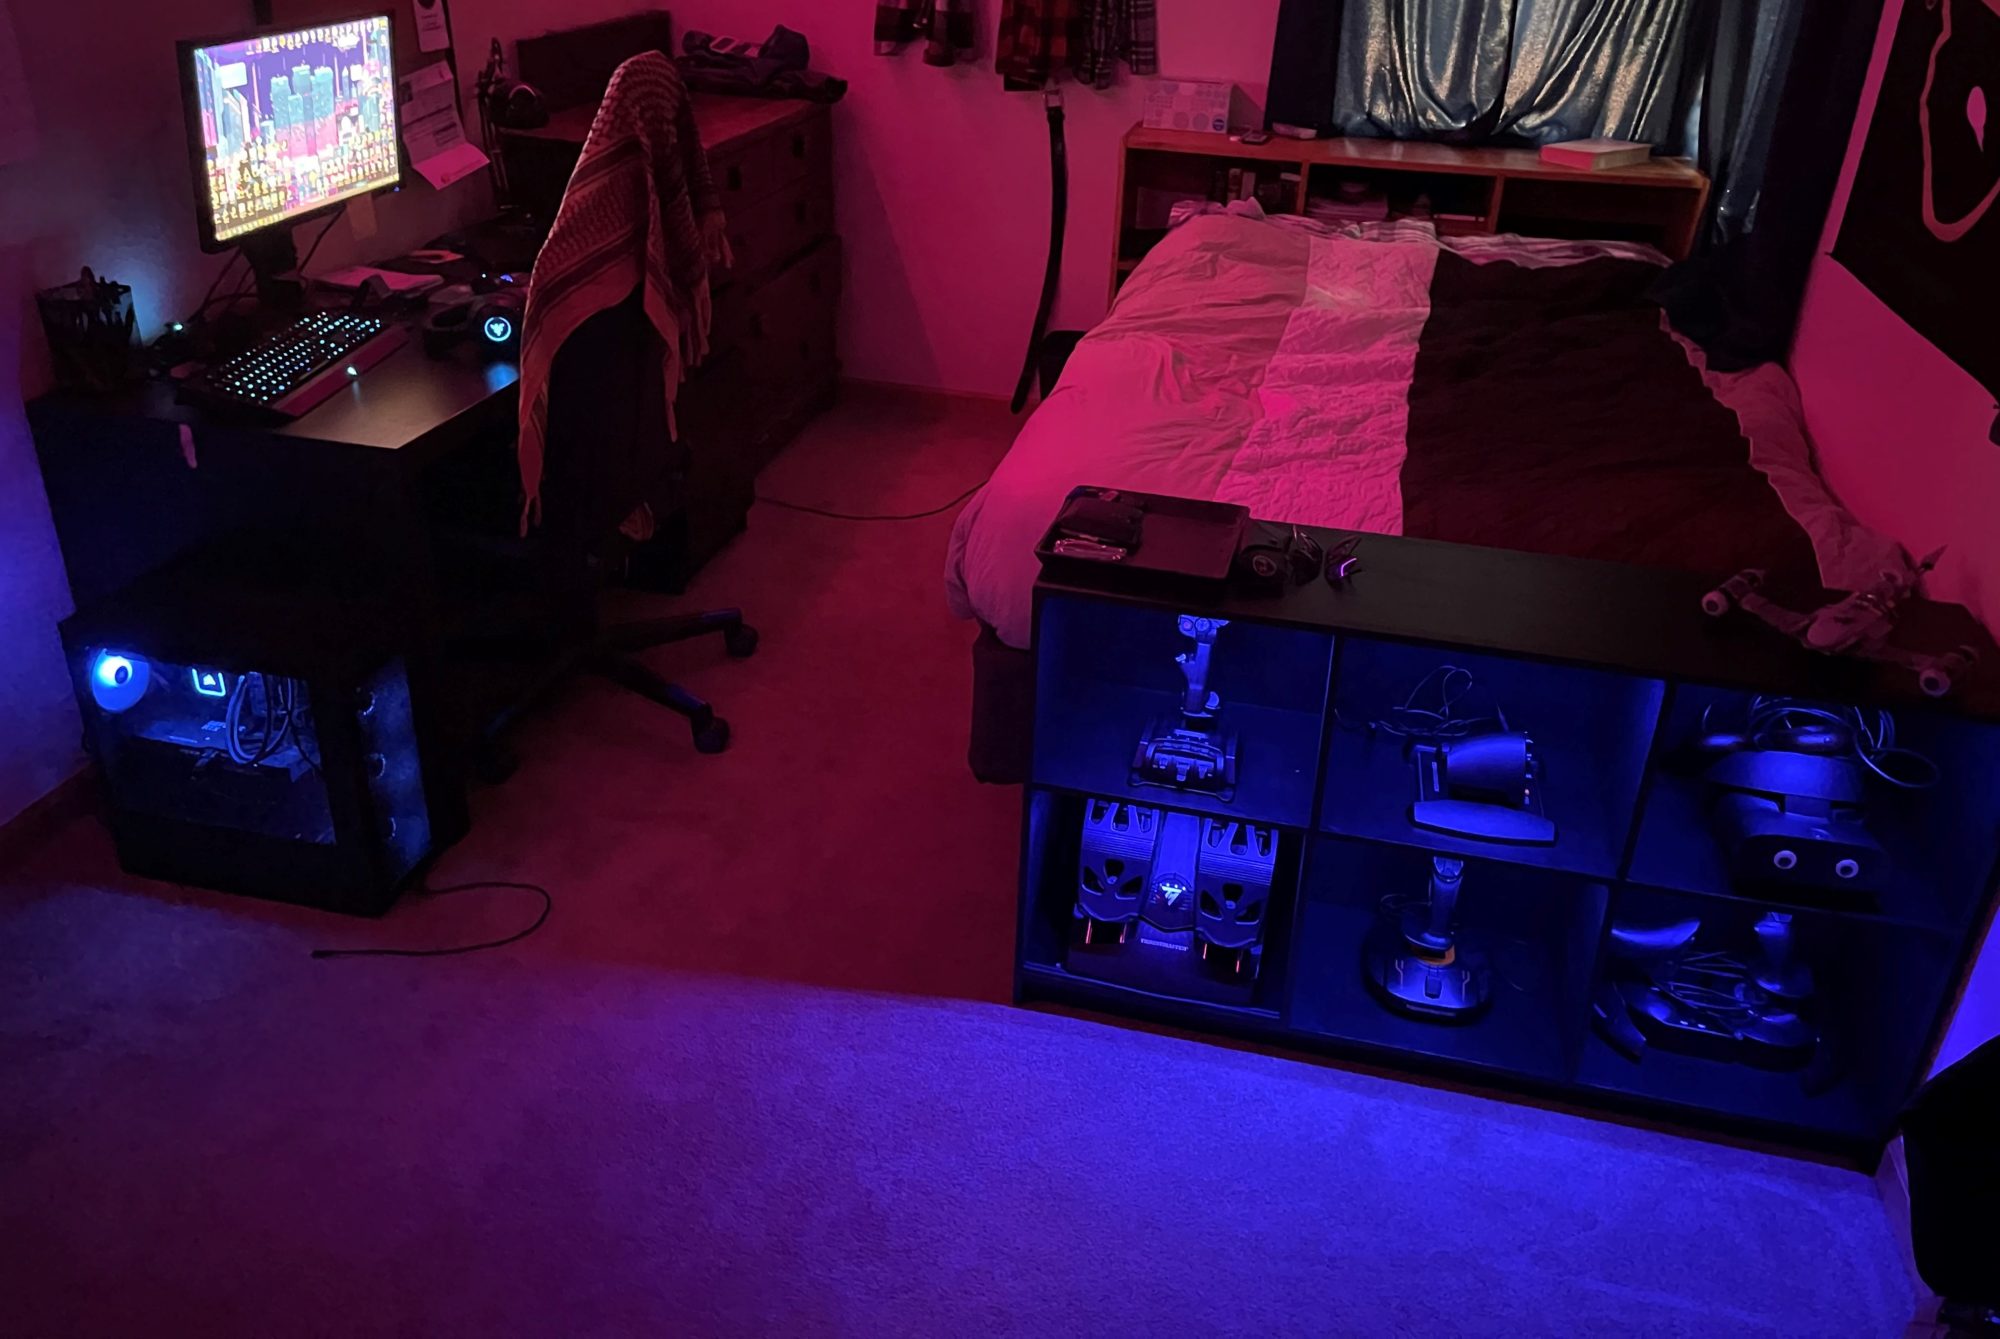
Overall, I am incredibly happy with my shelf (pun intended). I think it looks great, especially how it fits in with my room, and I have already noticed it having an unintentional effect: encouraging me to interact more with my simulators. I have cut down the setup and cleanup time of using my controllers from 5-10 minutes to 2-3. This was a significant factor in me not using these things as much as I would have liked. When you have 30 to burn between things that need to get done, it is frustrating to spend close to half of it just setting up and cleaning up, and I am very glad it has had this effect.
I intend to give it a light sand in the future with some very high grit sandpaper, just to smooth off some of the edges that feel sharp due to the way the brush applied a texture to the paint, which I believe helps sell it to looks more like actual wood, but is a bit too extreme as of right now. I will also likely apply a light coat of clear, protective paint, potentially with an airgun, to the shelf to help smooth some of those surfaces again and to provide extra durability to the piece.
Presentation Link: Here