
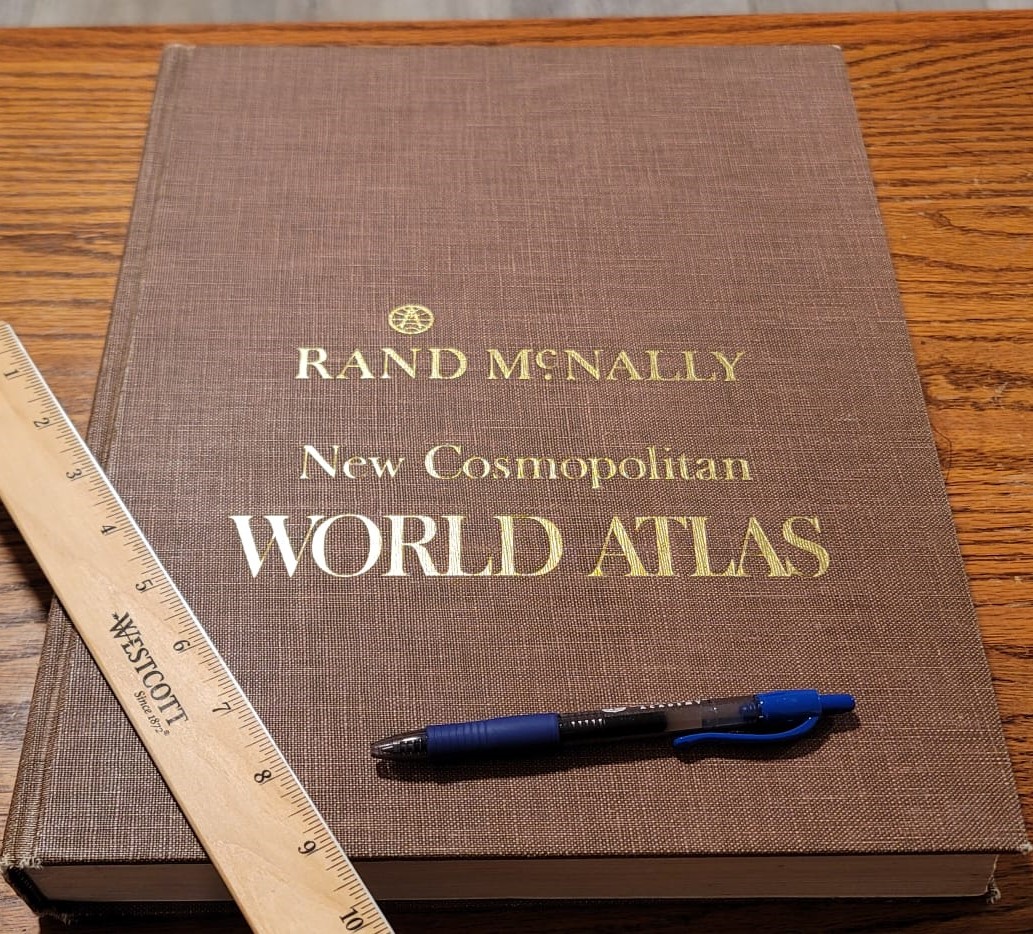
In considering the whole realm of possibilities for turning this old atlas into a self-supporting art frame – or “bookframe” – I arrived on a design that will add structural integrity to the fragile binding so it can be enjoyed for many years to come.
The bookframe process involves six key evolutions: Measuring and cutting an 8.5″x11″ section from the cover, replacing the removed section with picture frame glass, fabricating a page support bracket and kickstand, attaching the bracket and stand, securing the artwork behind the glass, and adding a fastener to hold the cover tightly closed without closing it permanently.
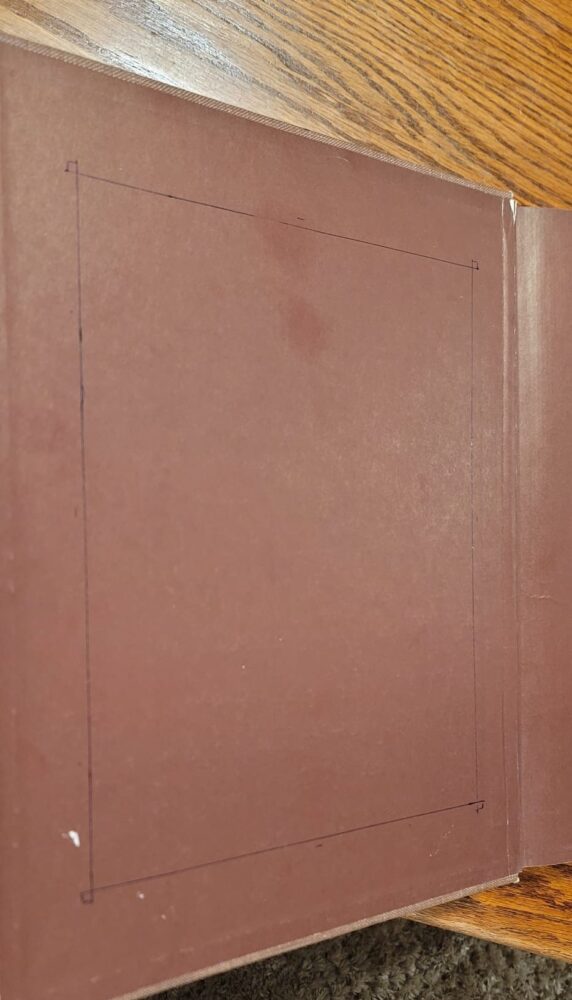
 Cutting the cover: An 8.5″x11″ page was used to center and slightly undersize the hole to be cut in the atlas’s cover so that no gaps will be left around the artwork. A small “practice” hole was cut to get a feel for how well a boxcutter blade would carve a thick cardboard and book cloth surface. This also gave me an idea of how I might integrate a slight angle to the cuts so frayed cardboard edges might be hidden from view in the final product if they appear.
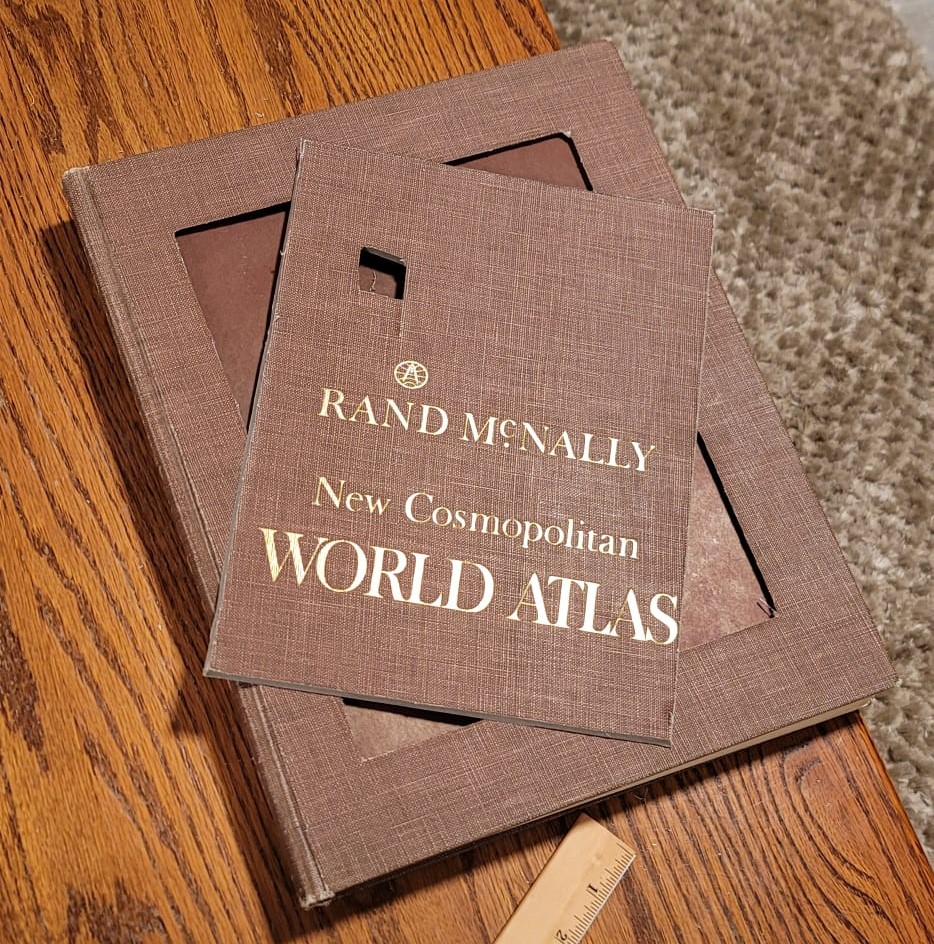
Taking the time to make steady cuts paid off with clean edges and an accurate fit. So the cardboard wouldn’t be prone to fraying or absorbing moisture, I also added a layer of non-acidic glue to the freshly cut edges.
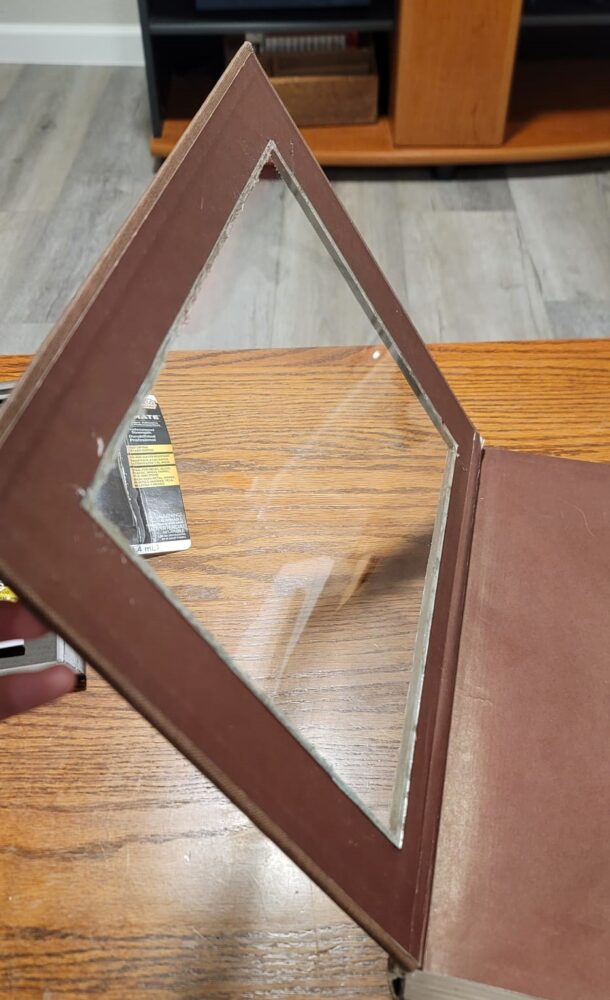
 Adhering frame glass: I purchased an inexpensive picture frame for the glass I’d insert into the now hollow cover. Once the cover section was removed, I traced the glass around the cut edges and made another trip around the cover with the boxcutter – this time only cutting a few layers of paper away to reveal a good adhering surface for the glass. With a different adhesive, I carefully glued the glass pane to the inside of the atlas cover, overlapping barely 1/8″ on each edge. Given a chance to set, the adhesive held perfectly so that the new glass cover could be opened and closed like any book cover.
![]()
Supporting bracket and kickstand: Imagine a small music stand attached inside the back cover of a book, holding the pages up from the bottom. That’s the premise of the bookframe’s internal supports.
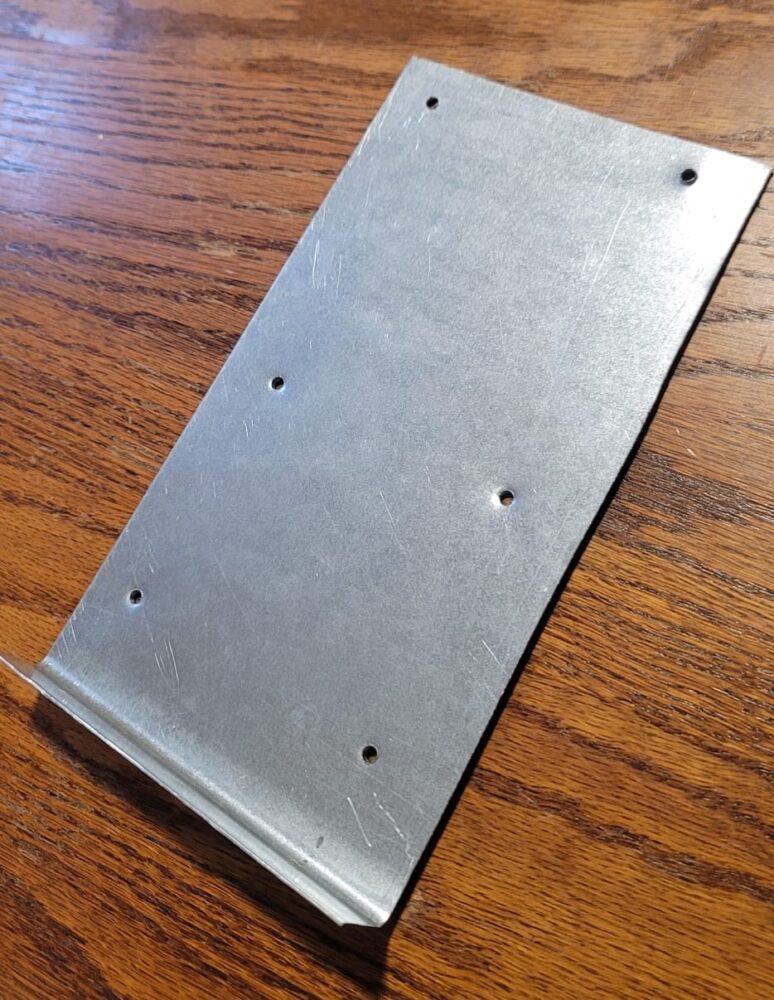
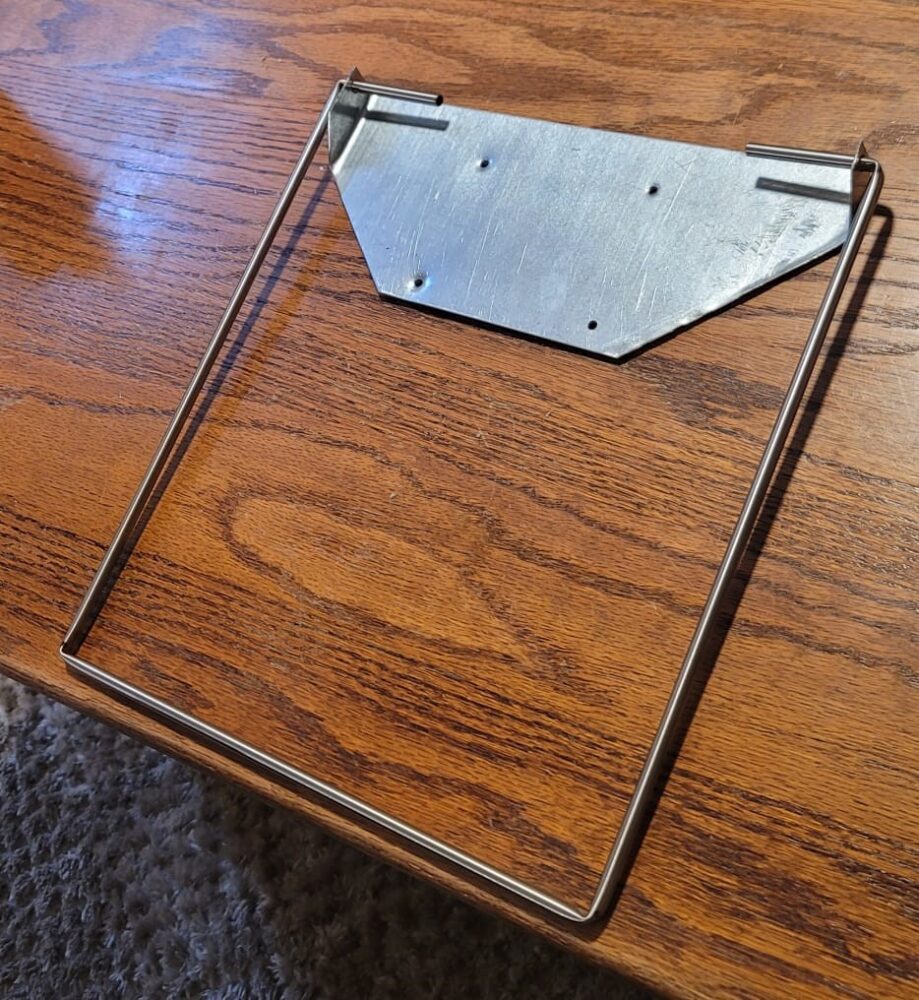 I stopped by the ITLL’s manufacturing center and found scrap pieces of steel – sheet metal and tubing. After some tinkering with different tools, I fabricated two sheet metal pieces that would overlap and attach to the back cover. The lower section is a simple rectangular shape with a 1-inch lip on the bottom edge for supporting the atlas’s sagging pages (like a music stand). The upper section is an upside down trapezoid with the two widest corners bent backward and holes drilled into the protruding bends. These will punch through the back cover and receive the kickstand. The kickstand is a square shape made of bent steel tubing, perfect for supporting a tall and heavy book. The sheet metal components will be pop-riveted to the back cover, and the book’s pages will be seated on the frame.
The remaining steps are to attach the internal supports via drilling and pop rivets, cut and fashion some of the atlas’s pages to hold the artwork to the cover, and identify a closing mechanism for the front cover.
2 Comments. Leave new
I think this is a fantastic idea! I think what you have done so far looks great. It might be cool to add some backlighting or maybe use some of the pages of the atlas as clip art around the frame. I look forward to the finished product
Thanks for the feedback, Xander. I hadn’t thought of backlighting, and I bet it would look great if I can find some small lights. My wife suggested too using an atlas page to border the inside of the frame. My hesitation though is that it might draw attention away from the small script writing on the art piece I intend to put behind the glass. Maybe I’ll cut one and make it removable so that’s always an option.