

For my upcycling project, I decided to create a Rustic Modern wood mosaic wall art piece using leftover firewood that had been sitting outside for years. My second post showcases the various mosaics that inspired this project.
Now, I will outline the steps I took to create this piece so far.
Step 1: Cutting the firewood into blocks.
For this step, I first cut both ends of the eight firewood logs to have a clean, straight edge to create the blocks as shown in Figure 1.
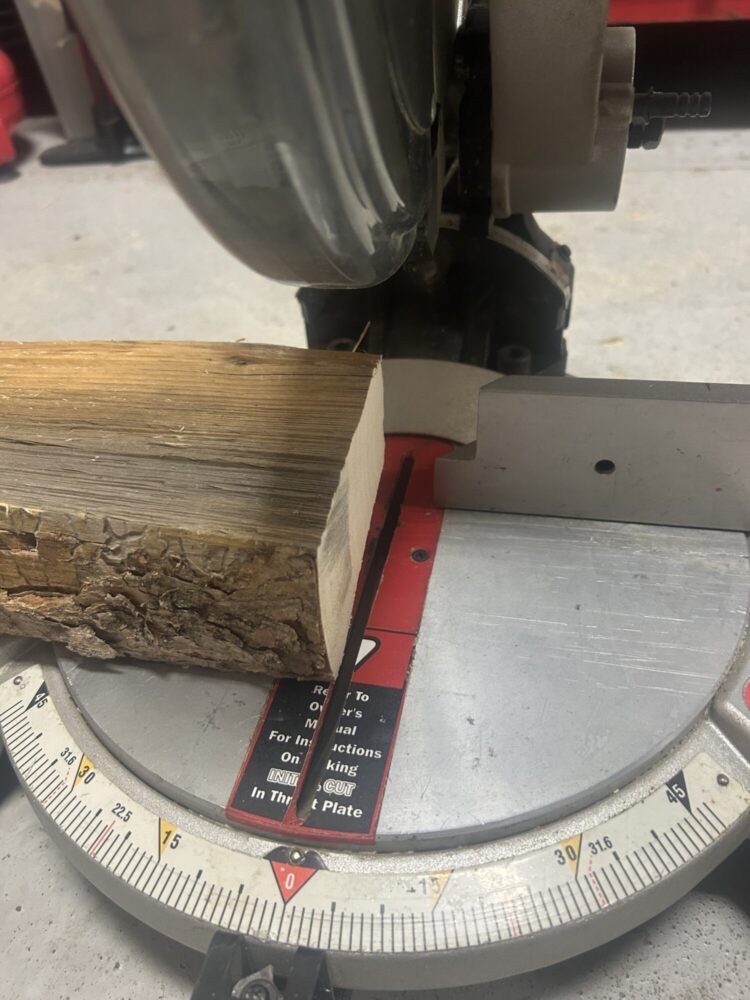
The next process was to cut the firewood logs at various angles. I achieved this by using a 10-inch compound miter saw that locks at various angles. I alternated between 15, 17, and 20-degree cuts. Additionally, I did not precisely measure the thickness of the blocks. Instead, I intentionally cut some thicker and others thinner to create dimension in the final piece. Figure 2 shows the miter saw setup during this process.

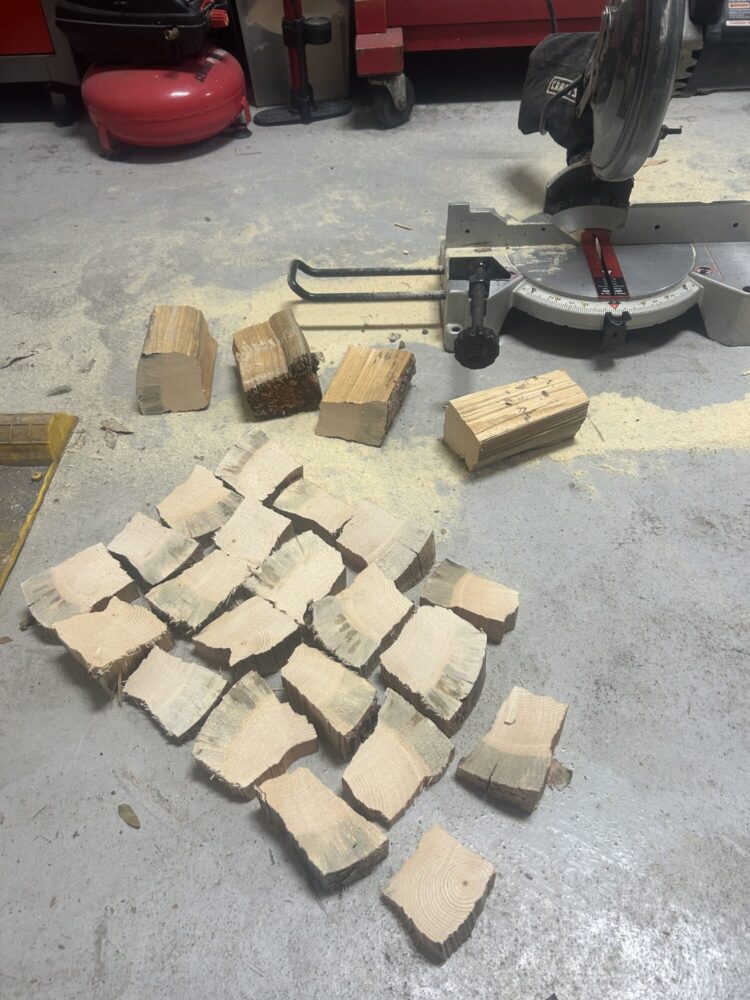
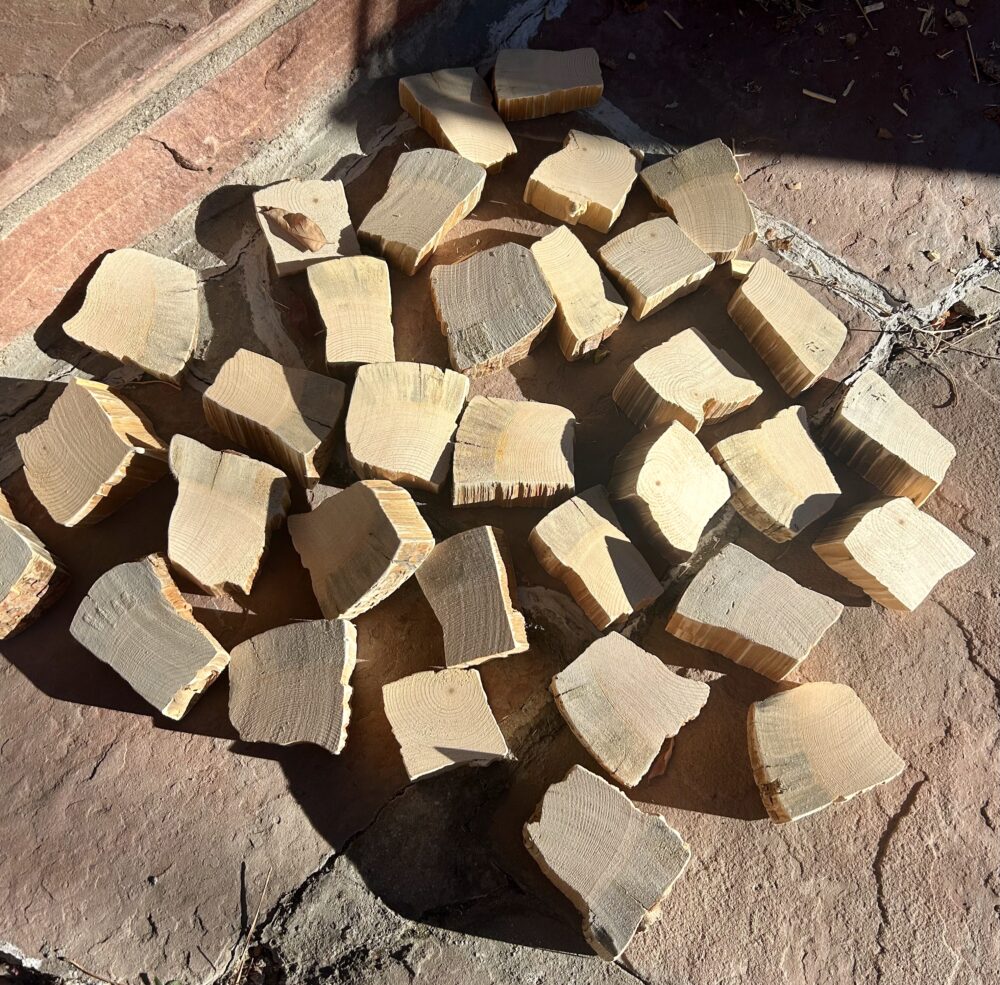
I repeated this process until all eight of the logs were used. Figure 3 is a progress picture of what these blocks looked like as they were initially cut. Many of them had frayed edges and splinters which made them difficult to hold.
Step 2: Sand the wood blocks.
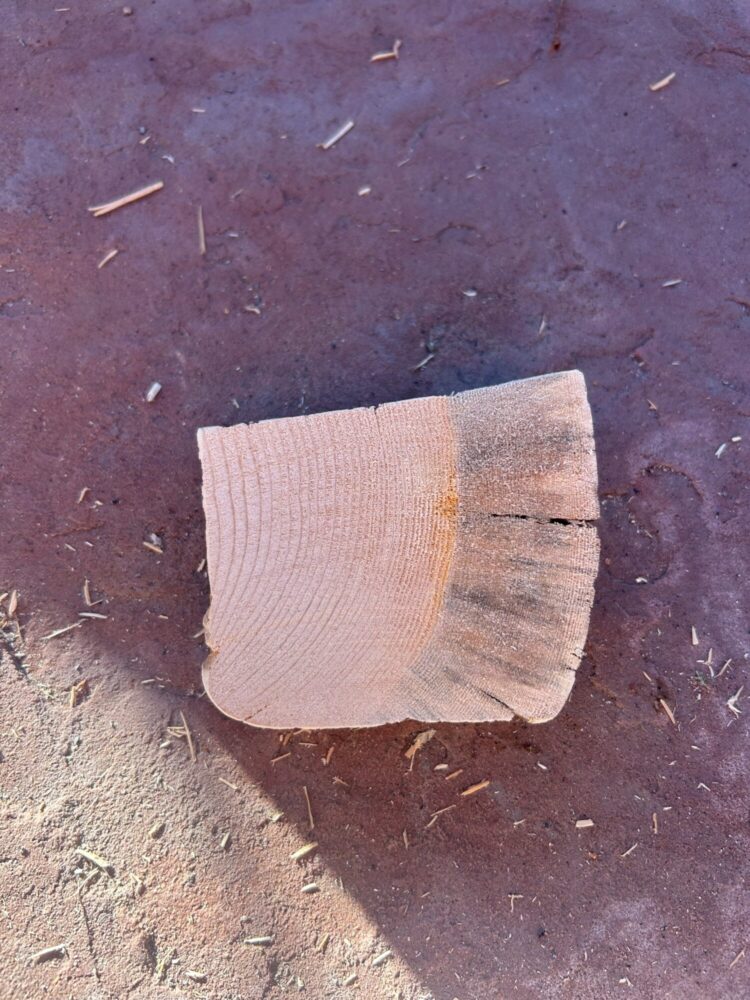
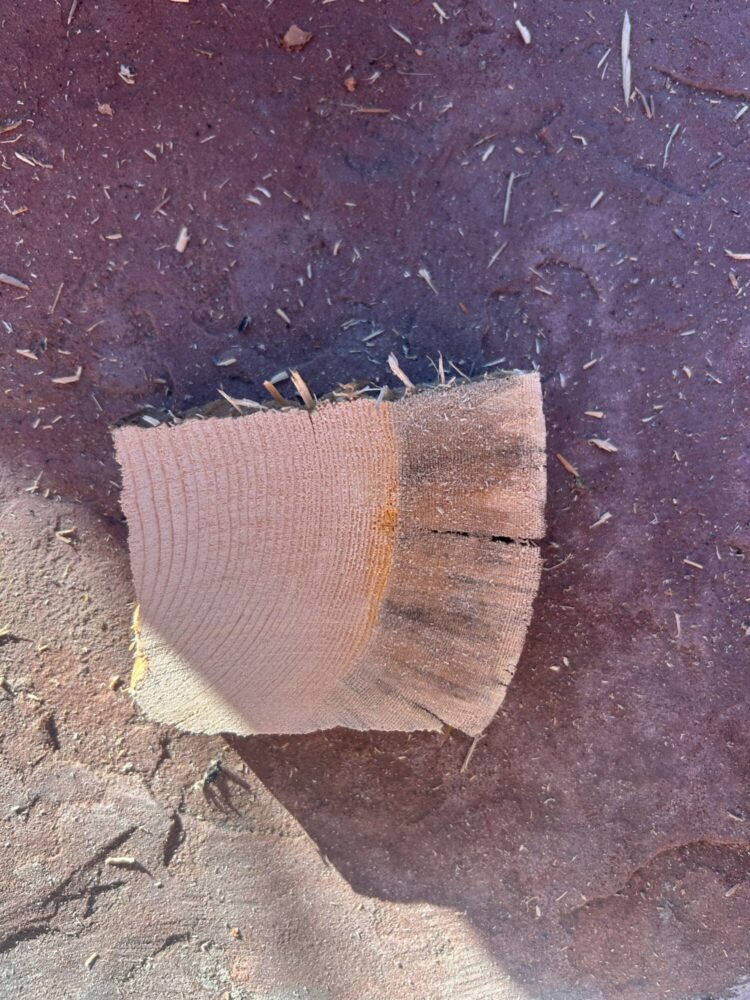
For this process, I used various sandpaper grits to achieve a clean, smooth surface to eventually stain the wood blocks. To begin, I used 60 grit sandpaper to remove the frayed edges and any splinters that were coming off the sides. Figure 4 showcases the before and after of this process. Once the frayed edges were removed the wood blocks were much easier to handle.
Next, I used 150 grit sandpaper to prep all of the surfaces of the wood blocks for stain. I spent a lot of time on this step. I was going to use a higher grit sandpaper to make the surfaces more refined, but I began to notice that some of the natural markings on the wood were disappearing as I sanded more. I decided to only use 150 grit sandpaper to preserve the natural features of each of the blocks in the final piece. The final blocks are shown in Figure 5.
Step 3: Place the wood blocks into the desired positions.
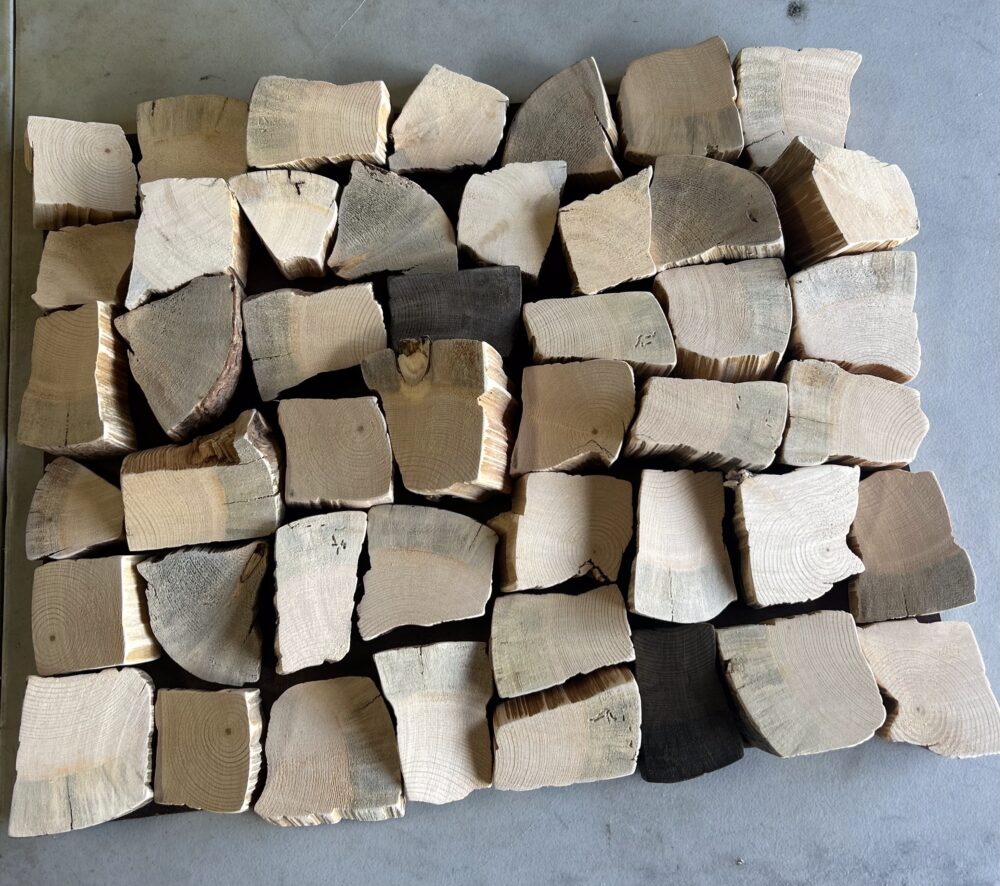
I spent a lot of time to place the blocks into the desired positions. My goal was to minimize gaps while still showcasing the organic edges and natural shapes of each block. Unlike my inspirations, which used perfectly square blocks, my design embraces organic, irregular shapes, making my piece unique. The final positions I have decided on for my piece are shown in Figure 6.
Next Steps:
- Determine the stain color pattern.
- Cut and stain the backboard, which will serve as the foundation for the blocks.
- Stain each wood block and glue them to the backboard.
- Attach a wall-mounting hook to complete the piece.
So far, I am happy with the result and excited to see the final product.
2 Comments. Leave new
Wow, after staining and the remainder of your steps, I can not wait to see how beautiful your art piece will be! I liked how in your post you showed various pictures throughout the progress you have made. I look forward to the completed project. How do you plan on staining the backboard to make the piece pop more? Meaning, do you plan to utilize the same stain for the backboard or a contrasting dark or light color?
Thank you Anthony! I bought a tempered wood 2’x4′ board that I will be cutting and staining. I plan to use the darkest stain I have at my house. This will ensure that the background appears dark behind the various tons of the wood blocks, and makes the gaps between the blocks appear less visible compared to a light background.