

My Project Aestetic:
I want to create something that follows a Parisian jazz aesthetic. The Parisian jazz style is warm and cozy, with a romantic and intimate atmosphere. Songs typically focus more on melodic beauty and almost have a flowery feeling. Typical colors are not normal jazz blue but more bright like a bright red or yellow.
Therefore for my project, I would like to create something that would fit nicely into a Parisian Jazz club. It must fit the aesthetic of being bright, fun, and exciting, and not something that puts someone to sleep. I want it to have a connection to jazz and be something that can stand uniquely on its own, like how Parisian jazz stands uniquely away from classic jazz.
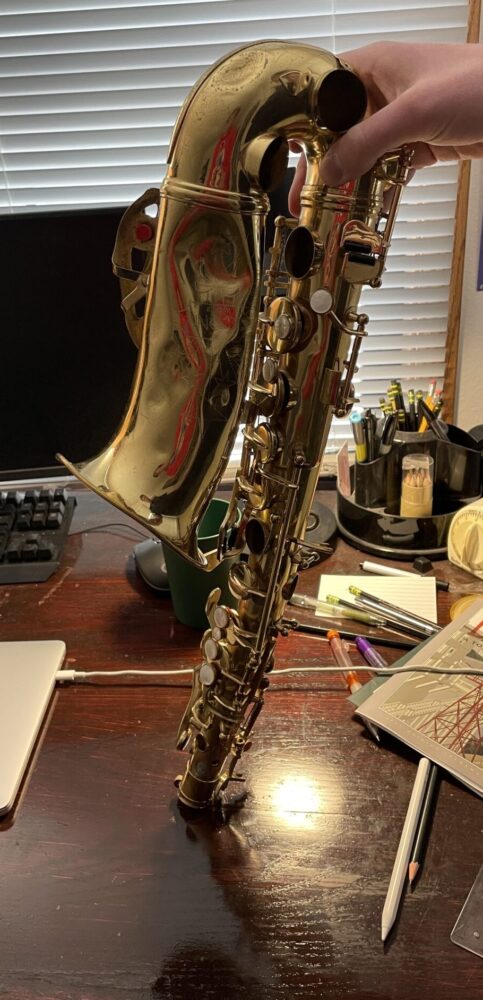
Figure 1: Saxophone I up-cycled
Therefore, I am creating a saxophone lamp. My vision for this lamp is to be a unique twist on a standard saxophone, and add enough color that it would fit in the cozy, loud, bright environment of a Parisian Jazz Club. For its function, I would like it to be a lamp that produces light-nothing more. For its aesthetic, I want it to be interesting to the eye, but not command attention(like how I view Parisian jazz to feel more flowery and light then say rock and roll). I would like color to be a large part of the design, so a RGB light would be nice.
Fabrication Process
I sourced my saxophone from Rocky Mountain music repair, a old vinyl record from my Grandmother, and a metal rod and wood from my father. Then I went to HomeDepot and bought a speaker Light Bulb, a strip light, a fixture, a cord, and a plug. These are all of the materials I needed for this project. I am pretty happy with this as 90% of my project is up-cycled, except for my electronics. Furthermore, since I found a light bulb with a speaker built in, the saxophone now plays music!
I began by constructing the base that the saxophone would sit into. I cut a circle from my dads piece of wood, drilled a hole in it and stuck the hollow metal rod through it. Then I fished the lamp cord through this rod. Next, I drilled a larger hole in the vinyl record and pushed the metal rod through it. The base of the lamp is now essentially complete.
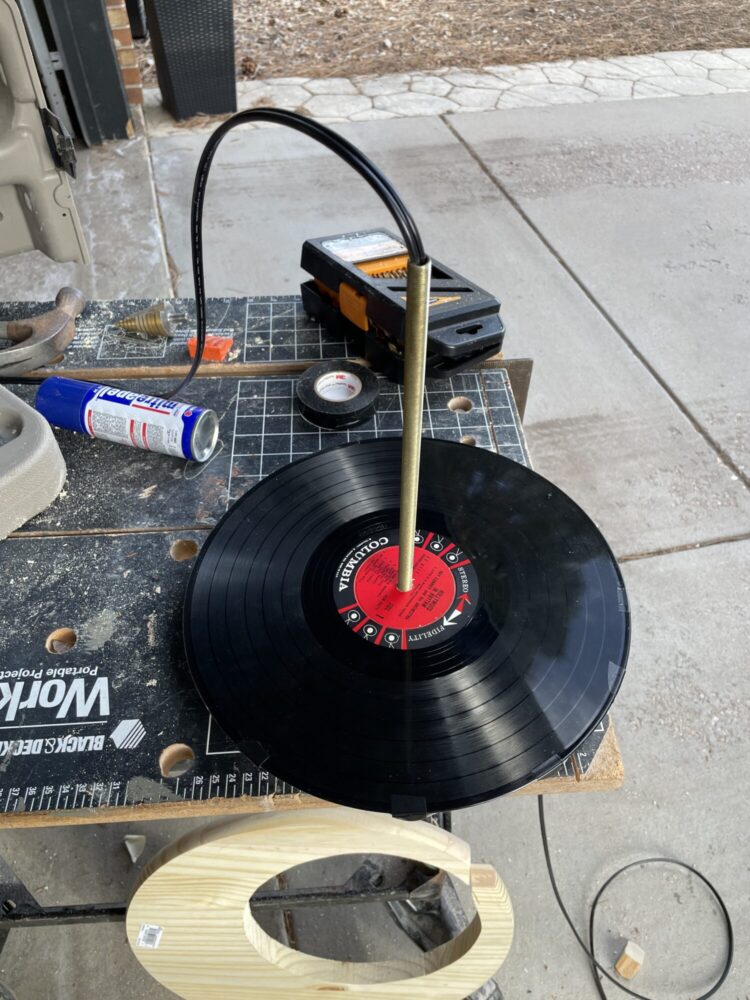
Figure 2: Base Construction
Next, I turned the saxophone upside down and stuck it through the metal rod. Now the saxophone was standing on the base but it could be pulled out easily and was not structurally attached. Thats why I then used clamps and began feeding a very large amount of gorilla glue down the saxophone, with the hope that it would glue the bar to the inside of the saxophone. I attached tape all over the empty holes, and let it dry for 24 hours.
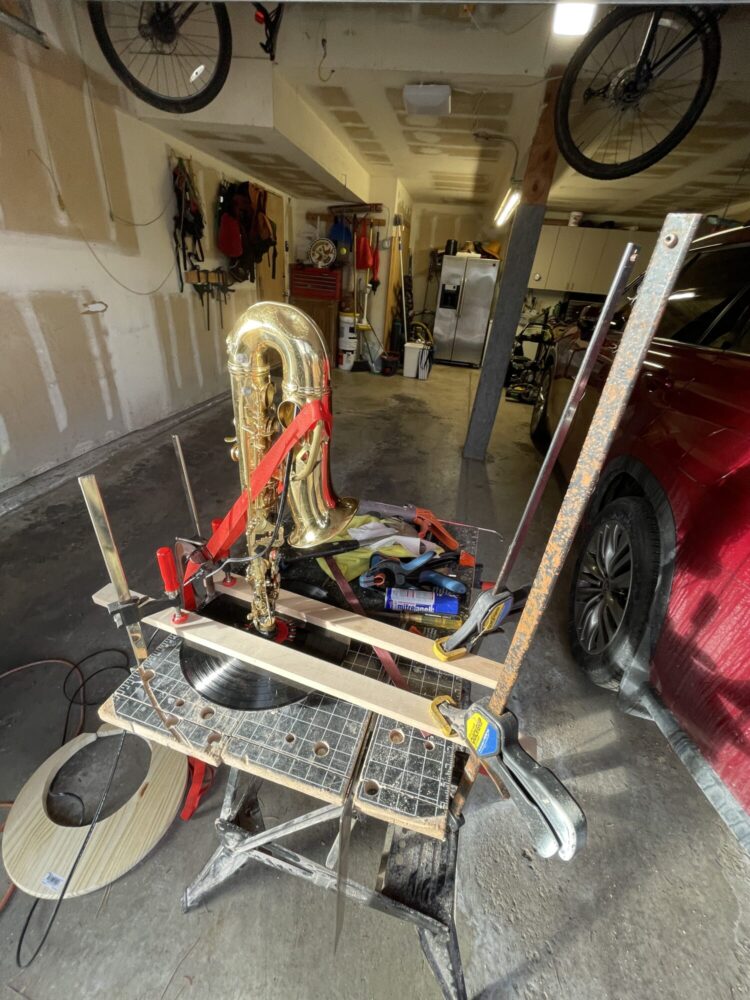
Figure 3: First Drying Stage
Unfortunately, the glue I used turned out to be flexible glue, and would not harden like a rock like I wanted. Thats why the next I day I went back to home depot, bought the world strongest bonding Epoxy, and dumped all of it into the saxophone and let it dry again.
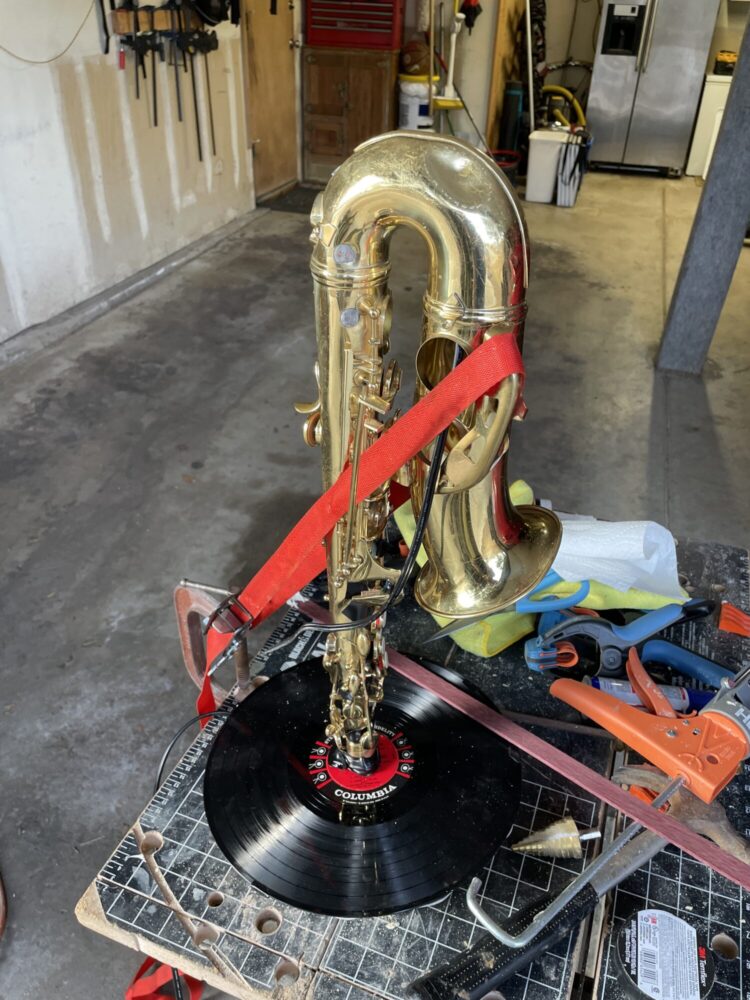
Figure 4: Second Drying Stage
Now that the saxophone is eternally attached to this metal rod, it was time to attach all of the lights! I added strip lights below the vinyl record, and since it came with its own adhesive, it was easy to attach. Then I attached the end of the lamp cord to a plug and the front of the lamp cord(the one coming out of the bell of the saxophone) to a light fixture. Then I screwed in the speaker light bulb and pulled on the cord from the bottom, therefore tightening the bulb into the bell of the saxophone. Then I attached a metal bracket to the base of the cord so it would never move, and therefore the light bulb would never move.
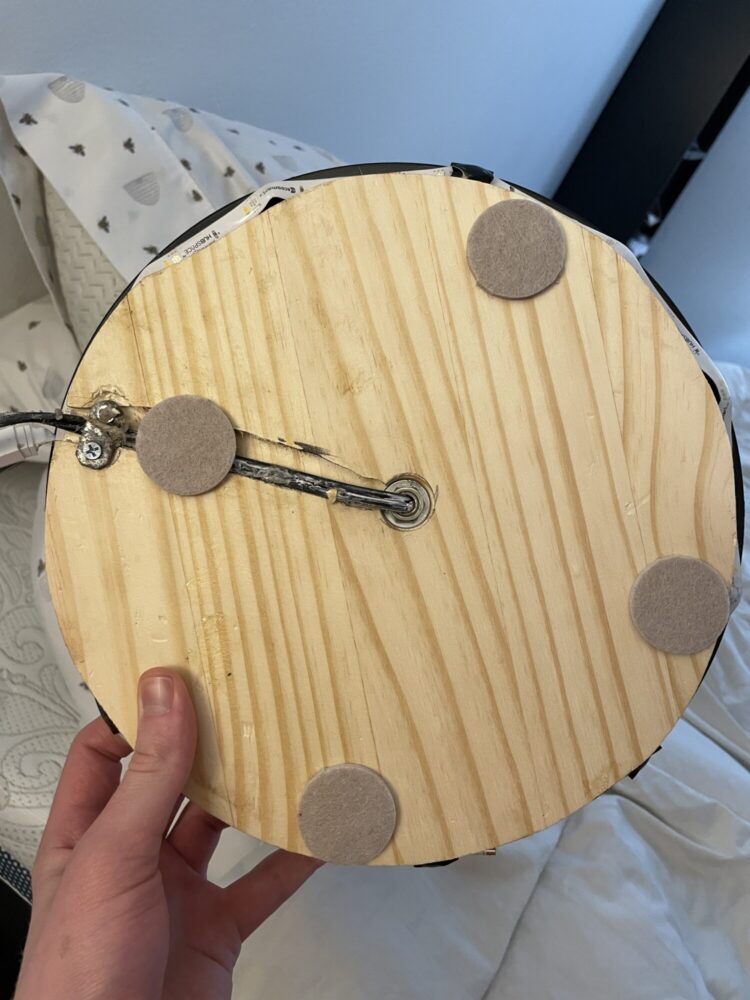
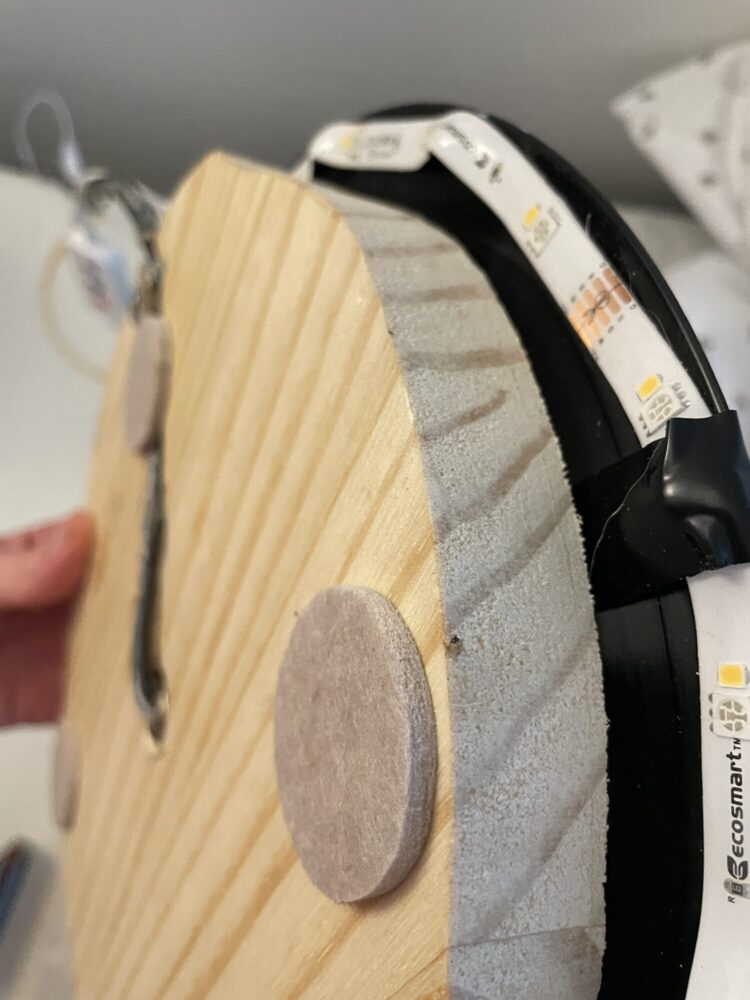
Figure 5 & 6: Base of the saxophone
Now going forward I will be adding the final touches, as there is glue all over the saxophone and some spilled on the vinyl record. Once I clean that up I believe I will be done with this project. So far, I am very happy with how it has turned out. Below are some images of what it looks like with the lights turned on!

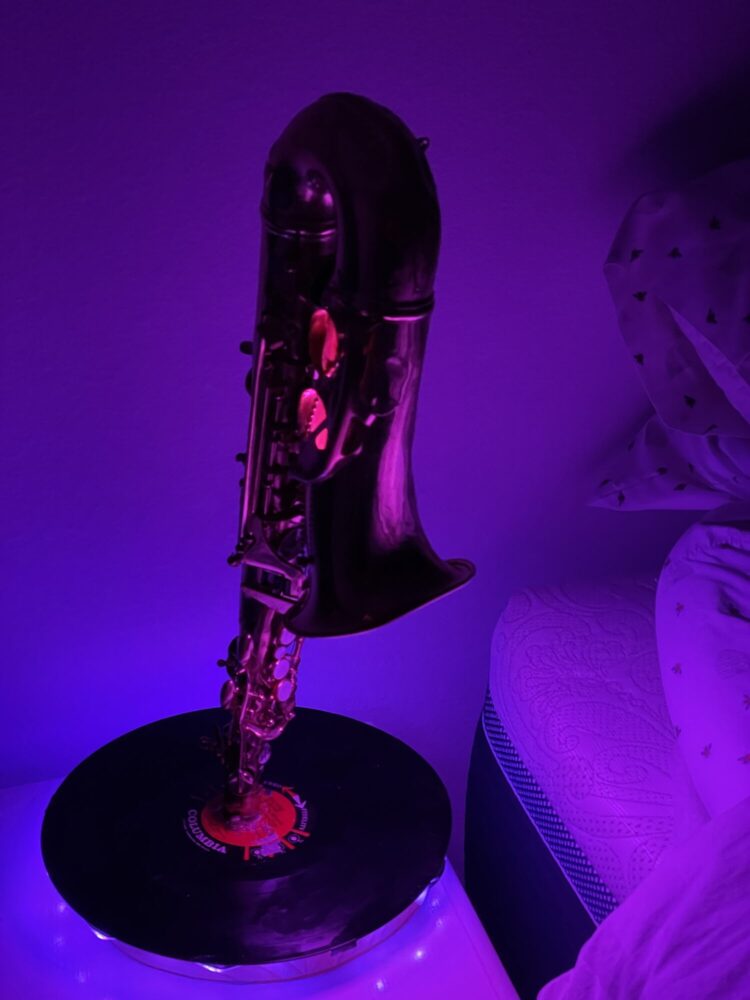
Figure 7 & 8: Saxophone with lights
4 Comments. Leave new
Loving how this is turning out! Exciting to see how much progress you have made. One suggestion I have is to get some RGBW led strips, since they are much more capable at projecting a warm white. I think that could help match your aesthetic more accurately.
Im glad you think it looks amazing Bryce and that its the coolest thing you’ve ever seen! Getting RGBW lights was probably a better decision, but unfortunately I already bought the other ones so theres no going back. However, in the future I will definitely switch.
I love this concept. I think the use of materials and the combination of the saxophone and vinyl is a really good touch. Is there enough light coming out? Could you run a strand of LEDs through the saxophone to light it up more? I think the purple is a good choice of color for jazz
Thank you Xander for your comment! And yes I believe there is enough light coming out of the bell, however, a strand of LED’s going through the saxophone would be awesome and I am currently trying to figure a way to do that. Unfortunately, I already glued the base so I don’t think I can stick in another set of wires(but Im going to keep thinking about it).