
My Inspiration and Artistic Vision
To summarize my previous post about inspirations and project ideas, the aesthetic of my final project draws from how I view my personal aesthetic in both the indoors and outdoors. What I mean by this is that my aesthetic is rooted in a love of the outdoors, warm weather, colorful things, and light. When I segment my style into outdoors and indoors aesthetics, I see my outdoor style as indie, folk, adventure core, and my indoors style as warm, earthy, and eclectic. I draw inspiration from the mountains, sunny days, and time with friends and family. I spend a lot of time outside and strive to spend as much time outdoors as I do indoors to achieve a very healthy balance of the two. I am looking to combine both my outdoor and indoor aesthetics into a multifunctional indoor-outdoor blanket. Ideally, I will create something that will be cozy on the couch and capable of withstanding the elements when taken outside. The blanket will function as a decorative and comfortable quilt in bed or on the couch, as well as a durable picnic blanket when taken outside. This way, I can highlight my personal aesthetic in multiple settings. I am also very detail-oriented. I want to create something that, even up close, displays a high level of craftsmanship, implementation of colors, and thoughtful design. I am inspired by the many possibilities of fabric combinations when it comes to quilting.
Outdoors Inspiration Photos
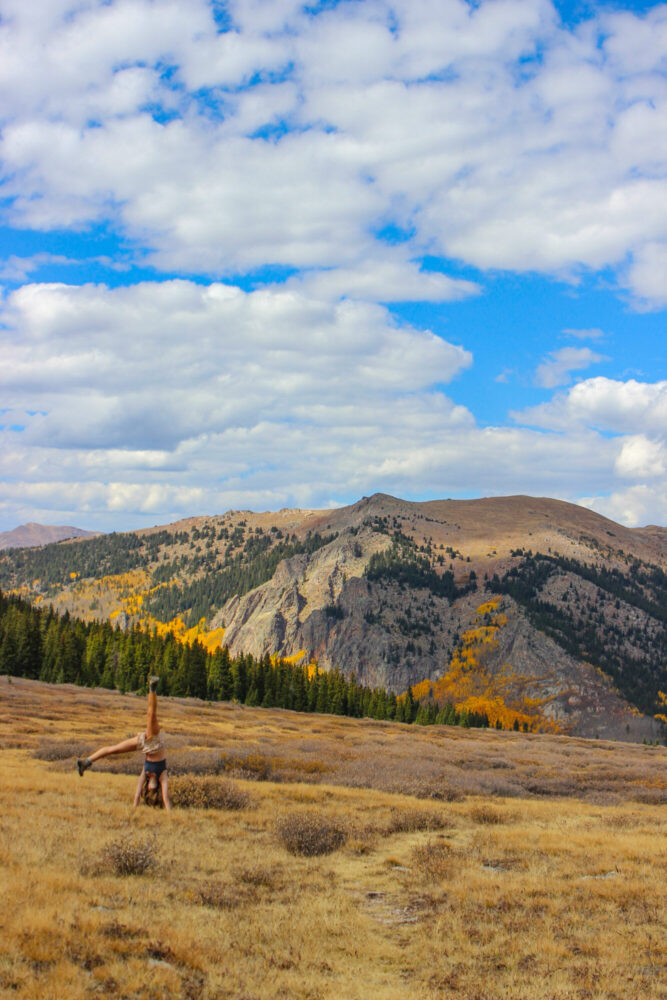
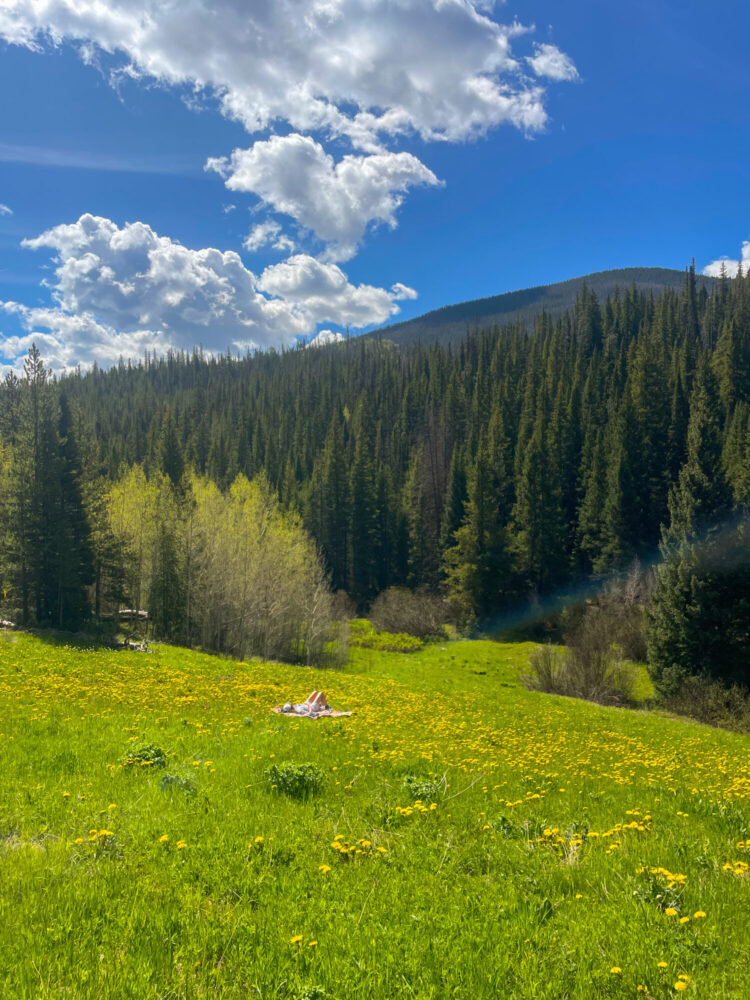
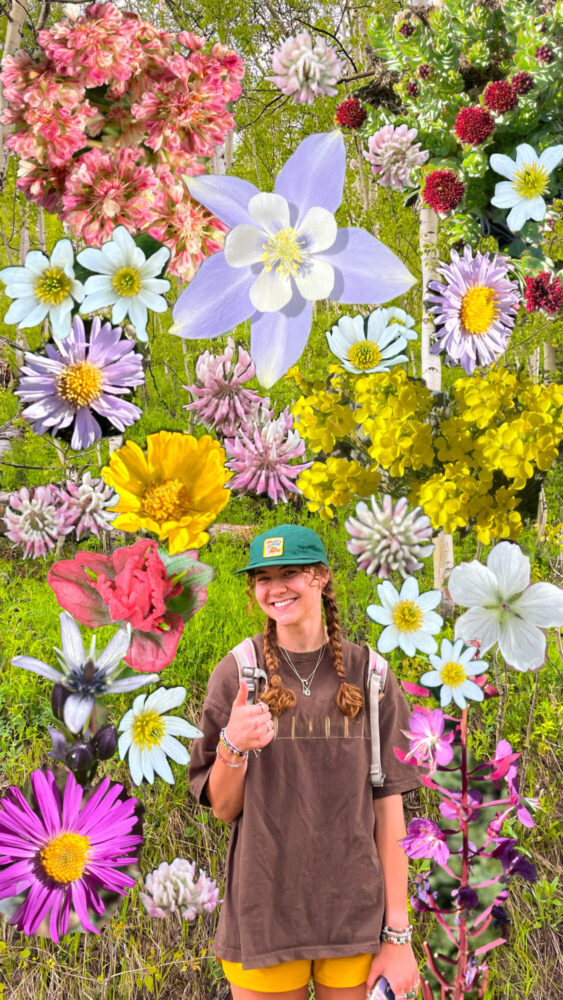
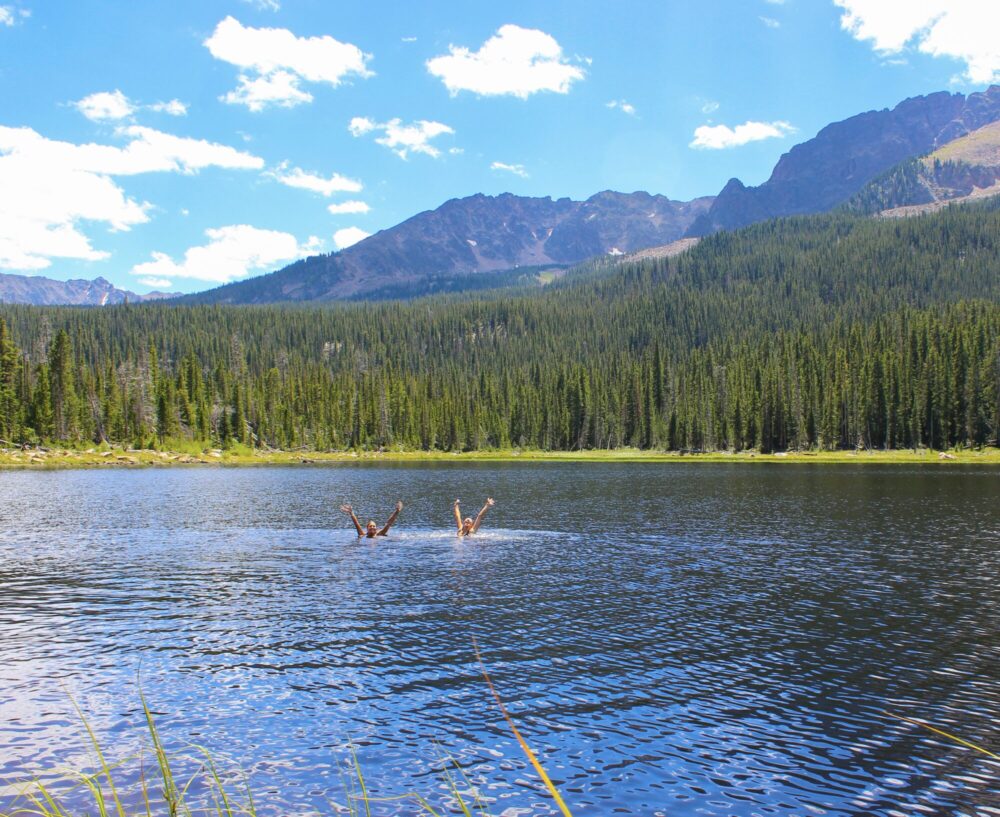
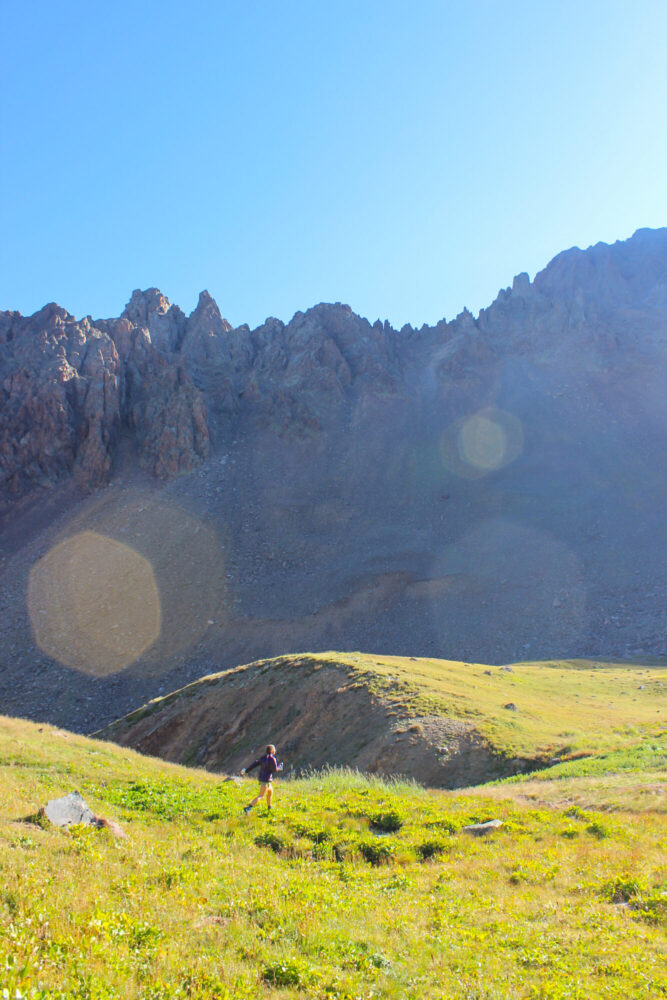

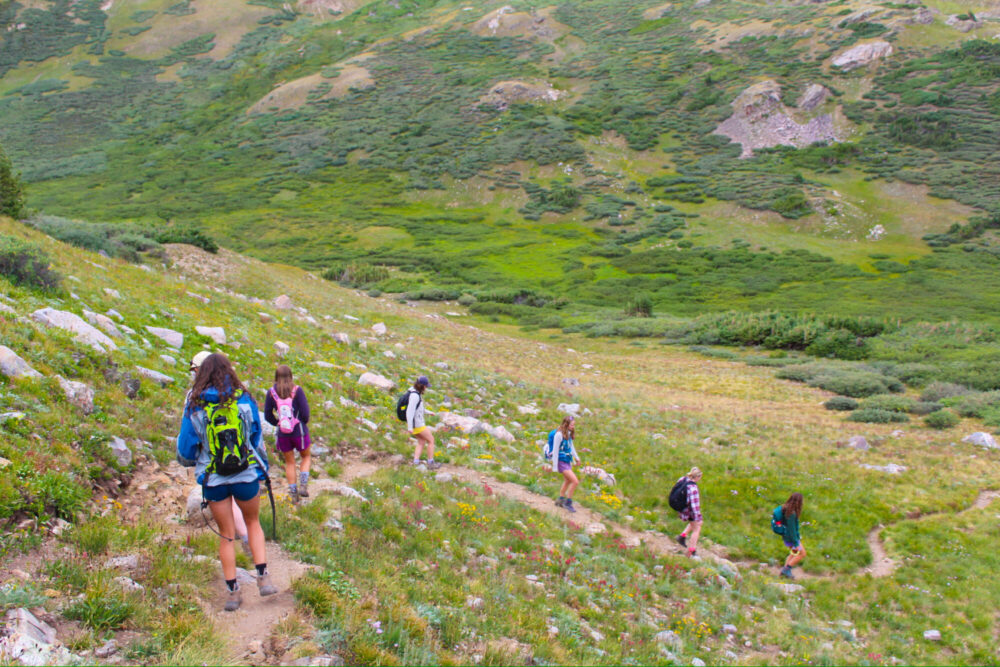
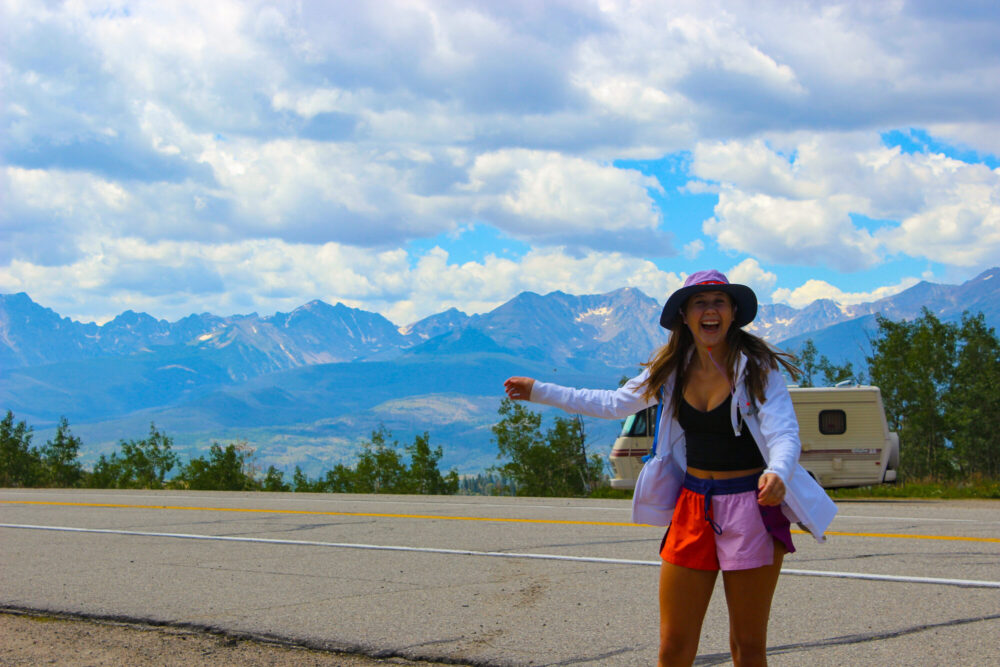
Image credit: all images are my own.
Indoors Inspiration Photos
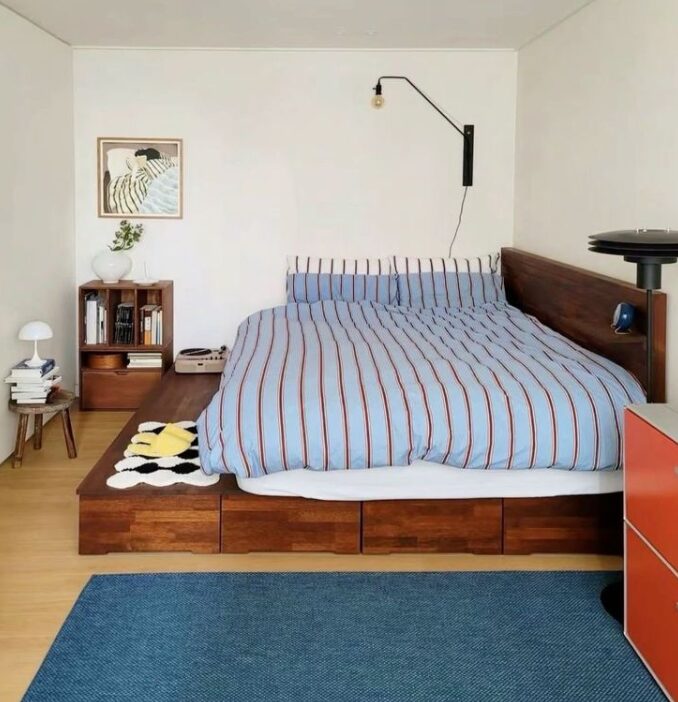
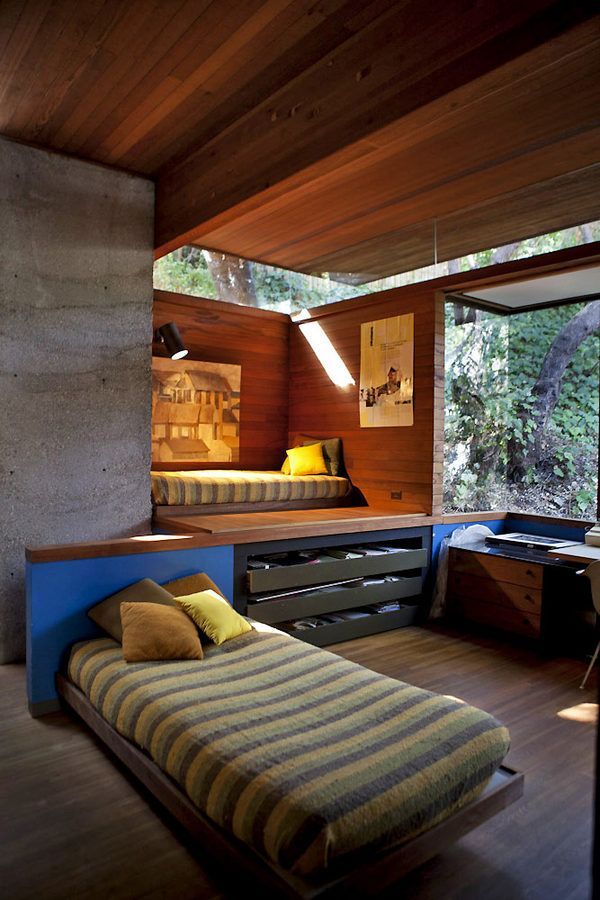
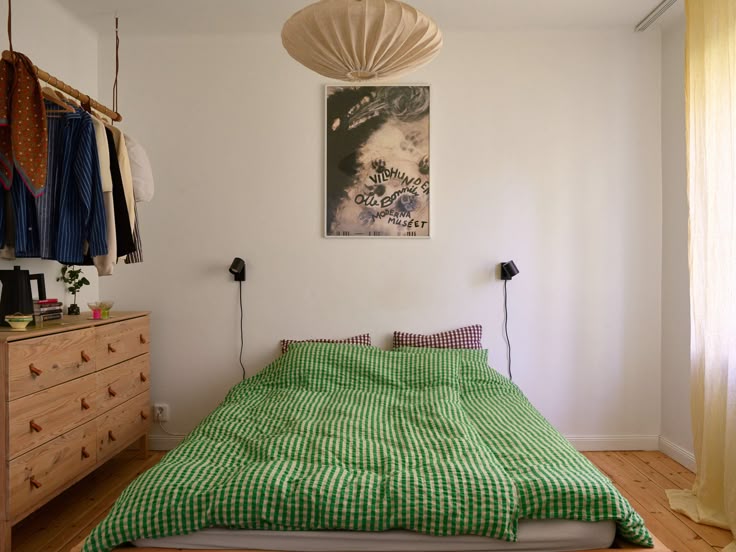
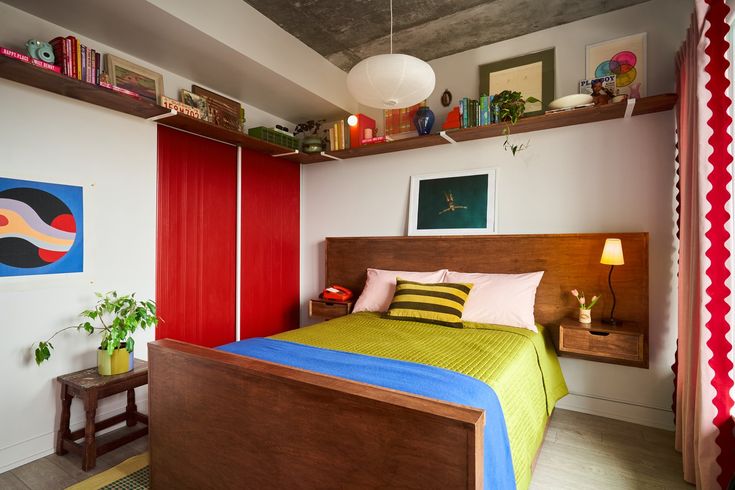

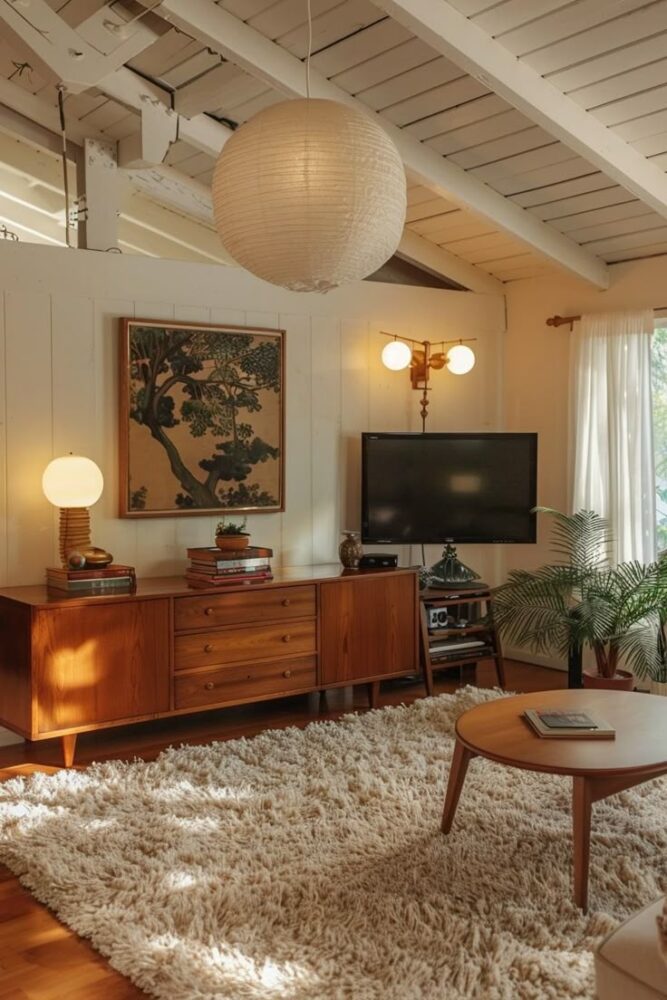
Image credit (in order): The Alchemist’s Home, Elizabeth Daniels, Historiska Hem, Jules Lee, 1st Dibs, My Decor Inspo
Quilting and Picnicking Inspiration Photos
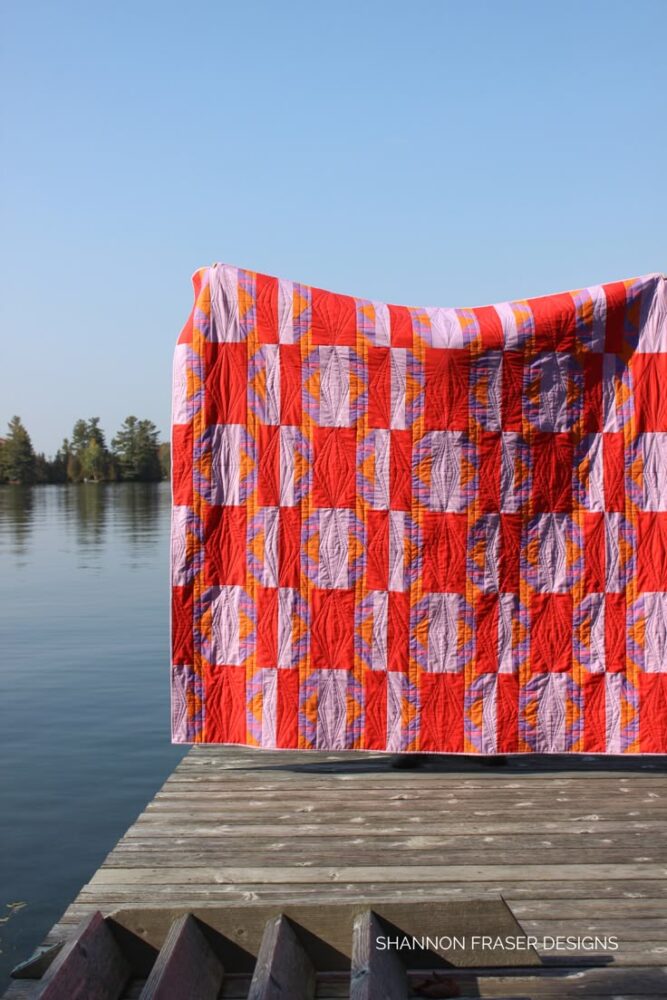
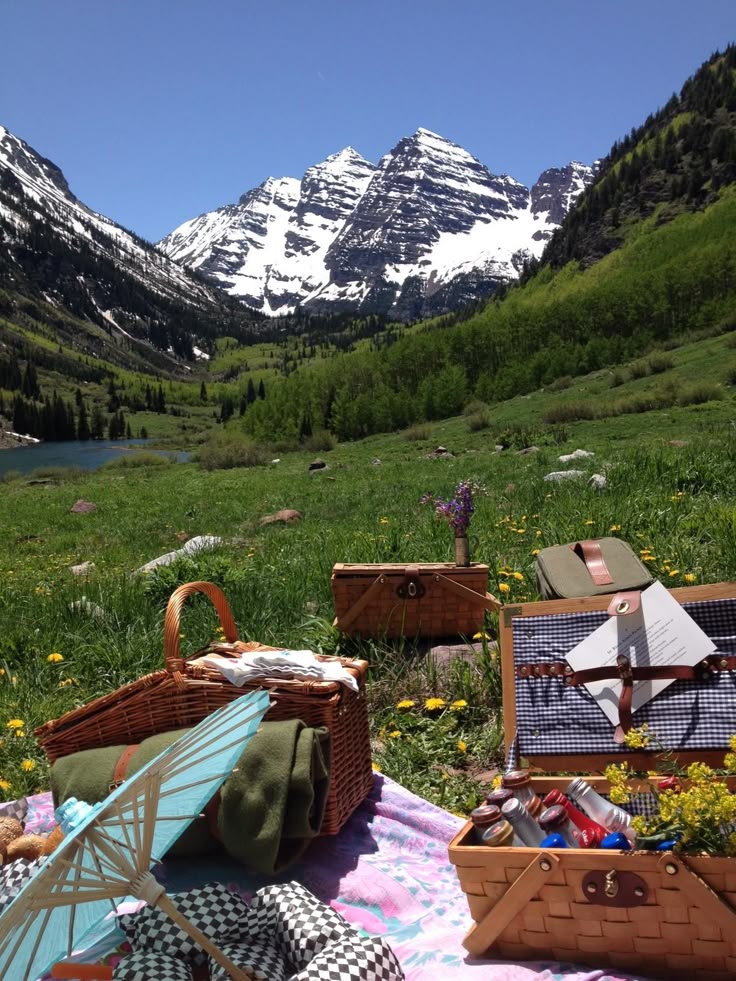
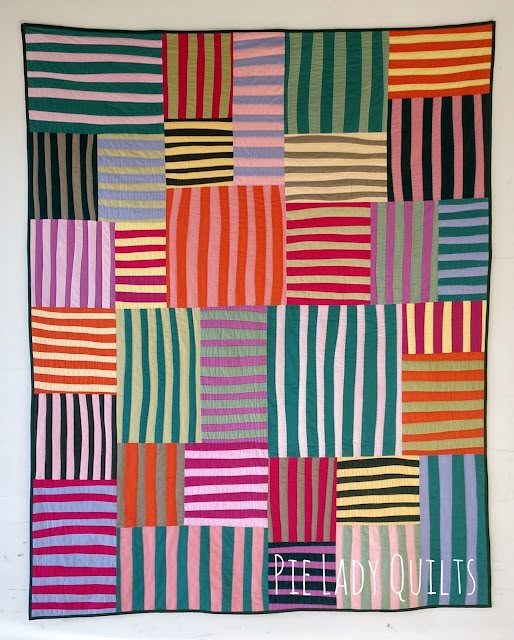
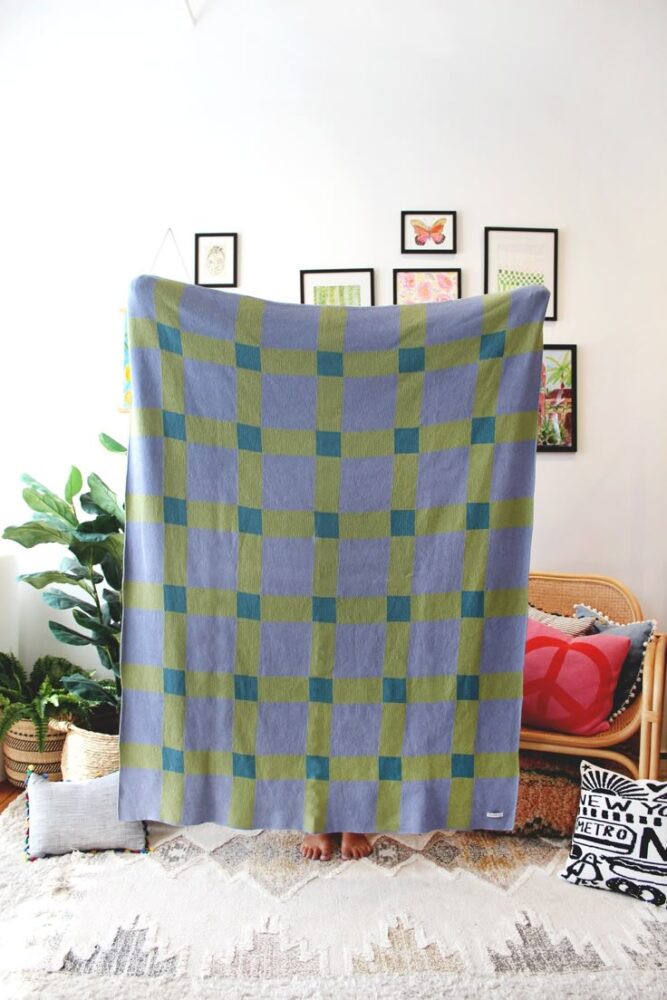
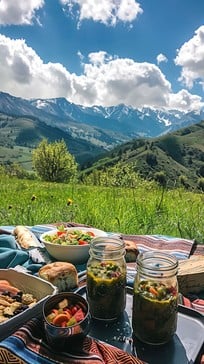
Image credit (in order): Shannon Fraser Designs, Erica Marshall, Pie Lady Quilts, Calhoun and Co, StockCake.com
The above inspiration paragraph and image collections are pieced together from my two previous posts about this design.
To create dynamic components in the design, I’m planning to implement detachable components that help the quilt transition from inside to outside uses. My ideas so far include:
- A detachable handle for carrying the blanket when it is rolled up
- Snaps in each of the corners of the blanket to attach a piece of waterproof protective material to the bottom, for use outdoors
- Since hard plastic snaps/buckles are uncomfortable against the skin when lounging, a pocket/tucking system to conceal the hardware could be helpful.
In my Last Post . . .
In my previous post I discussed extensive research into quilting, including the types of materials and techniques I plan on using. I’m aiming to make a quilt-style blanket, and since I’ve never sewn a quilt or even a simple blanket before, I did a lot of prep work to determine the methodology that will be best for me. I came up with a strategy that is beginner-friendly while still conforming to my aesthetic. I selected a patchwork pattern that fulfills these requirements, shown in the image below. In addition to research, I’ve also begun buying materials and fabricating the quilt, which I will further discuss in the following sections.
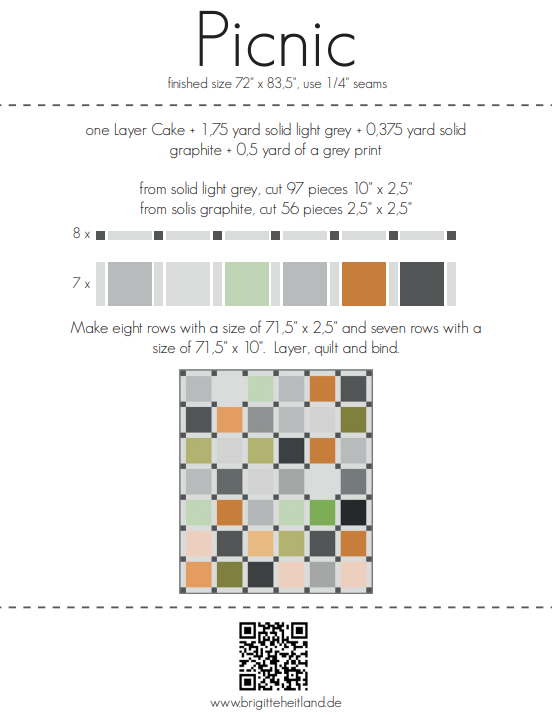
Image credit: Brigitte Heitland
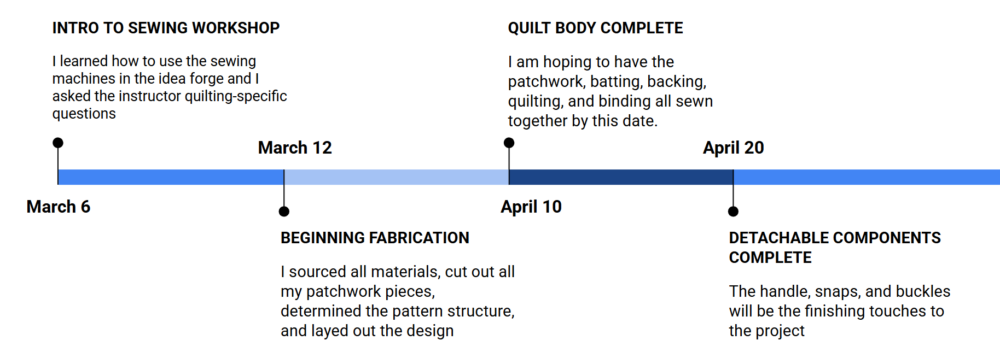
Project Timeline
Below is a timeline detailing the major steps in my fabrication process. I am aiming to front load the majority of my work because once the end of the semester rolls around, I will be very busy. Plus, I want to leave a lot of wiggle room for iteration as needed.
Sourcing Materials
After finishing research into materials for this project, the next step was to source and buy materials. I took advantage of Joann’s closing sale and purchased 6 types of fabrics there. I also purchased 8 metal snaps at Joann. I supplemented materials at Art Parts, purchasing 4 additional scrap fabrics there. I was also able to find nylon webbing and two parachute buckles at Art Parts. Additionally, I ordered hi-loft batting on Amazon and it has arrived in the mail. Now, all that’s left to purchase is the batting spray and the waterproof ripstop nylon for the detachable tarp part of this blanket.
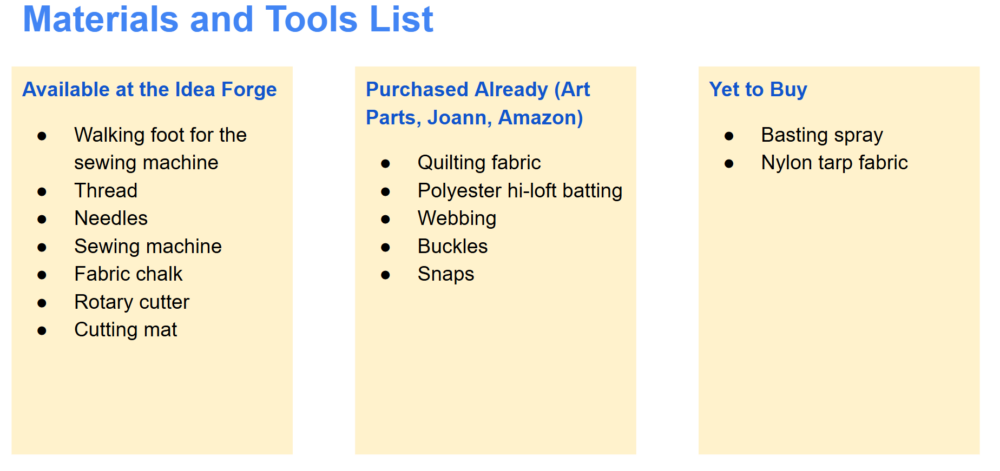
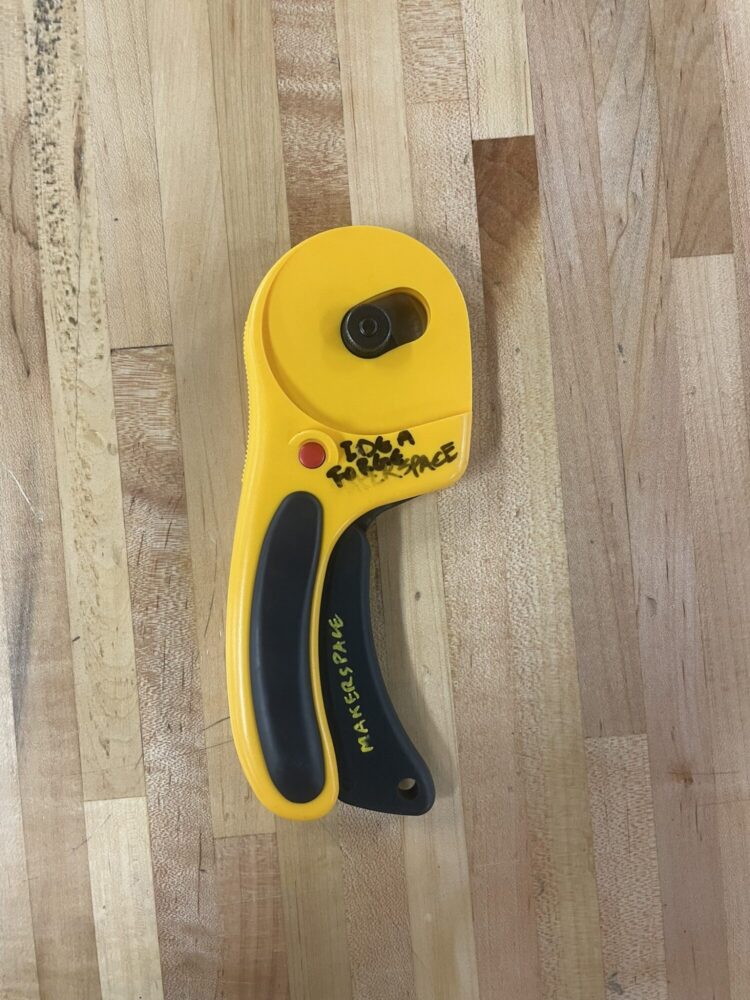
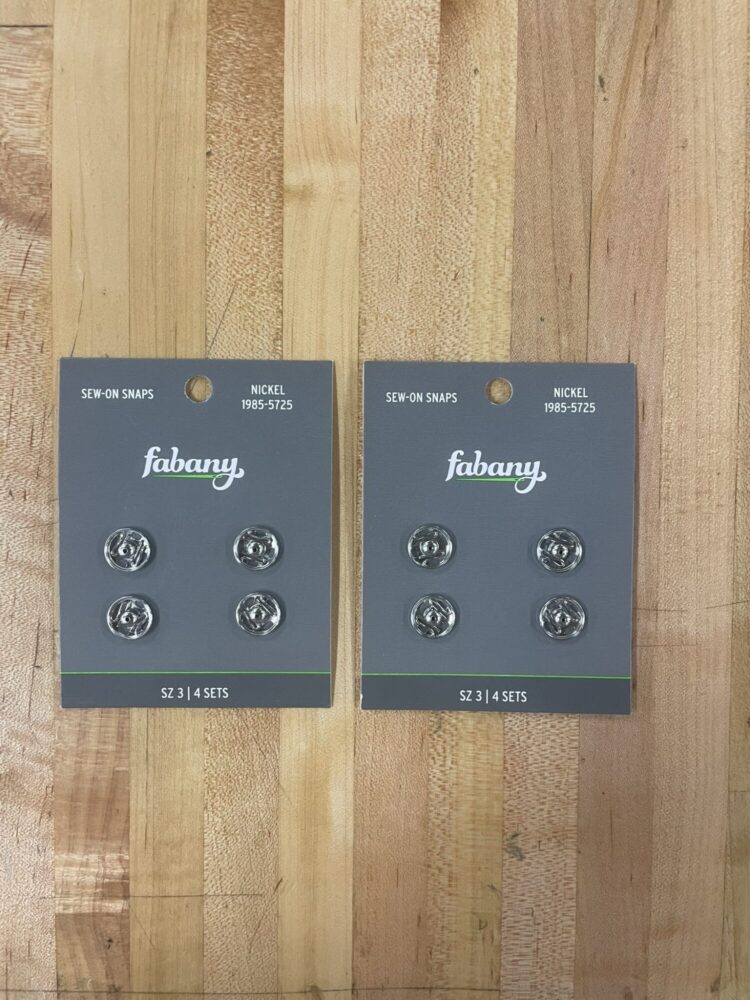
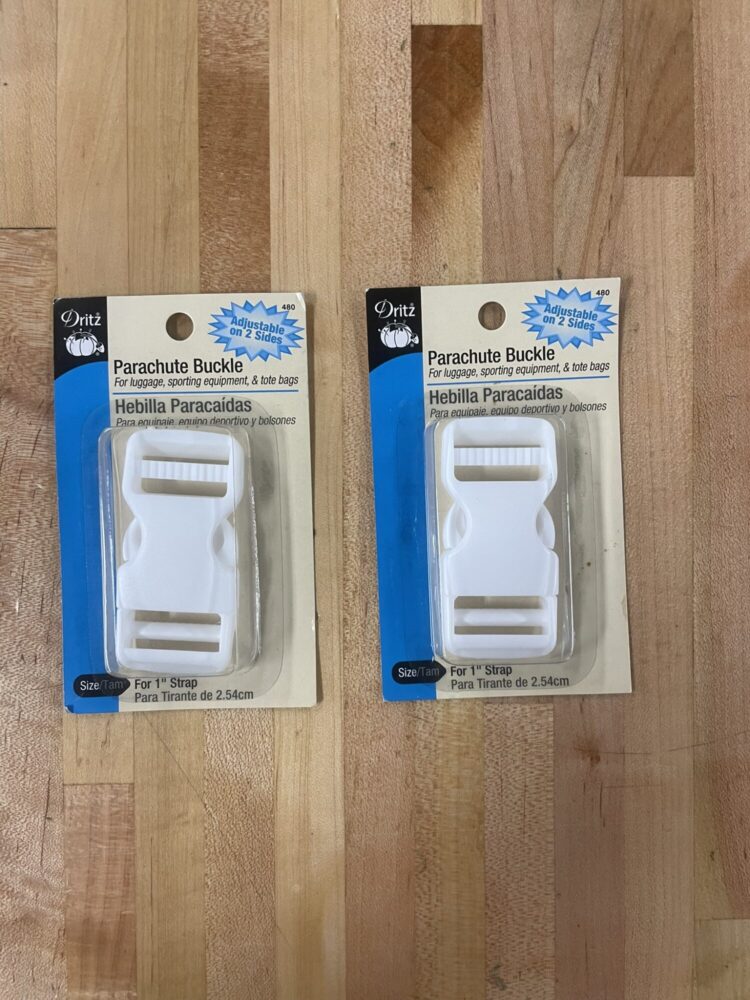
Image credit: all images are my own
The Fabrication Process
The following steps outline what I have completed thus far as well as what will be completed in the future:
- Gather materials – complete
- Cut shapes with rotary cutter – complete
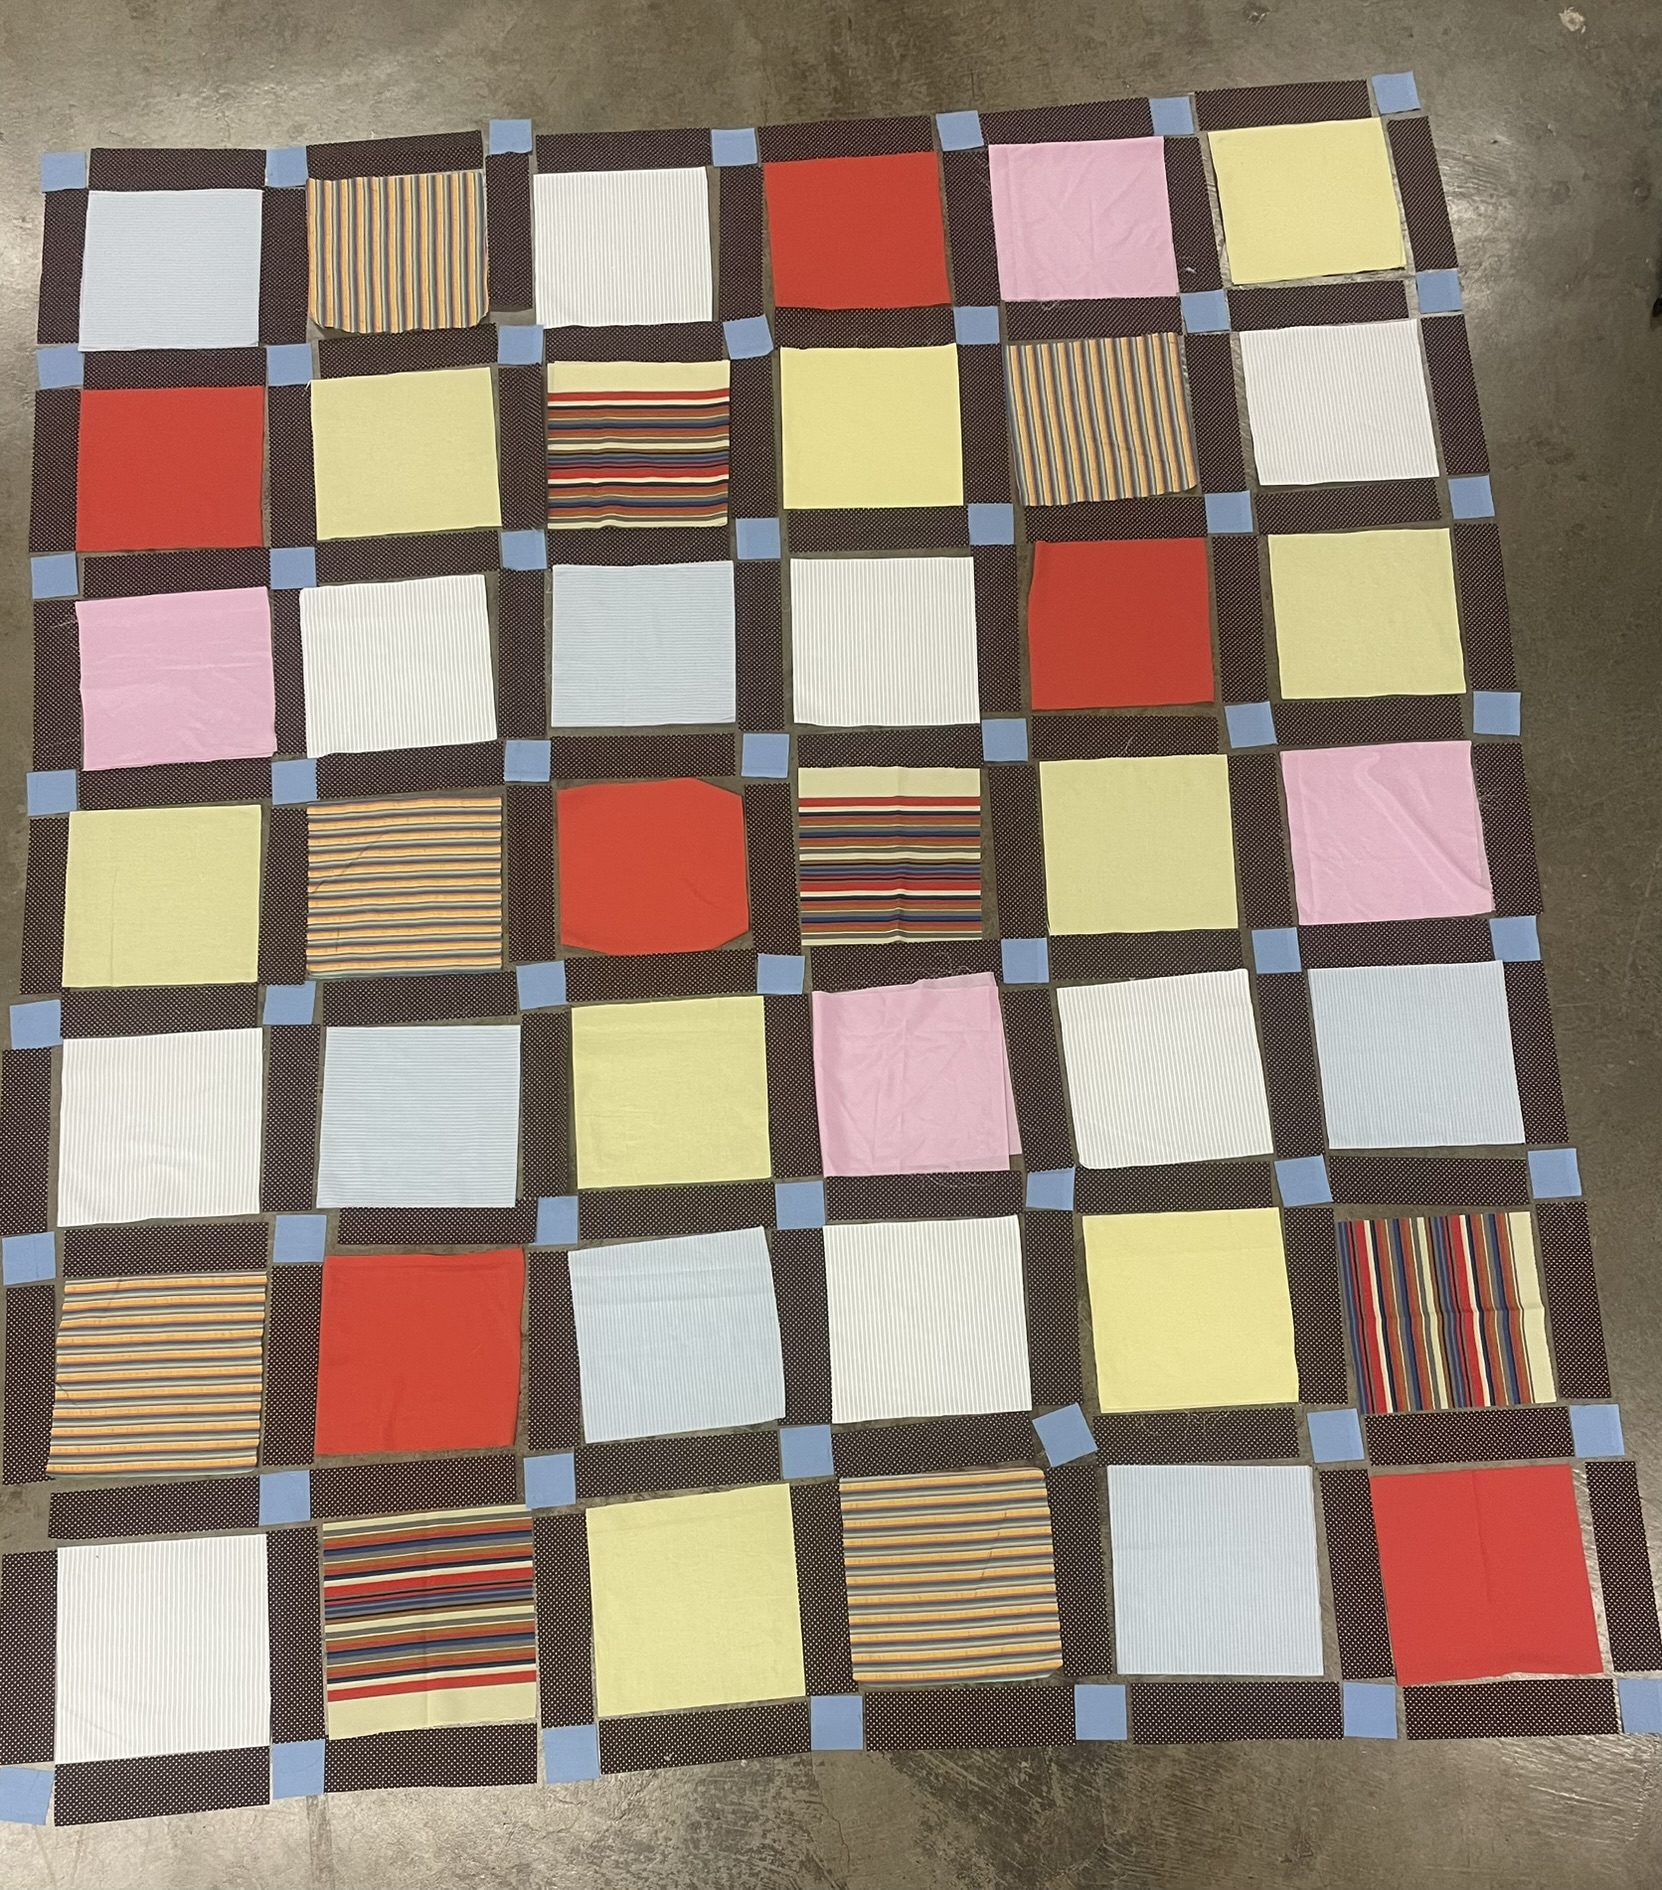
- Lay out the framework based on my chosen pattern. This also involves choosing which two colors would look best as the rectangles and small squares – complete
- Lay out the remainder of the quilt by filling in the holes with large square pieces. I am aiming for a random distribution of colors and patterns, so I want to make sure that it feels balanced – complete
- Take a photo of the laid-out plan and group the rows of fabric pieces together. It is essential to stay organized with all these little pieces involved – complete
- Sew each row of squares and rectangles together
- Once all 7 rows have been stitched together, sew these long strips together to make the front of the quilt
- Cut out the 72” x 83” piece of batting
- Cut out the 72” x 83” piece of backing fabric
- Use basting spray to temporarily glue all 3 layers together
- Use the sewing machine to quilt the entire blanket and bring the texture to life
- Cut out long strips of fabric for binding the quilt
- Bind all four edges of the quilt
- Cut out pieces to construct the detachable handle
- Sew the detachable handle together
- Cut out the 72” x 83” piece of tarp
- Sew the snaps onto the corners and edges of the quilt as well as the corners and edges of the tarp.
- Complete!
Process flow of the steps completed thus far:
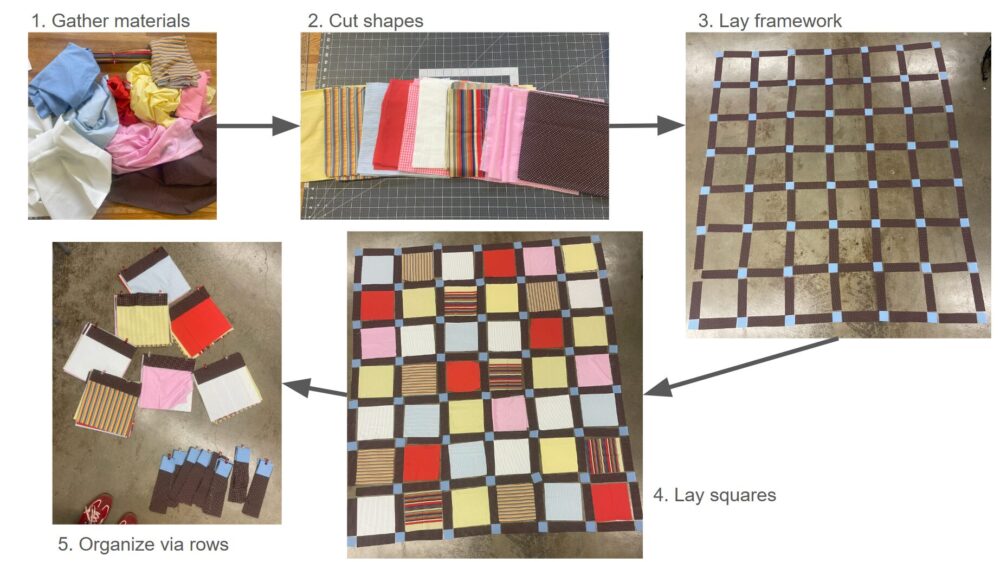
Image credit: images are my own
Plans for the Detachable Components
I have done a little digging into how I want to design the detachable handle. I found a pattern online and I hope to modify it to make it perfect for my aesthetic goals. This handle will essentially be two fabric + webbing straps that wrap around the rolled-up blanket, connected to a loop which will be used for carrying the quilt. As for the snaps for connecting the waterproof tarp piece to the quilt, they will be hand-sewn on each of the corners and each of the sides of the quilt. I am still deciding if I 100% want to implement the pocket tucking system to conceal the exposed metal snaps. It may be the case that the blanket is big enough that tiny snaps around the edges will not realistically come into contact with the skin and cause any discomfort when lounging on the couch.
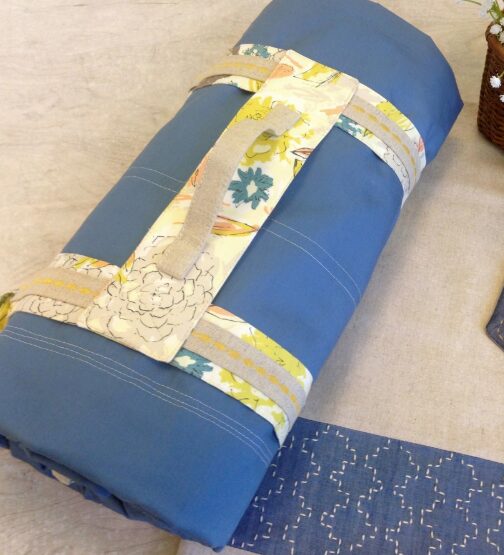
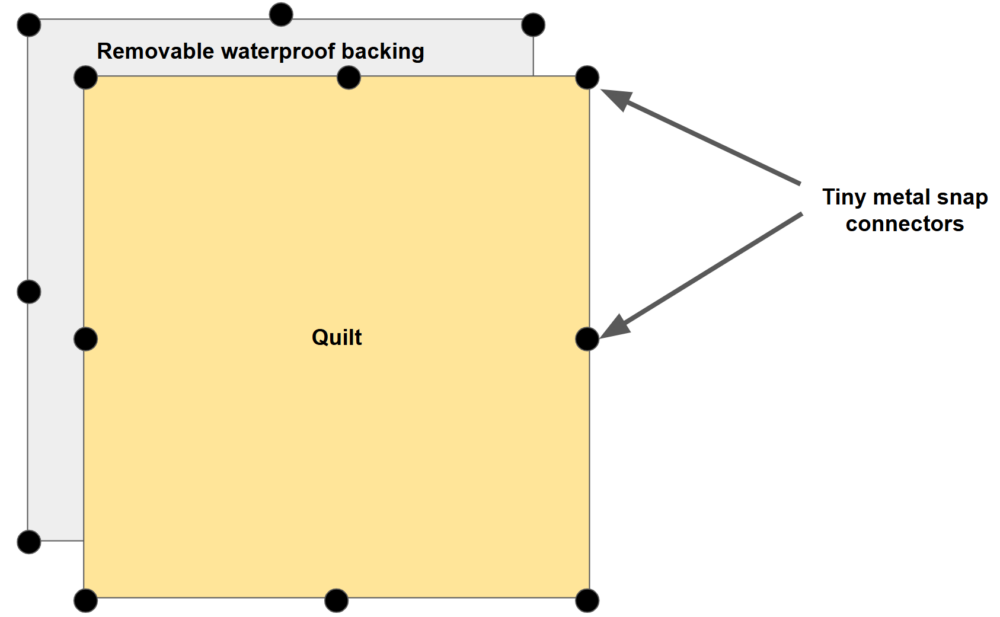
Image credit: Art Gallery Fabrics, Abby Rindfuss
Thoughts on the Project Thus Far
I am loving the way the colors are coming together. It seems like there is a lot of variety in the color scheme, which makes the blanket pattern interesting and exciting, yet the colors work together well to create my desired level of cohesion in the aesthetic. When picking out these fabrics, I returned to my reference images multiple times to remind myself of the inspiration and the theme I’m attempting to capture. Now that all my quilt pieces are laid out in front of me, I can really see it come together and I’m very excited to start sewing everything.
I’ve already learned a lot about the quilting process. For example, cutting out 200 pieces of fabric is very tedious and time consuming, but the process can be expedited by cutting multiple layers at once and utilizing the helpful measurements on the rotary cutter mat. Additionally, I’ve learned that a rotary cutter is a lot faster than scissors! I was also able to make use of the floor space available in the Idea Forge to fully lay out and visualize my quilt. Since it’s such a big piece, it was helpful to see what it will look like once complete, before deconstructing it and stitching all the pieces one by one. Also, a few of the fabrics I selected are thin and a little bit translucent. I determined that I want to double up these squares to ensure the color is as bold as possible and the texture of the batting doesn’t show through.
I’m curious what the most prominent aesthetic is in this project. I previously described how I am inspired by many aesthetics and that my indoors style differs from my outdoors style. In combining both indoors and outdoors into this multipurpose blanket, I am consequentially combining multiple aesthetics. Is it appropriate that I’m using 5+ different aesthetics to define this blanket? I see it as both eclectic, colorful Scandinavian, adventure core, warm, and nostalgic. My inspiration photos have been the main driving forces in my aesthetic goals and I’m hopeful that this quilt matches those.
Sources
- The Alchemist’s Home https://thealchemistshome.com/products/tabitha-quilt-cover-set-blue
- Elizabeth Daniels https://la.curbed.com/2012/11/21/10312656/touring-architect-ray-kappes-incredible-house-in-rustic-canyon-1
- Historiska Hem https://historiskahem.se/objekt/tillsalu-sundbyberg-sundbybergs-centrum-tulegatan-58b-OBJ18440_2058978278/#gallery_images-10
- Jules Lee https://www.thesorrygirls.com/lifestyle/eclectic-maximalism-why-you-should-try-this-design-style-how-to-achieve-it
- 1st Dibs https://www.1stdibs.com/furniture/more-furniture-collectibles/textiles/quilts-blankets/large-hand-quilted-patchwork-bed-quilt-made-from-organic-cotton/id-f_41230392/#zoomModalOpen
- My Decor Inspo https://mydecorinspo.com/15-mid-century-modern-living-room-interior-inspirations/
- Shannon Fraser Designs https://shannonfraserdesigns.com/products/shattered-star-quilt-pattern-pdf?epik=dj0yJnU9ZWZtaGREaGRHcWlmS3RneUZ6ZDNUT1AtNEEycDlZVDcmcD0wJm49OVVKWkJZTEVvZWlJeHQyZ2pZcTlMUSZ0PUFBQUFBR2ZEalZv
- Erica Marshall https://www.pinterest.com/pin/1407443629219270/
- Pie Lady Quilts https://pieladyquilts.blogspot.com/2022/01/rio-linda.html
- Calhoun and Co https://www.etsy.com/listing/1300254293/gingham-knit-blanket-blueberry-pie-blue?epik=dj0yJnU9Zy1mVUhBTkdvNkhWWXJlZ0N3WDBOMnJHYzgxV1JndTYmcD0wJm49NWcwYVdGNEtCa0lFWkFadWRDT2gwQSZ0PUFBQUFBR2ZEalUw
- StockCake.com https://stockcake.com/i/mountain-picnic-feast_975465_1136347
- Brigitte Heitland https://www.rockingchairquilts.com/spotted-by-brigitte-heitland-for-zen-chic-moda-fabrics/chpicnic-quilt-pattern-free-digital-download
- Art Gallery Fabrics https://weallsew.com/blanket-carrier-tutorial-art-gallery-fabrics/
3 Comments. Leave new
This is a great project and I can tell you have put a lot of effort in so far. I like the idea of making something that can have a variety of uses or fit into different aesthetics. Do you feel like one aesthetic is taking precedence over the other, or are they blending as you envisioned?
Hey Abby! I like your blanket design a lot! It would also be cool if you made it a quilt blanket if you wanted to consider doding something more complex!
Hi Jessica, thanks for your comment – I do plan to make this a quilt! It will have that fluffy inner fill layer as well as additional patterned stitching on top.