
I’ve officially wrapped up sourcing every component for the RailGlow lamp which are the rails, switch, socket, bulb, wiring hardware, and connectors are all accounted for. This milestone marks a major turning point in the project. Up to this point, a lot of the work has been theoretical: sketches, concept refinement, and detailed planning. Now, it’s time to translate those ideas into a physical, functioning piece.
The last remaining fabrication steps lie in creating the lamp’s base and top enclosure. These will be custom-built from wood, assuming the shop’s equipment remains accessible.
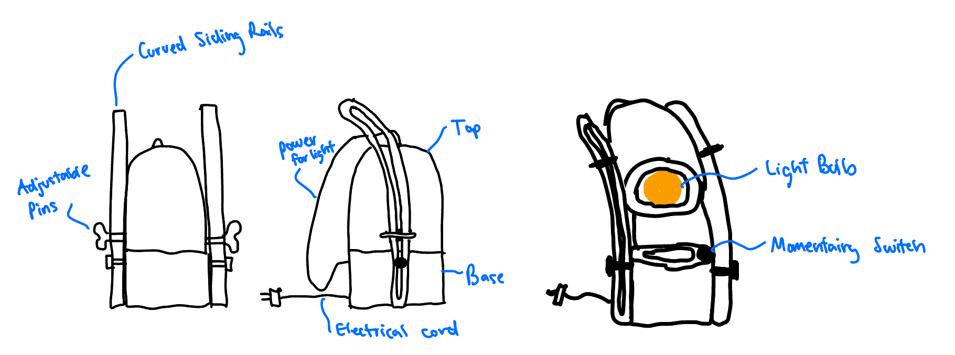
Figure 1. Concept sketches
I’ve been in contact with the woodshop supervisor to finalize my approach and ensure that I can get the time I need on the lathe for shaping the circular components. The base will be turned from a solid block to form a sturdy platform for the rail and swivel connection, while the top will be machined to house the socket and bulb with enough clearance for clean internal wiring.
From a mechanical standpoint, the most critical detail is achieving proper alignment between the sliding capsule and the momentary switch. The switch needs to depress reliably every time the lamp is lowered and disengage cleanly when lifted. This will require tight tolerances on the rail track positioning and capsule fit, which I plan to validate with dry fits and small-scale prototypes before final assembly. I’ll likely be using a forstner bit to create a recessed channel in the top housing to embed the switch, allowing for a flush installation that maintains the minimal aesthetic.
On the electrical side, I’ll be soldering leads to the momentary switch and routing them internally inside the base to keep the wiring hidden but serviceable.
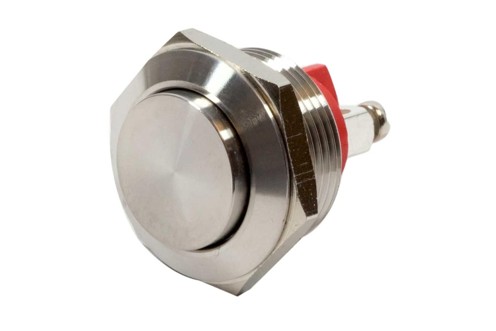
Figure 2: Momentary switch.
I’ve also sourced heat shrink tubing and wire sheathing to reinforce the connections and give the wiring a finished, professional appearance. One small challenge here will be strain relief as it will make sure that any cable movement from the sliding action doesn’t stress the solder joints. I’m exploring small printed clips or notched relief points within the wood to absorb the motion without compromising aesthetics or safety.
As for finishes, I’m still deciding between a matte natural oil or a hard wax oil for the wood components. The goal is to emphasize grain texture and natural wear over time while protecting against kitchen humidity and wear.
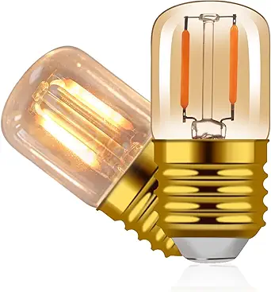
Figure 3. Soft led lights
I’ll test both finishes on scrap wood from the same stock I plan to use for the final parts to compare durability and tone under the amber lighting.
At this stage, I’m feeling confident in the design and timeline. The next couple weeks will be focused on precise machining, electrical integration, and final assembly. I’ll also be conducting functional tests and checking switch responsiveness, bulb positioning, and overall user interaction to ensure the lamp not only looks intentional but feels intuitive to use. Looking forward to bringing RailGlow into its final form and sharing the results soon.
Sources:
Figures 2 and 4 are product photos from amazon.
Figure 3 is a hand sketch I made of the overall design intention.
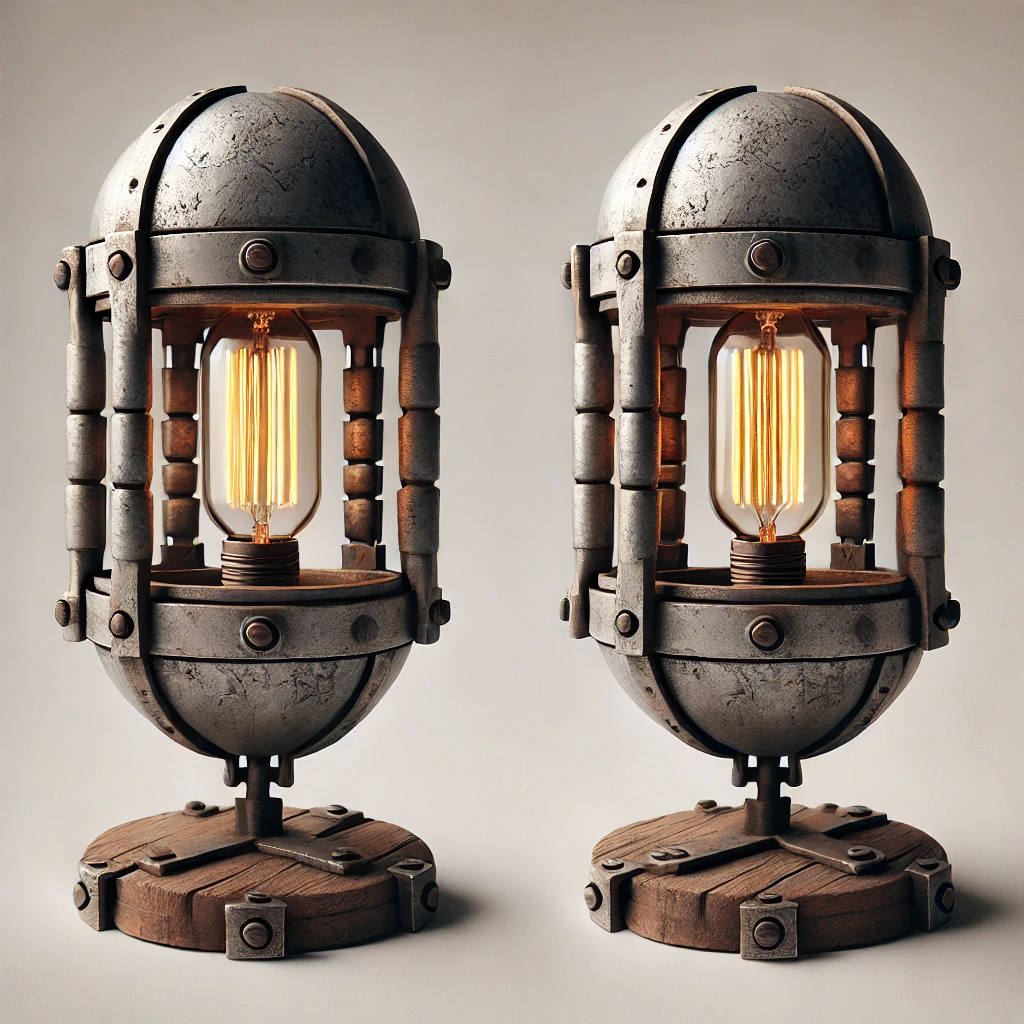
Featured image was generated using DALLE Ai image generator
2 Comments. Leave new
This lamp sounds like it will be a really cool interactive art piece, and it sounds like you have a pretty great plan and timeline. I am curious if you have spent any time looking for materials such as heat shrink, the ITLL electronics space, though, as I have found they have a plethora of free materials.
It seems like the construction of this project matches the aesthetic pretty well. I also really appreciate that you’re preparing to test the user experience because since this is a dynamic interactive project, that is something that should always be considered. I think the actual mechanism you decided to use for this lamp makes sense, as the light will be able to point outward as well as down in its most expanded state. I’m interested to see the final product!