
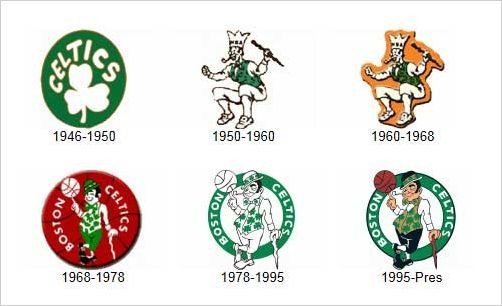
As I am continuing to develop a final product for my project, I am excited to share the progress I have made thus far on my vintage sports-themed framed picture with user-controlled LED lights. This stage of the process has been both rewarding and insightful, giving me a solid feel for how the final product is coming together. To remind my readers, the aesthetic I am aiming for with this project is vintage sports. Although this is a well-known aesthetic, a sneak peek of what it may look like can be seen in the featured image by J Boyce. In this image of the several Boston Celtics logos they used back in the day, you can see the colors and fonts that they used versus the more present-day logos.
- Material Acquisition
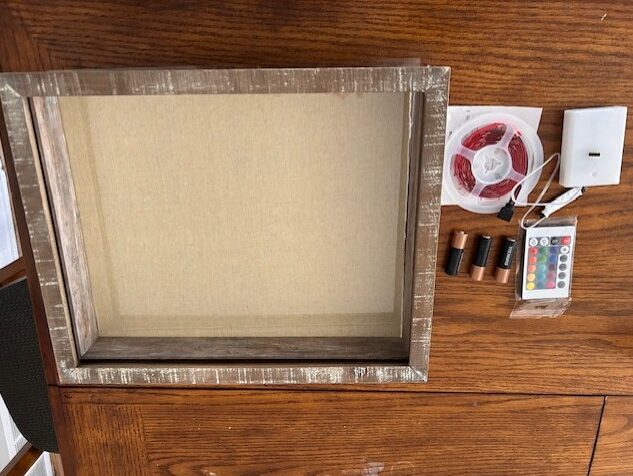
The first major milestone I reached was ordering all of the necessary materials. I sourced a pre-made LED kit that includes color and brightness adjustability that is easy to use with the remote. The other materials ordered were a rustic wooden frame, a battery pack, and the necessary adhesives. I also gathered some materials that I found at my house, which were Styrofoam and felt. This was used for the interior backing, which creates a layered, textured background that complements the vintage sports aesthetic. This stage was easy, but a little time-consuming because I wanted to find the cheapest prices to stay within my budget as well as find the pieces that would emphasize what my aesthetic is. Most of the materials can be found in image (2) below.
- Frame Construction
When the materials for the frame arrived, I moved on to constructing the frame. The frame I purchased is a rustic wooden frame, which was different than my initial plans. At first, I was going to buy a classic wooden frame and then distress it myself, but for the purpose of saving time and to limit mistakes, I bought one that already fit my needs. The frame feels solid and gives off the nostalgic vibes I was hoping for, but if I end up having more time, then I will add a more distressed look by hand and possibly stain the wood.
- Photo Preparation
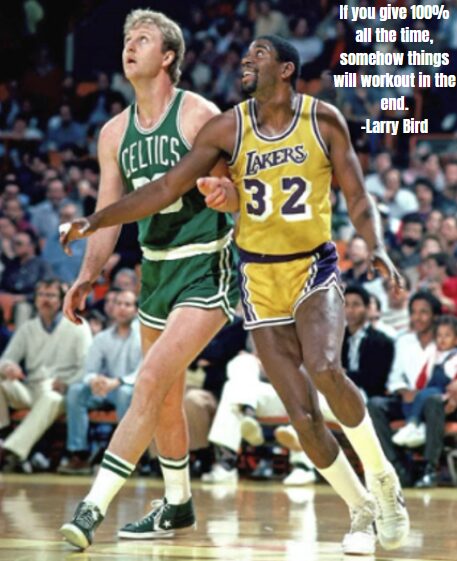
After I had the frame finished up, I focused on the picture itself. I found a great iconic sports photo taken a long time ago of Larry Bird (former Boston Celtics player) and Magic Johnson (former Los Angeles Lakers player). I am a huge Boston Celtics fan, so I wanted to find a picture that had something that included my favorite team. After that, I added one of Larry Bird’s most famous quotes, which is “If you give 100% all the time, somehow things will work out in the end”. The picture that I will be using can be seen below, in image (3) by Etsy.
- Background Creation
I wanted to find something else that I could make to enhance the art piece and the aesthetic. With that in mind, I found Styrofoam and felt that I could use it as the background in the shadowbox frame, which the picture will be attached to. The felt is from an old tablecloth, so I sized it and cut it out before doing the same with the Styrofoam. The two pieces were glued together and added to the rear of the frame.
Next Steps
For my next steps, I will be installing the LEDs as well as finding a discreet location to place the battery pack. With the rest of the time we have left, I have full confidence that I can finish these tasks and possibly add some more pieces to the product. For now, I am proud of the work I have finished, and I look forward to finishing a high-quality decoration that I can put up in my room!
References:
- J Boyce, d., https://ar.pinterest.com/pin/boston-celtics-logo-history-wwwnbacomceltics–3588874678205543/
- Image from myself.
- Etsy Seller, d., https://www.etsy.com/listing/857556305/
1 Comment. Leave new
This is coming together really well! I like how you’re combining the vintage sports aesthetic with modern elements like the LED lighting. The choice of photo with Larry Bird and Magic Johnson is iconic, and adding that quote makes it feel personal and meaningful. The felt and Styrofoam background is a clever way to add texture and depth without distracting from the main image.
Have you thought about using a diffuser or frosted cover for the LEDs to give the light a softer, more vintage glow? It might help the lighting feel more integrated with the overall aesthetic.