
This week has been a big step forward in my steampunk Strandbeest project. With all the major parts completed, I am on track to finish by the weekend. The progress I have made so far has put me in a good position to wrap everything up soon. Here is what I have been working on and what is left to do.
Finishing 3D Printing
One of the first tasks I tackled this week was getting any necessary reprints done. In large projects like this, it is common for some 3D prints to have minor defects, break during handling, or need adjustments. I made sure to go through all my parts carefully and reprint any that did not meet the required quality. Now that all my prints are complete, I can focus on assembly without worrying about missing or damaged parts.
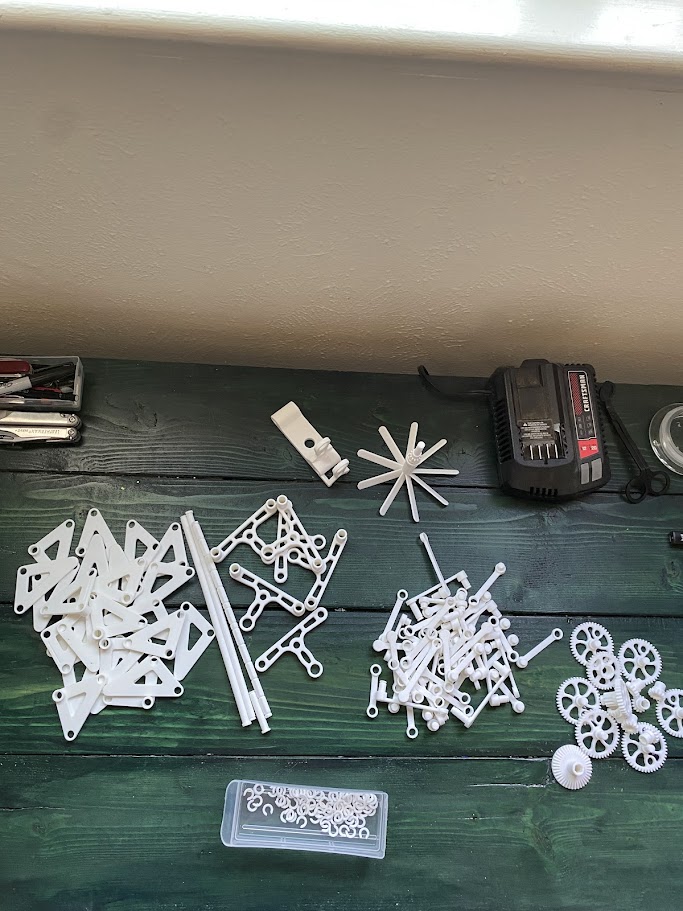
Image 1: All Printed Parts
Painting the Parts
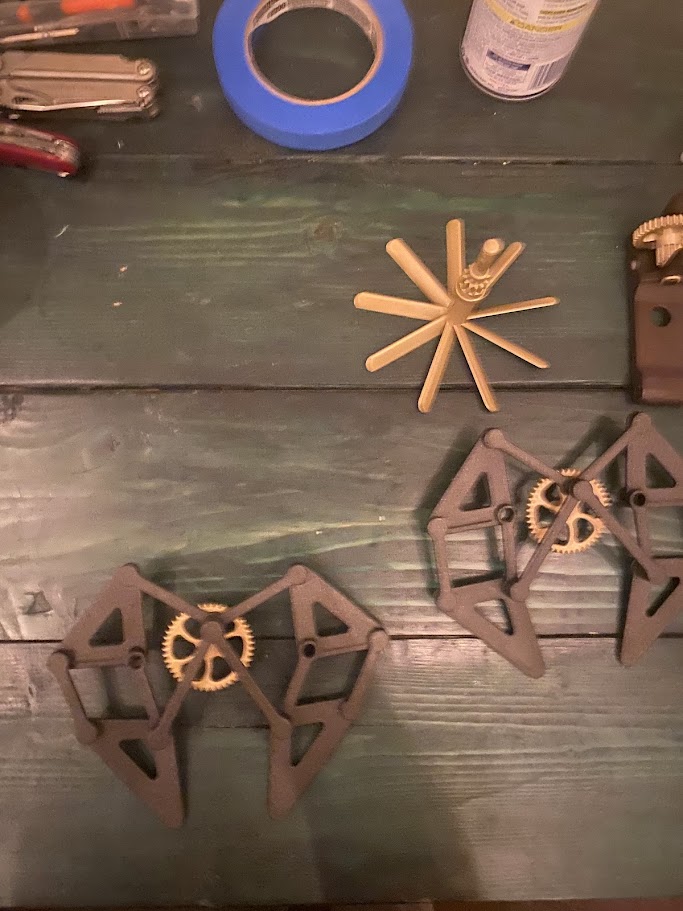
A key part of my project is achieving a steampunk aesthetic, so painting was a major focus this week. I applied the metallic spray paints I had chosen—brass, metallic, and brown—to give the parts a more industrial, aged look. This step was important because I wanted to eliminate the plastic appearance of the 3D-printed pieces and make them look more like real metal. Now that all the painting is done, the project is finally starting to look like the vision I had in mind.
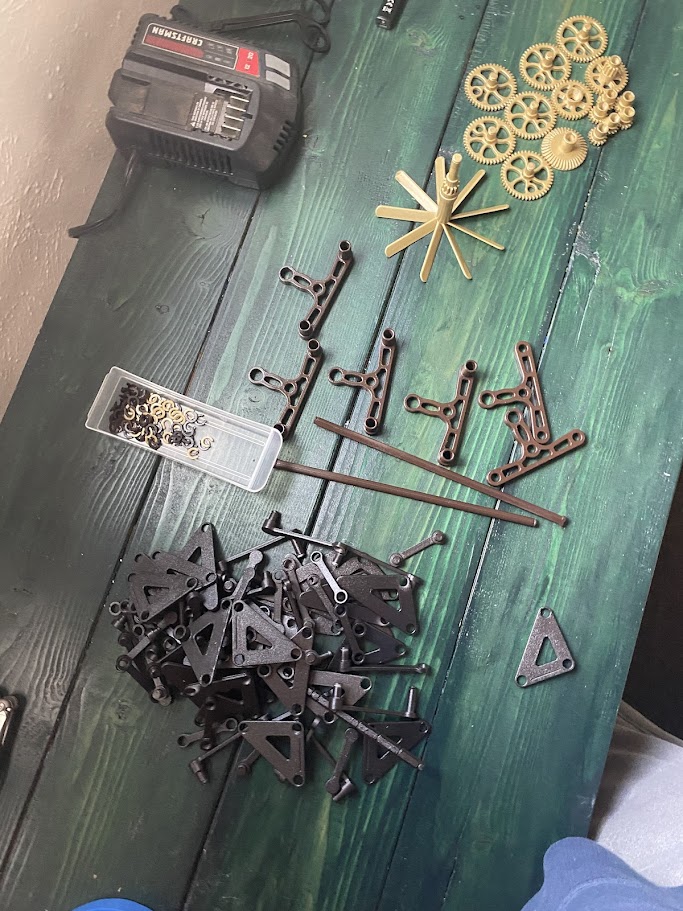
Image 2: All Parts Painted
Starting Assembly
Once all the parts were printed and painted, I began assembling one of the modules to test how complex and time-consuming the process would be. Since the Strandbeest consists of repeated assemblies, I wanted to get a feel for how long it would take to put everything together. After working through the first one, I estimate that completing the full assembly should take about two hours. Now that I understand the process, I can move forward with the rest of the assembly more efficiently.
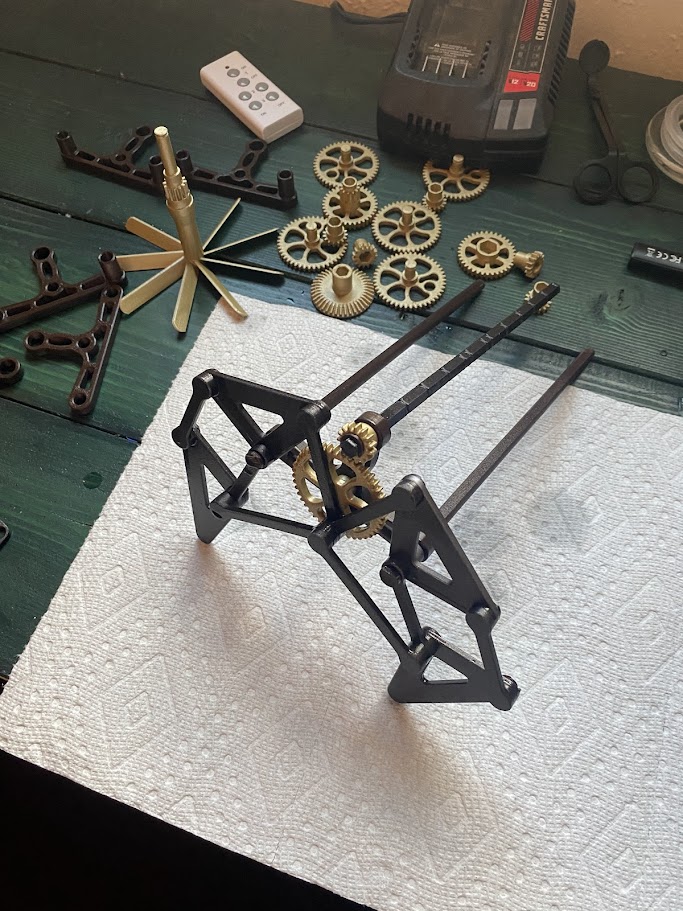
Image 3: Starting Assembly of Modules
Testing for Functionality
One important step I still need to complete is testing to make sure everything works properly now that the parts are painted. Sometimes, adding layers of paint can affect how pieces move, especially in mechanical joints. If the paint adds too much friction or interferes with movement, I will need to apply WD-40 in areas where the paint is causing issues. This step is essential to ensuring the Strandbeest walks smoothly and functions as intended.
Final Touch-Ups
Although most of the painting went well, I noticed that some areas need touch-ups where the paint faded or did not coat evenly. Before final assembly, I plan to go over these spots and add an extra layer to make sure the color and texture are consistent throughout. This will help reinforce the steampunk look and ensure that every part has a polished, high-quality finish.
Wrapping Up
With all the major steps nearly complete, I am excited to bring everything together and see the final result. The next few days will focus on completing the full assembly, testing, and final detailing. If everything goes as planned, my steampunk Strandbeest will be finished and ready to showcase by the weekend! Stay tuned for the final update as I complete this project.
6 Comments. Leave new
Anthony,
I commend you on your incorporation of so many moving parts. What do you think is going to be the hardest challenge in the final stretch?
Probably making sure things don’t lock up after spray painting. I think I will use a lot of WD40.
Anthony, fantastic work on this project! You are nailing both the aesthetic and the functional aspect. Your parts look so well-finished; are they all completely 3D printed? Did you have to do some sanding before painting?
Also, good forethought on the movement/fit test, although I wonder whether WD-40 could weaken your parts or paint?
Thank you for the kind compliments. Everything is completely 3D printed and I did not sand them simply because I hoped by using white PLA I could avoid this. I also wondered that structurally the parts seemed to be okay however the paint did start to wear a little bit on some things.
Hello Anthony,
Great job—you’ve made a lot of progress so far! I honestly need to focus on this project so I can make sure to get it done on time. It was smart for you to put stuff together so you could get an estimate of how long the final assembly would take. I also need to do reprints, so it was a good idea for you to double-check and finish everything necessary so you could complete it in one shot!
Thank you Garrison I did not want to be scrambling with this project and tried my best to stick to my timeline and speed up some of the processes.