
My quilt is coming along smoothly. It is definitely taking more time than expected, and it is tedious to cut each shape and sew each individual piece together, however, I have gotten most of the grunt work out of the way. I’m loving seeing how it’s all coming together and I’m excited to continue working. Progress pictures at the end document my process. Below is a list of the steps I’ve completed thus far:
- Measure and cut 42 10″ x 10″ squares
- Measure and cut 56 2.5″ x 2.5″ squares (blue fabric)
- Measure and cut 97 10″ x 2.5″ rectangles (brown polka-dot fabric)
- Sew together 8 rows of small blue squares and brown polka-dot rectangles
- Sew together 7 rows of 10×10 squares and brown polka-dot rectangles
- Iron out all the seams to have crisp lines
- Begin sewing together each row in the order determined by the pattern I designed
Below is a list of the steps I have yet to complete:
- Finish sewing together each row to make one cohesive top layer
- Cut the batting (the fluffy filler) to size
- Cut the backing (1 sheet of fabric) to size
- Baste the three quilt layers together
- Quilt the designs into the layers using the sewing machine
- Bind the quilt (sew fabric trim all around the edges) to give it a clean finish
I have run into a few road bumps and tricky challenges, including:
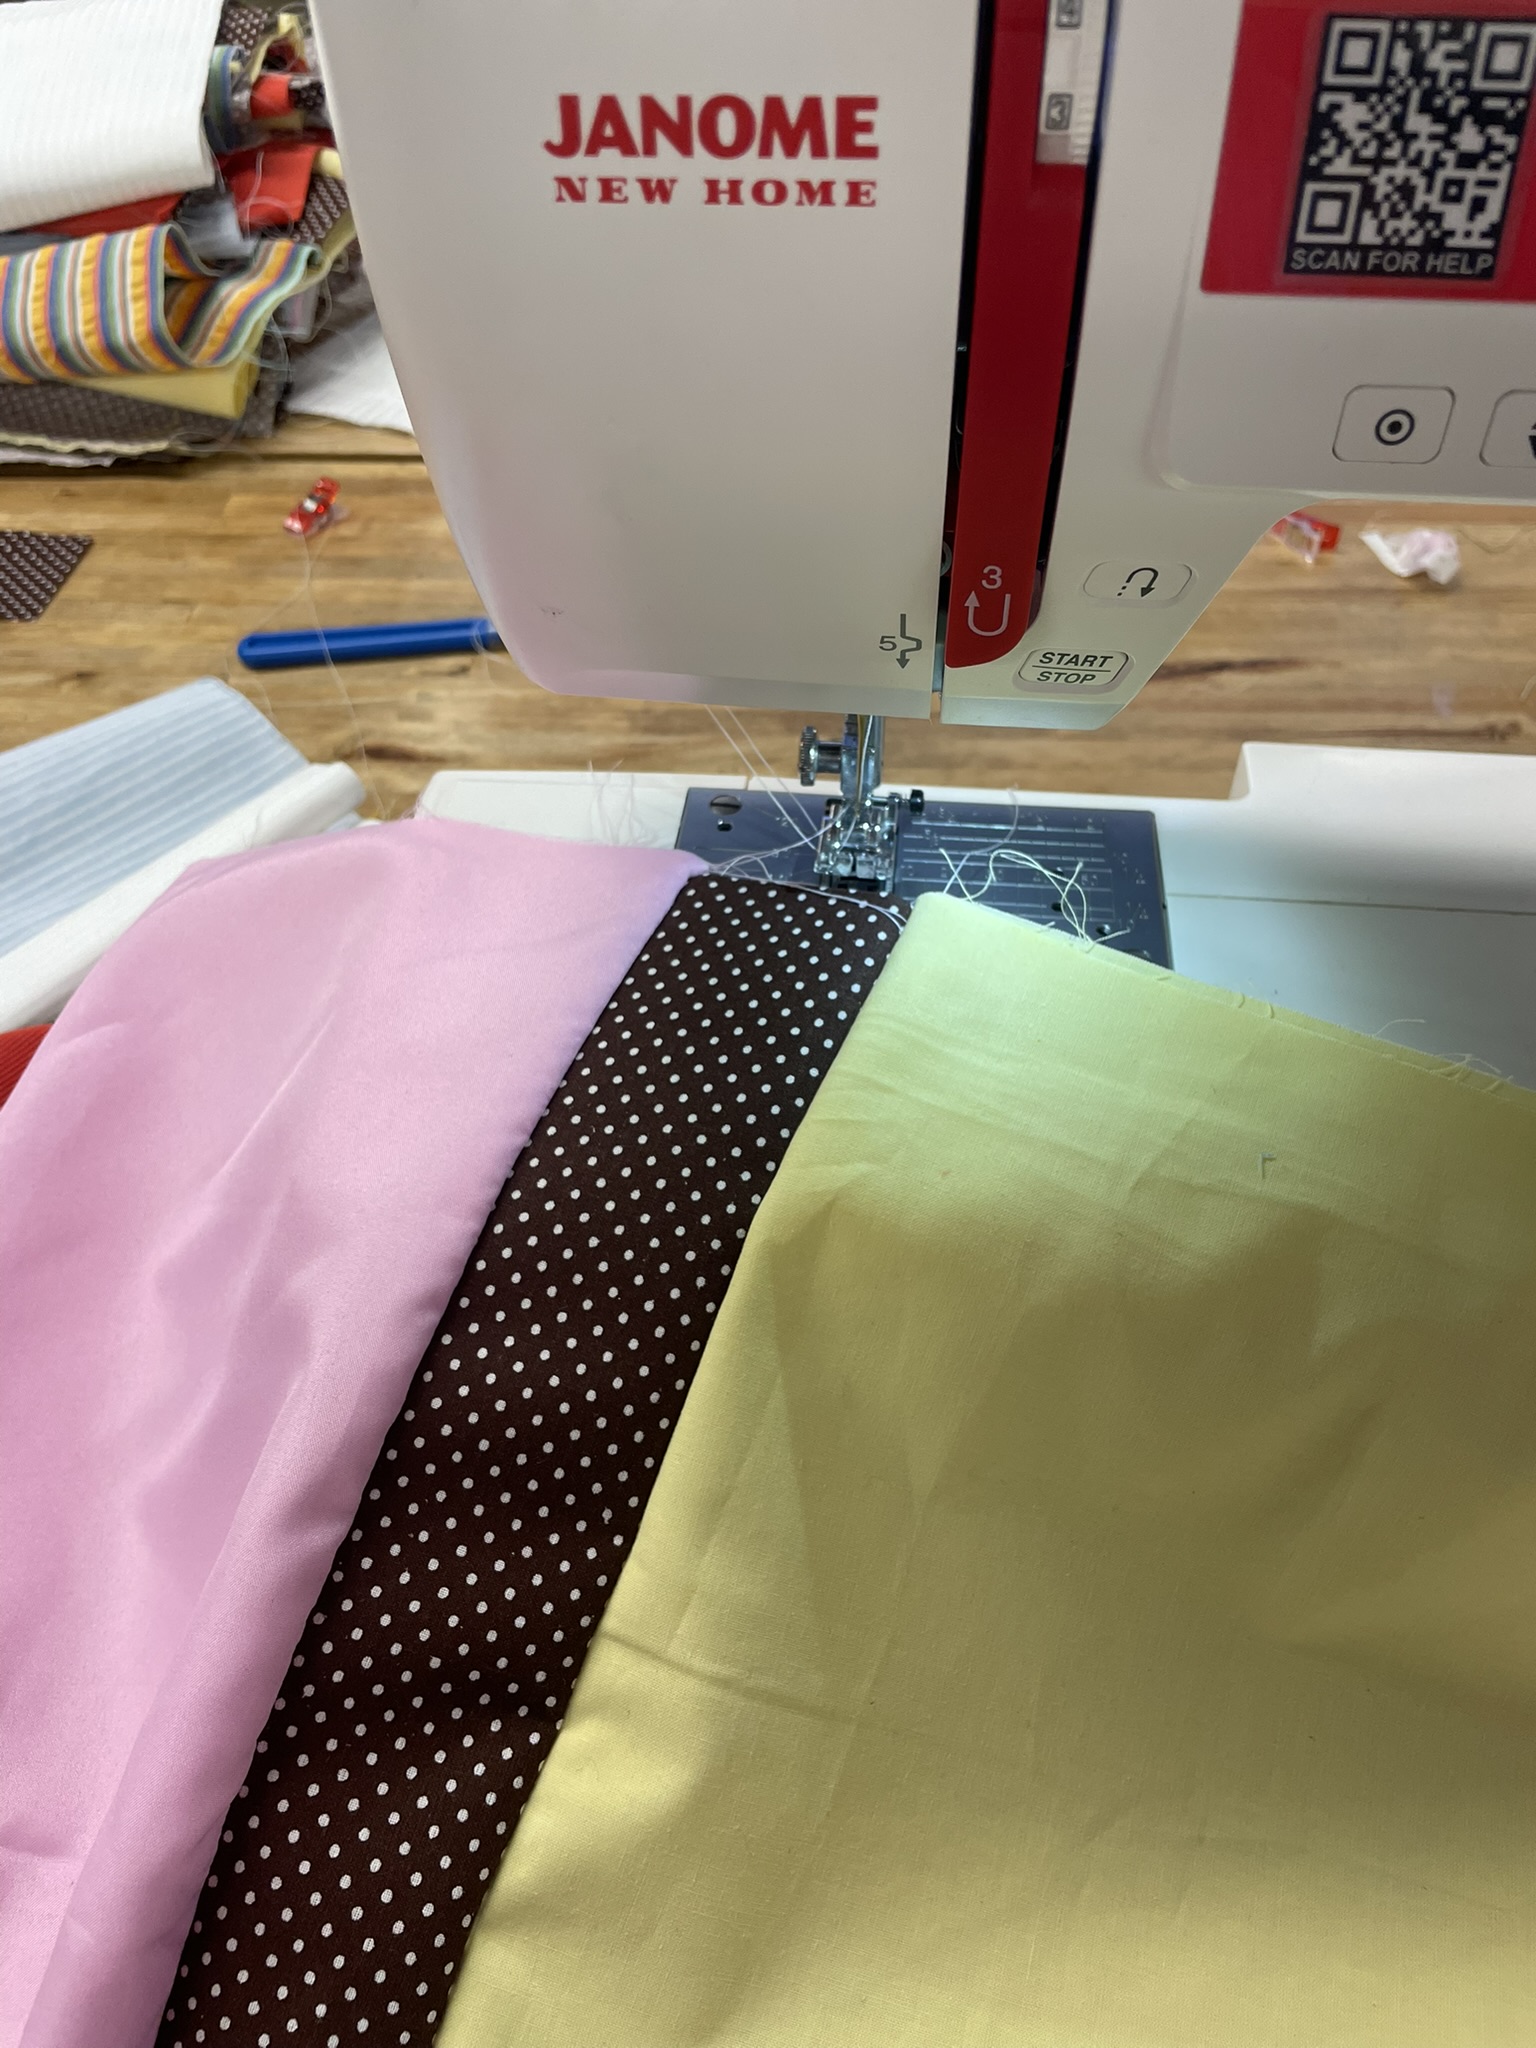
- It took me a while to get my sewing machine settings perfect and I had a hard time remembering how to thread the needle and bobbin properly. I spent a lot of time doing practice stitches on scrap fabric.
- My choice of striped fabric for some of the squares has proven to be a challenge, because if the stripes aren’t perfectly parallel to the stitches, any mistakes are glaringly obvious. With solid or differently patterned fabrics, however, this is rarely an issue.
- My square/rectangle patchwork design is definitely easier than some others, such as hexagonal or triangular patchworks, however, it’s difficult to perfectly align the rows when sewing them all together. Nonetheless, I am learning to embrace little imperfections
Now, for some progress photos:
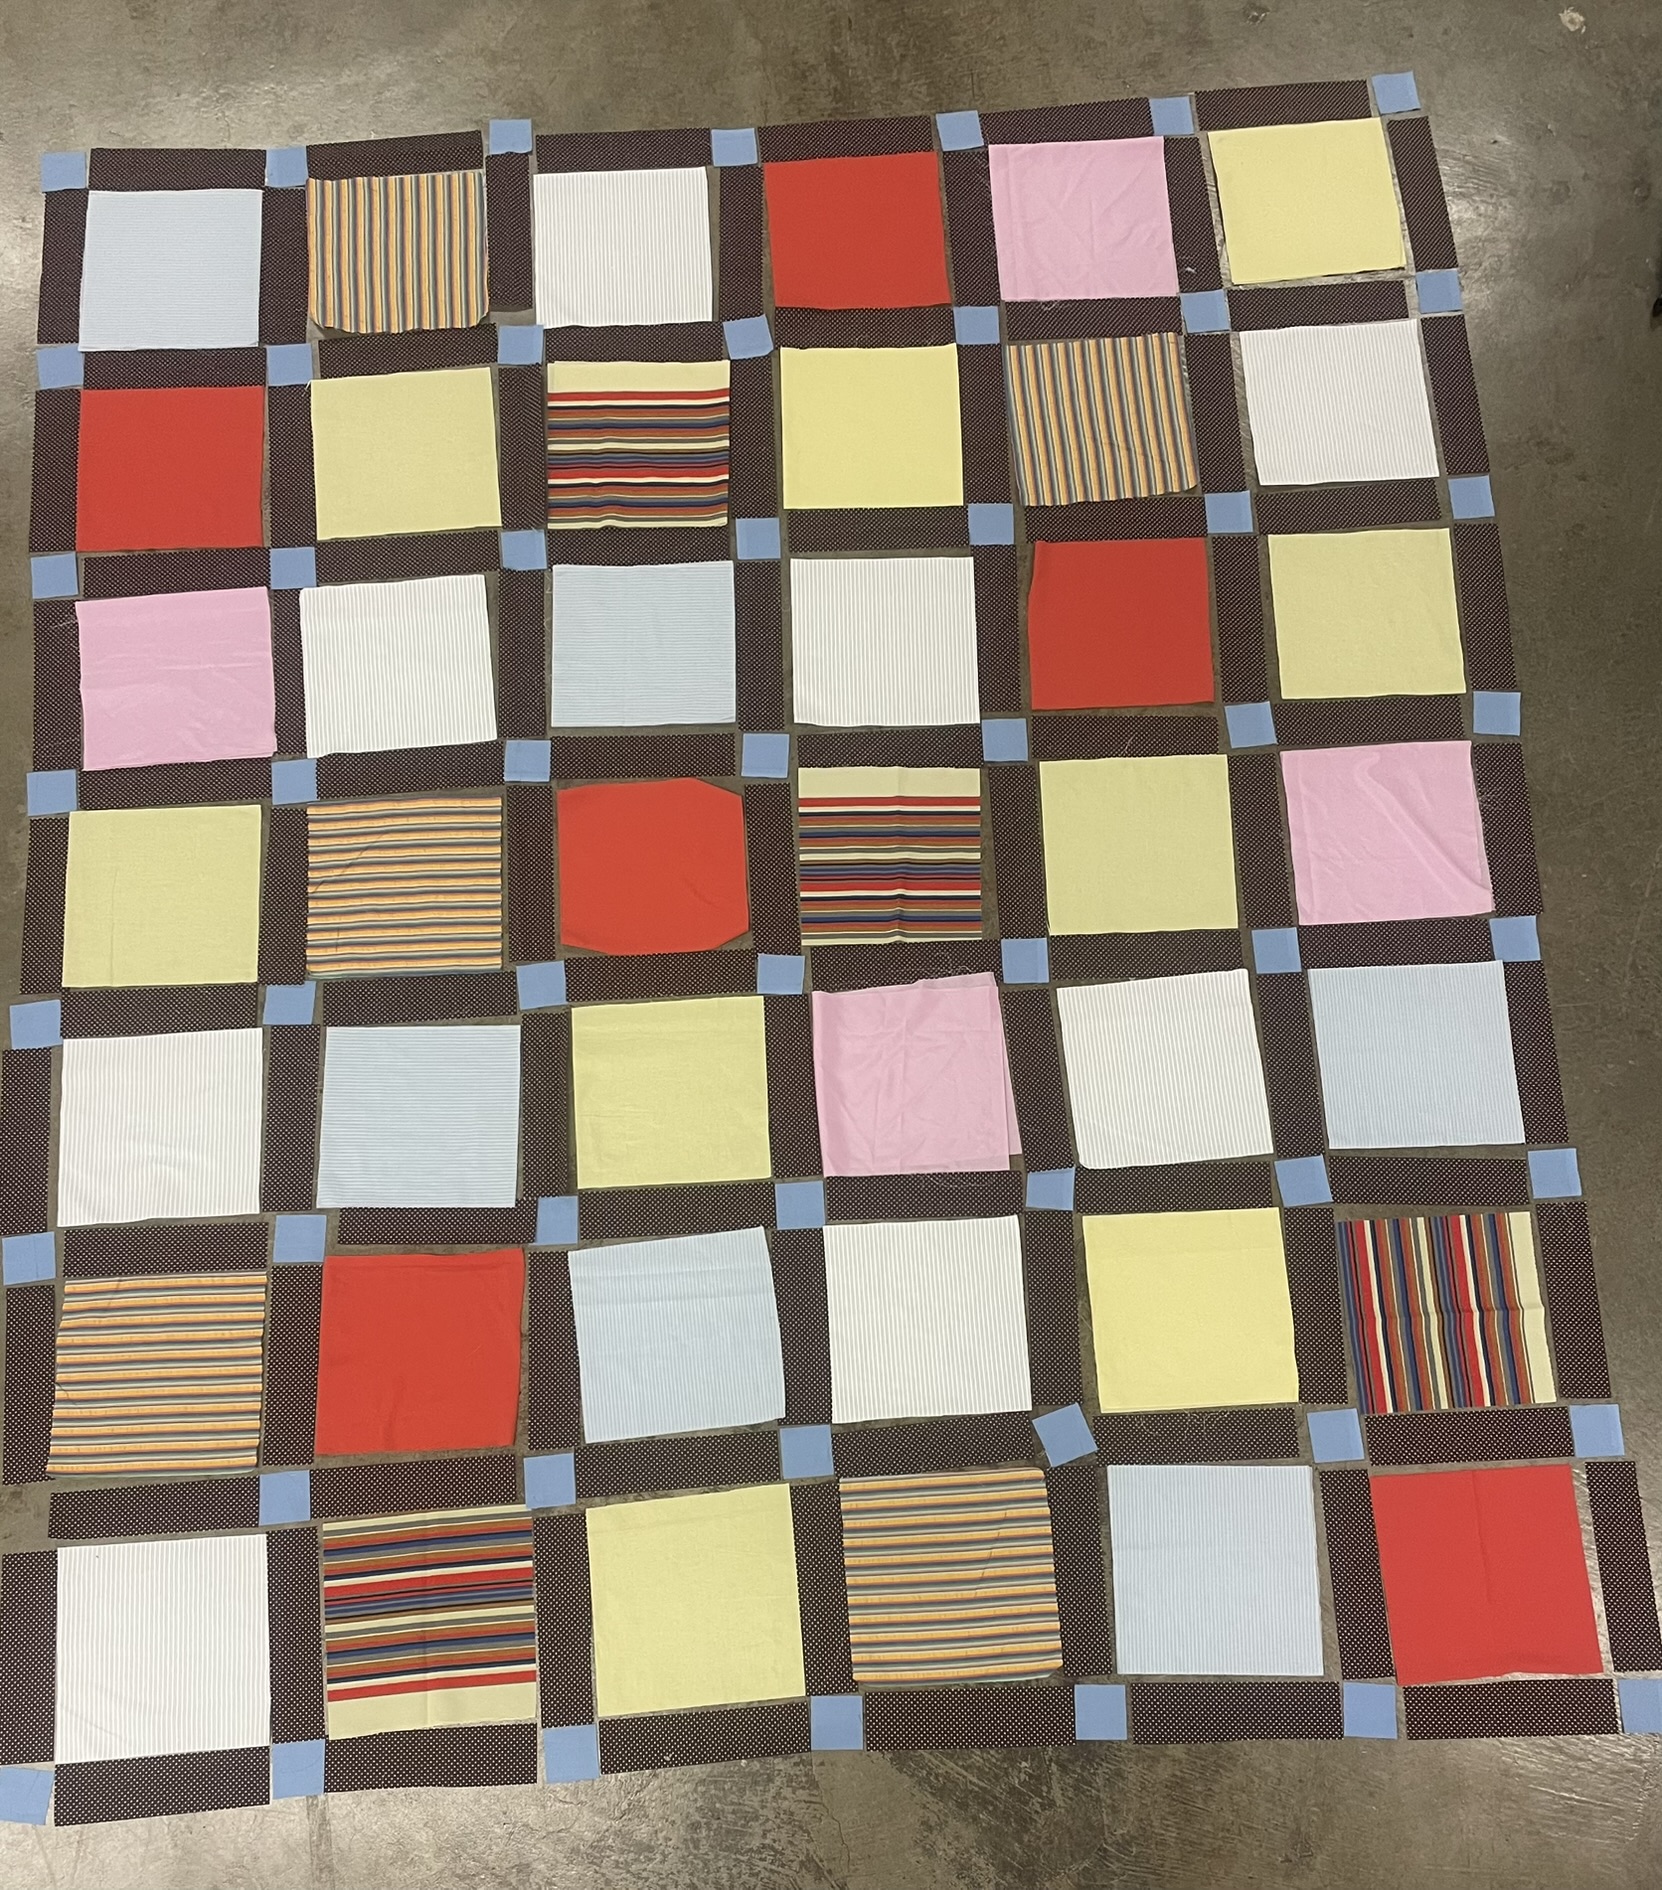
After all the pieces were cut to size, I laid them out in the pattern I wanted.
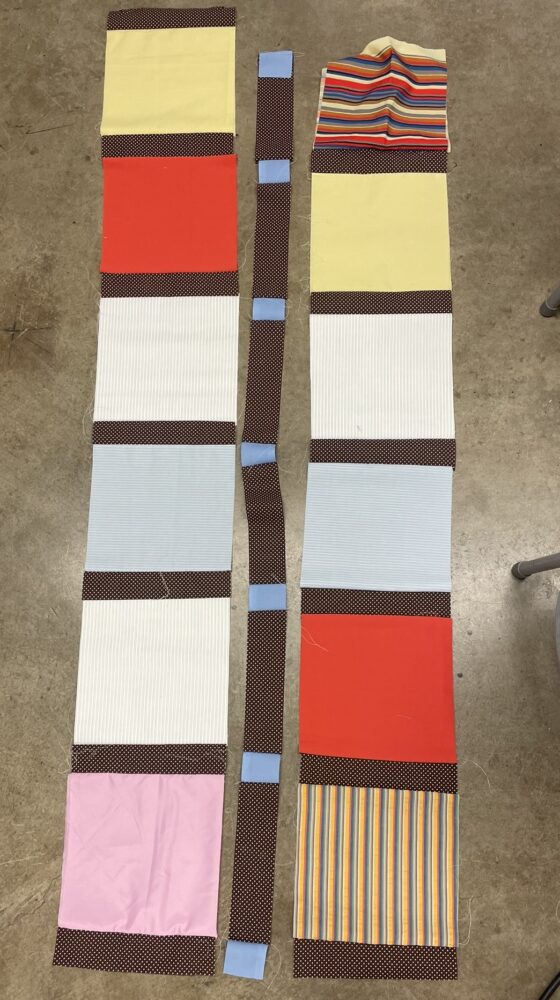
A few of the rows sewn together.
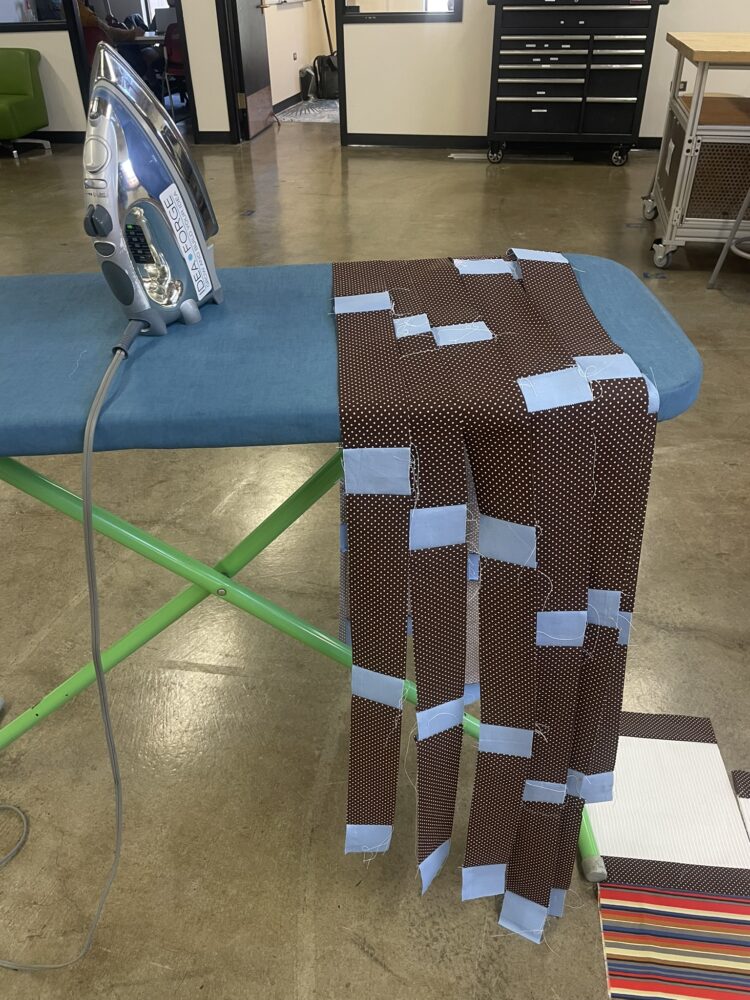

All of the individual rows sewn together, plus ironing all the seams.

Sewing the first two rows to each other.
2 Comments. Leave new
Hi Abby,
I think your project looks great so far and I’m glad you’ve decided to embrace imperfections rather than dwelling on them. Now that you have started sewing and are making progress, have you considered changing the total size of the quilt? I’m sure it would be relatively easy to modify the size by adding additional rows or columns.
Hi Abby! Glad to hear most of the “painful” parts are already done! Also, appreciate the progress pictures! It’s neat to see how it’s turning out so far! Good luck with the rest of the project!