
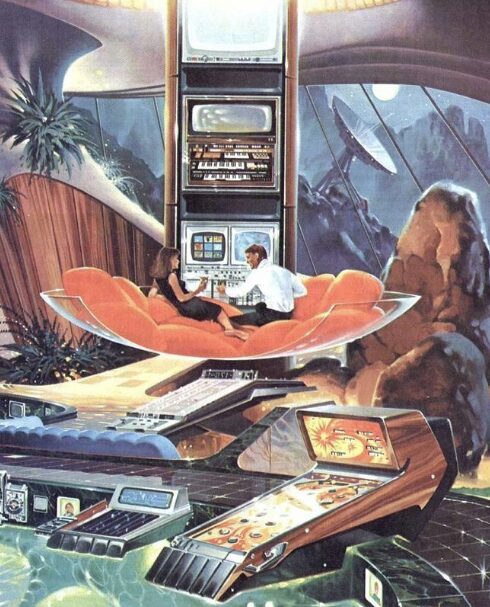
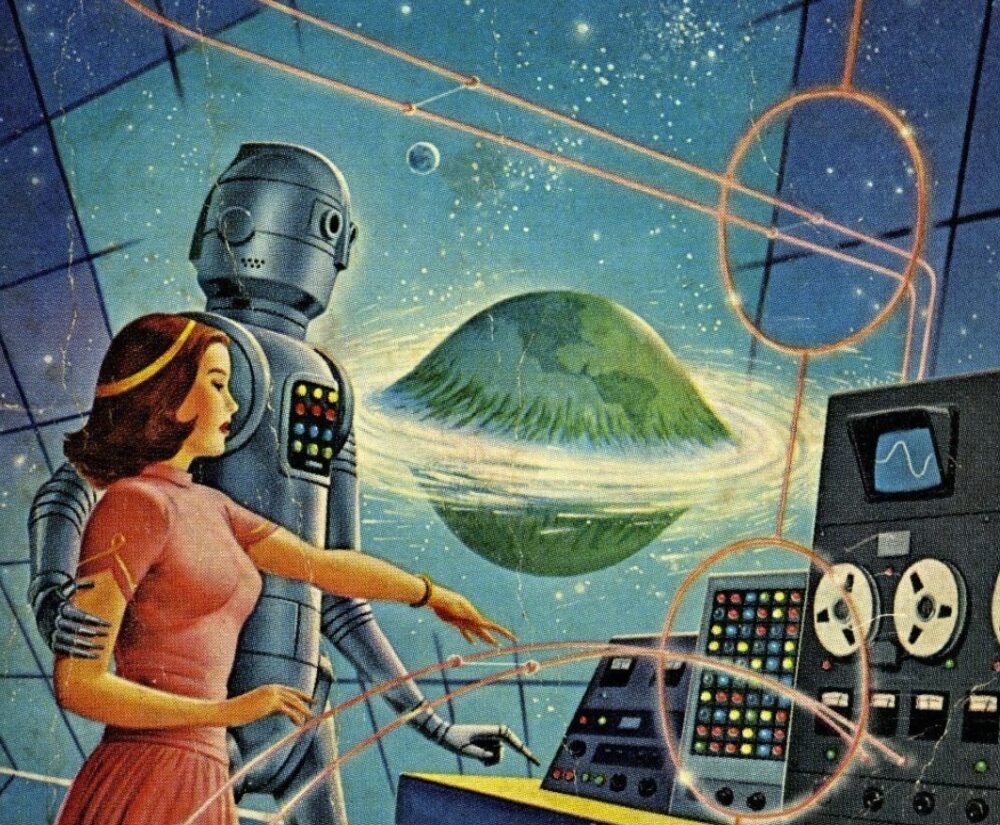
One thing I have really enjoyed throughout this class is that I have had to reflect on my personal aesthetic and the aesthetic of things around me that I have not considered before. In the past I have reflected on my own aesthetic when it comes to my fashion choices and interior design choices but not much further and not how they all reflect common themes throughout all areas of my life. It took a lot of thought for me to decide on what I wanted to create as my final artifact. I went though multiple ideas and iterations of ideas but I finally decided on making something in the retro futurism aesthetic. I picked retro futurism because not only do I like that aesthetic but it is present in my personal expressions. As an engineer I naturally love technology and imagining what the future could hold but I also greatly appreciate the accomplishments of the past. I sometimes think the reality of what is the future is more bleak than what people imagined it to be in the past. In the movie Back to the Future the vision people had of the 2000’s to me seems a lot cooler than what it ended up being. Retro futurism is a creative movement that draws from past visions of the future. Unlike futurism, which focuses on forecasting what’s to come, retro-futurism looks back, exploring how earlier generations imagined tomorrow. It’s less about prediction and more about revisiting the dreams and expectations of the future from a bygone era. I am very guilty of romanticizing things and often the anticipation is greater than the reality so this aesthetic really speaks to me. Some of my other personal aesthetics’ such as cyber, synth and other technology based aesthetics’ also have common themes with retro futurism.
After picking my aesthetic it was time to pick my artifact. I knew I wanted something functional that I could use long after this class ended. I also knew I wanted it to look professional and similar to something I may have bought. Not handmade by me someone who doesn’t have much experience with creative projects. After spending some time looking online at existing projects and looking through my personal collection of things I decided I would make a vinyl lamp. I fell in love with this idea for two main reasons. The first is that I have a stack of old single 45 rpm vinyl’s that I got from a garage sale. These records are old and scratched up so they cannot be played. I got them to hang on my wall originally but could not find a good place for them. The second was I have a record collection in a dark corner of my living room that could really used some lighting to bring more attention to the area. A vinyl lamp would be perfect solution for both of these issues and it also fits nicely into the retro futurism aesthetic.
Next I looked online at existing vinyl lamps for inspiration. I found a few examples on online.
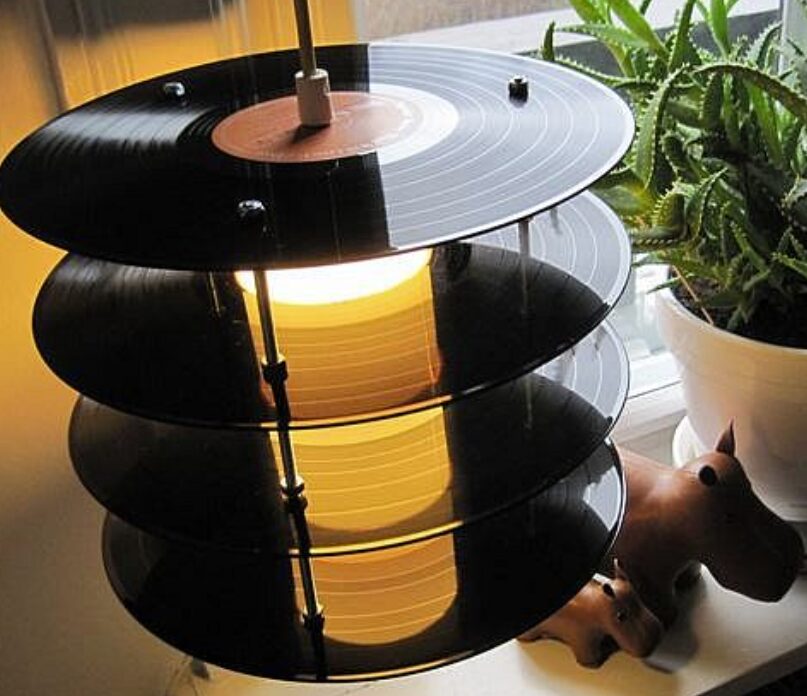
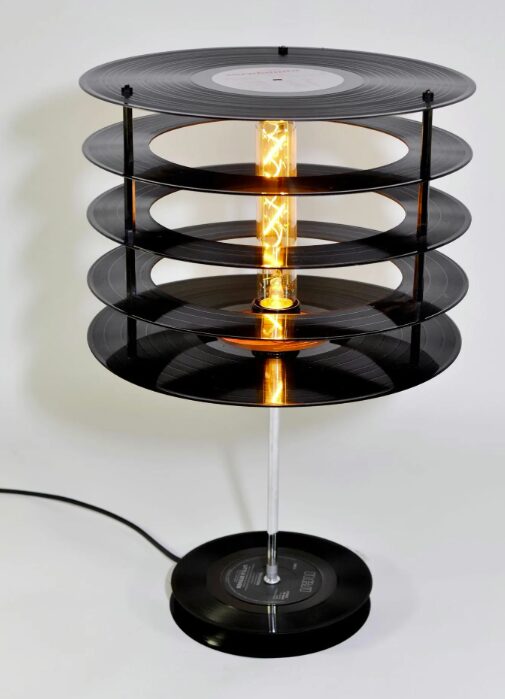
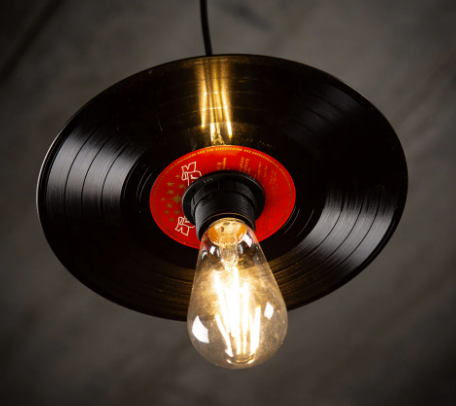
Although the vinyl lamp isn’t an entirely original idea I wanted to make sure I was separating my project from what is already out there, In the above pictures you can see they use different bulbs and I was not going to hollow out the center of the vinyl nearly as much as I wanted the original song label to still be visible. The second picture is also more lantern shaped and I knew I wanted more of a lamp style light. My lamp base was also going to differ from the ones used in the inspiration pictures. This also applied to the third picture which features more of a hanging style lamp. Most of these I saw on Etsy and various blog posts. You can see the detailed sources in the sources section below.
Another big part of my identity is upcycling. I loved the initial upcycling project I did for the first part of the class so being able to upcycle my second project was really appealing. I am passionate about the environment and being less wasteful so using materials I already had was very exciting. A big reason I decided to pursue my masters was to gain more experience in renewable energy technology so I can transition into a career in clean energy.
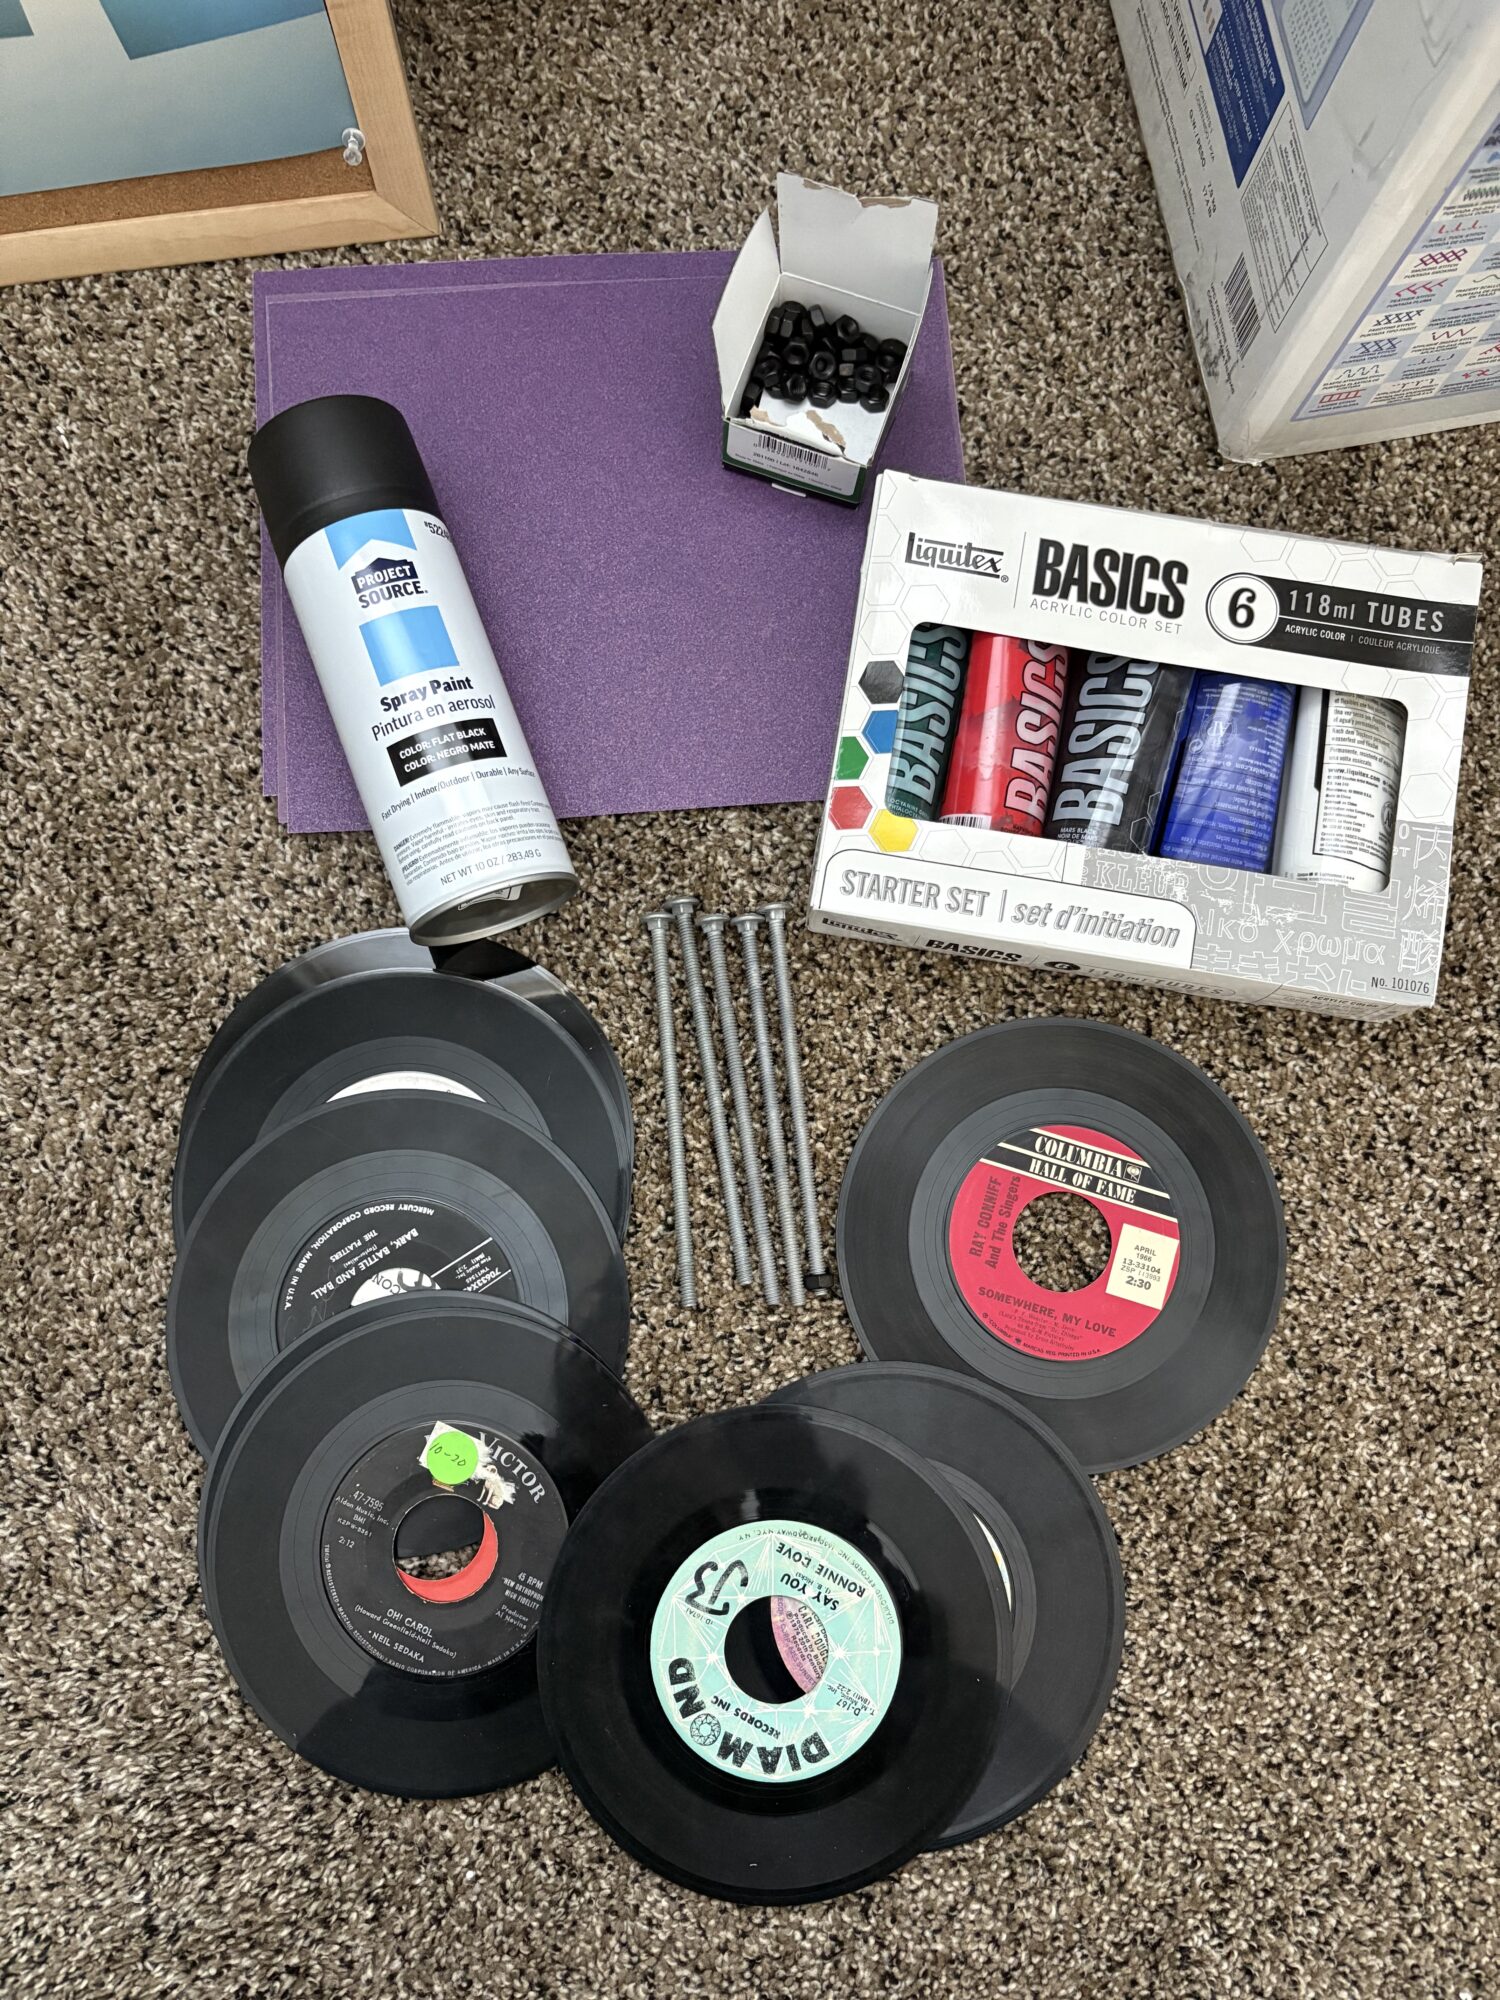
For the lamp stand I went to a few thrift stores in my area and found a plain black stand I could reuse for the project. The stand needed a light sand and repaint but otherwise was functional and ready to be used. I removed the old lampshade and lightbulb as I will be making my own using the vinyls and using a color changing bulb. I had to buy a few other materials such as various grits of sandpaper, paint, screws, nuts, a color changing bulb and correctly sized drill bits. Overall a majority of my project however is upcycled so I am happy about that. I chose a color changing bulb because I felt as though not only did it fit the retro futurism aesthetic significantly more but I also want to be able to create a specific vibe depending on the music I’m playing in my record collection. My overall vision was to create an upcycled lamp that fit the retro futurism aesthetic and was functional in lighting up the area it would be standing in.
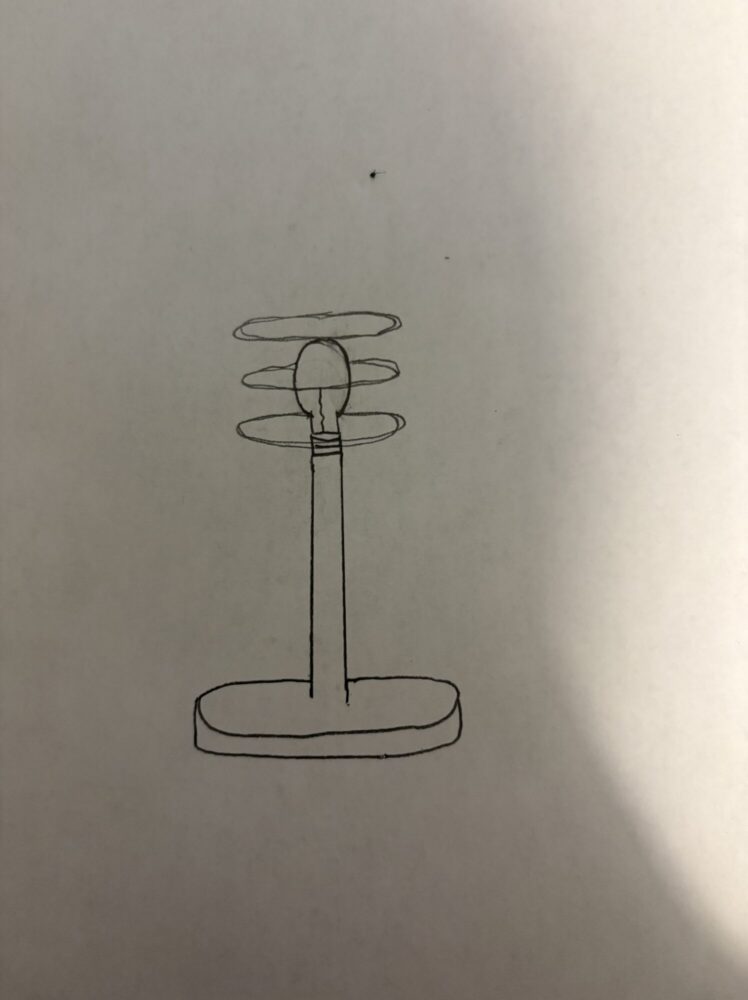
Next it was time for some initial sketches and design ideas. Below you can see what my initial design concept was. The sketches were pretty simple as I felt the overall the design is straightforward as the piece would really be reflected in the details. This was a quick sketch I put together but overall I ended up using a lot more than 3 vinyl’s for the lamp shade. Three ended up being too little and making it look a lot more sparce than I liked.
When it came to my planning phase I knew I had goals and constraints I needed to consider. I go into more detail in a previous posts about these but generally my overarching goals where to one, create something functional. Two, make sure it looked professional and three match the retro futurism aesthetic. For my challenges my biggest was time. I work full time and am a full time grad student so when it comes to completing everything in both areas of my life planning is crucial. My second biggest challenge was tool access. I live pretty far from Boulder and am only on campus twice a week, I had to plan accordingly if I needed to use any campus resources. Thankfully I have a dremel and a drill so I did not anticipate running into too many issues when it came to tooling and having to use resources outside of what I already owned. My third challenge were my skills. I have never made a project like this and admittedly do not consider myself to be very artistic or skilled in making projects such as this. Although this made me nervous I also saw it as a growth opportunity. I thought with carful precision and planning even someone like me with minimal DIY experience could produce a professional looking product. I planned to use one of my vinyl’s as a sort of sacrificial stencil where I could practice drilling properly and drill out the pattern I wanted for the structural rods and then I could lay that vinyl on top of the others before drilling into them. At first I tried using a paper stencil but it was too flimsy so I decided I would use an actual vinyl instead. Thankfully I had collected enough records to be able to accomplish this. Otherwise my backup plan would have been to use a cardboard stencil.
In conclusion, during this initial phase I picked out my aesthetic and final project, I think retro futurism is the perfect match for this lamp and aligns with my personal aesthetic closely. I am almost done with my project and look forward to how it will turn out. Overall I have really enjoyed the process so far and the things I have discovered and learned along the way. So far I have been able to improve on my planning, painting and manufacturing skills. Moving forward I will be completing the final touches of my project and writing the second part of the final report where I will go into more detail about the fabrication process, challenges I faced during the actual completion process and how I overcame them. If you have any suggestions or feedback feel free to leave a comment below.
Sources:
1.https://www.upcycledzine.com/vinyl-records-lamp-by-genanvendt/
2.https://microphonemania.com/products/retro-vinyl-record-lamp
1 Comment. Leave new
Hello Mila, I really enjoyed reading your report. I think that your use of vintage vinyl records to create a lamp is a really unique project and the retro futurist appeal is awesome! I also really enjoyed the fine details of your project that define it including your decision to maintain the record label which adds to the aesthetic. I am aware that vinyl records are very fragile. Did you have any difficulties drilling into the vinyl? I am looking forward to seeing your final product!