
This project was something that I progressively worked on over the course of many weeks, starting with ideation and progressing to the creation of my final product. I am pretty happy with how this project turned out, and while it may not be the fanciest or most complex project, its something that should be functional, which I am pretty happy with. I made this product using mostly 3D printed materials, as well as some purchased off the shelf parts.
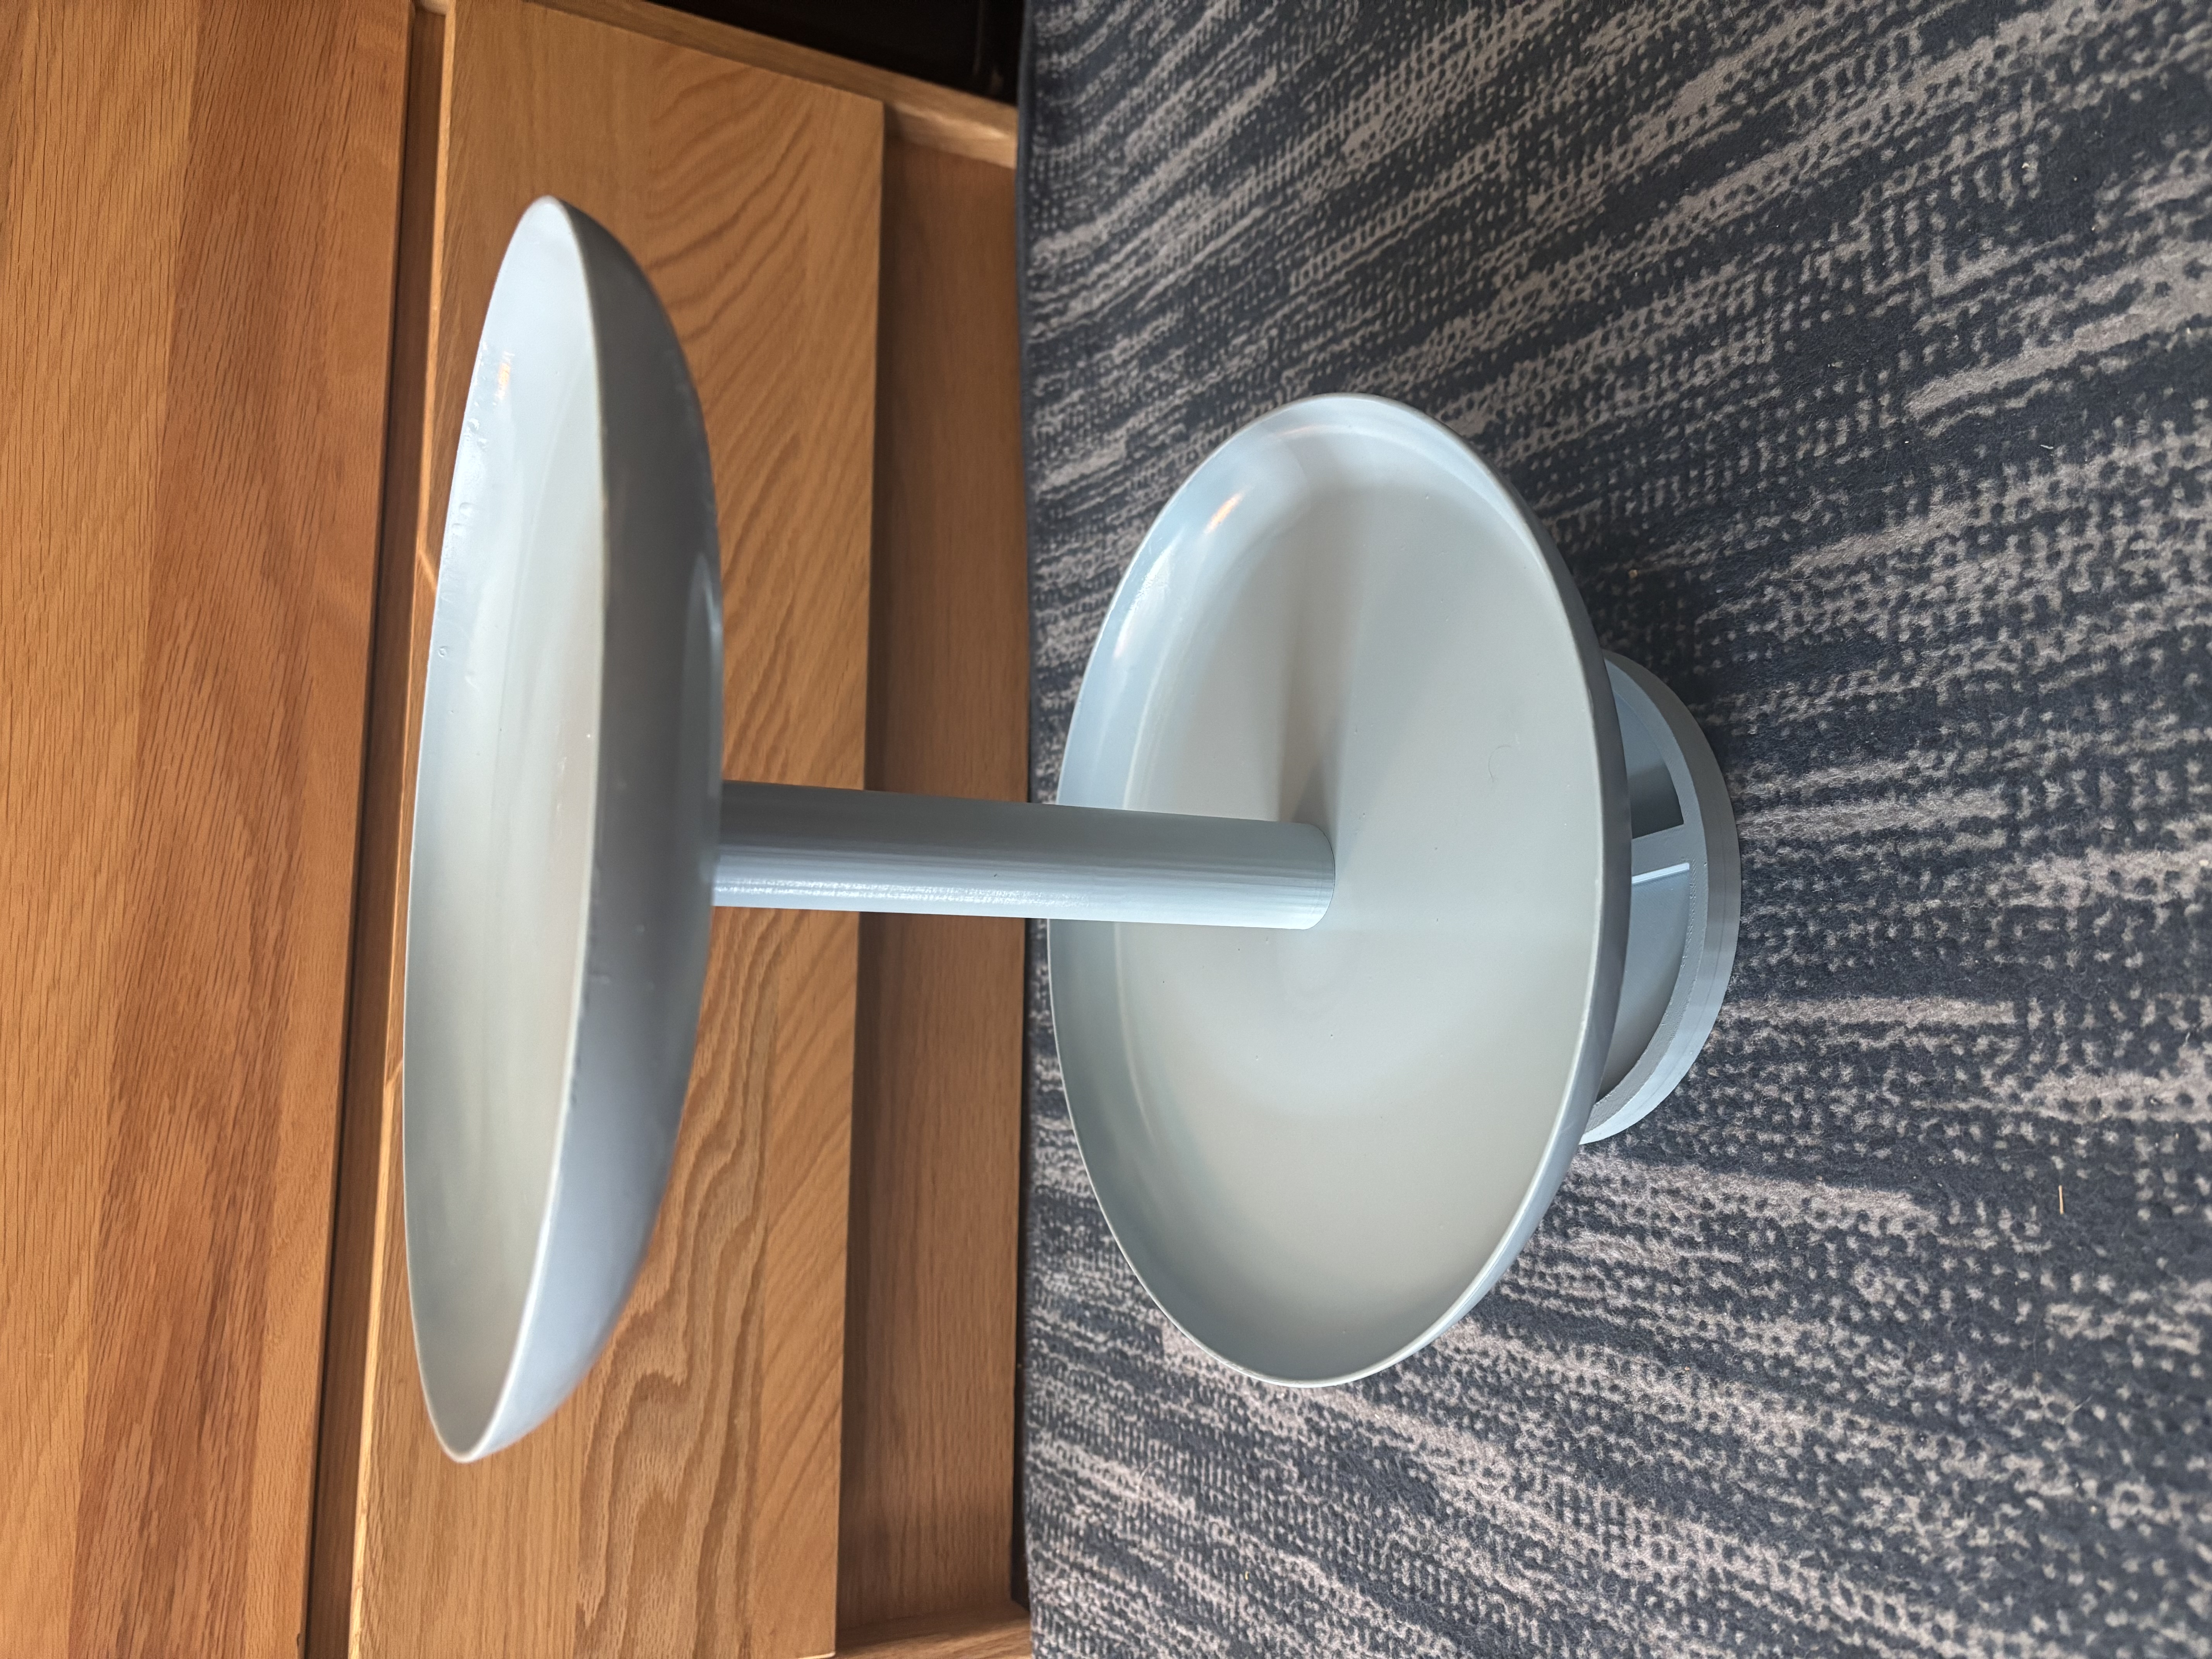
Figure 1: My final product
This process started for me back in the first week of March, when I began brainstorming actual ideas for this project. I knew I wanted to have a project that was somewhat similar to my own personal aesthetic, which I said was casual athletic, which is an extension of modernism. The goal of modernism is to emphasize functionality, and to eliminate things that feel excessive which really fits for me, as I have never been a person who cares about having nice and formal clothes, or even clothes or shoes that are expensive. I like clothes that feel comfortable on me and that are functional, and both modernism and the athletic casual aesthetic demonstrate that. I would sum up my aesthetic as being simple yet functional, which was my main goal for creating this piece.
Because of this motivation, I knew that I wanted to create something practical. I also knew that I would be somewhat limited by my own artistic skills, so I needed to pick a project that wouldn’t require hand painting or complex craftsmanship. This was a severe limitation to my options, but I knew that I would rather create something that maybe isn’t as unique or interesting, but do it well, than try to create something outside my skill range and fall short. This thought process lead to me to thinking about kitchen items as well as storage items. I considered a couple of other items, including a wooden storage chest, and a spinning fruit basket, however, I opted to go with the spice rack as it felt the most practical and doable of the three.
I was able to make this piece fit into the minimalist aesthetic in a couple of different ways, the first of which was through the simplicity of the design. As I said earlier, I am not a huge fan of fancy and ultra detailed decoration, and I think that simple is often times the best way to make something visually appealing. Another important design component was that I didn’t want the rack to look too boxy. This was my reasoning behind having both the racks and base be circular, as I felt like having too much literally sticking out (corners) might make the entire piece stand out too much as well. My overall goal was for this to be a piece that I could neutrally fit into just about any kitchen, regardless of the aesthetic of the room. Another way I achieved this is with color. I didn’t want to just make it white, as that seemed a little too boring. Instead my approach was to use either a pastel blue. I spray painted the entire thing one color, as I felt that too much color variation would take away from the minimalism of the piece.
To actually make this piece, I began by going through multiple iterations in CAD. I played around with different dimensions and shapes until I had a shape and form that fit my vision. That progress lead the the full render that I used as the basis for the project. While this gave me a nice rough idea for what I wanted this project to be, there were still quite a few changes I needed to make.

Figure 2: My initial full CAD render of the project
The first major change came when I found my bearing. The original CAD was for a bearing that had an inner diameter that was the same as my support beams, however, I found it difficult to find bearings that were that size that were not extremely thick and extremely expensive. That caused me to pivot to the smaller half inch internal diameter bearing and to adjust my model accordingly. To accommodate this, I had to find a way to taper my shorter support to interface with this bearing and also still look nice. My solution to this was to have a small nub the same diameter as the inside, which then curves out to the full diameter.
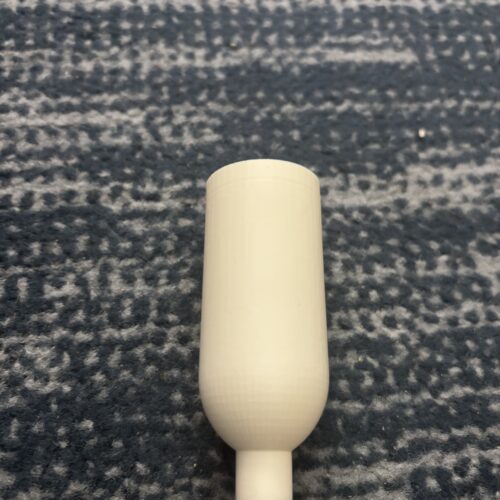
Figure 3: The lower support with a tapered end to interface with the bearing
After finalizing the design, I 3D printed the components out of PLA using the 3D printing services offered by the Idea Forge. It took me a few days to get the components after I submitted the order, but all parts printed great and turned out almost exactly how I was hoping. The one problem I had was that there was extra space on components that were supposed to press fit. As can be seen in the below image, the bearing was a little smaller than the space on the base that I designed it to press fit into. this was a result of the imperfections of 3D printing, and because of this inconstancy, I had to super glue the bearing to the base, and also the support into the bearing, since that also ended up slightly undersized.
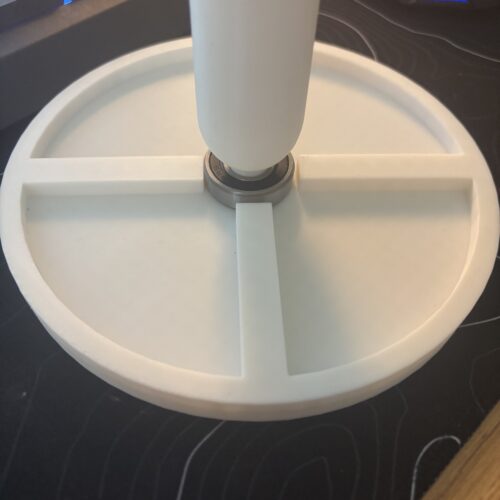
Figure 4: The slightly loose fit with the bearing, base and lower support
Before I painted the components, I had to ensure that the paint would be able to stick well. the surface finish of these PLA prints was very smooth, so I decided I needed to rough up the surface. I put a lot of thought into the kind of sanding I wanted to do, as I wanted to walk the line between allowing the paint to stick well, while also still giving a smooth finish post painting. I ended up landing on a 3M prograde sanding brick that was one hundred and twenty grit, which I thought provided that balance. It worked pretty well, and I prepped all of my components by thoroughly sanding them. After I had all the components prepped for painting, I brought them all outside to apply a coat of primer, then followed it up with a coat of satin French blue paint. I picked a day that was warm and sunny, and had minimal wind, in order to get the best coverage I could. After drying, I found a few spots that I missed, and was forced to do some touchups in my room after the weather turned. This only made my room smell like paint a few hours. After those touch ups, I arrived at my current product, which I believe accomplished both my functional goal, as well as my aesthetic goal.
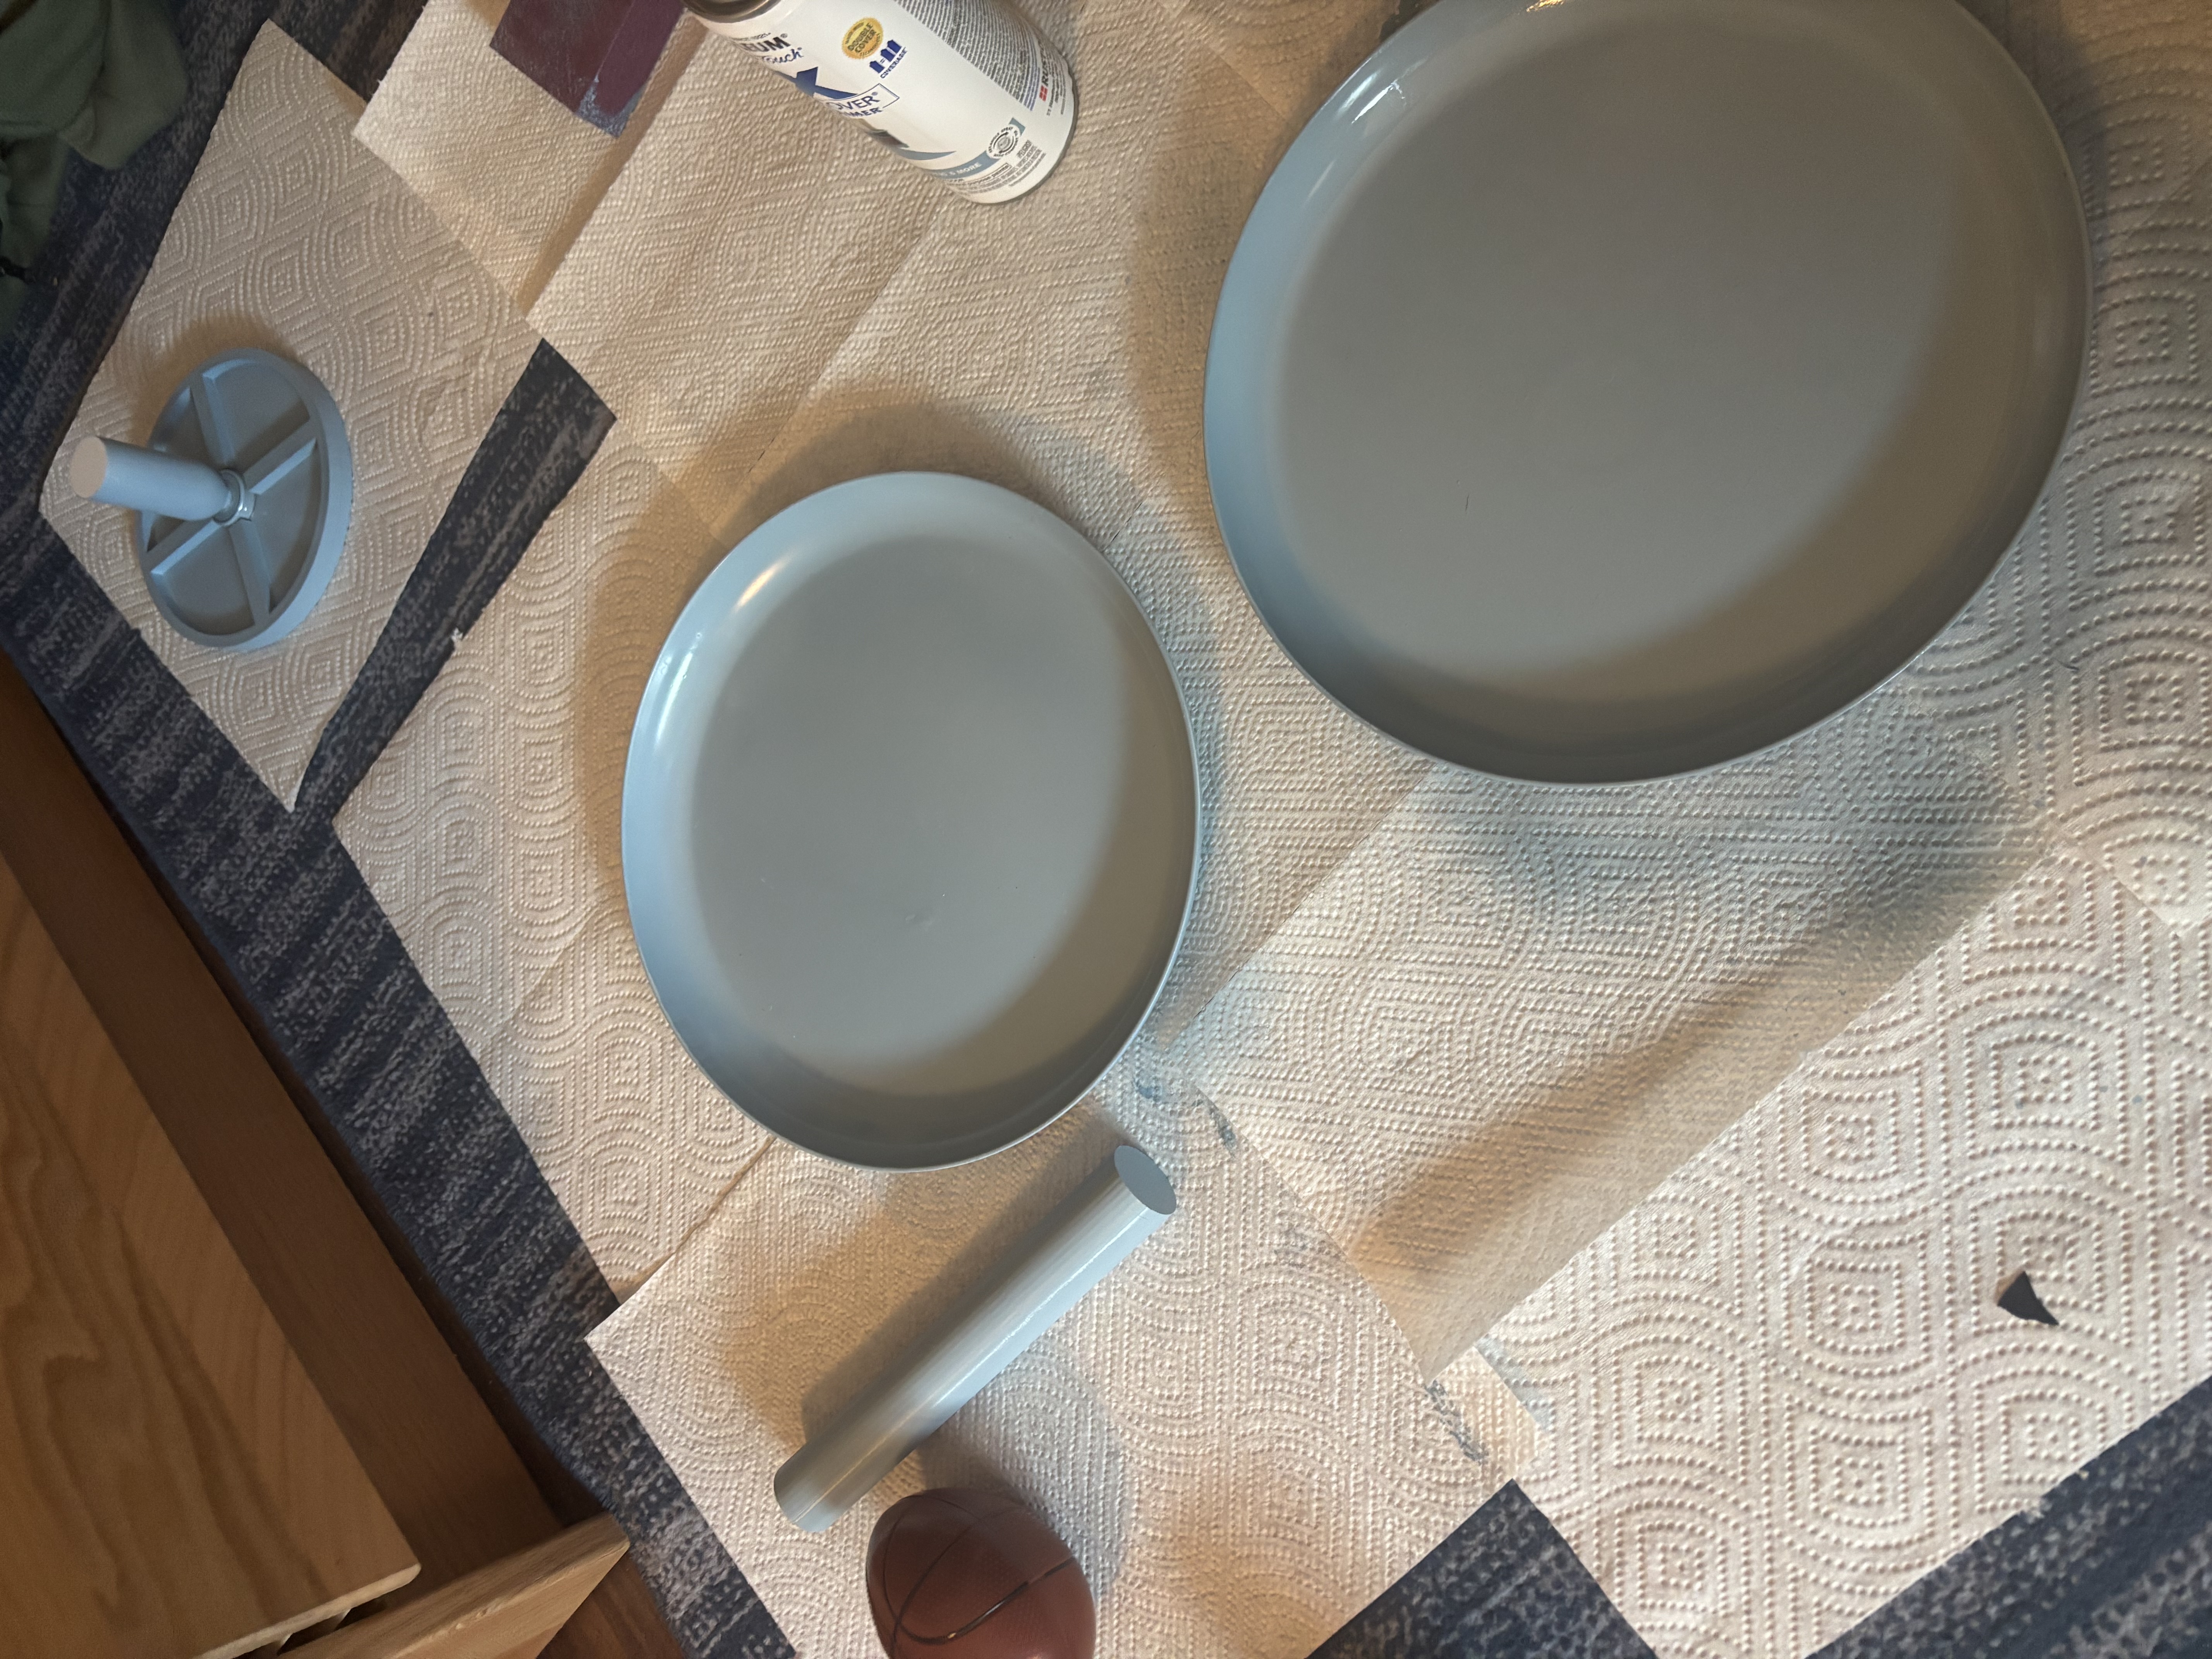
Figure 5: My set up for doing paint touch ups that was definitely a little sketchy
References:
All photos are my own
1 Comment. Leave new
Hi Tay, I think your spice rack looks amazing, and Im happy to hear that you have achieved your functional and aesthetic goals. I cant wait to see this at expo!