
Once I decided on my idea for the project, it was time to begin the design and fabrication. The first step was to find a pair of skis. This was almost more important than the overall design because the type of ski I found would drive how I supported the bookends and how I painted them. I looked all over Facebook Marketplace to find a pair. It took longer than I was expecting, which slightly delayed my process. I ended up finding a pair of old touring skis for fairly cheap, so I bought those. They were less of the design I was originally looking for, kind of plain and dated, so I knew I would need to paint them more intentionally to give them the character I wanted. This step taught me that sometimes you have to work with what you have and be creative within your constraints.
![]()
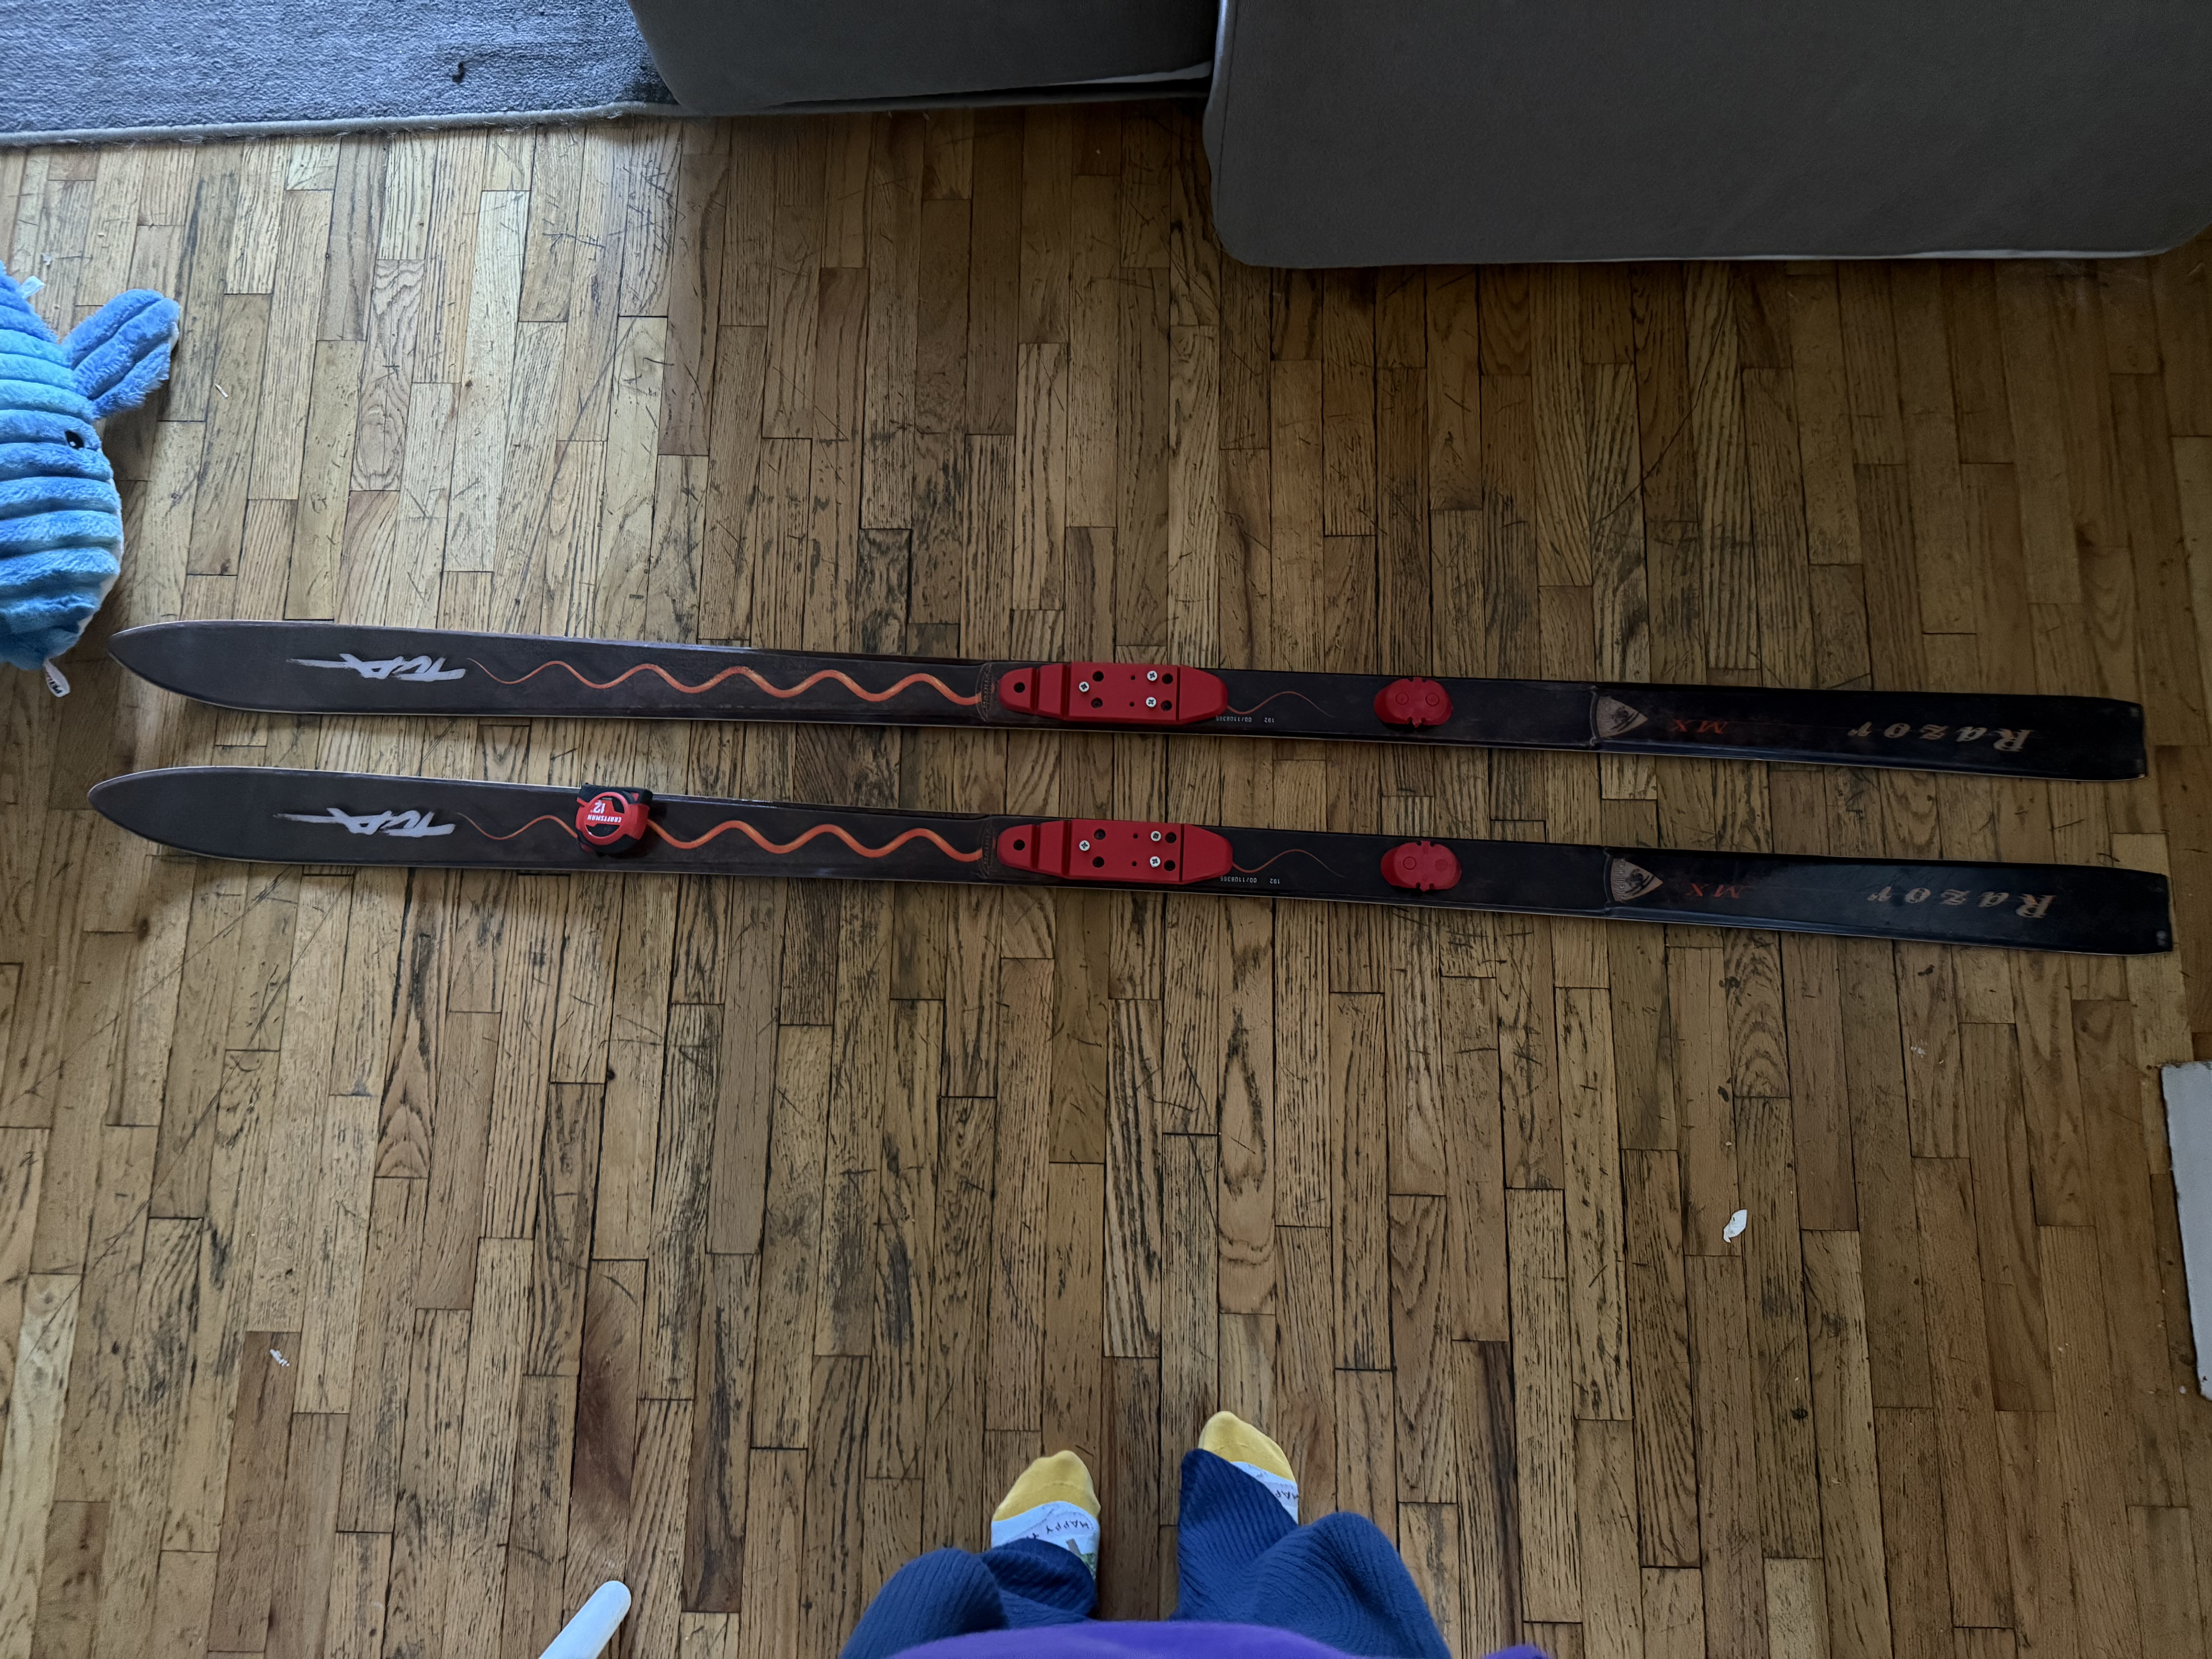
Once I got the skis, I refined the design more. I decided I was going to try not to use the ski bindings for support and just use a metal bracket if needed. The skis I got didn’t have normal bindings anyway, and I thought they wouldn’t really help visually or structurally. They also didn’t reflect the aesthetic I was going for, which was more playful and stylized. So I decided to remove them completely. At this point, I also made decisions on which parts I was going to paint and locked down the inspiration photo for the painted design. I wanted to make sure the visual elements tied both ends together so they looked cohesive and intentiona, like a matching set that also told a story.
Once I had the final design done, I began fabrication:
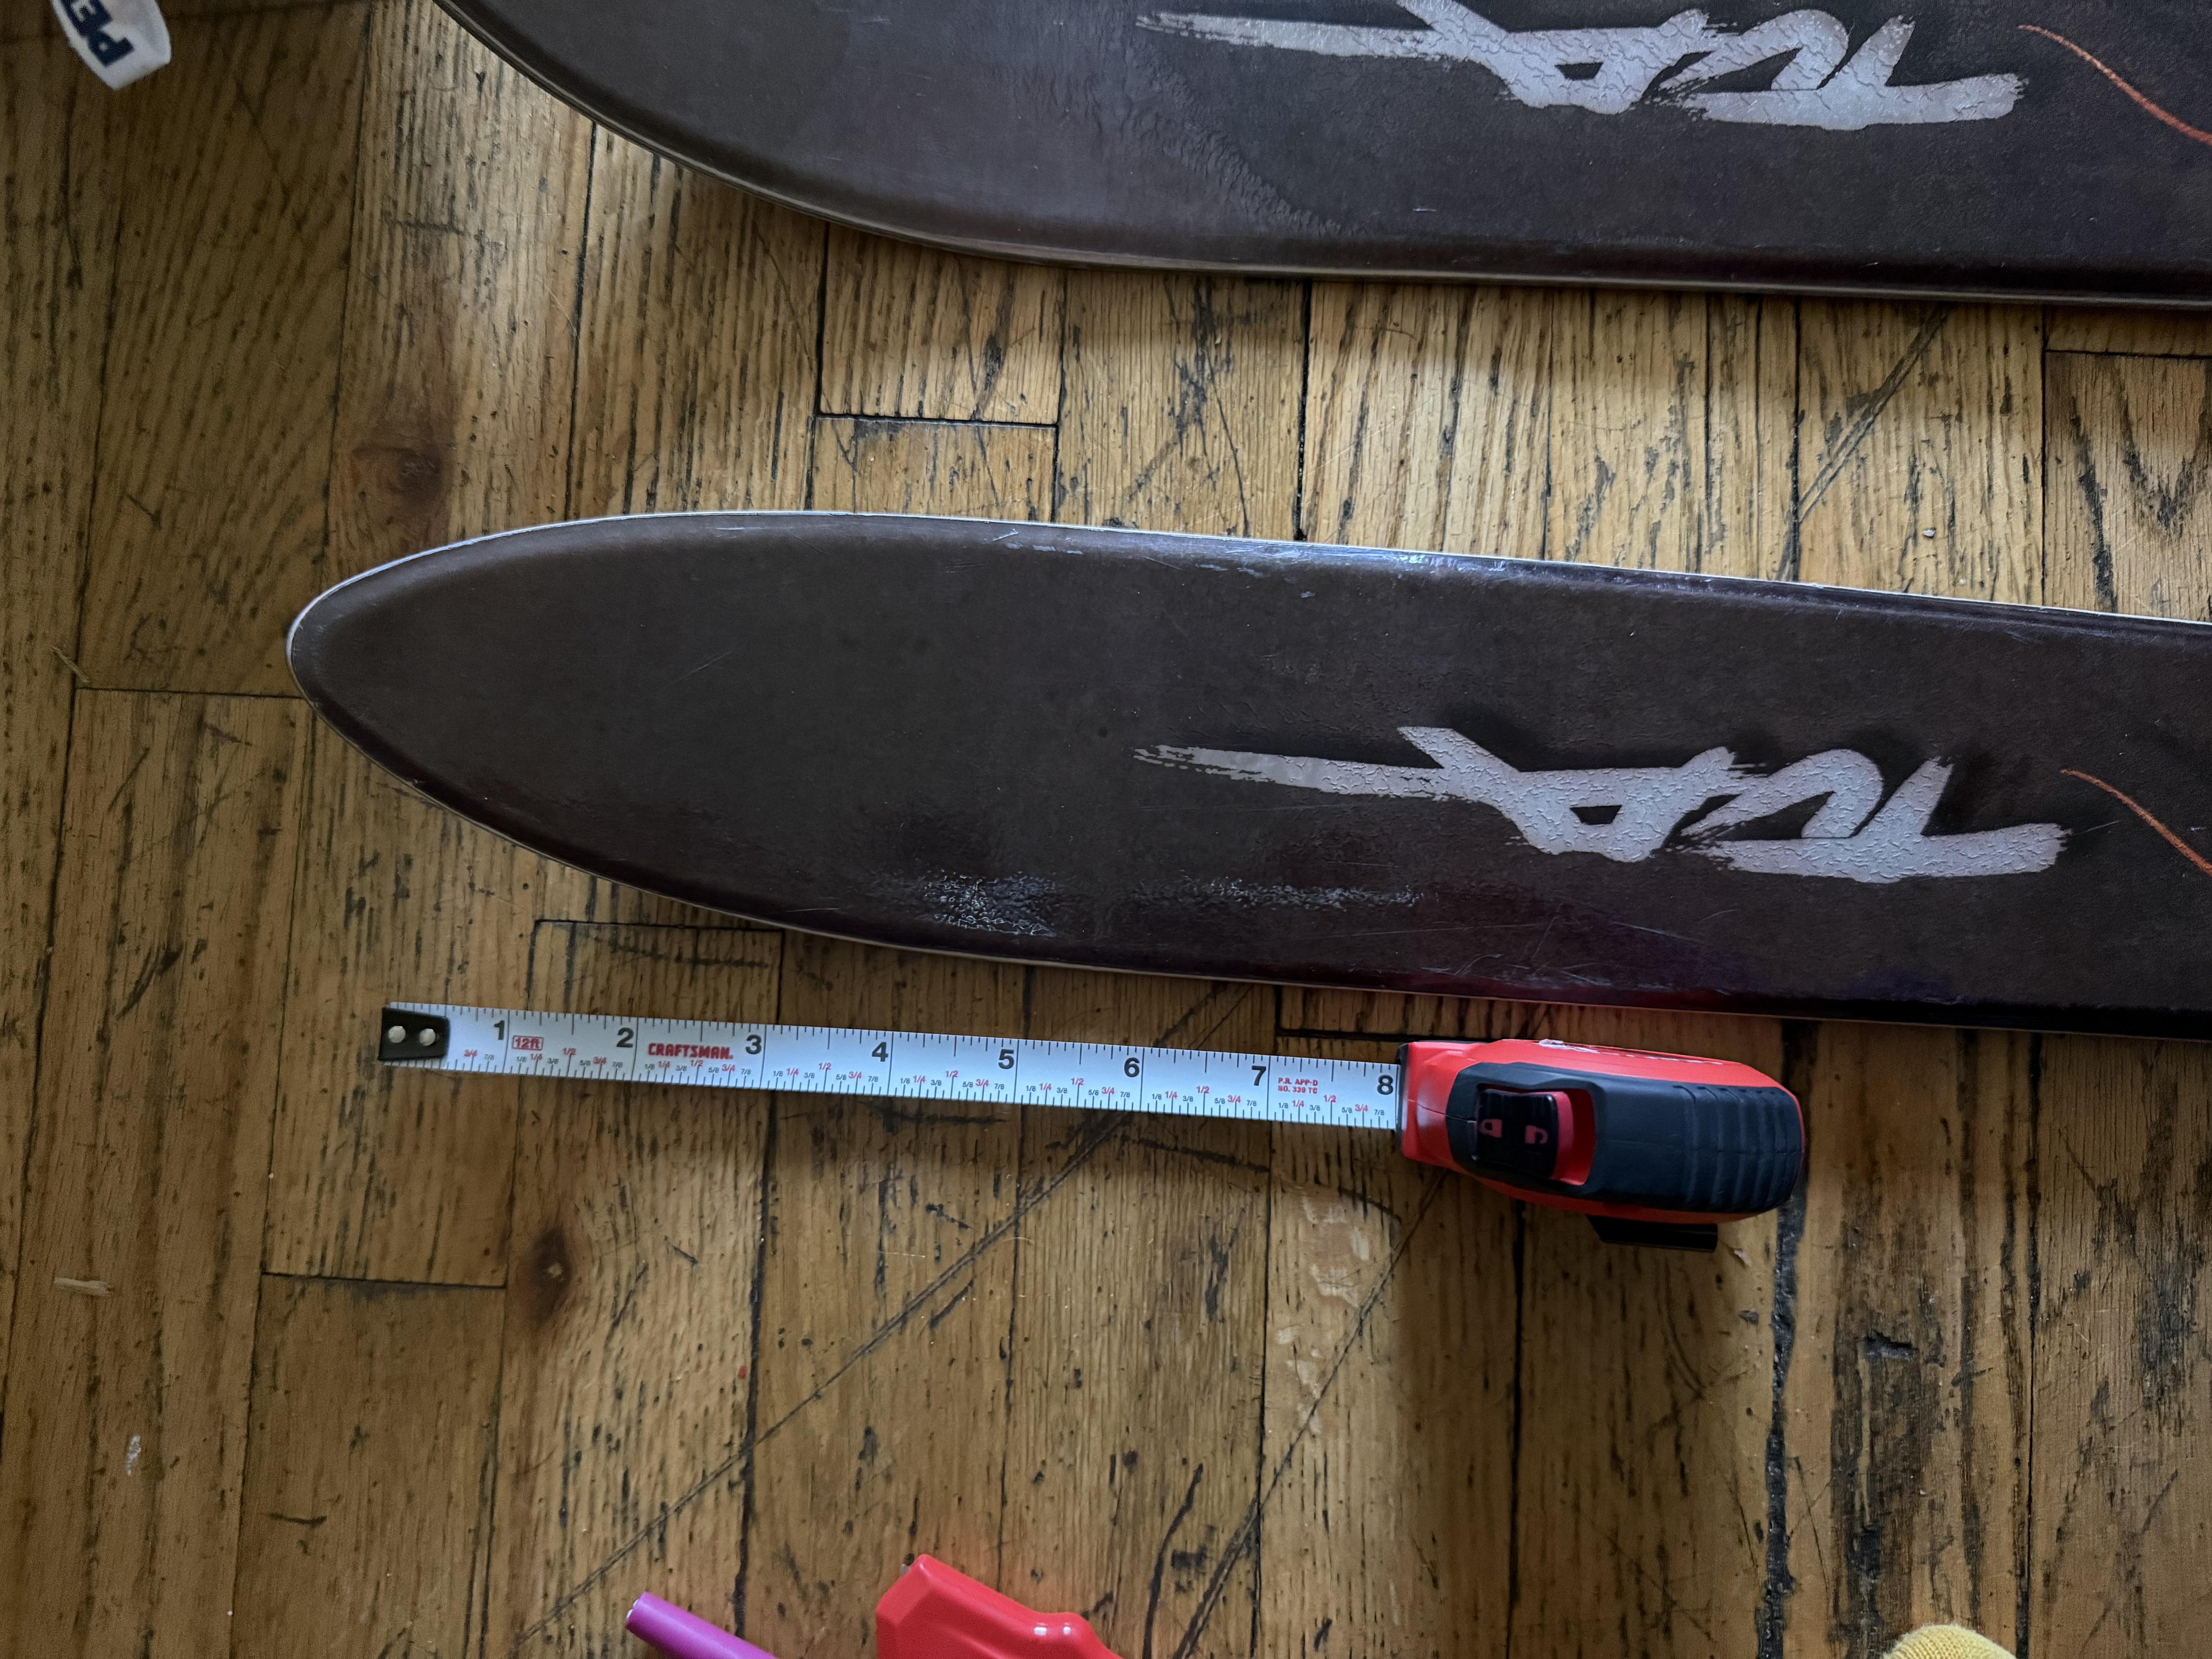
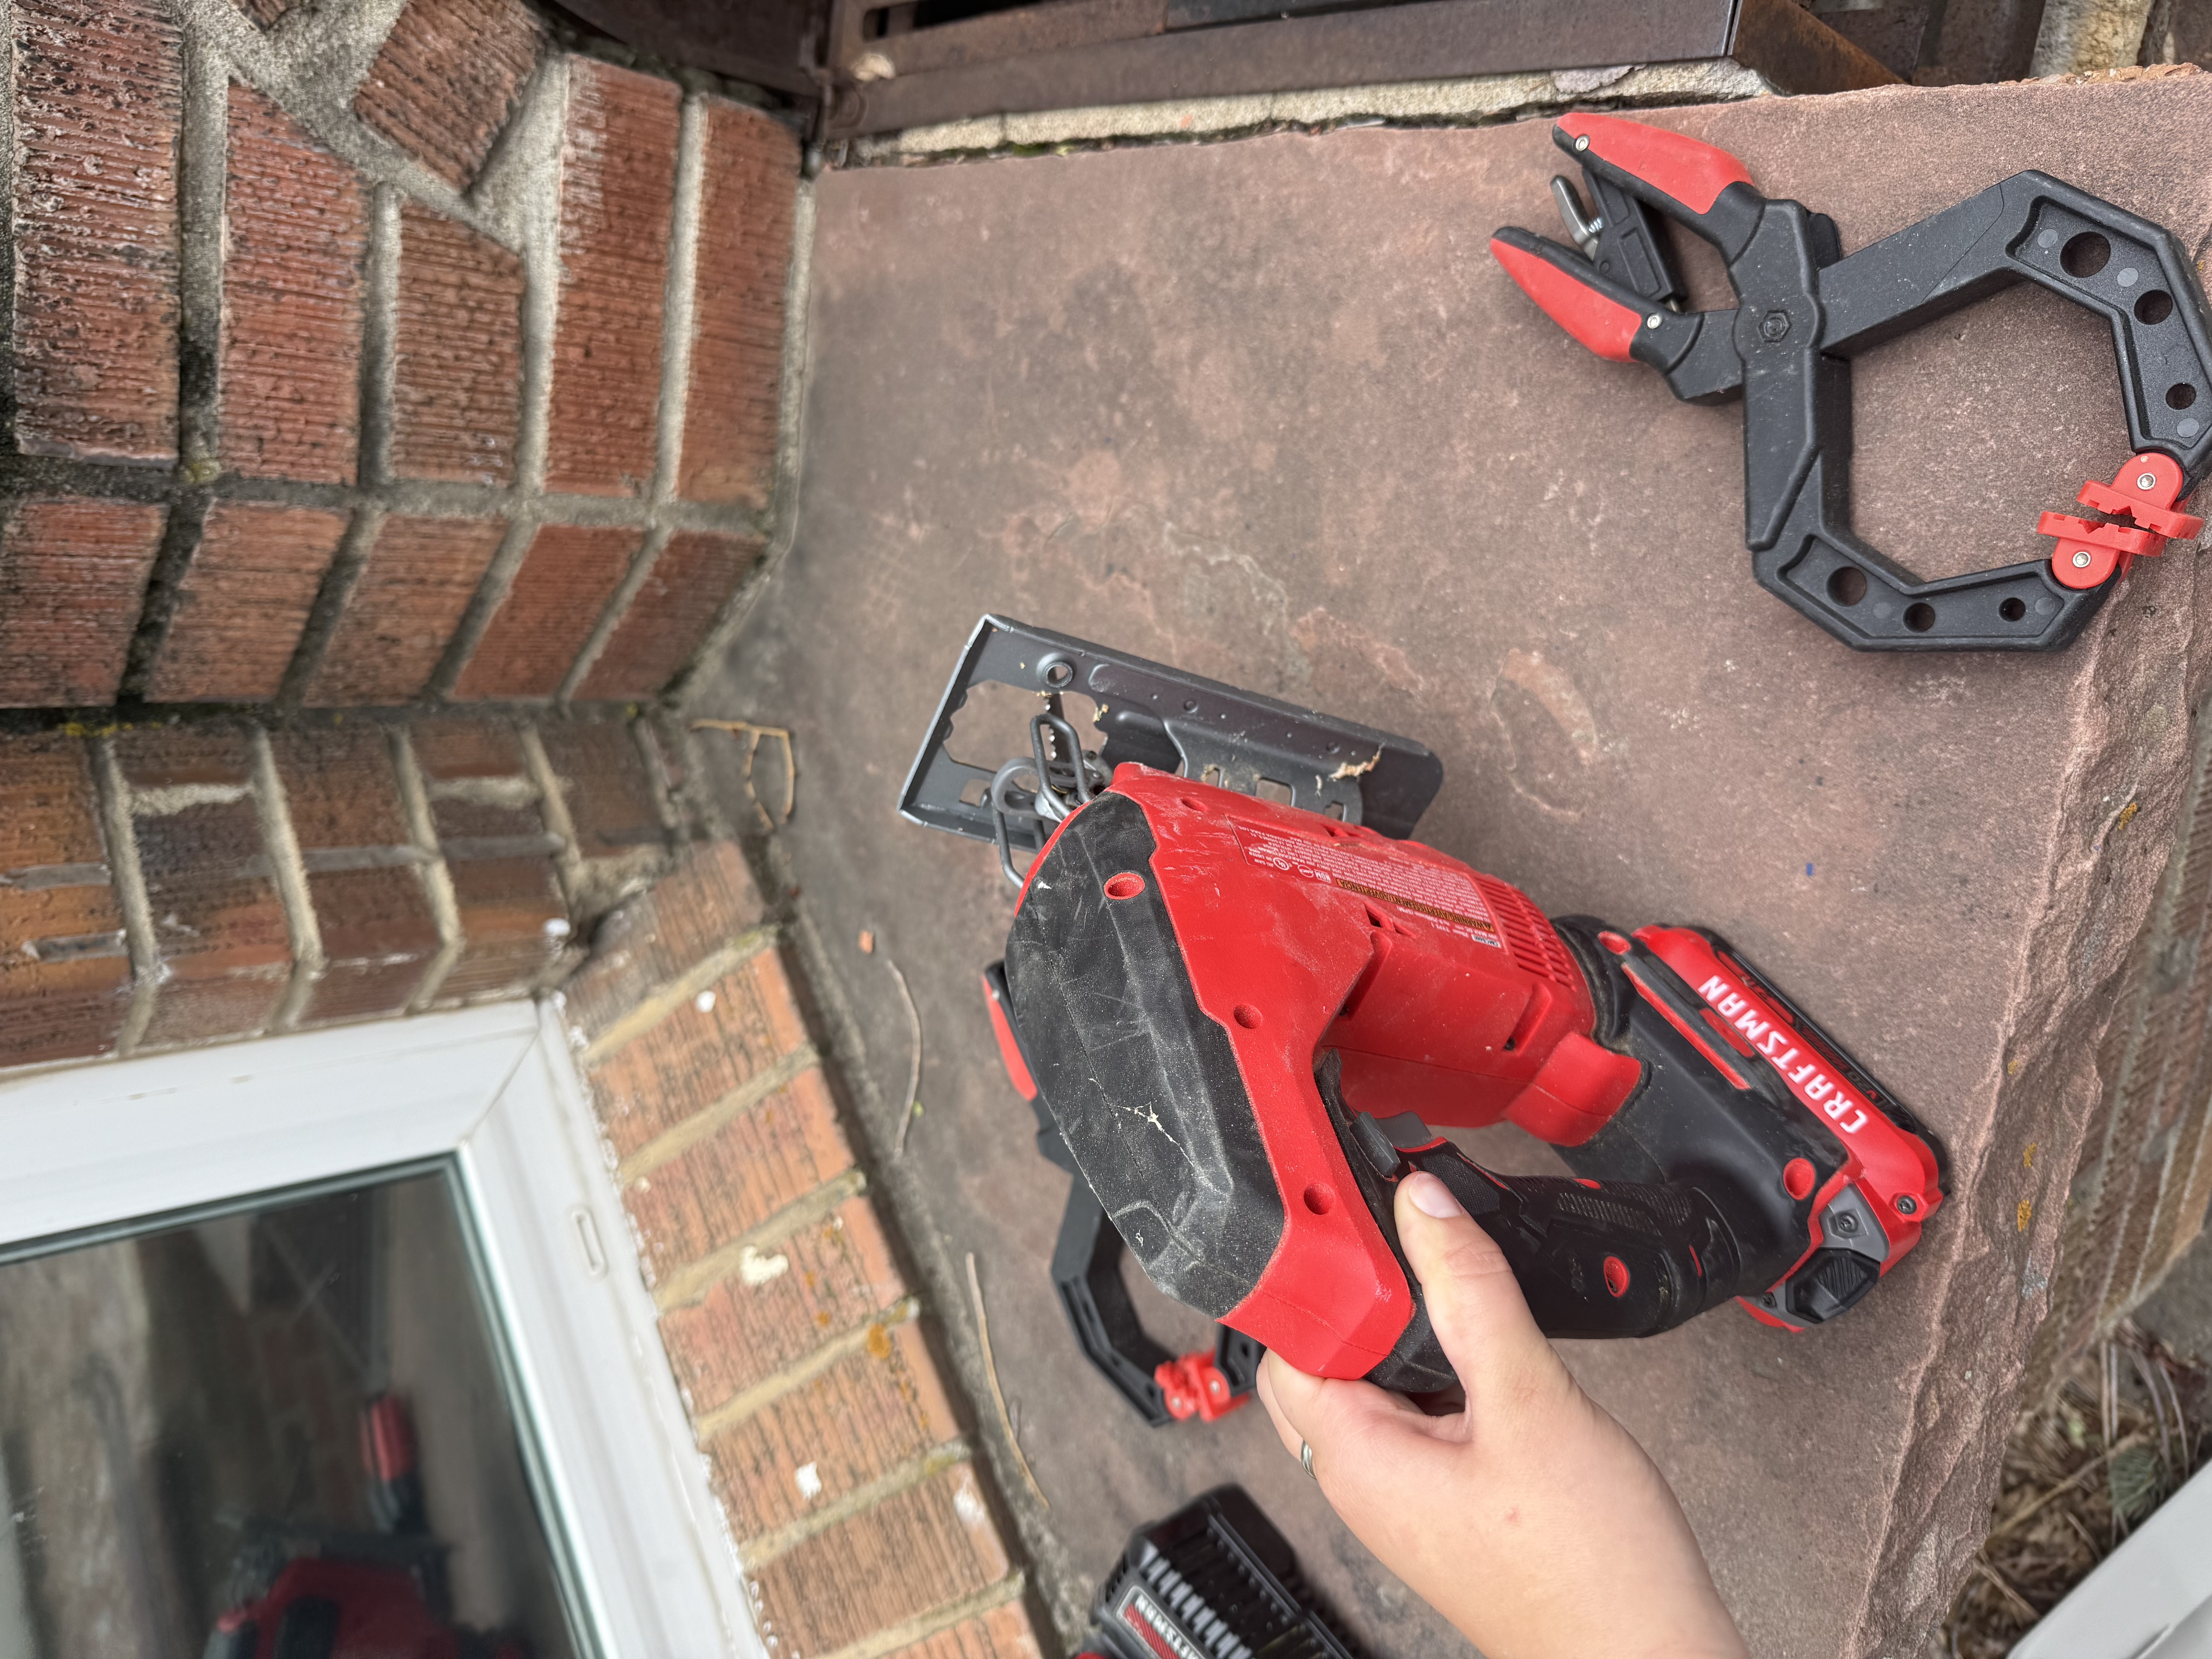
- The first step was to cut the skis. I decided to cut 8 inches from the tip and 3 inches from the tail. This showed off the tip more, which I thought was visually stronger, and made the bookends actually look like ski pieces rather than just flat boards. I cut the skis using a saw. I probably should not have used the saw I did because of the metal edge of the skis. It was really intended for wood, and it had some trouble on the last cut. But it ended up working fairly well and didn’t take super long. I made sure to wear protective gear while cutting. That part of the process was a little nerve-wracking because I didn’t want to ruin the skis after already spending time finding them.
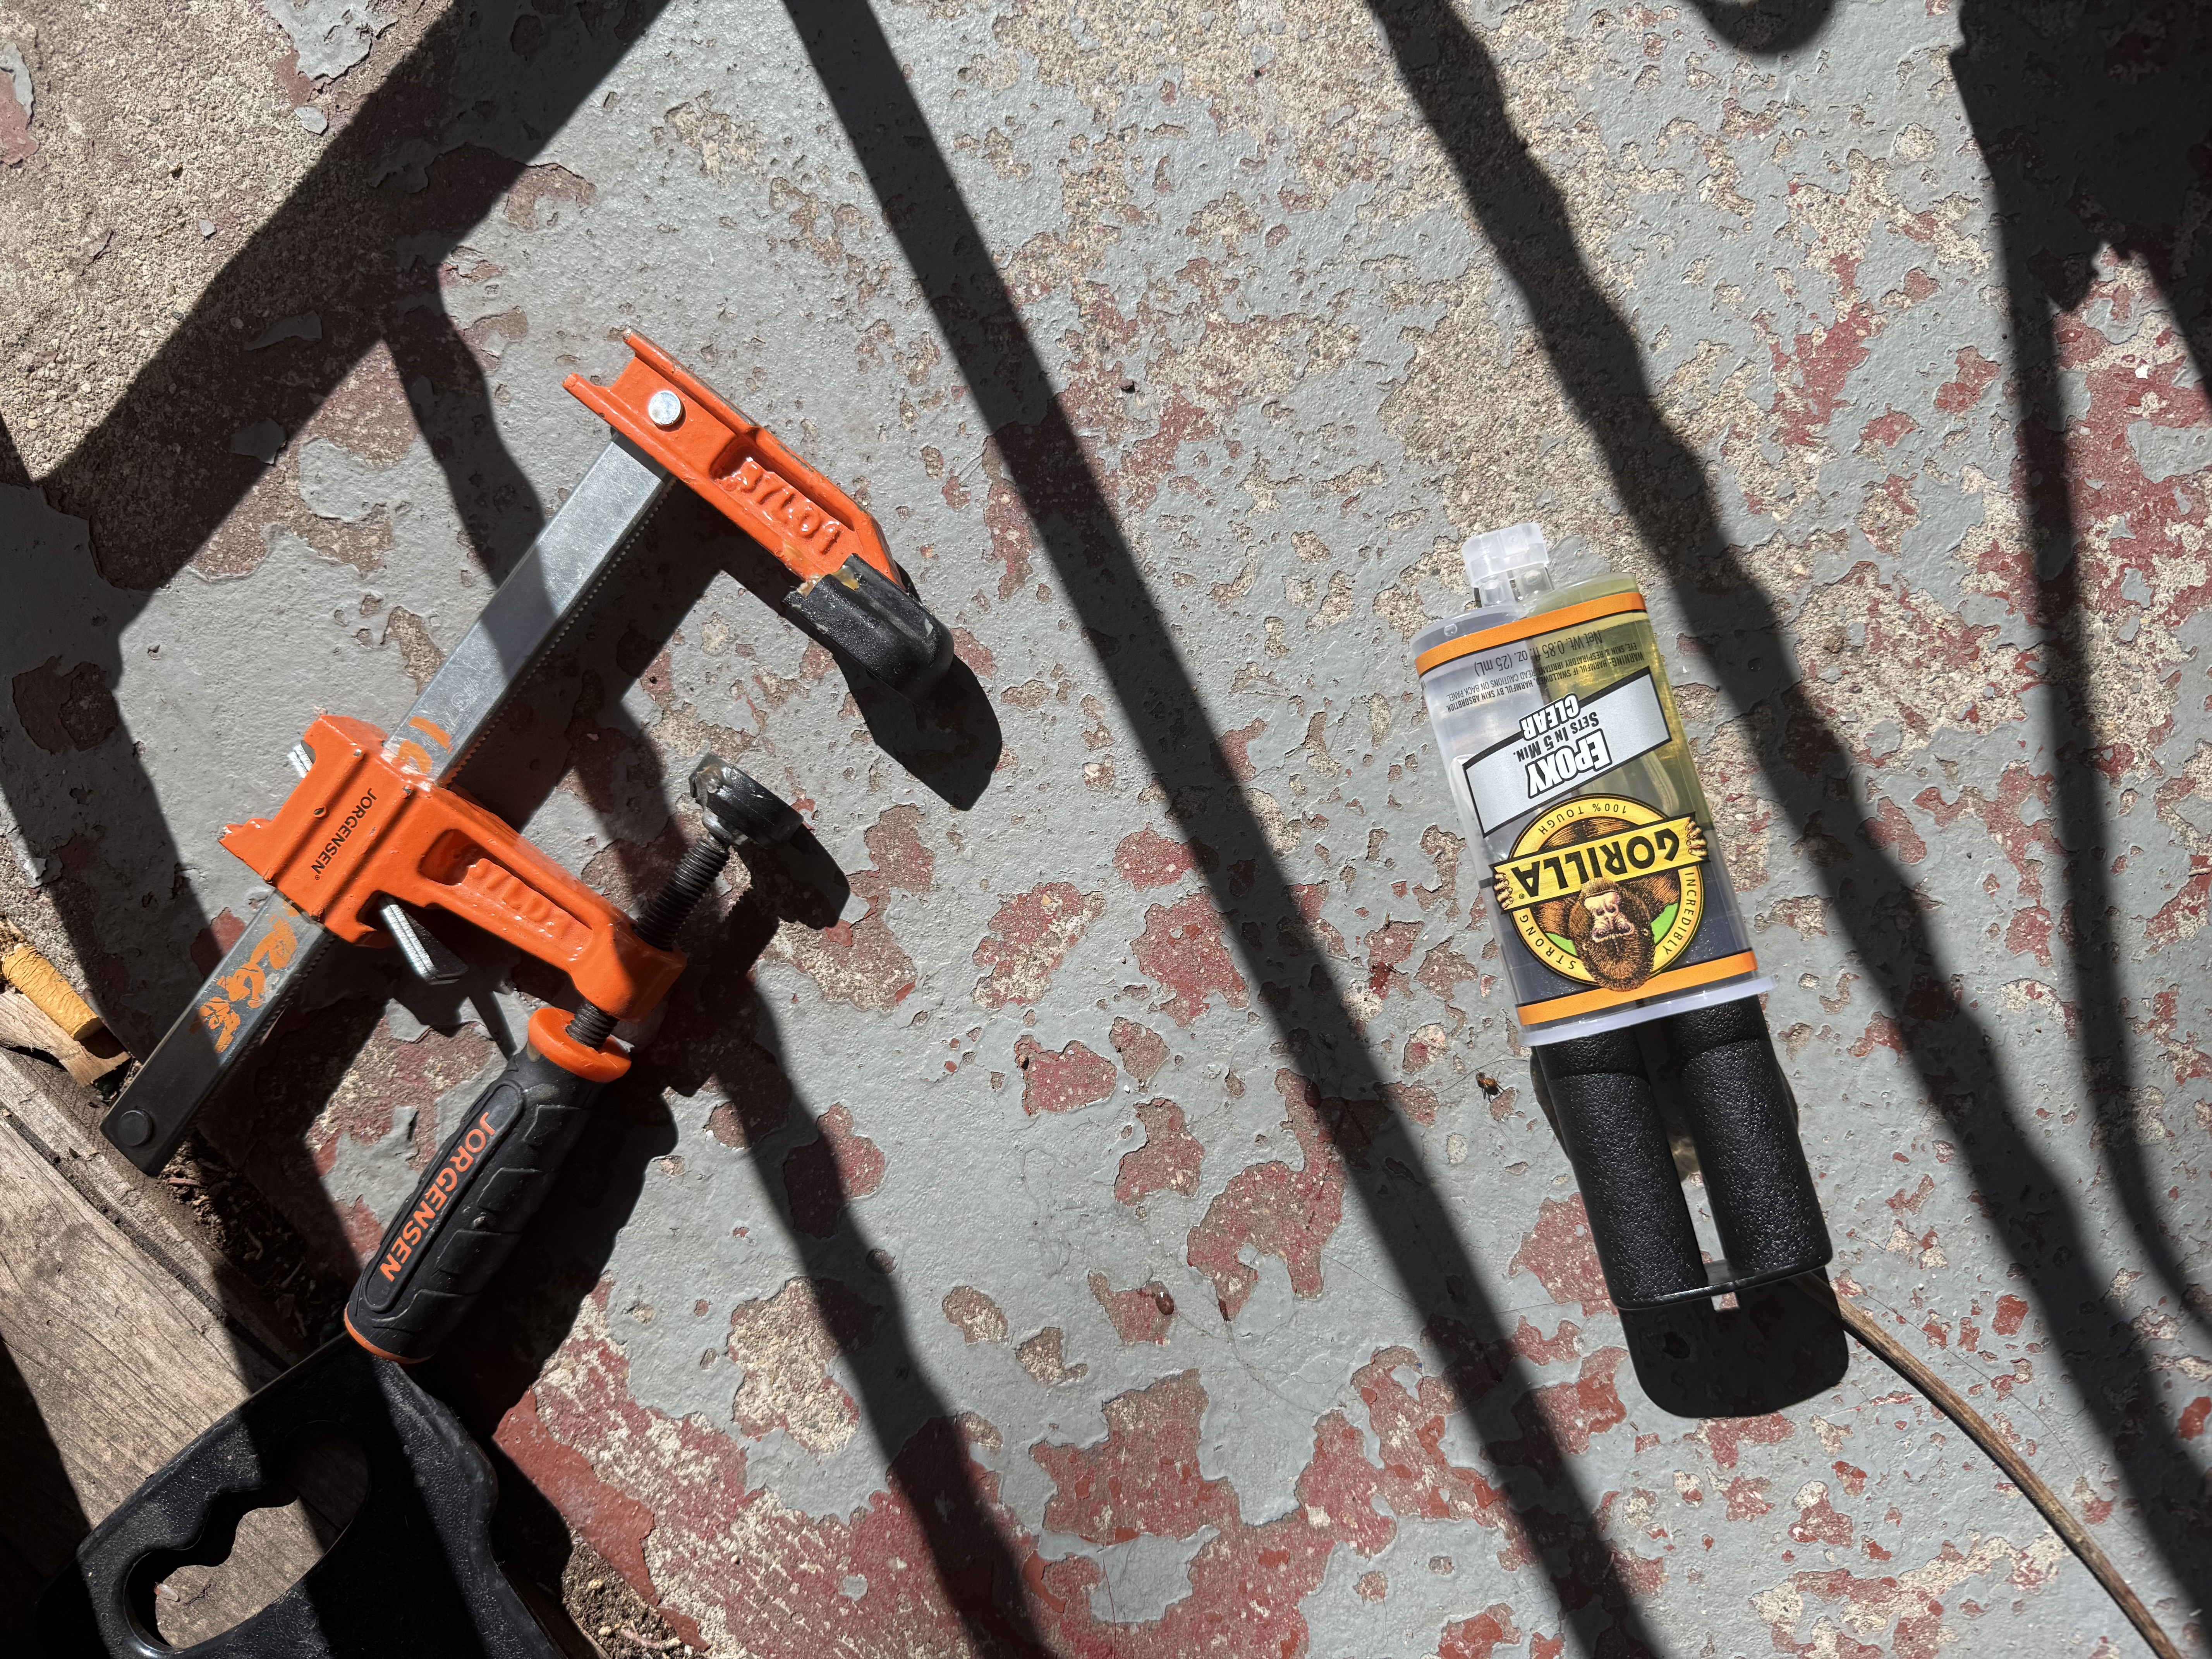
- The next step was to sand all of the parts of the skis where the glue would go. I used sandpaper I had left over from a previous project. This step was important because the surface of the skis was too smooth to allow the glue to stick well on its own. Once sanded, I made sure to clean off these areas with a cloth to remove all dust and debris before gluing. I used Gorilla Glue Epoxy, which is a two-part adhesive. I found this online after researching the best options for bonding metal, plastic, and fiberglass, and this one seemed to check all the boxes. It was also waterproof and rated for high stress, which felt important since I wasn’t sure how much weight the bookends would end up supporting. I made sure to clamp the project so it stayed in the position I wanted while curing. I let it sit for 24 hours, even though the package said a few hours might be enough, because I wanted to be extra sure it would hold. This part was really satisfying, seeing the two ski pieces come together and actually resemble a set of bookends.
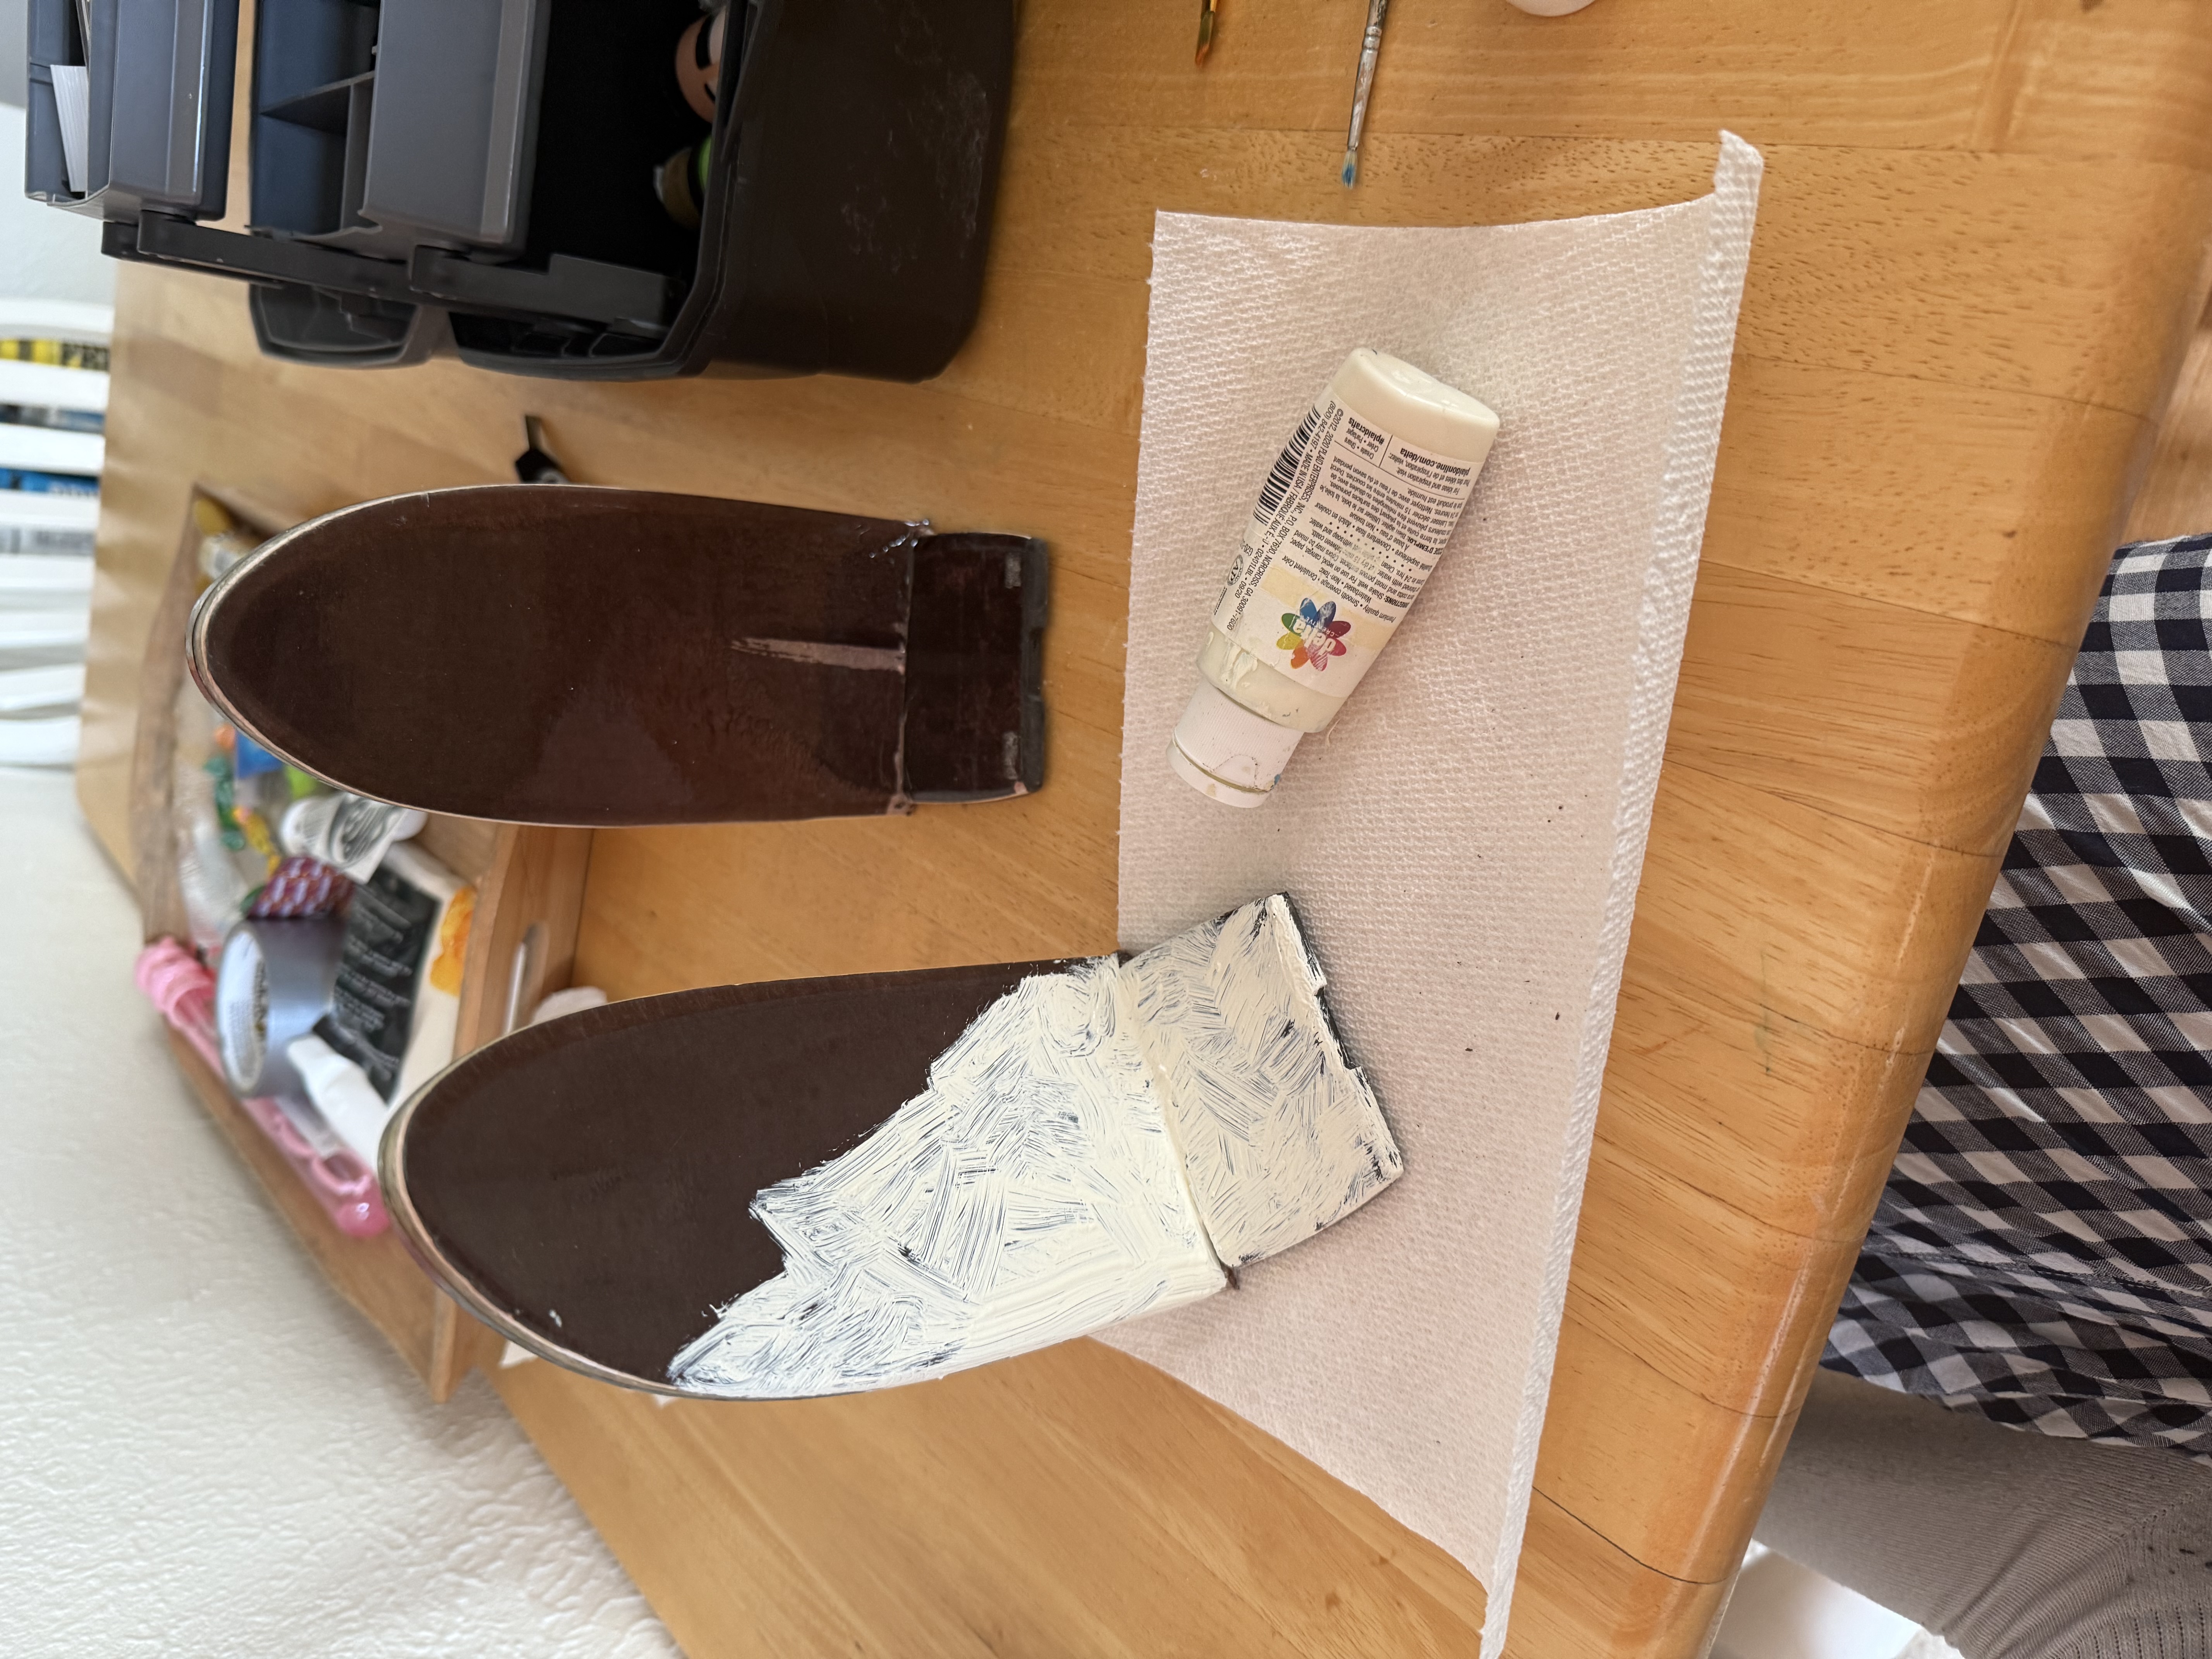
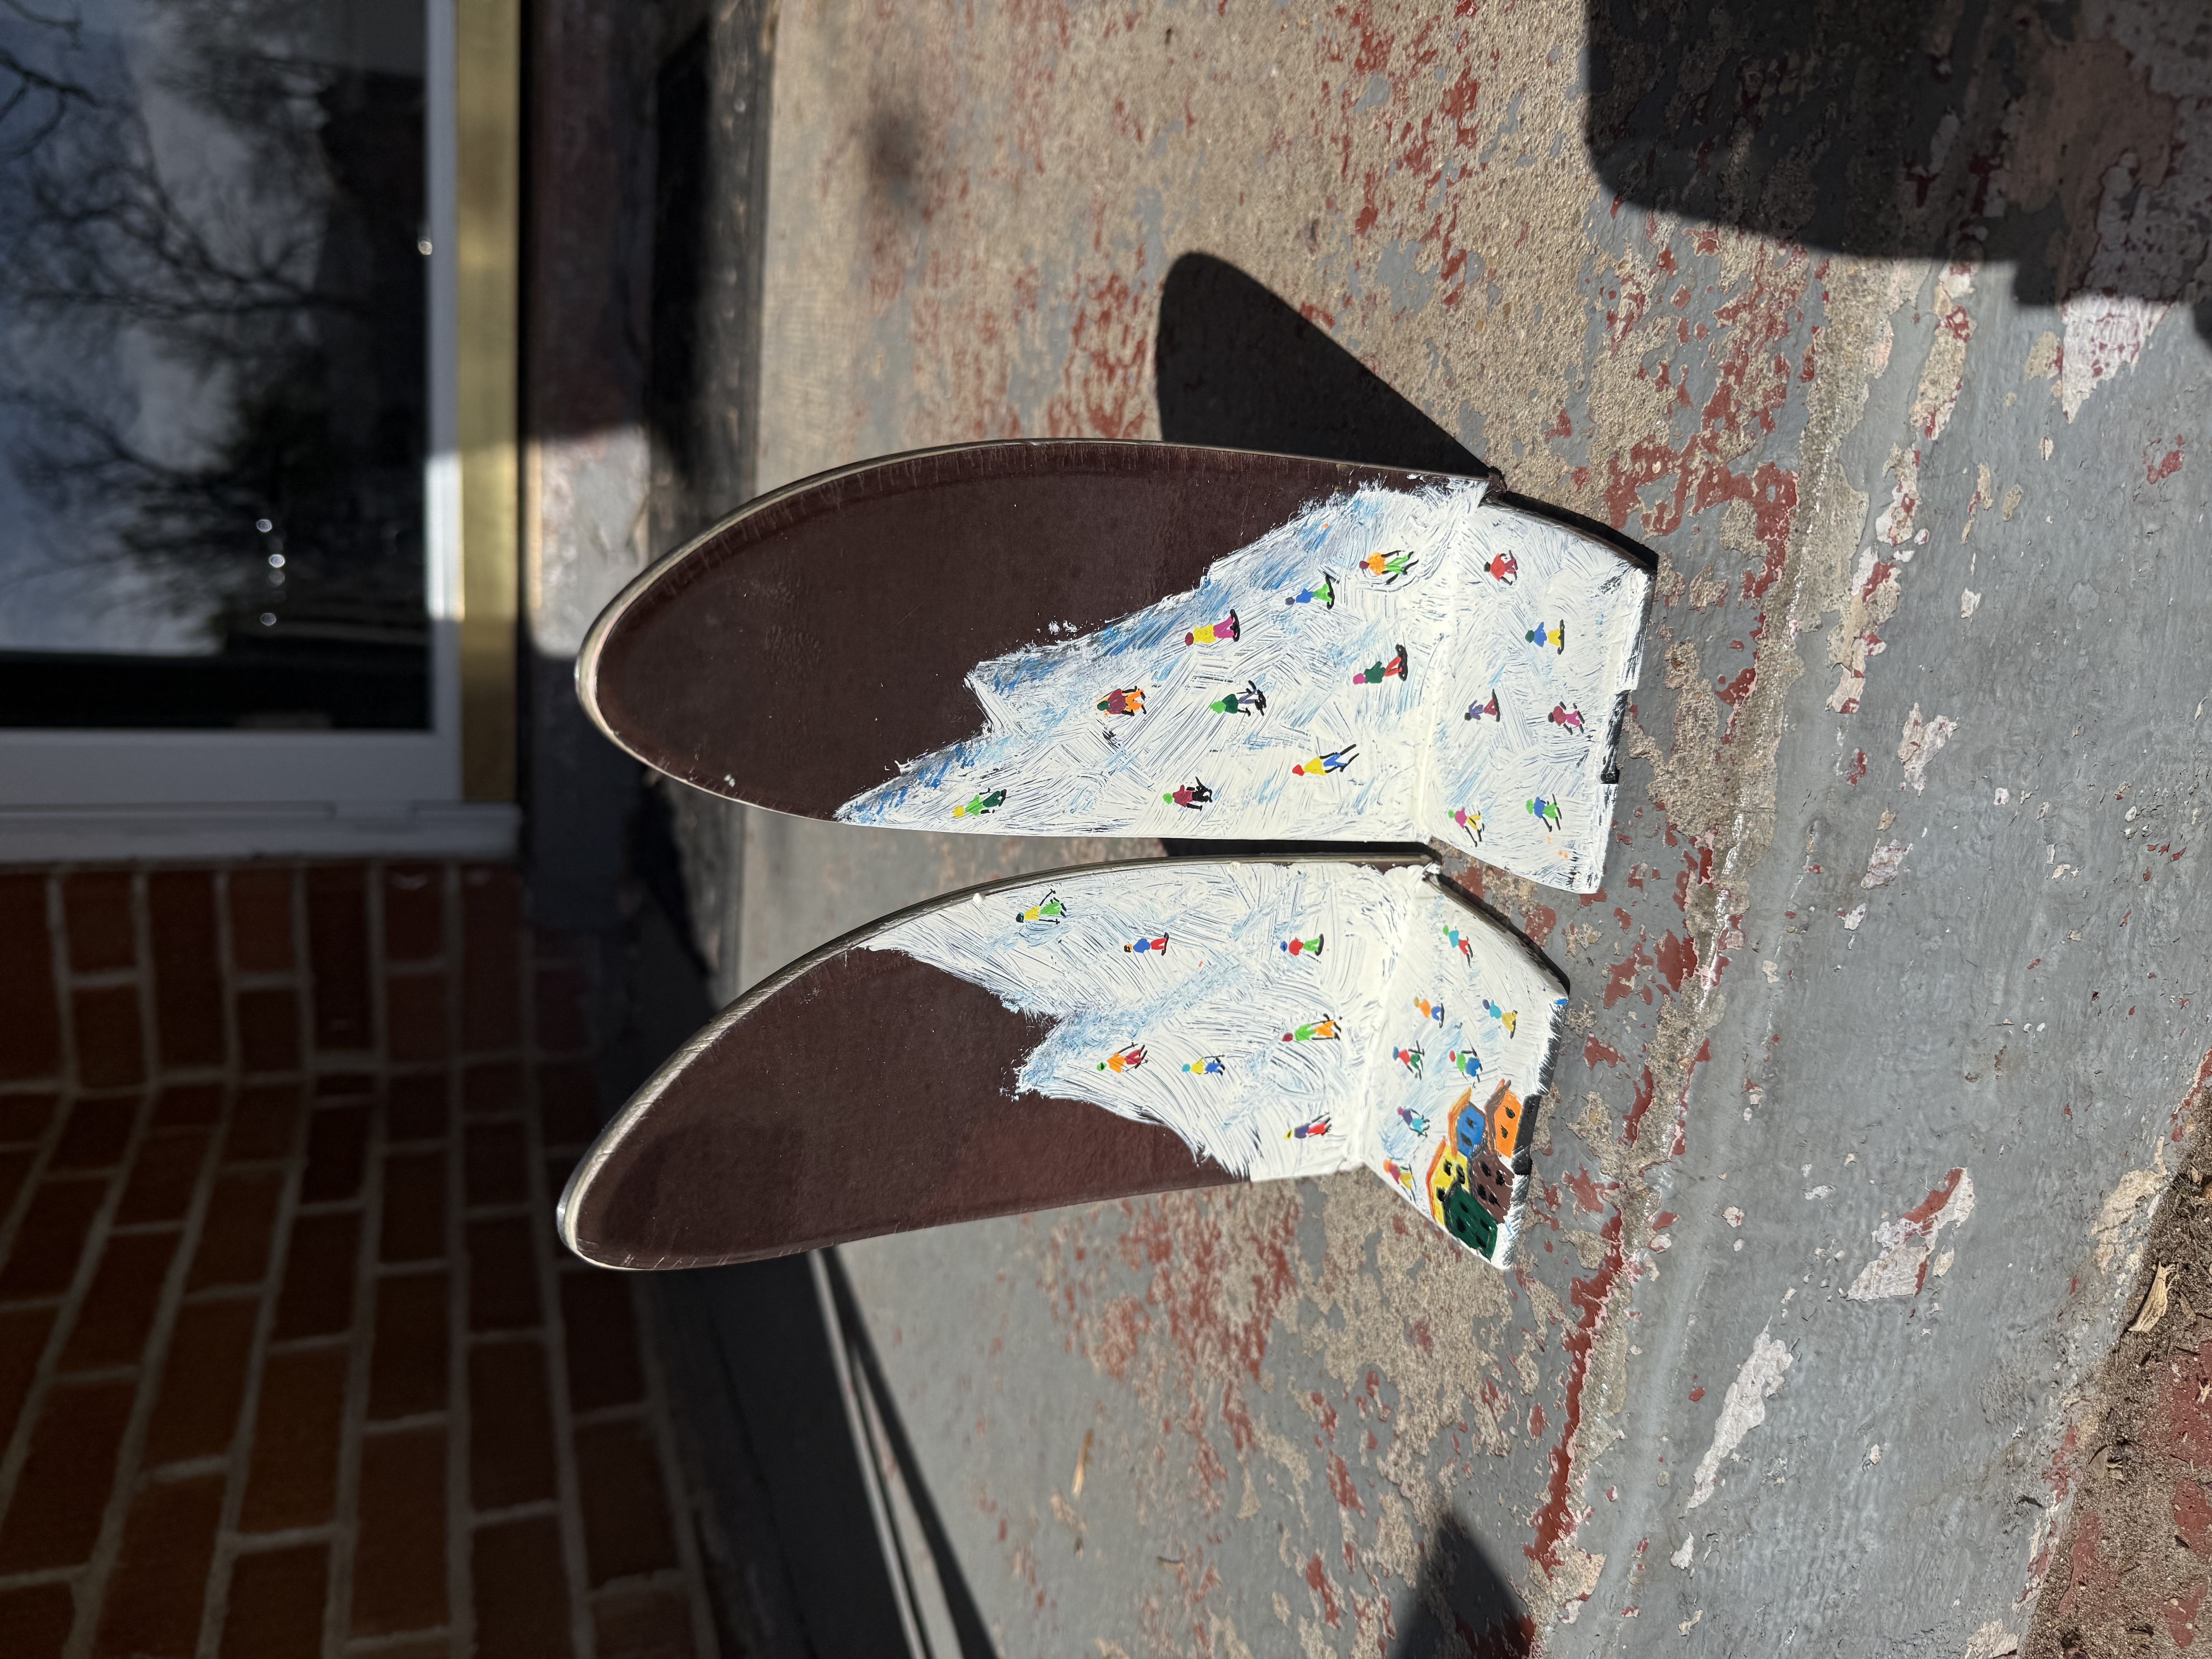
- Once the glue had dried, I cleaned them off again in preparation for painting. I wanted the bookends to look like they belonged together, so I decided to make the mountain scene stretch across both ends. This way, even when the bookends are on separate sides of the shelf, they still visually connect. I used a coarse paintbrush to get a textured effect for the mountain range. I added some details like skiers and a small ski village to make it more whimsical and give it a narrative quality. I didn’t want it to be too realistic, more like a stylized version of a ski poster. Once everything was dry, I coated the entire surface with Mod Podge to give it a protective finish and a slight shine. I really liked how this made the colors pop and also added a more polished look to the final piece.
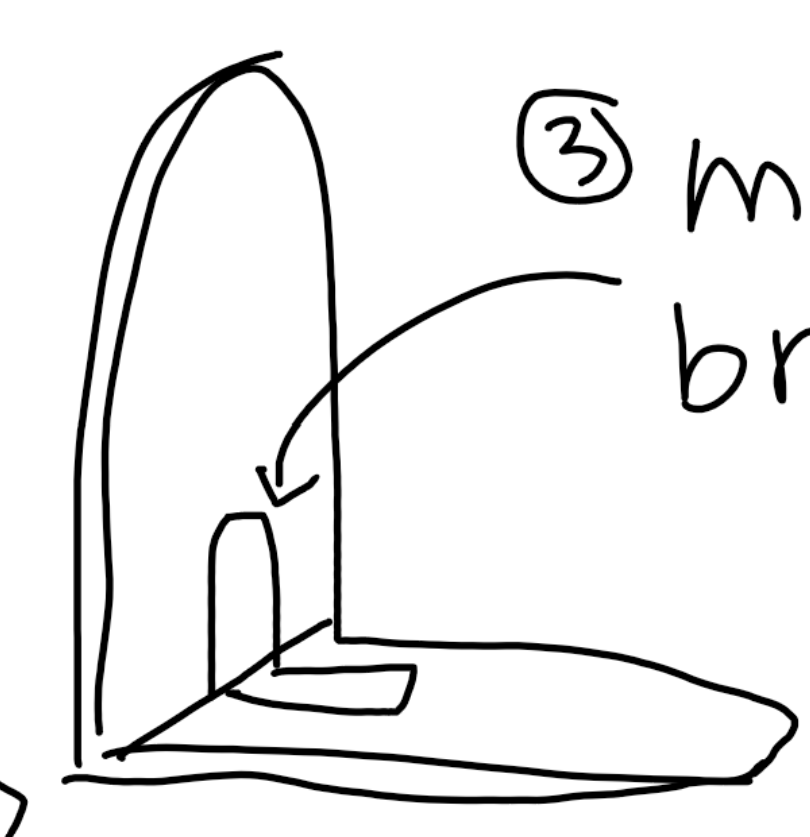
That was the main process for creating the bookends. The final step has been to monitor the structure to make sure it stays functional. I didn’t expect the glued bindings to be super structurally sound, but surprisingly they were able to hold up my entire bookshelf. I had originally planned to add a metal bracket for support, and I still might, but so far it seems unnecessary. I also added rubber feet to the bottom of the bookends just in case they needed more grip on the shelf. Right now, they’re working really well, but I’m keeping an eye on them and may do some stress tests to see if they can support additional books.
I really enjoyed this project. It gave me an opportunity to explore a new aesthetic while also reflecting on my own design style. At the beginning of the project, I was a little lost. I wasn’t quite sure what I wanted to do and used a lot of Pinterest to find inspiration. Eventually, I found an Etsy page with a similar project and that really sparked the idea for these bookends. I liked how it combined functionality with a strong visual identity. Once I saw it, I got really excited about the project. I’ve also been in need of new bookends, and I thought it would be fun and meaningful to make them myself.
 I think my original plan was pretty close to how my artifact turned out. The biggest difference was the structural support. I originally thought I would rely more on the bindings to make them stand up, but the design changed once I saw the skis I got. I think my painting still pulled in the ski aesthetic in the same way the bindings would have, maybe even better. I’m overall really happy with how they turned out in comparison to my original vision. They feel balanced, functional, and expressive of the aesthetic I was trying to achieve.
There are definitely a few things I would have done differently. I think finding skis with a better design could have helped pull in the ski aesthetic more. I was limited by what was available locally and within my budget, but a more colorful or vintage pair might have looked cooler and made the painting even more striking. I also would have used a different saw, maybe one more suited for cutting metal, because the one I used had trouble on the last cut and could have damaged the material. Luckily, it didn’t, but it was a close call. The last thing I would have done differently was to plan better for what to do with the rest of the skis. Right now, I have almost a full ski leftover that’s not functional. I’m hoping to come up with another project to use it in because I don’t want to waste it. Maybe a coat rack or a shelf, something simple that ties in with the bookends.
I will continue to use my creation and hopefully add to it with the rest of the ski. I really enjoyed how they look and I think they really fit into both the ski and handmade aesthetic. The mountain scene, the brushstrokes, and the textures give it character and warmth, which is something I didn’t initially expect but now really value. Aesthetically, I think the project grew a lot from the original idea. It became more personal and expressive. I’m glad I had the chance to not just make something functional but to also explore visual storytelling through the design. It’s made me think differently about what kinds of materials I can use, and how I can reimagine old objects in new ways. This project has been both a technical and creative challenge, and I’m proud of how it came together.
These are the sources I have used throughout the project:
- “What Is a Ski Bum?” Newschoolers, www.newschoolers.com/news/read/What-a-Ski-Buma. Accessed 29 Jan. 2025.
- Pinterest. “Ski Bum Aesthetic.” Pinterest, www.pinterest.com/search/pins/?rs=ac&len=2&q=ski%20bum%20aesthetic&eq=ski%20bum&etslf=6017. Accessed 29 Jan. 2025
- “Vintage Ski Bum.” Powder Magazine, www.powder.com/news/vintage-ski-bum. Accessed 29 Jan. 2025.
- “Ski Bum Culture Hits Reality.” Adventure Journal, 12 Dec. 2023, www.adventure-journal.com/2023/12/ski-bum-culture-hits-reality/?srsltid=AfmBOorqgyfzz2Bt_ZS2S-h71nhswKVdzQWAifDtMxSpdER0uSZLkd4n. Accessed 29 Jan. 2025.
- Pinterest. “Ski Bum.” Pinterest, www.pinterest.com/search/pins/?q=ski%20bum&rs=typed. Accessed 4 Mar. 2025.
- “Ski Bookends.” Etsy, www.etsy.com/listing/262476836/ski-bookends-set-of-2.html. Accessed 4 Mar. 2025.
- Jess, The Minimal. “Aesthetic Minimalism vs. Lifestyle Minimalism.” Medium, 19 Apr. 2023, medium.com/@theminimaljess/aesthetic-minimalism-vs-lifestyle-minimalism-4498d2cb85cb. Accessed 4 Mar. 2025.
- West Elm. “Bruke Bookend.” West Elm, www.westelm.com/products/bruke-bookend-d18493. Accessed 4 Mar. 2025.