
After developing the aesthetic direction and functional goals for my magnetic shoe display, the next phase of the project focused on physically building the piece. This stage was where ideas on paper were translated into tangible form through sketching, cutting, gluing, carving, wiring, and assembly. My goal was to bring together all aspects of the display—its levitating functionality, integrated lighting, and sculptural wood form—into a cohesive final product. Guided by my original specifications for cohesion, organic shaping, and seamless integration, I approached the build process with a flexible mindset, adapting my techniques based on material behavior and tool limitations. This section documents each step of the fabrication process, from the initial poster board template through to carving, electrical work, magnet installation, and finishing touches, highlighting both the creative choices and problem-solving moments that shaped the final outcome.
To start my project, I initially traced out a rough idea for the shape of the shoe stand on a poster board. It didn’t need to be perfect because the real shape would come from carving. Once the design was traced out, I then cut it out with a utility knife and began orienting the pine wood boards that I had bought in order to fit each section of the stand.
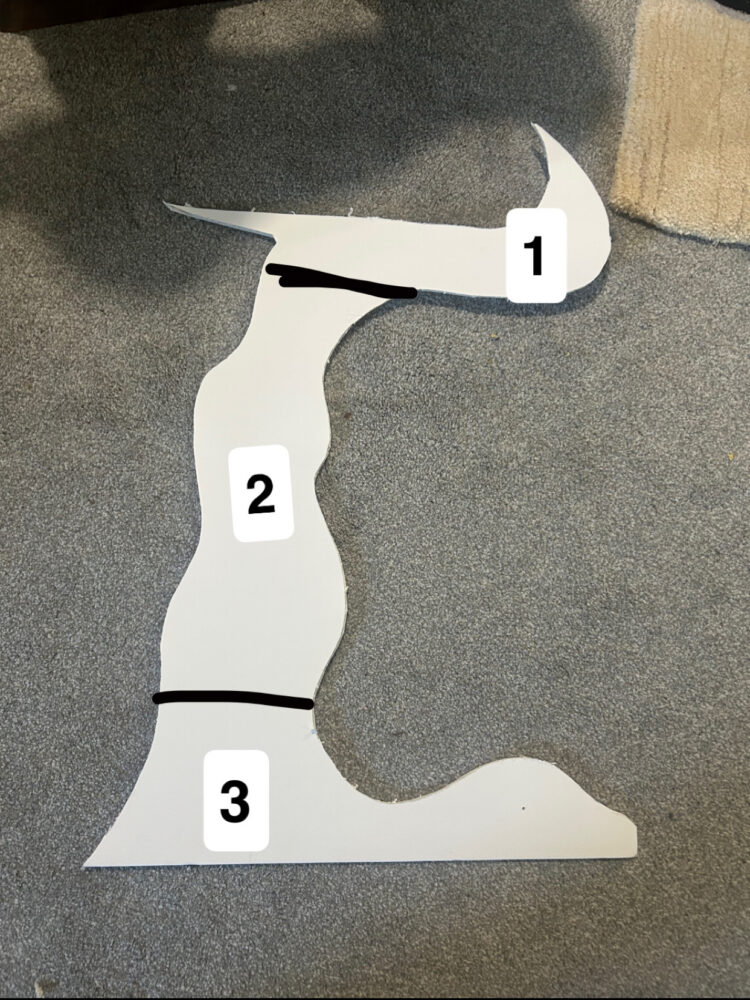
[1] Poster Board Template
Once I found an orientation that was able to fit each of the sections onto the board, I then traced and cut out each piece. I repeated this process 3 times for sections 1 and 2, or the logo and neck section, and 4 times for section 3, or the base, for added stability.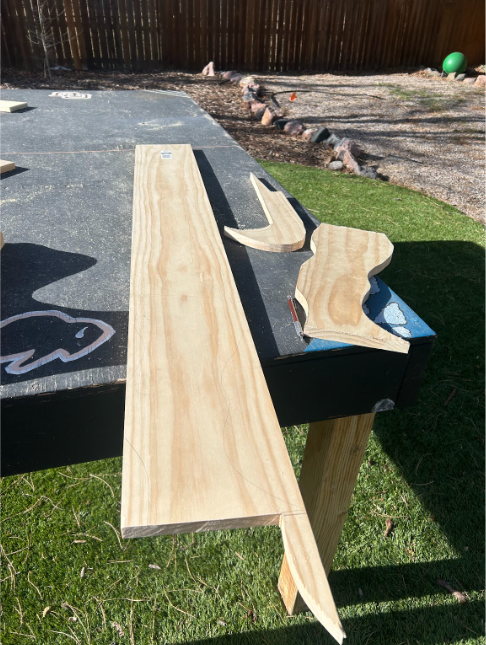
Once I had all my pieces cut out, I then stacked them together to prep for gluing. Each of these pieces wasn’t an identical copy of the others, but I wasn’t concerned with that because I would be doing most of the shaping. I glued each section together separately, then combined them in the end.
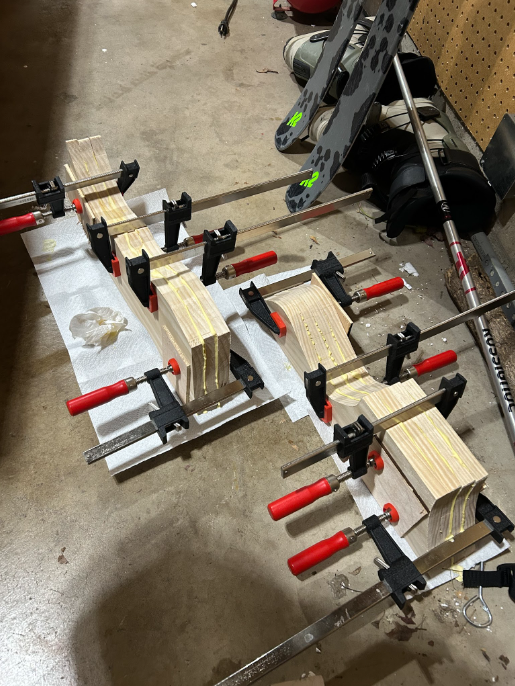
I didn’t have a clamp long enough to glue all three sections together at once, so I glued the neck and the logo together, then the base with the rest of the stand. As you can see, the shape of the stand is very rough, with excess glue popping out, the separate boards don’t match up perfectly, and the overall shape is very rugged. So I have to carve a decent chunk out inorder to achieve that organic look I’m going for to fill the gaps between sections I applied more glue along with some saw dust to fill it the best I could.
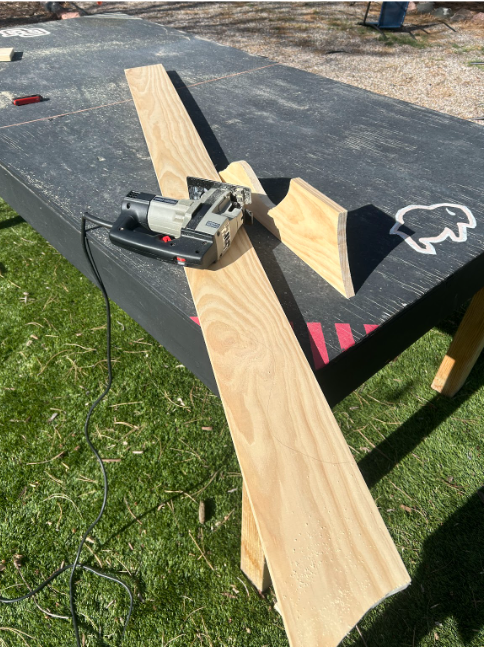
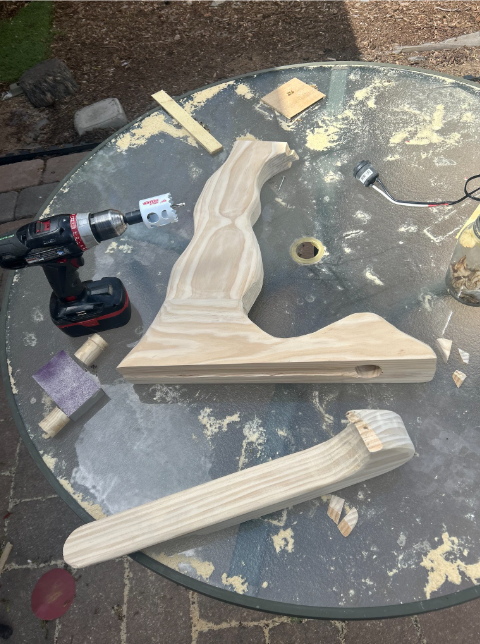
Next is where I spent the majority of my time on this project. Using a back-and-forth combination of a wood carving disc on an angle grinder and a random orbital sander, I played with the shape and flow of the stand. I would use the carver to get a rough cut and remove larger sections then come back with the sander to get a smoother finish, I started at 80 grit because in the initial shape I was still trying to remove material, but I finish with a 220-400 grit sand paper to make it soft to the touch.
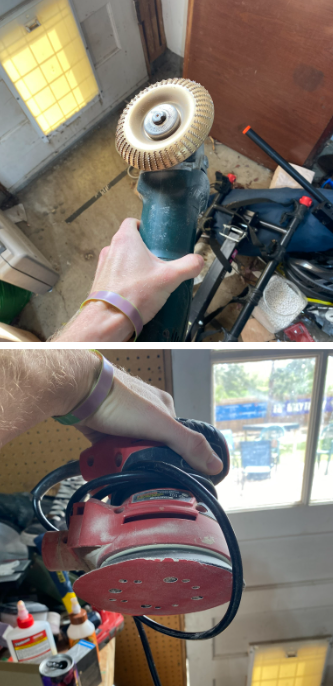
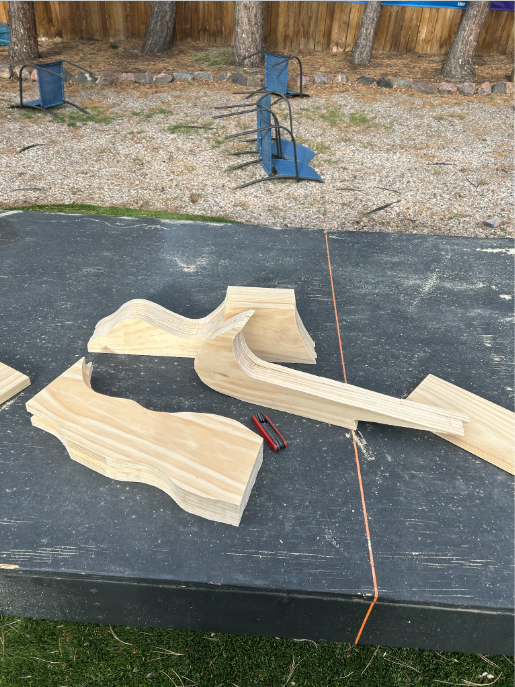
[8] Carver and Sander [9] Rough shape from initial carving
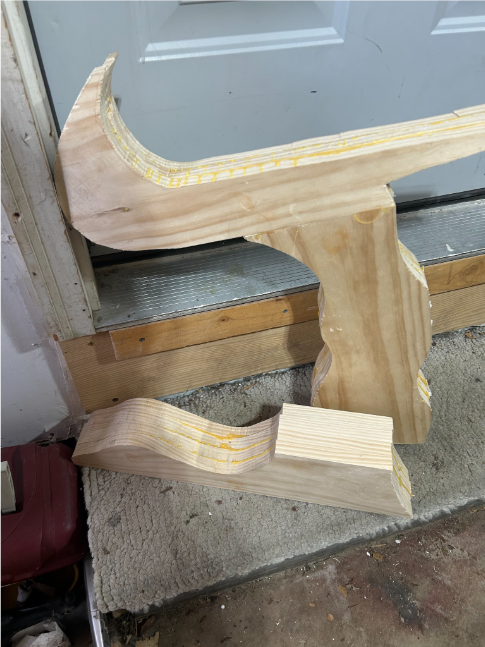
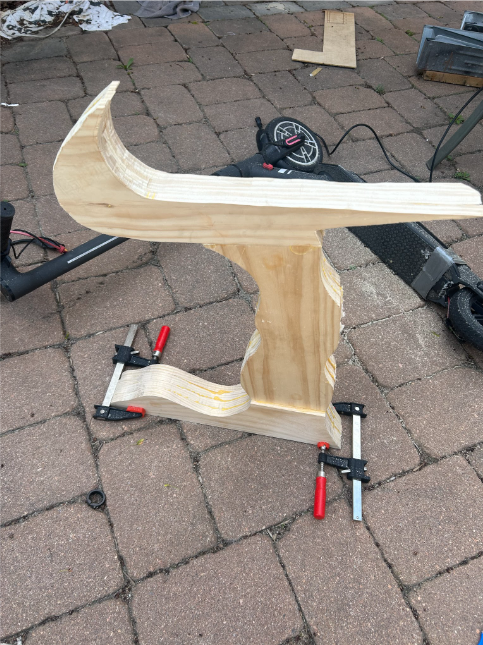
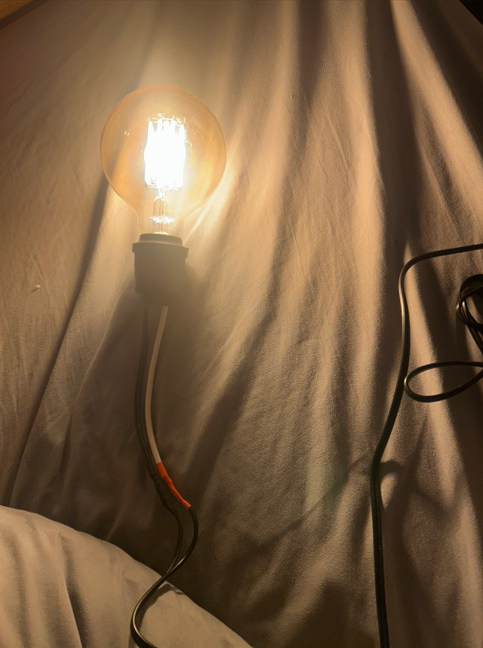
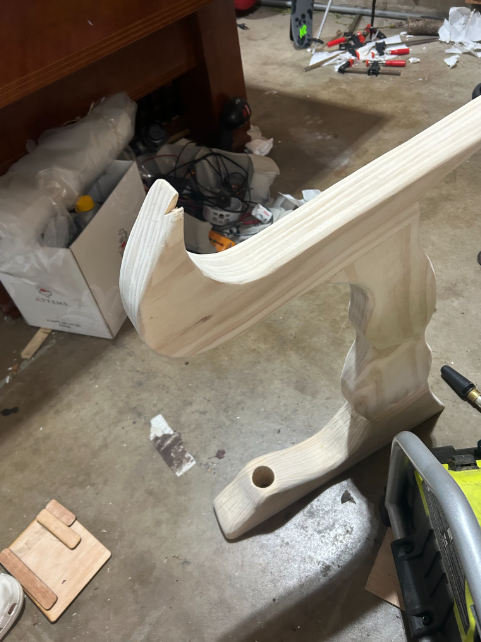
As you can see from picture [9], the initial carving showed great improvement from when it was glued, but left rough cut lines and a jagged shape overall. I played around with making the shape change when looking at it head-on, so it wasn’t just a flat board, carving and sanding portions of the neck so it curves in all directions. You can see in picture [10] how the shape has developed and gotten smoother. Once I got to a place where I liked the shape, I started working on the light fixture. Using a light socket and wall plug from Home Depot, I soldered them together to make my light fixture.
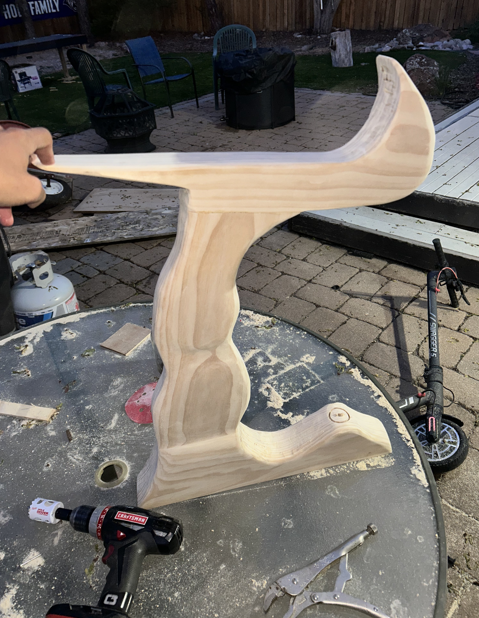
I drilled a hole using a hole saw in the base of the stand, which you can see started in [10] and finished in 12. I wanted the fixture to be as integrated as possible in the base and the cord hidden, so I routed a groove for the cord to run along the bottom of the base and come out the back to then be plugged into the wall.
 [12] Light hole drilled
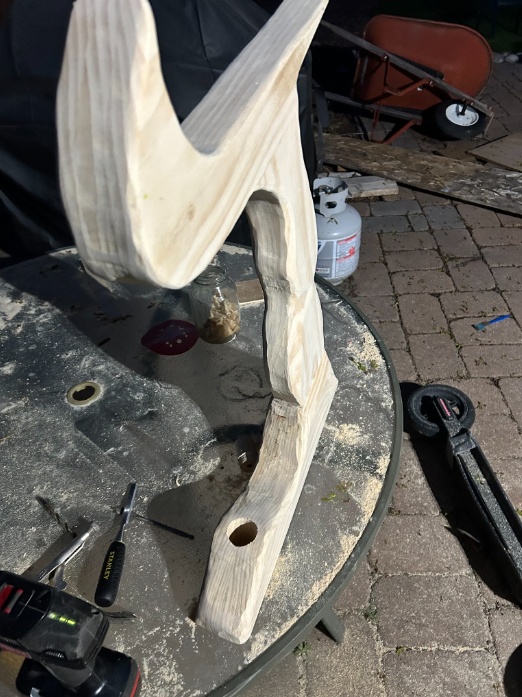
Next, I need to attach the magnet. After testing and buying numerous magnets, I landed on an 800lb magnet, which I felt had enough strength to hold up the shoe I was using at a distance. To attach the magnet, I again used a hole saw to get the shape or outline, then removed a bulk of the material with a chisel and file. The magnet is attached with a bolt, which I drilled a secondary hole for it to slot into. I thought I was going to have to glue the bolt into the hole, but it ended up being a tight enough fit that it stays there on its own.
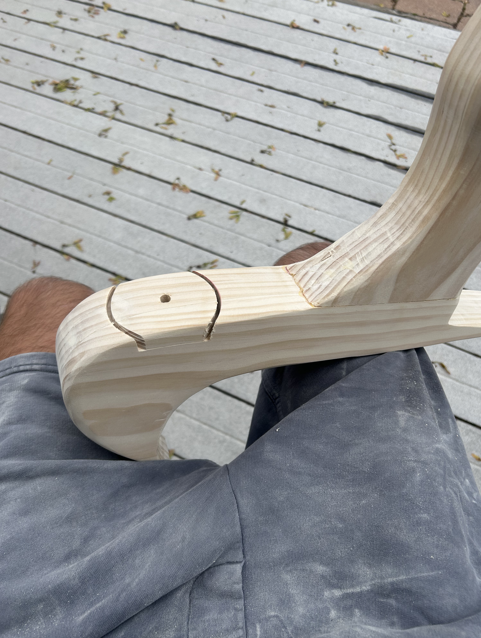
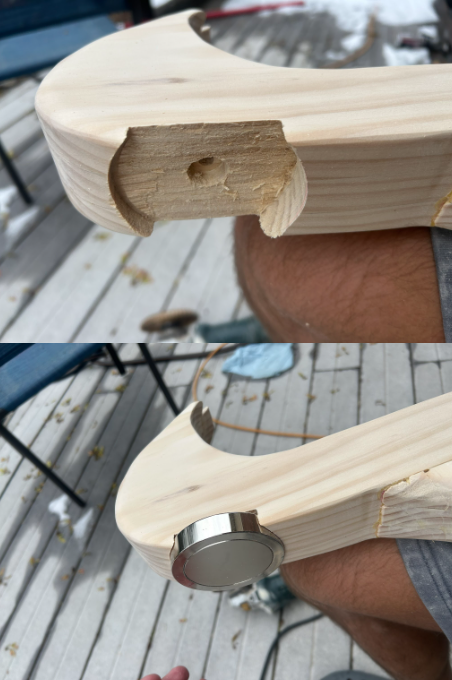
[13] Hole drilled for Magnent [14]. Material removed and magnet inserted
On a side note, one day while I was working on the project, I left it on the table while I went and did something else, and the wind knocked it off the table, breaking it at the neck and a few smaller pieces. I was able to find all the pieces but one, so I was able to glue everything back except a piece on the corner, which I then filled with wood putty. While initially discouraging, the break provided an opportunity to test the material’s reparability and structural integrity. I was able to recover all but one fragment and reassemble the stand using wood glue and putty. The repair blended in well after carving and sanding, ultimately reinforcing the organic aesthetic rather than detracting from it.
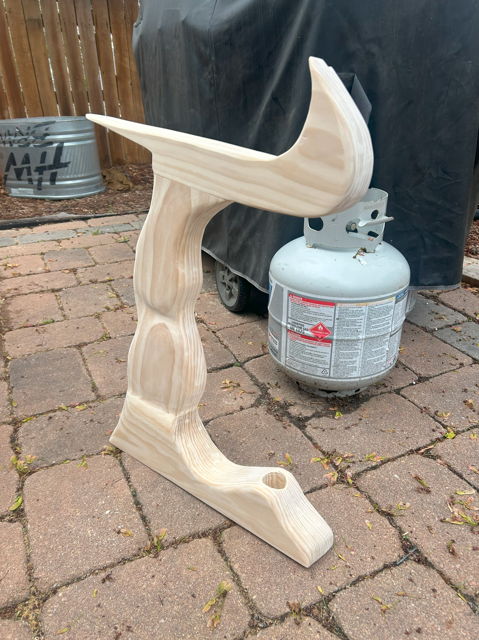
At this point, the project was done, and you can see in photo [17] that it is fully assembled. Next, I wanted to stain it because I thought a darker color would match my aesthetic better. I was still experimenting on how to get a gap between the show and the magnet, and I’m going to need some sort of tether system if I want that to work, so I’m still exploring the idea. If I wanted it to float on its own, I would’ve needed an electromagnet. Once I stained the stand, I wasn’t sure if I liked it better or not; the wood absorbed the stain differently and covered up the grain pattern that I really enjoyed. Still not sure how I feel about it, but I do like the color.
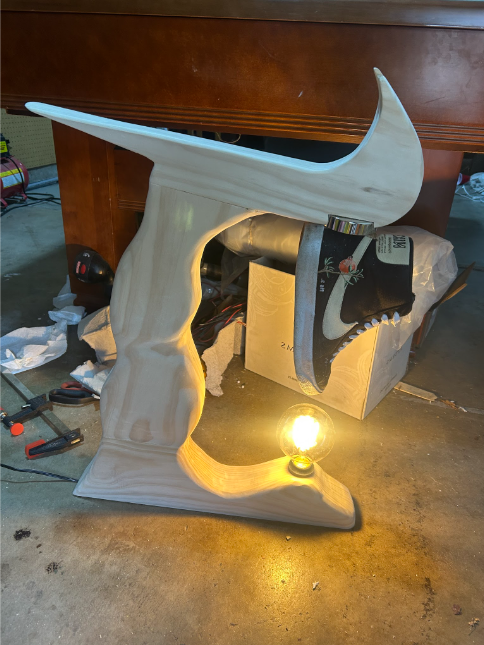

Another classmate gave me the idea of displaying the second shoe on top of the logo, which I really enjoyed. I might play around with the stain, maybe adding another coat or just adding a polyurethane layer to give it a glossy finish. I do like the color, but wish the grain pattern showed through a little more. Despite being in opposite directions, I thought the grain from base to neck blended really well and made the piece look and feel seamless. I would’ve liked to highlight that aspect more. Maybe with a lighter stain, I would be able to achieve a more rustic color while also highlighting the shape and grain of the wood.
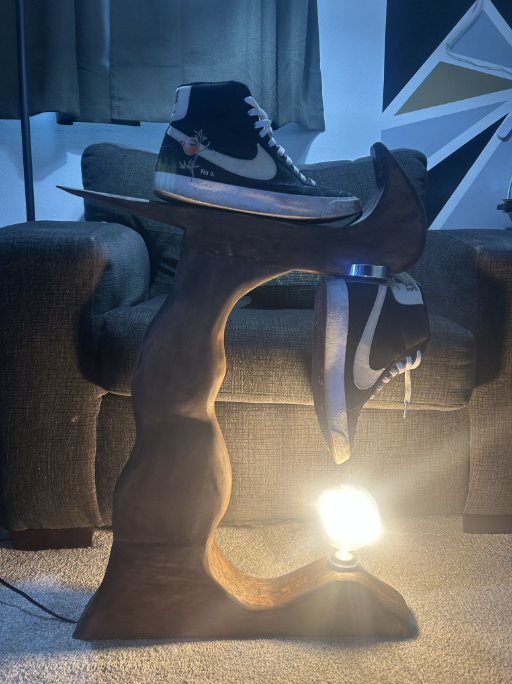
[19] Final Product
Overall, I’m proud of how the project turned out. I believe it successfully captured the aesthetic and design goals I set at the beginning—blending organic, handcrafted form with futuristic function. The process of learning and applying wood carving techniques was both challenging and rewarding, and it allowed me to create something that feels personal and visually distinctive. Looking back at my initial specifications, I think I met them well: the magnet is effectively concealed, the light fixture is integrated cleanly into the base, and the overall design feels cohesive. Although the magnet is visible, it isn’t what you initially notice, and it doesn’t take the attention away from the rest of the project; and while some elements, like the tether and magnet balance, are still in progress, they don’t detract from the final presentation. This project gave me the opportunity to experiment, problem-solve, and push my skills in a new direction, and I’m excited about what I was able to accomplish.