

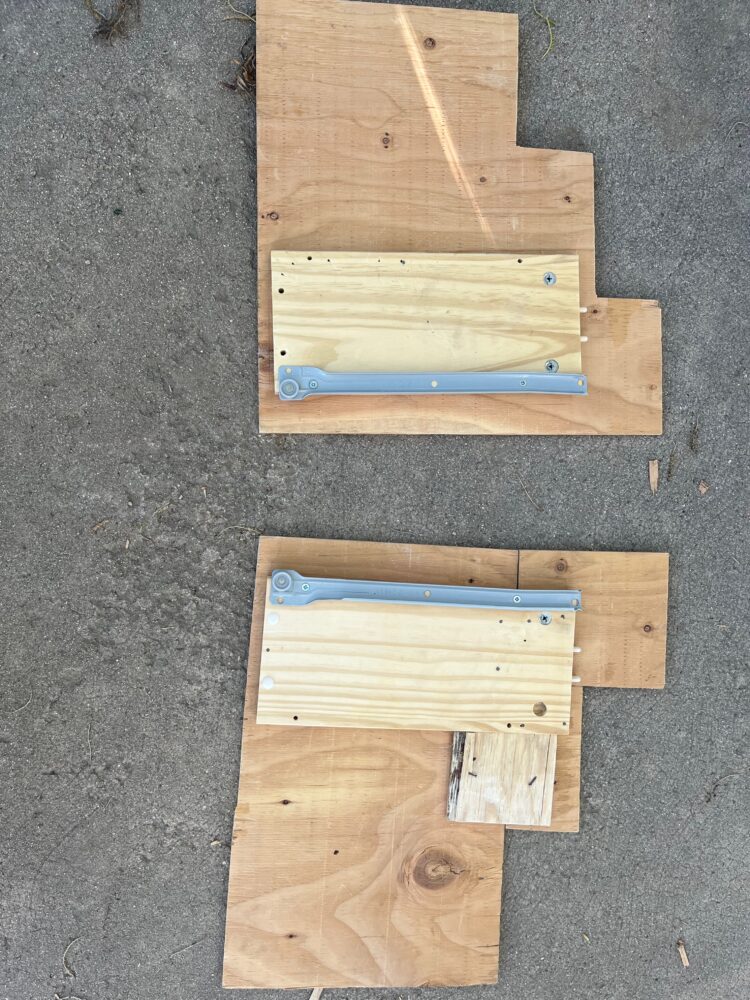
I started this week by going to Resource Central to see what they might have to offer in terms of wooden material for the design. I was looking for wood that wasn’t painted or altered with screws, nails, or staples, and was able to find two large boards that would work well for the sides of the project, as well as a butcher block that would make and excellent top panel. Below are the pieces of wood I was able to find, and once I had the material, I began to plan out how I would cut them to make the staircase that I envisioned.
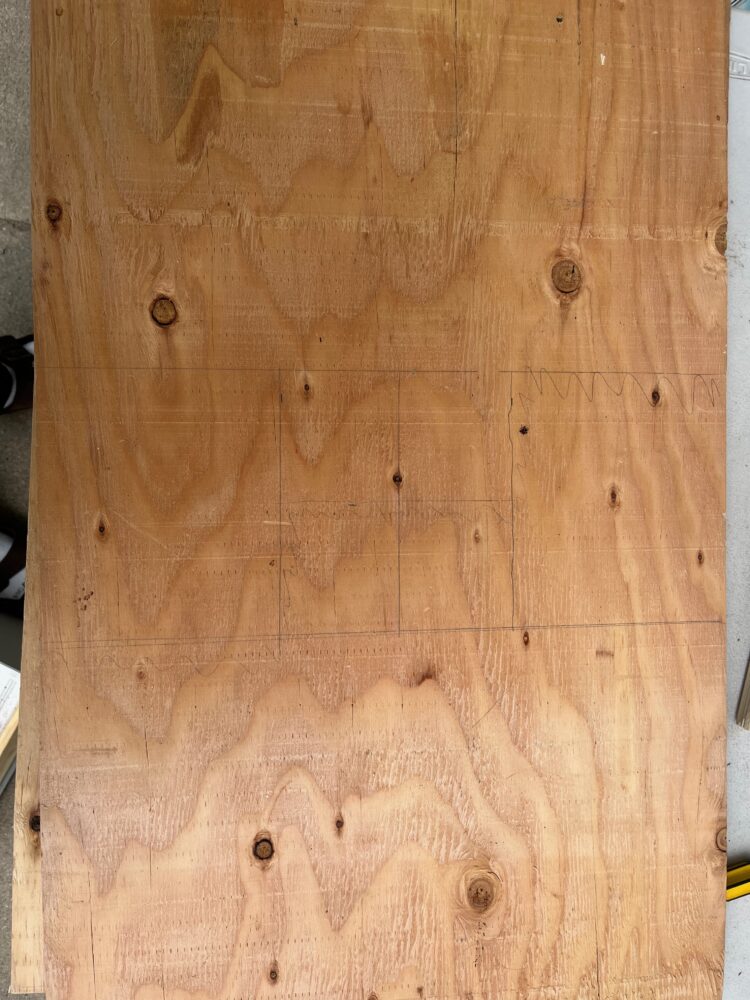

Below are the drawings I created to show the scale between the top board and the two other boards. I planned on cutting the saw pattern out of one board, and using the two resulting pieces as the sides of the stand. With the second board, I planned on cutting out strips of wood to use as the sides and tops of the staircase. You can see in the image above the result of cutting the staircase pattern out of the first board. While I planned on laser cutting the wood for precise tolerancing, the wood I had purchased was too thick and too old to be safely cut with the laser cutter, so I hand sawed out each board. Since I had to use a saw, I had to cut out the staircase pattern through one of the sides, but I was able to cut out the pieces that would’ve made up the pattern on the other board (also seen above) and I planned on fastening these pieces together with glue later in the process.

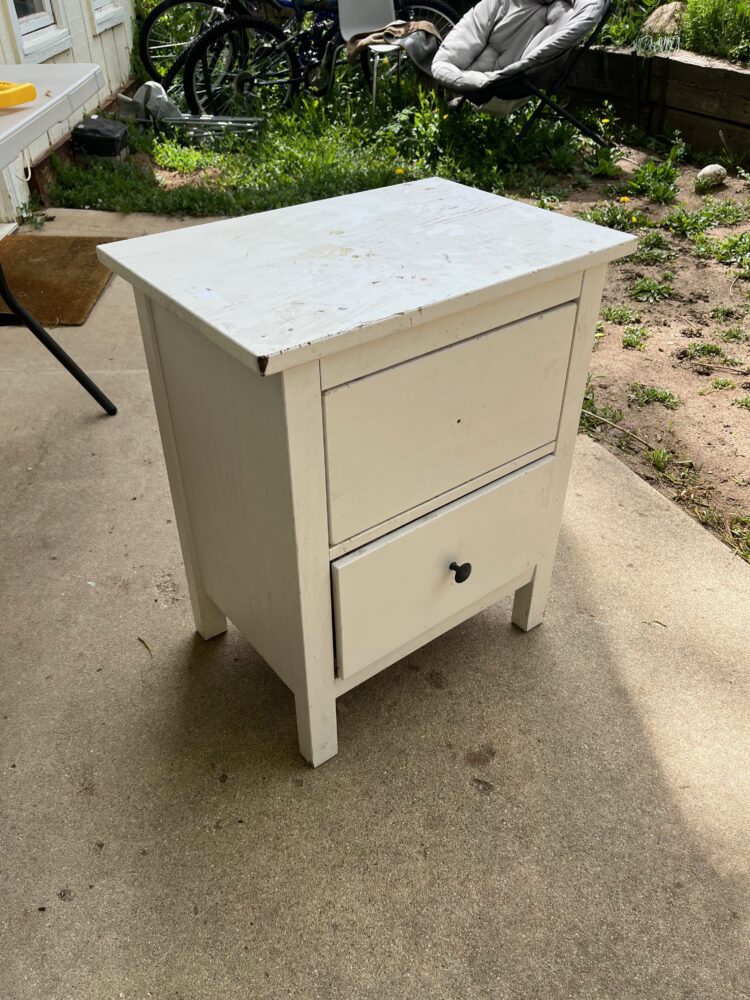
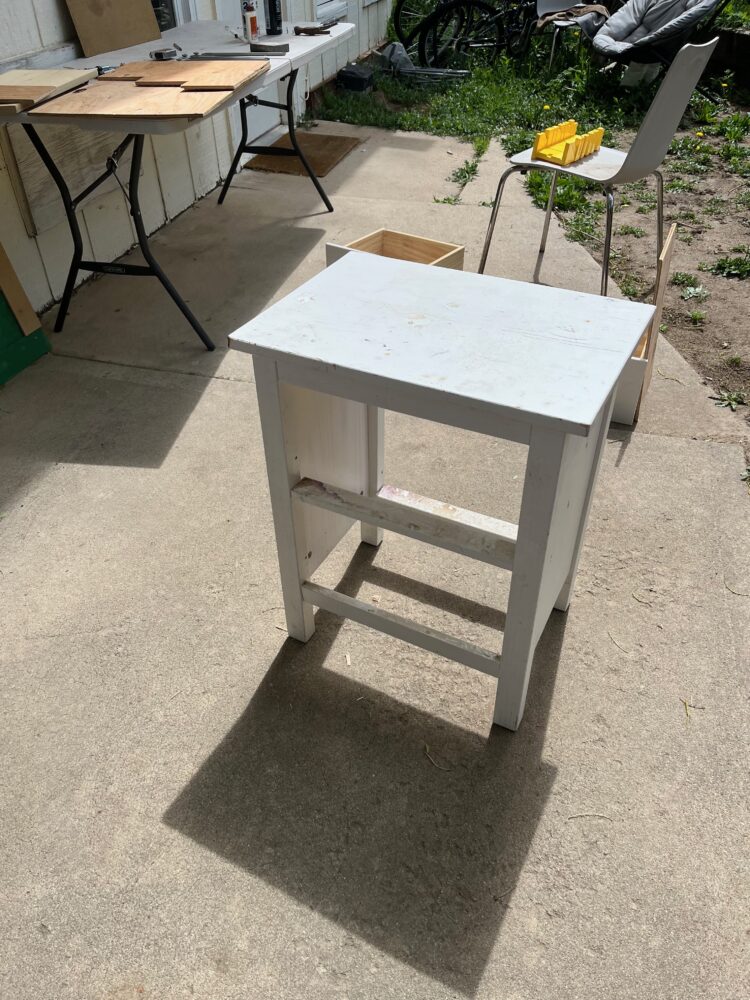
One other thing that I picked up from Resource Central was an old side table with two drawers, seen below. I planned on removing the rails from the drawers to use for my own drawers, but decided that using the drawers that I already have would save me a lot of time and effort. One of the drawers didn’t have a knob but that didn’t matter since I only needed one.
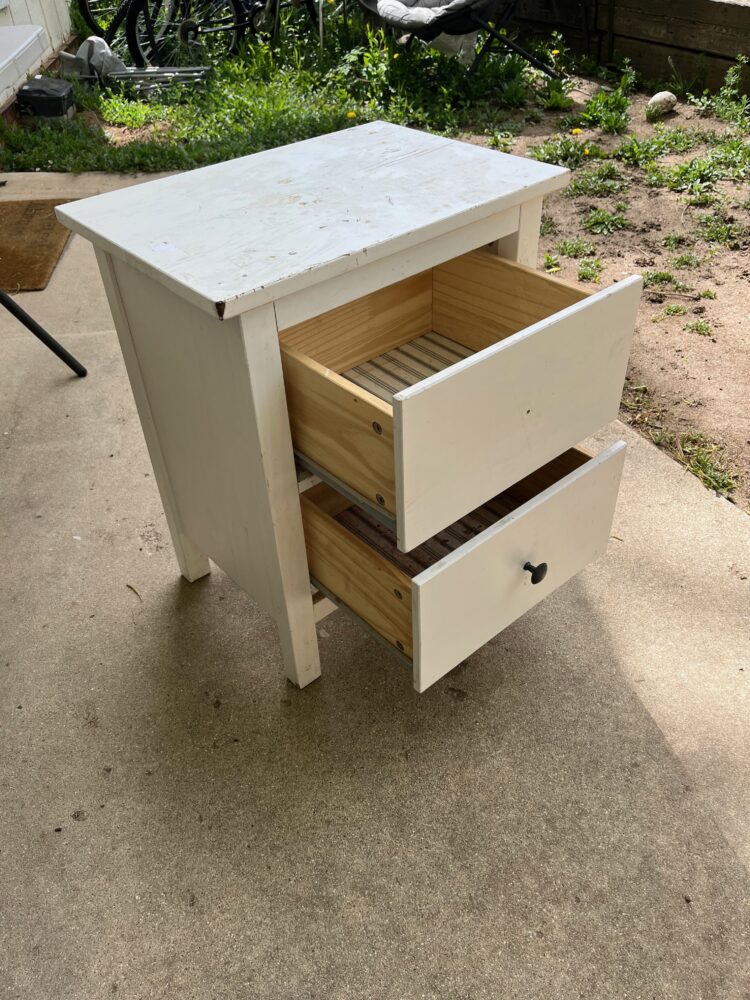
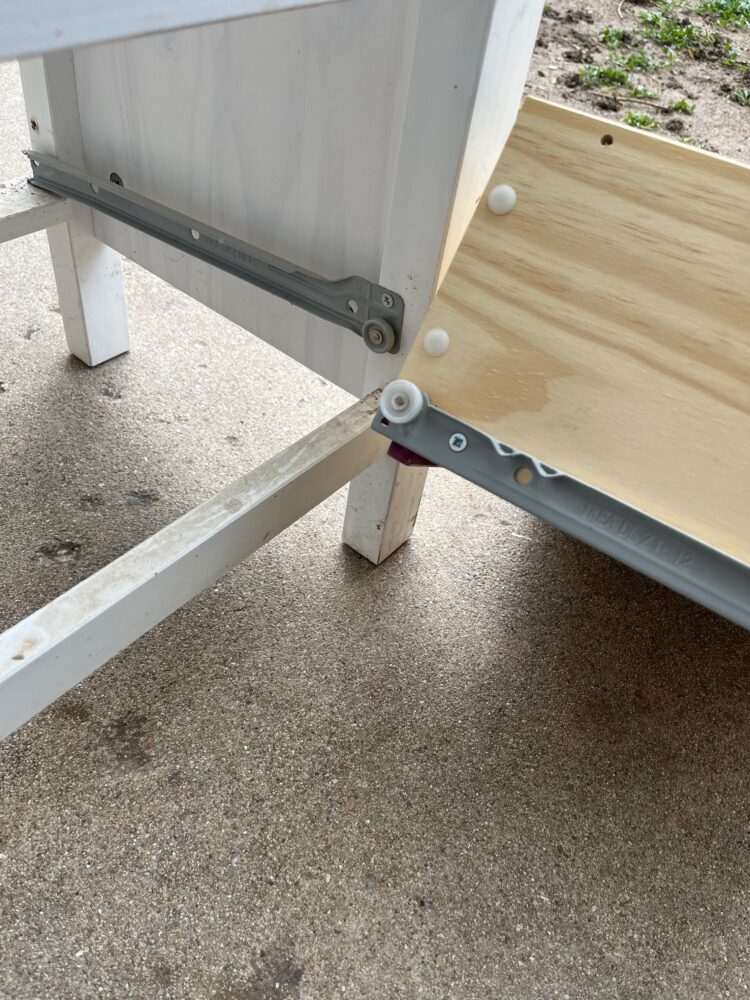
I started disassembling the drawers by taking them off their rails and unscrewing the rails from the table. With the drawers removed I realized that the rails had very specific mounting screws that bore into slots in the wood in the table. Since the wood I purchased didn’t have those slots, I knew that sinking the screws would be extremely difficult. So I decided to take the drawer without a knob and disassemble it even further by taking each board apart from each other. Once I had done that, I was then able to attach the rails that were originally on the sides of the table to the sides of the drawer using the same guiding holes. Then I took the drawer sides and attached them to the staircase shaped side pieces I had cut out using nails I had purchased from Home Depot. With that, the drawer could slide smoothly between the two side pieces, and a major piece of functionality had been taken care of. I was also able to glue the two pieces I had previously cut out to the drawer sides, making the side pieces one whole piece again.
After I had all my pieces cut out I wanted to see how they fit together and where I needed to line up my nails, so I set them all together in the way that I wanted to assemble them to ensure I had cut them correctly. I discovered I had made a small error when attaching the side pieces together, but it wasn’t anything some sanding couldn’t fix. For the pictures below I hadn’t cut out the last few staircase pieces, but I was able to get a good sense of how the project was coming along without them yet.


2 Comments. Leave new
It’s great to see how much progress you’ve made. I really like how resourceful you were in adapting old furniture and materials to fit your design. Reworking the drawer and integrating it with your hand-cut staircase sides shows strong problem-solving and craftsmanship.
One question I had was about the finish. Do you plan to sand and treat the butcher block or side panels to match the cabin core aesthetic, or leave some of the aged character as is? Also, are you thinking about adding a knob to the drawer, or keeping it hidden for a cleaner look?
Overall, this is shaping up to be a functional and well-crafted piece with a lot of character.
I was able to reuse one of the drawer knobs and I have that installed now, I think in the future treating the wood could be a great way to make this project a more permanent piece of decor.