
Description of Project
Between my initial design preview and the final version of my project, a significant shift in direction has occurred. Initially, I planned to create a miniature bank safe at 1/12th scale, complete with a functional gear mechanism. This concept was inspired by two of Adam Savage’s Tested projects on YouTube: one featuring a custom miniature bank vault door and another demonstrating how to craft a prop safe using home insulation foam. However, after thorough research and prototyping, I recognized that this concept was impractical.
The initial plan involved using metal spur gears, but with each gear priced at $12 and a total of 12 required, the gear system alone would have cost around $150, excluding the main stock materials. My next approach was to replicate the look of metal using affordable materials, a technique showcased in the second Tested video. Unfortunately, this method proved to be excessively time-consuming and demanded a high level of finishing and painting skills, making it an unrealistic option given my timeline. As I struggled to balance complexity, cost, and feasibility, the project began to feel more like a burden than an exciting challenge. Below, figure 1 showcases the miniature vault door created by Savage that I was attempting to replicate. This design features a circular door machined from billet aluminum, steel gearing, and brass accents while figure 2 below that is of the movie prop safe that utilizes home insulation foam and paint to create a realistic looking safe at a fraction of the cost and weight.
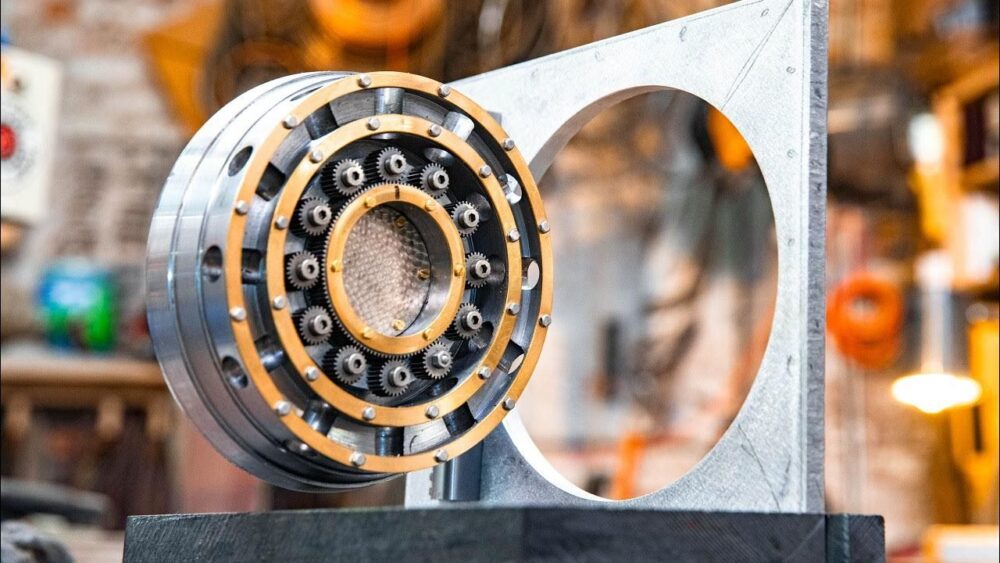
Figure 1. Savage’s miniature bank vault in an industrial minimalist aesthetic.

Figure 2. Movie prop safe made by Savage out of home insulation foam.
Recognizing how I felt about the project, I pivoted to a more achievable yet still meaningful backup plan: a wooden baby rattle shaped like an elephant. This project, which I had outlined as an alternative in my design preview, aligns better with my current skills, available tools, and time frame. Success will be measured not only by the rattle’s aesthetic appeal but also by how it feels, both as an object to hold and as a project to create.
Inspiration
Direct Inspiration
The initial inspiration for this project came from a Reddit post I saw on the r/woodworking subreddit in June 2022. I captured a screenshot of the post, shown in figure 3 below, intending to use it as a reference for a future project. At the time, I had hoped to create the wooden elephant baby rattle as a gift for my niece, who was born that same year. However, lacking access to a woodshop at the time, I was unable to pursue the idea. Recently, upon learning that I will soon have another niece or nephew, I revisited the project, now with the tools and resources needed to bring it to life.
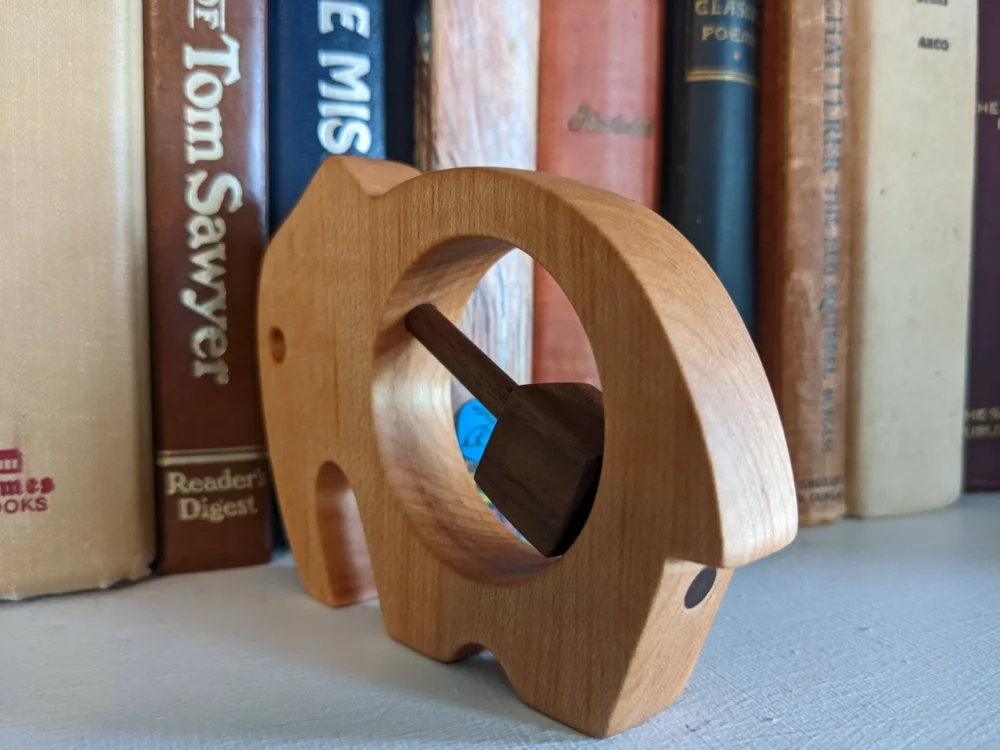
Figure 3. Wooden elephant baby rattle inspiration from r/woodworking on reddit
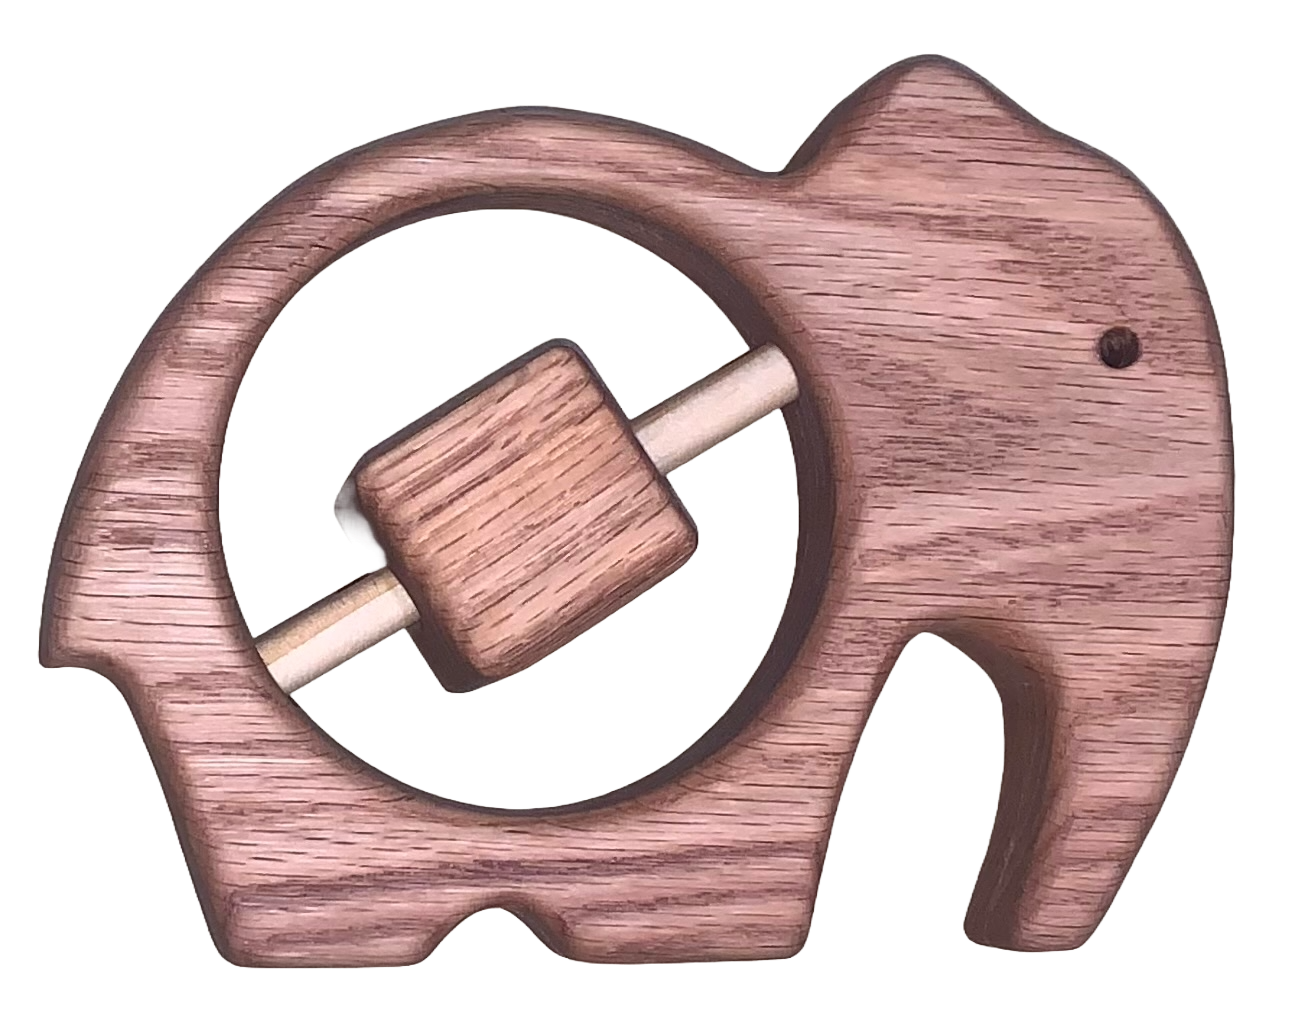
Another reference image used for creating the wooden elephant is shown in figure 4 below. This image originates from an Etsy shop called Olson House Woodwork, created by Todd Olsen in 2019. While the two designs, figures 1 and 2, are nearly identical, I cannot confirm which design came first. Both served as sources of inspiration for this project, with figure 3 providing the initial concept and figure 4 being directly traced to create the stencil for my design.
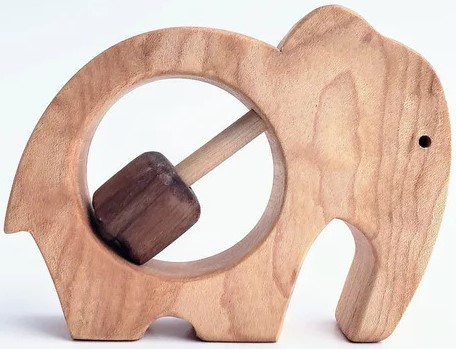
Figure 4. Another inspiration photo, this one comes from Olson House Woodwork on Etsy.
The Arts and Crafts Movement
While the aesthetic of my wooden elephant baby rattle incorporates elements of minimalism, its deeper connection is rooted in the Arts and Crafts Movement, which emerged during the late Victorian period. This movement aimed to “improve standards of decorative design believed to have been debased by mechanization and to create environments in which beautiful and fine workmanship governed” [1]. Advocates of the movement championed a return to handcrafted artistry, emphasizing the integrity of materials, fine craftsmanship, and the beauty of simple, functional designs.
The Arts and Crafts Movement encompassed a wide range of disciplines, including architecture, textiles, furniture, metalwork, and decorative arts. It valued traditional skills, local craftsmanship, and the ethical treatment of workers, seeking to reconnect artistry with purpose by promoting objects that were both beautiful and functional. I believe my project aligns strongly with this ethos—combining a simple, elegant design with careful craftsmanship to create a meaningful, enduring object.
In a world where many toys are mass-produced plastic items, often cheaply made, easily broken, and quickly discarded, I wanted to create something different. My feelings toward rampant consumerism within modern capitalist society mirror some of the sentiments of those who lived in the post-industrial era that gave rise to the Arts and Crafts movement in the first place. With this project I wanted to create a toy that could be passed down and enjoyed by generations of my family. My hope is that while my nieces or nephews are young, they will play with the rattle freely. As they grow older, it may become a decorative piece on their shelf, serving as a keepsake that reminds them of the joy of childhood. Unlike most modern toys, which prioritize cost and speed of production, this rattle emphasizes craftsmanship, using natural wood with a simple, refined finish that highlights the material’s beauty.
Specifications
With the ethos of the Arts and Crafts Movement in mind and drawing directly from my sources of inspiration, I established specifications and constraints to guide the project’s design, focusing on its appearance, tactile quality, and functionality. The specifications and constraints are listed below:
Top 5 Priorities: What I Want My Project to Look Like, Feel Like, and Do
- Clear Elephant Form – The visual identity of the piece is essential, it must clearly resemble an elephant. I want someone to immediately recognize the silhouette and feel a sense of warmth or delight.
- Safe and Baby-Friendly – Since this is a rattle designed for infants, safety is a top priority. That means no sharp edges or small detachable pieces. Every surface must be smooth to the touch and sealed in a baby-safe way. I want parents to feel confident handing it to their child.
- High-Quality Craftsmanship – The wood should feel solid and well-finished. I want to achieve a professional look with attention to grain direction, proportion, and balance. Success for me will be if someone assumes it’s store-bought or artisan crafted.
- Tactile and Visually Engaging – The rattle inside needs to rotate and move freely. The motion and sound should be satisfying, adding to the sensory experience for a baby. The rattle should be functional but also gentle, offering a pleasant clinking noise when shaken.
- Expressive Simplicity – I want the final product to embody simplicity in design while still feeling complete. This means minimalism with purpose—each curve intentional, each feature meaningful. It should do a lot with a little.
Top 5 Constraints I’m Facing
- Time – Time is always a looming factor in any creative endeavor, and this project is no different. Balancing design, shaping, sanding, and finishing within the available time window is a significant challenge considering that I am
- Access to Quality Wood – Working with good hardwood stock is critical to achieving a beautiful, smooth, and consistent finish. Unfortunately, I’m limited in access to high quality wood stock, which will affect the visual outcome of the project.
- My Woodworking Skill Level – While I’m confident in my design abilities, I’m still developing my hands-on skills. Shaping curves, joining parts securely, and applying a flawless finish are all tasks that require practice and finesse that I hope to develop and improve during this project.
- Tools – To achieve a truly professional finish on the baby rattle, access to specialized tools would be ideal. For example, a jointer ensures perfectly flat faces when gluing boards together, and a router would make cutting the elephant shape more precise and efficient. However, due to limited tool access, I will use a bandsaw for shaping and rely on thorough sanding to correct any imperfections.
- Baby Safe Wood Finishes – There are few wood finishes I consider safe for a baby toy, as many commercial finishes and stains contain potentially toxic chemicals. To ensure the rattle is non-toxic and baby-safe, I will use only food-grade mineral oil to finish and seal the wood.
Beginning the Design Process
CAD Drawing of Elephant
With a clear idea of what I was going to create, the design process began in AutoDesk Fusion 360, where I used the image seen in figure 2, sourced from an Etsy listing, as a reference. I imported the image into Fusion 360 as a calibrated canvas, scaling it to a length of seven inches. Using splines, arcs, and circle tools, I traced the image to create a detailed sketch of the rattle’s body. This sketch was then exported as a DXF file, which I used to laser-cut a stencil from an acrylic sheet for shaping the wooden body.
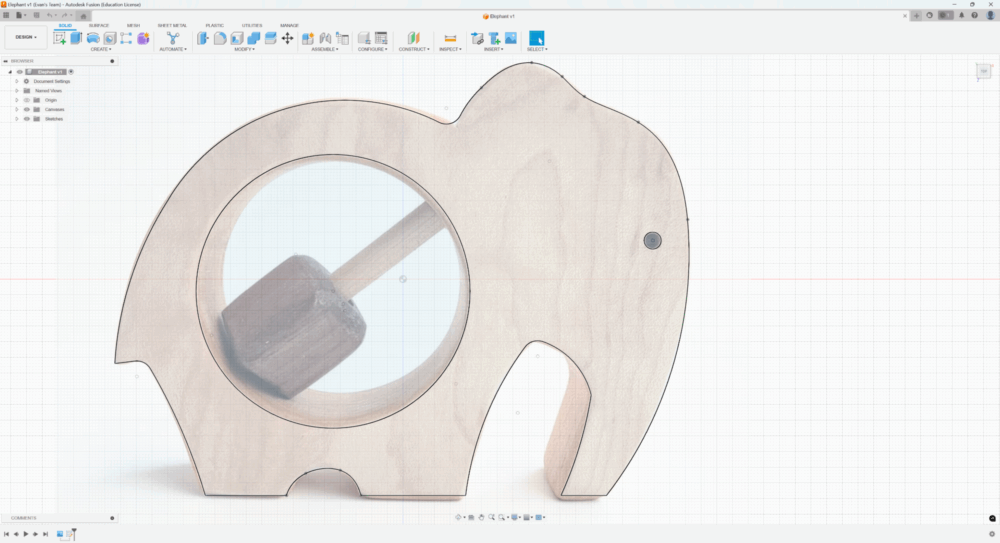
Figure 5. The Fusion 360 sketch overtop of the canvas that I used to create the DXF for the stencil.
References
- https://www.metmuseum.org/essays/the-arts-and-crafts-movement-in-america
Images
- Figure 1 – https://i.ytimg.com/vi/O8phpSl_oos/hq720.jpg?sqp=-oaymwEhCK4FEIIDSFryq4qpAxMIARUAAAAAGAElAADIQj0AgKJD&rs=AOn4CLDYIBYRvBjuM88cJN35GZBWU_7TfQ
- Figure 2 – https://i.ytimg.com/vi/J170jeH0yXU/maxresdefault.jpg
- Figure 3 – https://i.imgur.com/Hwa9SfB.jpg
- Figure 4 – https://www.etsy.com/listing/674749612/wood-elephant-rattle-natural-baby-toy?gpla=1&gao=1&&utm_source=google&utm_medium=cpc&utm_campaign=shopping_us_ps-b-toys_and_games&utm_custom1=_k_Cj0KCQjwzrzABhD8ARIsANlSWNPpls9_8WEbFFGk9B7CDfi9bD7c1w6wnftN993NjggffWnNpcoUhaYaAtBNEALw_wcB_k_&utm_content=go_21791667522_169566885358_716586690693_pla-314535279060_c__674749612_12768591&utm_custom2=21791667522&gad_source=1&gbraid=0AAAAADtcfRItpFY6376EejAwjDXa-yVEW&gclid=Cj0KCQjwzrzABhD8ARIsANlSWNPpls9_8WEbFFGk9B7CDfi9bD7c1w6wnftN993NjggffWnNpcoUhaYaAtBNEALw_wcB
This post was edited for clarity and conciseness using ChatGPT.
1 Comment. Leave new
Evan,
I love the gift idea for your niece. It seems like you went on quite a journey deciding what project to create for this assignment. How long do you think it would have taken to make the vault project? I’m also curious about using an acrylic sheet as a model for woodworking, how did you incorporate the model? Did it act as a stencil while carving? Is acrylic strong enough not be damaged by the woodworking process?