
Process documentation:
![]() The Space Cowboy Lamp is the result of a semester of work, including CAD designing, 3D printing, woodworking, and electronics. The overall timeline for this project can be seen below:
The Space Cowboy Lamp is the result of a semester of work, including CAD designing, 3D printing, woodworking, and electronics. The overall timeline for this project can be seen below:
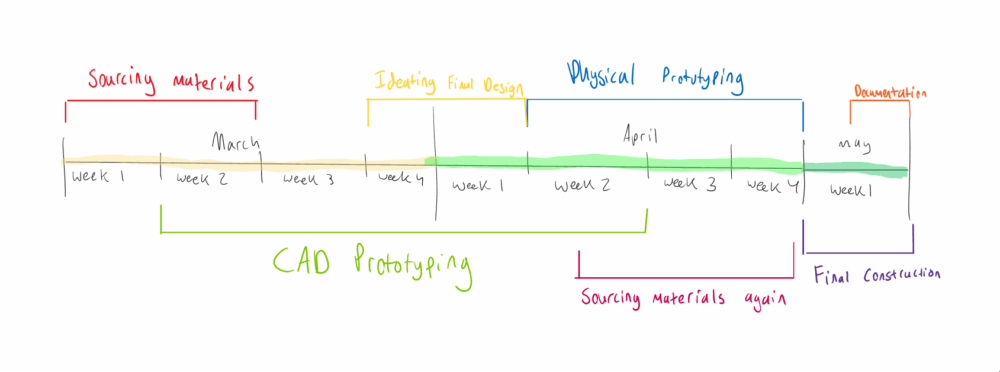
The design process, as described by the timeline above, relied heavily on about a month of CAD design and sourcing materials. This CAD prototyping followed after a month of sketching and ideating the final design, but in terms of the final product, the design process truly started at the beginning of march.
Prototyping in CAD uncovered a lot of design considerations that went into the final design, like how the rings would be suspended and how the LED strip would be embedded. A video of the final CAD timeline can be seen below:
Much of the CAD design process was iterative based on the size constraints of the ordered G26 lightbulb interface that I bought off of amazon, and can’t be seen in this timeline as I leveraged the parametric nature of Fusion to ‘go back in time’ to make these edits. Still, the overall CAD design process can be seen as I start with designing the wooden base, then the rings, then adding features and tweaking the rest of the design to reflect the final design considerations. During this time, many different test prints were made to check the functionality of how the lamp came together.
The process of 3D printing test rings and bottom interfaces took up the majority of my time up until the final weeks of April. Then, once I had the final designs for everything tested and fitted, I constructed the final assembly.
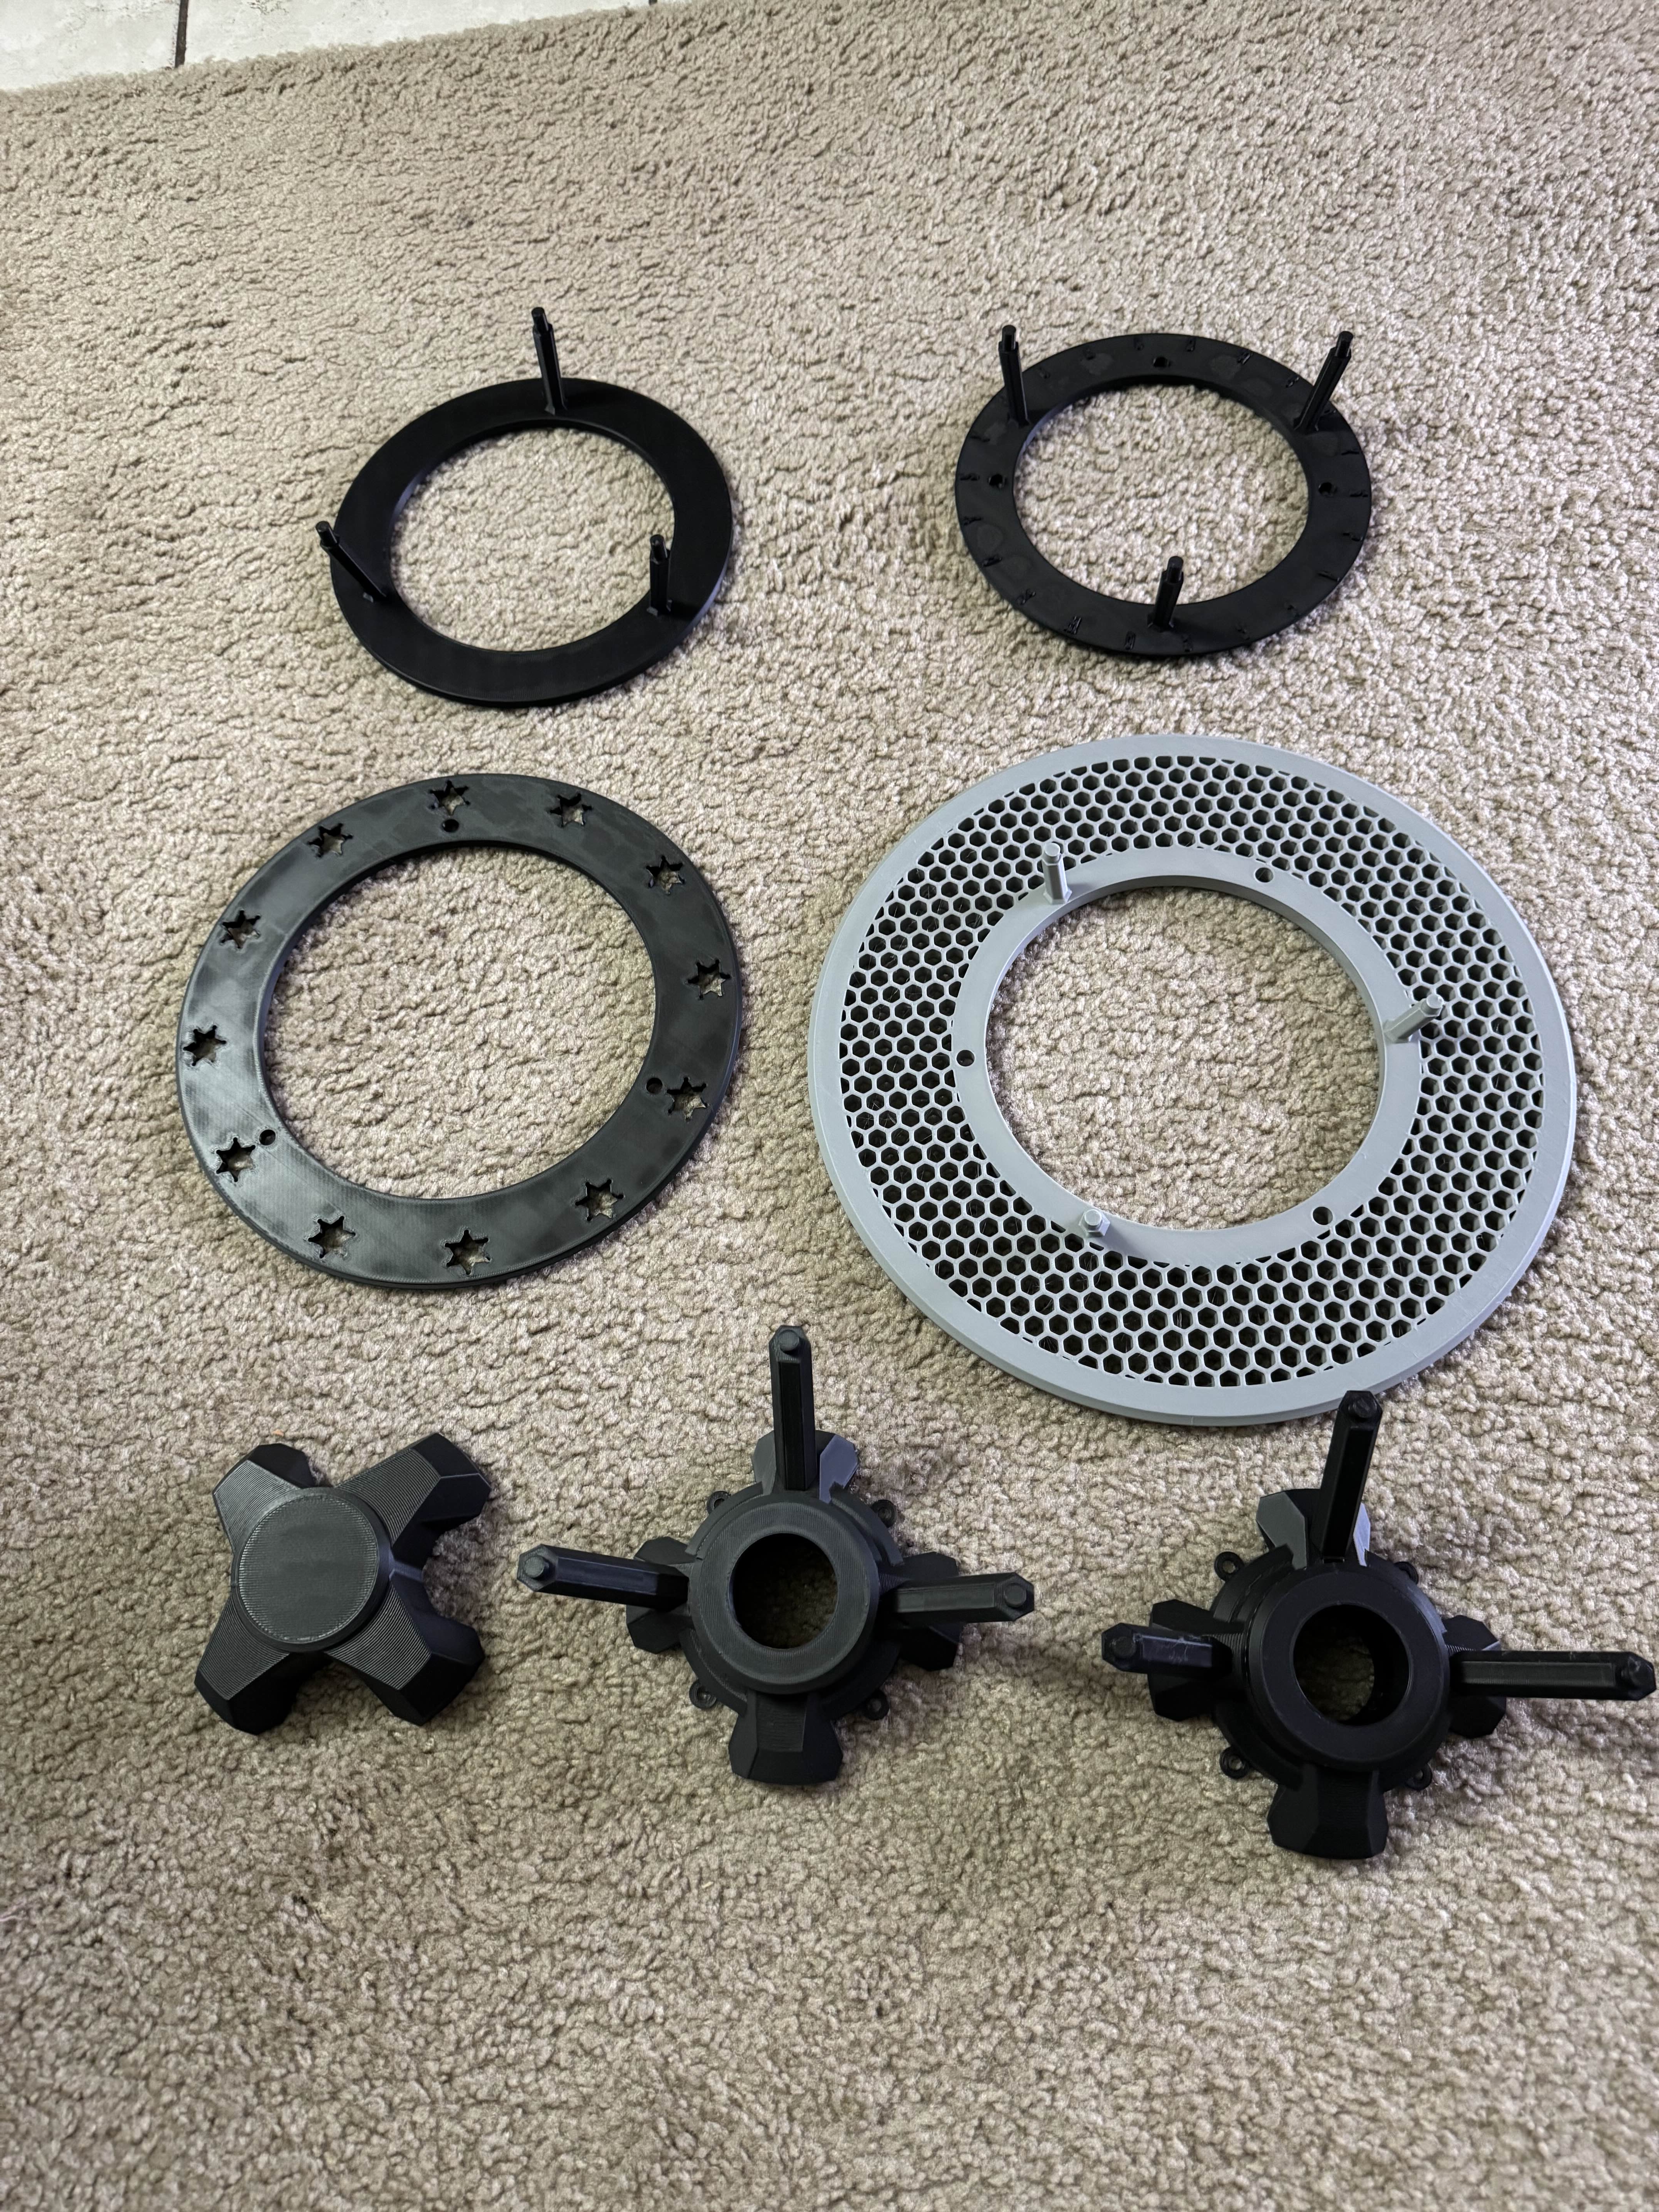
After prototyping these designs over the course of March and April, I bought a roll of final quality “steel gray” filament that I printed all of the final parts in during the last week of April. This took a considerable amount of time, as these prints were set to maximum layer height quality.
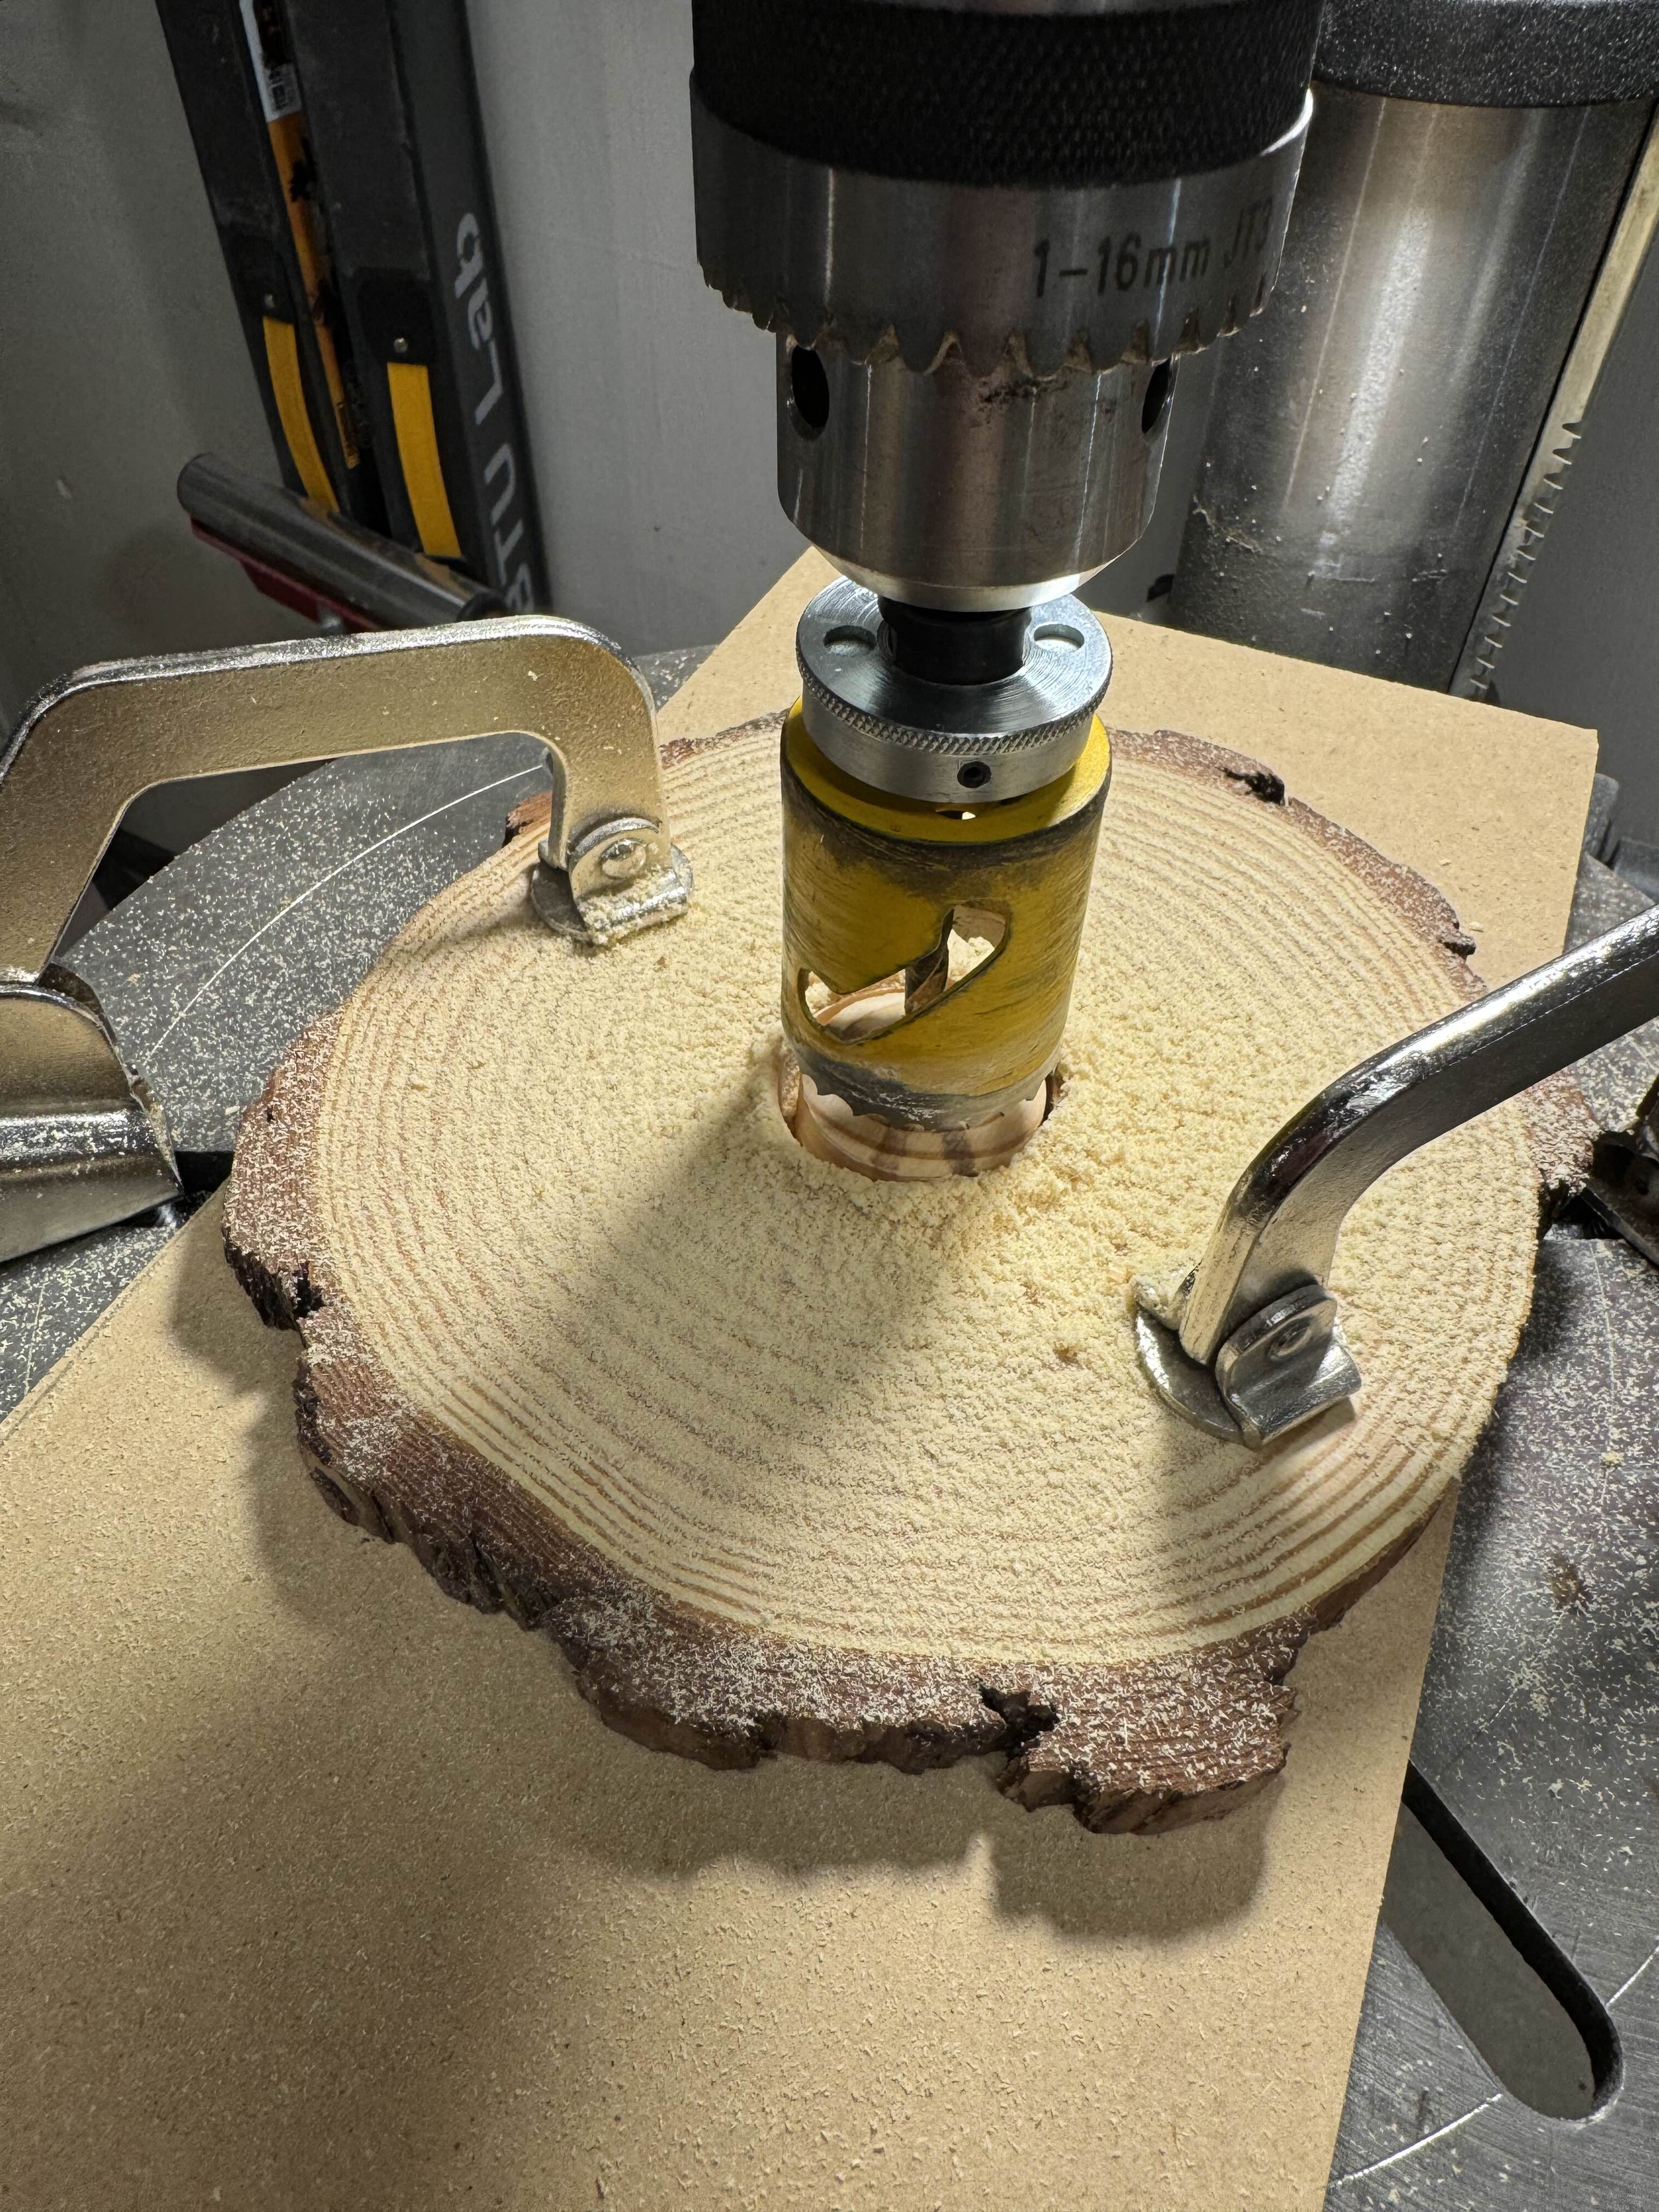
All of the below final construction happened during the week of May 5th.
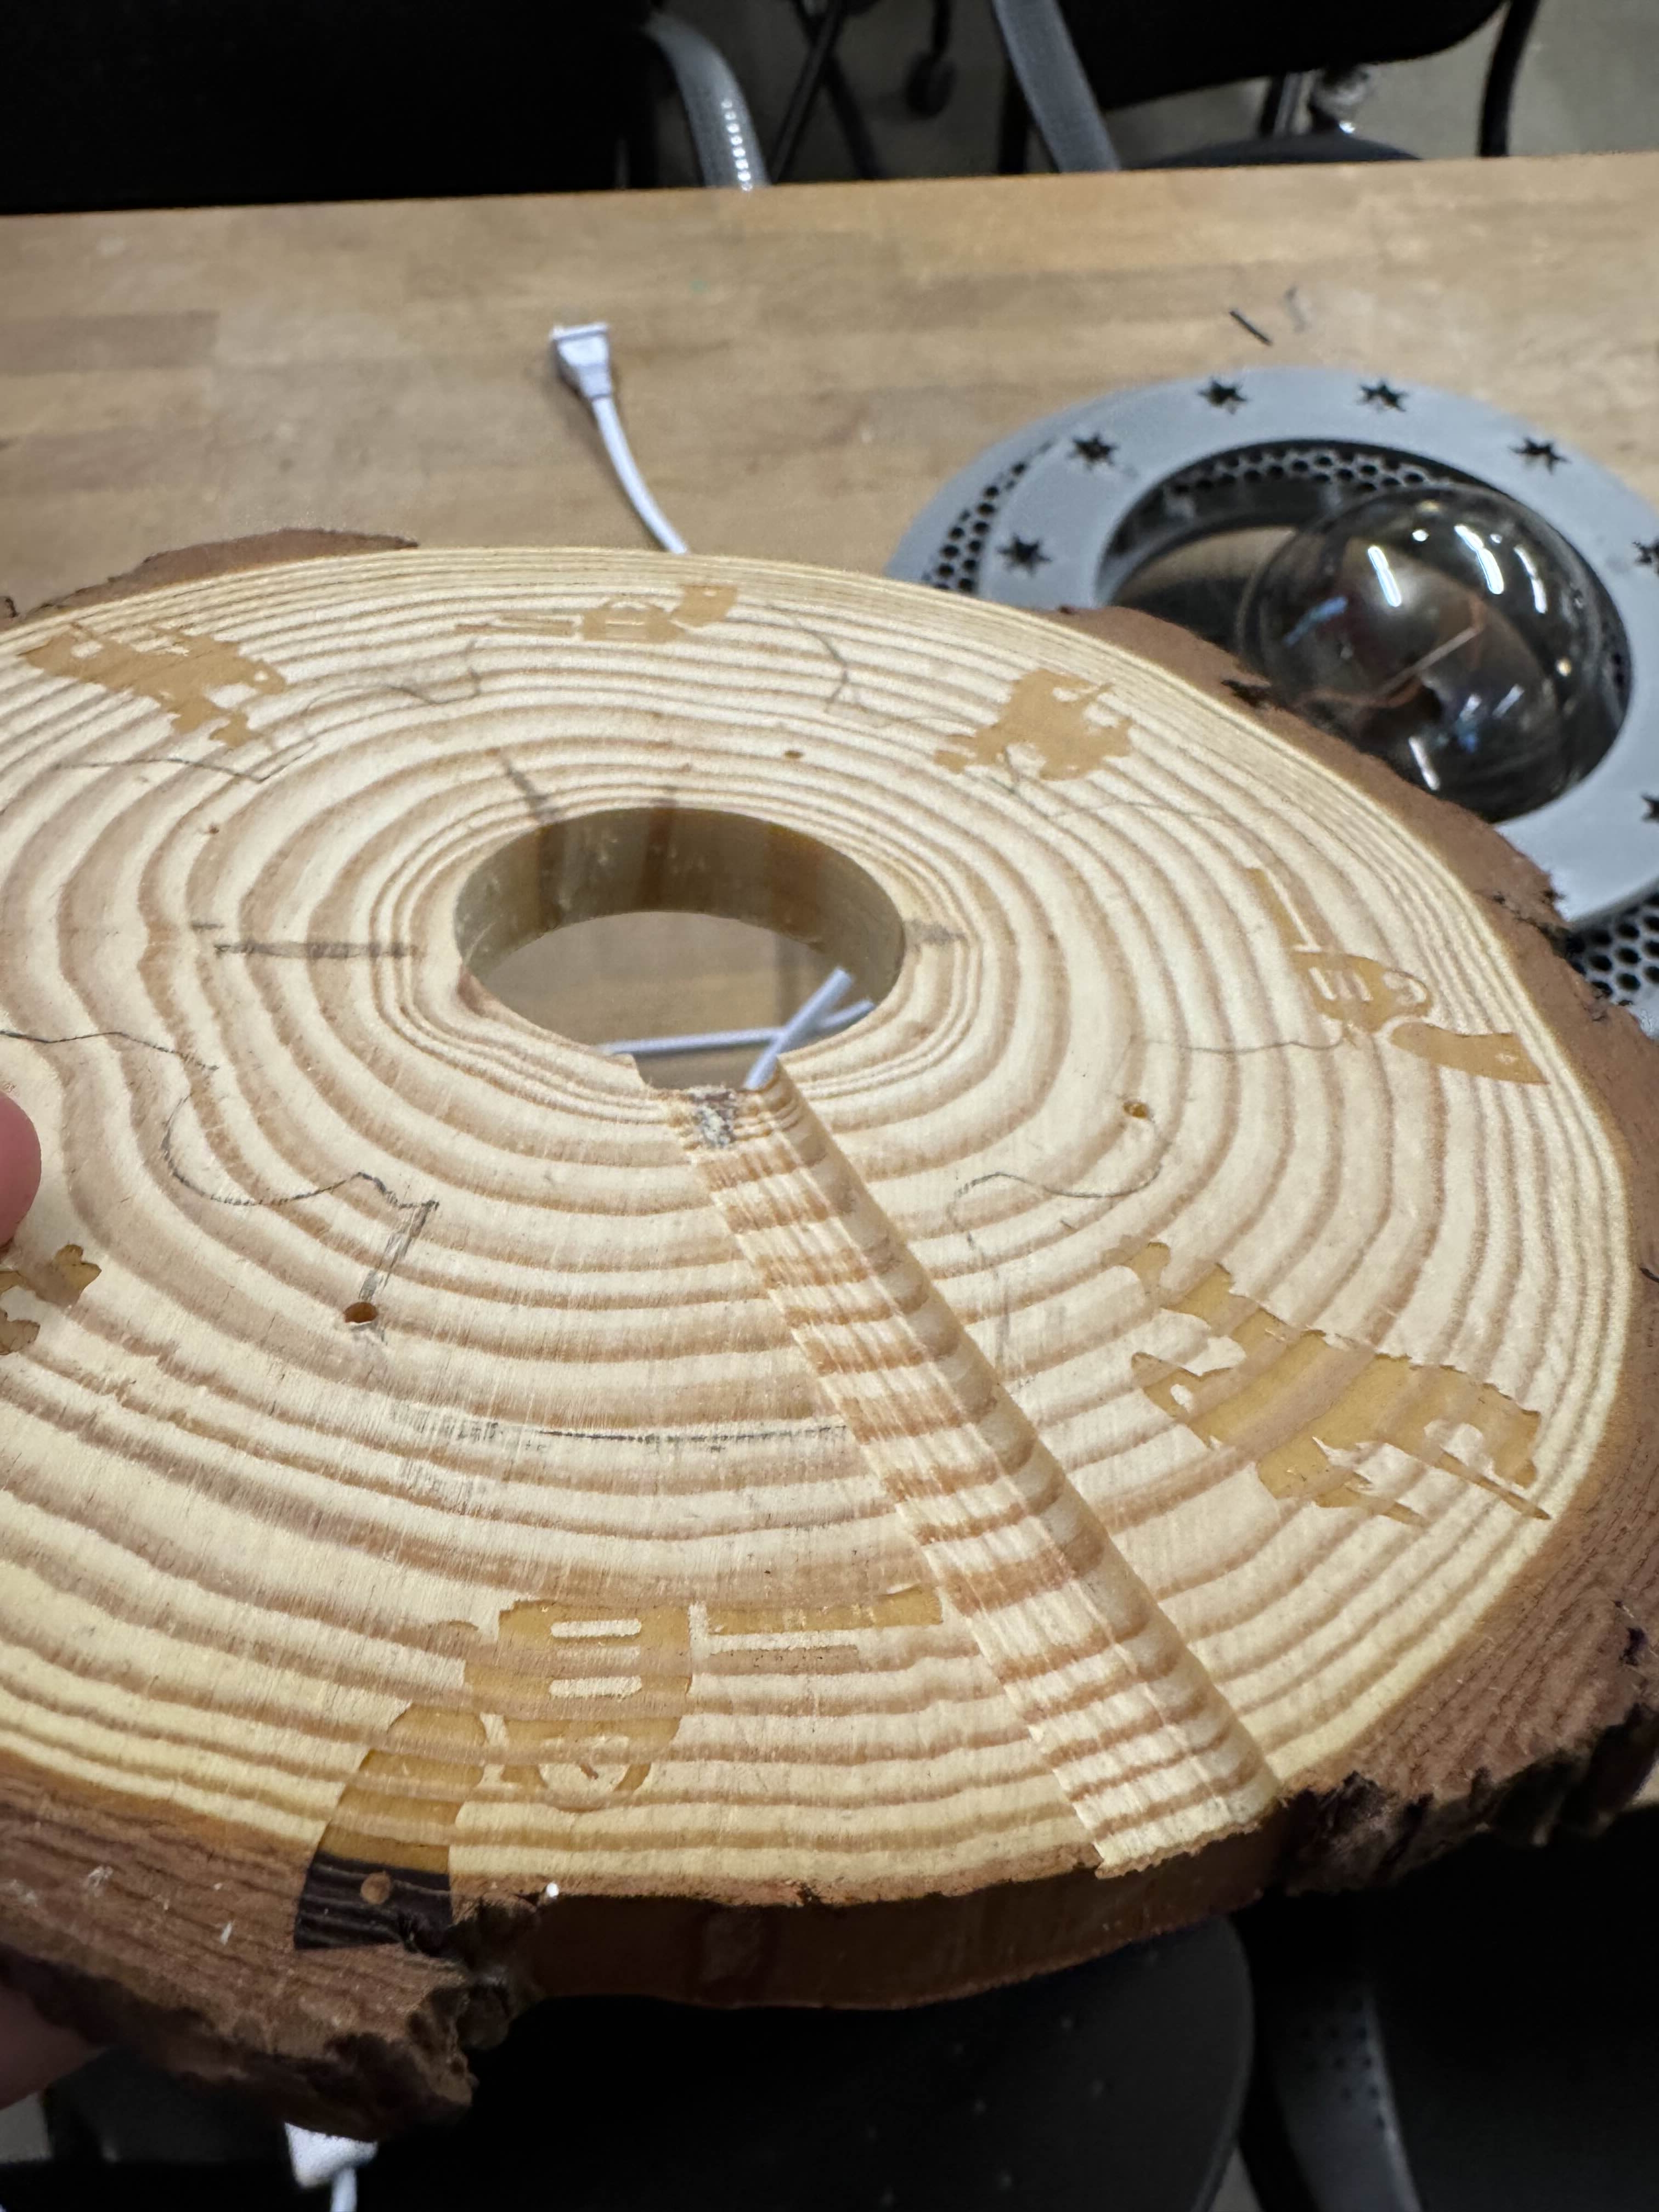
First, I knew that I needed to leave a hole for the cables coming out of the lamp to exit out by, so I used the BTU Lab drill press to cut a sizeable hole in the bottom of the wooden round that I chose.
![]()
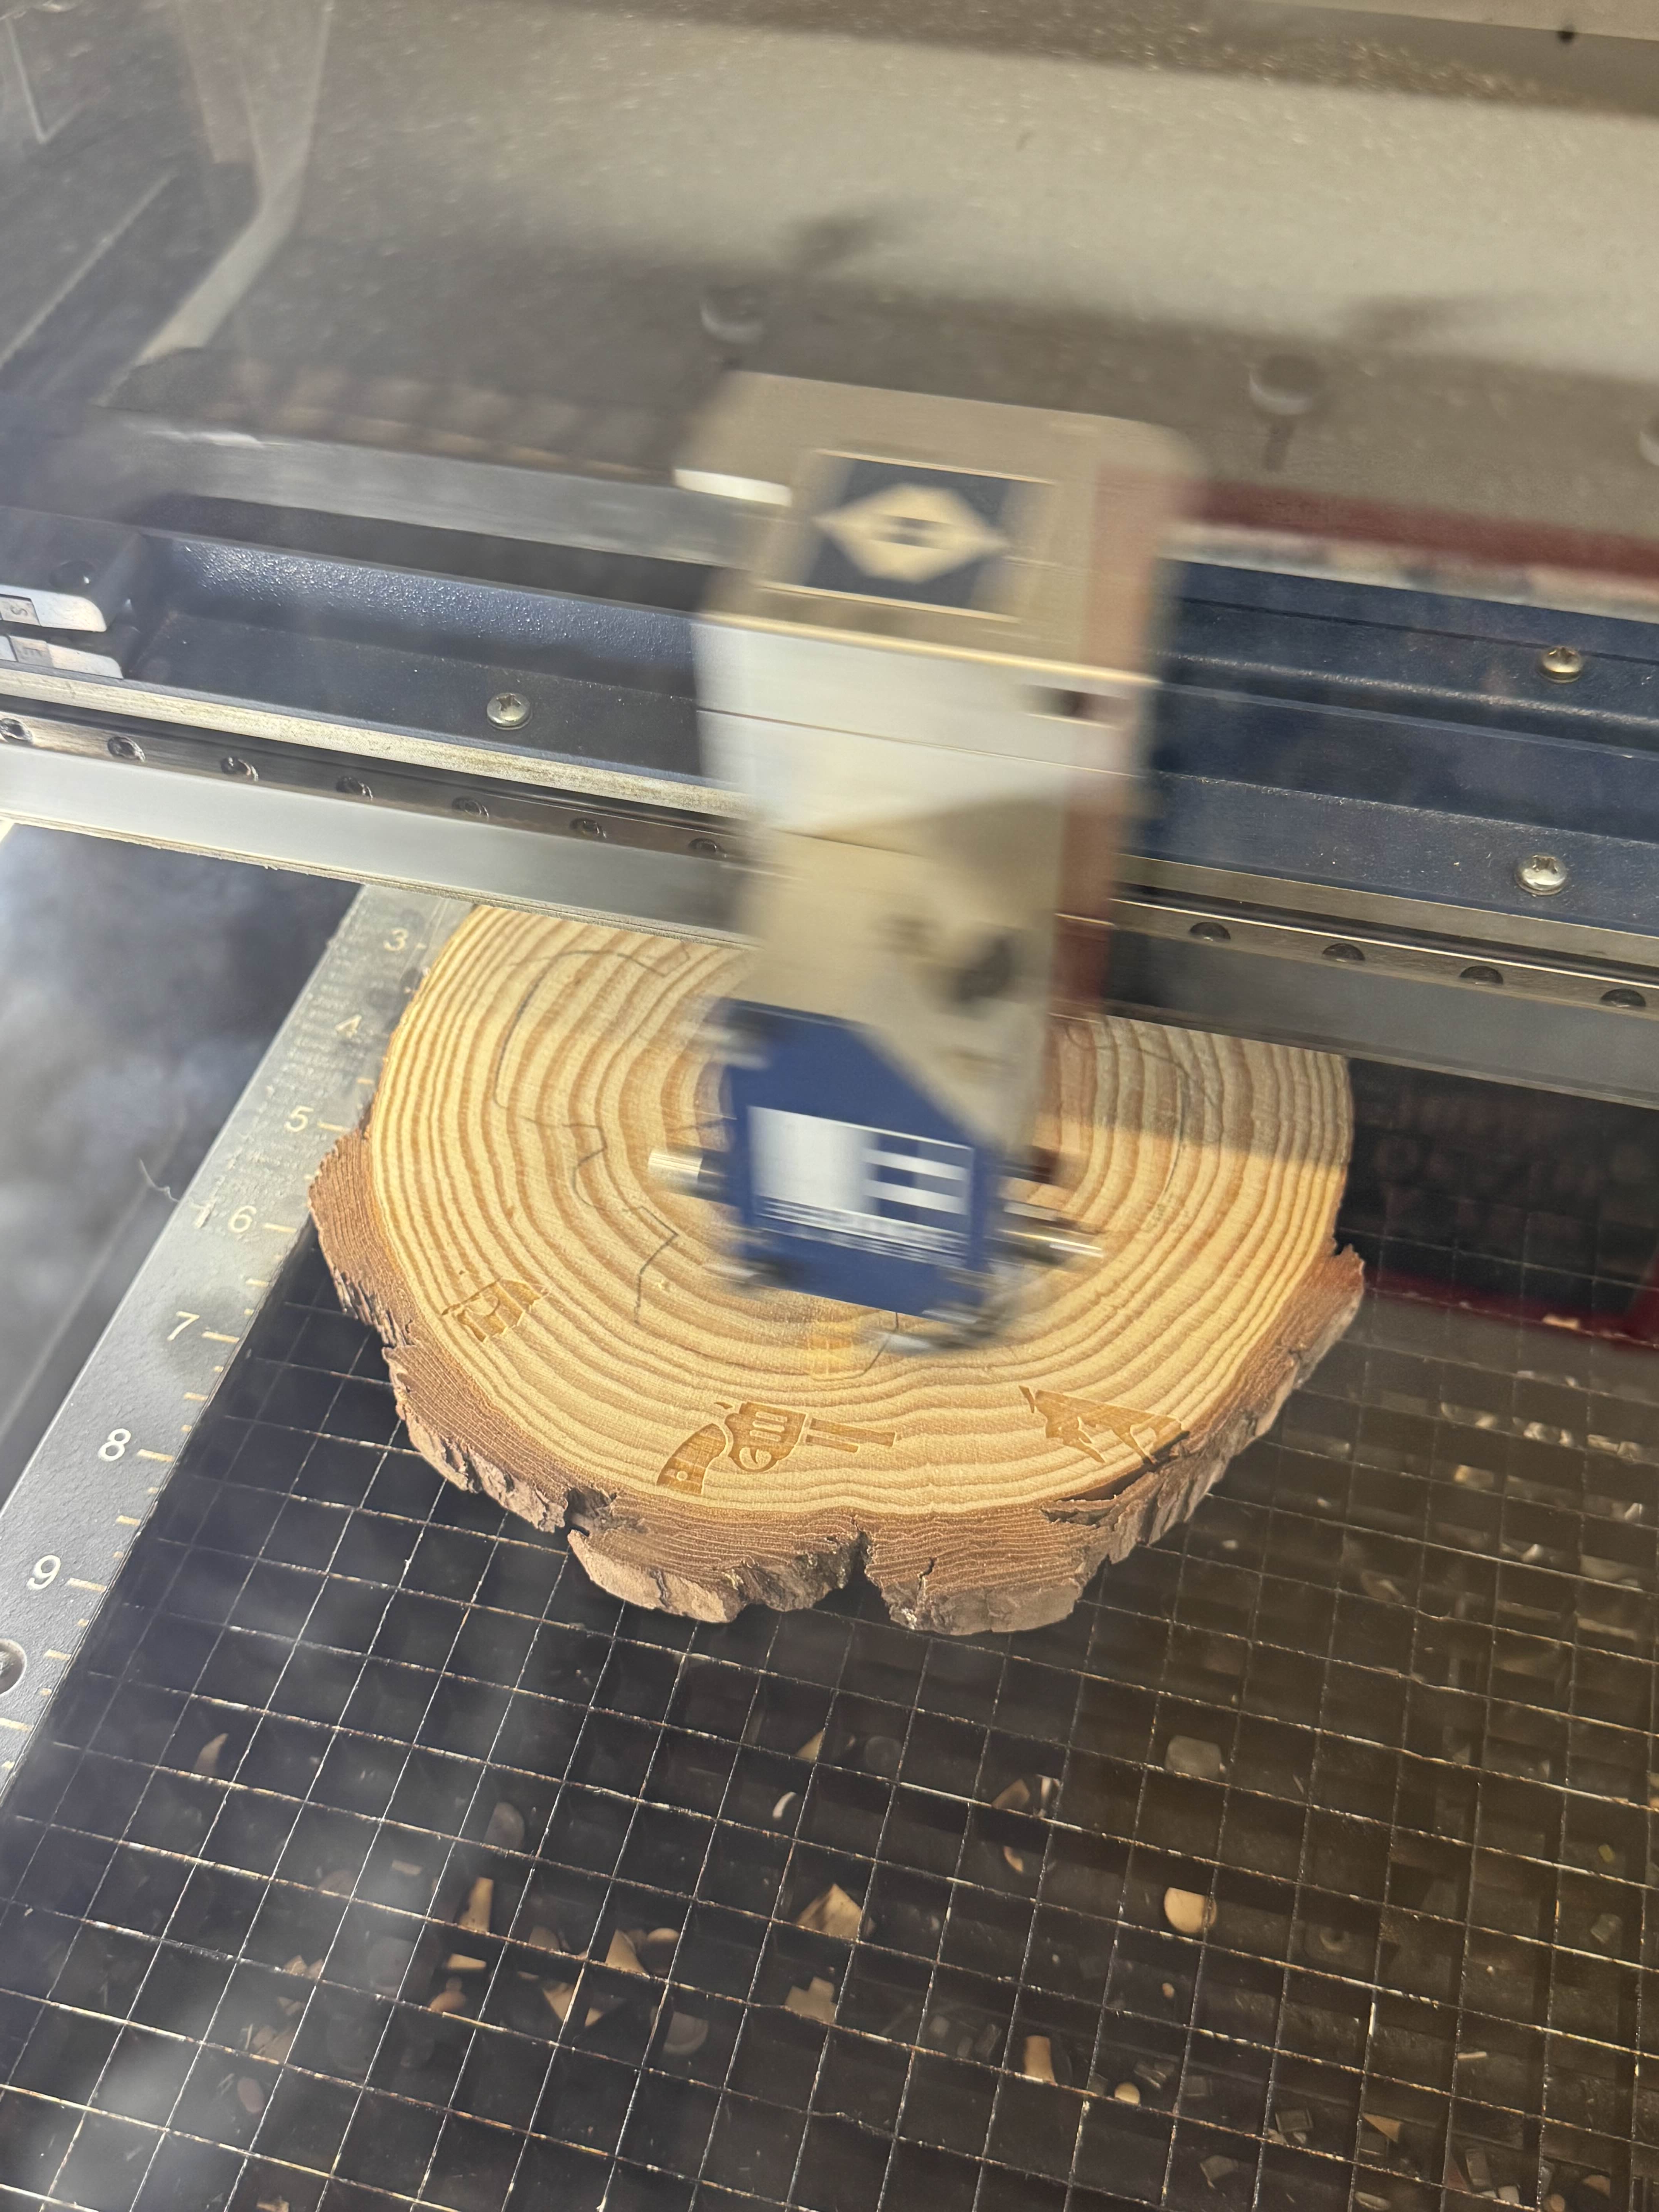
Then, I exported the sketches for the engraved emblems for the laser cut base as DXFs and laser engraved them on the BTU Lab laser cutter.
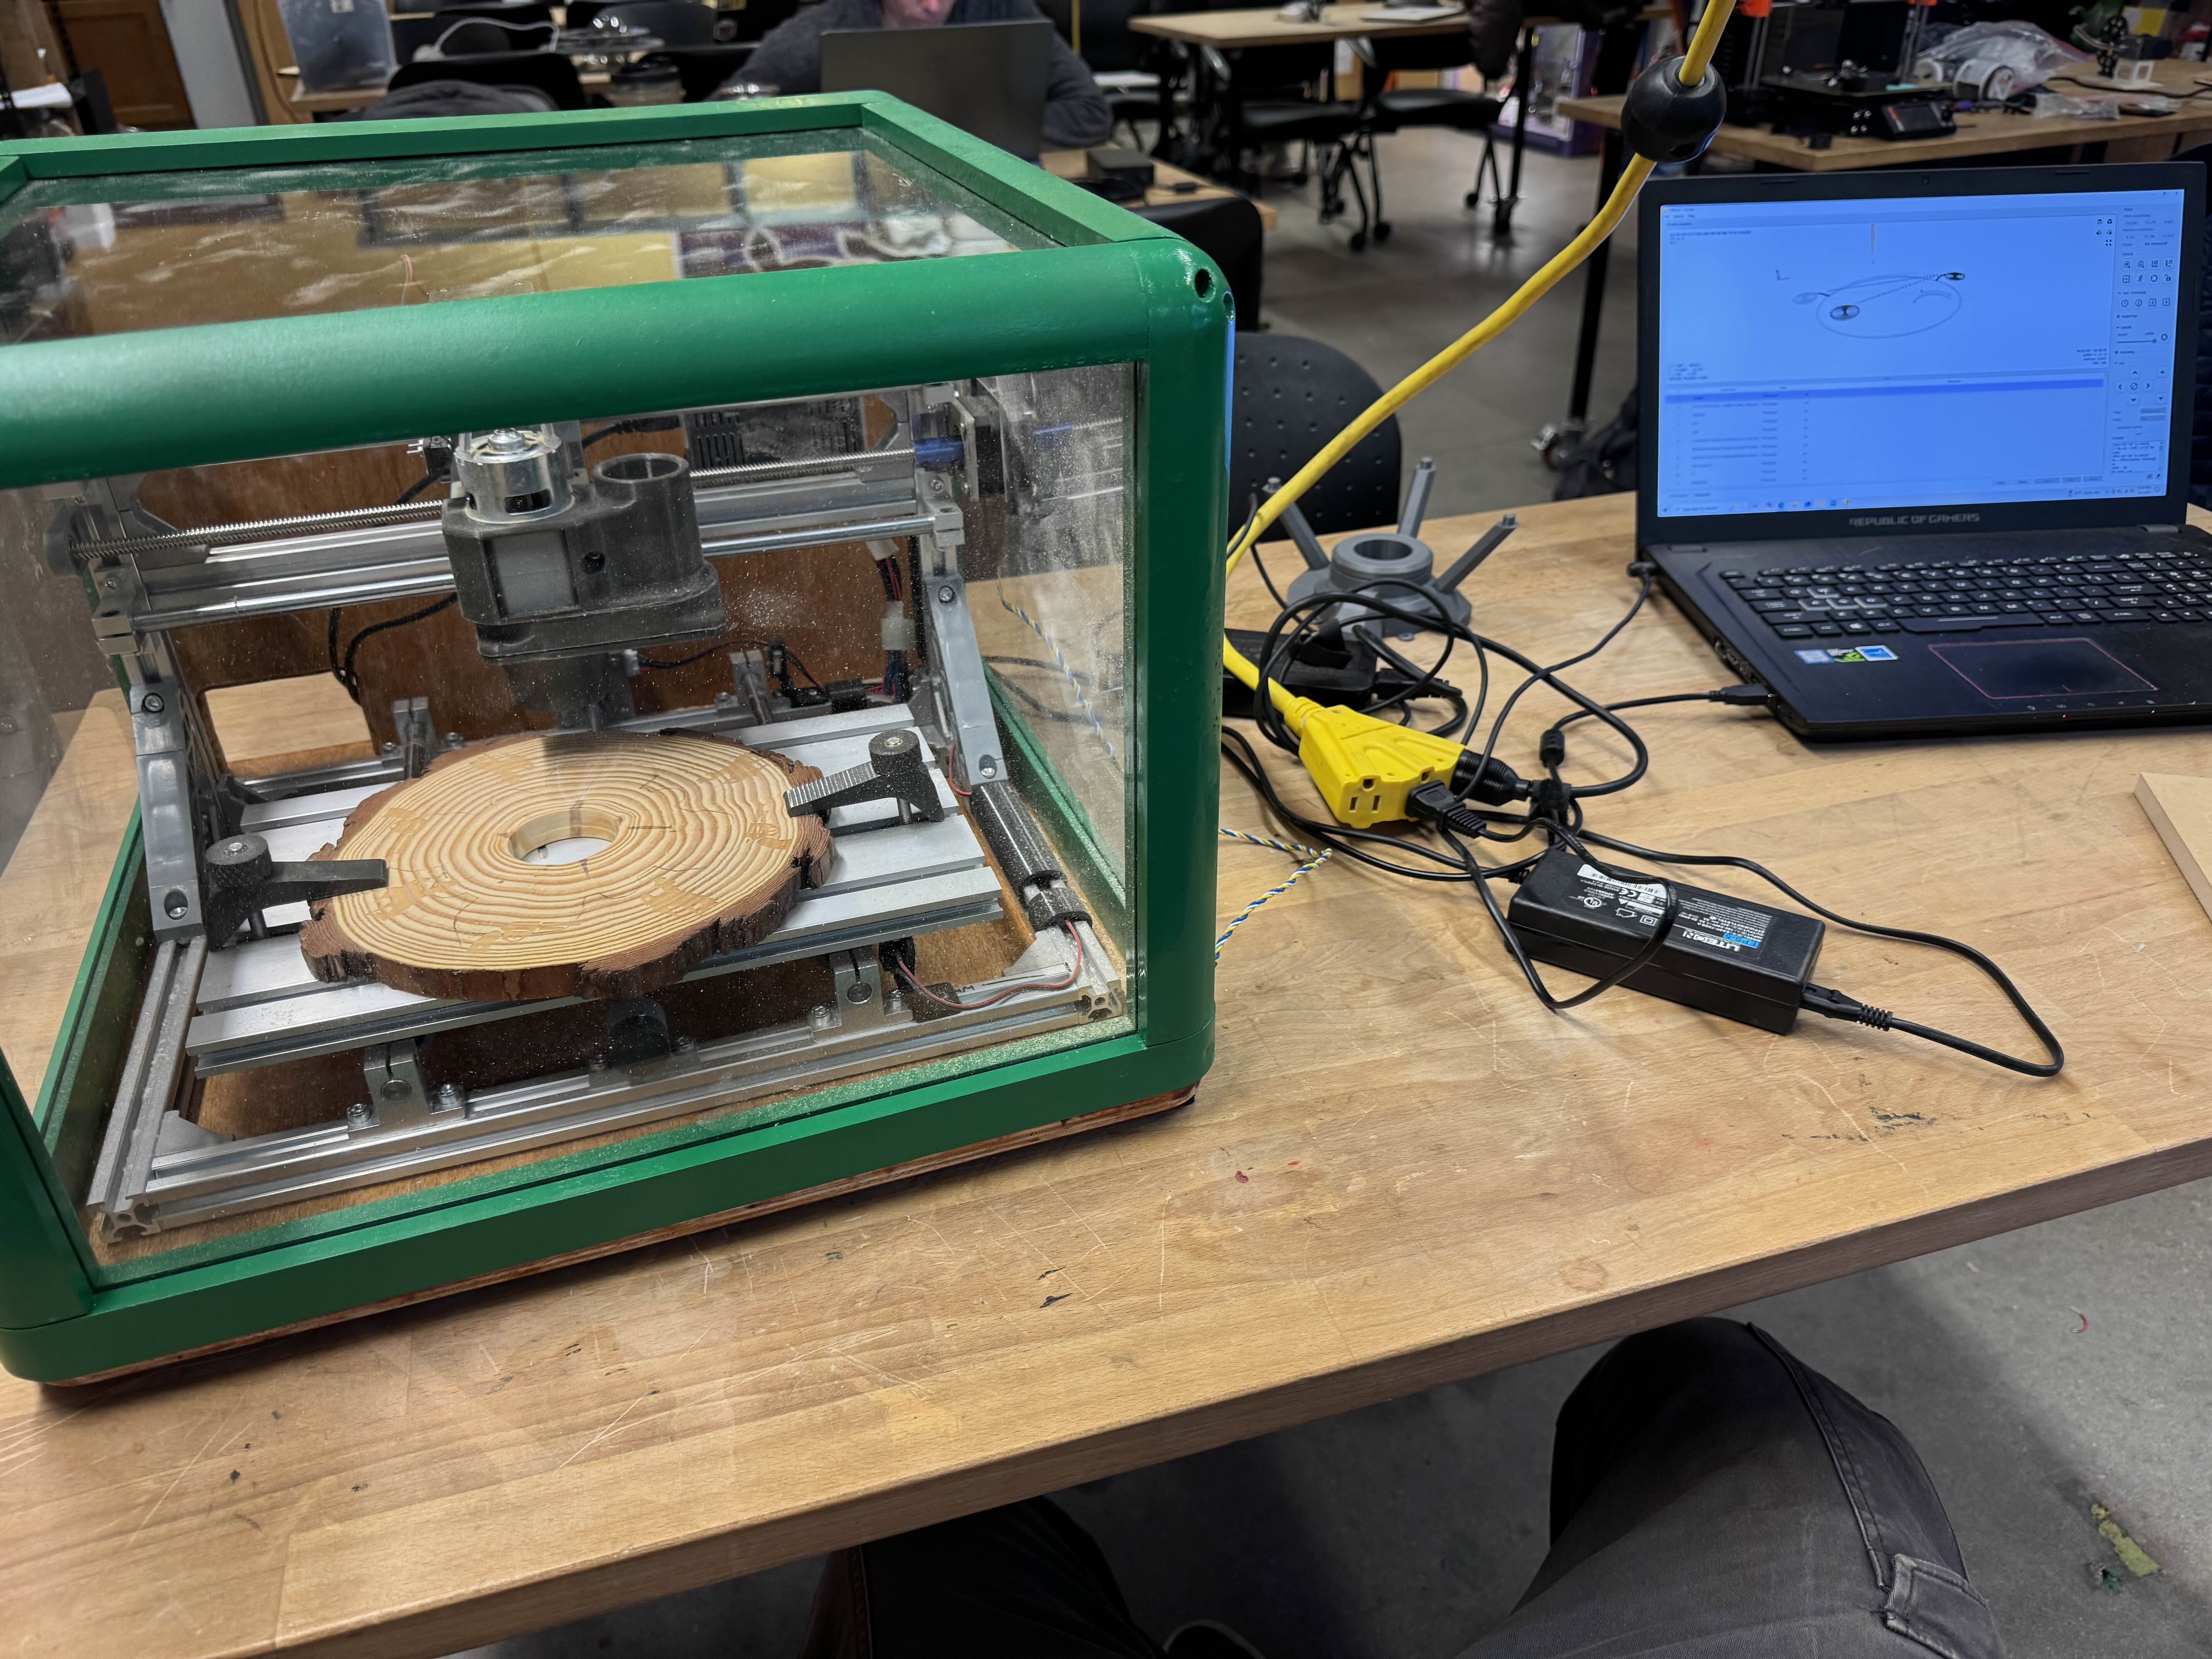
However, since the base of this lamp needed to sit flat on the table, I knew I also would need a recess for the cables to fit under and out. I was able to use my capstone project, Bloc, to accomplish this by manually milling channels for the cables to go through in the base.
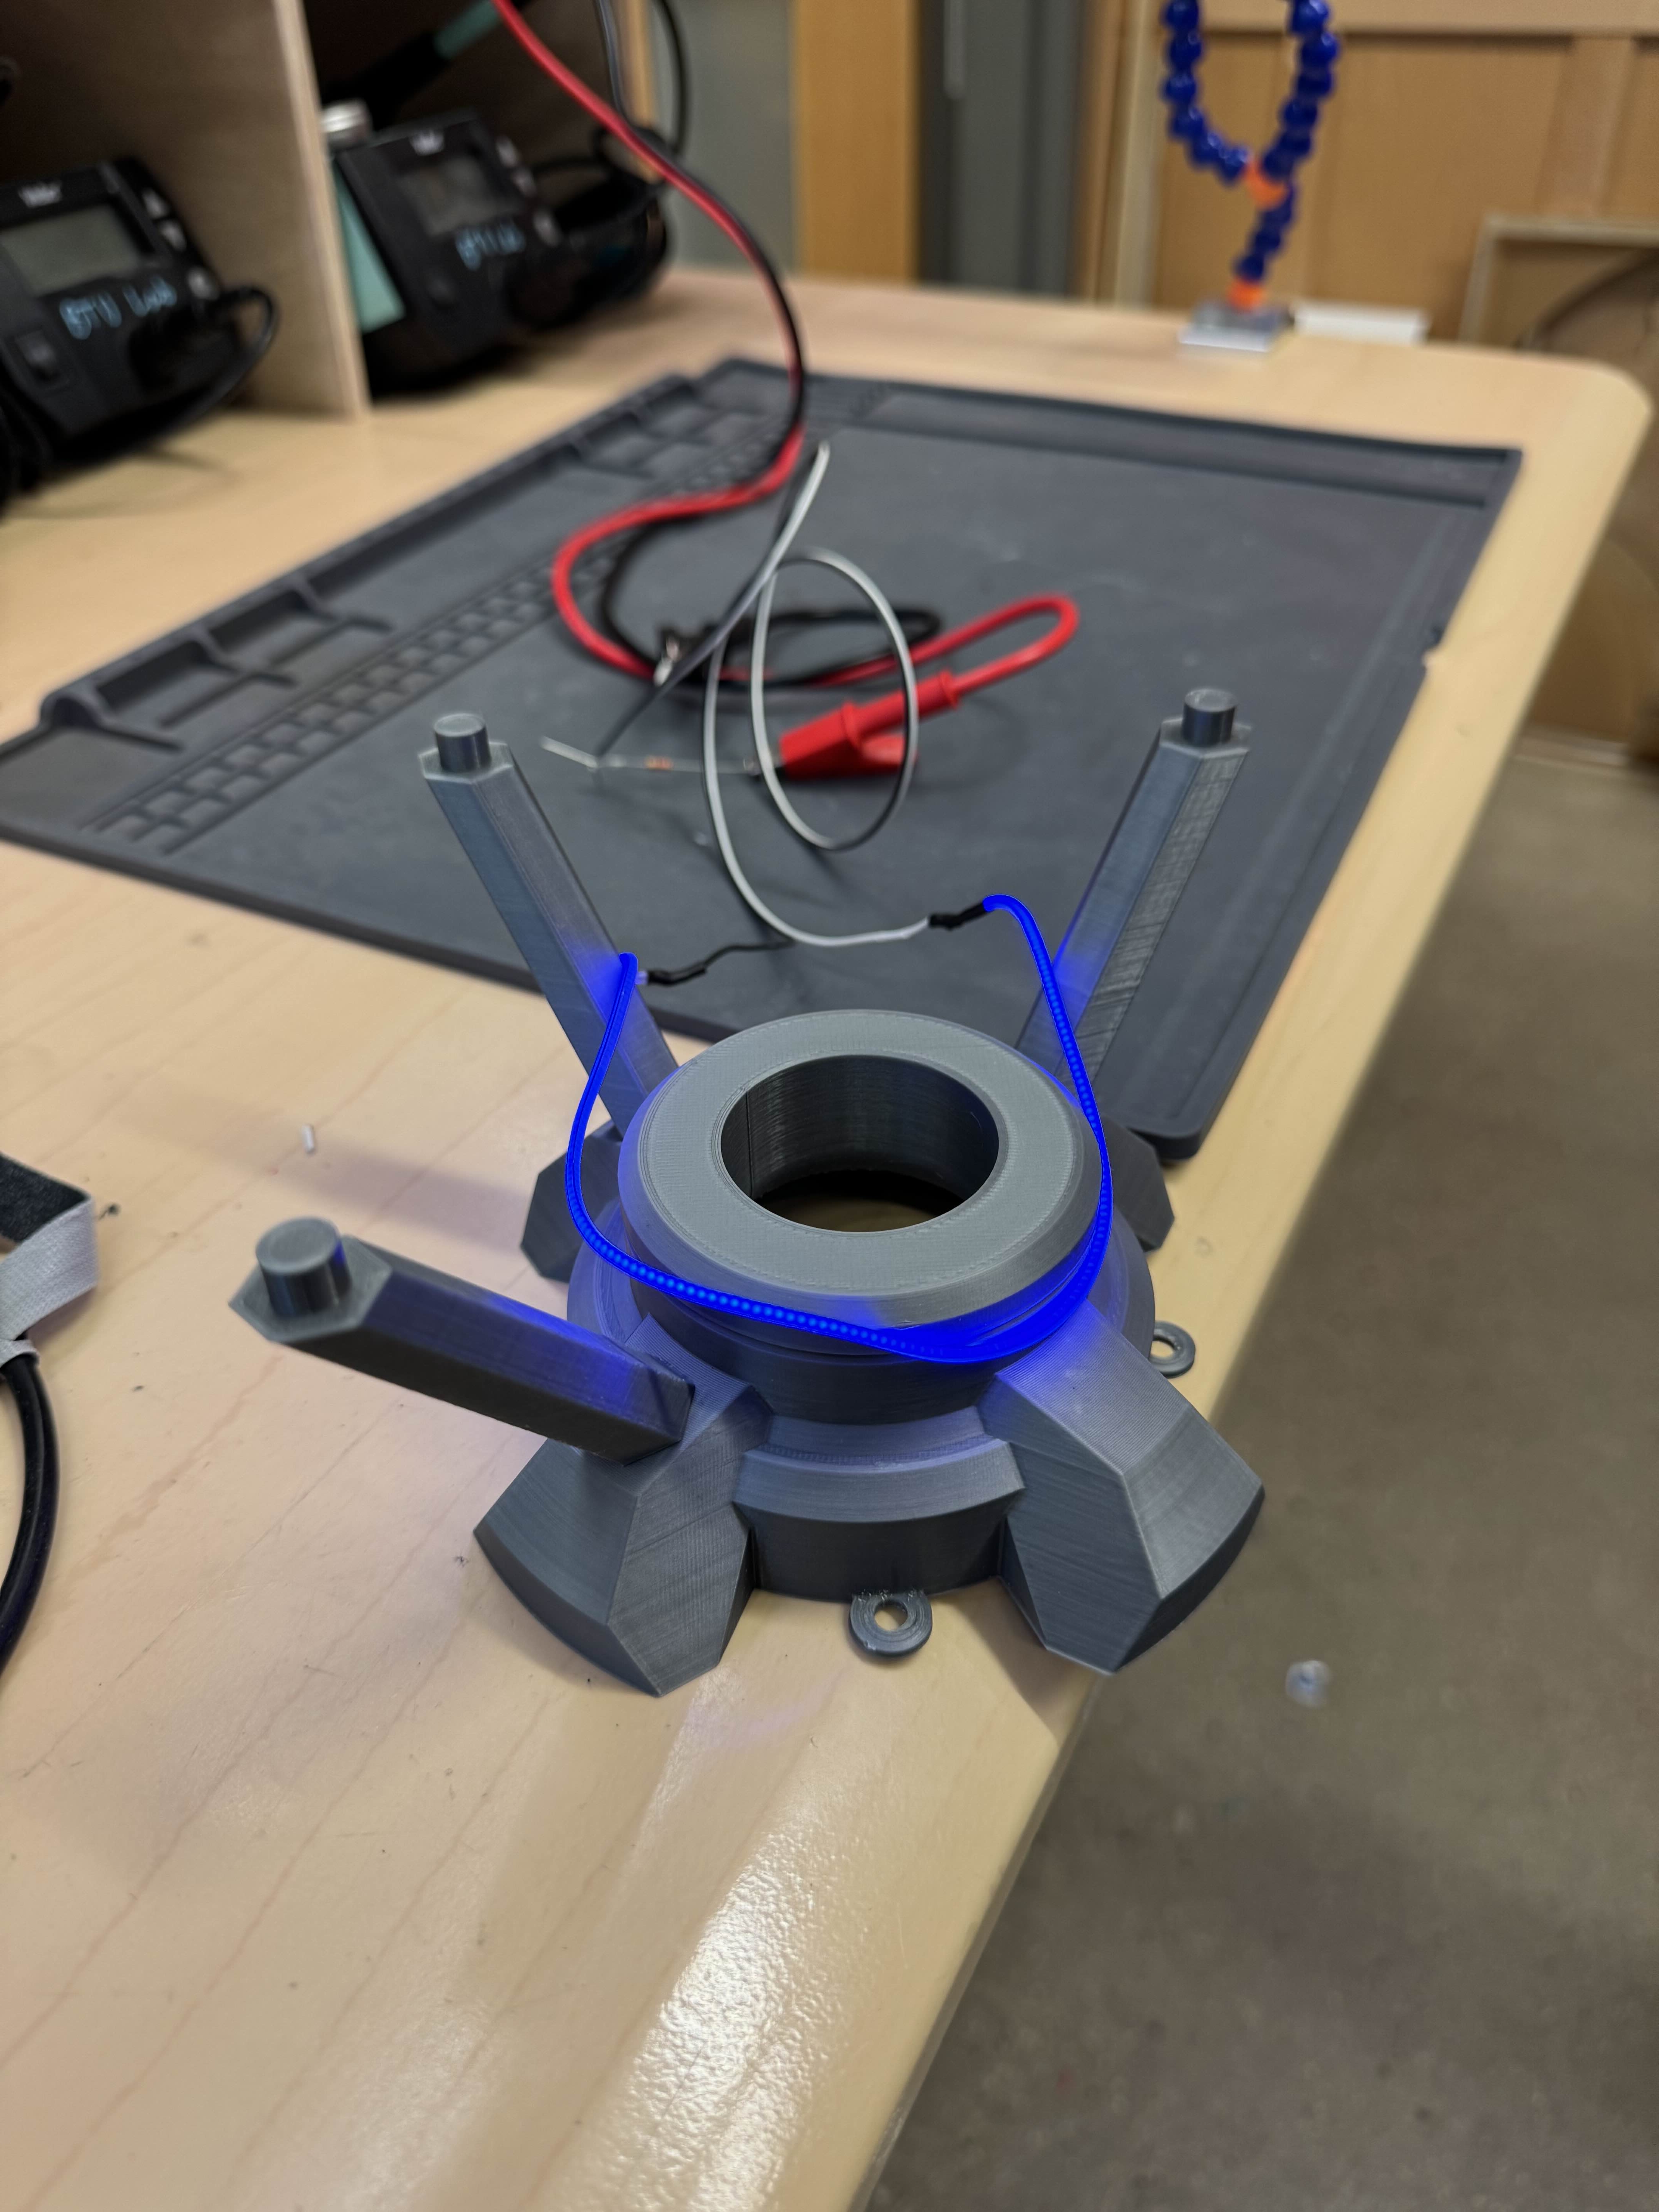
Then, I soldered and adhered the flexible LED into the 3D printed base of the lamp. I was able to get help from local electronics expert Shawn Hymel during the soldering process, as I hadn’t soldered anything, not to mention this advanced, in a few years.
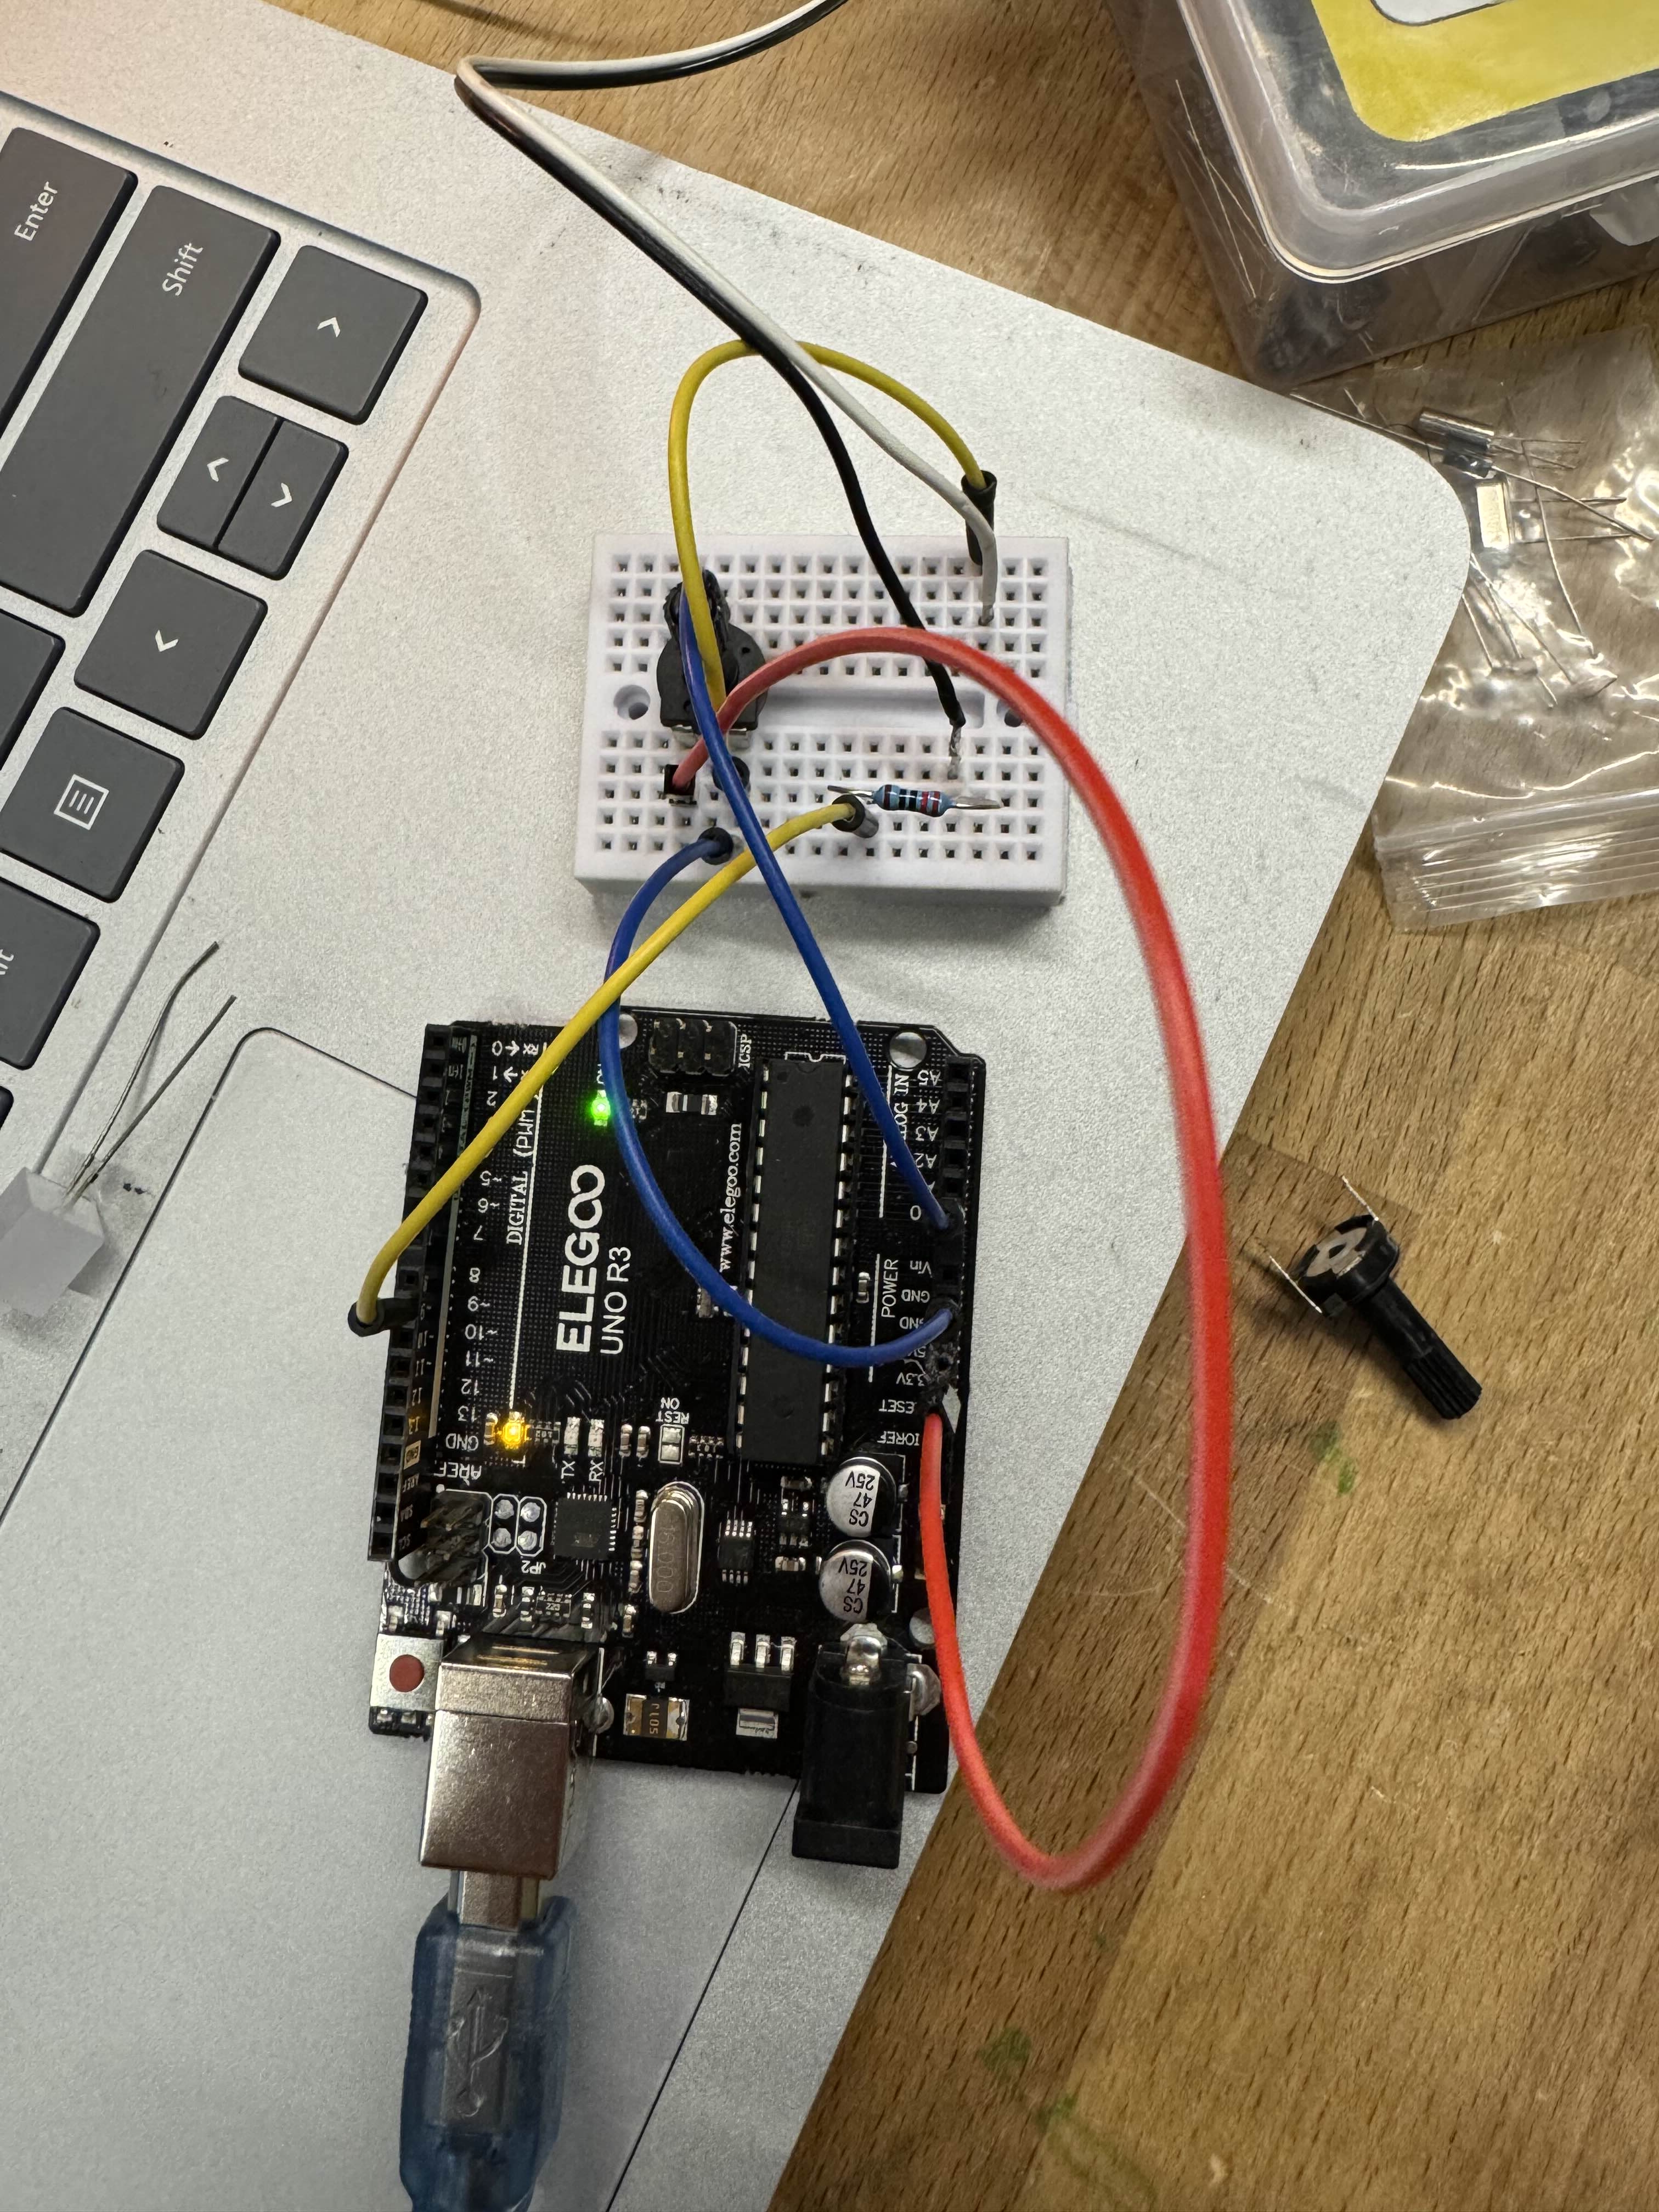
Next, with the help of student electronics expert Vani Chhay, I hooked up the LED to an Arduino running a pulsing LED code in order to achieve my desired pulse effect. As an added bonus, she helped me add in a dial that would allow me to control the brightness of the pulsing.
Then, all I had to do was screw the 3D printed base of the lamp into the wooden base, stack the rings using the interfaces I designed in CAD, and the lamp was done!
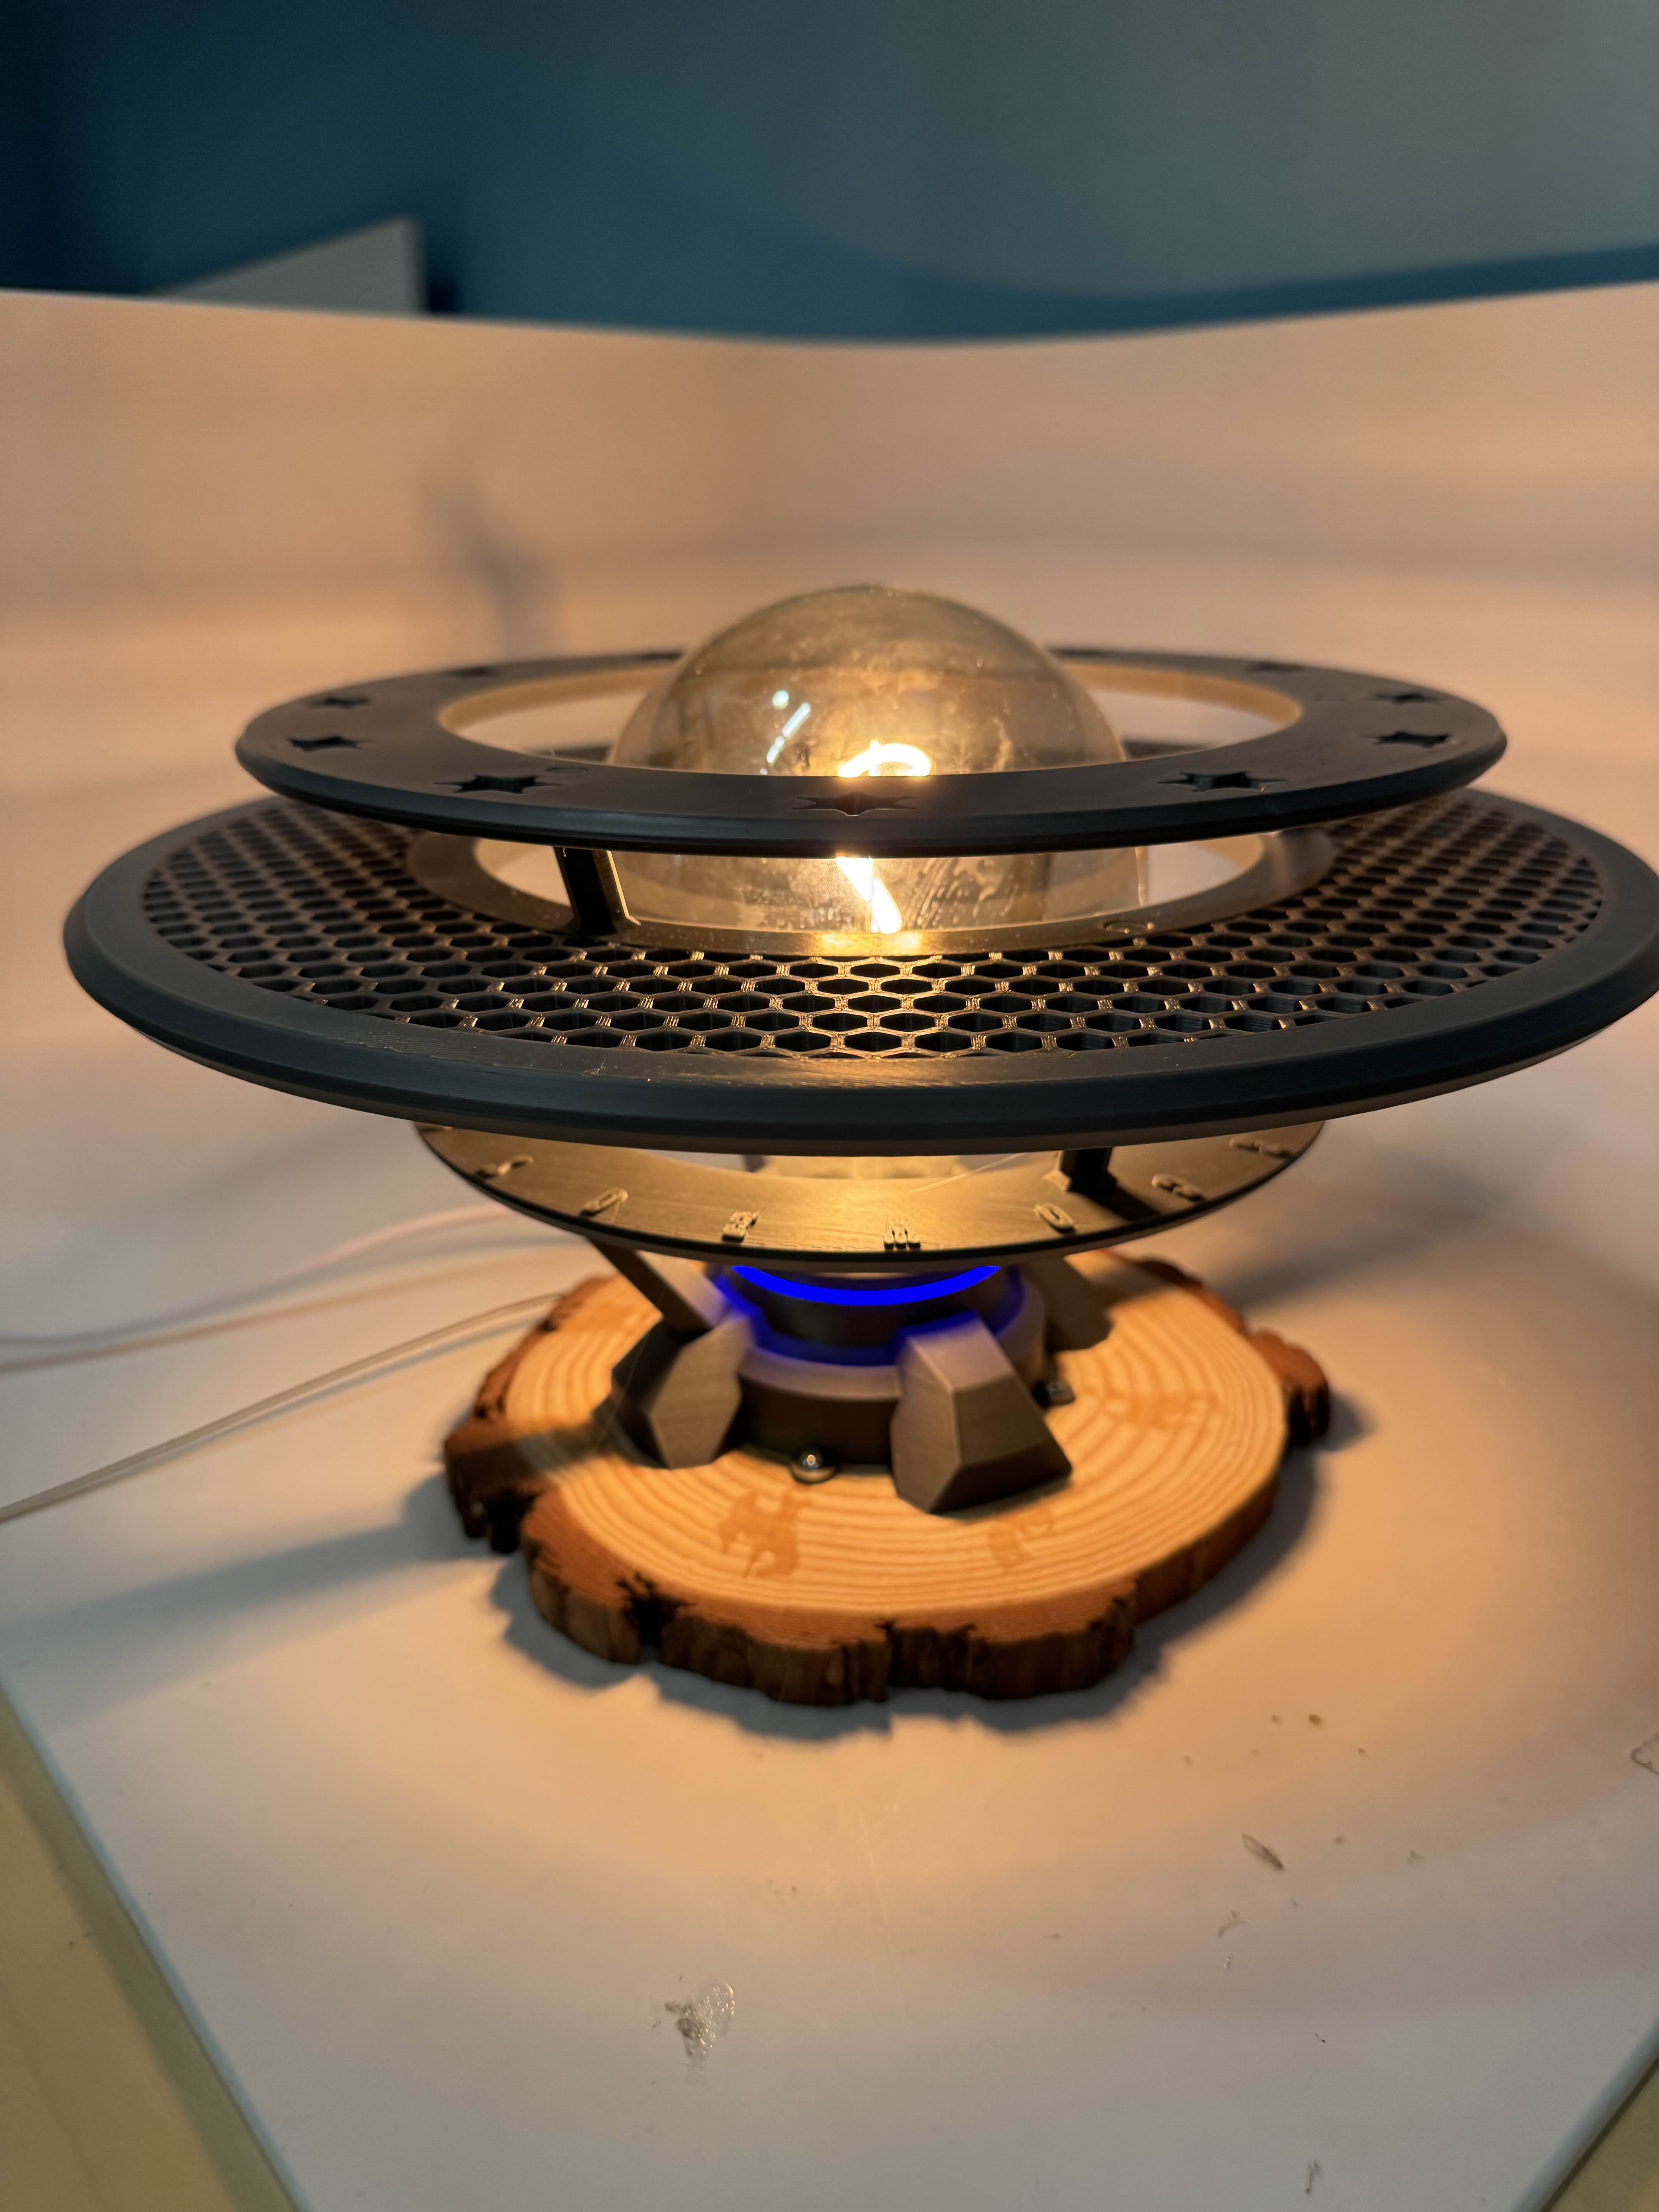
![]()
Conclusion:
Overall, this project turned out pretty much exactly how I wanted. Looking back to old sketches that I made of this lamp interface, I am very proud of how I was able to execute my initial design ideas and ideate to make them even more interesting. I am happy with how much I learned about woodworking and electronics, as these are fields that I was not quite as strong in going into this project. I’m very pleased with my ability to execute this design with my CAD and 3D printing skills, I believe I held myself to a good standard on those fronts. Looking back, I wish that I had spent more money on a better wooden round as the base of the lamp. The final rounds had bark missing and were all eccentric in some way, making it difficult to get the perfectly circular engraving design to line up.
As promised in my previous posts, this piece will live in my living room as a combination of mood lighting and a statement piece. I want people to get an idea of what I like and am capable of by looking at this lamp. I went into this project wanting to combine my love of sci-fi and the southwest, and I am happy with how I was able to deliver on that front. The angular, harsh designs that make up the base and middle ring contrast nicely with the warm and inviting shapes carved into the wood and embossed into the bottom and top rings. And, the warm light of the main Molnart Edison bulb juxtaposes nicely with the cool blue of the LED I ended up using. This piece is a combination of things that I love, and while it can be a harsh marriage, I am happy with how these two aesthetics came together in this final product.