
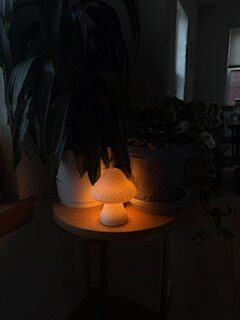
I am currently in the prototyping phase of the design. I have made a few iterations adding a couple of the design specifications at a time. In the first prototype shown below, I have made the basic shape of the design with routing of the electronics and the initial circuitry. I wanted to make a smaller, simplified version of the lamp just to get the circuitry figured out and gain an understanding of how the different elements would interact with each other. I also wanted to experiment with 3D printing and infill values to see if the light would glow through the material. This changes the design intent from the initial wood aesthetic but makes the lamp more functional as it is brighter. I still needed to implement the turning of the top of the lamp with the dimming of the light. In this iteration I include the potentiometer to turn adjust the light output, but it is not housed in the light. I only routed the power and ground cable of the mushroom through the stem and out through the base. This gave me a lot more freedom to experiment with electronics before integrating them into the system.
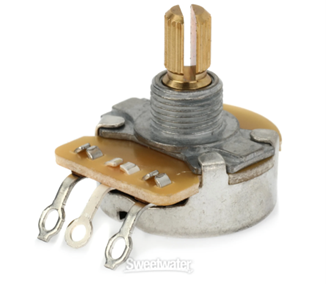
Potentiometer – Fender Pure Vintage 250k Split Shaft Potentiometer – Volume or Tone | Sweetwater
I was not sure if I needed to use a micro controller to light up the LED strip or not. The manufacturer recommends using a transistor or MOSFET and collect data from a potentiometer using an analog read function on an Arduino or other micro controller. They then recommend using PWM (pulse width modulation) to control the brightness of the LED strip. I figured I could just use a potentiometer instead of using a microcontroller to cut down on the electrical components and keep the budget as low as possible. I wasn’t sure if I would fry the circuitry after reading the manufacturers warning, so I purchased extra LED strips to experiment with. I am still using the simple circuit with power going directly through the potentiometer, and I have not had any issues yet. I am providing the system with more voltage than required, so I do have to be careful about how long I run the lamp to not overheat the LED strip. The potentiometer set up gives me a very limited range of functional resistance before it becomes too resistive, and the light is not visibly illuminated. With limited time and long lead times, I decided to continue with the simple circuit and focus on integrating the turning of the top of the lamp.
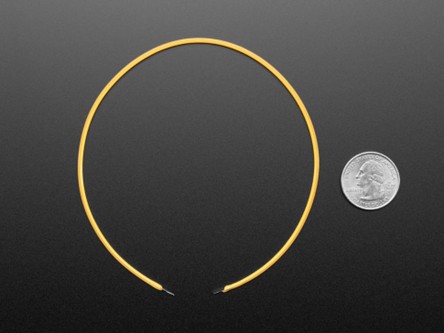
Flexible LED Filament – nOOds – Flexible LED Filament – 3V 300mm long – Red : ID 5506 : Adafruit Industries, Unique & fun DIY electronics and kits
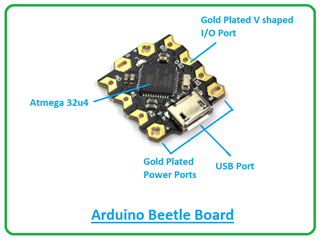
Micro Controller – Introduction to Arduino Beetle – The Engineering Projects
The Second prototype I made was significantly bigger. In the first iteration, the LED strip was longer than expected and I had to wrap the light twice around the underside of the mushroom. On the second iteration I made it much larger to accommodate the length. Then I incorporated the potentiometer in the center of the mushroom. I cut the mushroom top from the stem and used a press fit of the potentiometer for the connection. I included a guide rail for the top and bottom to make sure they were aligned concentrically, and had the wires pass under this guide. To keep the electronics in the center water resistant, I added an overhang on the edges of the mushroom top so any water would fall over the side before going into the interface with the electronics. It is not perfectly waterproof but should be waterproof enough to be resistant to water falling from above, like from a watering can. I then routed a channel for the power cables down though the base. I wanted to diffuse the light after the first design prototype as the light was very harsh. I included a bounce, so the light reflects off the top of the mushroom before being diffused down. This worked very well but the lower range of power was hardly noticeable. The lamp is already very dim when in its lowest setting and does not have a large range of lighting due to the potentiometer being very resistive. In the future I would use a MOSFET like the manufacturer recommends creating a larger effective range in potentiometer strength.

Initial Prototype
Aside from the electrical improvements, I am very happy with how it has turned out aesthetically. I think I successfully captured the essence of a mushroom and met most of my specifications. The next step would be to use wood and clean up the electronics, but I’m very happy with the shape and overall functionality.
2 Comments. Leave new
Yo Jaks, this is such a fun and thoughtful build! Love how you’re balancing aesthetics with function, especially the light diffusion and water-resistant design details. The idea to eventually shift back to wood while keeping the improved electronics is a smart move. Would be cool to see a side-by-side of your two prototypes
Hey Jaks,
I think you did a great job at navigating the problems with your LEDs and potentiometer and I think that the initial prototype looks awesome. How are you going to incorporate the potentiometer and power source into your final design?