

INTRODUCTION:
For my final project, I decided to make a bucket hat with denim patches because I want to make a bucket hat that complements my face shape and something that I know blends in with all my different outfits for that quick and effortless look. If you want to learn more about my vision, feel free to take a look at my Post 11 Blog!
GETTING MATERIALS:
I decided to get my materials from a local art thrift store called Art Parts. I’ve seen some good fabric from them when I was shopping for materials for my Upcycle project so I decided to come back and grab fabric here. Other than the fabric, I bought thread and needles since I needed a lot for this project. To my surprise, I spent a total of $6 on all my materials which definitely hit my money constraints.
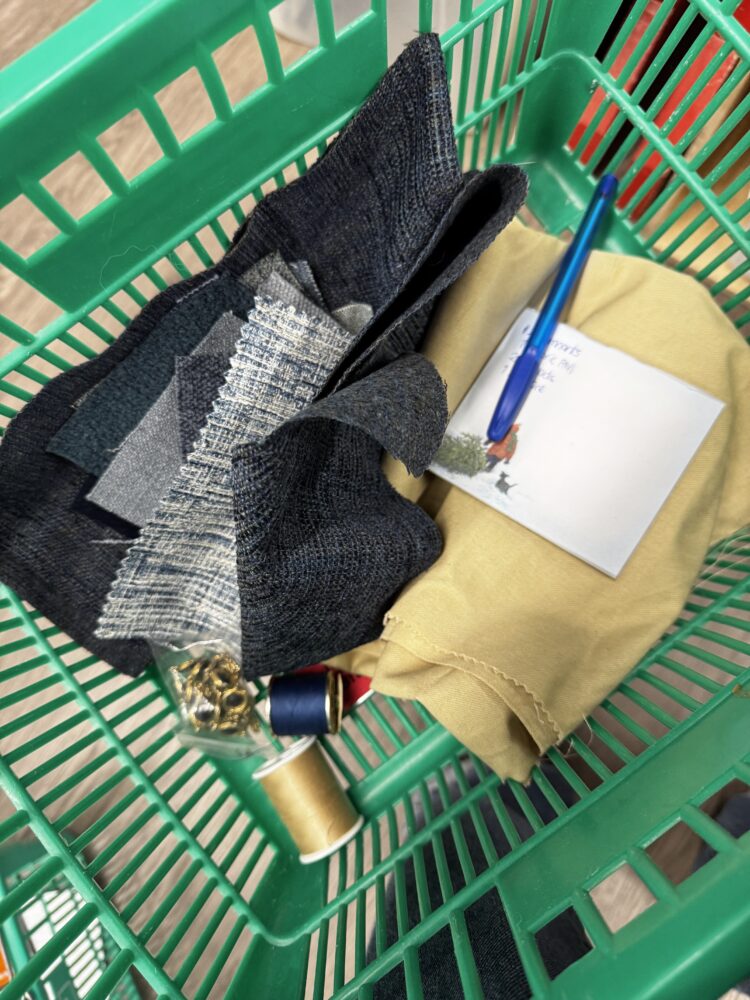
WHAT LED TO THE DESIGN CHANGE:
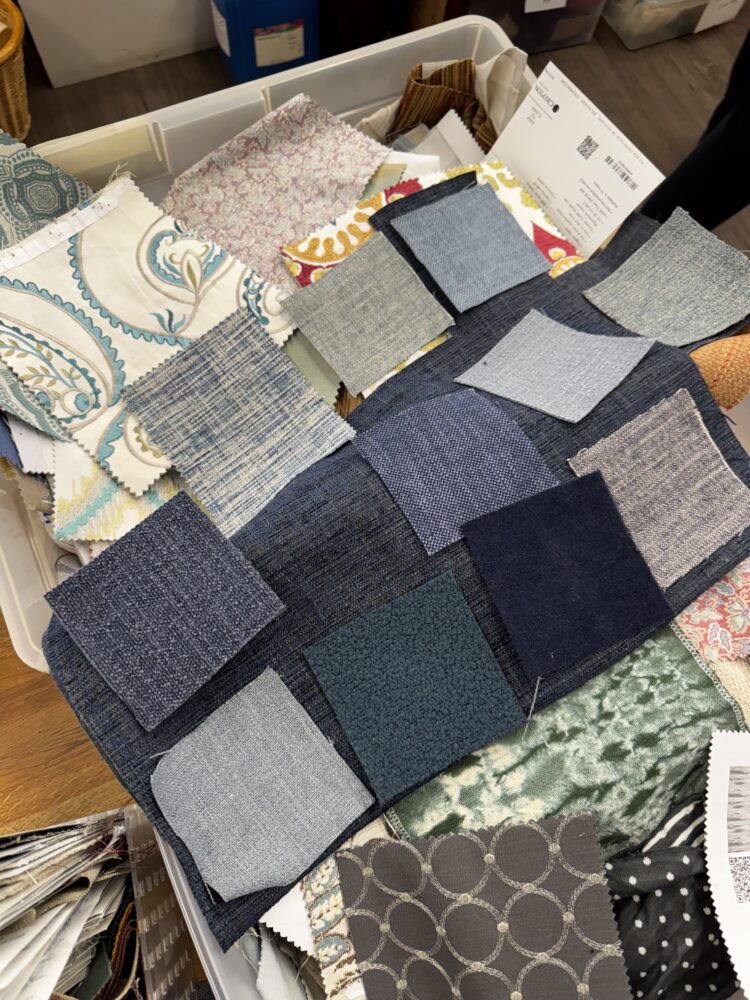
I experienced a sudden design change while shopping for all my materials. My initial plan was to make a solid navy blue bucket hat so I looking for a fabric with the perfect shade of navy blue that matched my hair color. I was set on a navy blue fabric choices but I look over behind me and I saw a box filled with fabric remnants. I took a look at it to see if they had some navy blue shades but they didn’t have any when I looked. What they had though were a bunch of denim patches with a variety of shades and that how I got the idea of making a bucket hat with denim patches. I completely scratched my navy blue bucket hat idea, returned the navy blue fabric I had in my basket, and went on to start choosing which patches fits best. I think this change was me deciding on leaning towards an aesthetic I am comfortable with which is Denim.
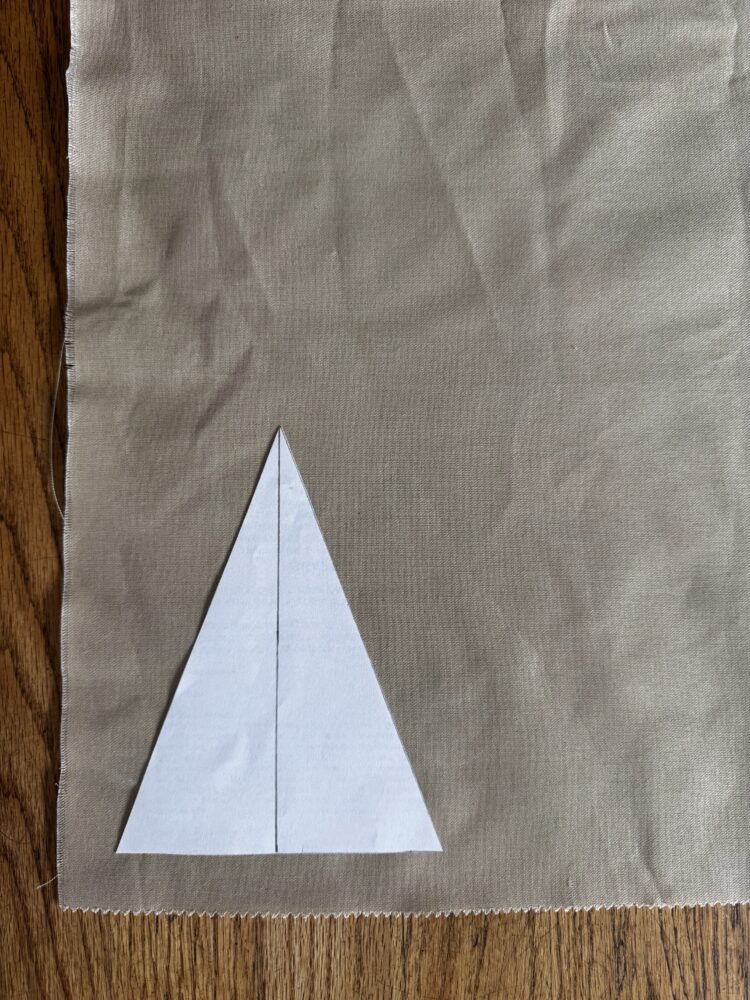
Another scenario that led to my design change was losing so much beige fabric from my first trial run. I had a pattern set for the round top bucket hat with all my measurements. The pattern was cutting 12 triangles with a base length of 6.5 inches with a height of 5 inches. Each triangle has to be sewn to another triangle for more structure and then each triangle will be sewn to each other to form a ‘circular dome’ to fit the head.
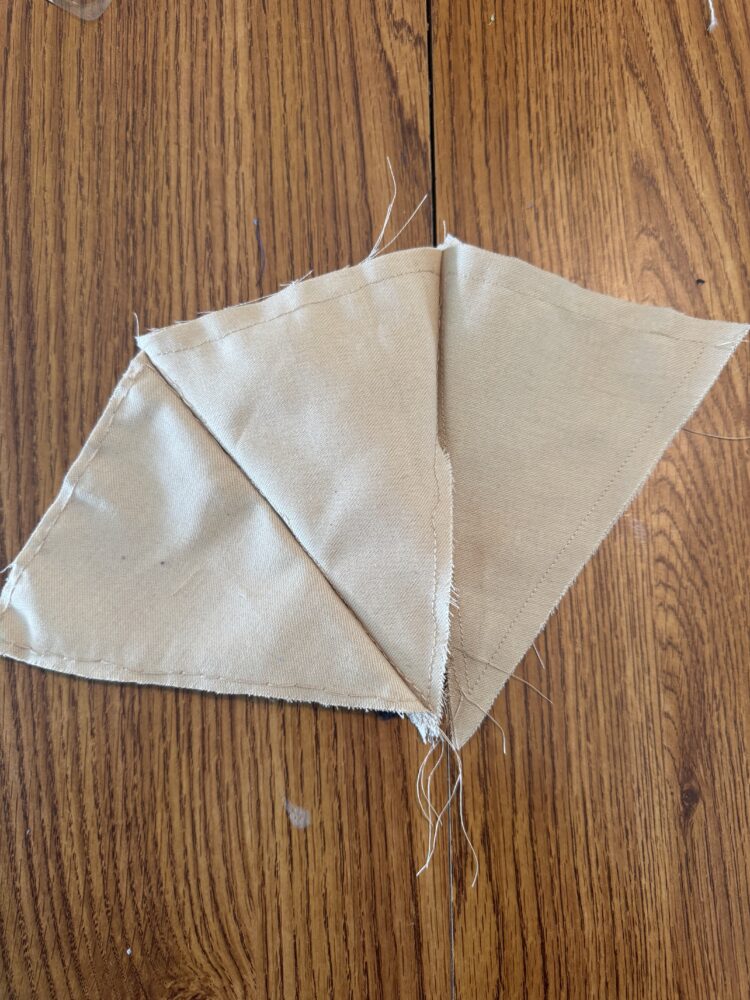
I struggle a lot with getting the threads to sew in a straight line, making sure each fabric is lined up nicely and are equal in size. One of them got stained so I had to throw that away too. This design turned out to be too complicated for my limited sewing machine skills so to save time and fabric, I decided not to continue that pattern.
LEARNING A NEW SKILL:
Other than wanting to make a hat, I also wanted to challenge myself by re-learning how to use the sewing machine. I have a sewing machine of my own but I haven’t got a chance to use it in a while, so my sewing skills were really rusty before making this project. Lucky enough my roommate, Elsa, knew how to use the sewing machine so she guided me a lot on how to use it. I experienced a few struggles while using the sewing machine, first was threading the whole thread through the needle. In the sewing machine I have, there are arrows directing you where to loop around the thread to reach the needle. I was really confused in the beginning but Elsa guided me through it which really helped me see the areas to loop it at so that it doesn’t fall. Another struggle I had was getting the bobbin thread to go with the needle thread. Whenever I push the pedal to get it up, I always ended up knotting it so it looked so chaotic in the bottom and the bobbin thread is now everywhere in my sewing machine. Last one for me was applying the perfect pressure to the pedal. Funny enough this was a big struggle for me especially in the beginning because the speed of it always surprised me, that’s why there have been moments wherein my threads were not straight. Overall, I had a fun time re-learning a new skill. I really love fashion so knowing how to use the sewing machine allows me to expand my creativity and express my love for fashion in the future!
FABRICATION:
PATTERN
- Youtube suggested the ABC Pattern Method
- This pattern is divided into 3 parts
- A – Top Crown, B – Band, C – Brim
-
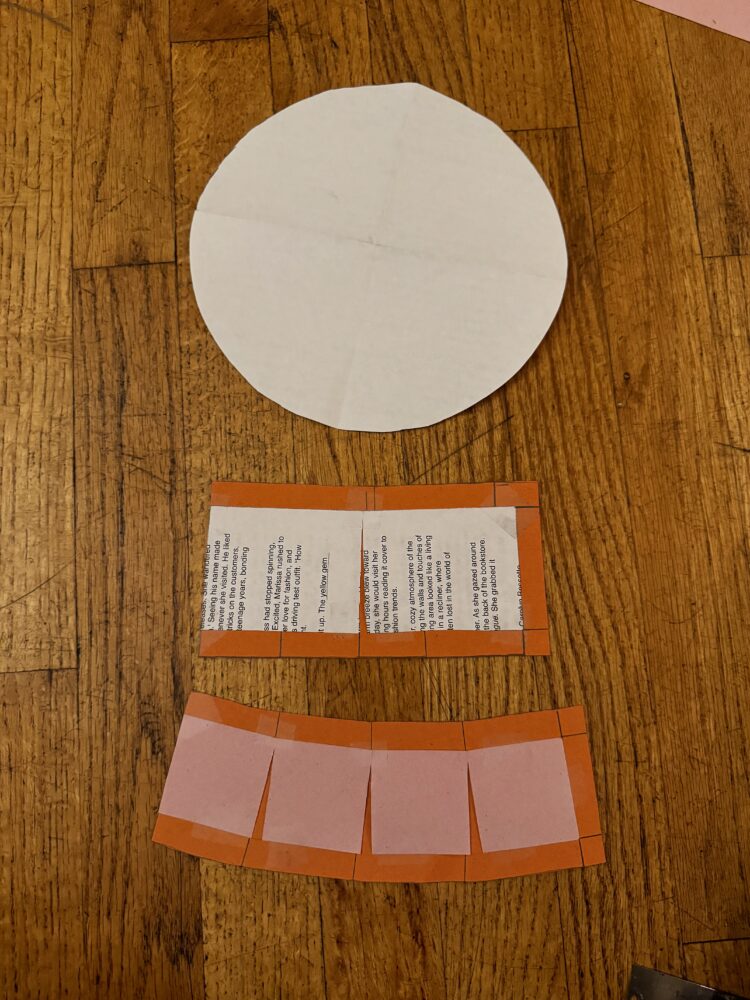
Figure 5: Final cut outs. From Top to Bottom (A,B,C)
- MEASUREMENTS
- Measure circumference of my head = 22 inches
- Measure height of desired crown = 2.5 inches
- Measure height of brim = 2 inches
- I made cut outs for each 3 patterns using paper to help with tracing the pattern on the fabric
CUTTING
- I used my 20×20 denim fabric as my base fabric
- I ended up with 1 top layer, 4 pieces for my band, and 4 pieces for my brim
DESIGNING
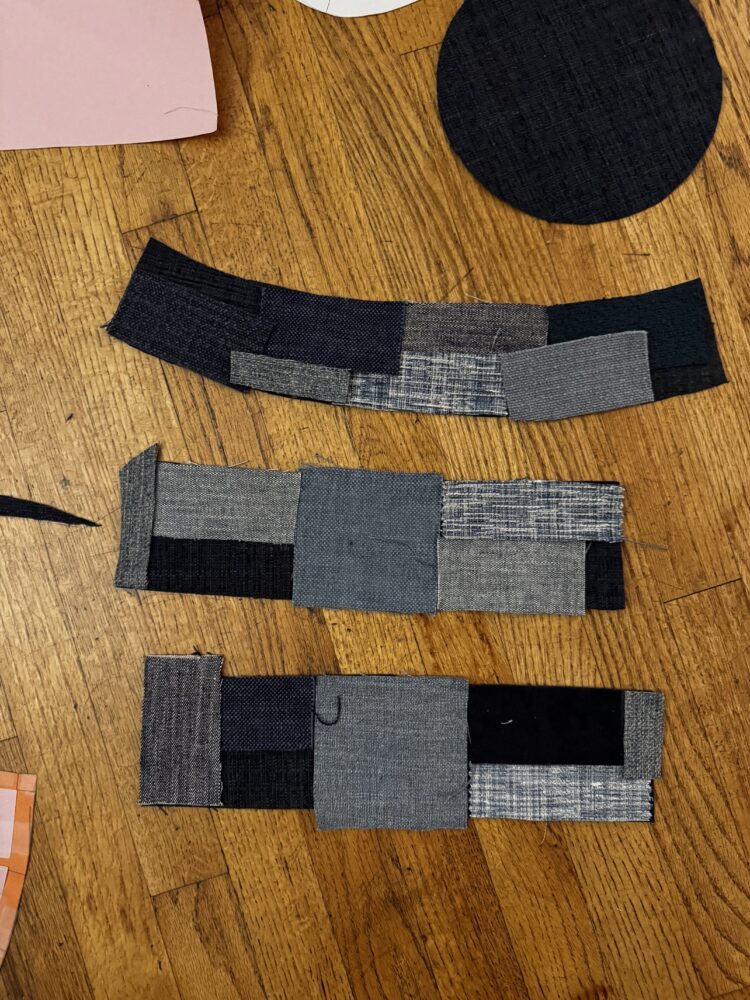
- After cutting the fabric, I went on place the denim patches together
SEWING
- Using a sewing machine, I sewed all the denim patches first
- Then I went on and sewed the band pieces together
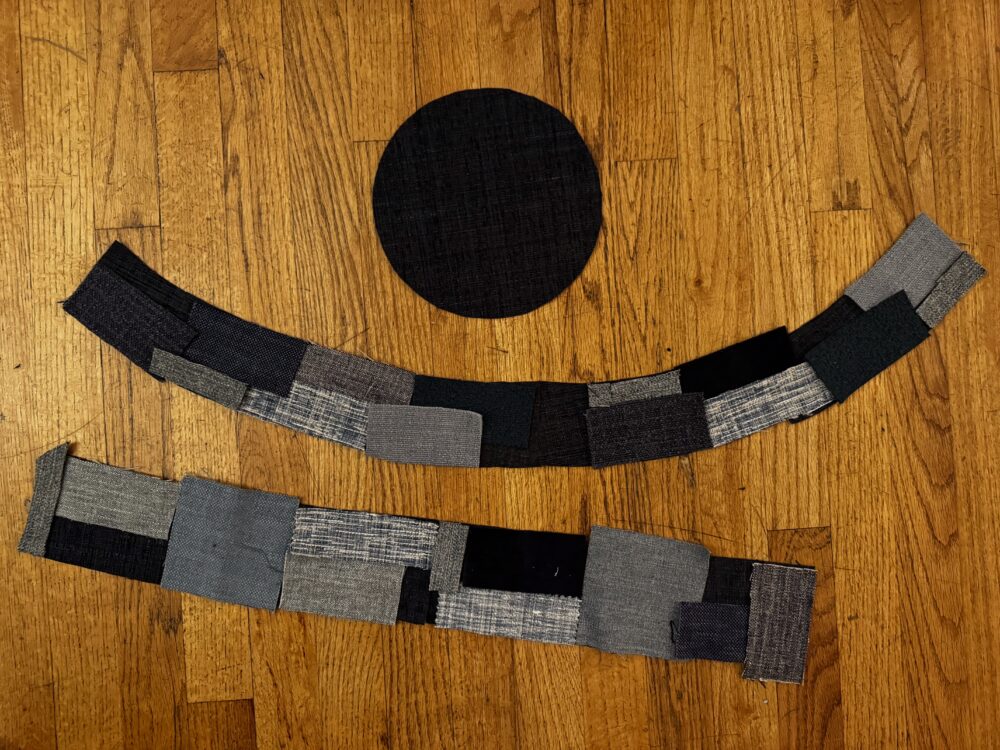
Figure 7: Brim and Band are sewn together
- I sewed the band the the top piece
- The lastly I sewed the brim to the band
END RESULT:
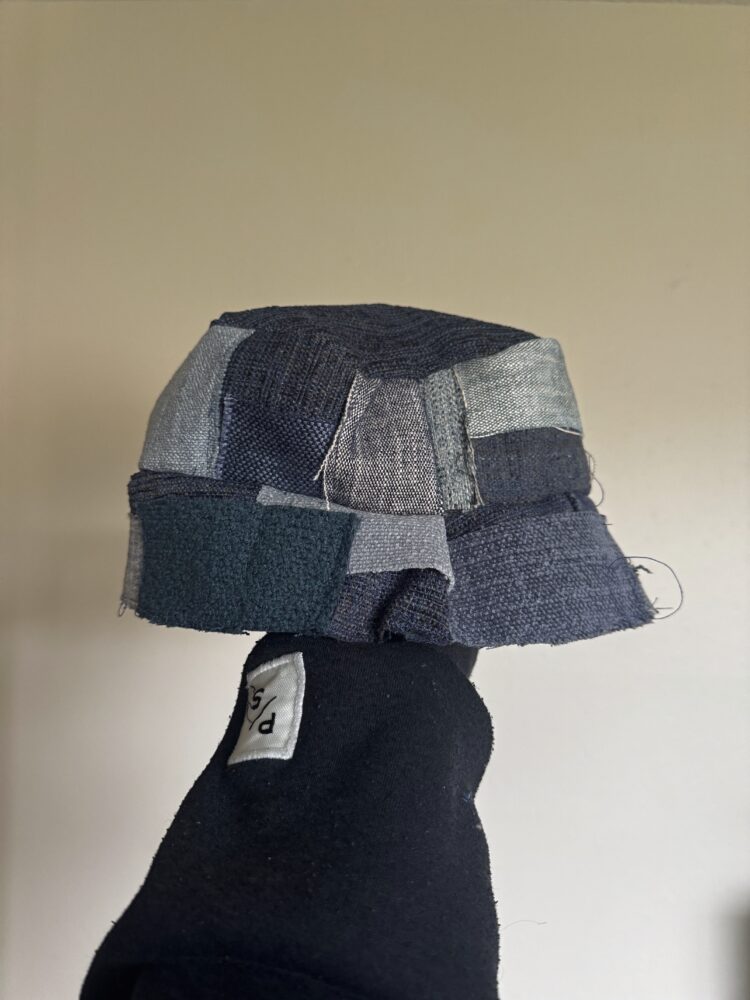
Personally, I was amazed by the turn around of my bucket hat. The length is perfect, I still get to see my surroundings, which was my main concern with bucket hats, There were a few things that I had to consider before ending with the final product. First was to keep the ends distressed. I decided to keep it that way because it reminded me of how the 90’s wore their denim pieces which is also an era where denim expanded their usage in clothing. Second was to continue the flipped side, which would be the denim side, I decided not to because each of the patches has their own personality and each side gives you a different look, feel, and structure that changes the way the hat looks on you. Overall I had a fun time making this hat, getting my creative side working, and gaining a new skill which is sewing.
REFLECTION:
I’m glad that I decided to go with the denim aesthetic for my bucket hat. Tried it on with various outfits that I wear and they really match well. They also fit my personal aesthetic which is ‘Bold Minimalism’ every time I wear my hat, it definitely becomes the focal point of my whole outfit. I’m excited to wear my bucket hat around especially now that summer is coming soon!