
Final Project Report Part 2: How
Project Timeline Overview
To complete my vintage sports-themed framed picture with integrated LED backlighting, I went through several phases, including research, skill development, material acquisition, design iteration, and fabrication. The following timeline breaks down the key stages, which can also be seen below in image [2]:
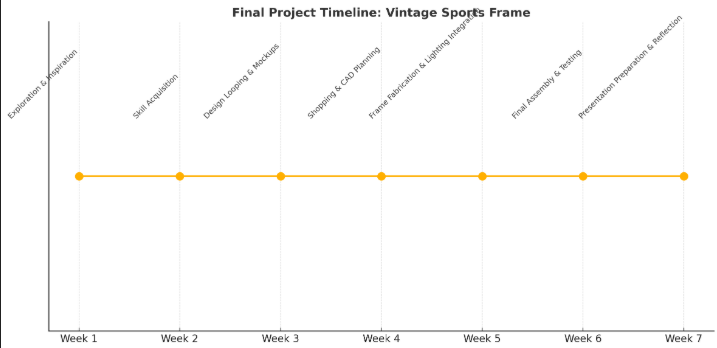
- Week 1: Exploration & Inspiration
Researched vintage sports aesthetics, retro signage, and illuminated artwork for framing ideas. Developed project concept and aesthetic direction. - Week 2: Skill Acquisition
Practiced LED installation techniques and frame treatment methods. Learned how to integrate battery packs and test LED lighting strips. Also researched how to distress wood manually (I ended up not doing this with my frame due to time constraints). - Week 3: Design Looping & Mockups
Created initial sketches and physical mockups. Edited image in Canva to include vintage filters and a custom quote. - Week 4: Shopping & CAD Planning
Ordered frame, LED kit, satin-finish print, battery housing, felt, and other supplies. Designed basic CAD layout of frame and internal features for planning. - Week 5: Frame Fabrication & Lighting Integration
Constructed frame, routed inner LED housing, assembled LED components, and mounted battery pack. - Week 6: Final Assembly & Testing
Inserted printed image, tested lighting colors and brightness, and refined aesthetic touches. I took final photos and began documentation. - Week 7: Presentation Preparation & Reflection
Wrote reports, created presentation slides to present to my pod mates, collected media, and reflected on the aesthetic and fabrication process.
Detailed Fabrication Process
The fabrication process involved a careful combination of physical construction, electronic integration, and artistic finishing. I broke this process down into six major stages:
- Frame Construction
- Began with a wooden shadowbox frame sized to 11 x 14 inches.
- Routed a groove on the inner perimeter to house the LED strip.
- Lightly sanded and softened all corners to ensure a smooth finish and consistent texture.
While I originally planned to distress the wood to enhance the vintage aesthetic, I ultimately chose to keep the natural wood appearance intact. The frame already looked rustic enough to achieve the vintage aesthetic, so I chose to put more effort into other tasks of the project. I found that the clean lines and warm tone of the natural wood already complemented the image well, and preserving its original surface helped maintain structural consistency. The matte finish ensured that there was no unwanted gloss or glare when combined with the lighting effects.
- Artwork Preparation and Background Assembly
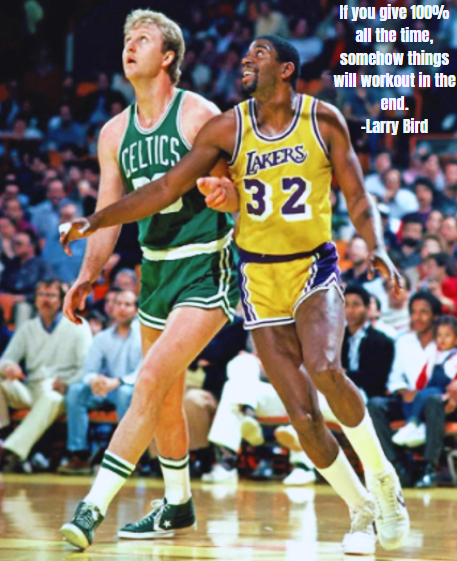
- Selected an old vintage sports photograph taken of Larry Bird and Magic Johnson, two NBA legends. This image can be seen above in image [3].
- Edited the image in Canva to add a sepia tone and integrate a motivational quote in a bold, blocky font reminiscent of old stadium signage.
- Ordered the final print on satin-finish photo paper to avoid glare while maintaining sharpness.
- Built the inner backing using a combination of styrofoam for structure and felt for texture. The felt created a soft, fabric-like border that mimics classic sports banners.
- Glued the felt onto the styrofoam and test-fit it into the frame with the printed image overlayed.
This stage was also critical to the aesthetic tone of the piece. The photo editing allowed me to blend the text and image in a way that felt authentic. I used texture overlays, such as light film grain, subtle paper creases, and tonal gradients, to give the image a slightly aged quality that worked well with the wooden frame.
- LED Strip Installation
- Measured the inner perimeter of the routed groove to cut the LED strip to the correct length.
- Cleaned the groove with isopropyl alcohol to ensure the adhesive would stick.
- Installed the LED strip along the groove, facing inward to reduce glare and create an even backlight.
- Connected the LED strip to the battery pack and tested functionality using the included remote.
- Tested color presets (warm white, amber, soft red) to match the vintage aesthetic.
The decision to use an inward-facing LED strip was made after testing a few different placements. When the LEDs were mounted facing outward, there was a harsh glare on the glass. By mounting them deeper within the routed groove and angling them inward toward the felt backing, I was able to diffuse the light gently around the perimeter of the image, maintaining the mood while avoiding hotspots.
- Battery Pack Integration
- Mounted a low-profile battery pack to the back of the frame using Velcro strips for easy access.
- Routed wires cleanly through a small channel in the back panel, secured with hidden clips.
- Ensured the IR sensor for the remote was accessible from the front without being obtrusive.
This part of the project was one of the more technical challenges. I had to ensure not only that the battery pack was accessible and discreet, but also that the wiring did not interfere with the hanging mechanism or cause unevenness when mounted on the wall.
- Final Assembly
- Carefully layered the felt backing, photo print, and front glass into the frame.
- Secured all components with internal framing clips.
- Conducted lighting tests under various ambient conditions to ensure aesthetic was achieved successfully.
The final assembly process required a lot of care. The satin-finish paper was delicate and could easily smudge or warp, so I had to be very careful when handling it. I also tested different LED brightness levels and color modes in natural daylight and dim lighting to make sure the overall effect was subtle and warm, regardless of the environment.
- Documentation
- Took high-quality photographs of the completed frame, both lit and unlit.
- Captured before-and-after images of the frame construction and finishing process.
In documenting the project, I aimed to reflect not only the technical aspects of the build but also the atmosphere the final piece creates. The photos focus on how the lighting changes the look of the artwork in different contexts, and the video provides a more immersive sense of the interactivity of the LED features.
Conclusion and Reflection
When I first envisioned this project, I wanted something that would honor the heritage of sports while offering a subtle, modern functionality. My initial plan was to build a simple backlit frame, but as I dove deeper into vintage aesthetics and experimented with materials, the vision became more refined.
Originally, I imagined using reclaimed wood and neon-style lighting, but I quickly realized that would distract from the nostalgic tone I was trying to achieve. The pivot to soft LED lighting and clean wooden framing helped me stay true to the aesthetic.
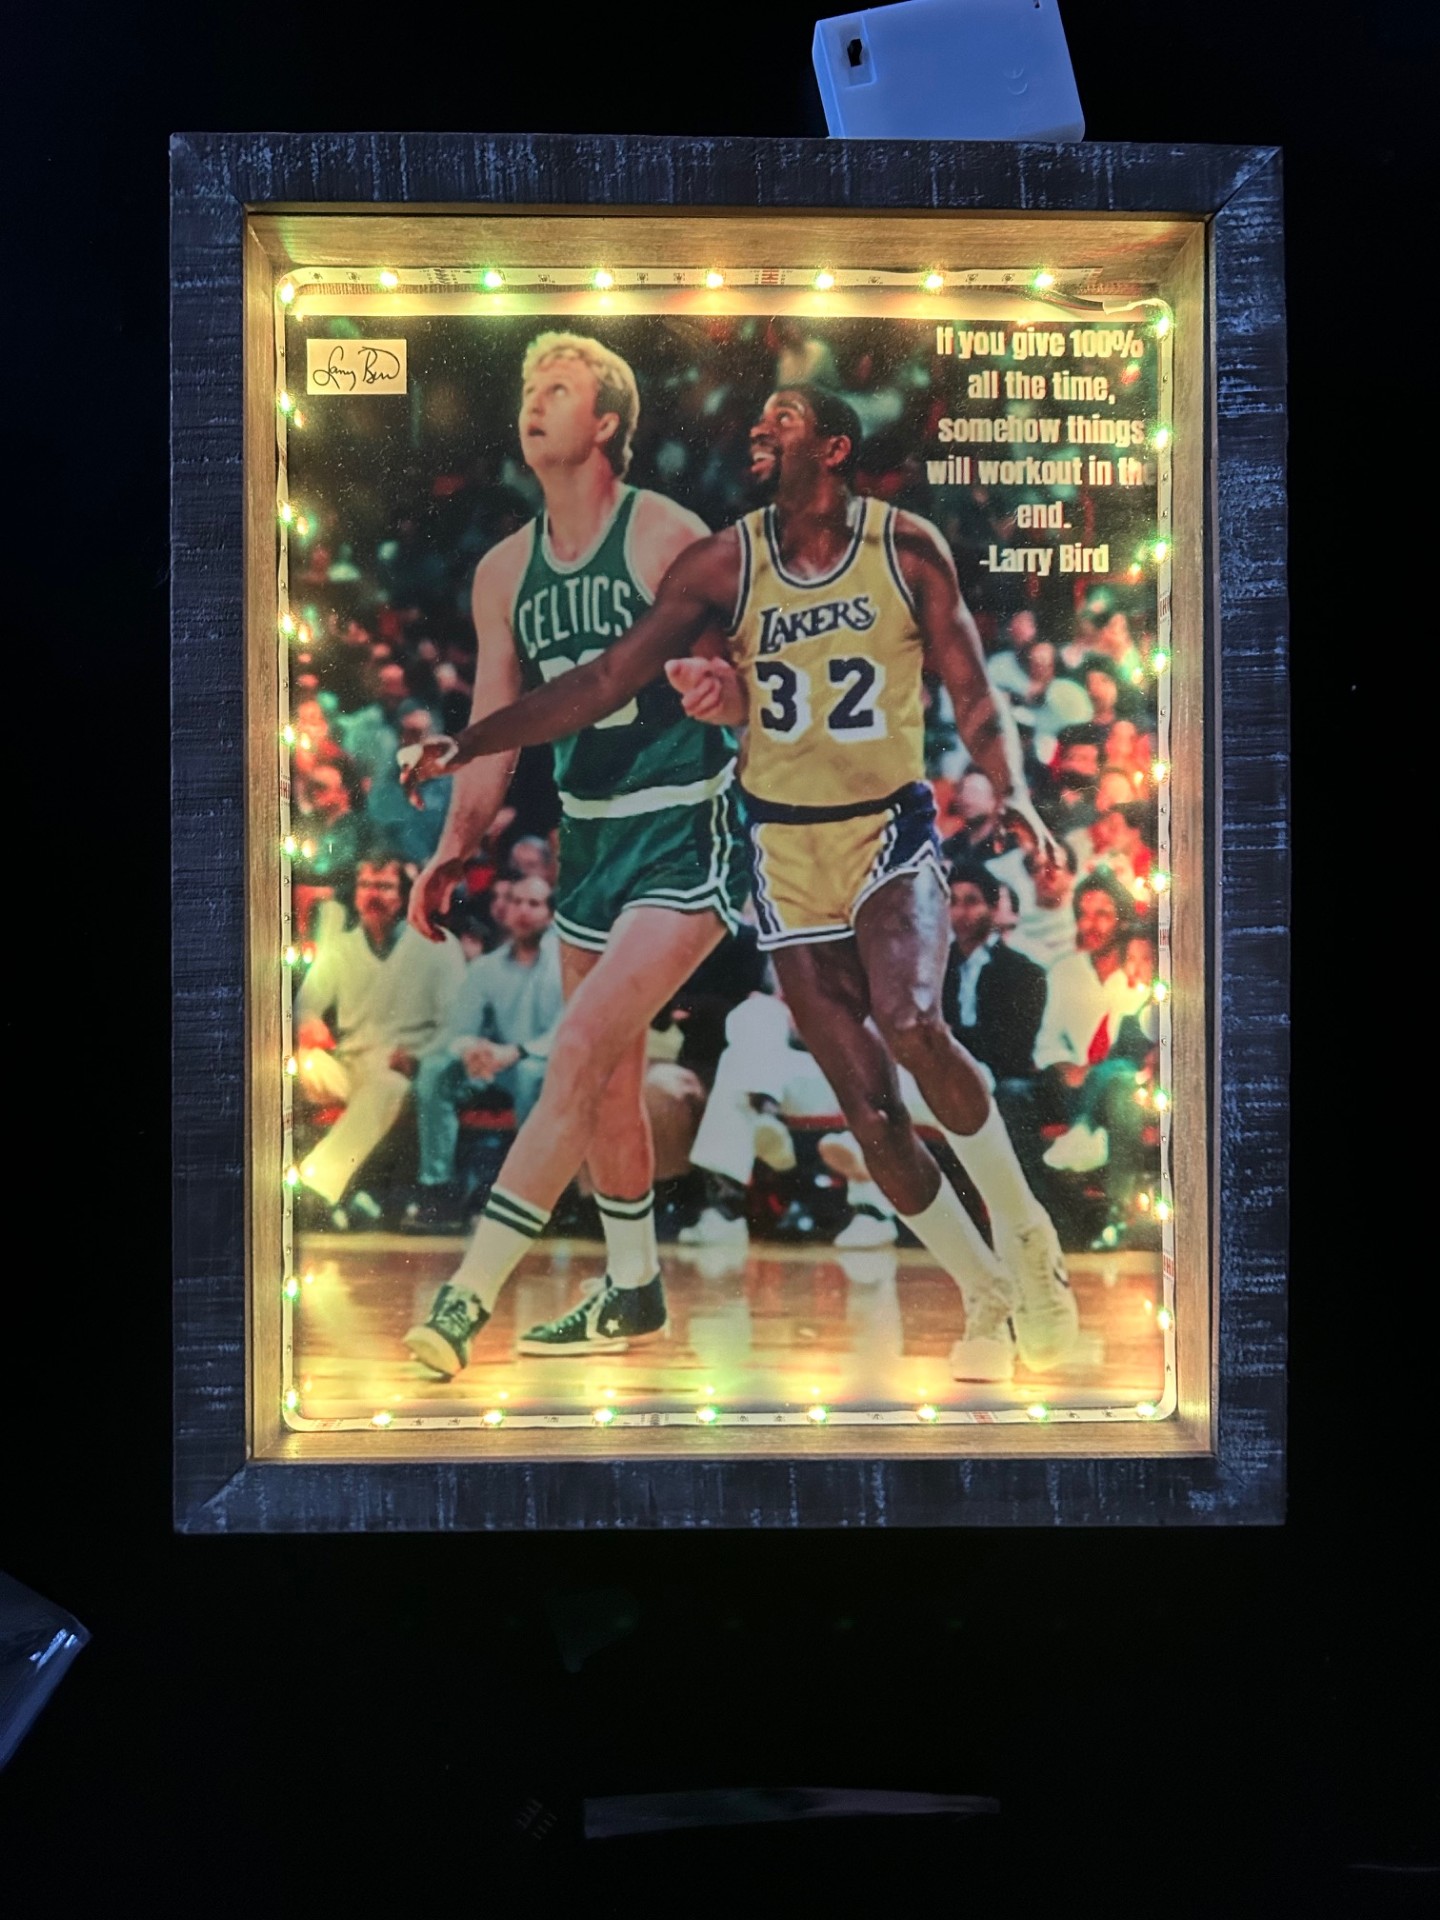
I am proud of how closely the final product aligns with my original vision. The piece has an intentional, curated feel; it looks vintage and meaningful, while offering just enough interactivity through the LED lighting. The subtle glow complements the image and makes the quote stand out without overwhelming the composition, which was my main goal for the lights.
If I were to change anything, I would spend more time experimenting with different frame materials. While the clean wood worked well, experimenting with painted finishes or more layered textures could provide alternate ways of expressing the vintage look. A variation of this design using reclaimed materials could create an entirely different mood while retaining the same form.
Additionally, I might add a secondary design feature, like a scoreboard-style digital clock mounted above the frame, to amplify the theme. I explored this late in the process and may still implement it post-presentation.
Another reflection is on the importance of balancing ambition with focus. There were moments when I considered adding dynamic lighting sequences or integrating a motion sensor, but I ultimately realized those would have pulled the project away from the vintage aesthetic I was aiming for. Simplicity became my strongest ally.
Going forward, I plan to hang the frame in my personal space or gift it to a friend who shares my passion for classic sports. It serves not just as art but as a nostalgic centerpiece, a functional tribute to athletic legacy, and one of my favorite sports teams (the Boston Celtics).
The project taught me that aesthetics can speak as loudly as function, and that successful design is often about restraint, knowing what to leave out as much as what to put in. The vintage sports framed picture is more than a design object to me; it represents my passion for Boston sports and the quote about always giving everything your all.
References
[1] Picture taken by me. [2] Timeline created by me. [3] Image created by me.