Dark Art Deco Lamp
Background & Historical Context
About Art Deco:
The use of “art deco” in hotels and touristy places. This style started to appear after World War I, but the big “boom” occurred in the 1920s and 1930s. This style embodies the feeling of over-the-top luxury. The first image shows how this style is used to convey a sense of luxury and grandeur. Alternatively, it has also been used to create psychological dissonance–the second image is from “American Horror Story: Hotel,” and the third is the elevator from “The Shining.”
Key characteristics:
- Bold and precise geometric patterns like zigzags, chevrons, and hexagons.
- Lavish metallic finishes that use shining metals like gold, silver, chrome, copper, and brass to convey luxury and a sense of wealth (shiny –> money).
- The use of suns and stars as motifs to symbolize things like inspiration and optimism.
Historical Context: When we think of the 1920’s-1930’s, we think of Flappers, Speakeasies, Jazz, and a big rise in consumerism. It was a symbol of the machine age and luxury, influenced by Cubism’s geometry, the bright colors of Fauvism, and the exotic styles of ancient Egypt and the Maya. Its influence has been lasting, with several revivals and modifications, including its use in horror.
The specific use of Art Deco in horror was greatly influenced by the Great Depression, as the glitz of the 1920’s was followed by the darkness of the Great Depression in the 1930’s. Pristine Art Deco rooms in horror films subconsciously symbolize all that was lost; it is the “beautiful, but wrong” aesthetic that is still applied across all horror films (think about it, nothing is ugly in these films unless it is intentional). For this application, we see different characteristics: the use of surfaces like marble, gold, mirrors, and polished wood to create an environment that is visually stunning but is cold and emotionally void. The geometry is now predatory, with sharp angles and vertical lines that mimic a cage–the architecture itself is hostile and anxiety inducing. We see “anachronistic stagnation,” which means something that is preserved in time, and it is stagnant (I think of stagnant water, something that is sitting and rotting). It is a visual signal that the location is dead and disconnected from the living world.
General Info: https://www.britannica.com/art/Art-Deco;
An article on its relevance to horror: https://www.kosmorama.org/en/kosmorama/artikler/art-nouveau-production-design-and-contemporary-horror-film;


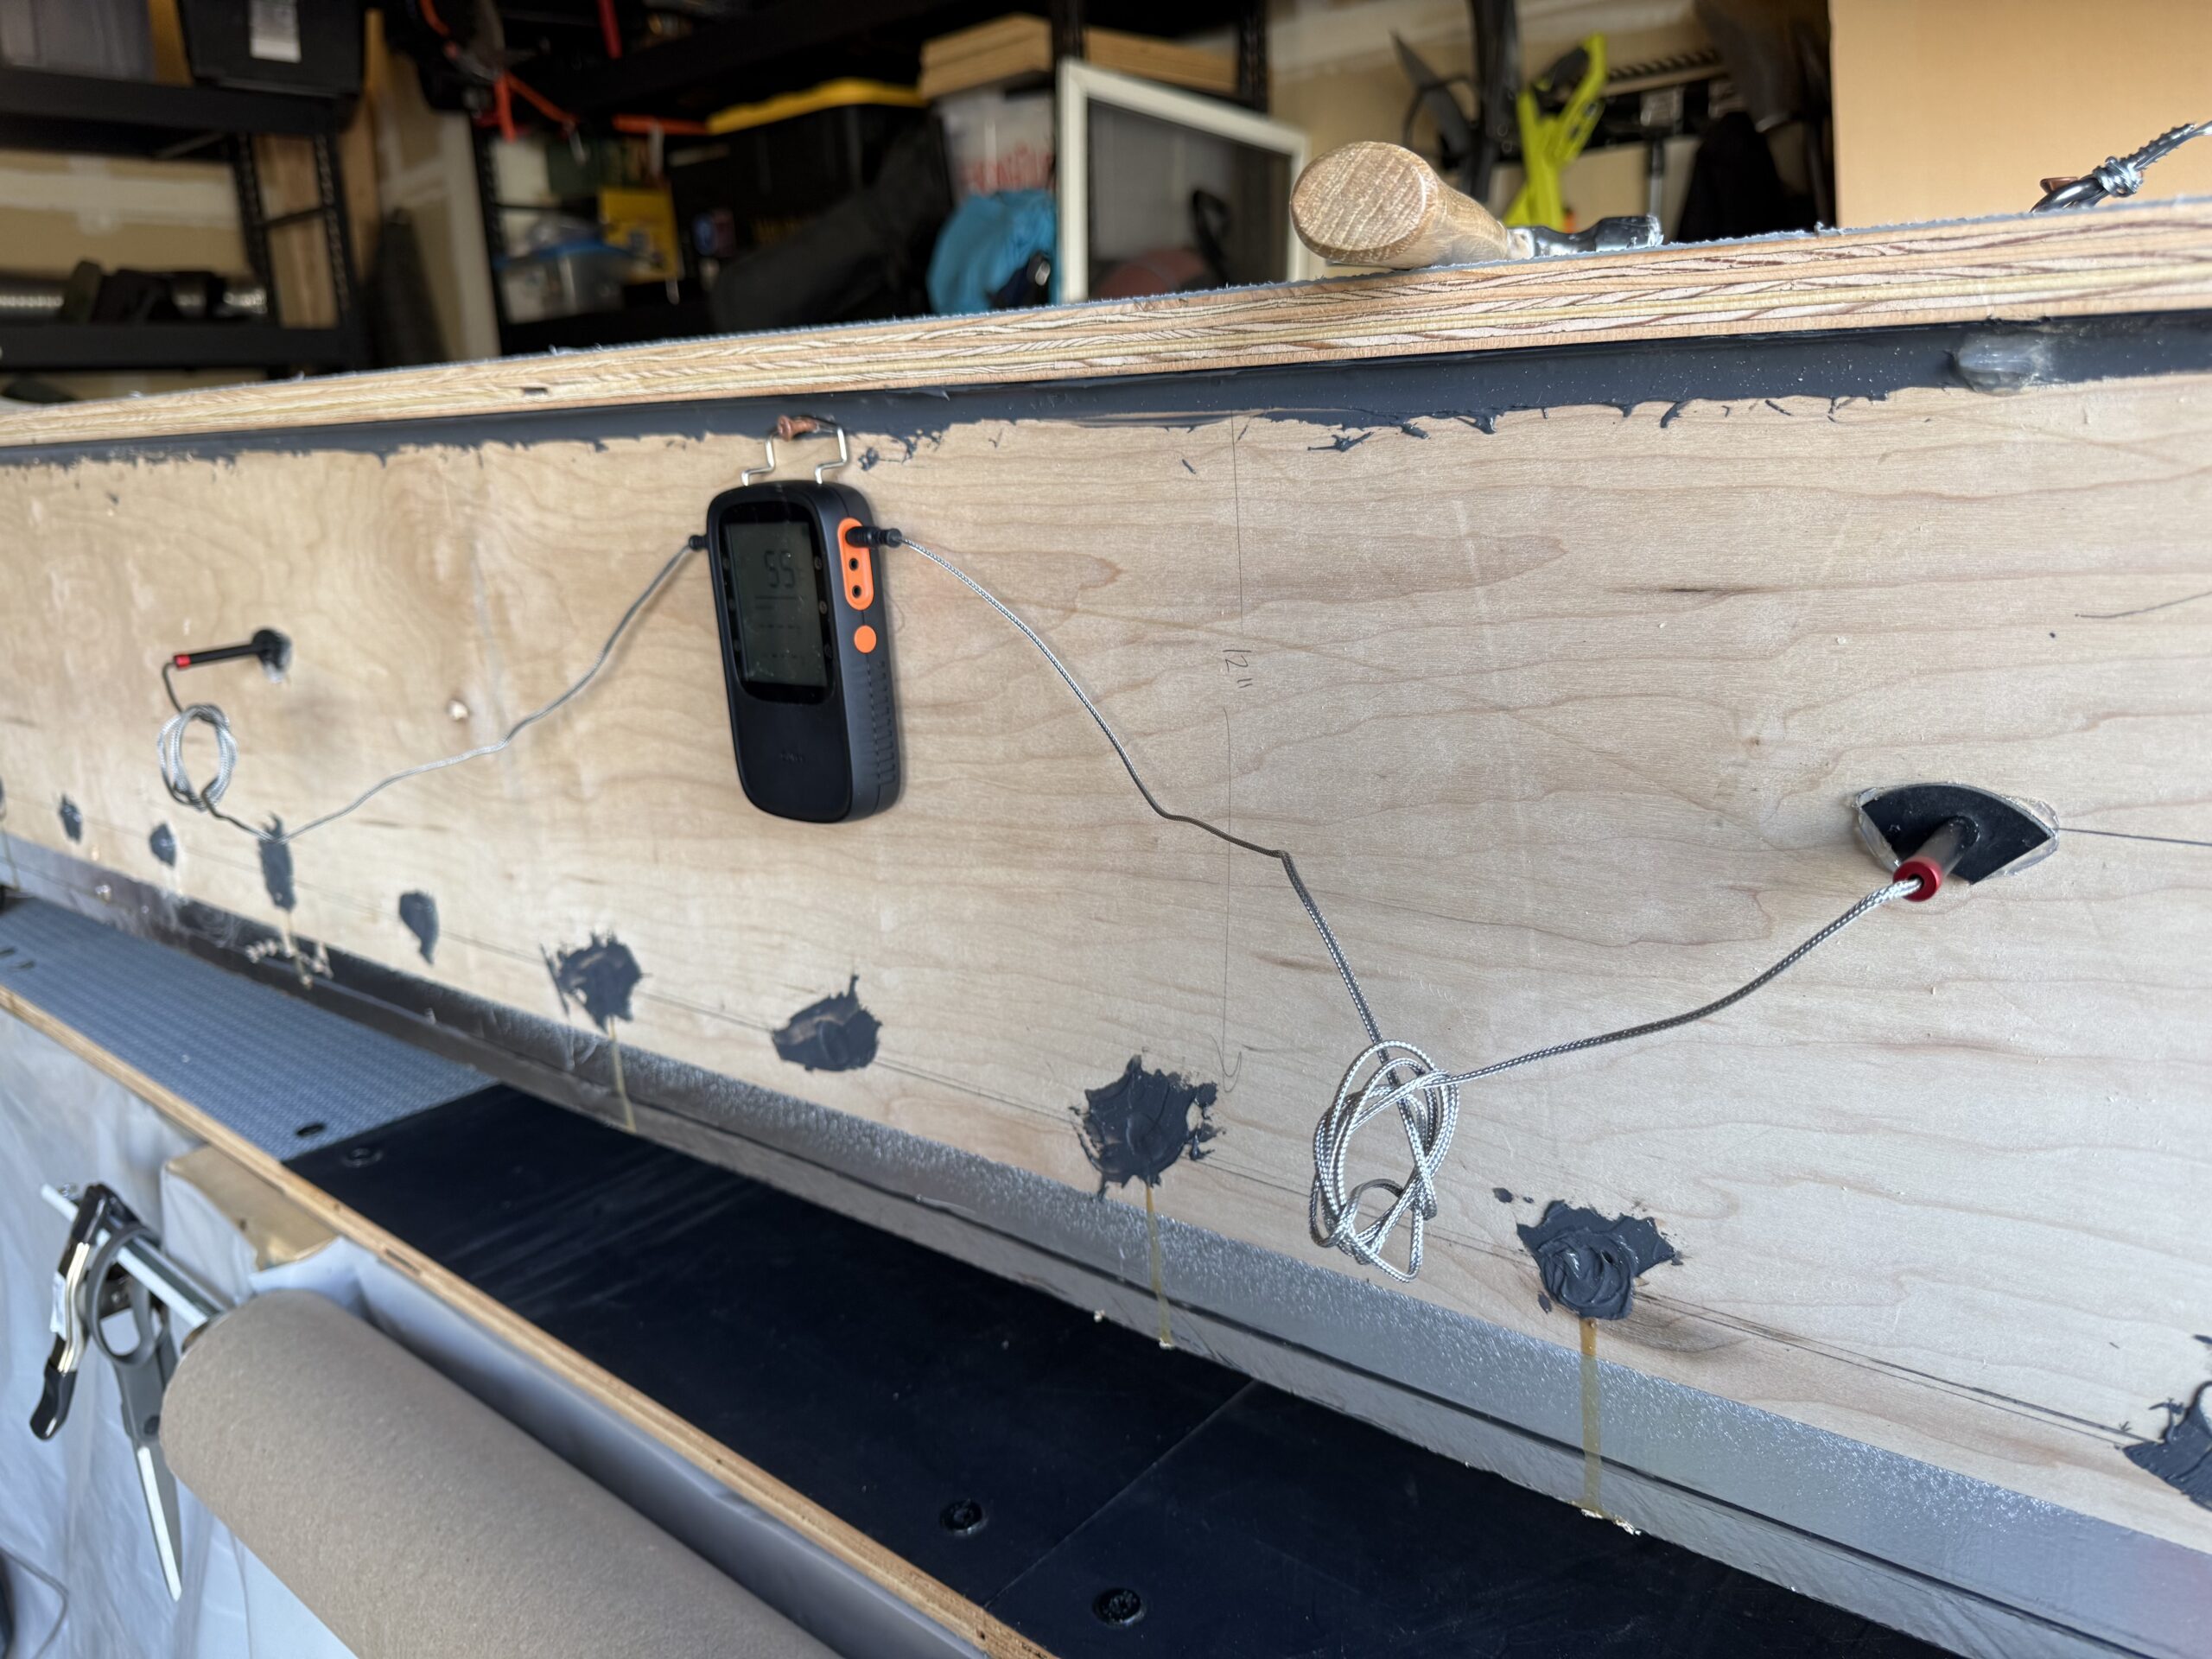
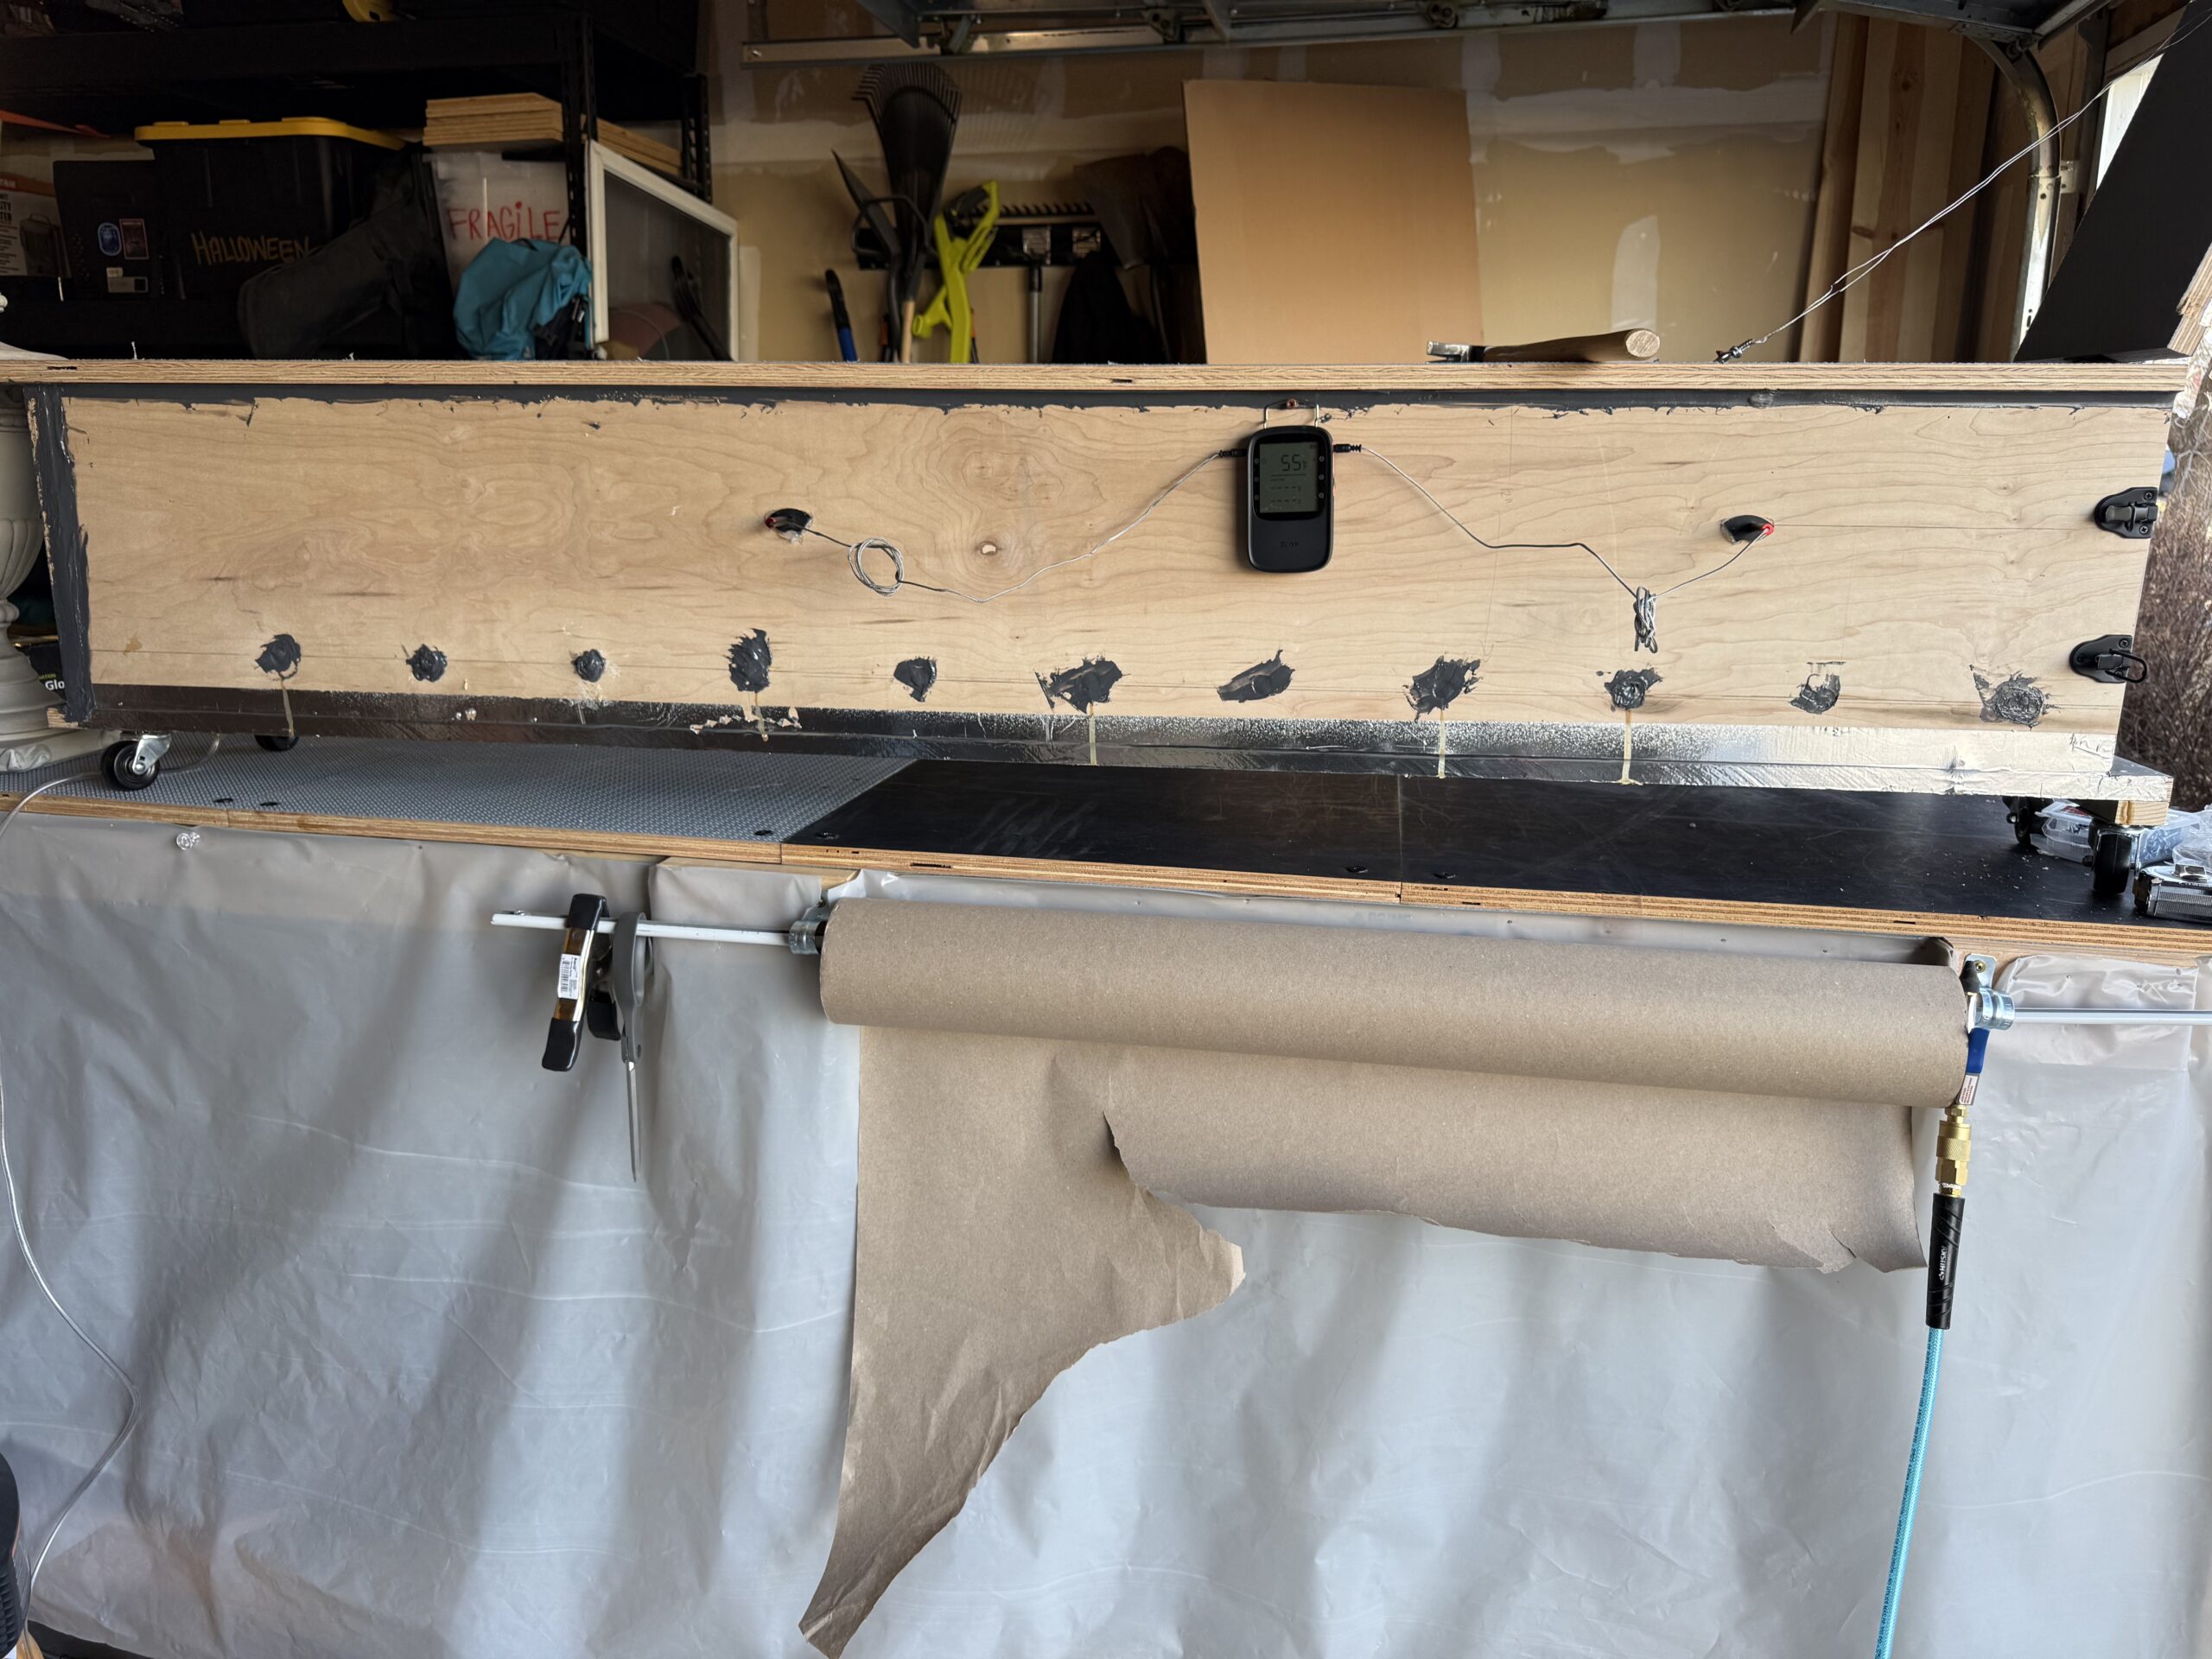
Building the Steam Box
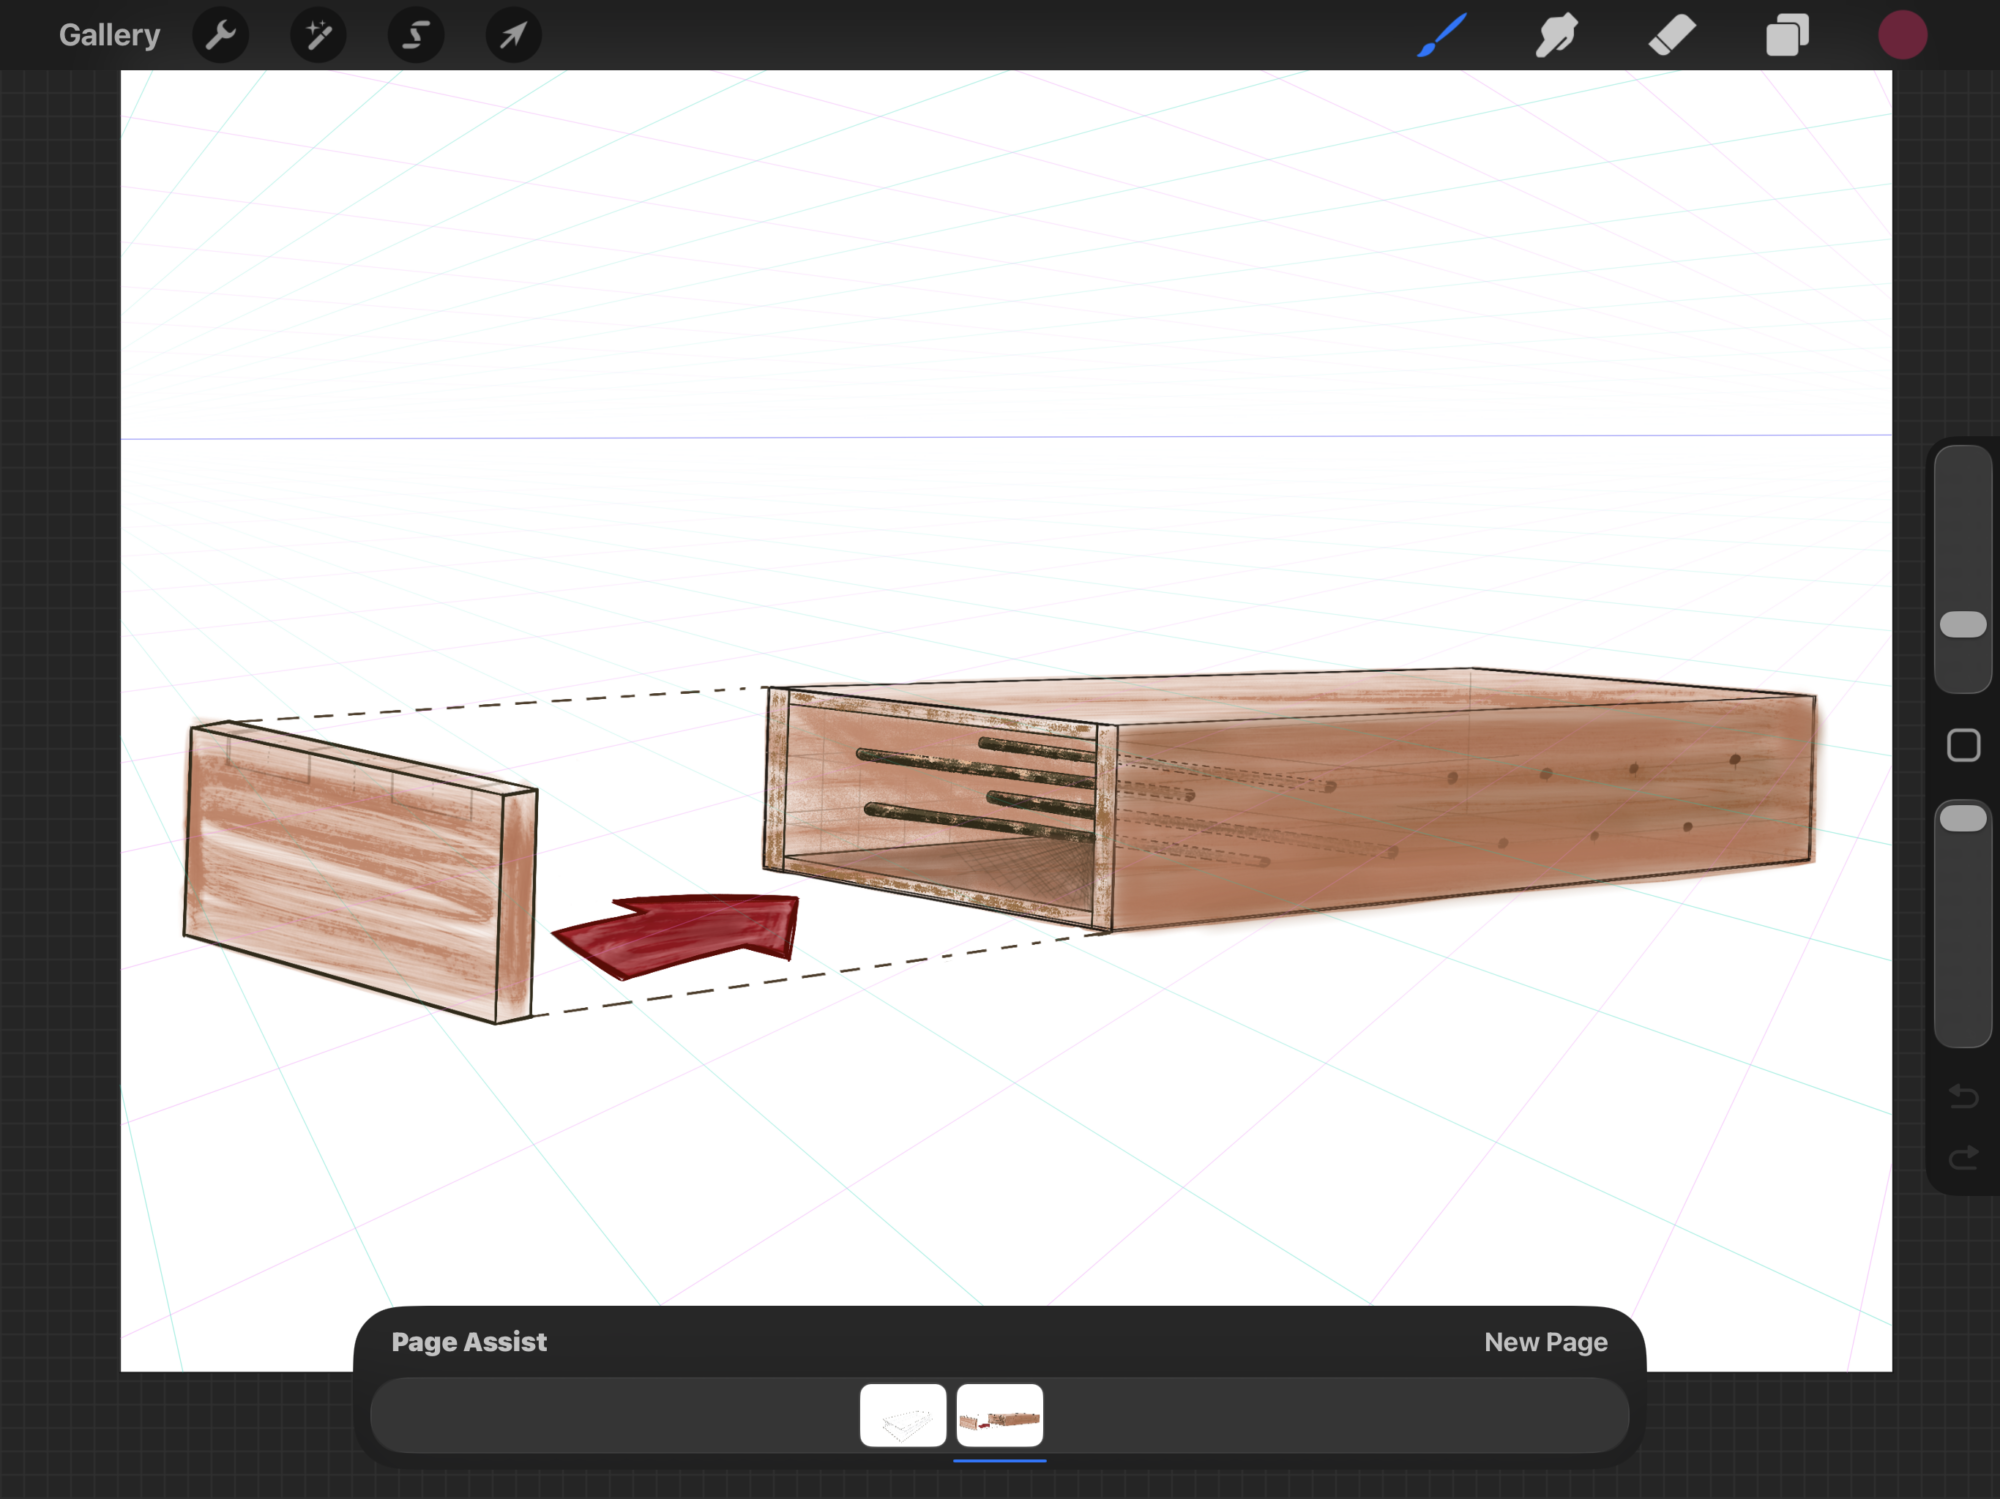
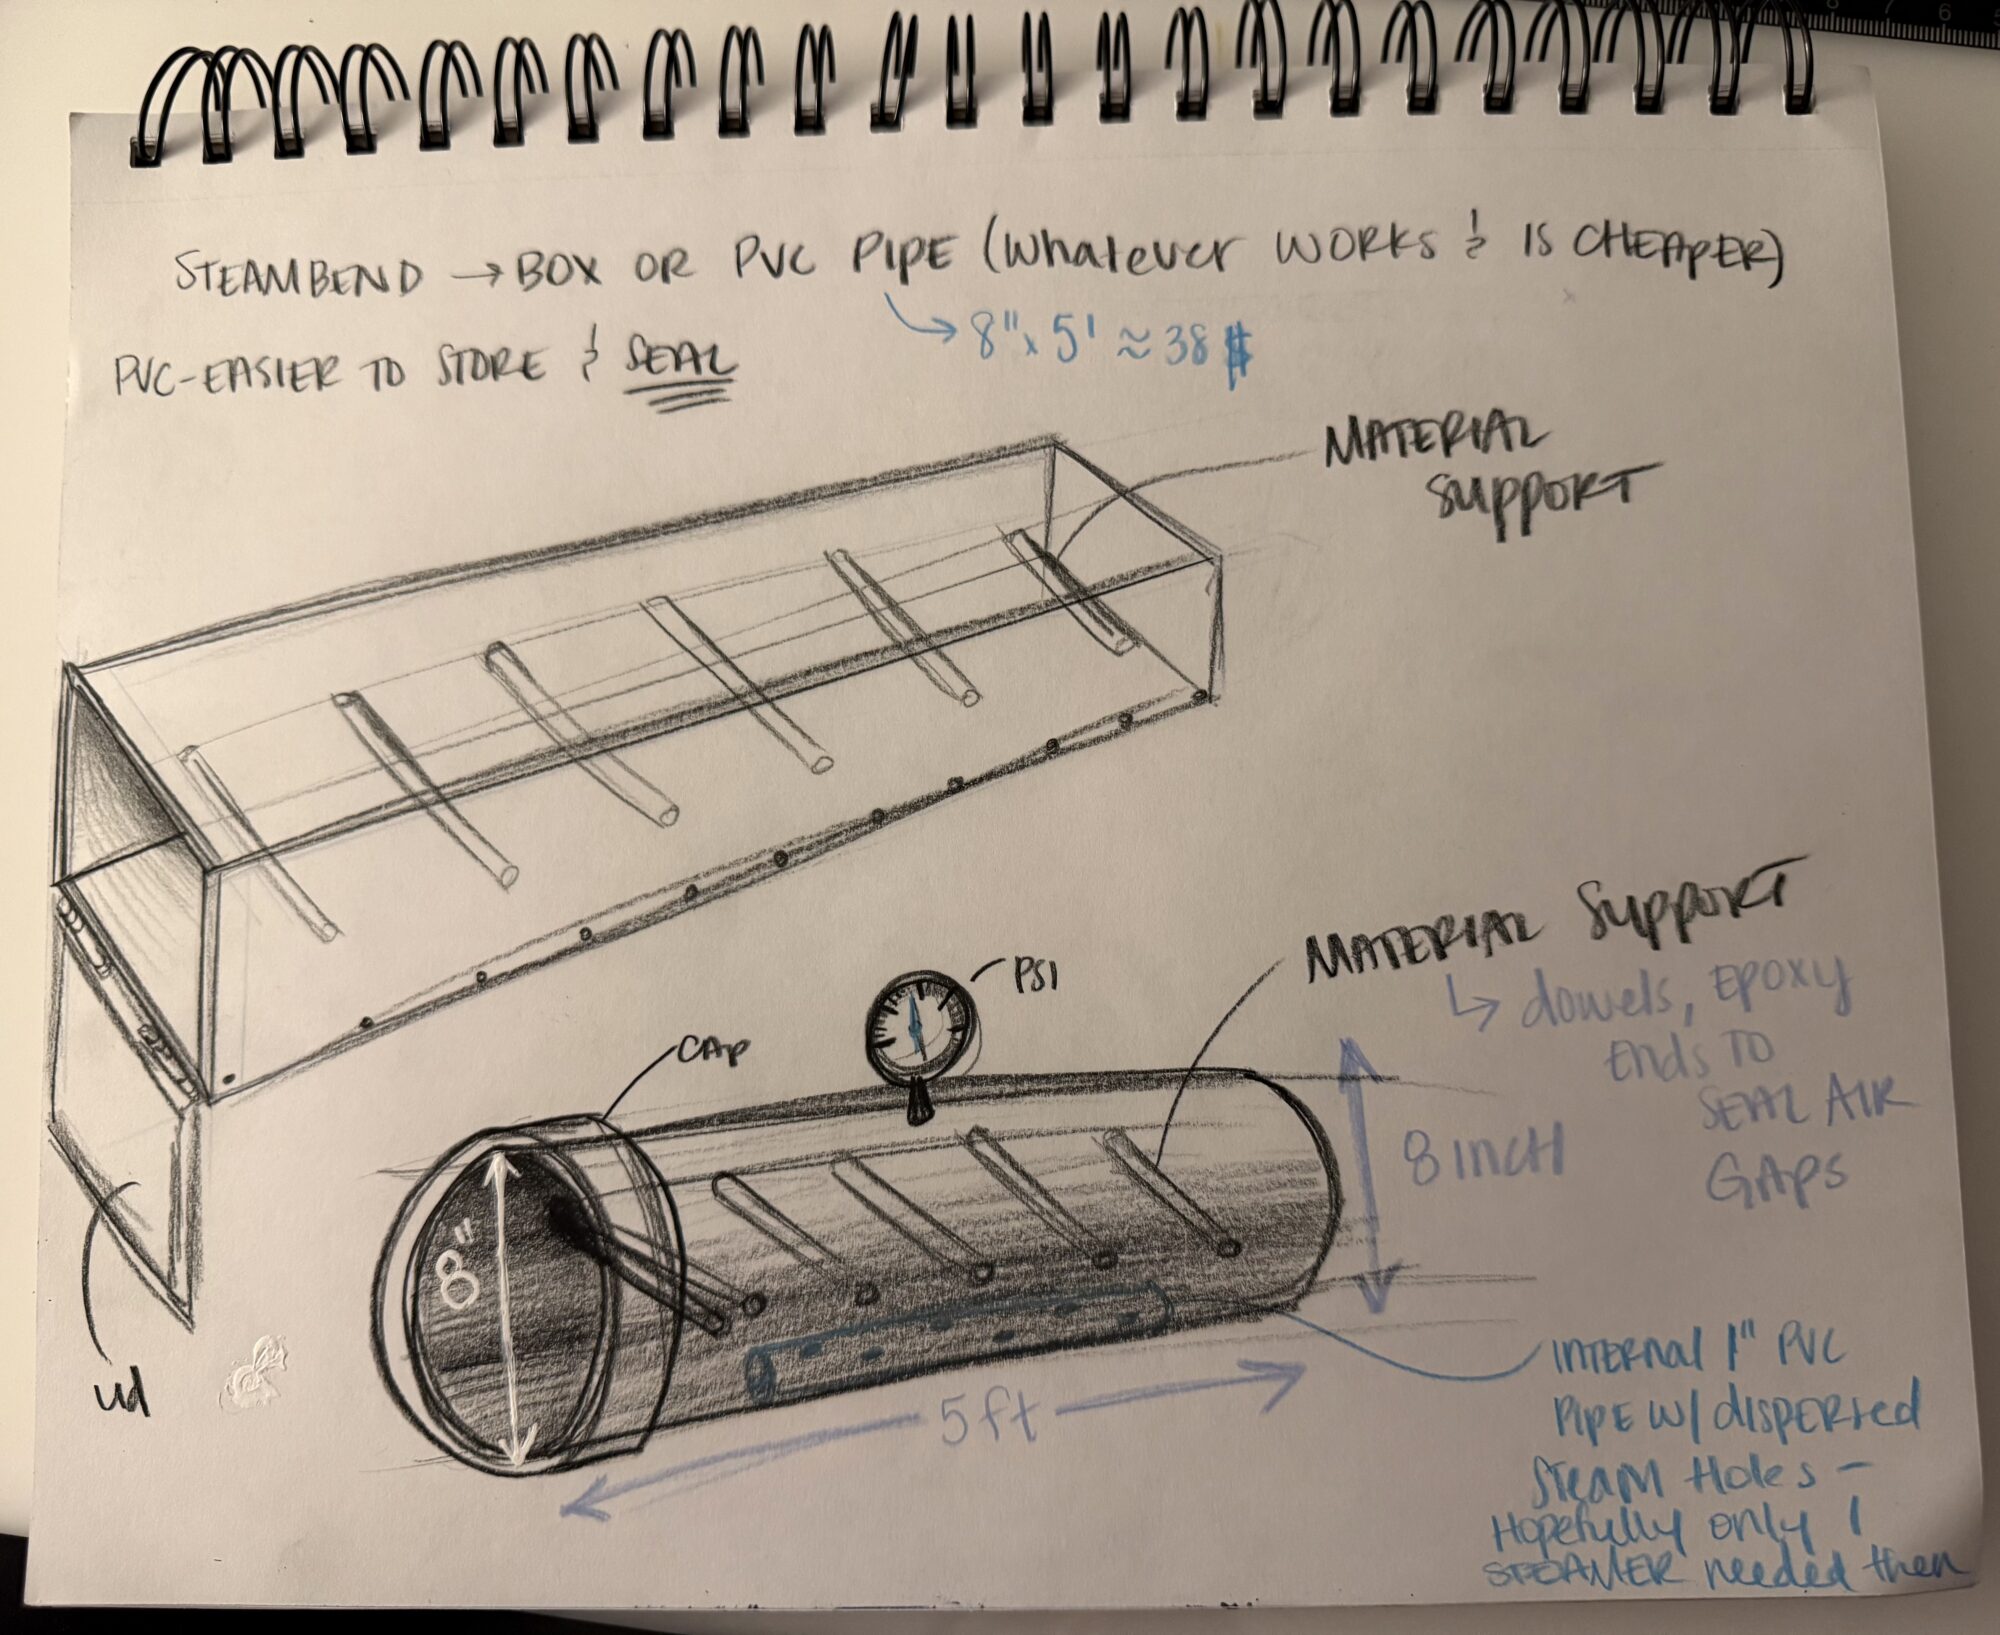


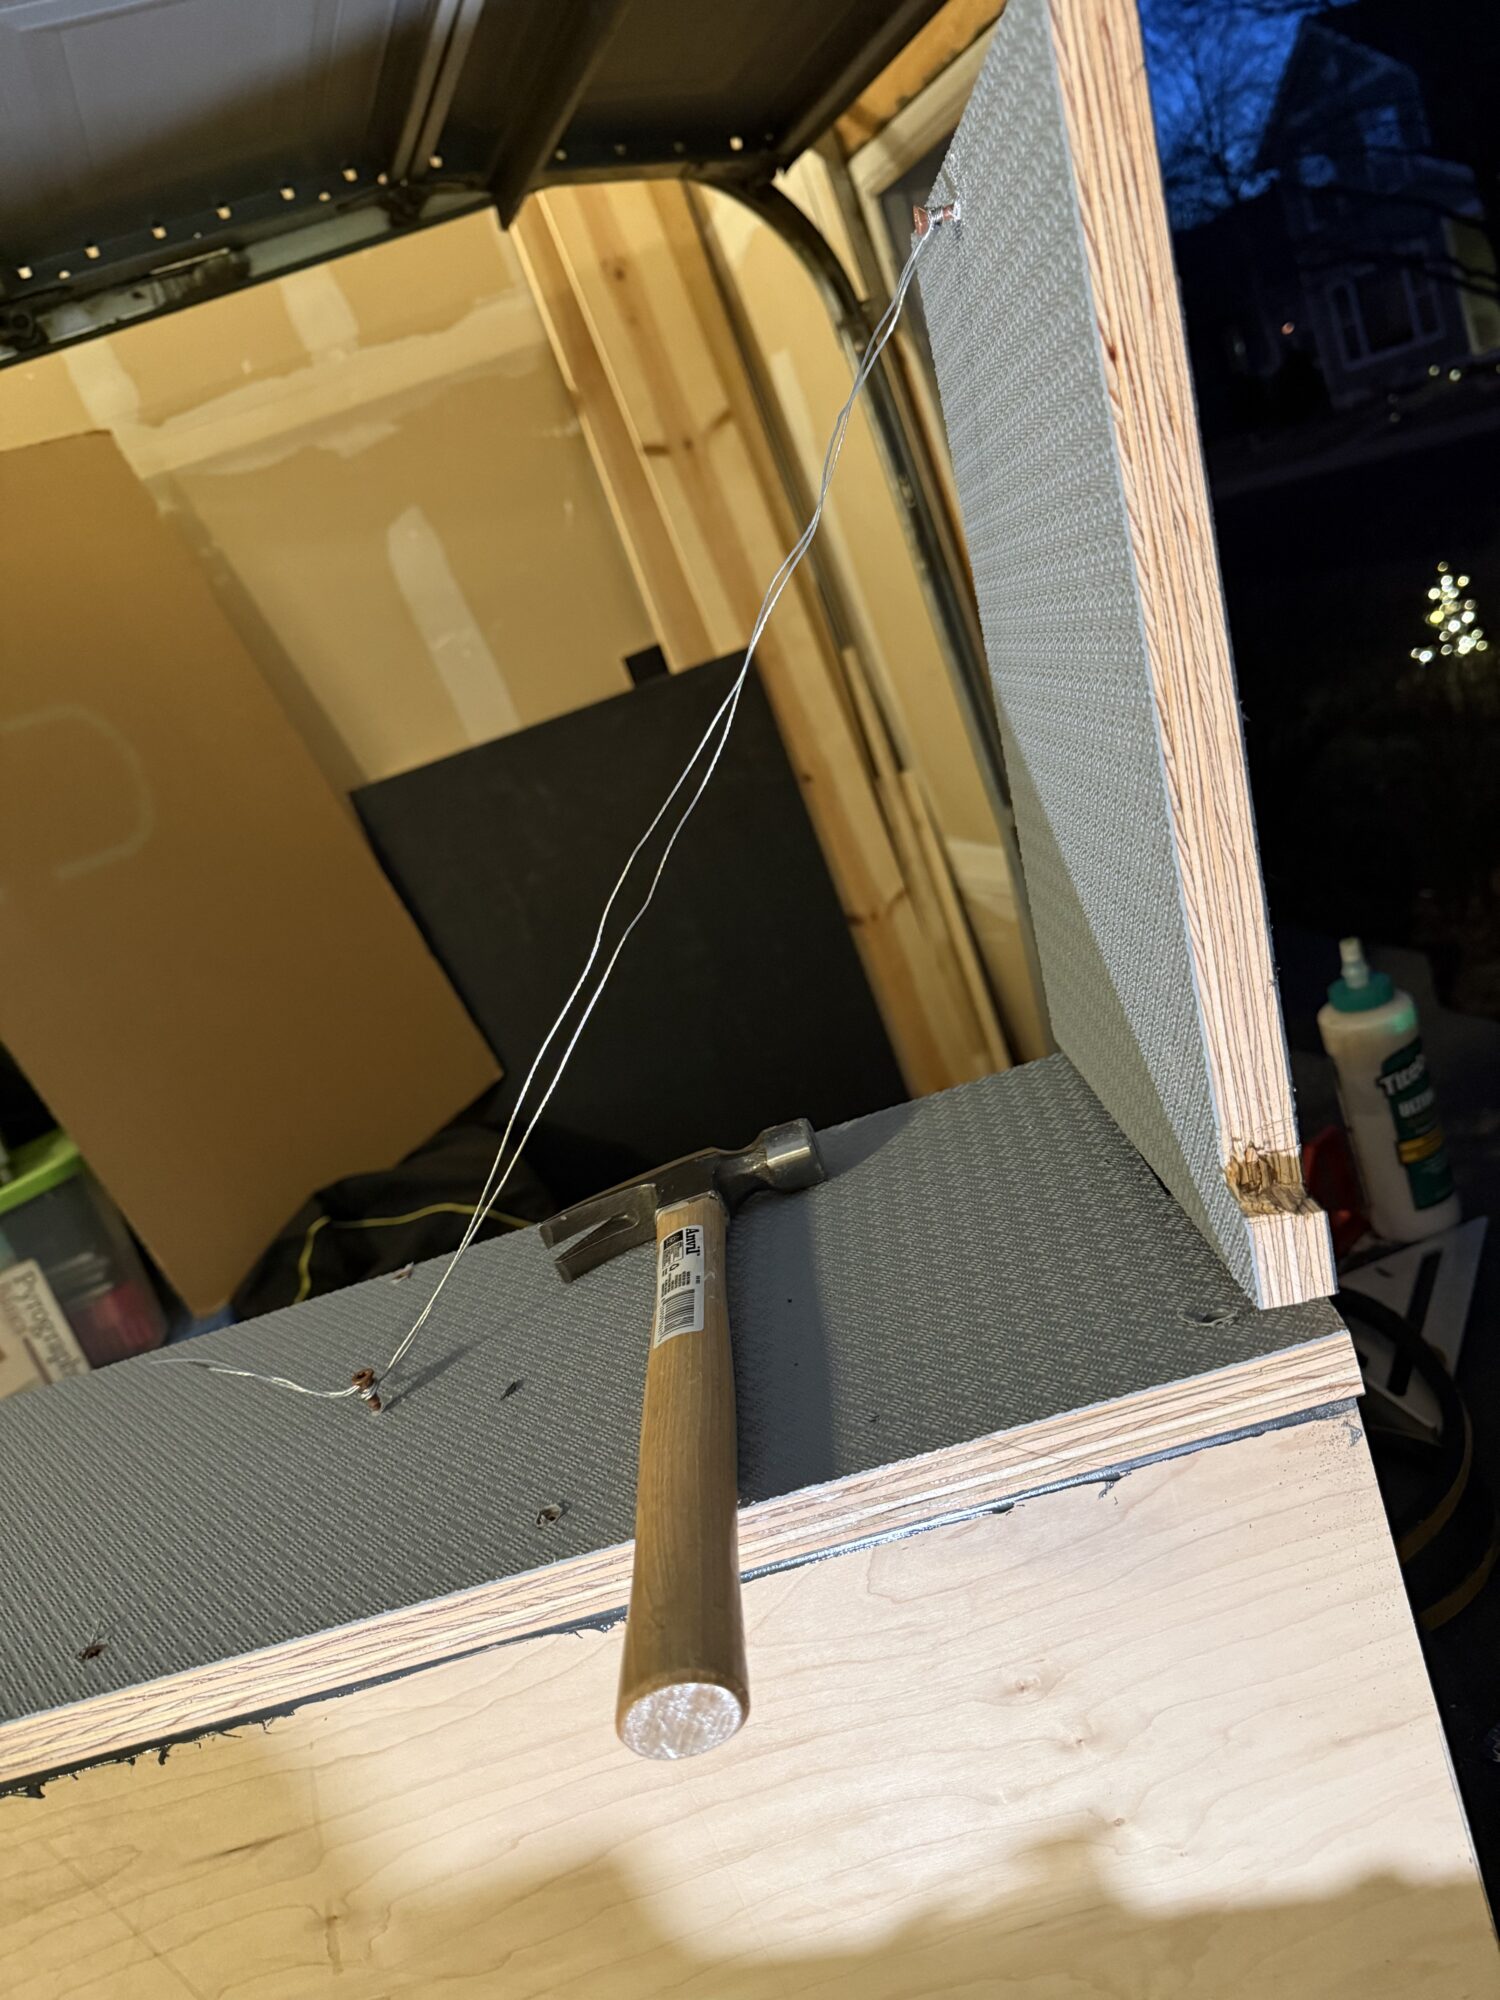

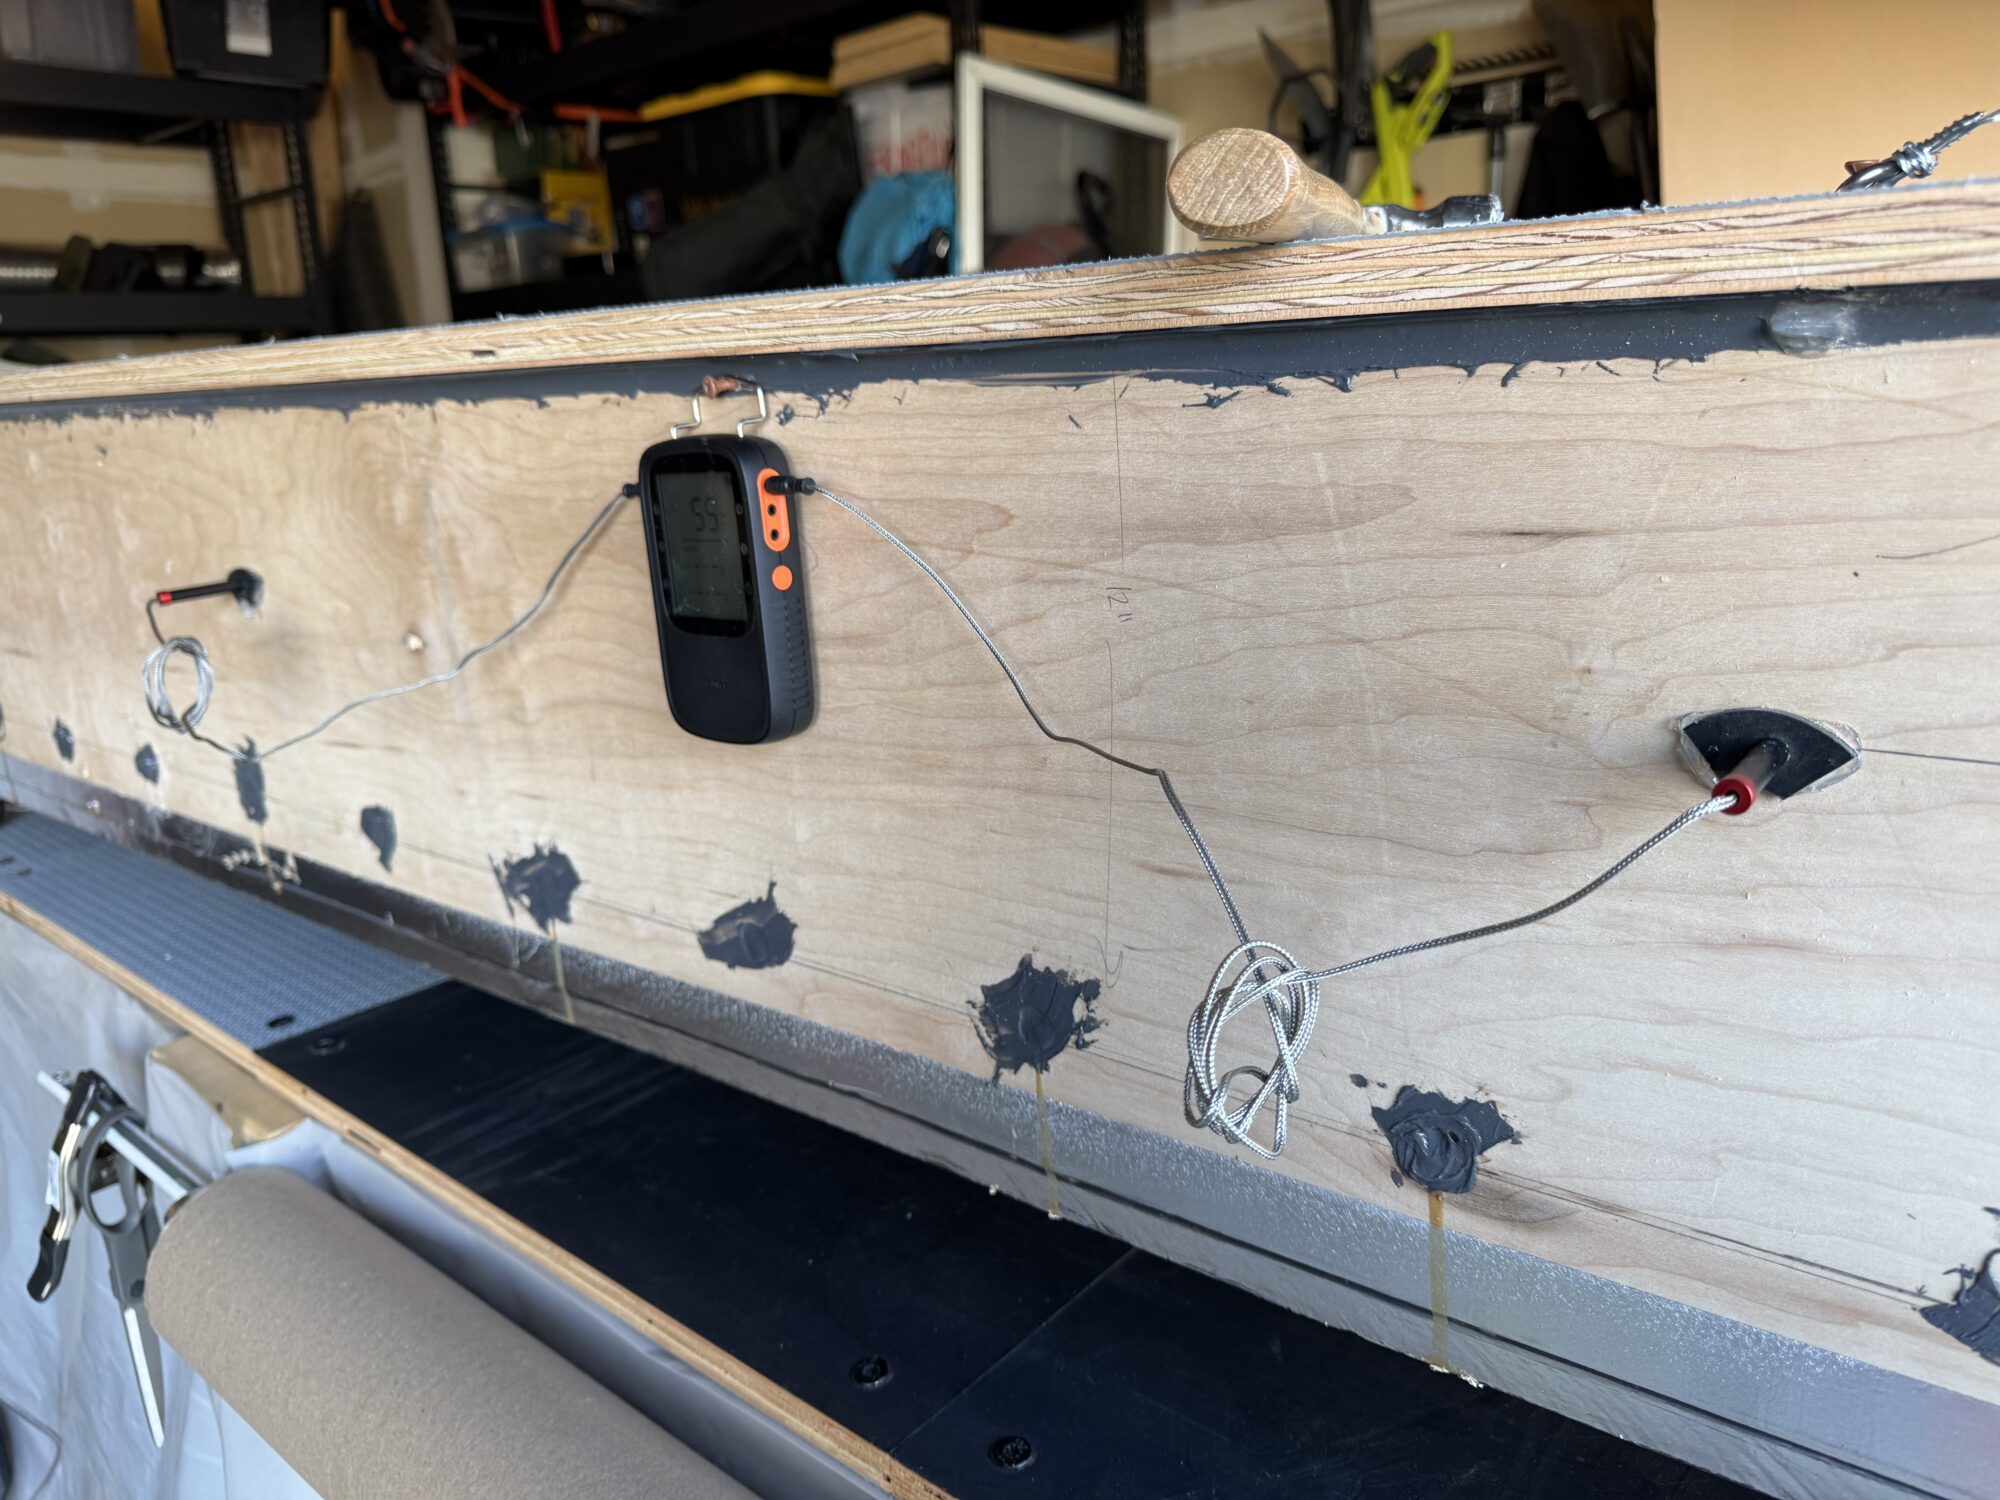

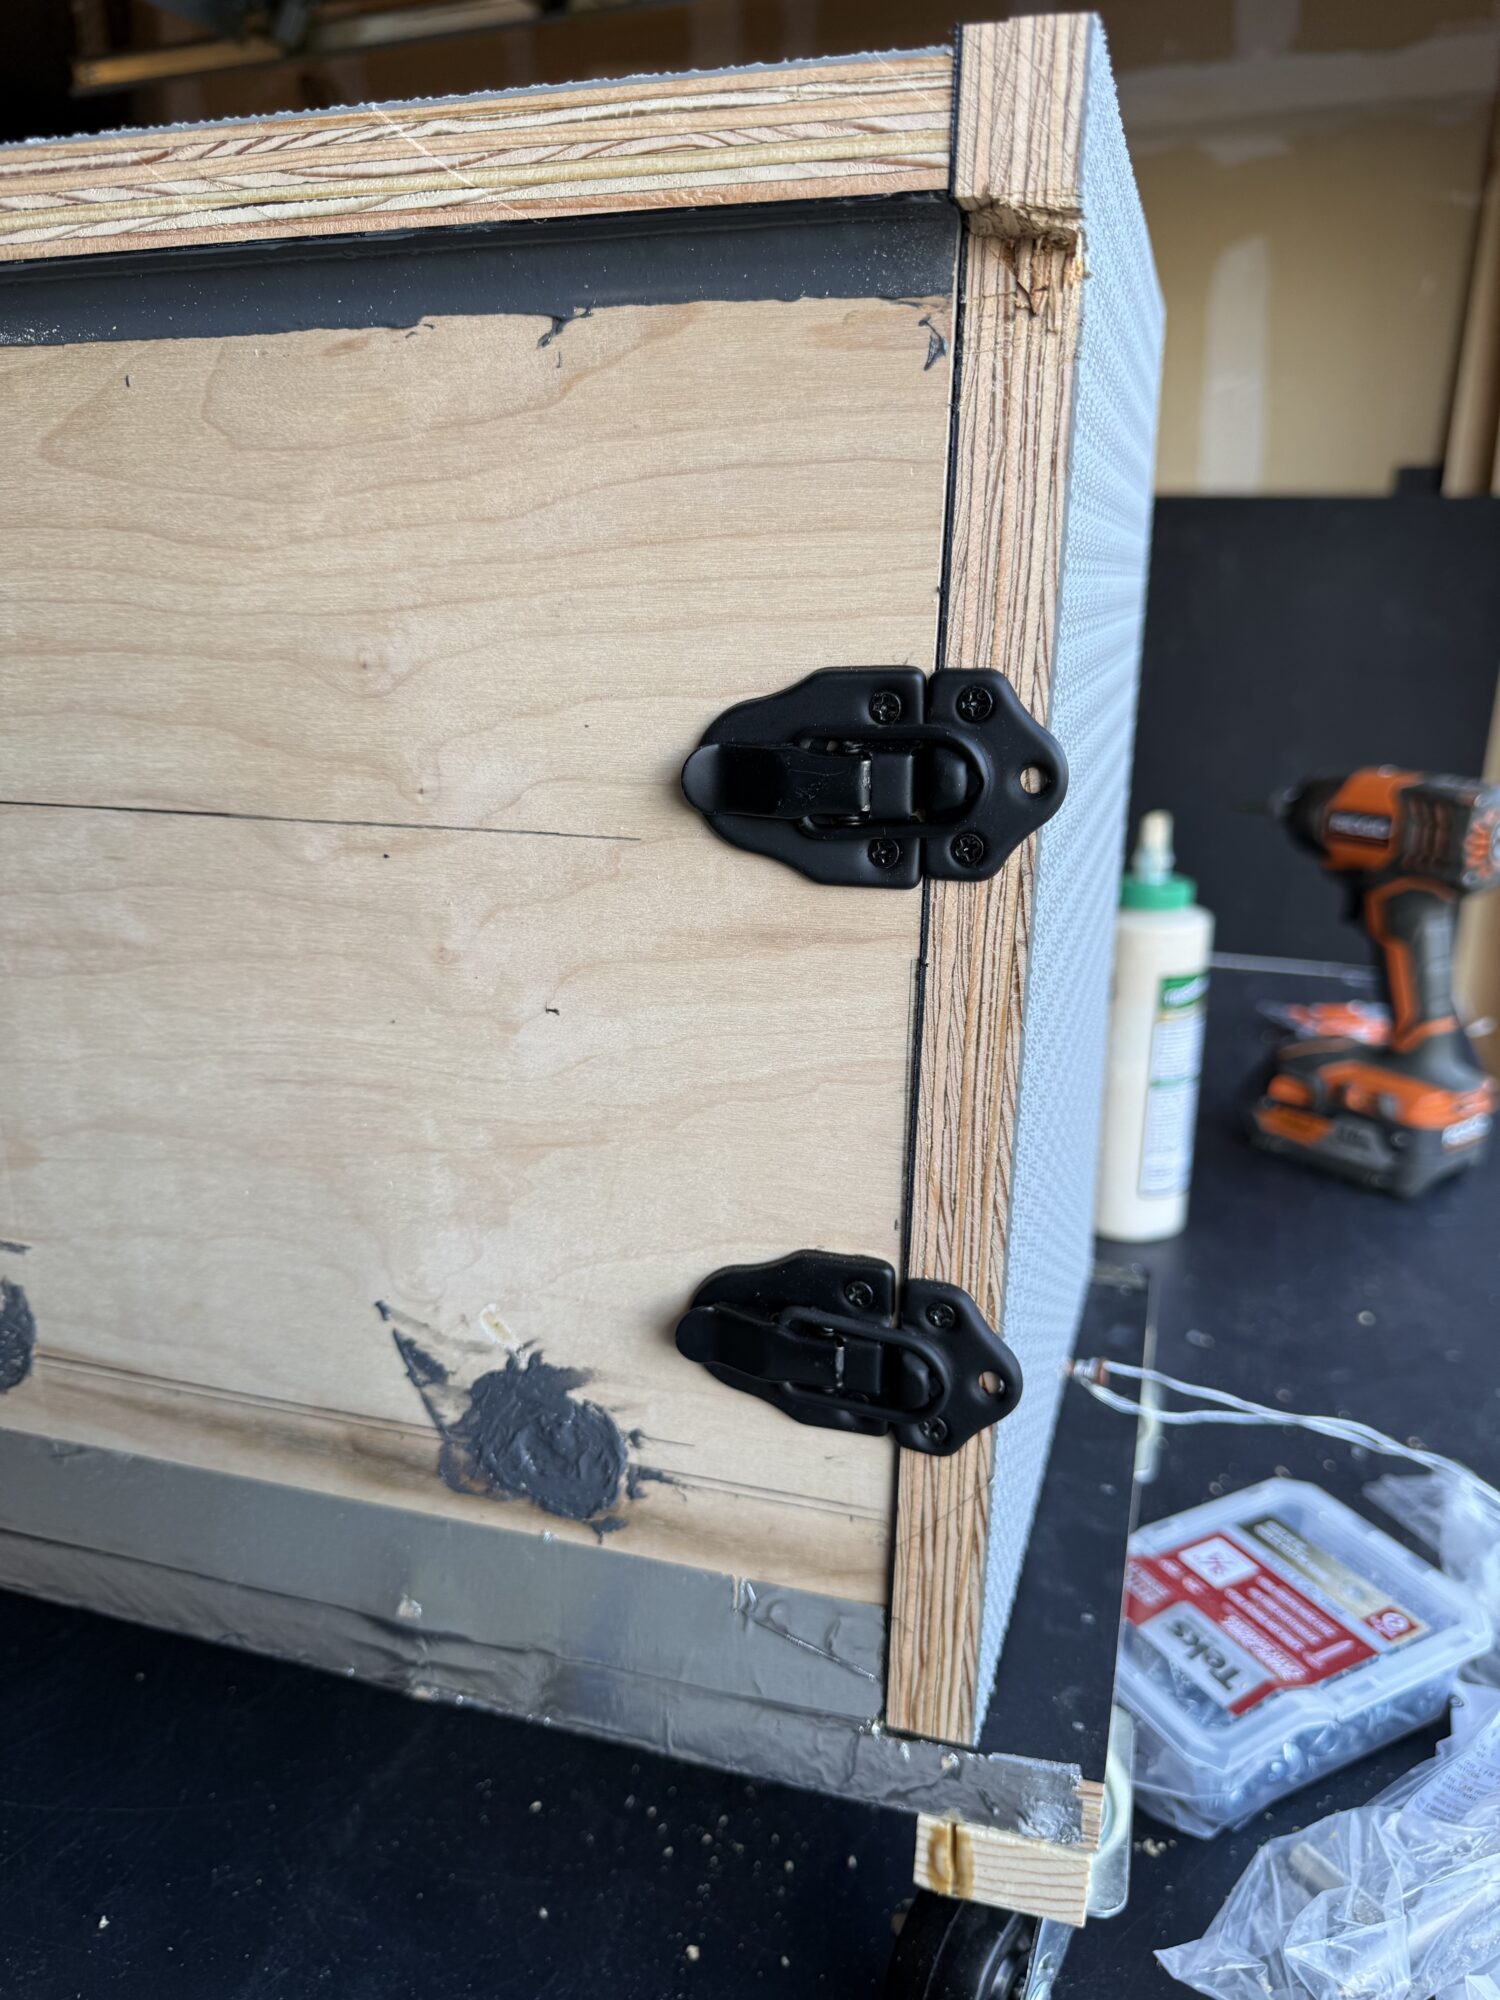
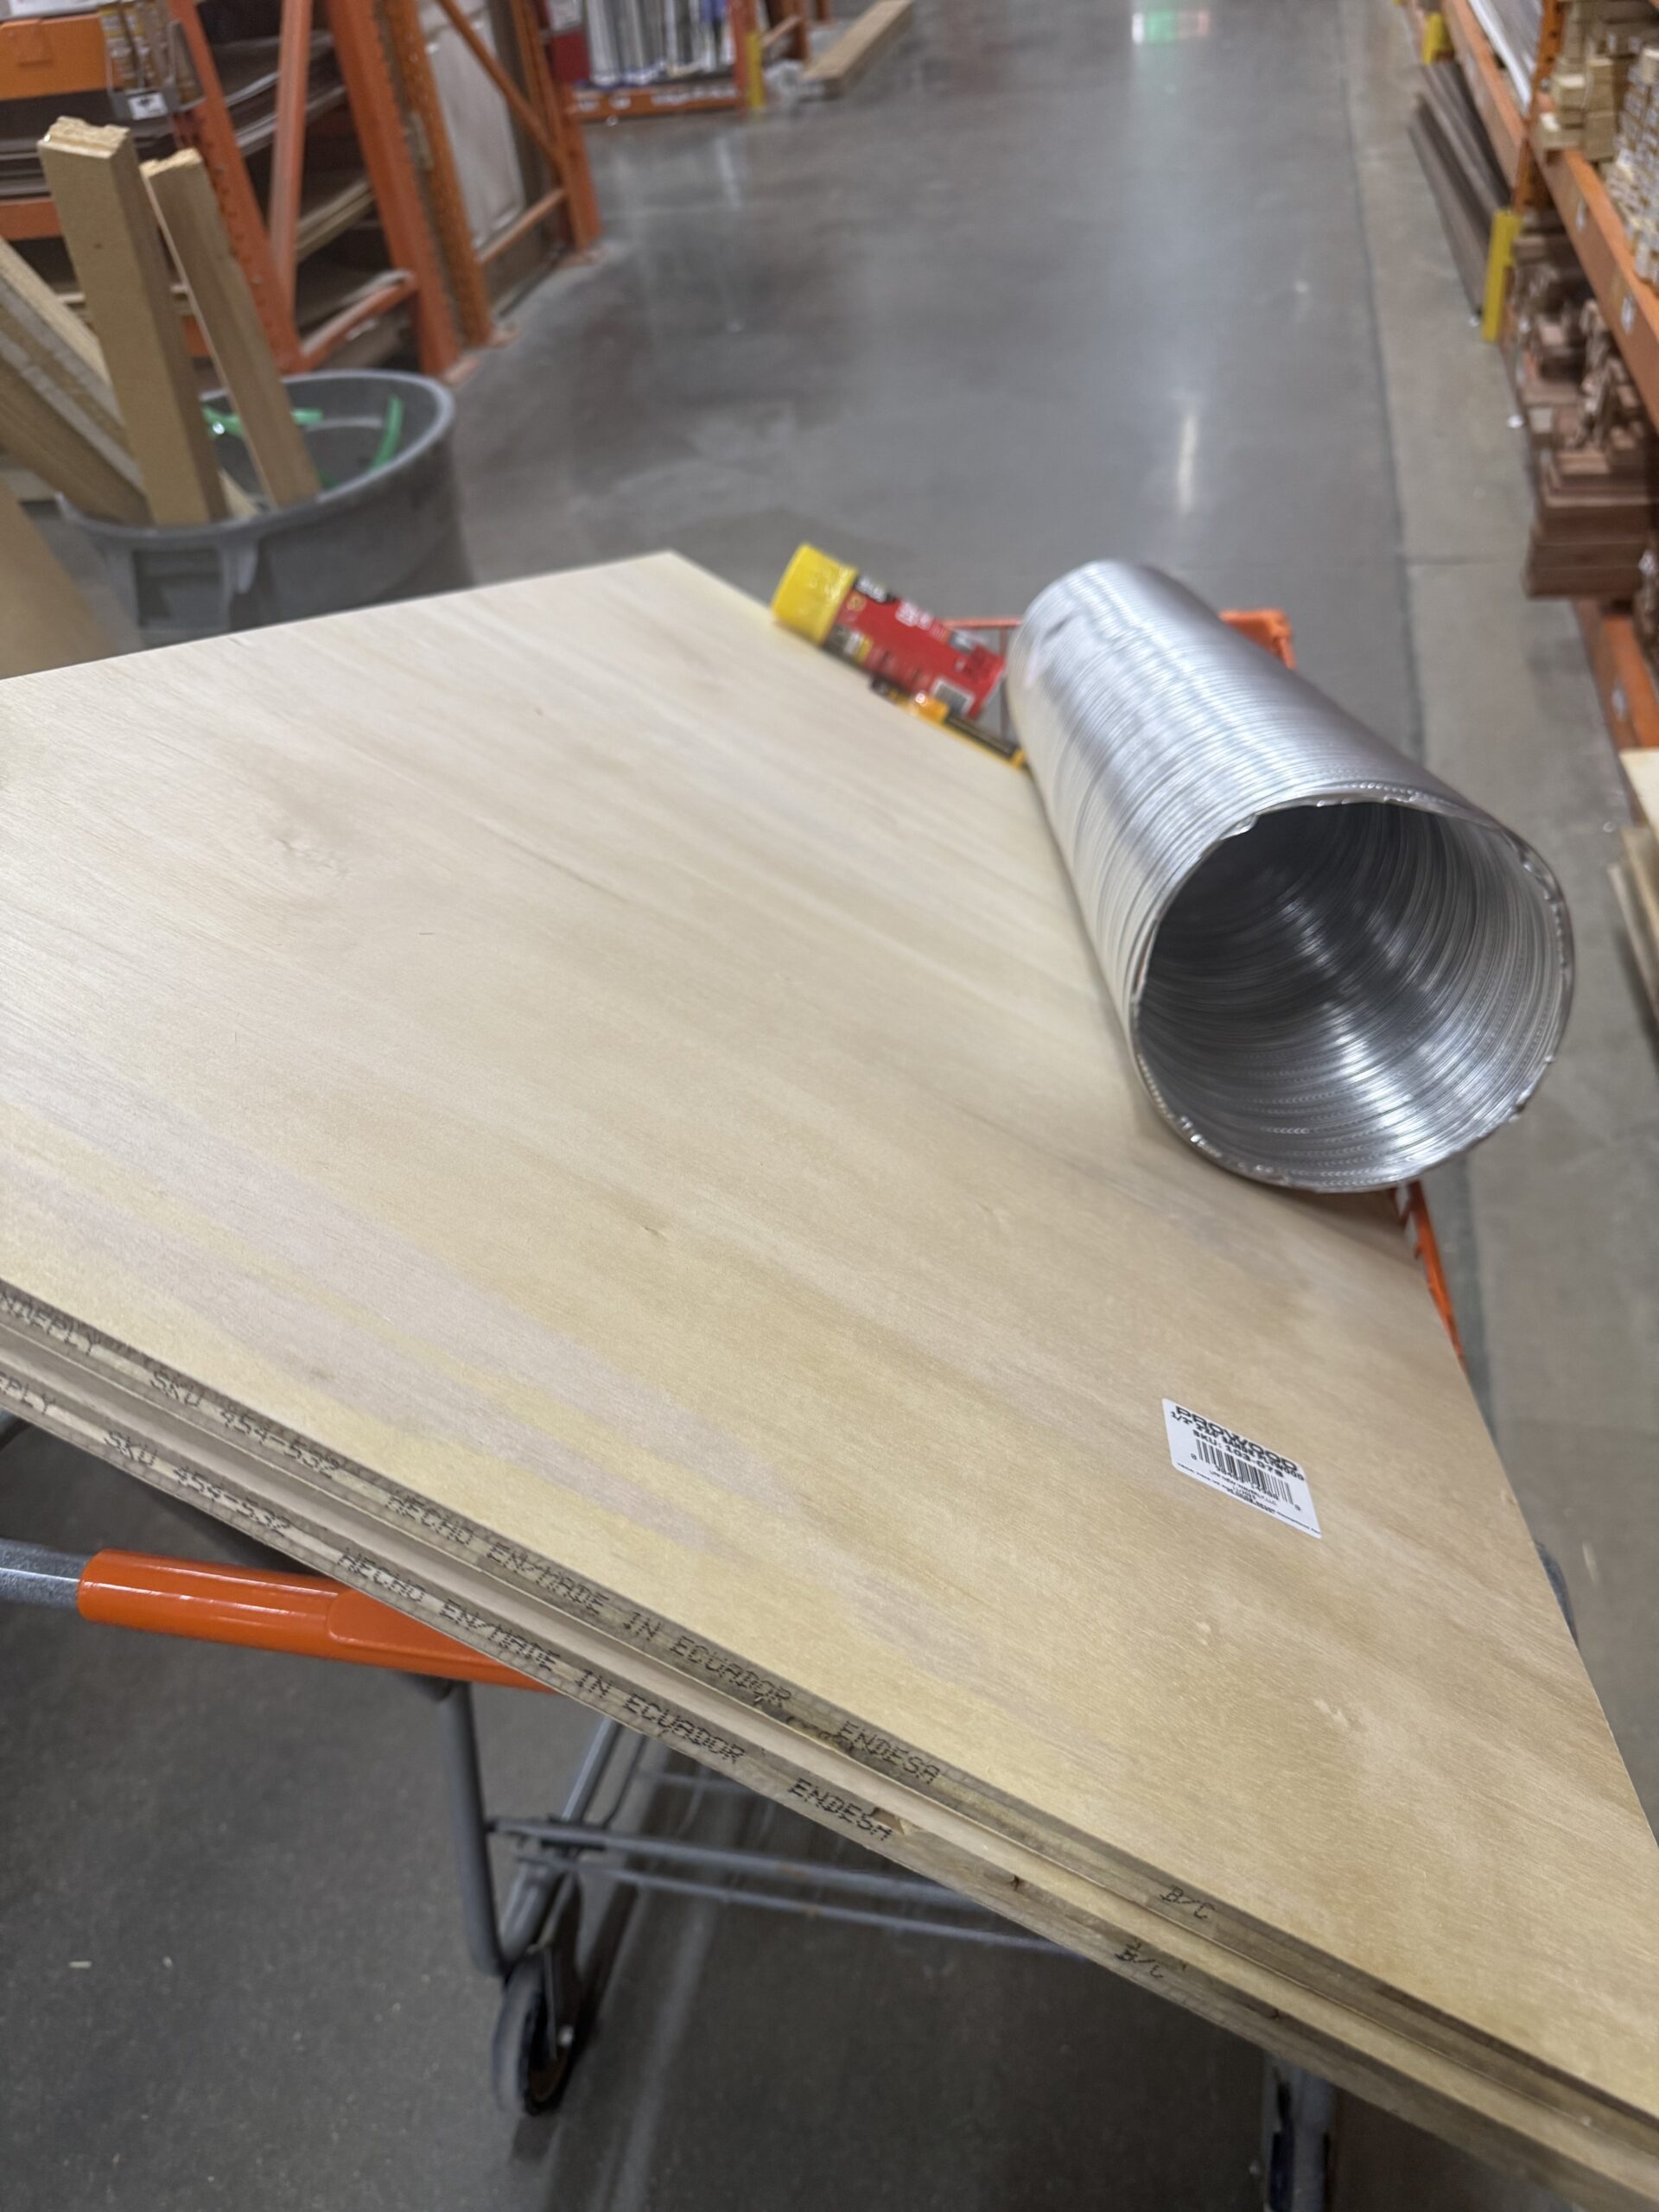
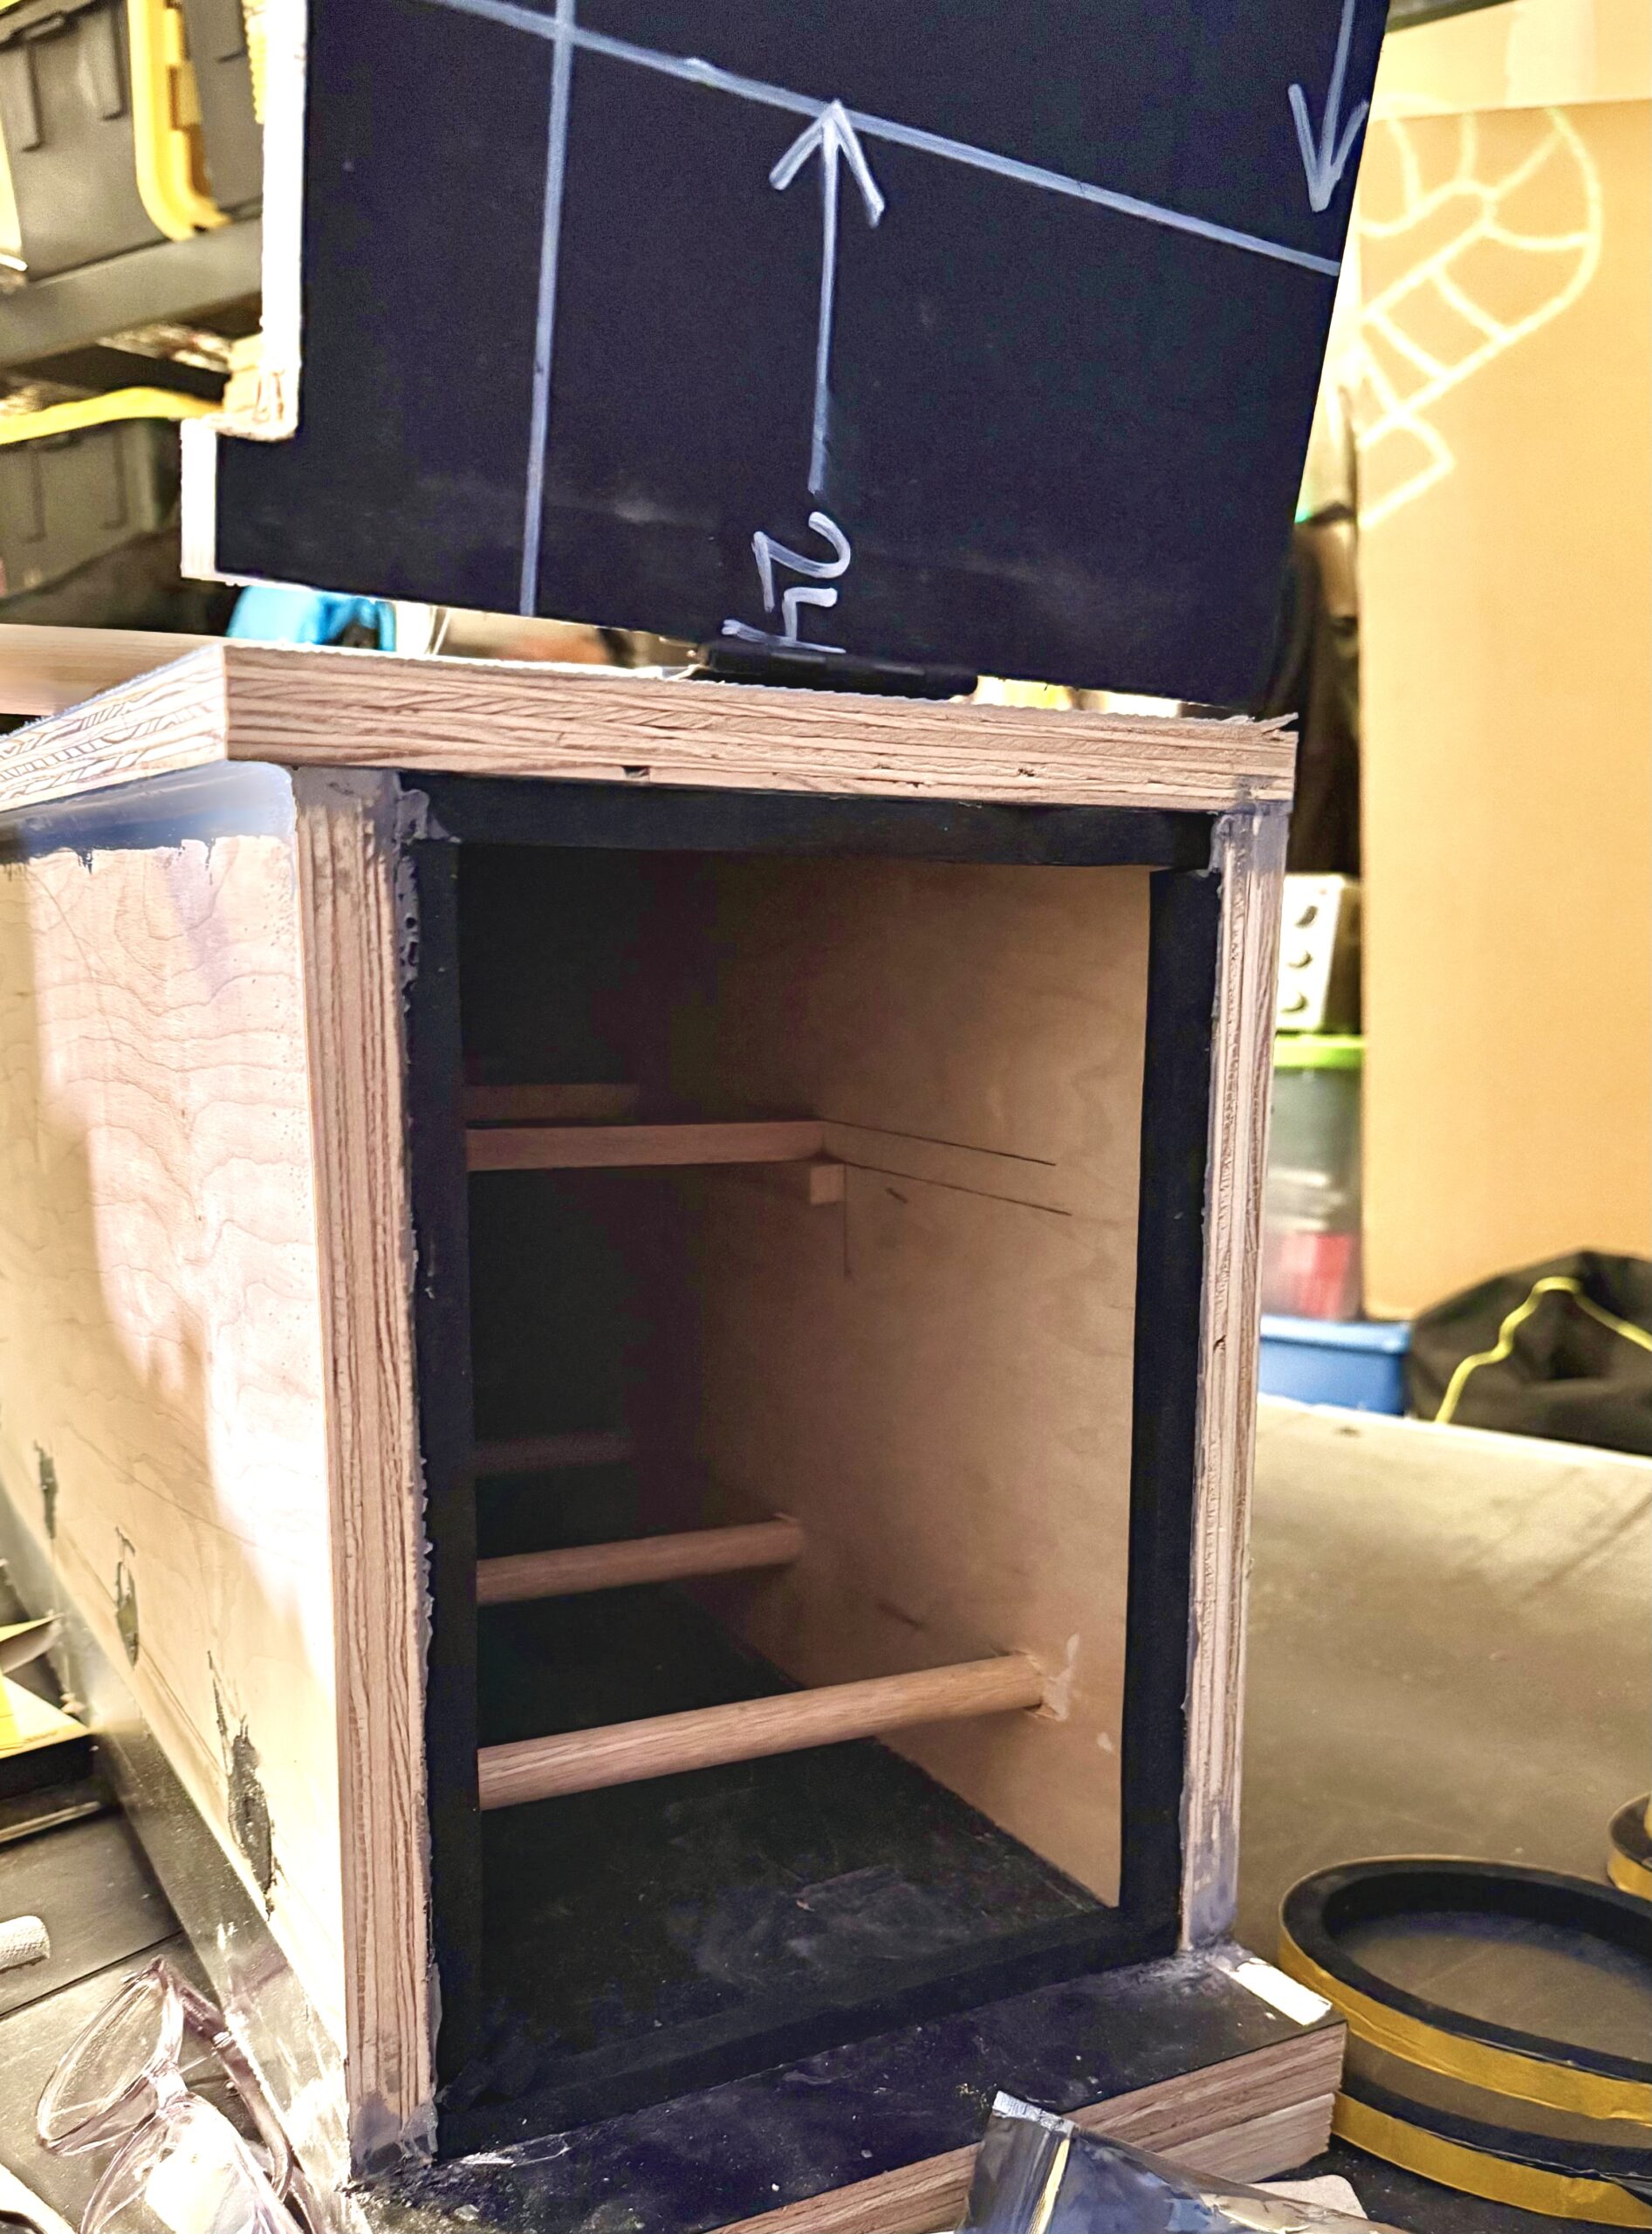
I wanted to incorporate steam-bent pieces into this, so I also had to build a steam box. The first iteration didn’t go so well (the cylindrical duct), so I had to build one the old-fashioned way (plywood box — side note, I don’t recommend using plywood. It delaminates and has a smell when steamed. It’s best to use non-treated wood, and I should have known better).
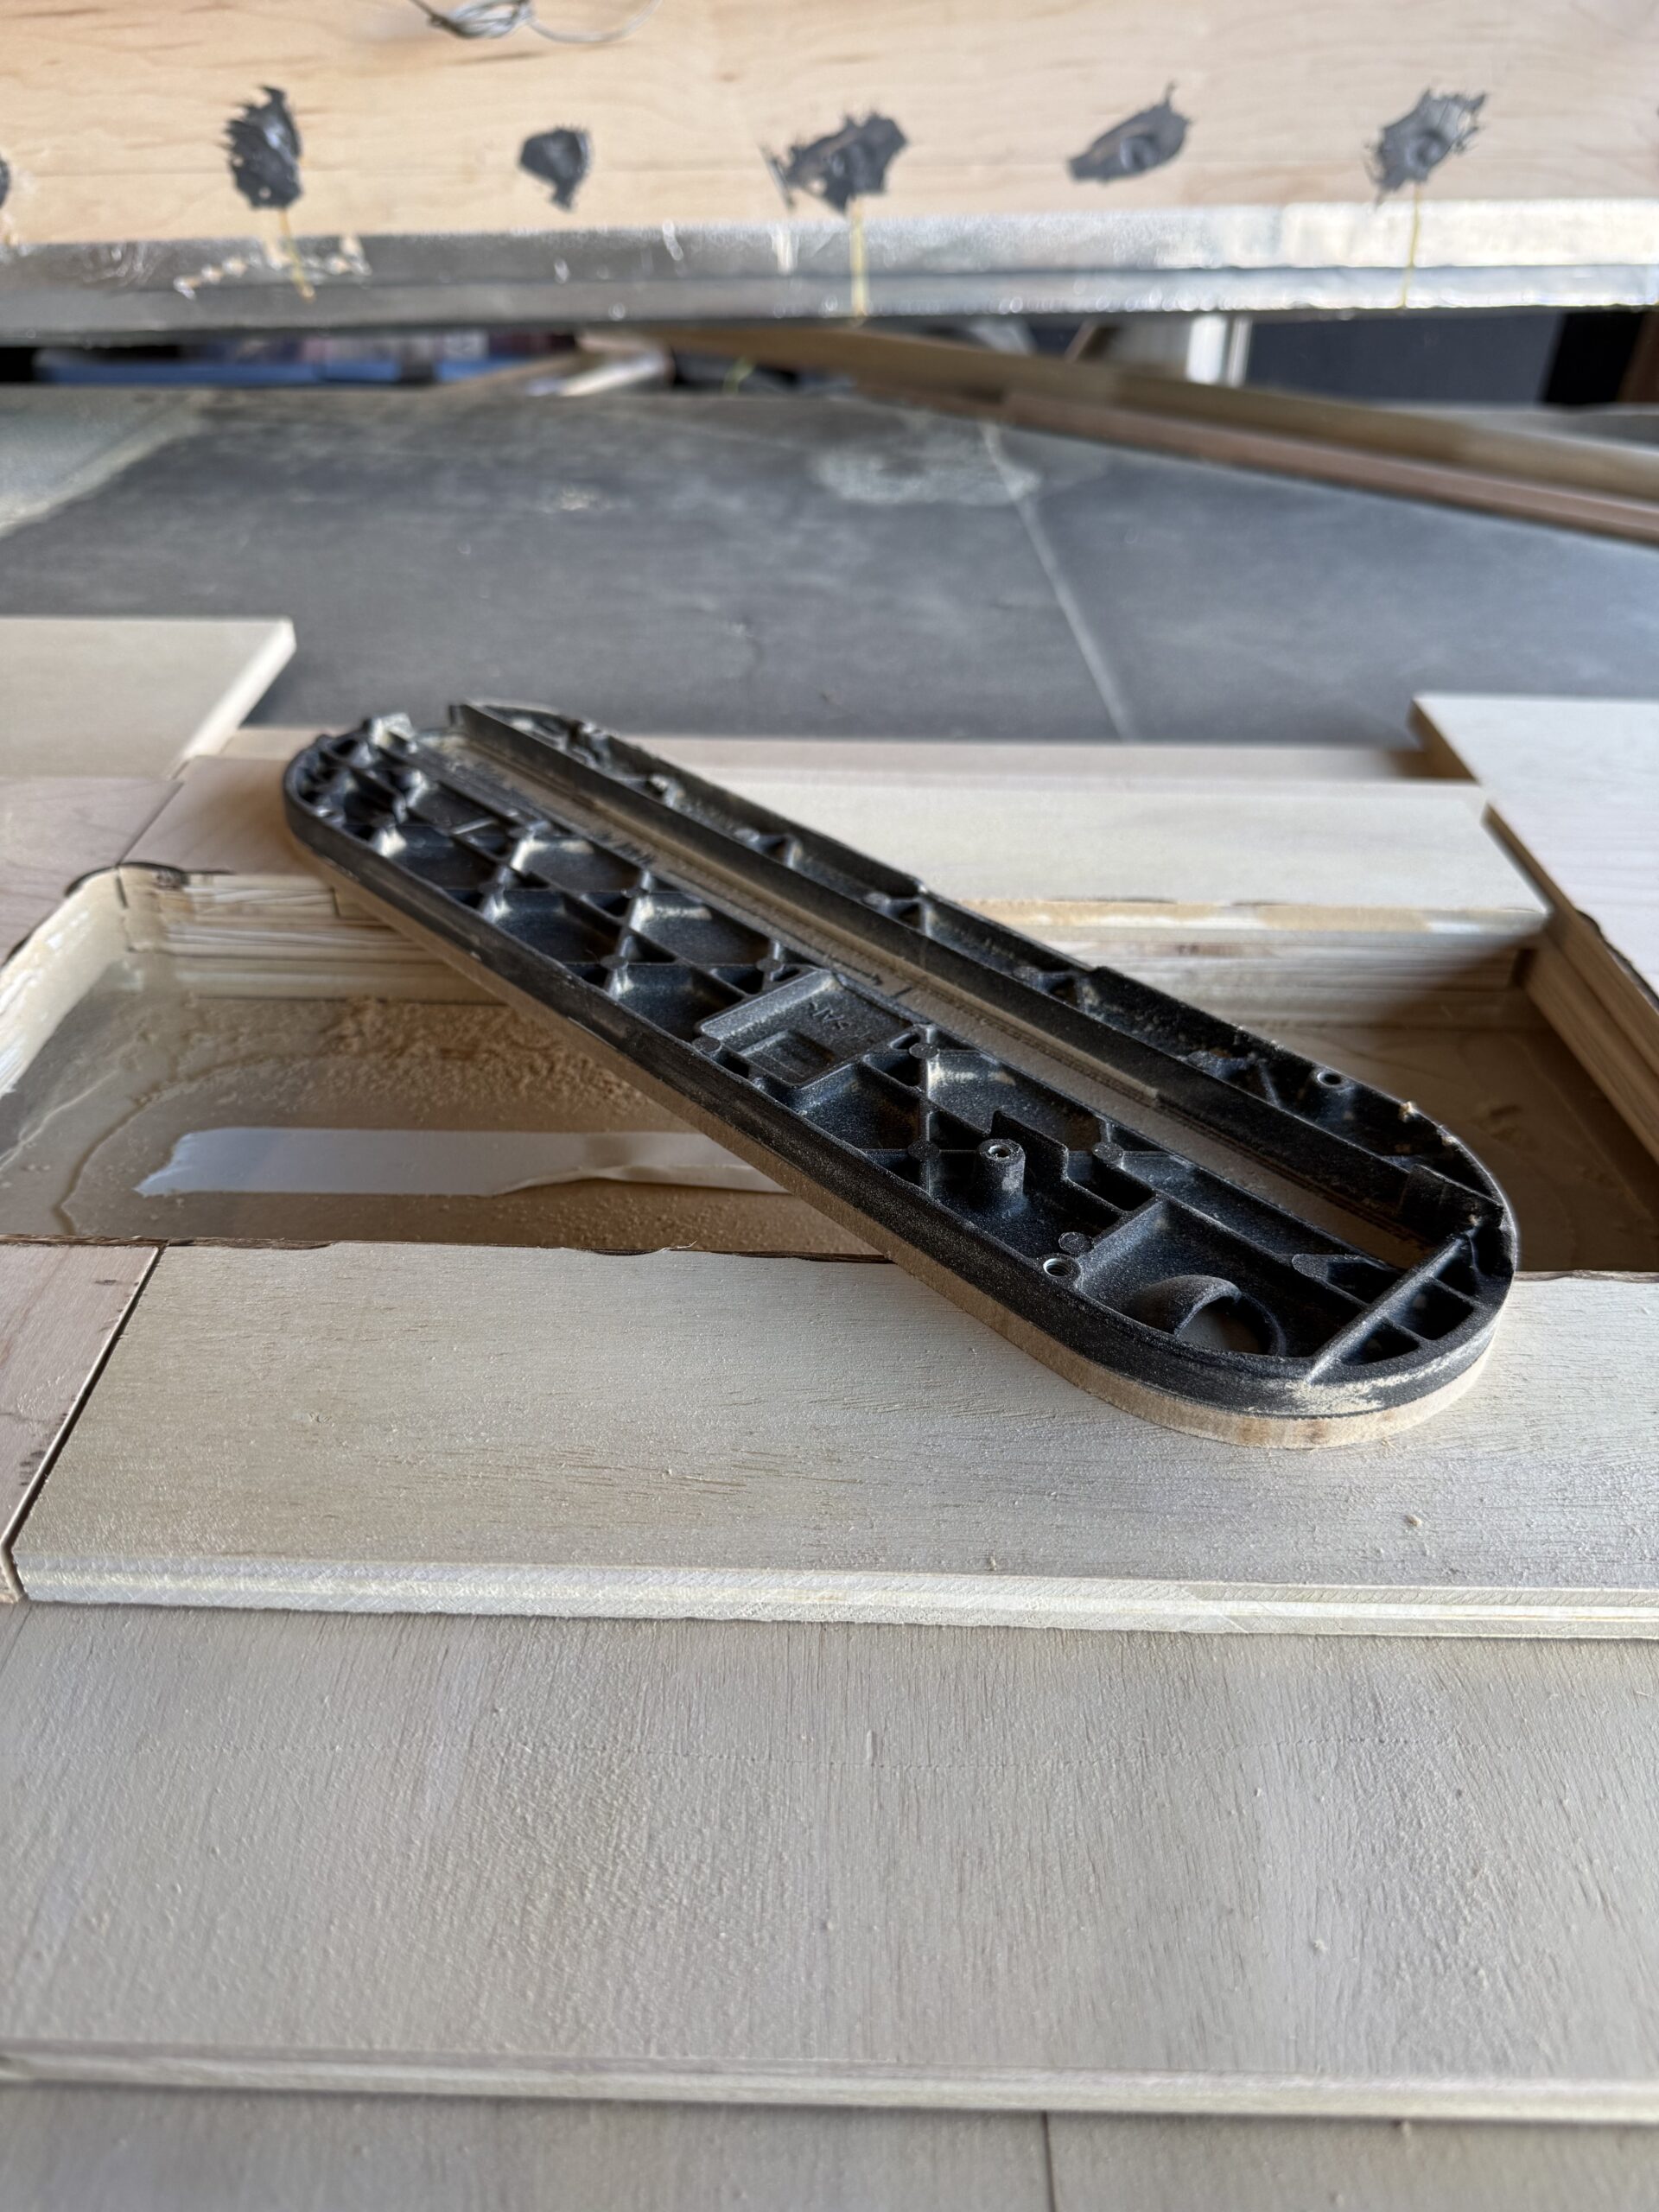
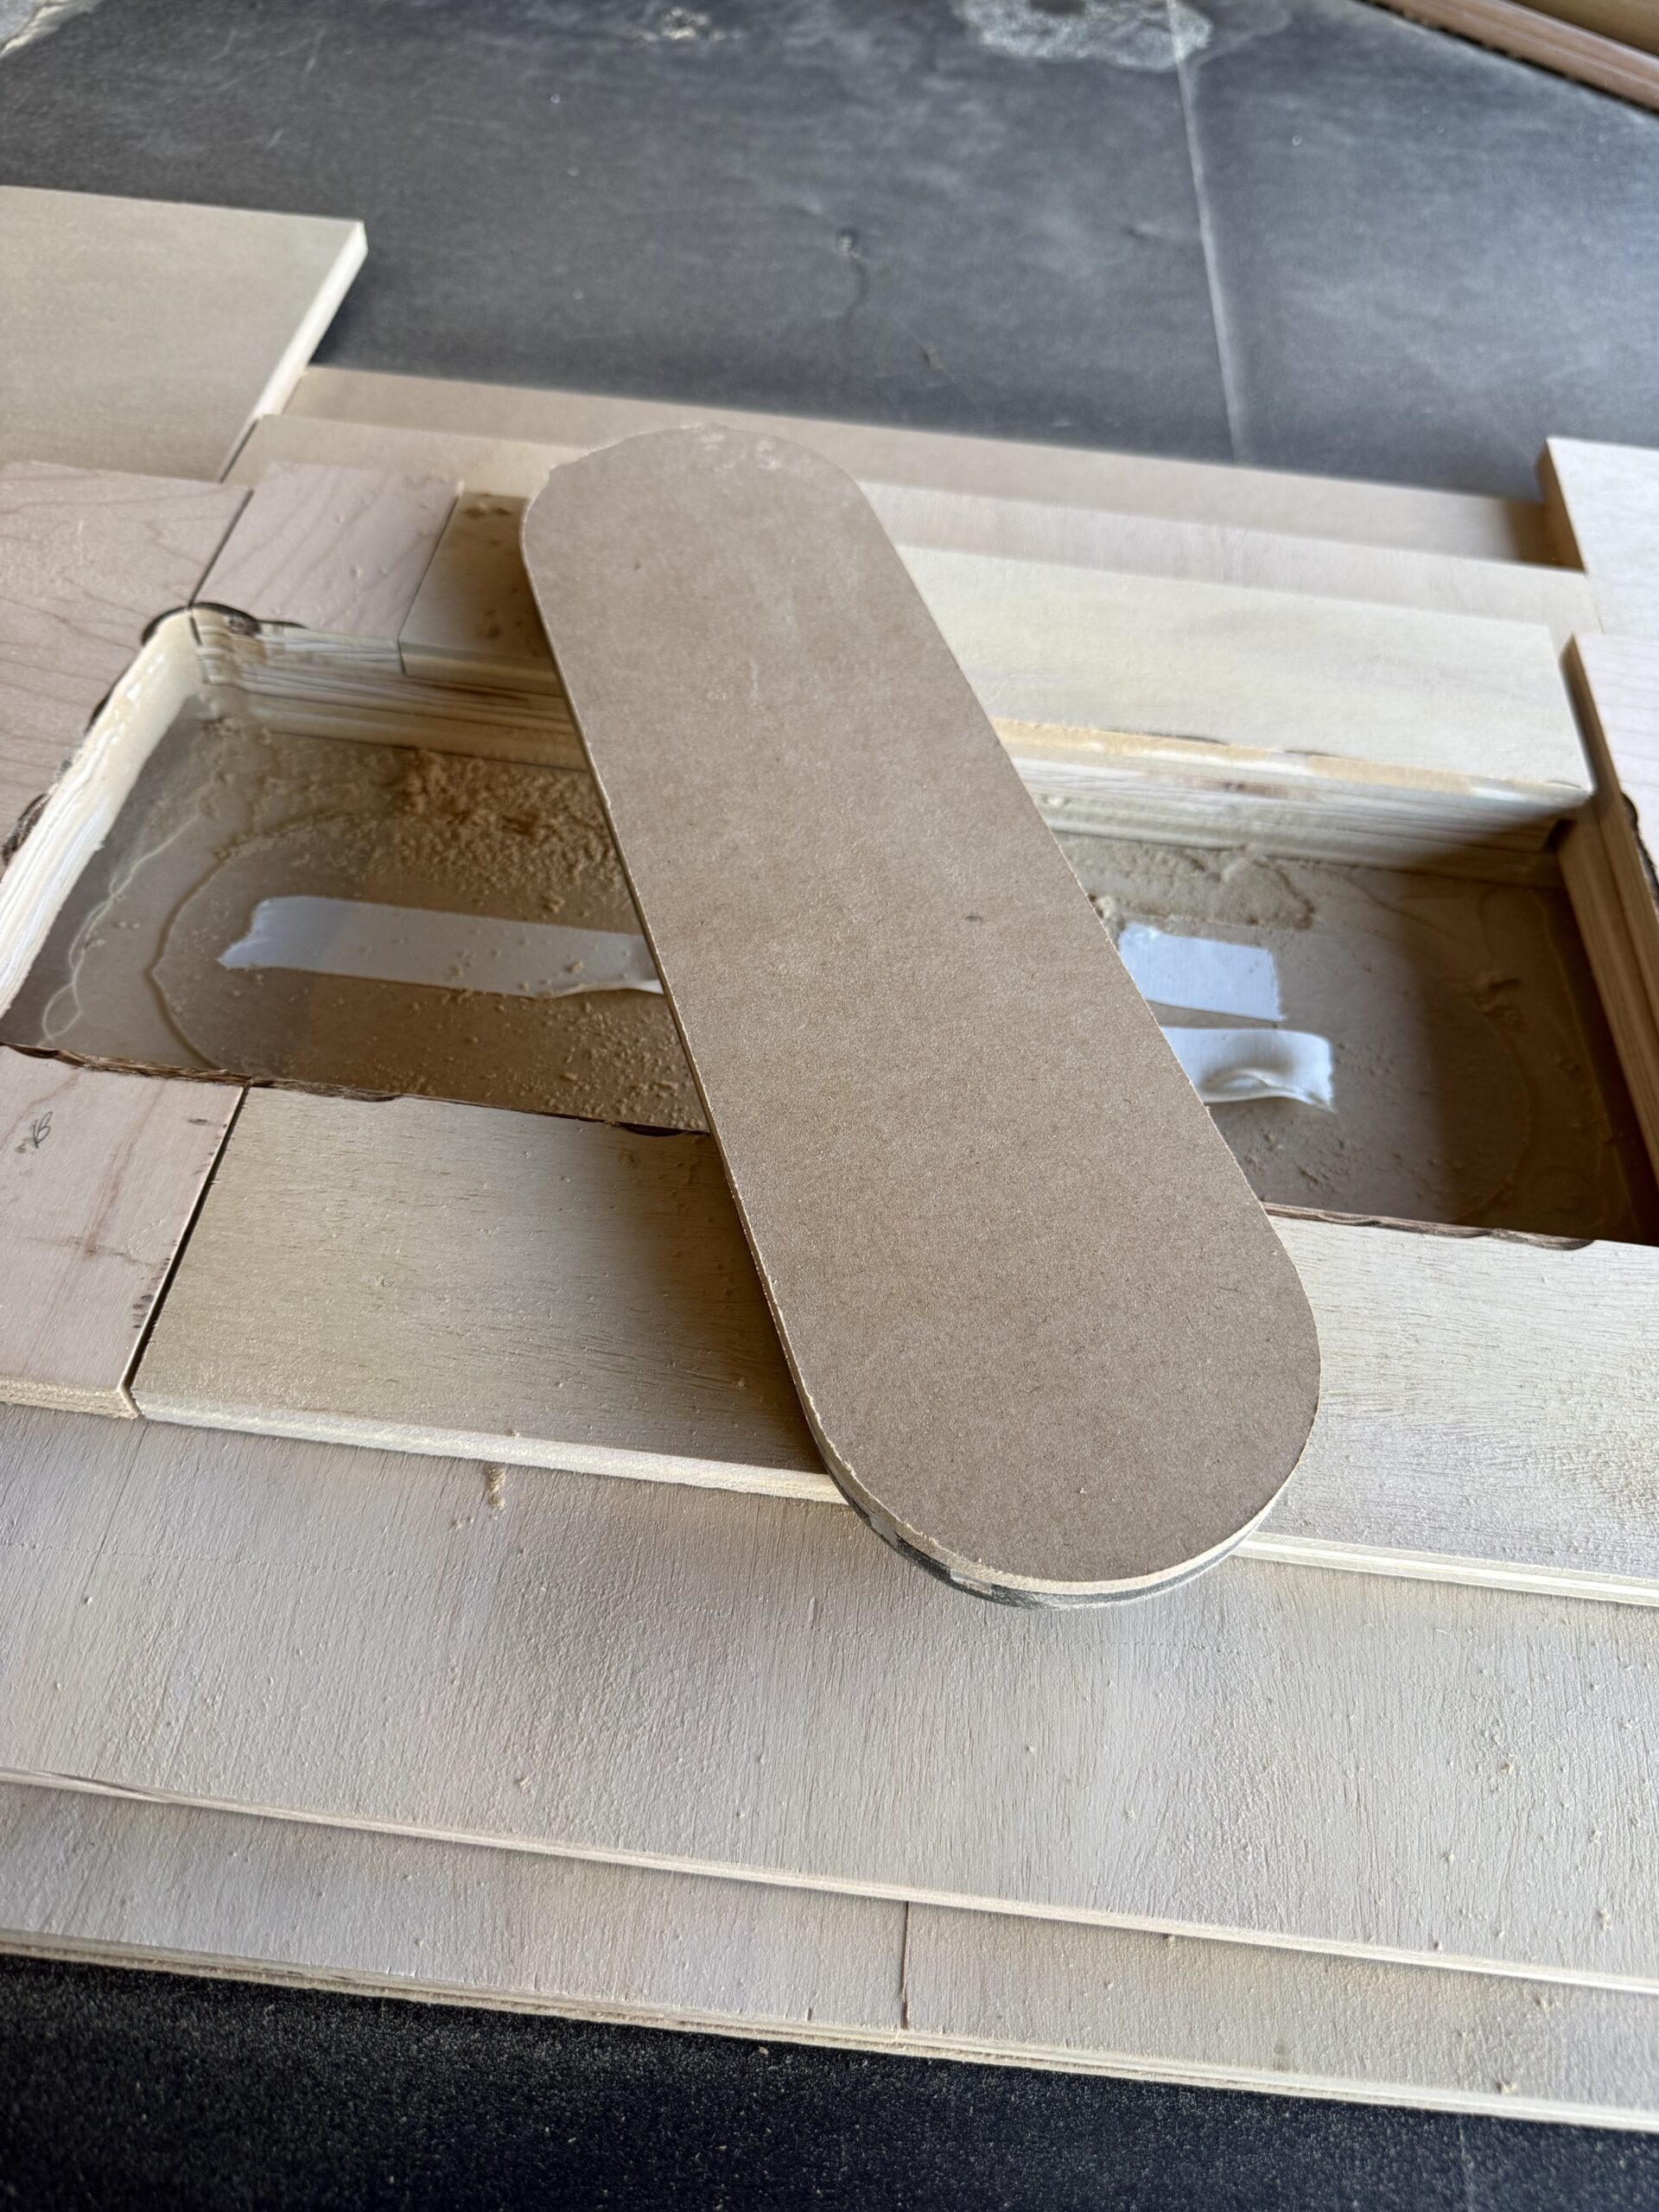
Zero Clearance Throat Plate
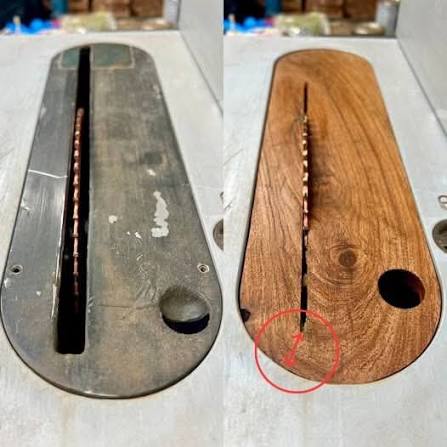

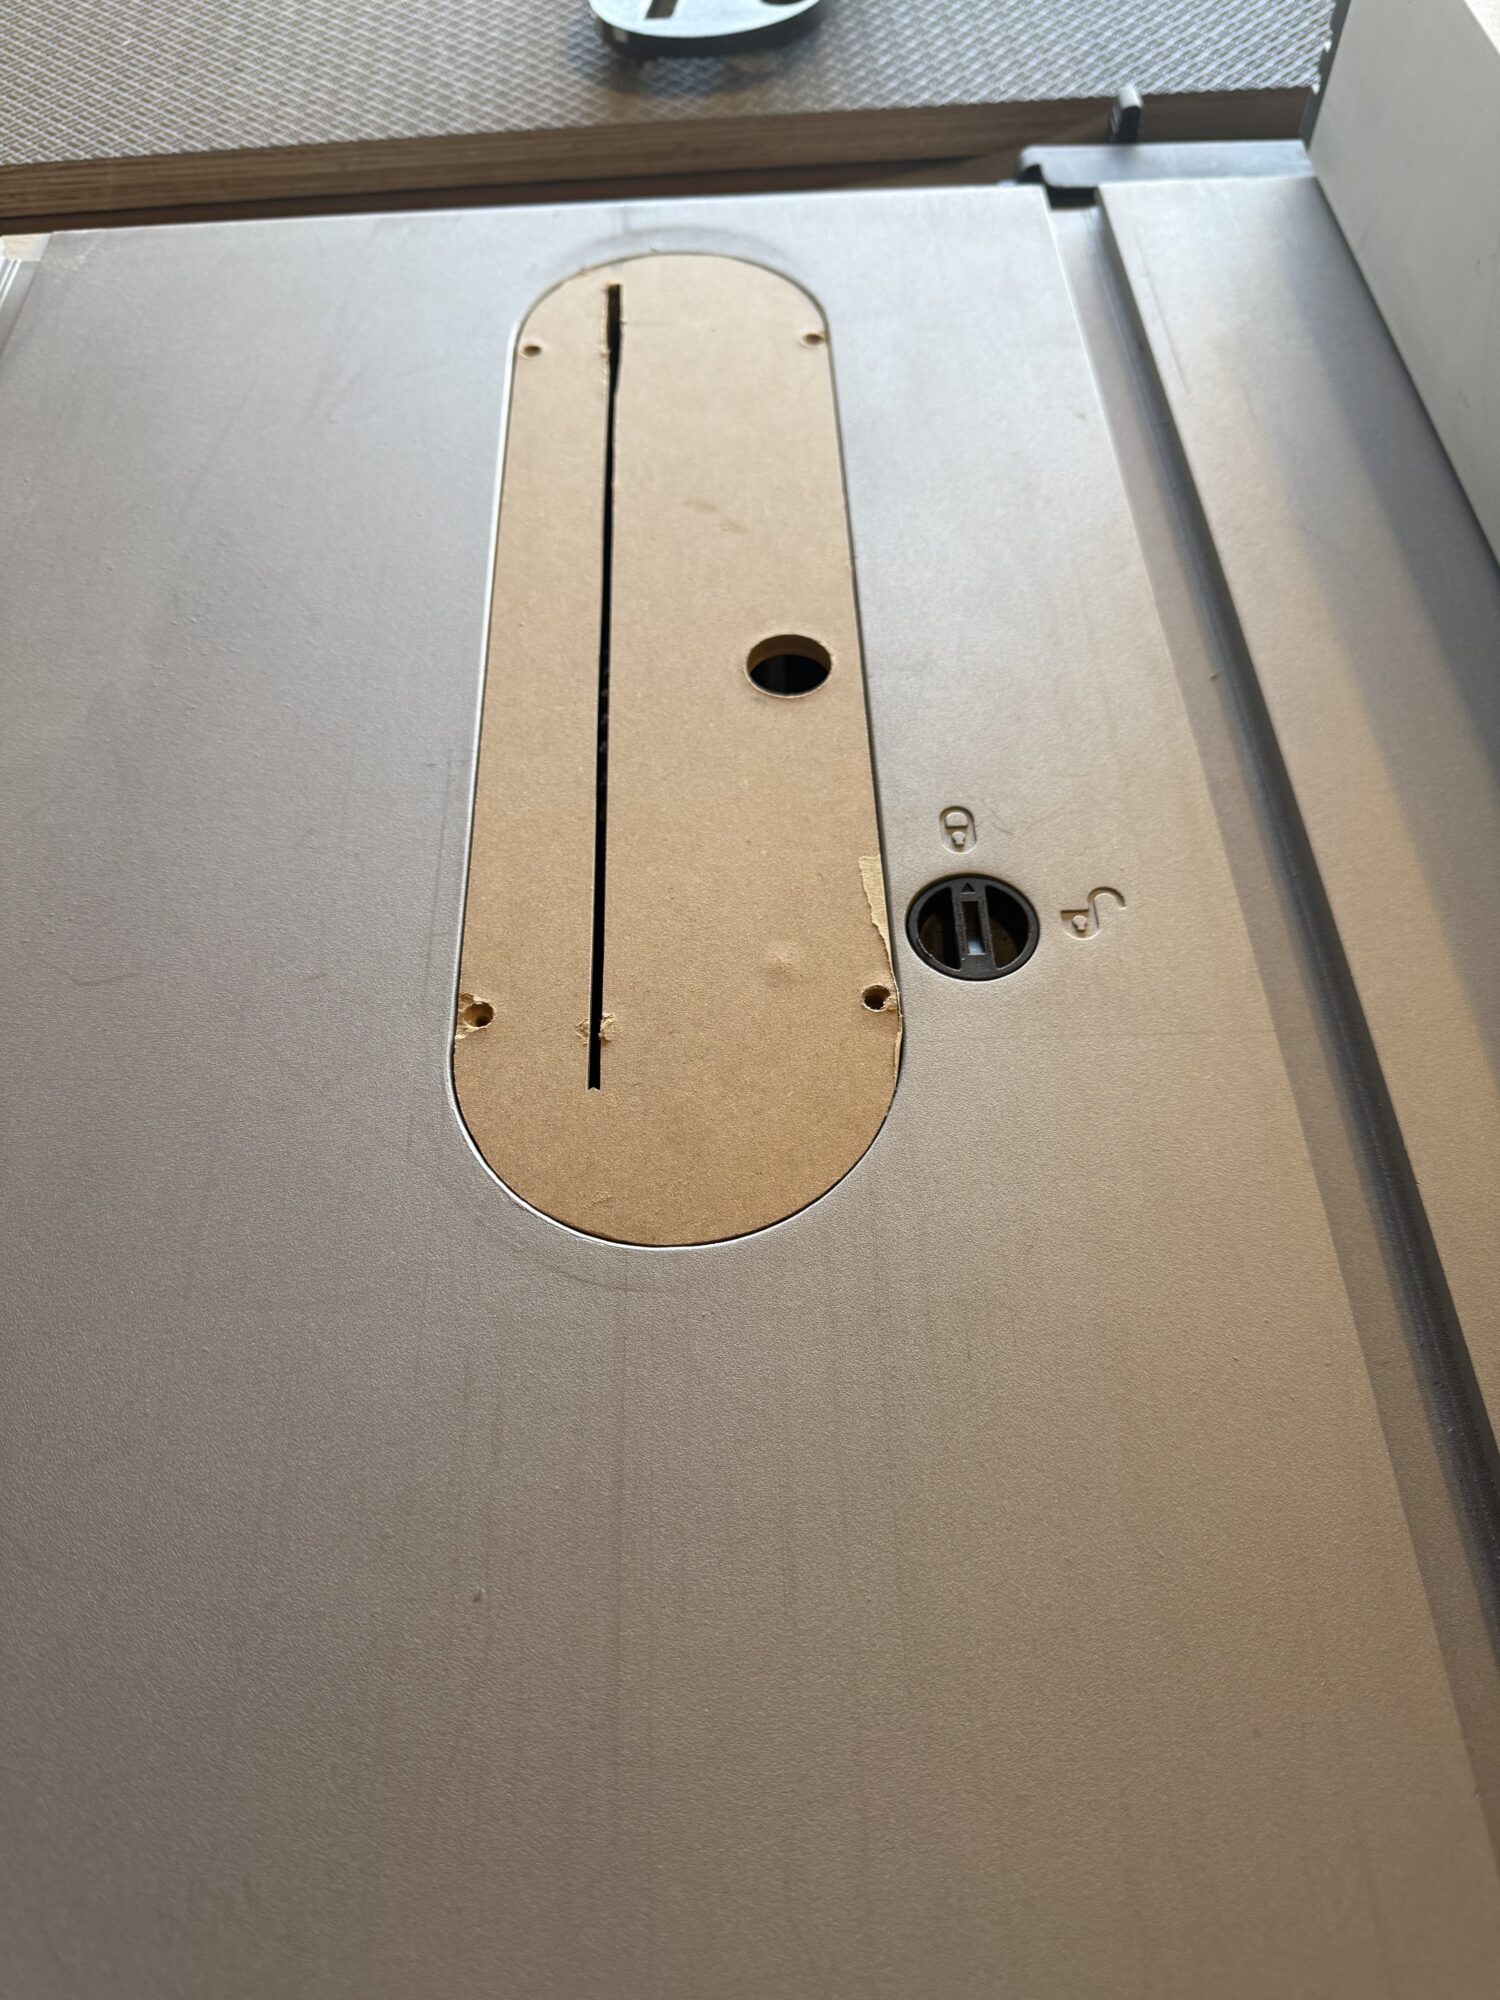
To create the thin ripped boards, I needed a zero-clearance throat plate for my table saw. I couldn’t find one for purchase, so I made my own. This allows you to rip the really thin cuts without them falling or catching in the hole of the normal clearance plate.
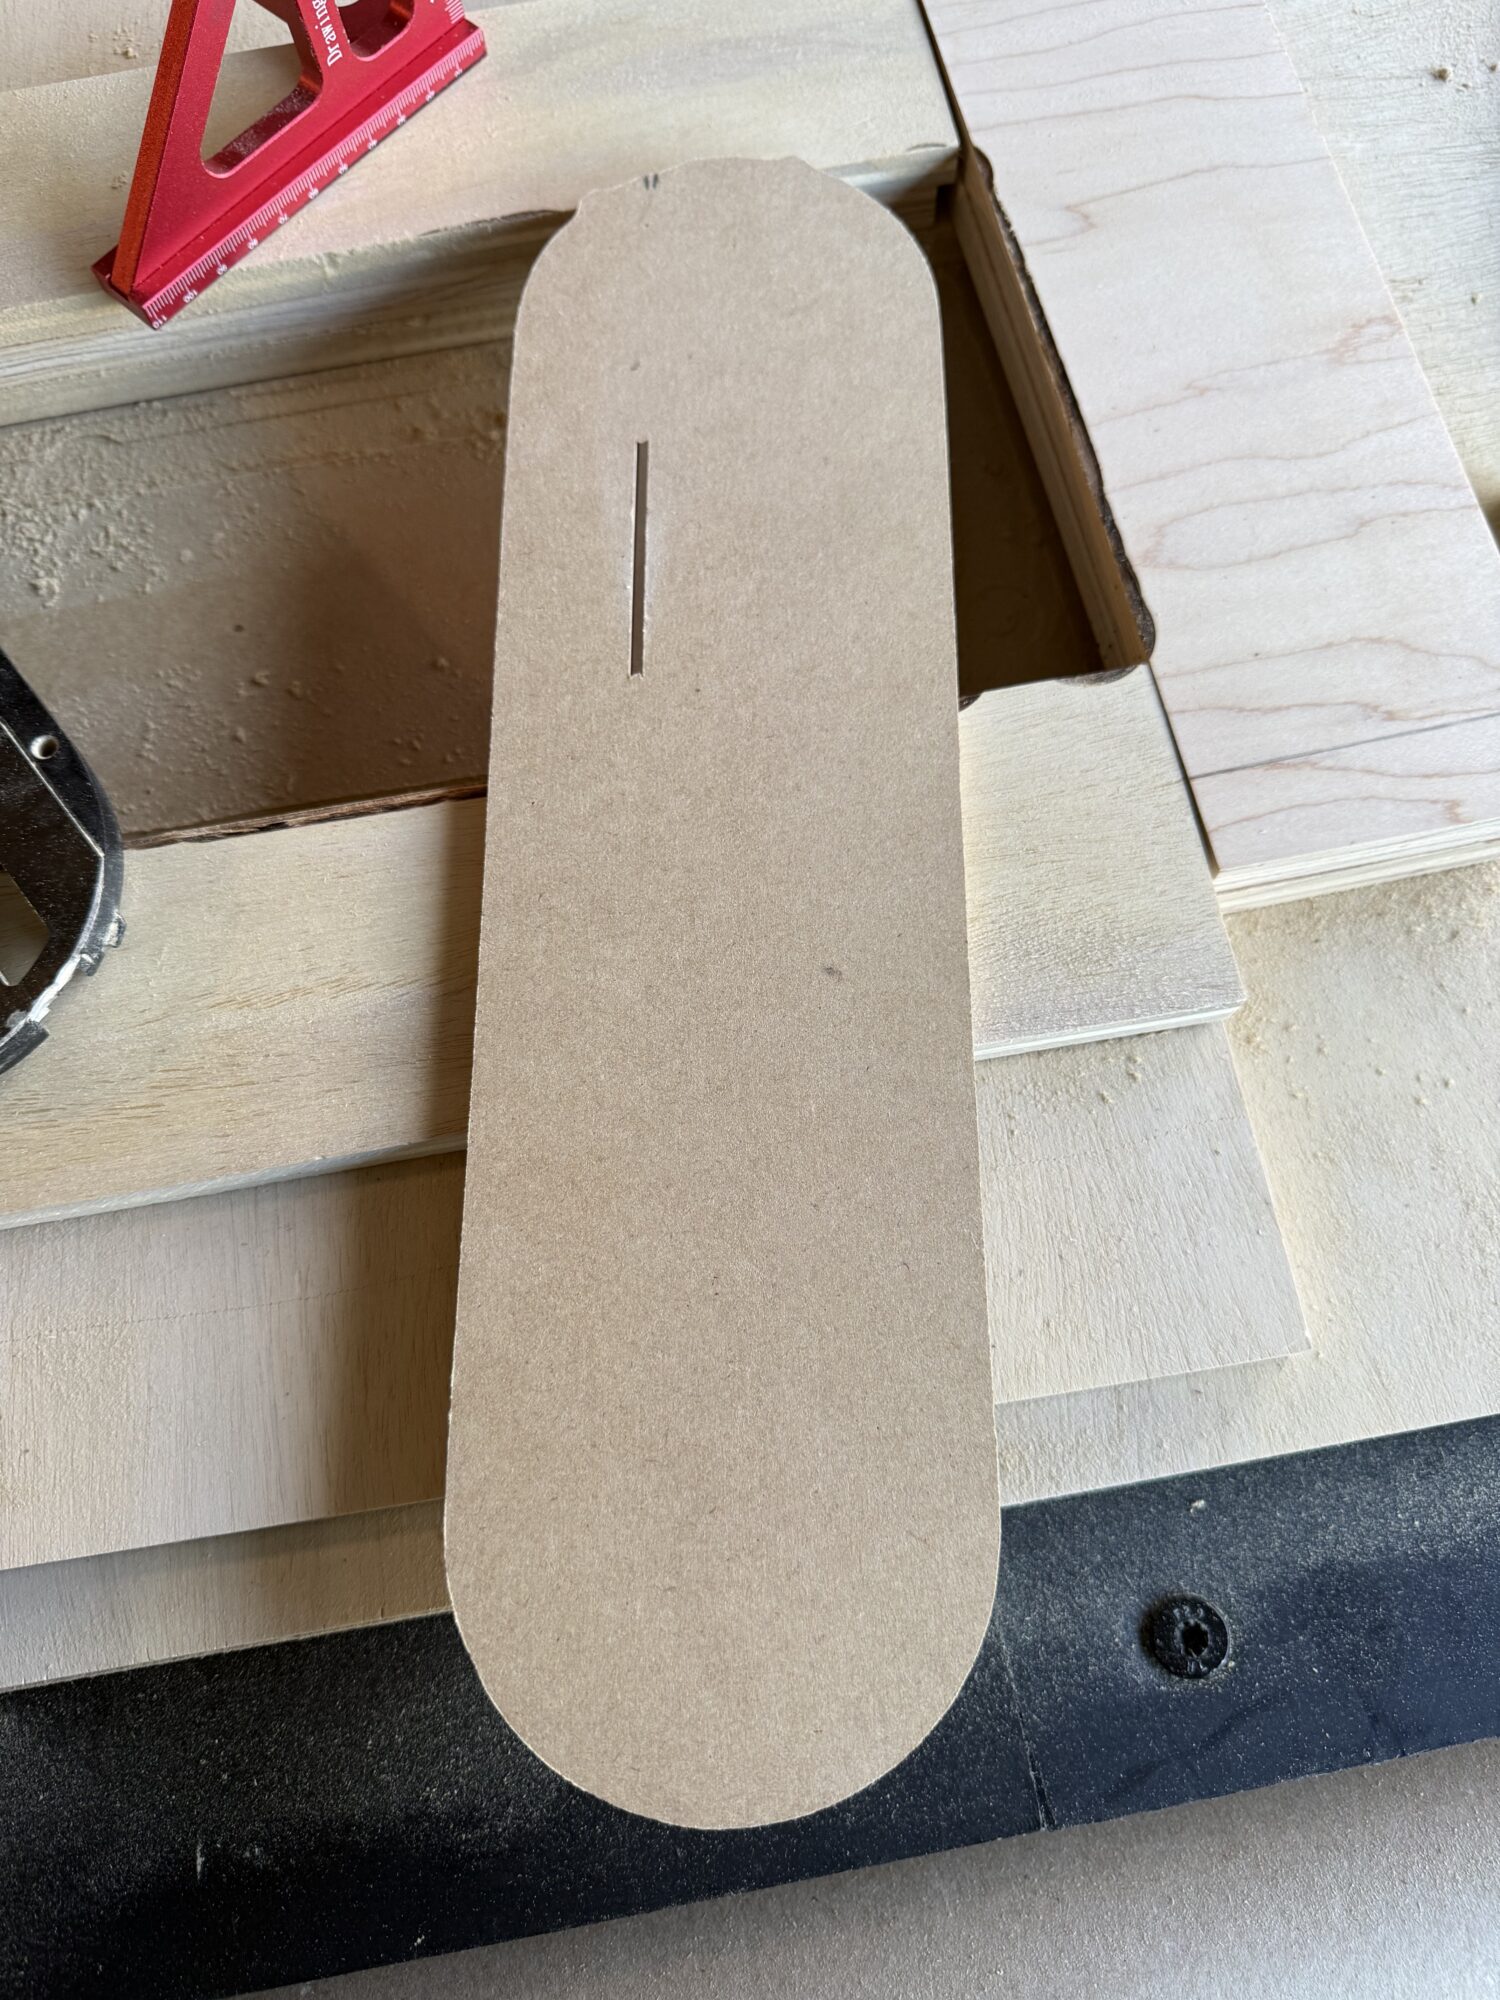
I used 1/4″ MDF and taped the throat plate that my table saw came with to a rough cut square that was slightly bigger than the plate. I cut the plate with a hand router, using the throat plate as a template. This was a good and bad idea, because there are a few spots where the plate is lower. At these spots, the router bit nicked the plate.

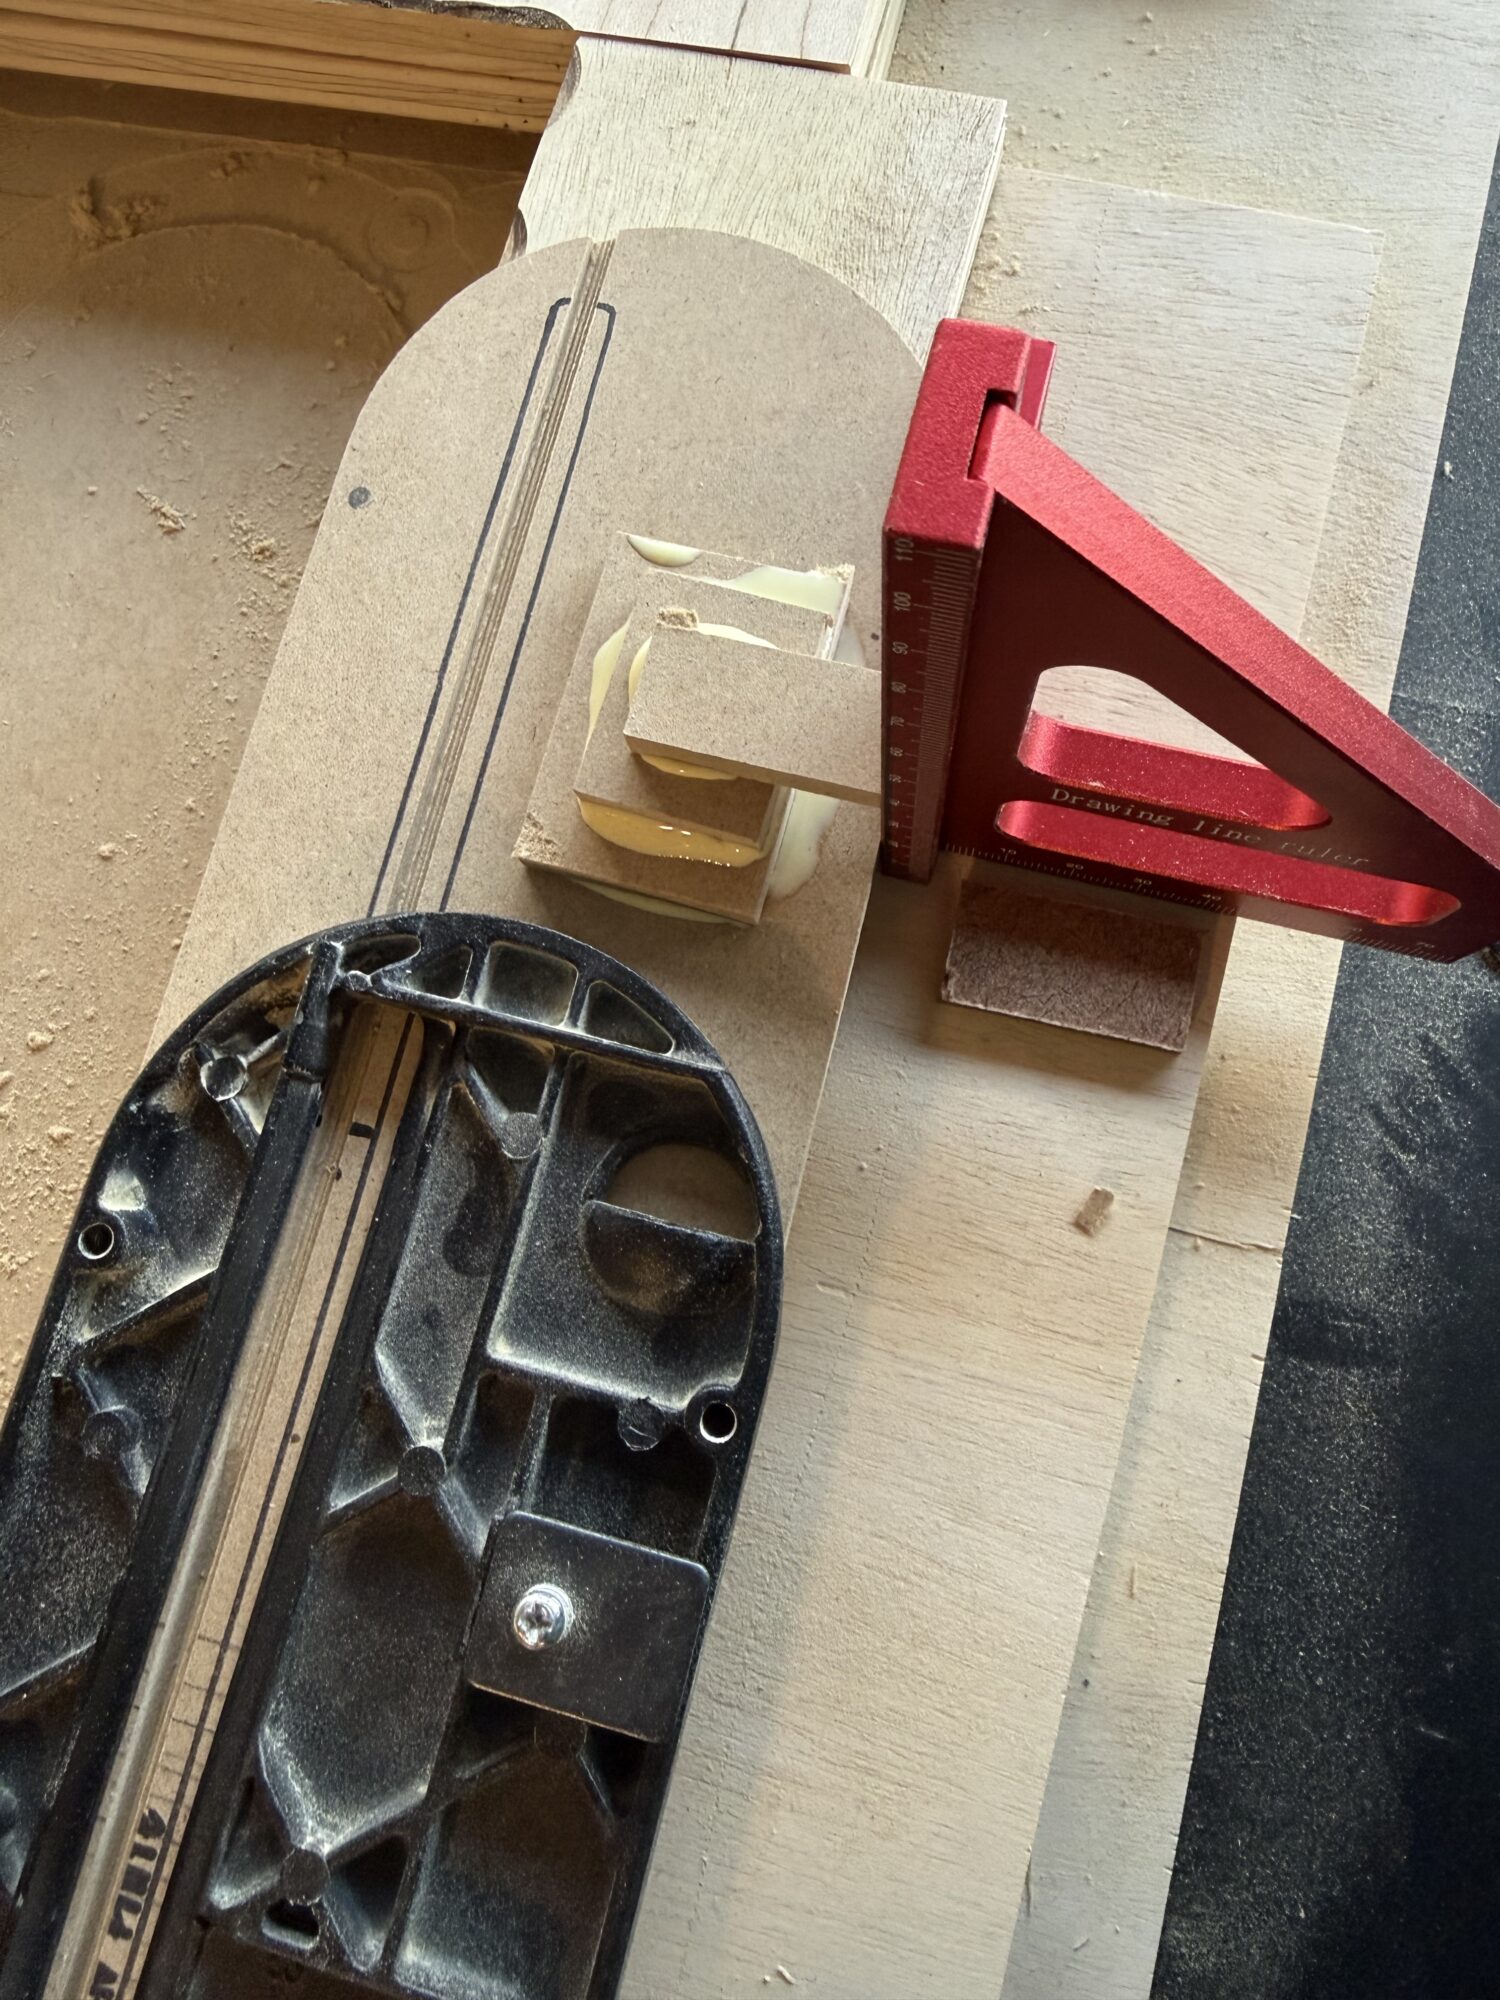

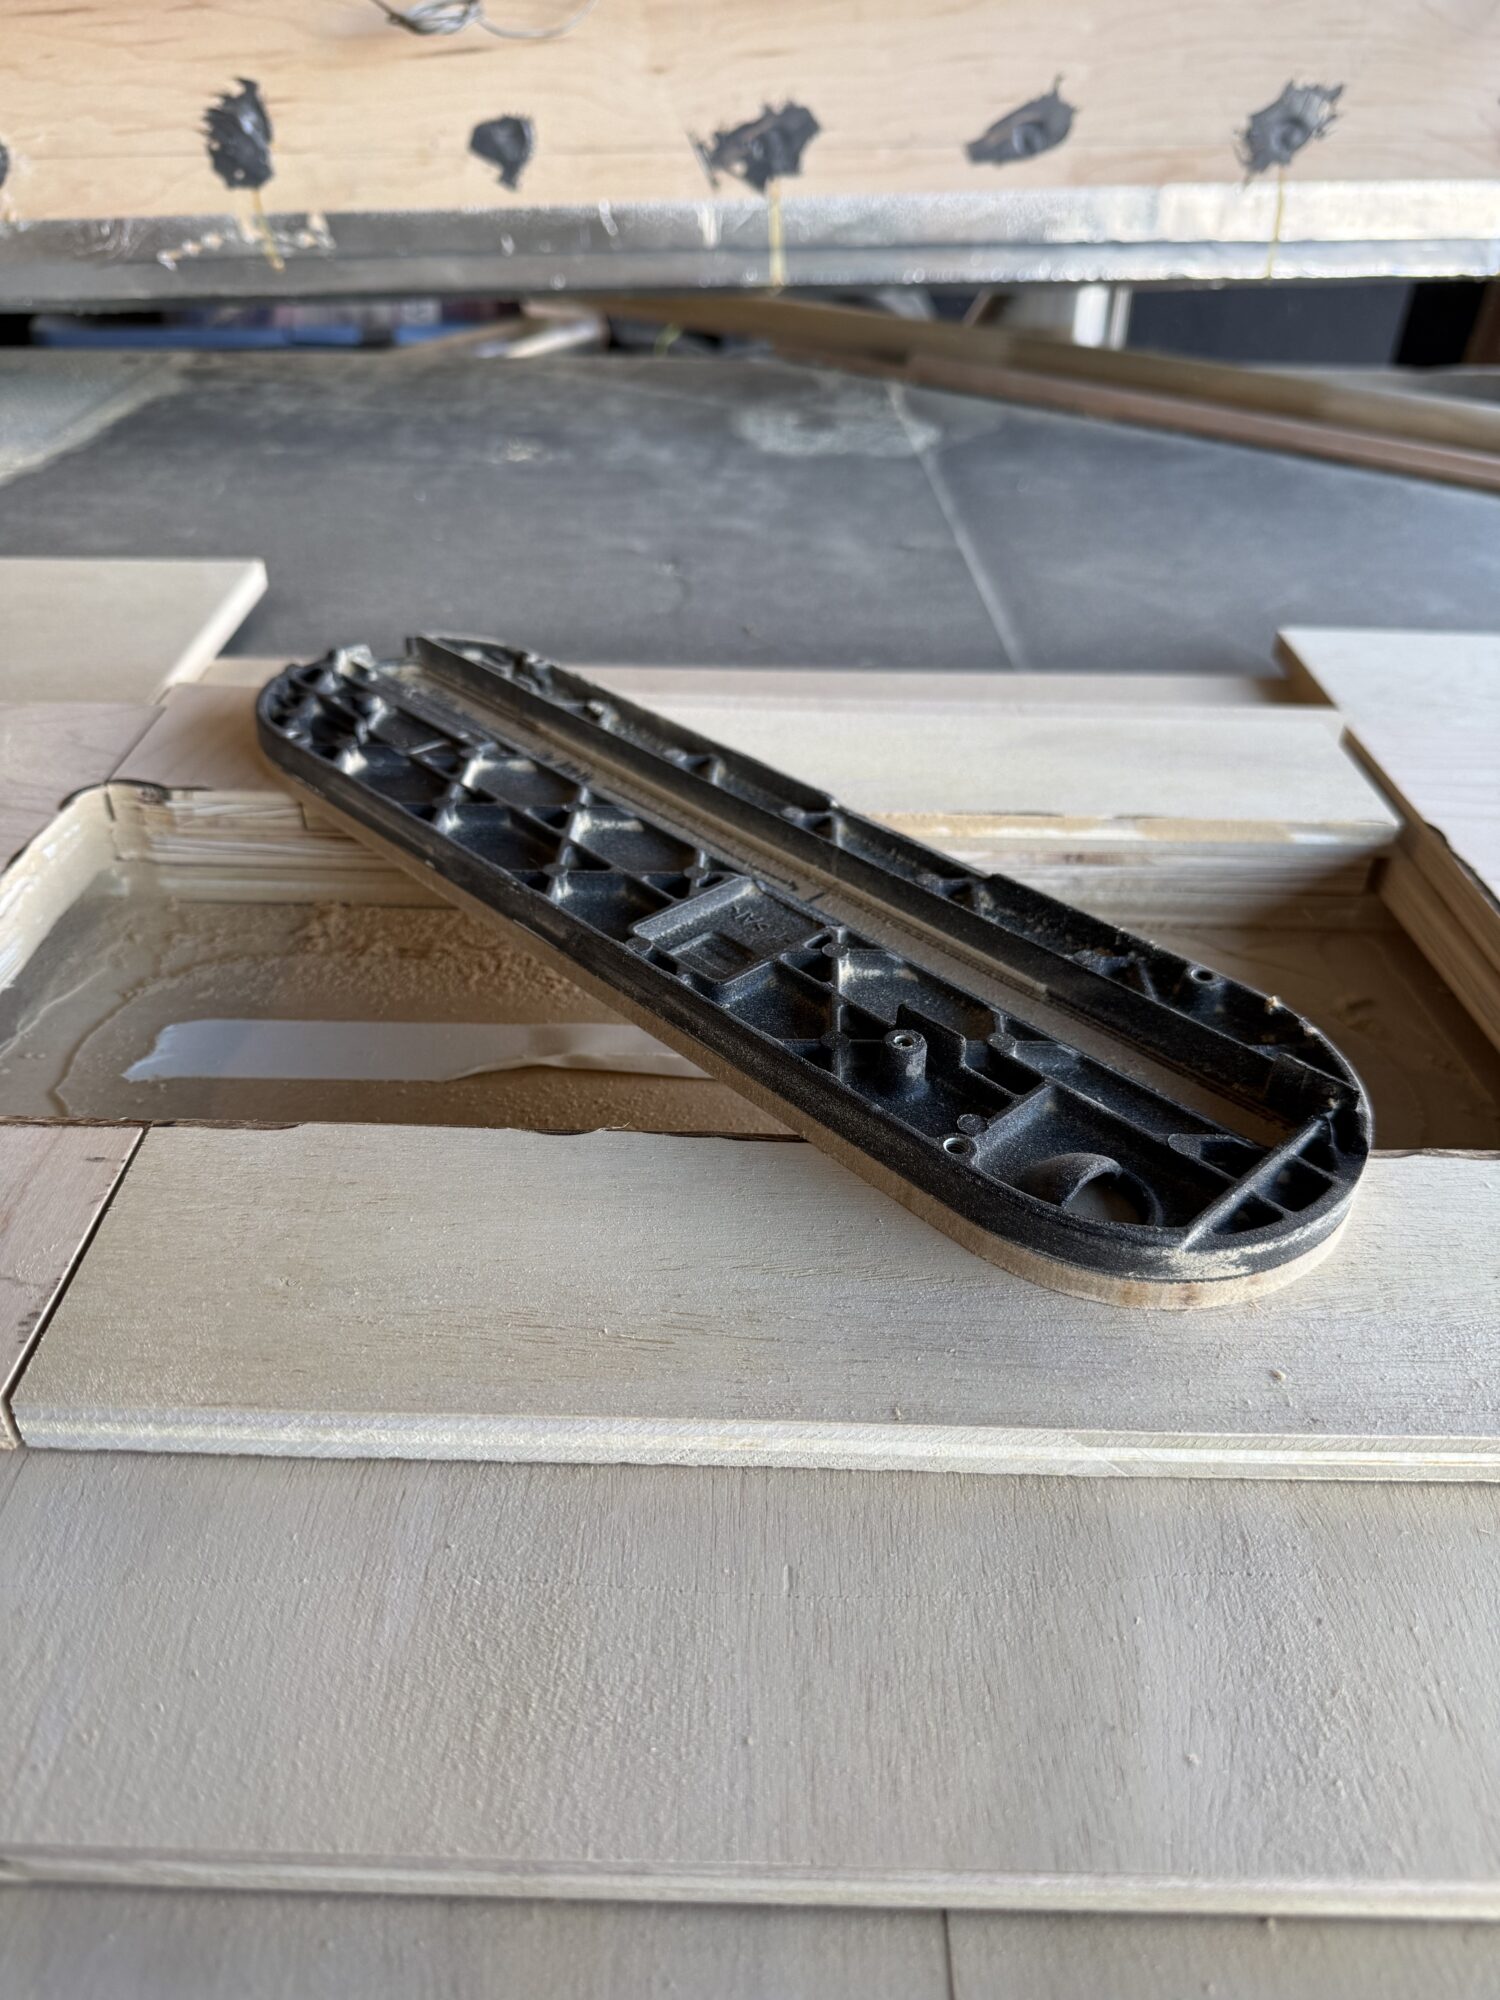
After I got the outer shape, I placed several blocks along the bottom to match the locking mechanisms on the original plate.
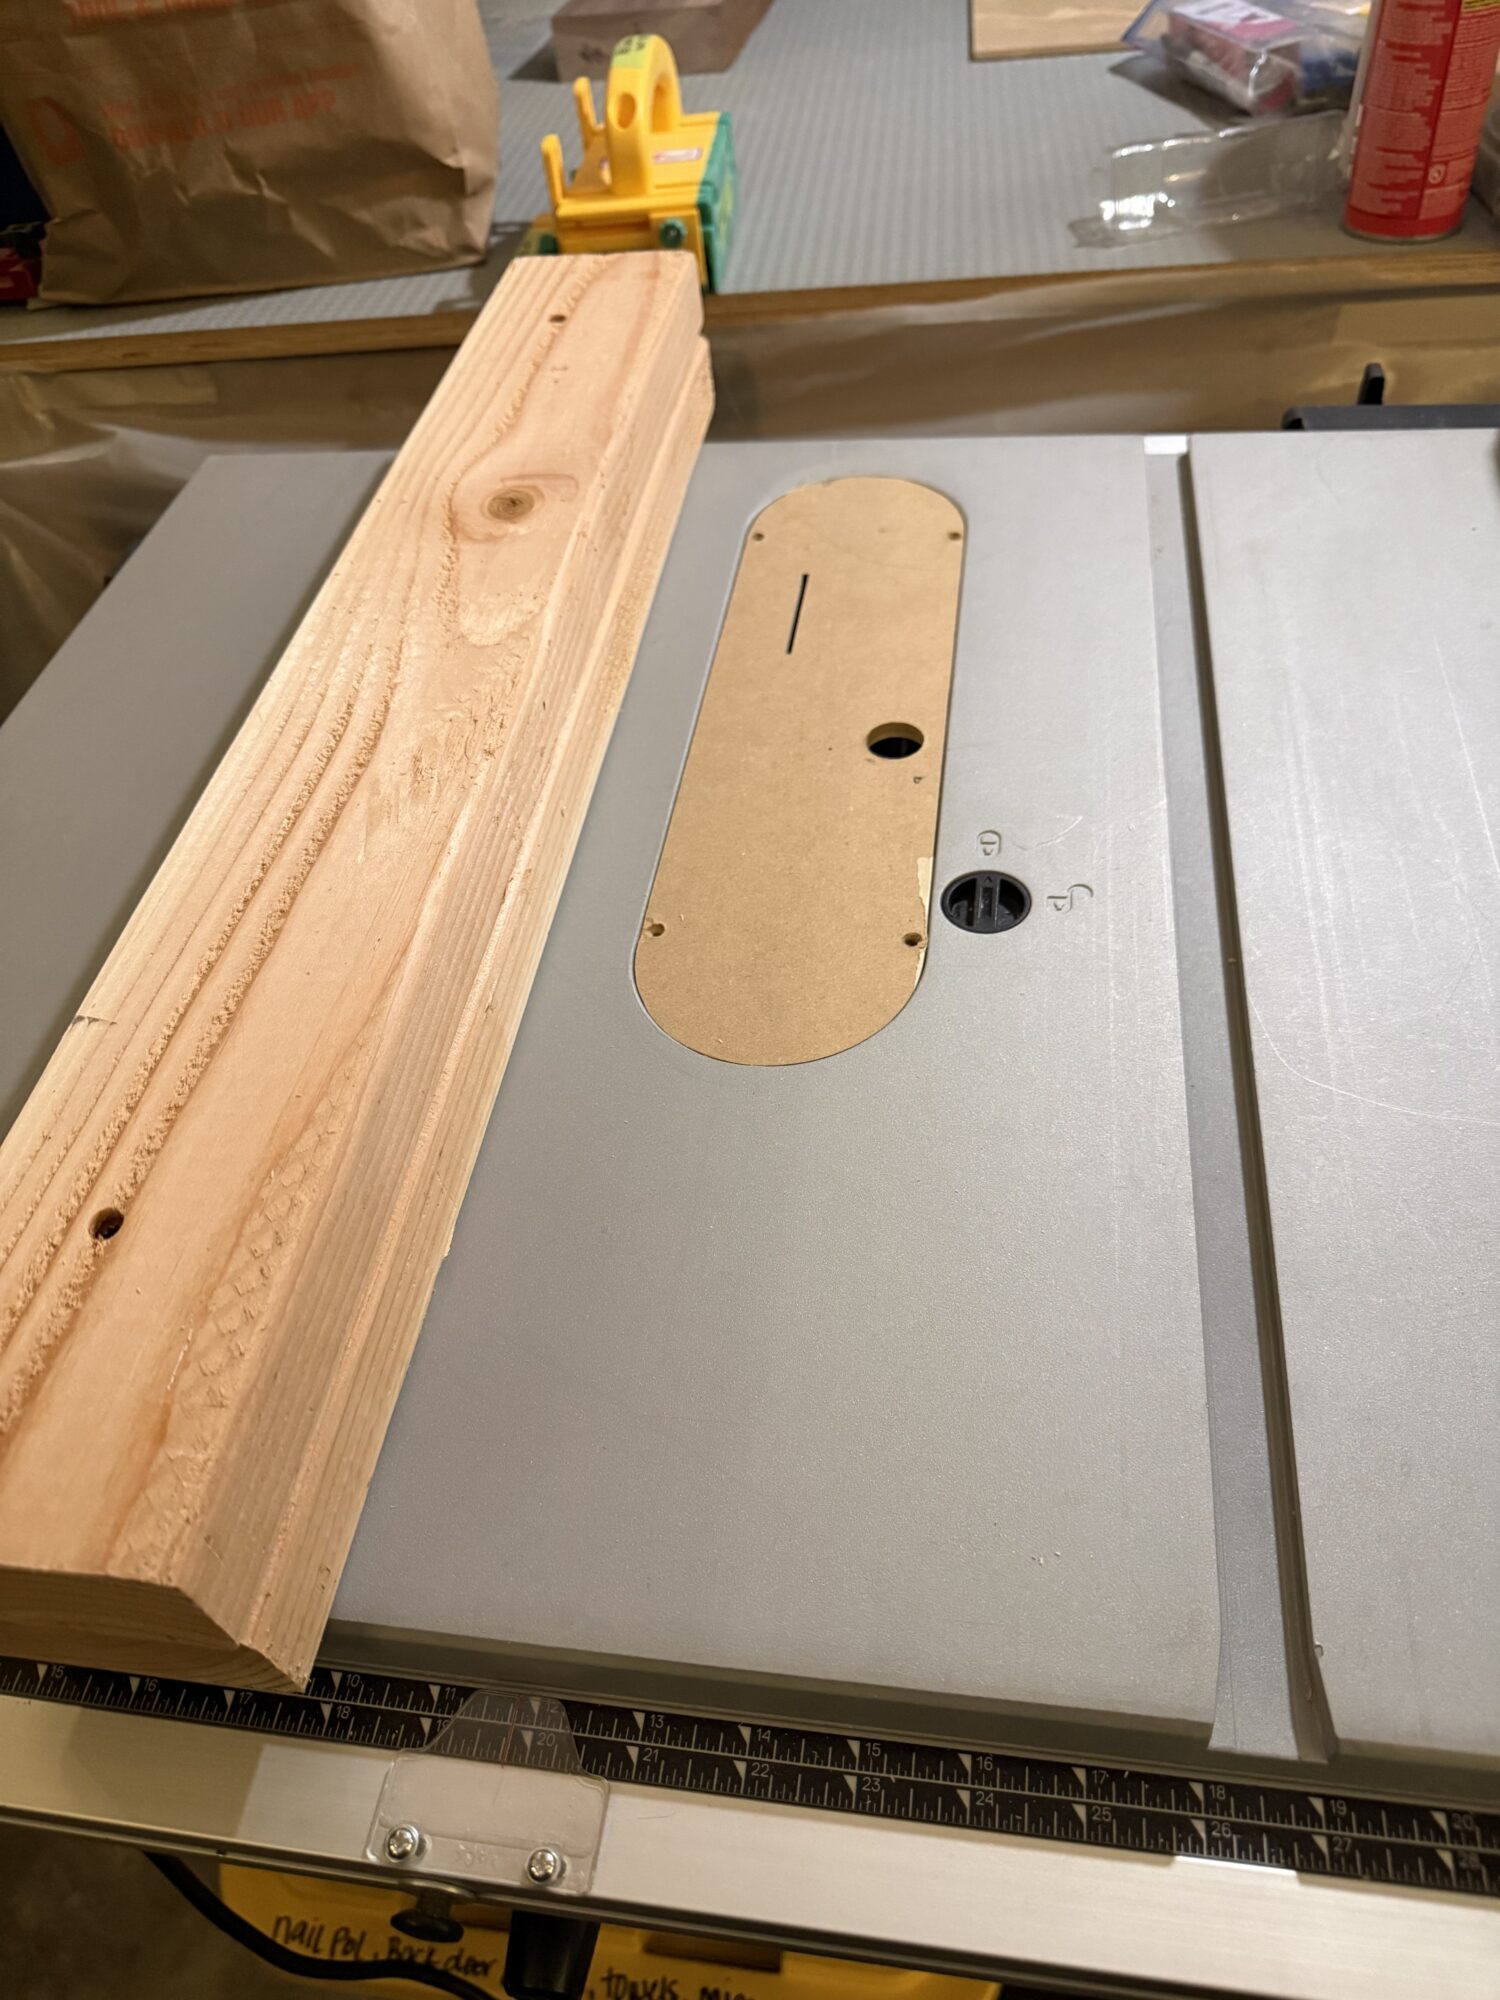
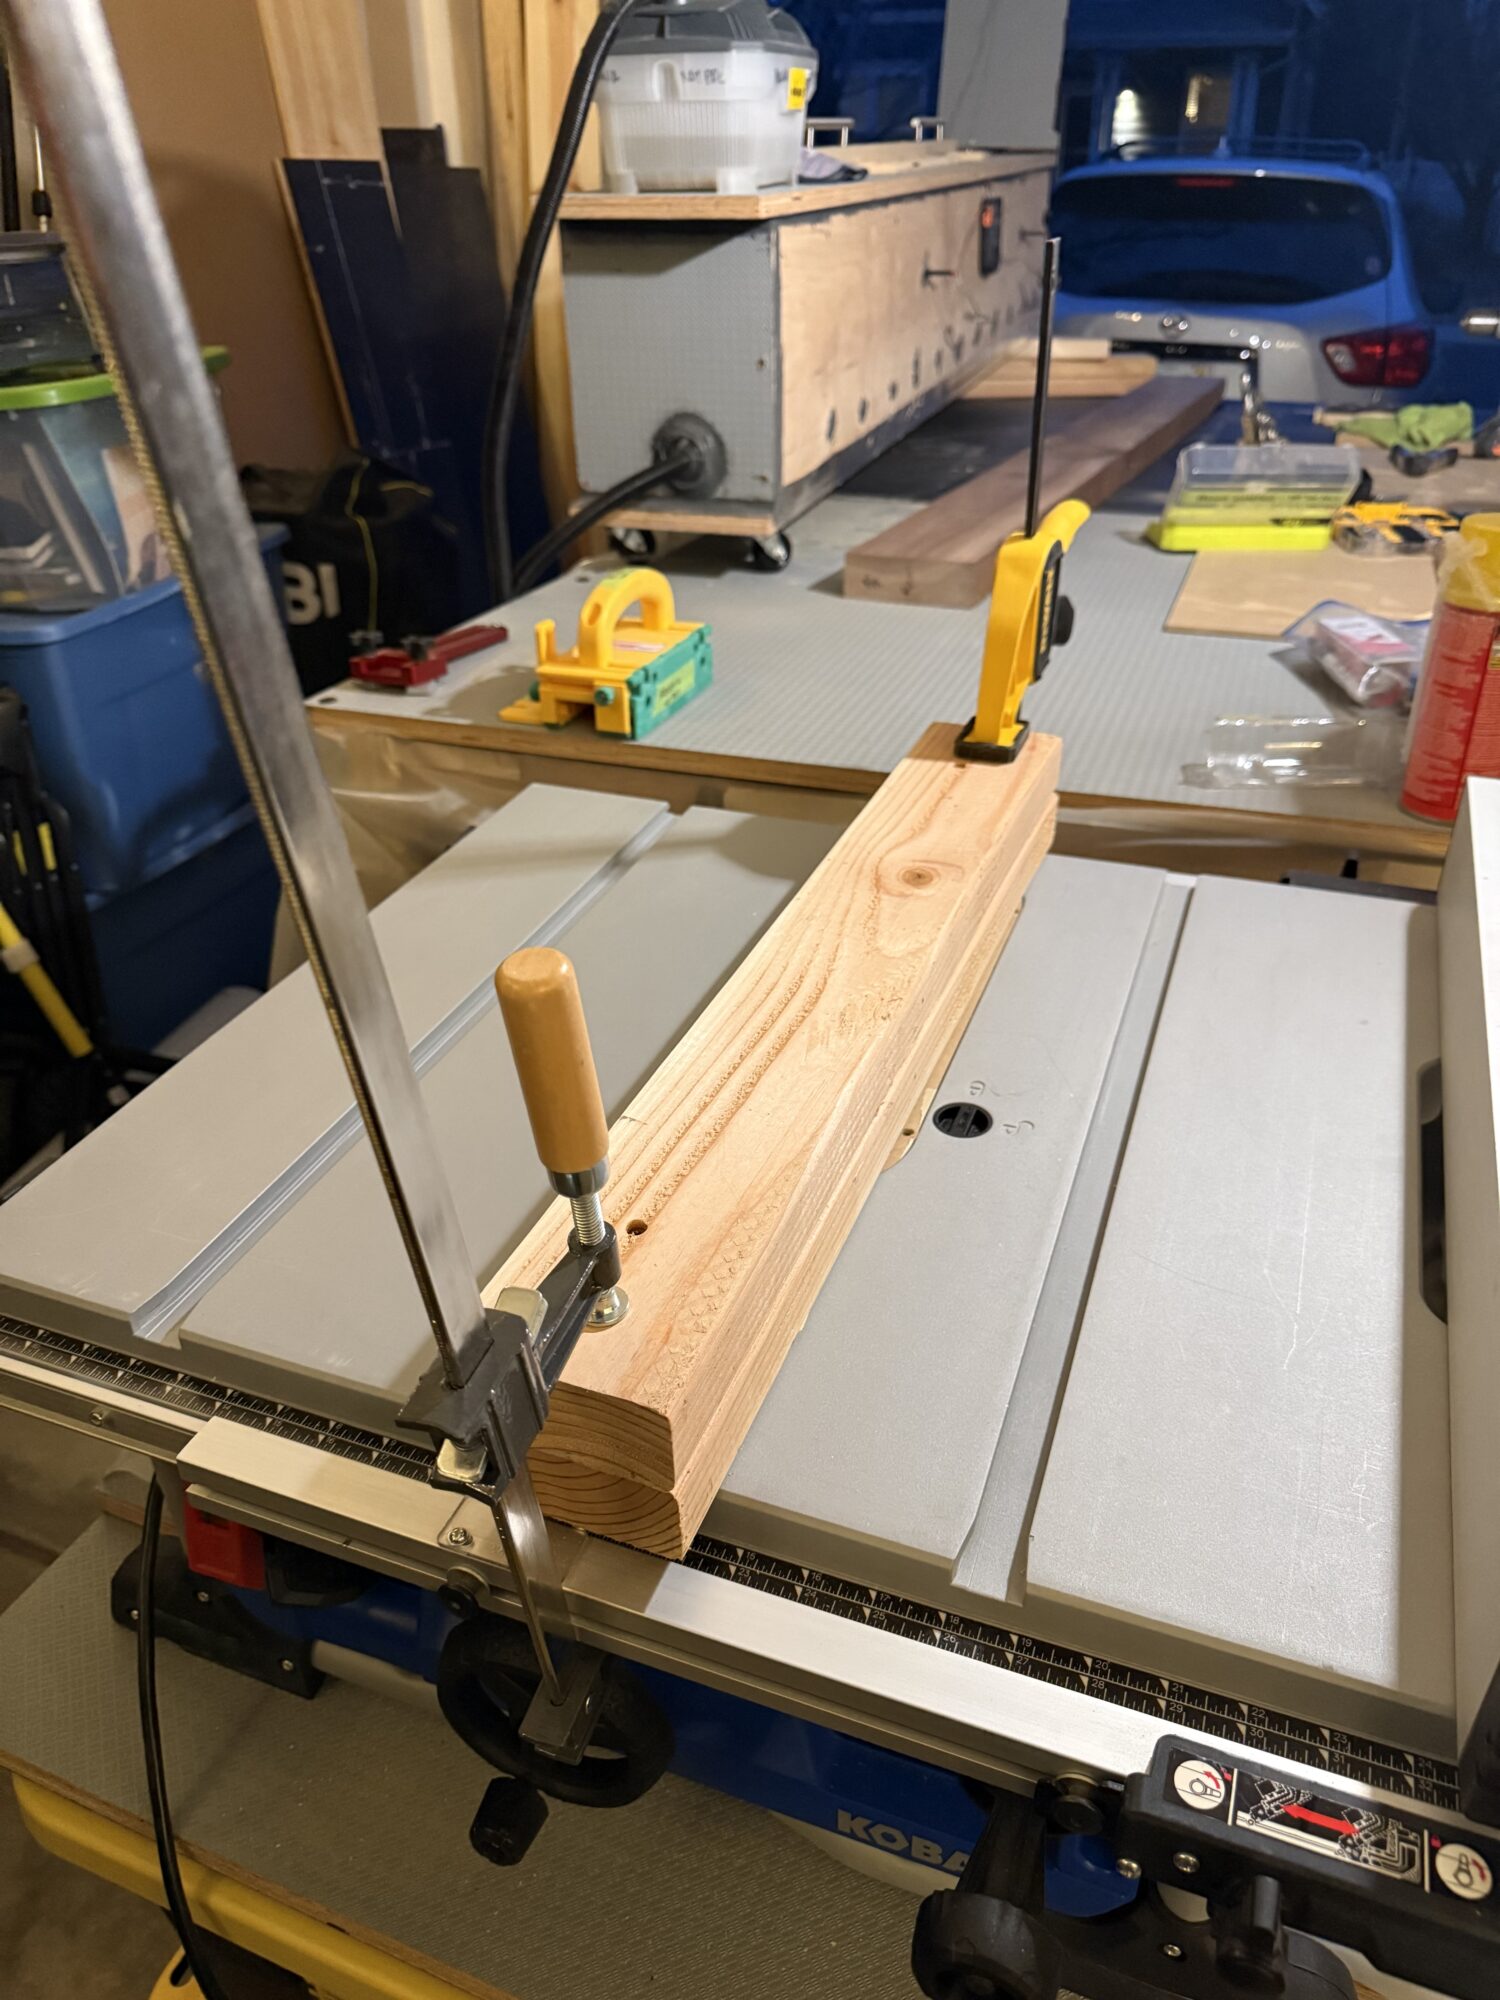
The final step is to insert the throat plate with the table saw blade completely lowered, place some 2×4 boards over it, and clamp them in place. Then, you turn the table saw on and slowly raise the blade through the plate and sacrificial 2×4 boards.
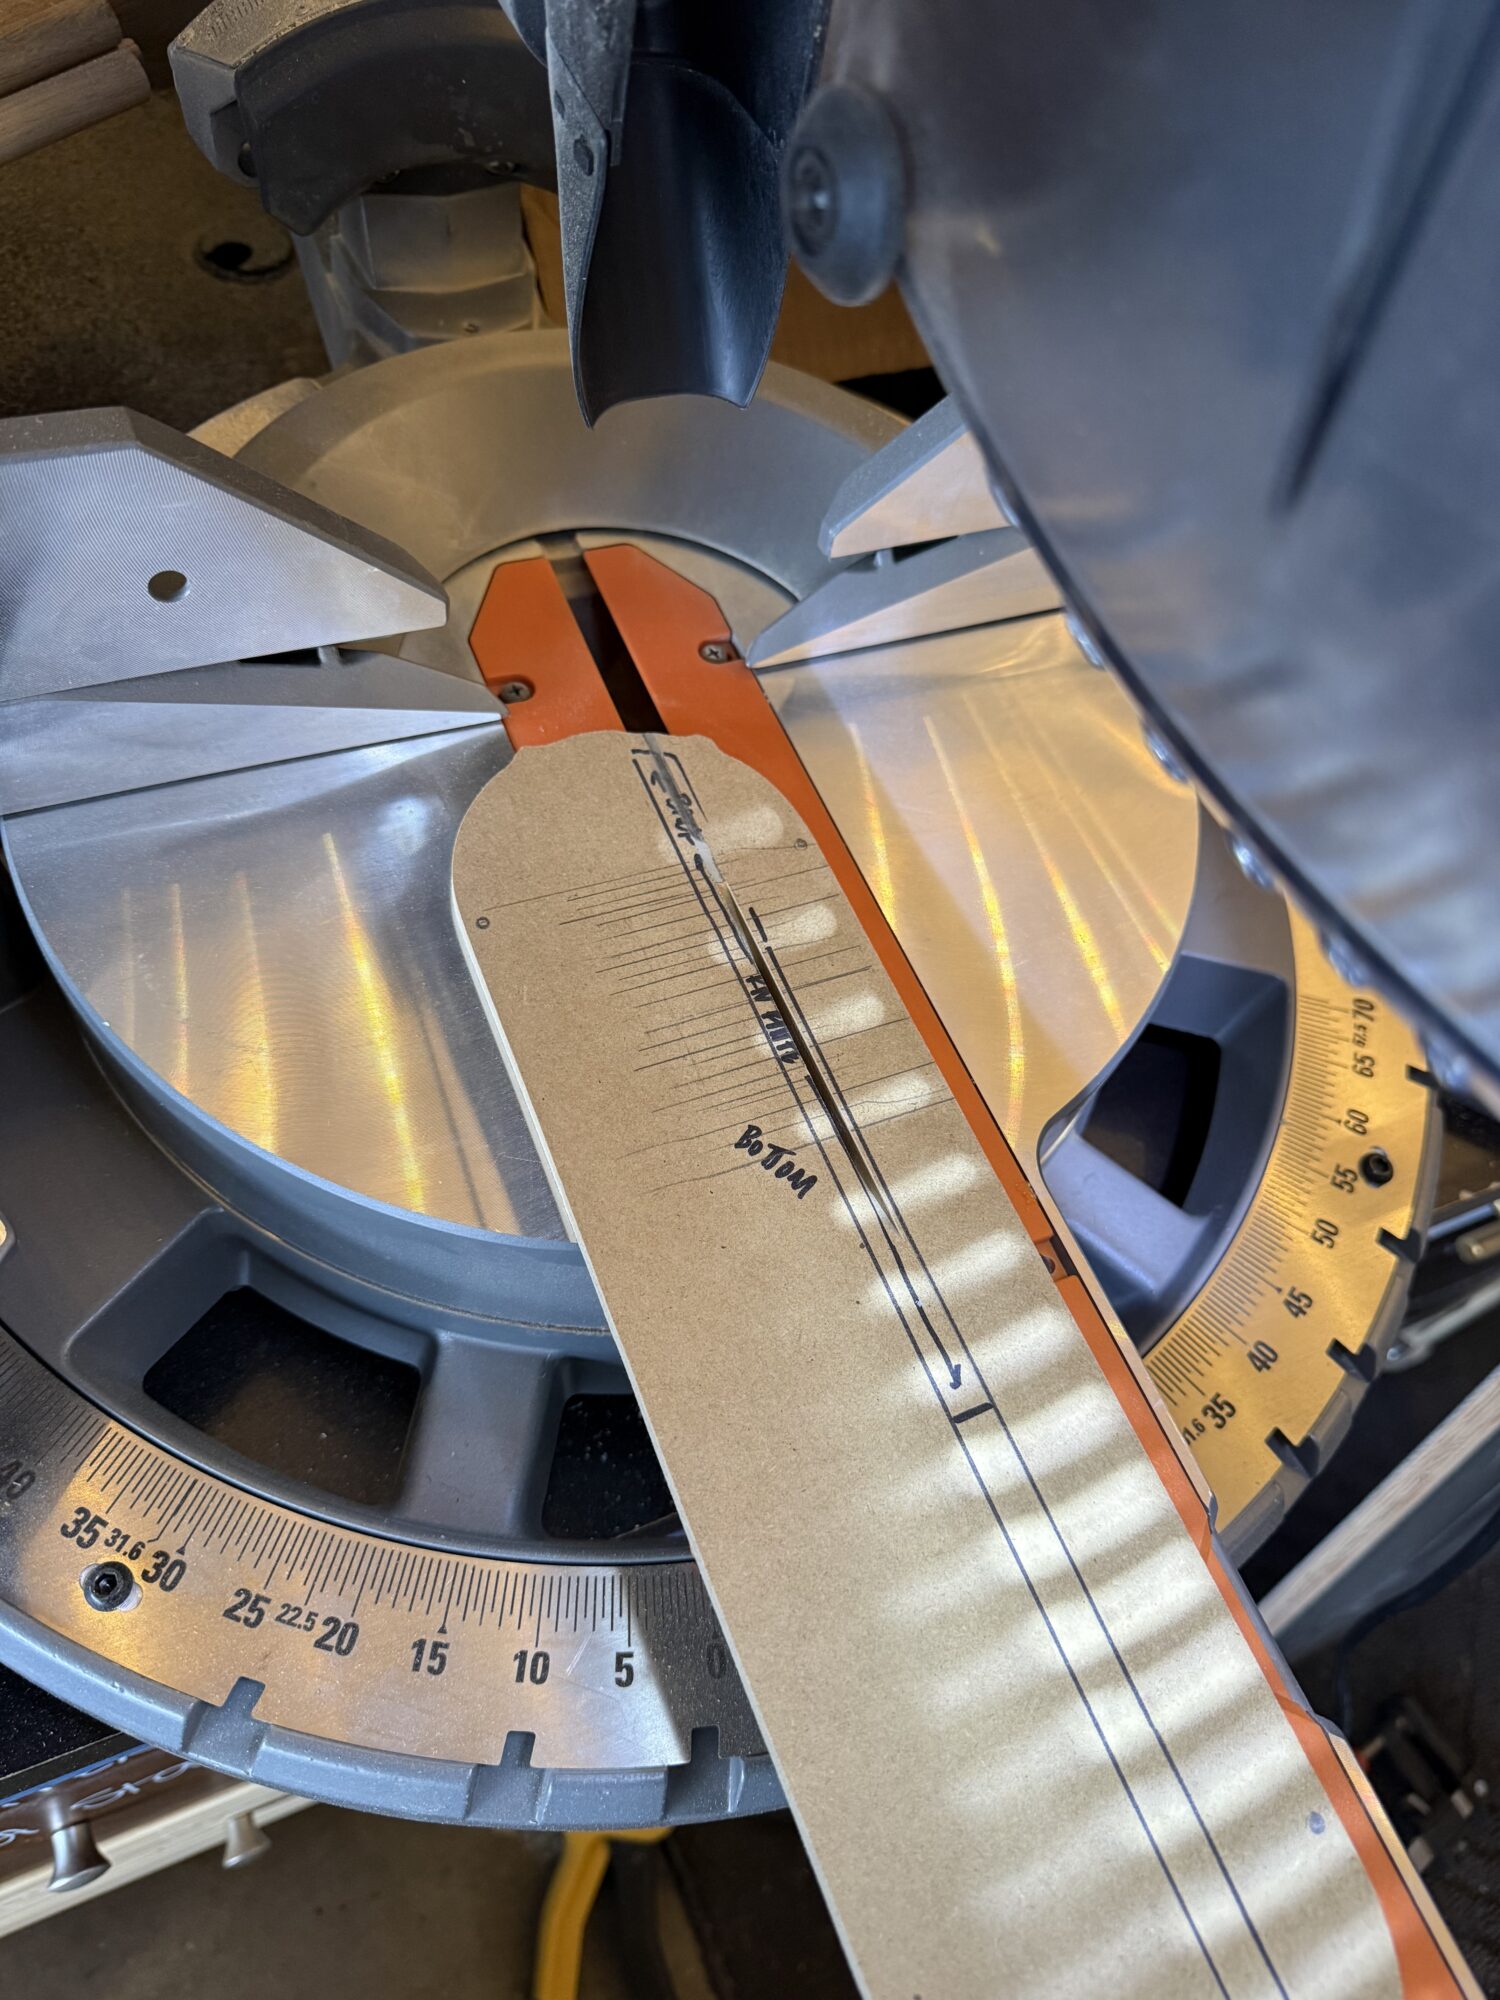
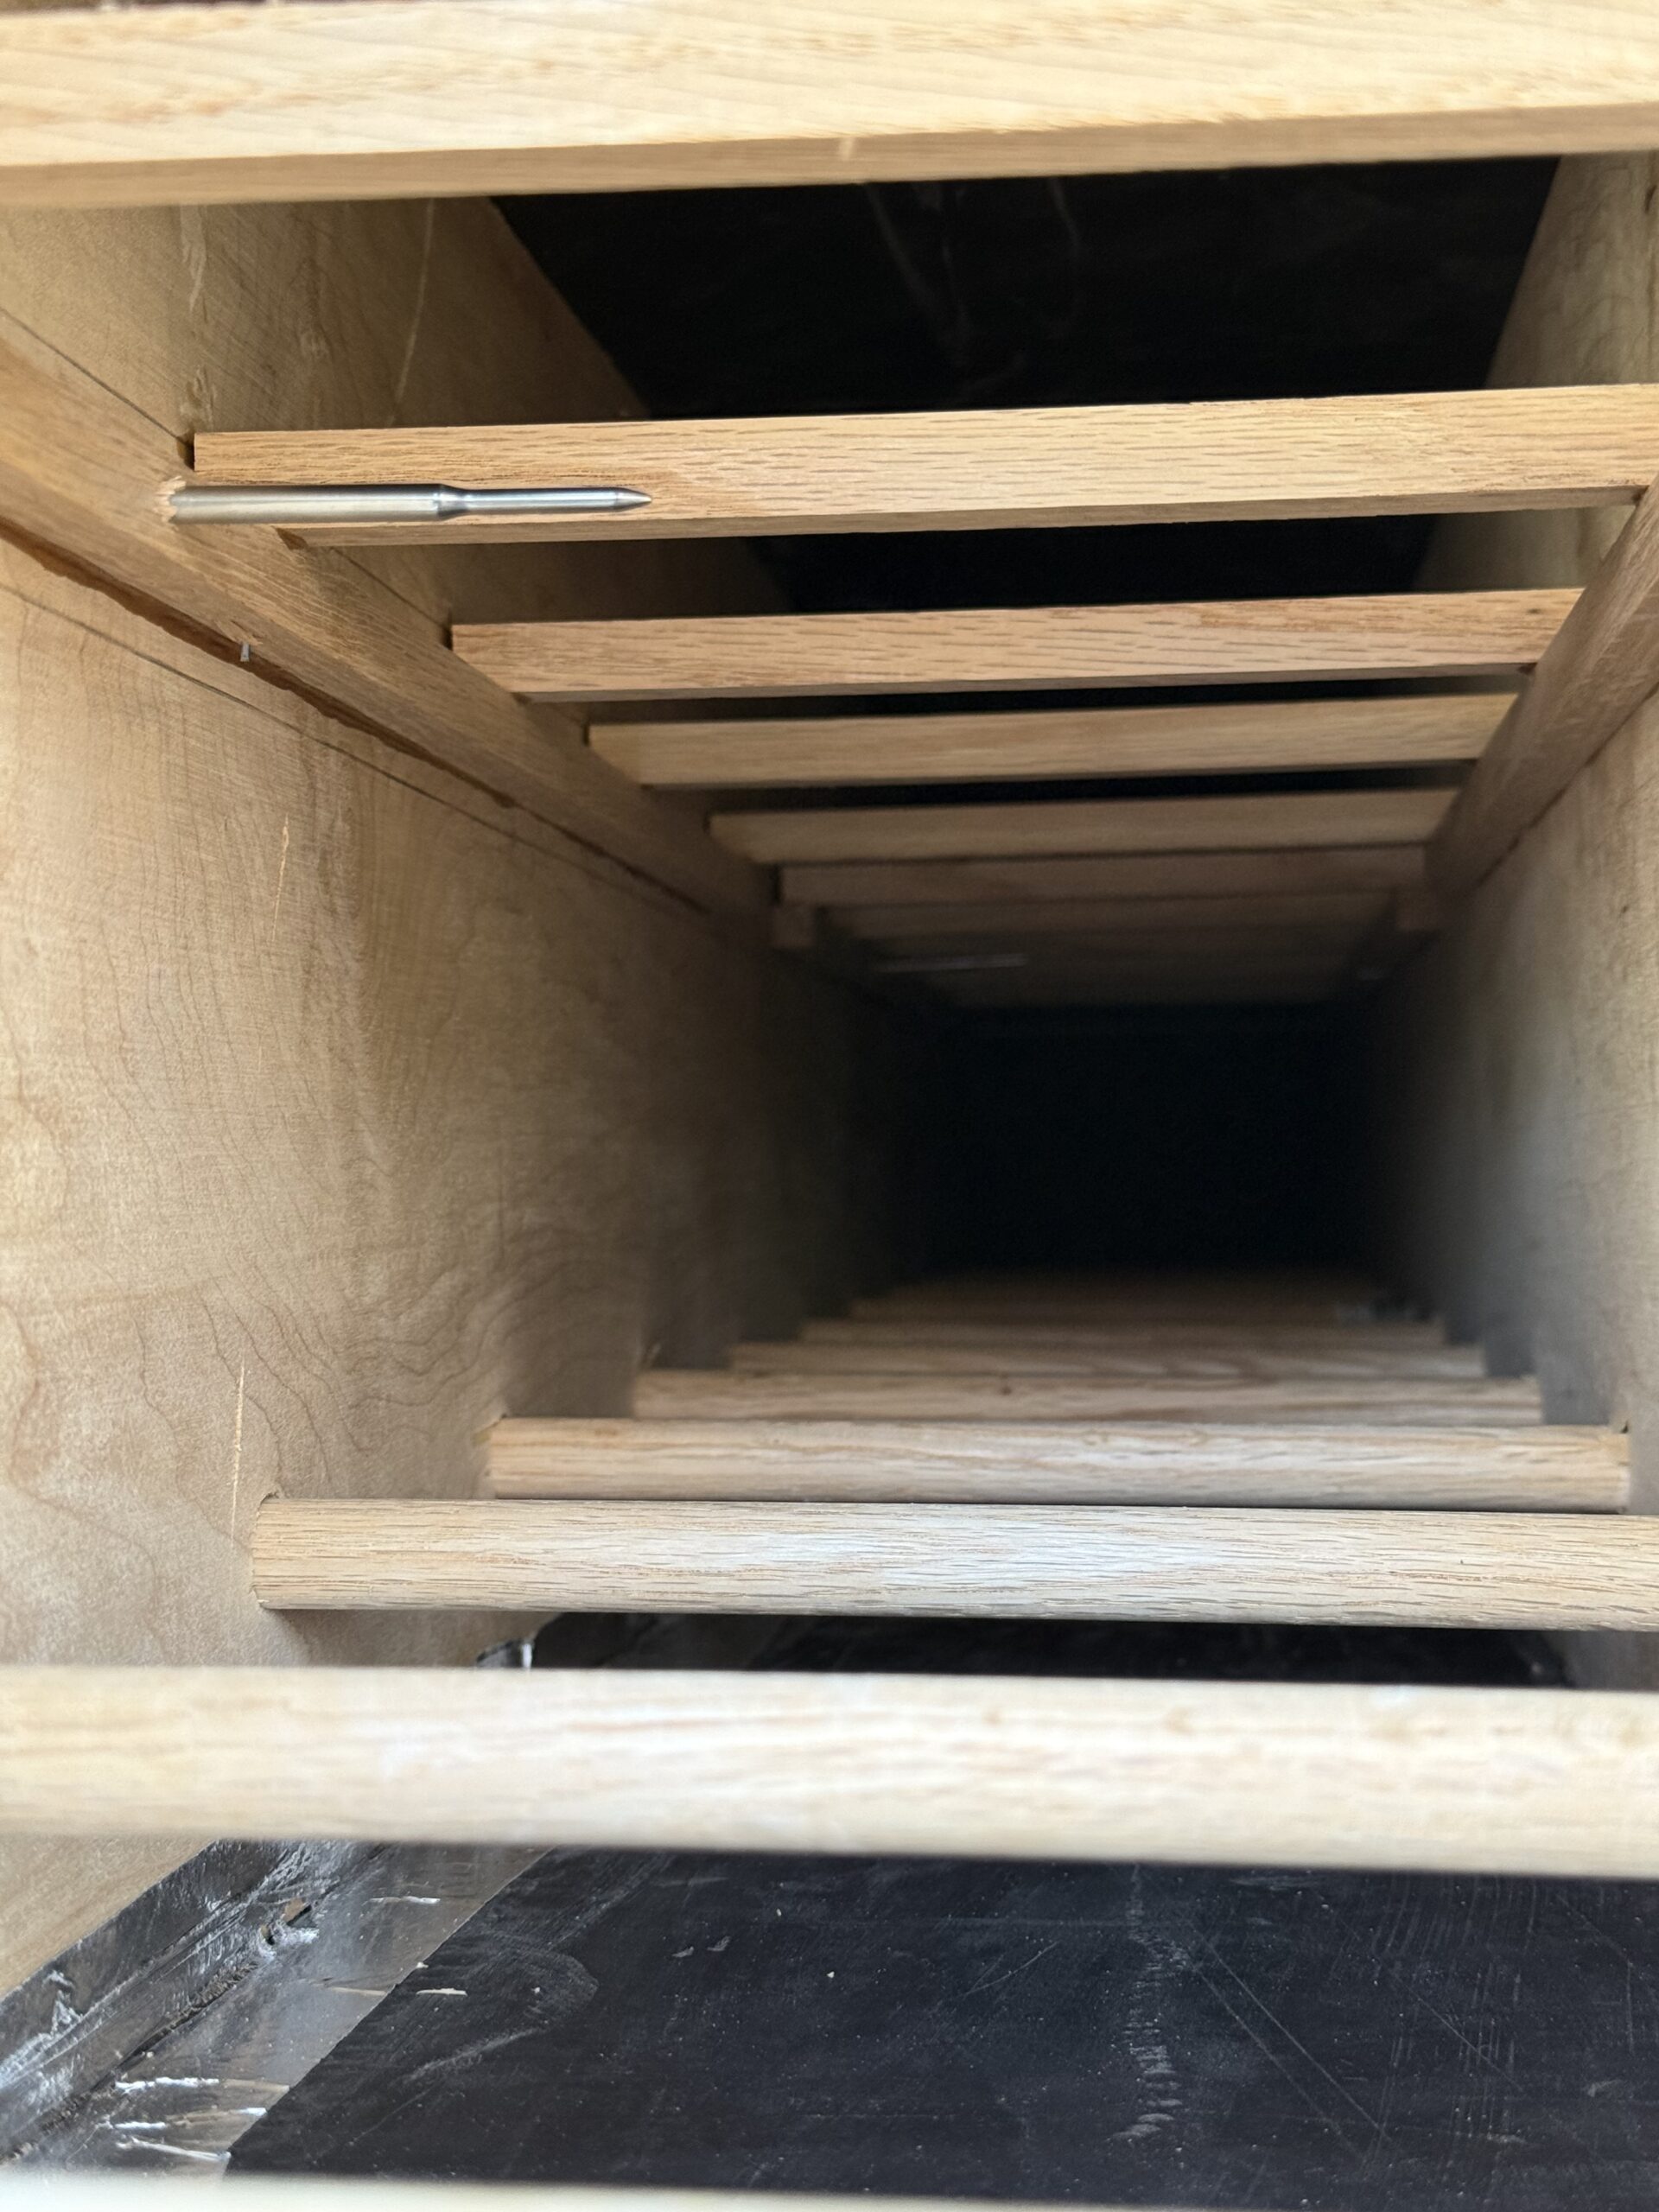
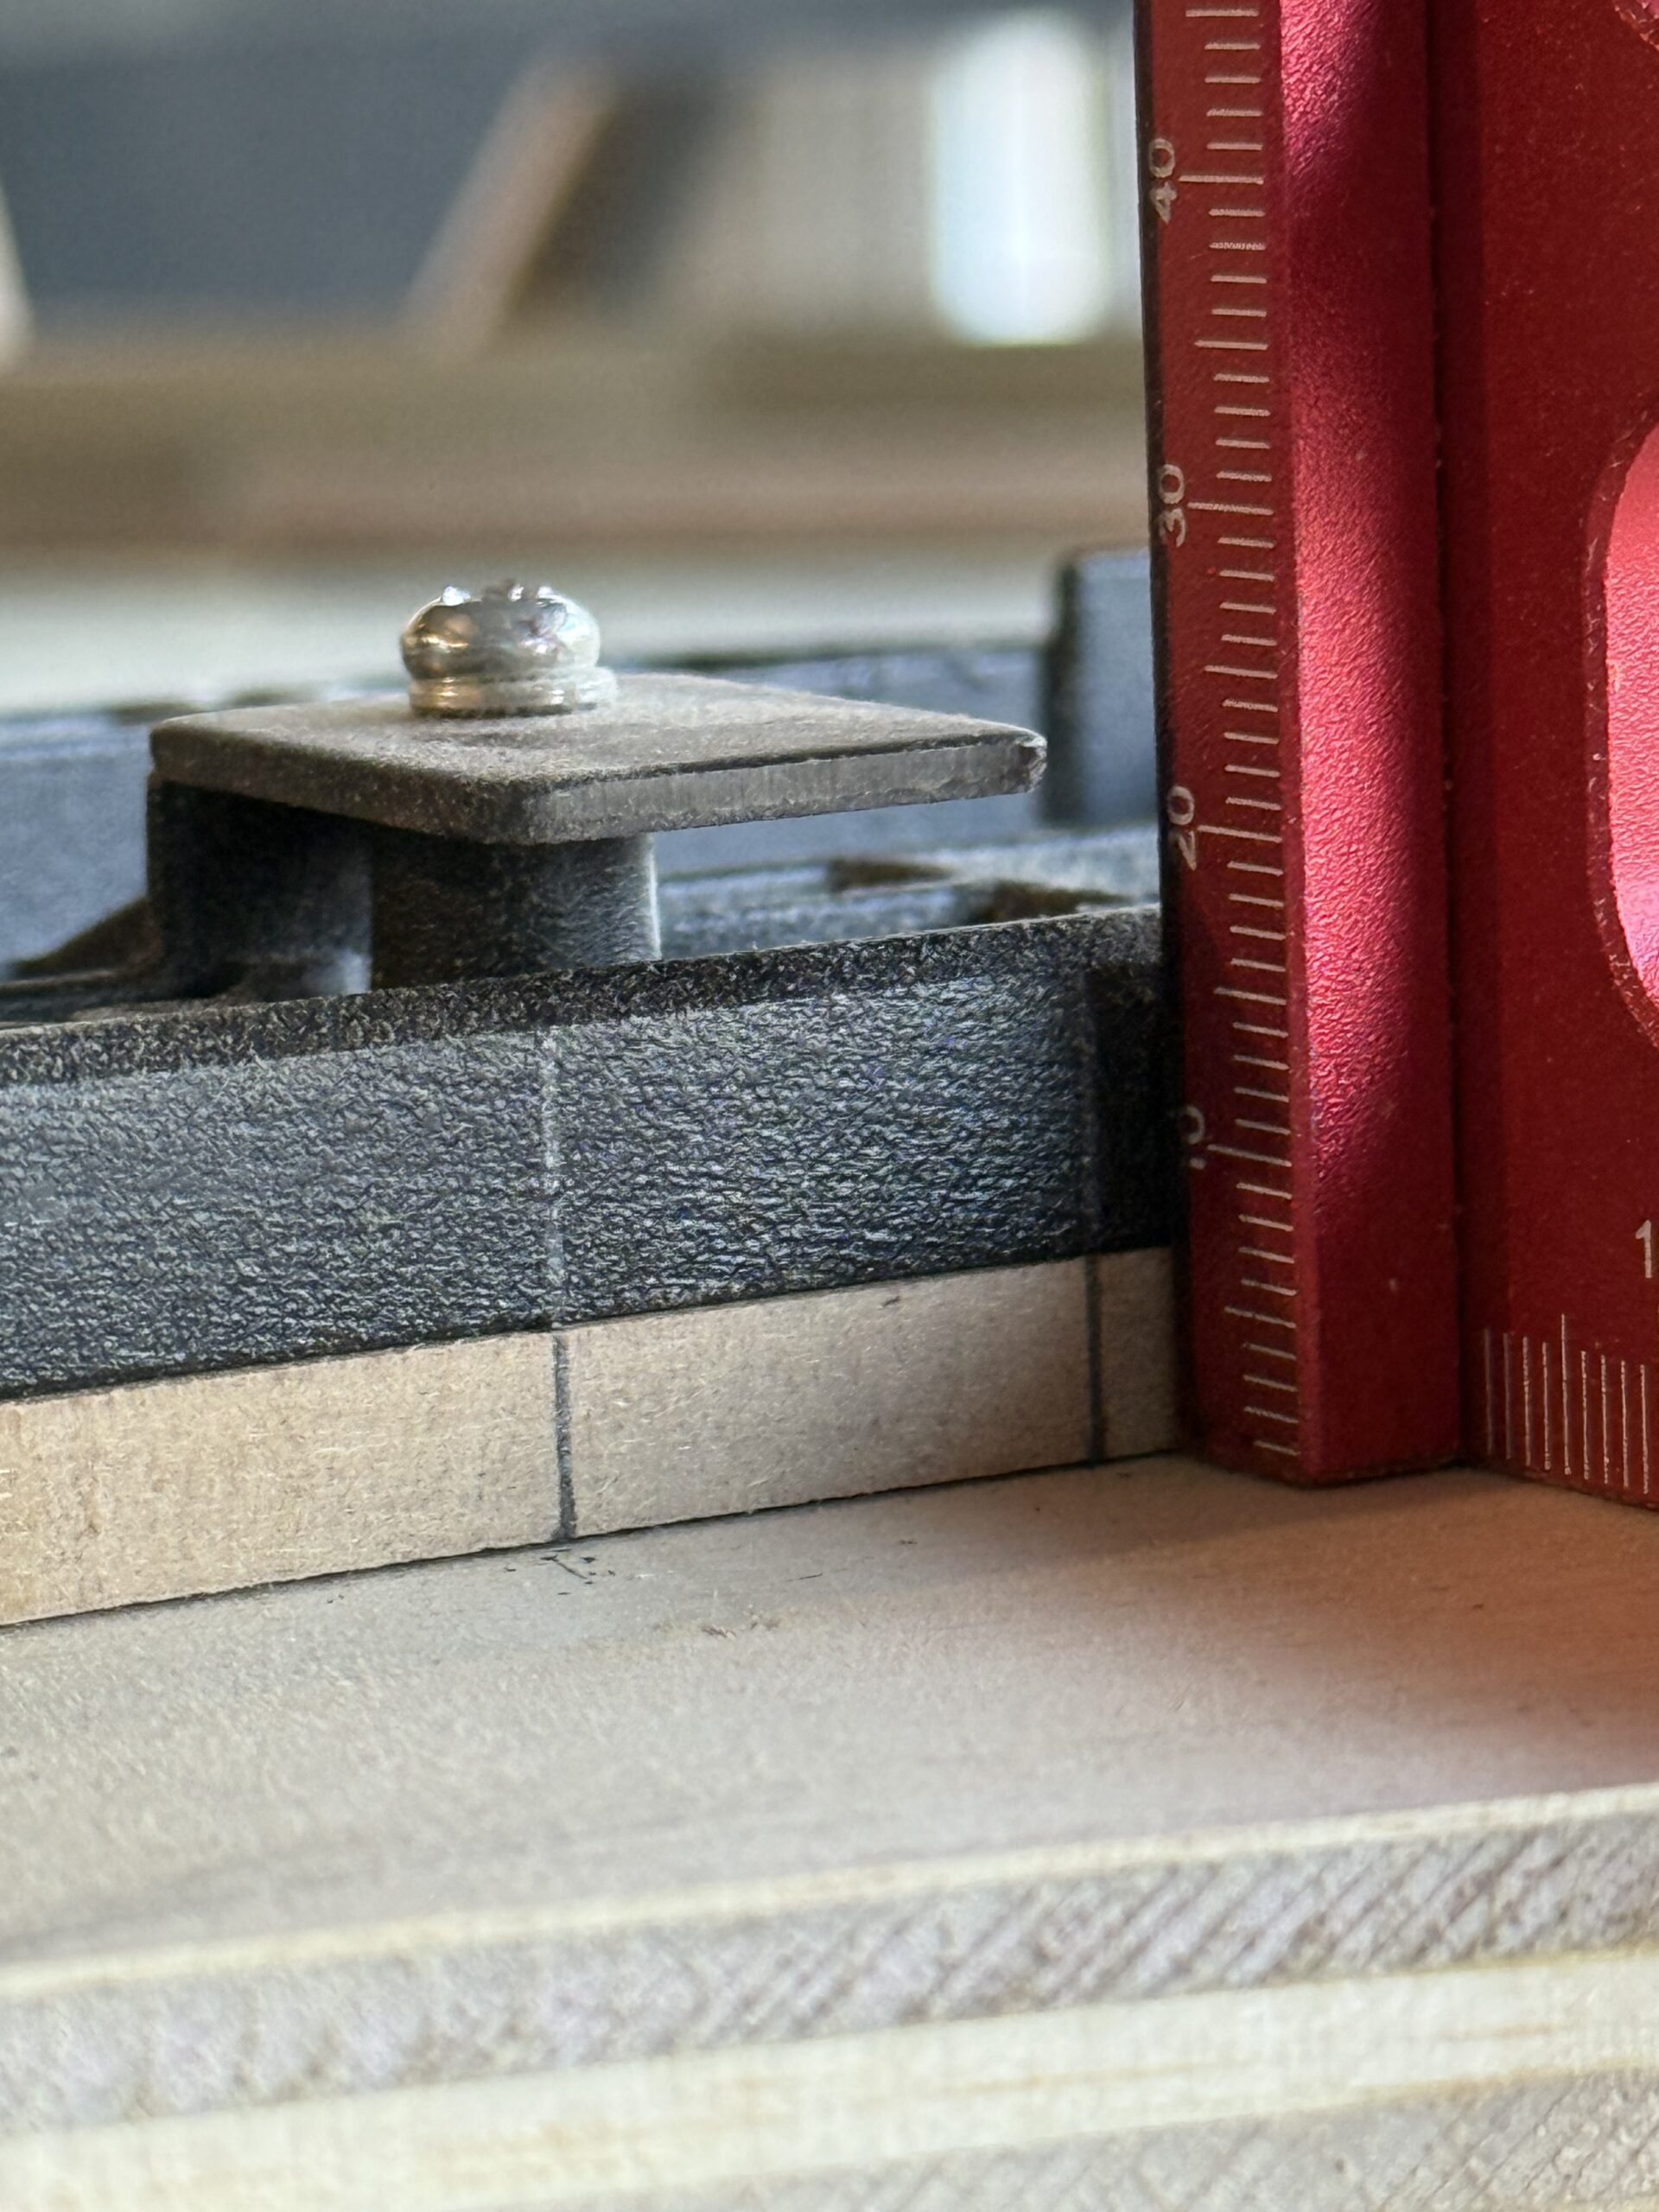
The last image shows the hand tool with the thin rip attachment. That small gap is the thickness I was cutting.
Steam Bending Theory
Beam Bending Mechanics Refresher & its Application to Wood
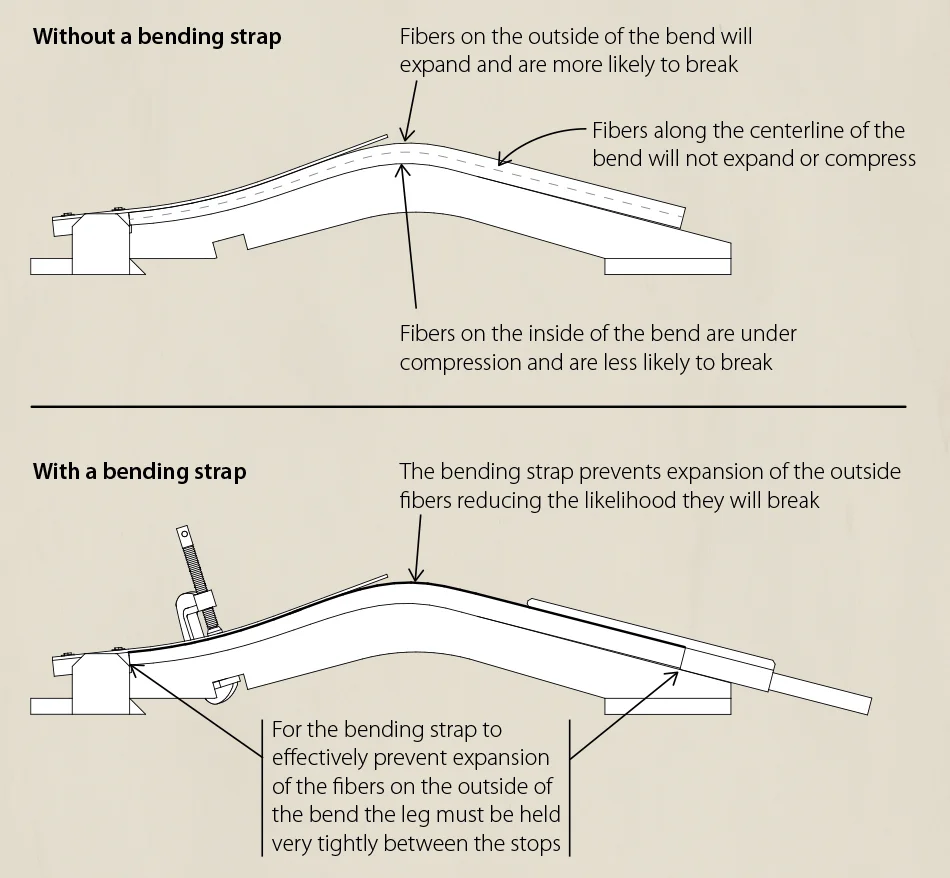
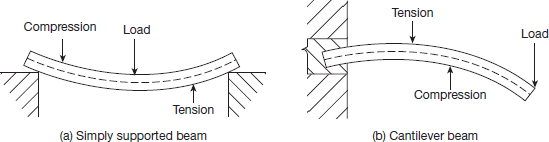
If we can all think back to beam bending theory, we know that when a beam is bent downward, the bottom half is under compression and the top half is under tensile loading. Compression is on the concave (inner) side and tension is on the convex (outer) side.
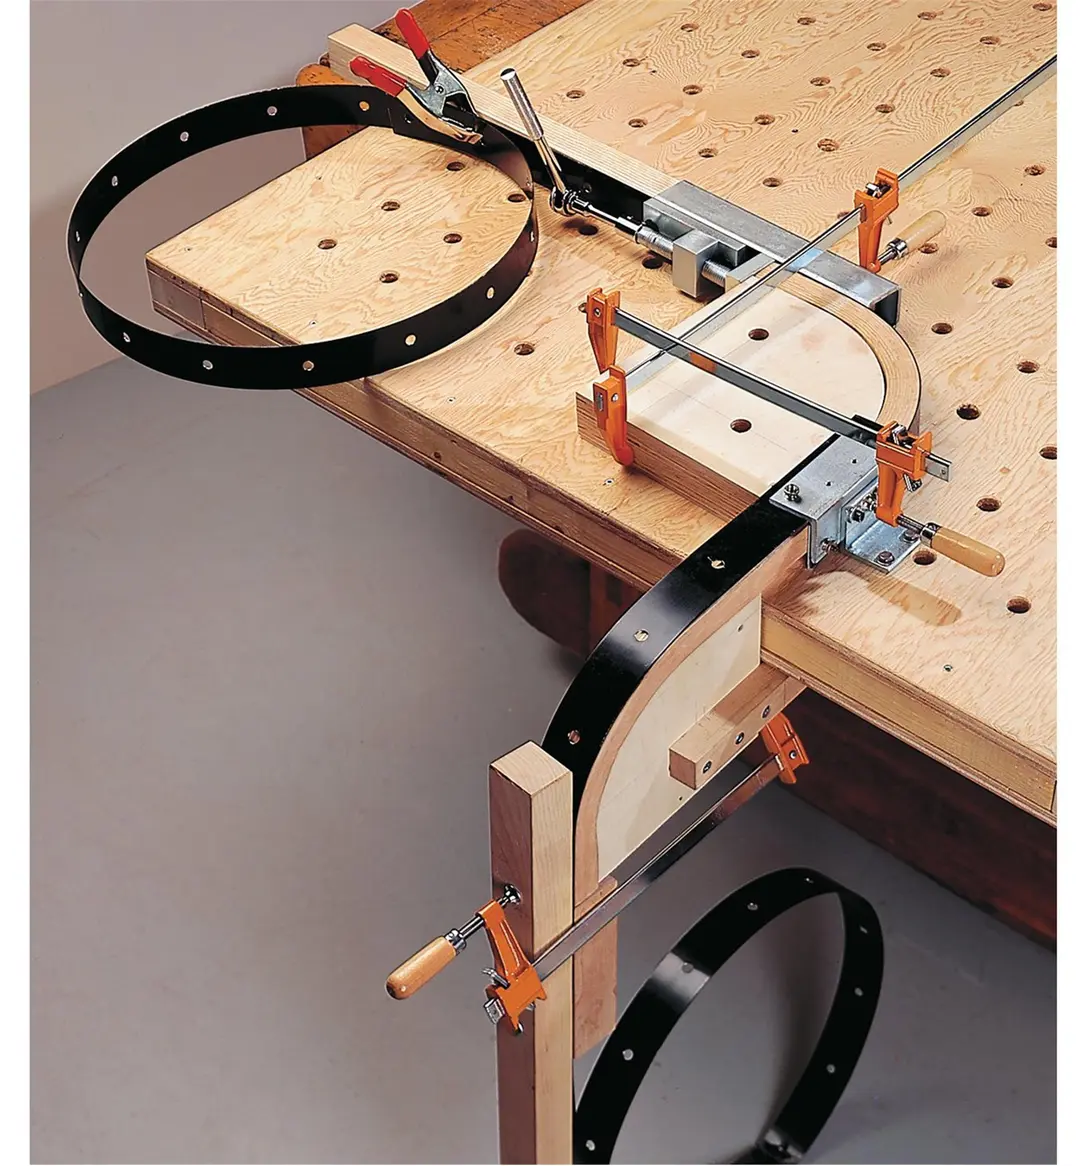
Wood does exceptionally well under compression, but it doesn’t like to be under tension. This is why you usually need a strap around the outside of it–placing a metal strap on the outside of the bend takes on that tensile load and allows the wood to go back to being fully under compression.
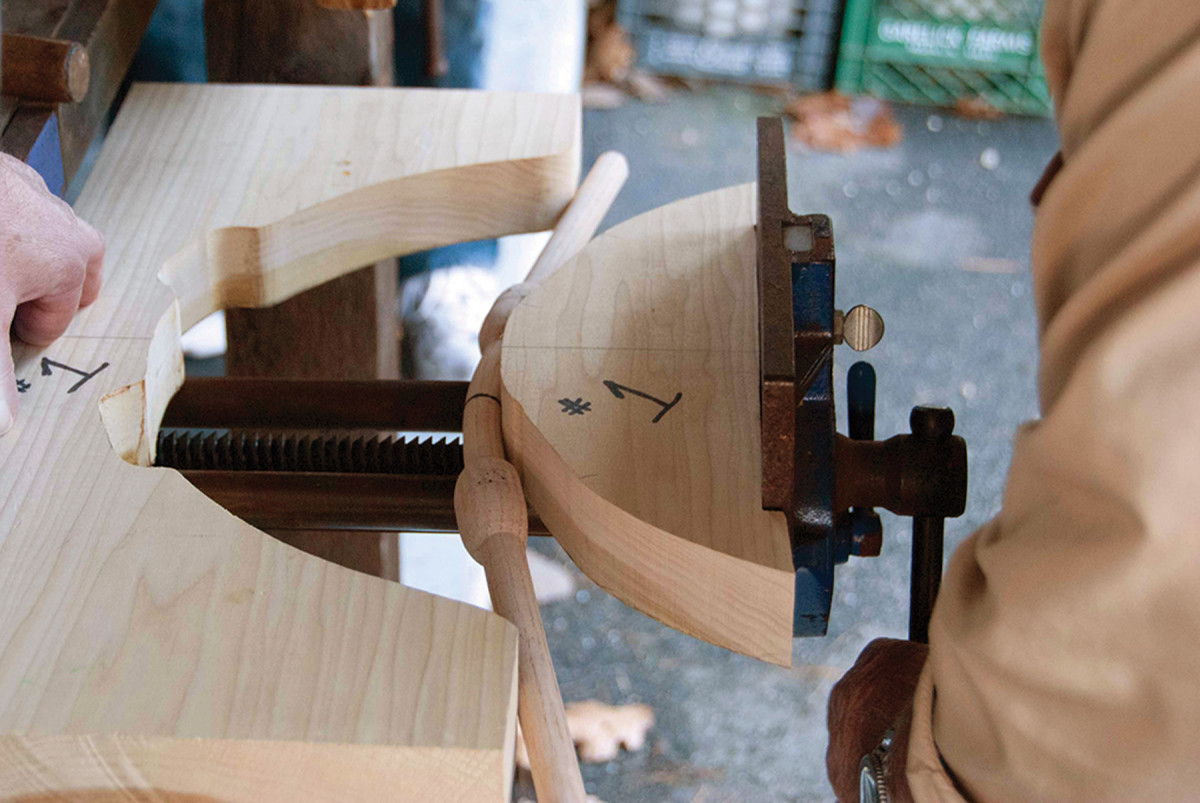
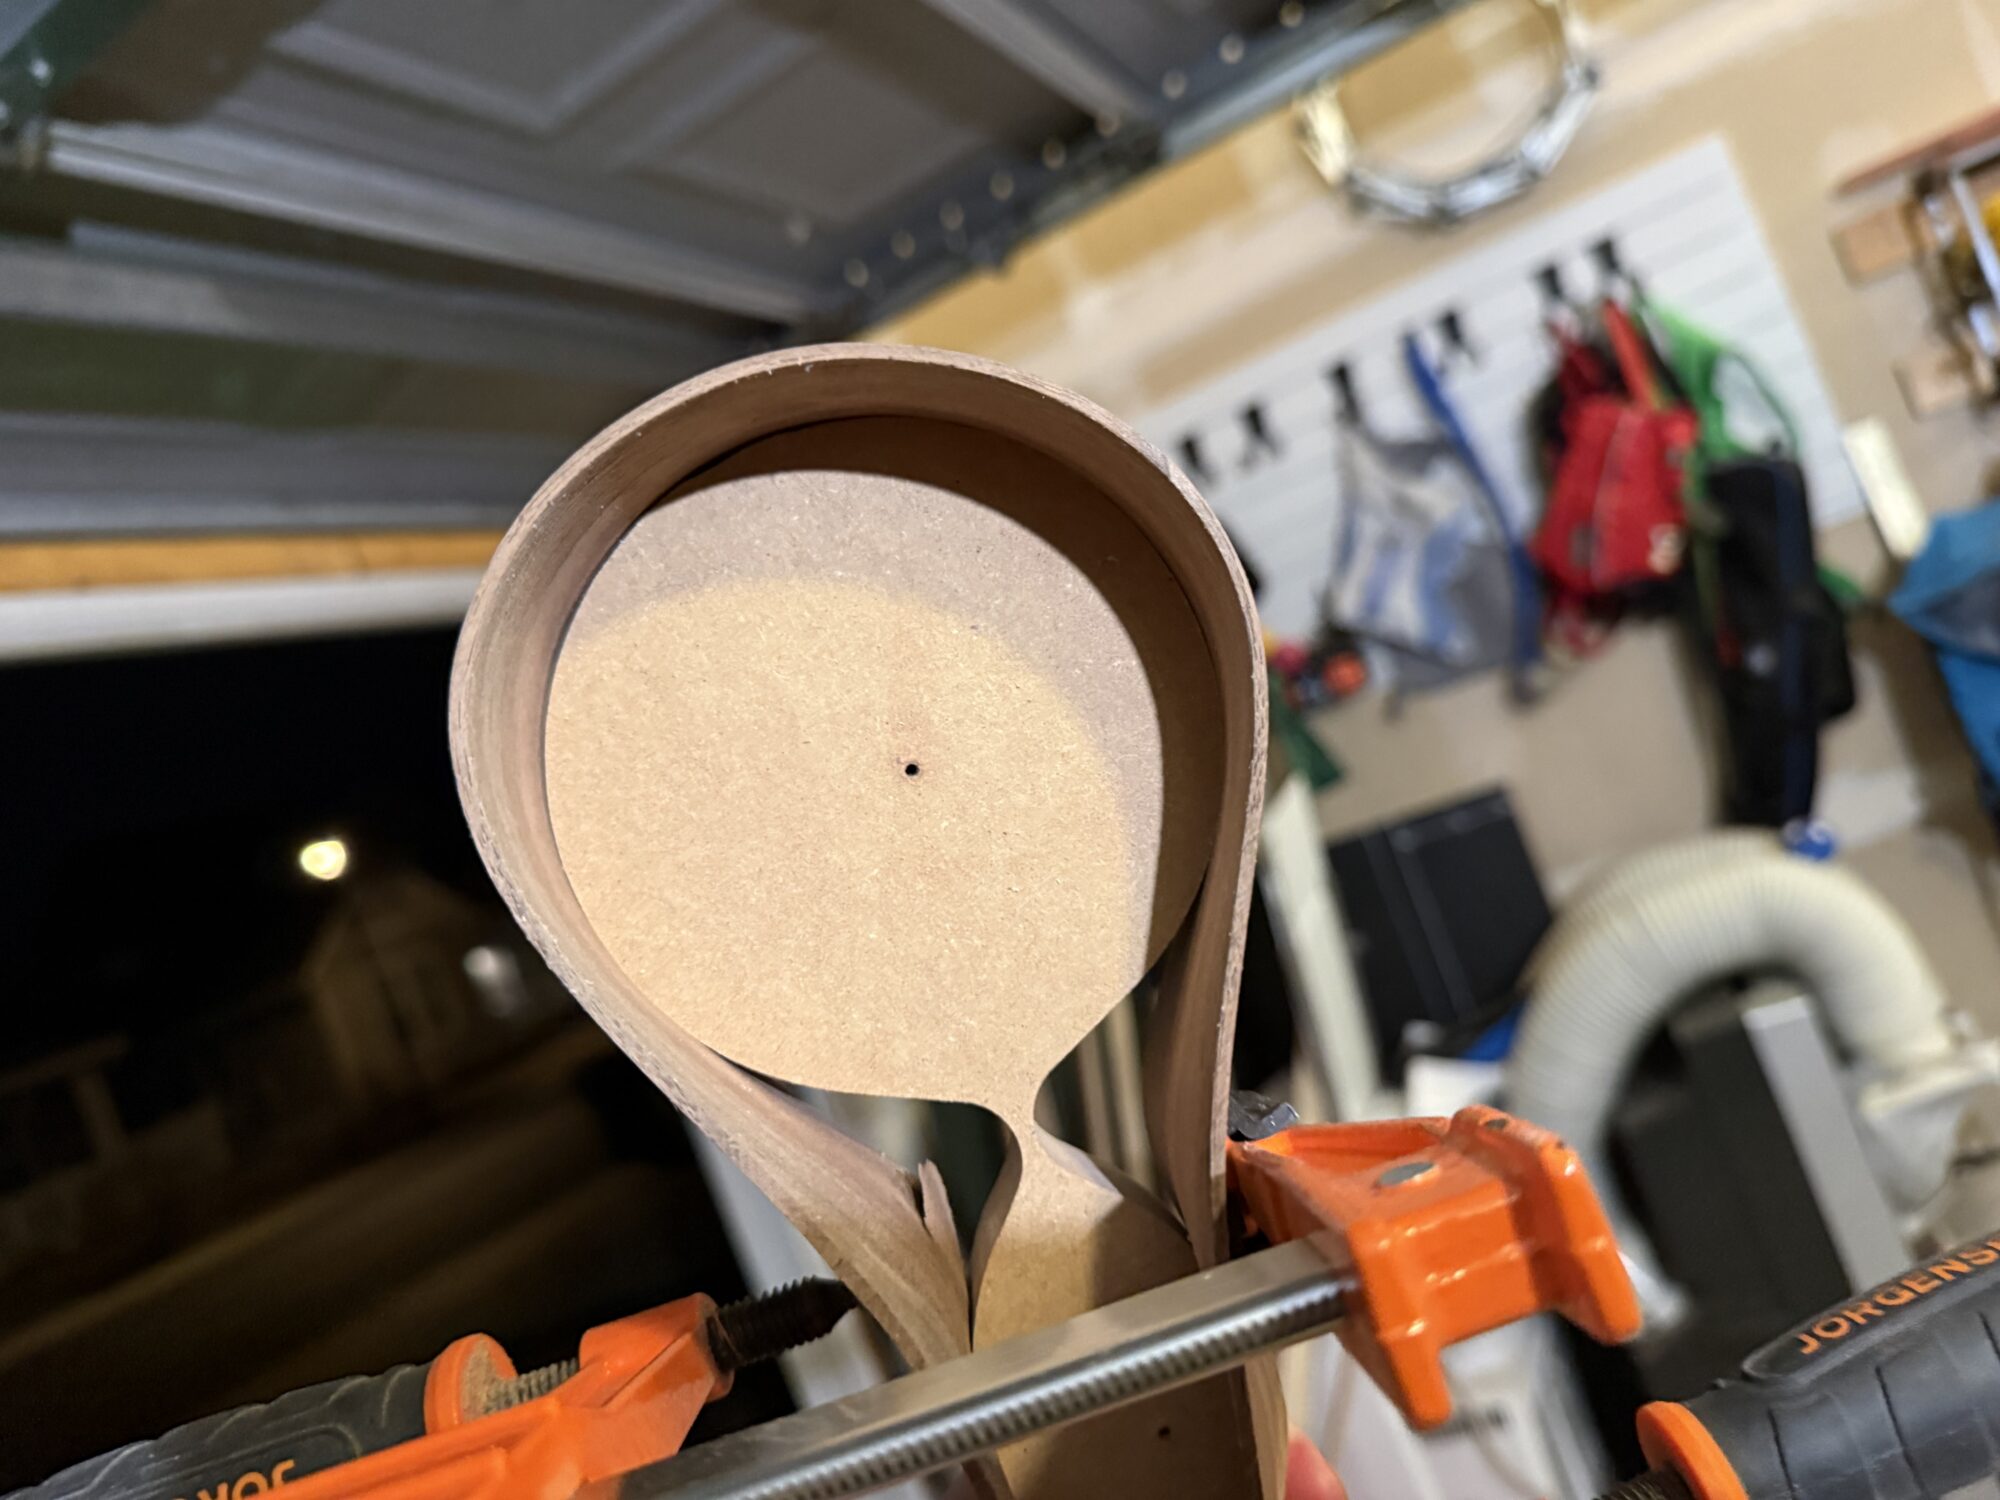
Another way to accomplish this is to use the piece of wood you cut the mold from as a “puzzle piece” fit. This is usually reserved for thinner pieces.
When bending thicker pieces (.75″ and up), you will likely need a winch to avoid jerking motions that split the wood as a result of impact stress. An exception here is extremely bendy, air-dried wood.
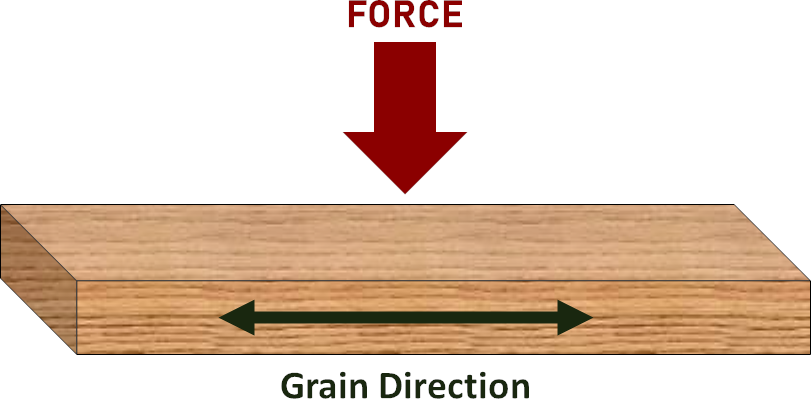
Not all woods bend the same, and you want to bend with the grain direction; that is, you want those wood grain lines to run over the length of the board. Think of them as small beams you are bending to remember the direction. Hardwoods are superior, but not all hardwoods bend. Some of the best species are walnut, ash, oak, cherry, and other domestic hardwoods.
Air-dried is best over kiln-dried, but you have to hunt for it. Always avoid pieces with knots, as they will cause your boards to break.
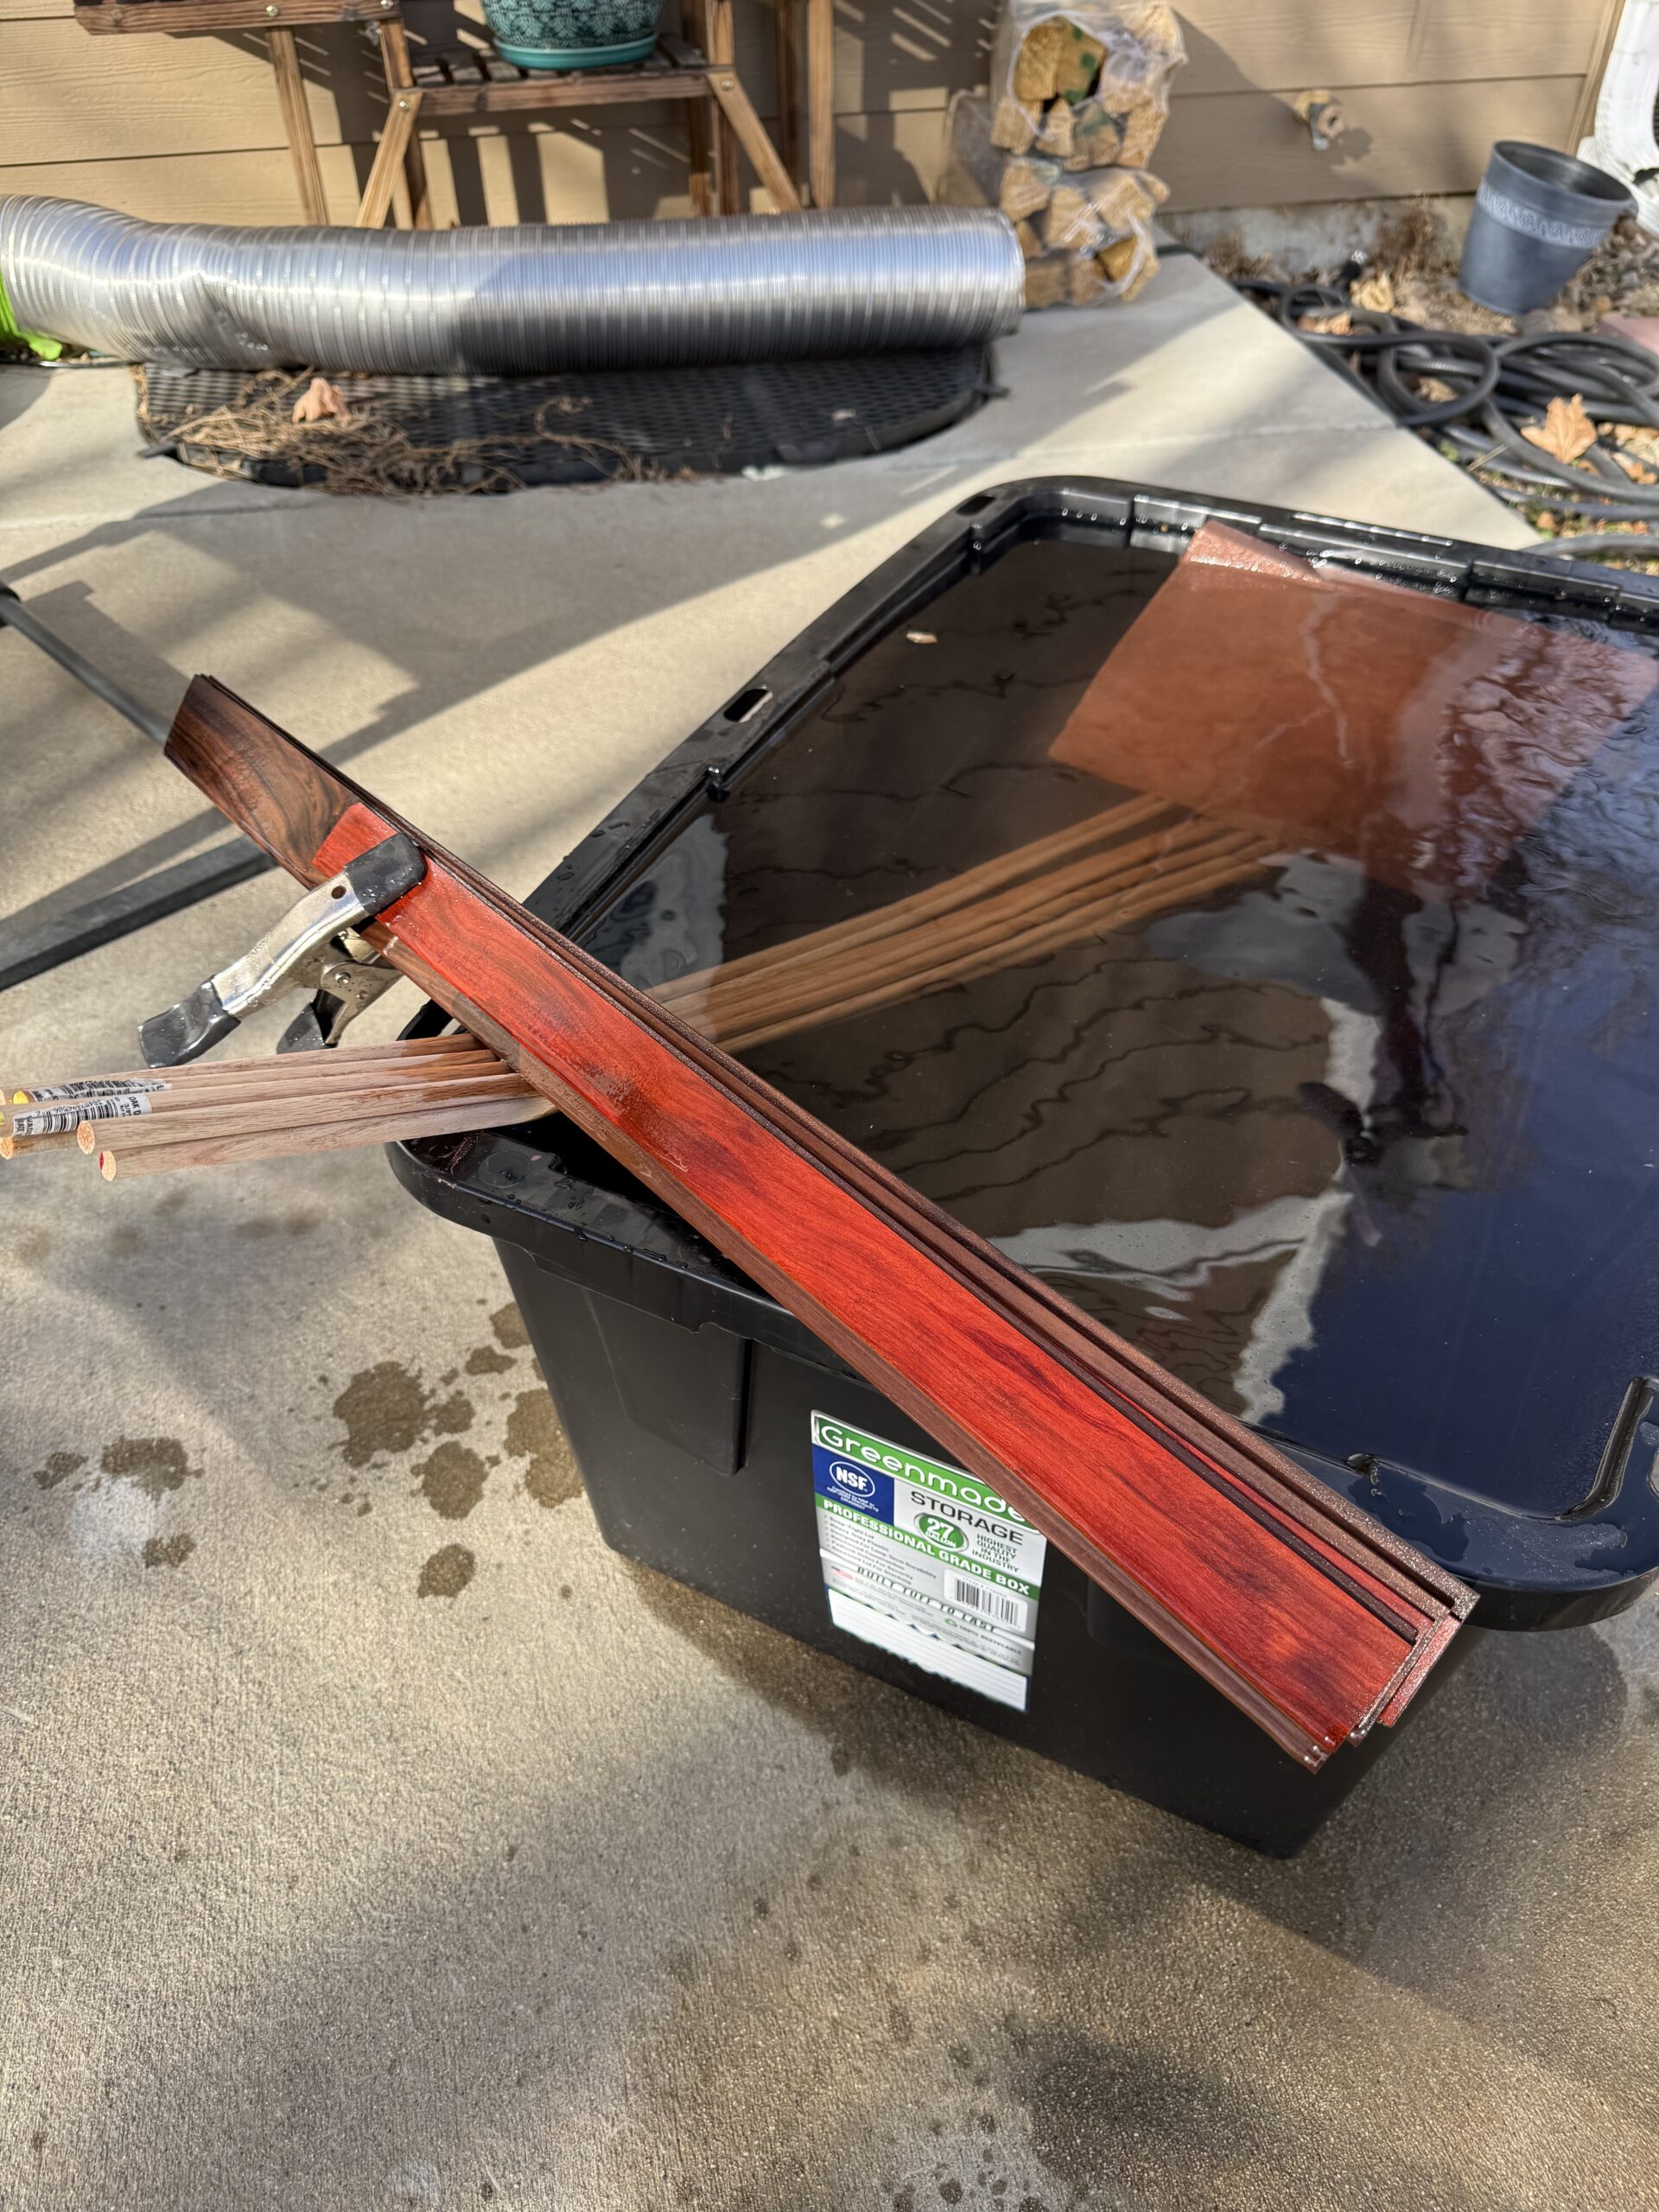
Ripping, Soaking, and Bending
As we just discussed, kiln-dried wood is not ideal. I knew my wood was a combination of air-dried and kiln-dried, but all of my air-dried pieces sat in my garage for over a year in the arid Colorado mountain air.
Because of this, I decided to err on the side of caution and soak all of the pieces before steaming.
You also want to do as much prep and finishing work as possible before soaking and steaming, since the bent pieces can be fragile. I sanded them down, sprayed them with water to let the grains raise up, and did a final sanding pass before soaking them.


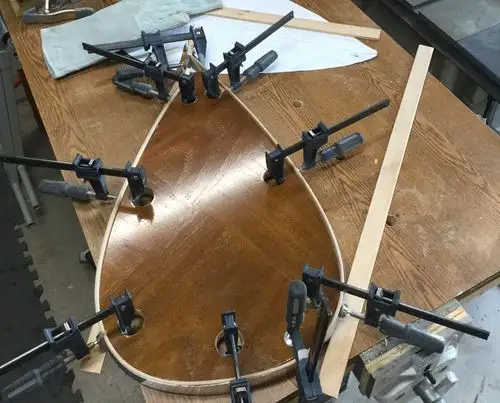
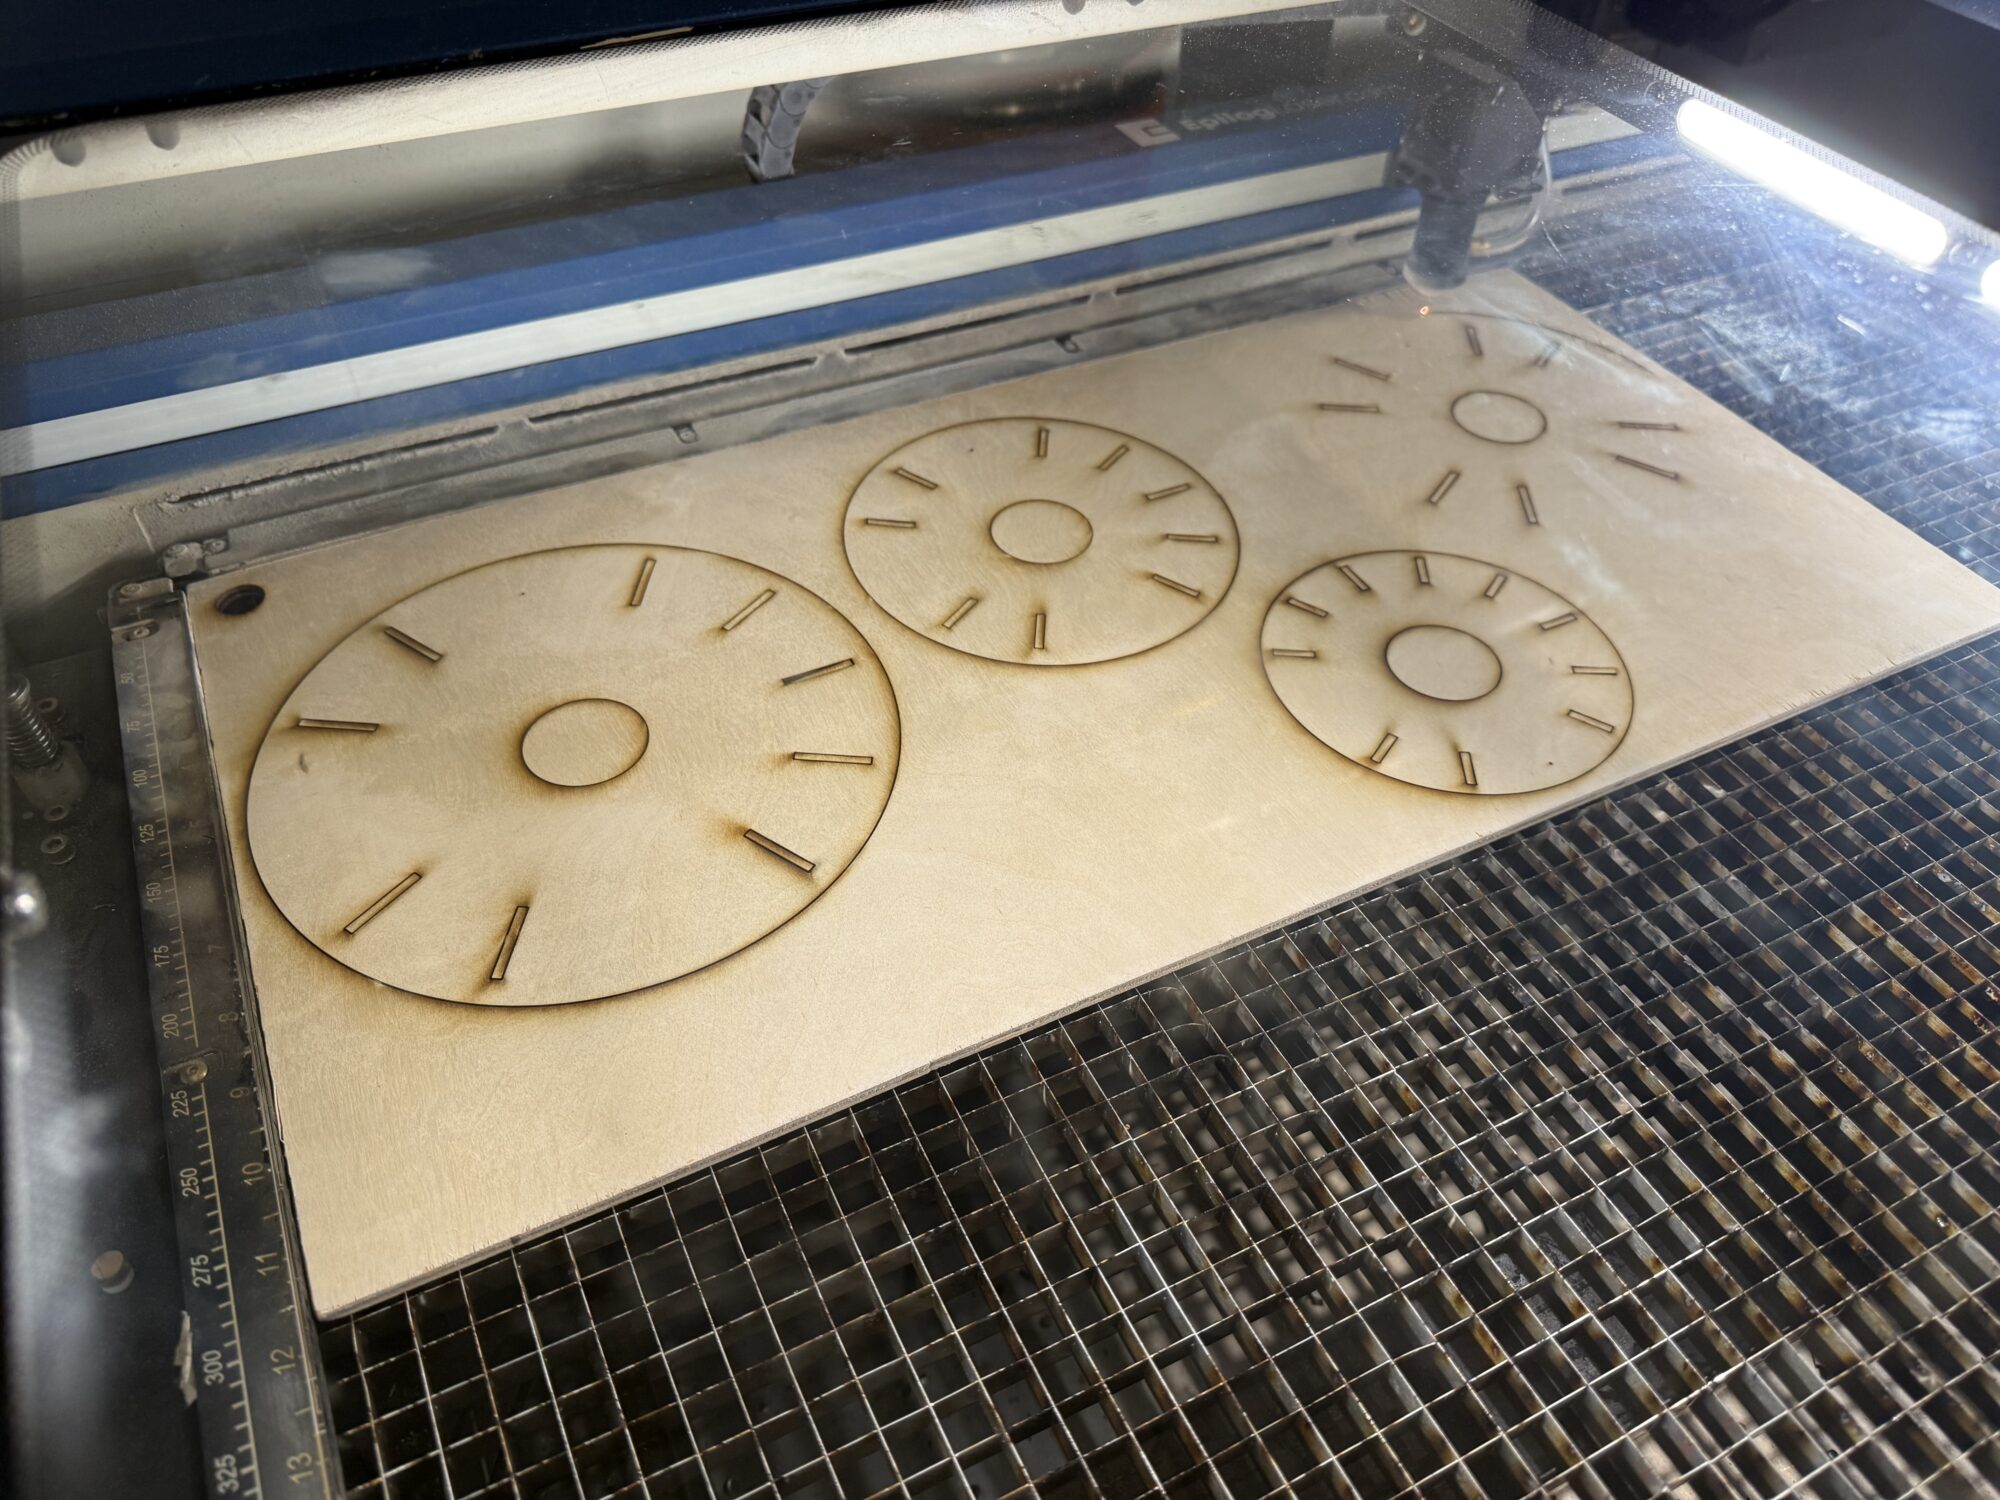
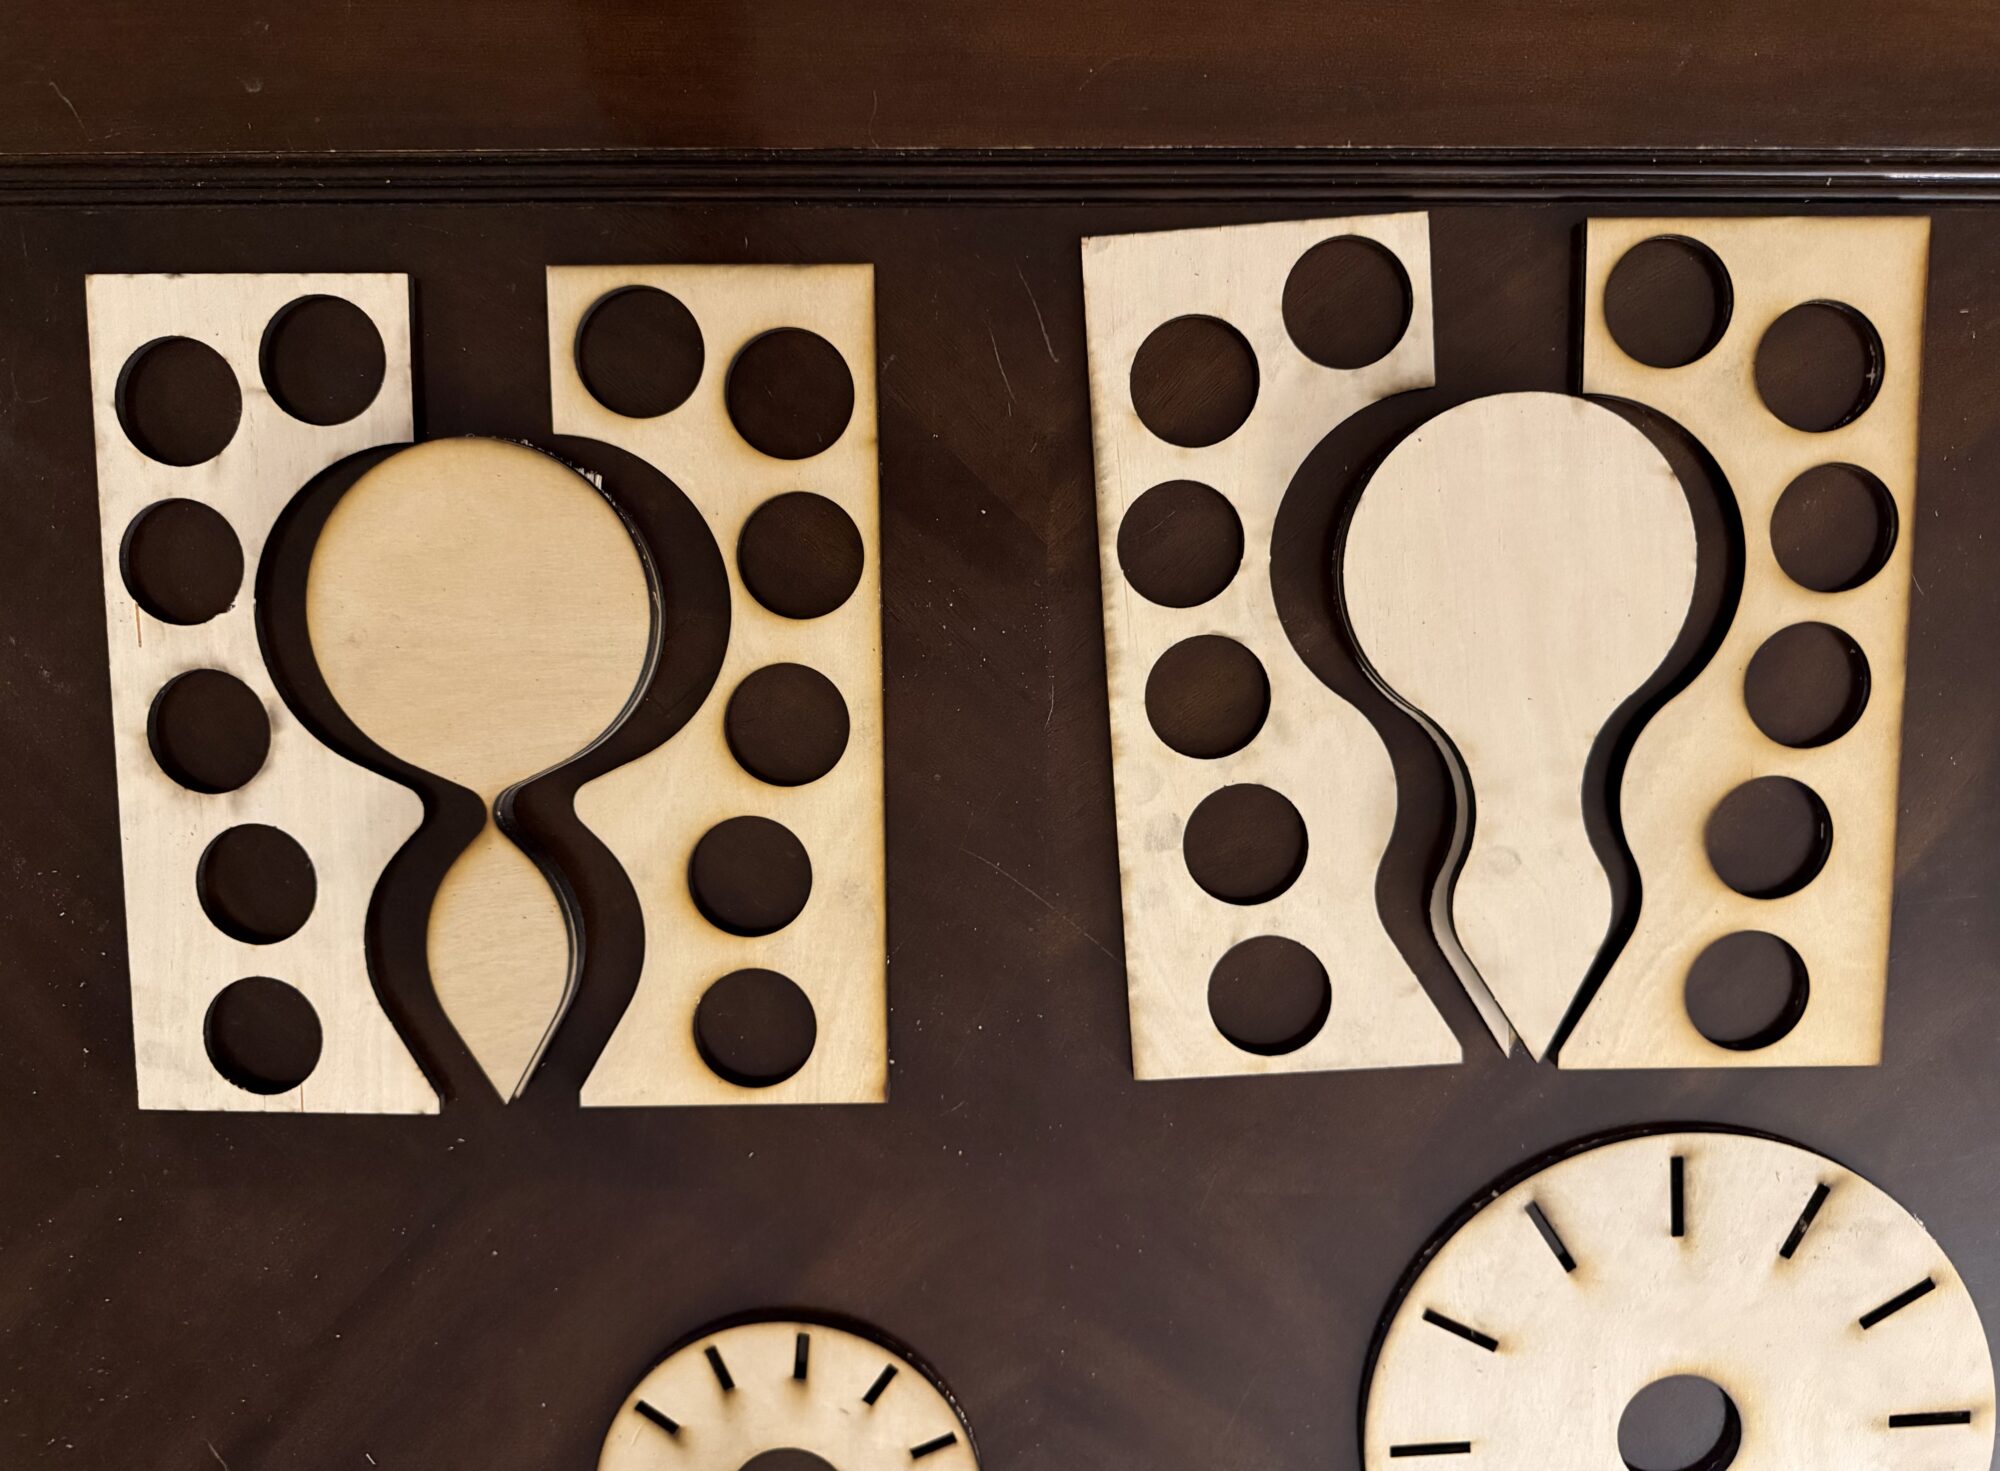
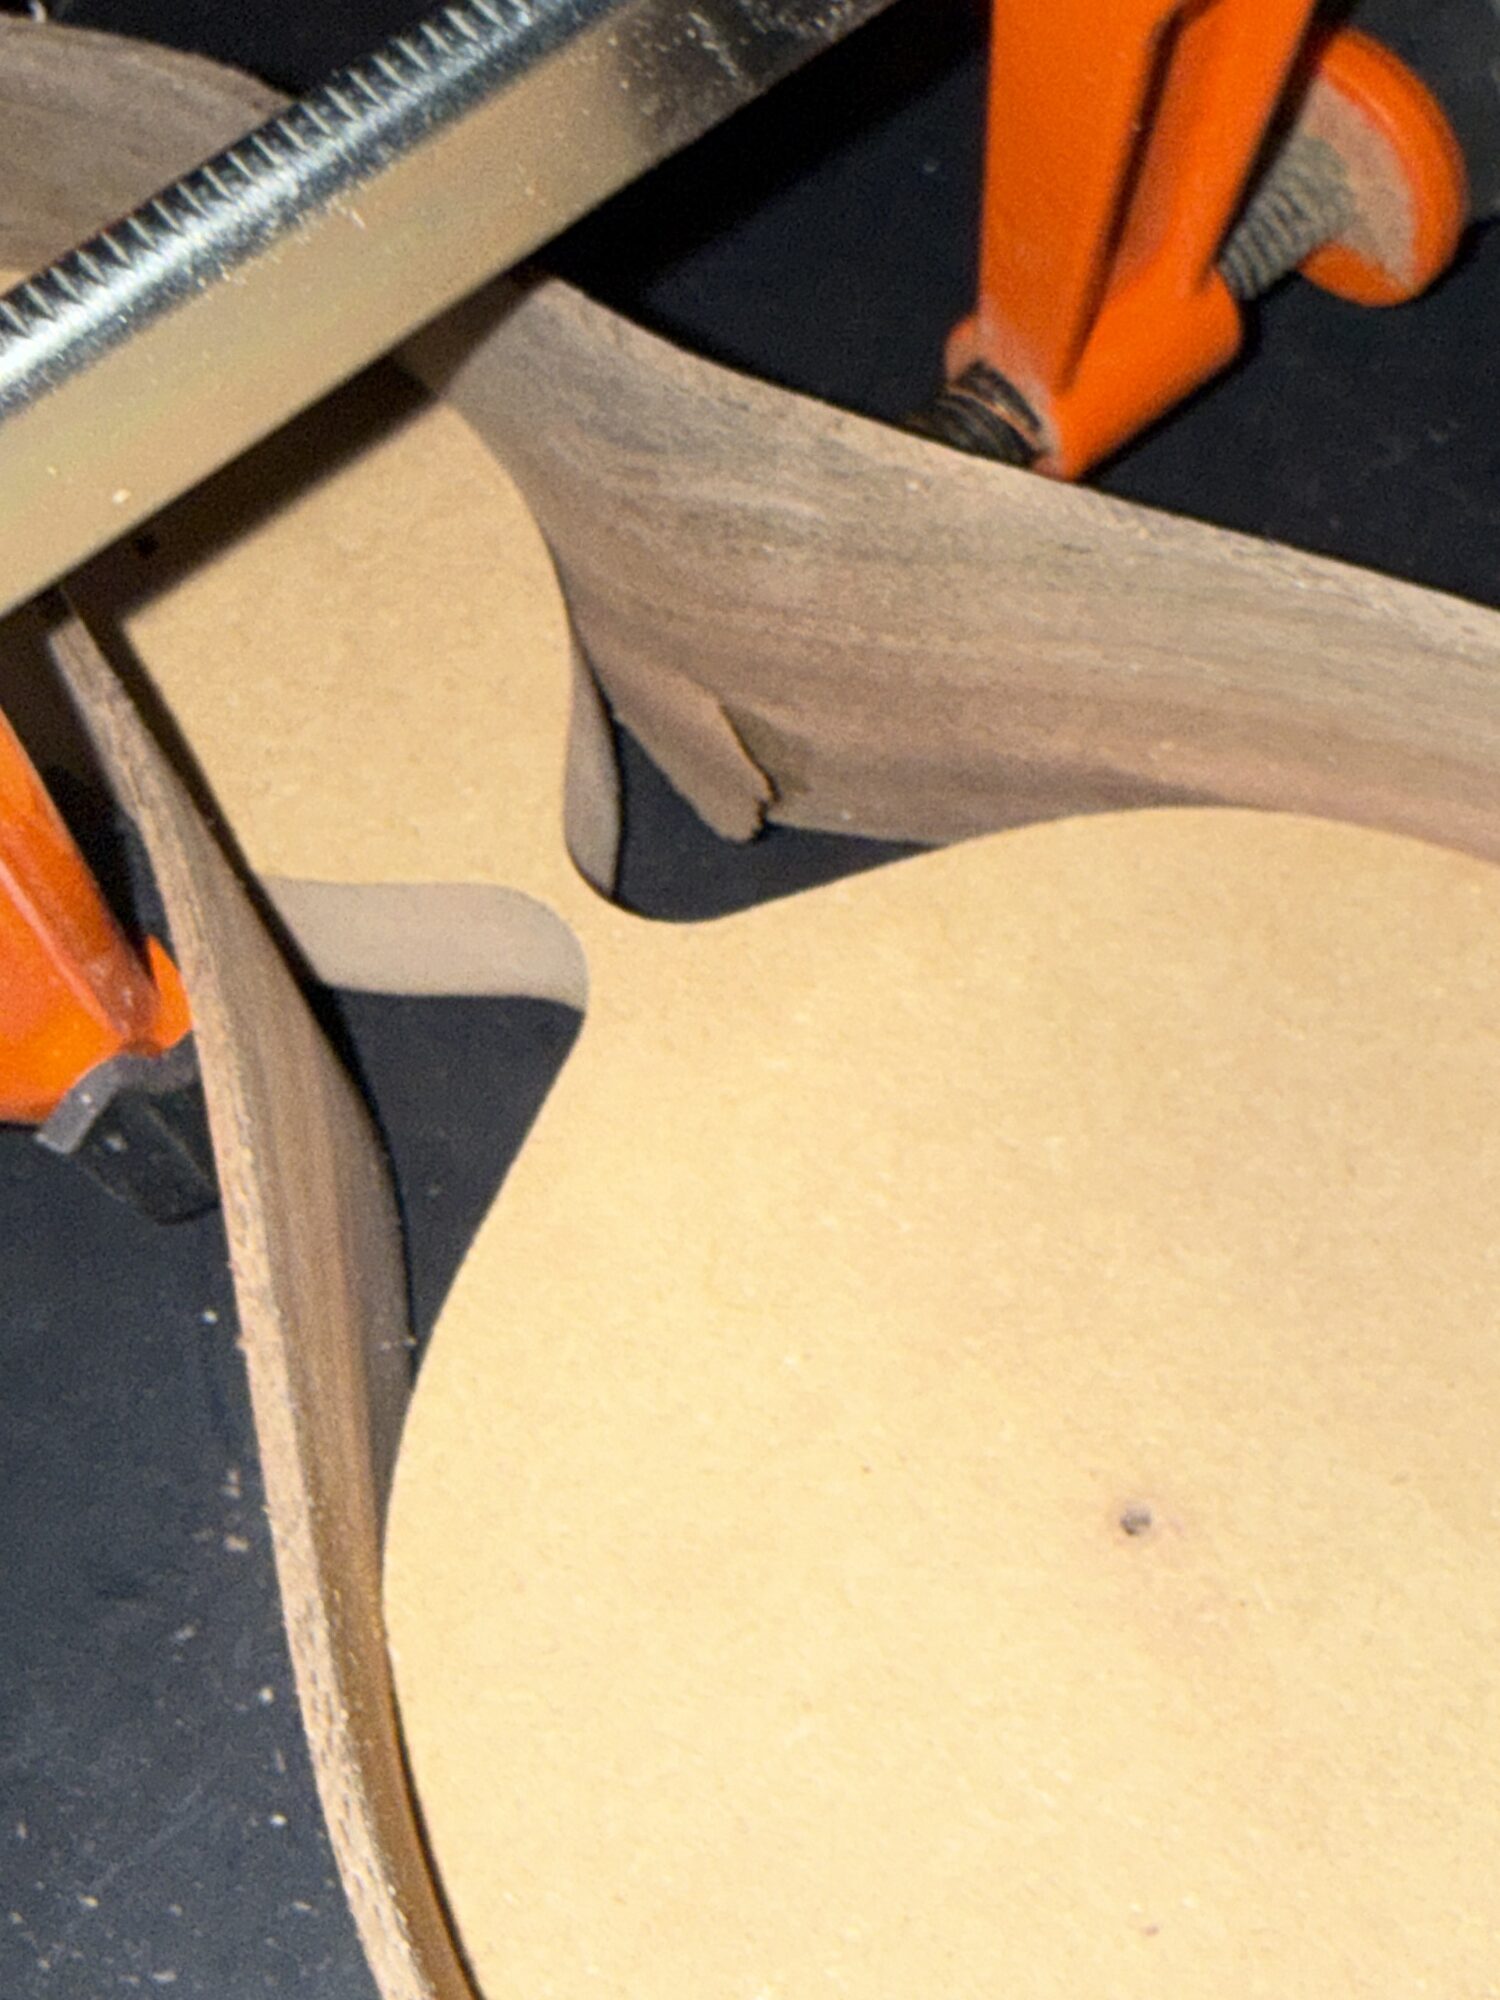
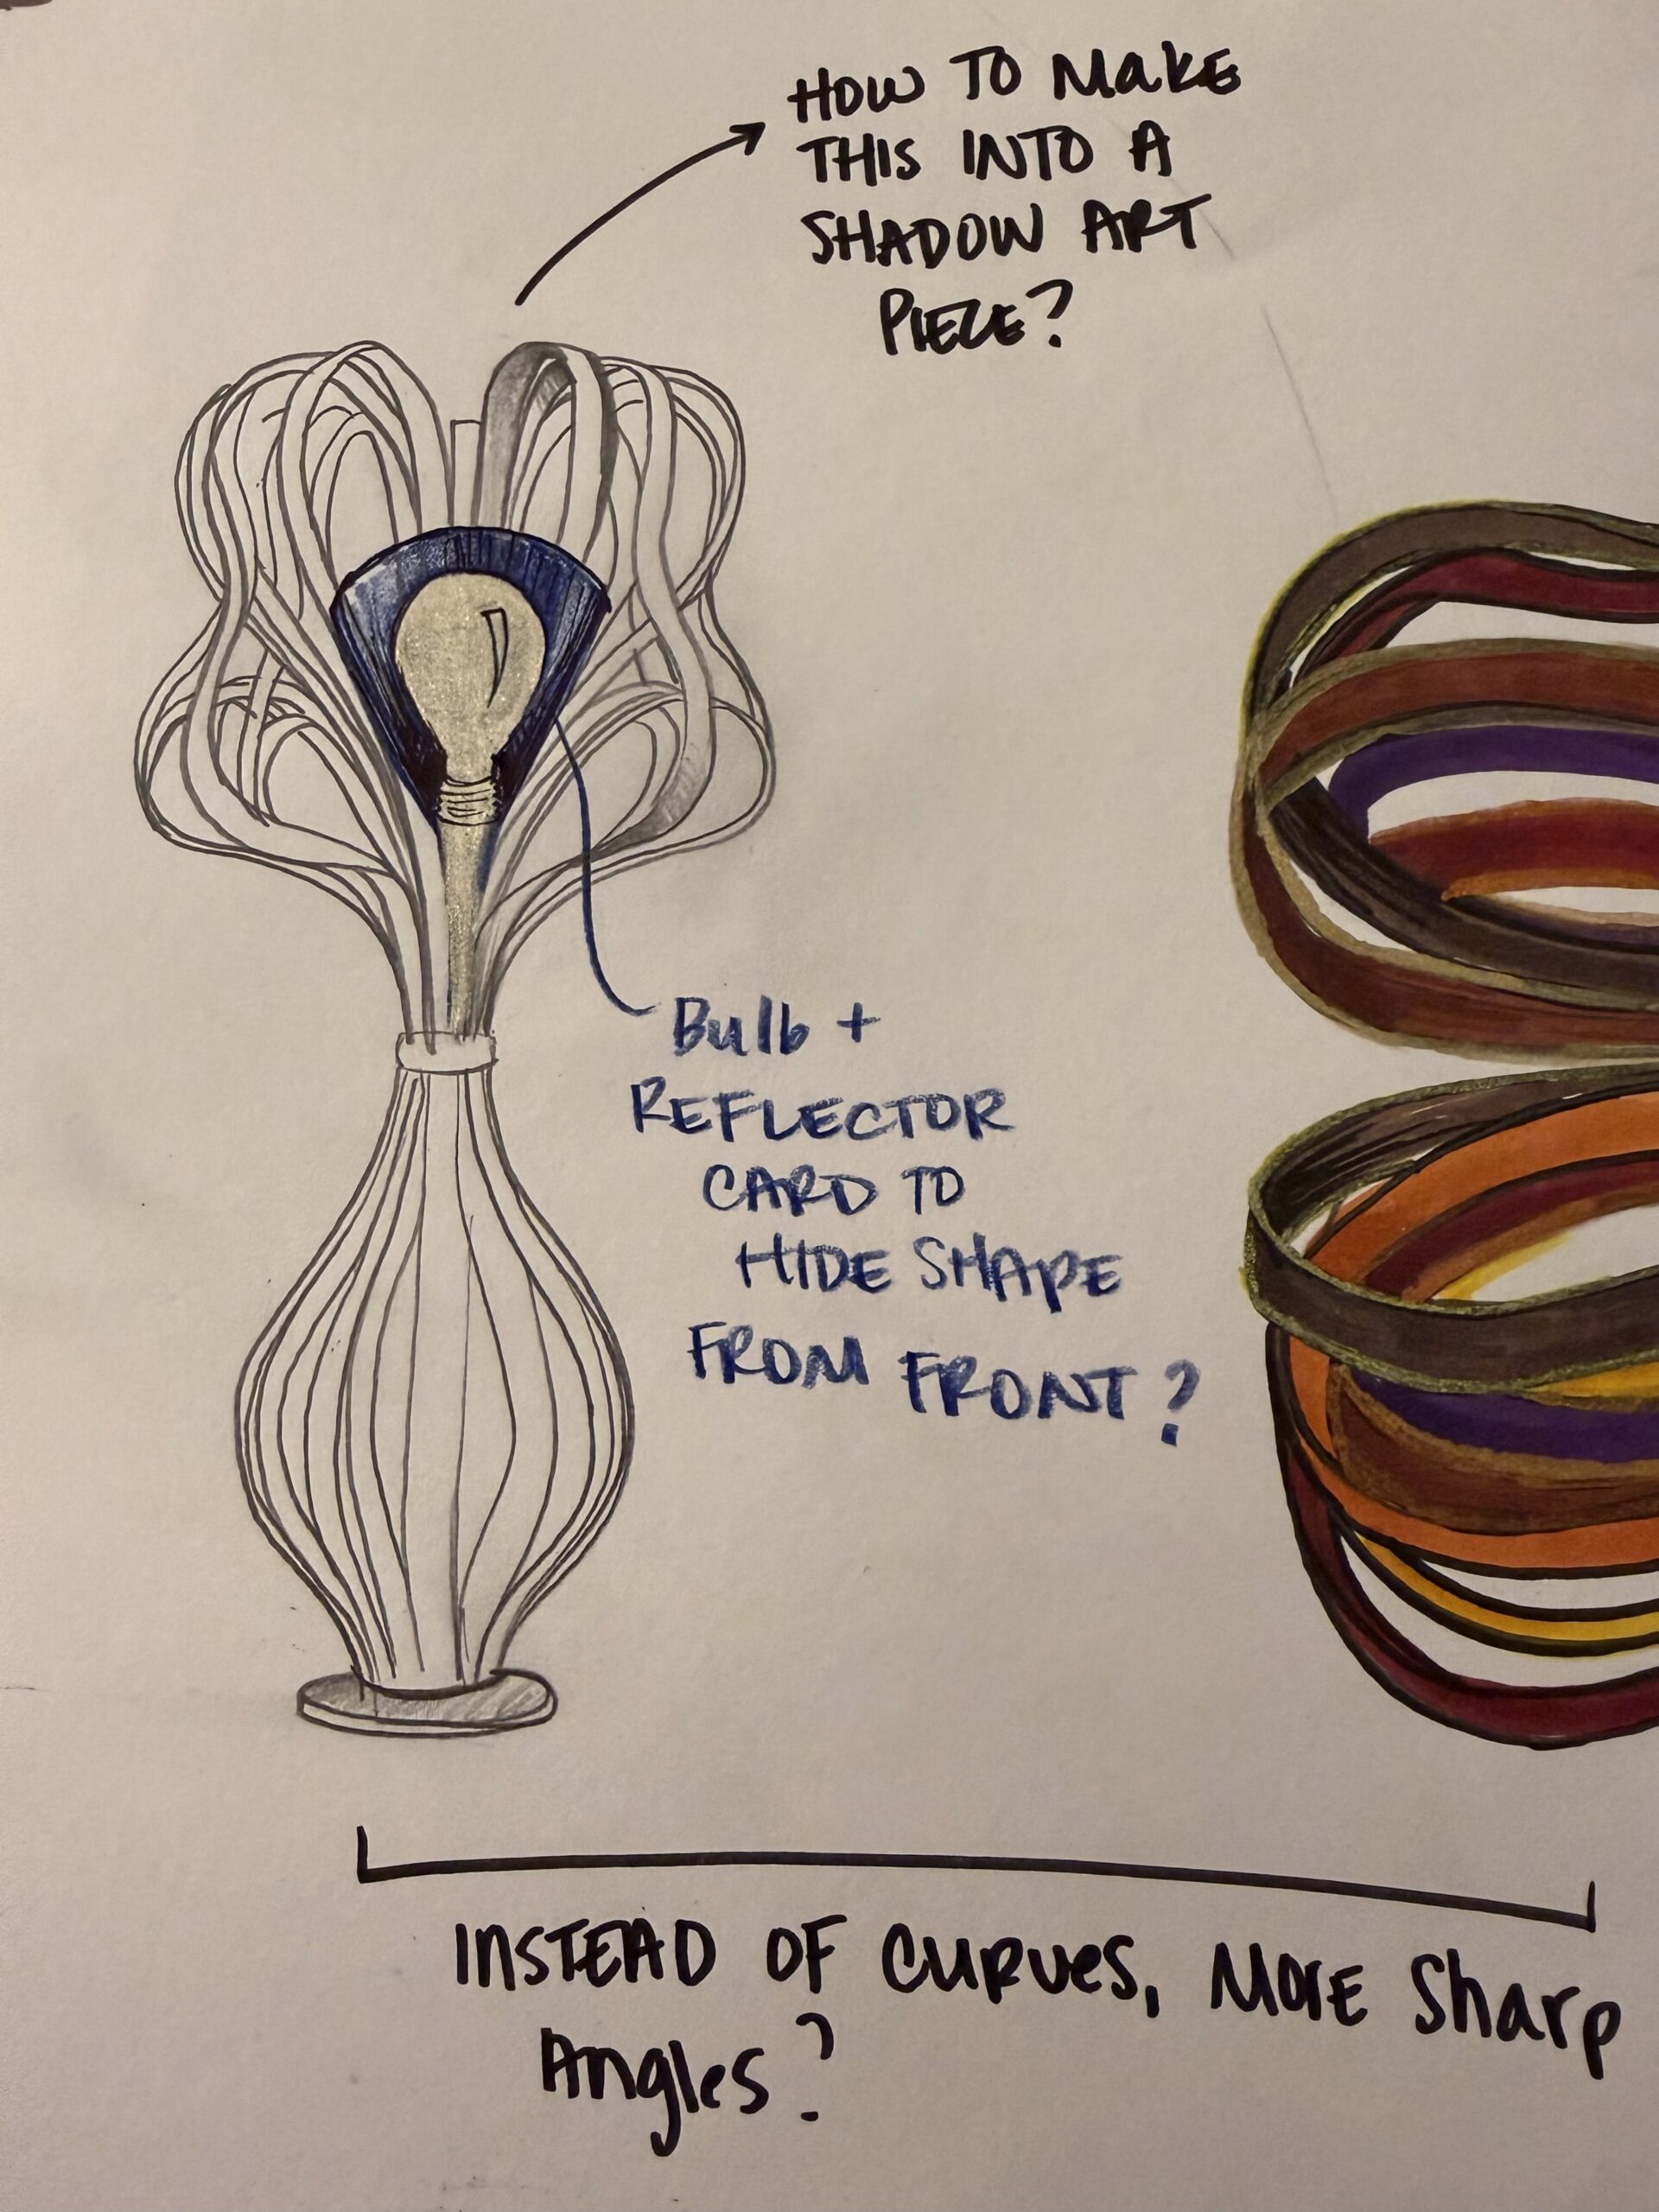
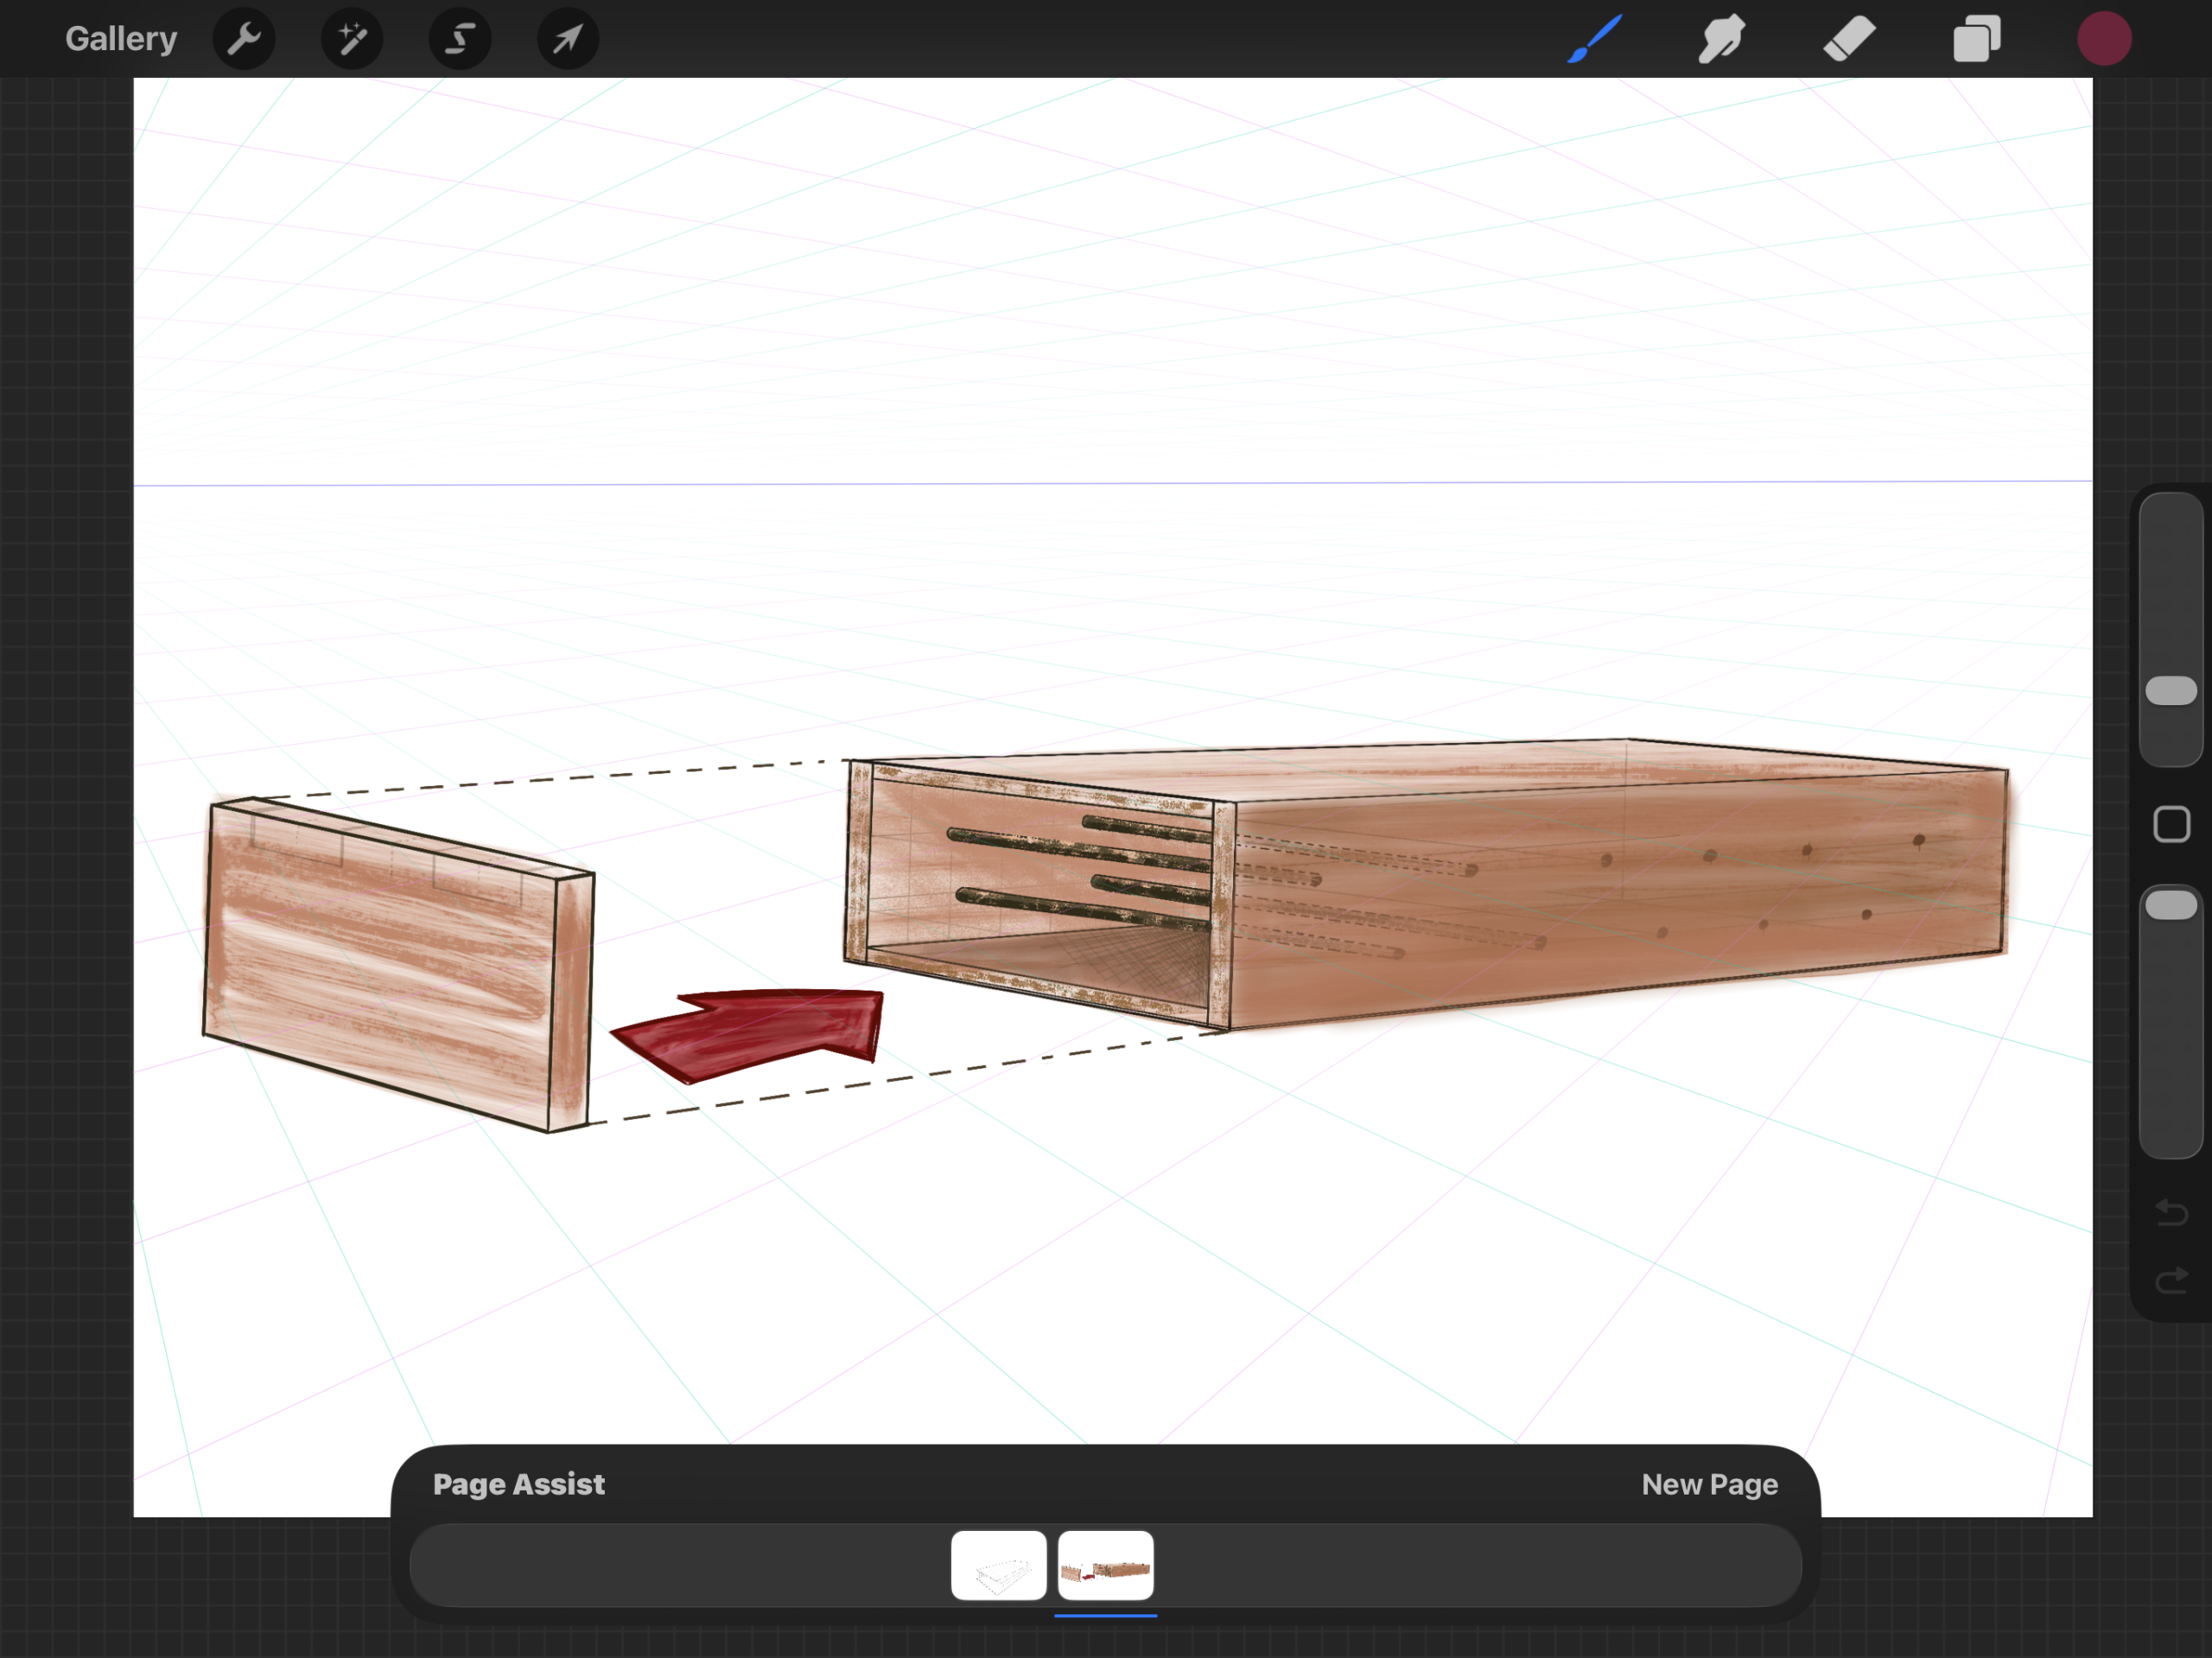
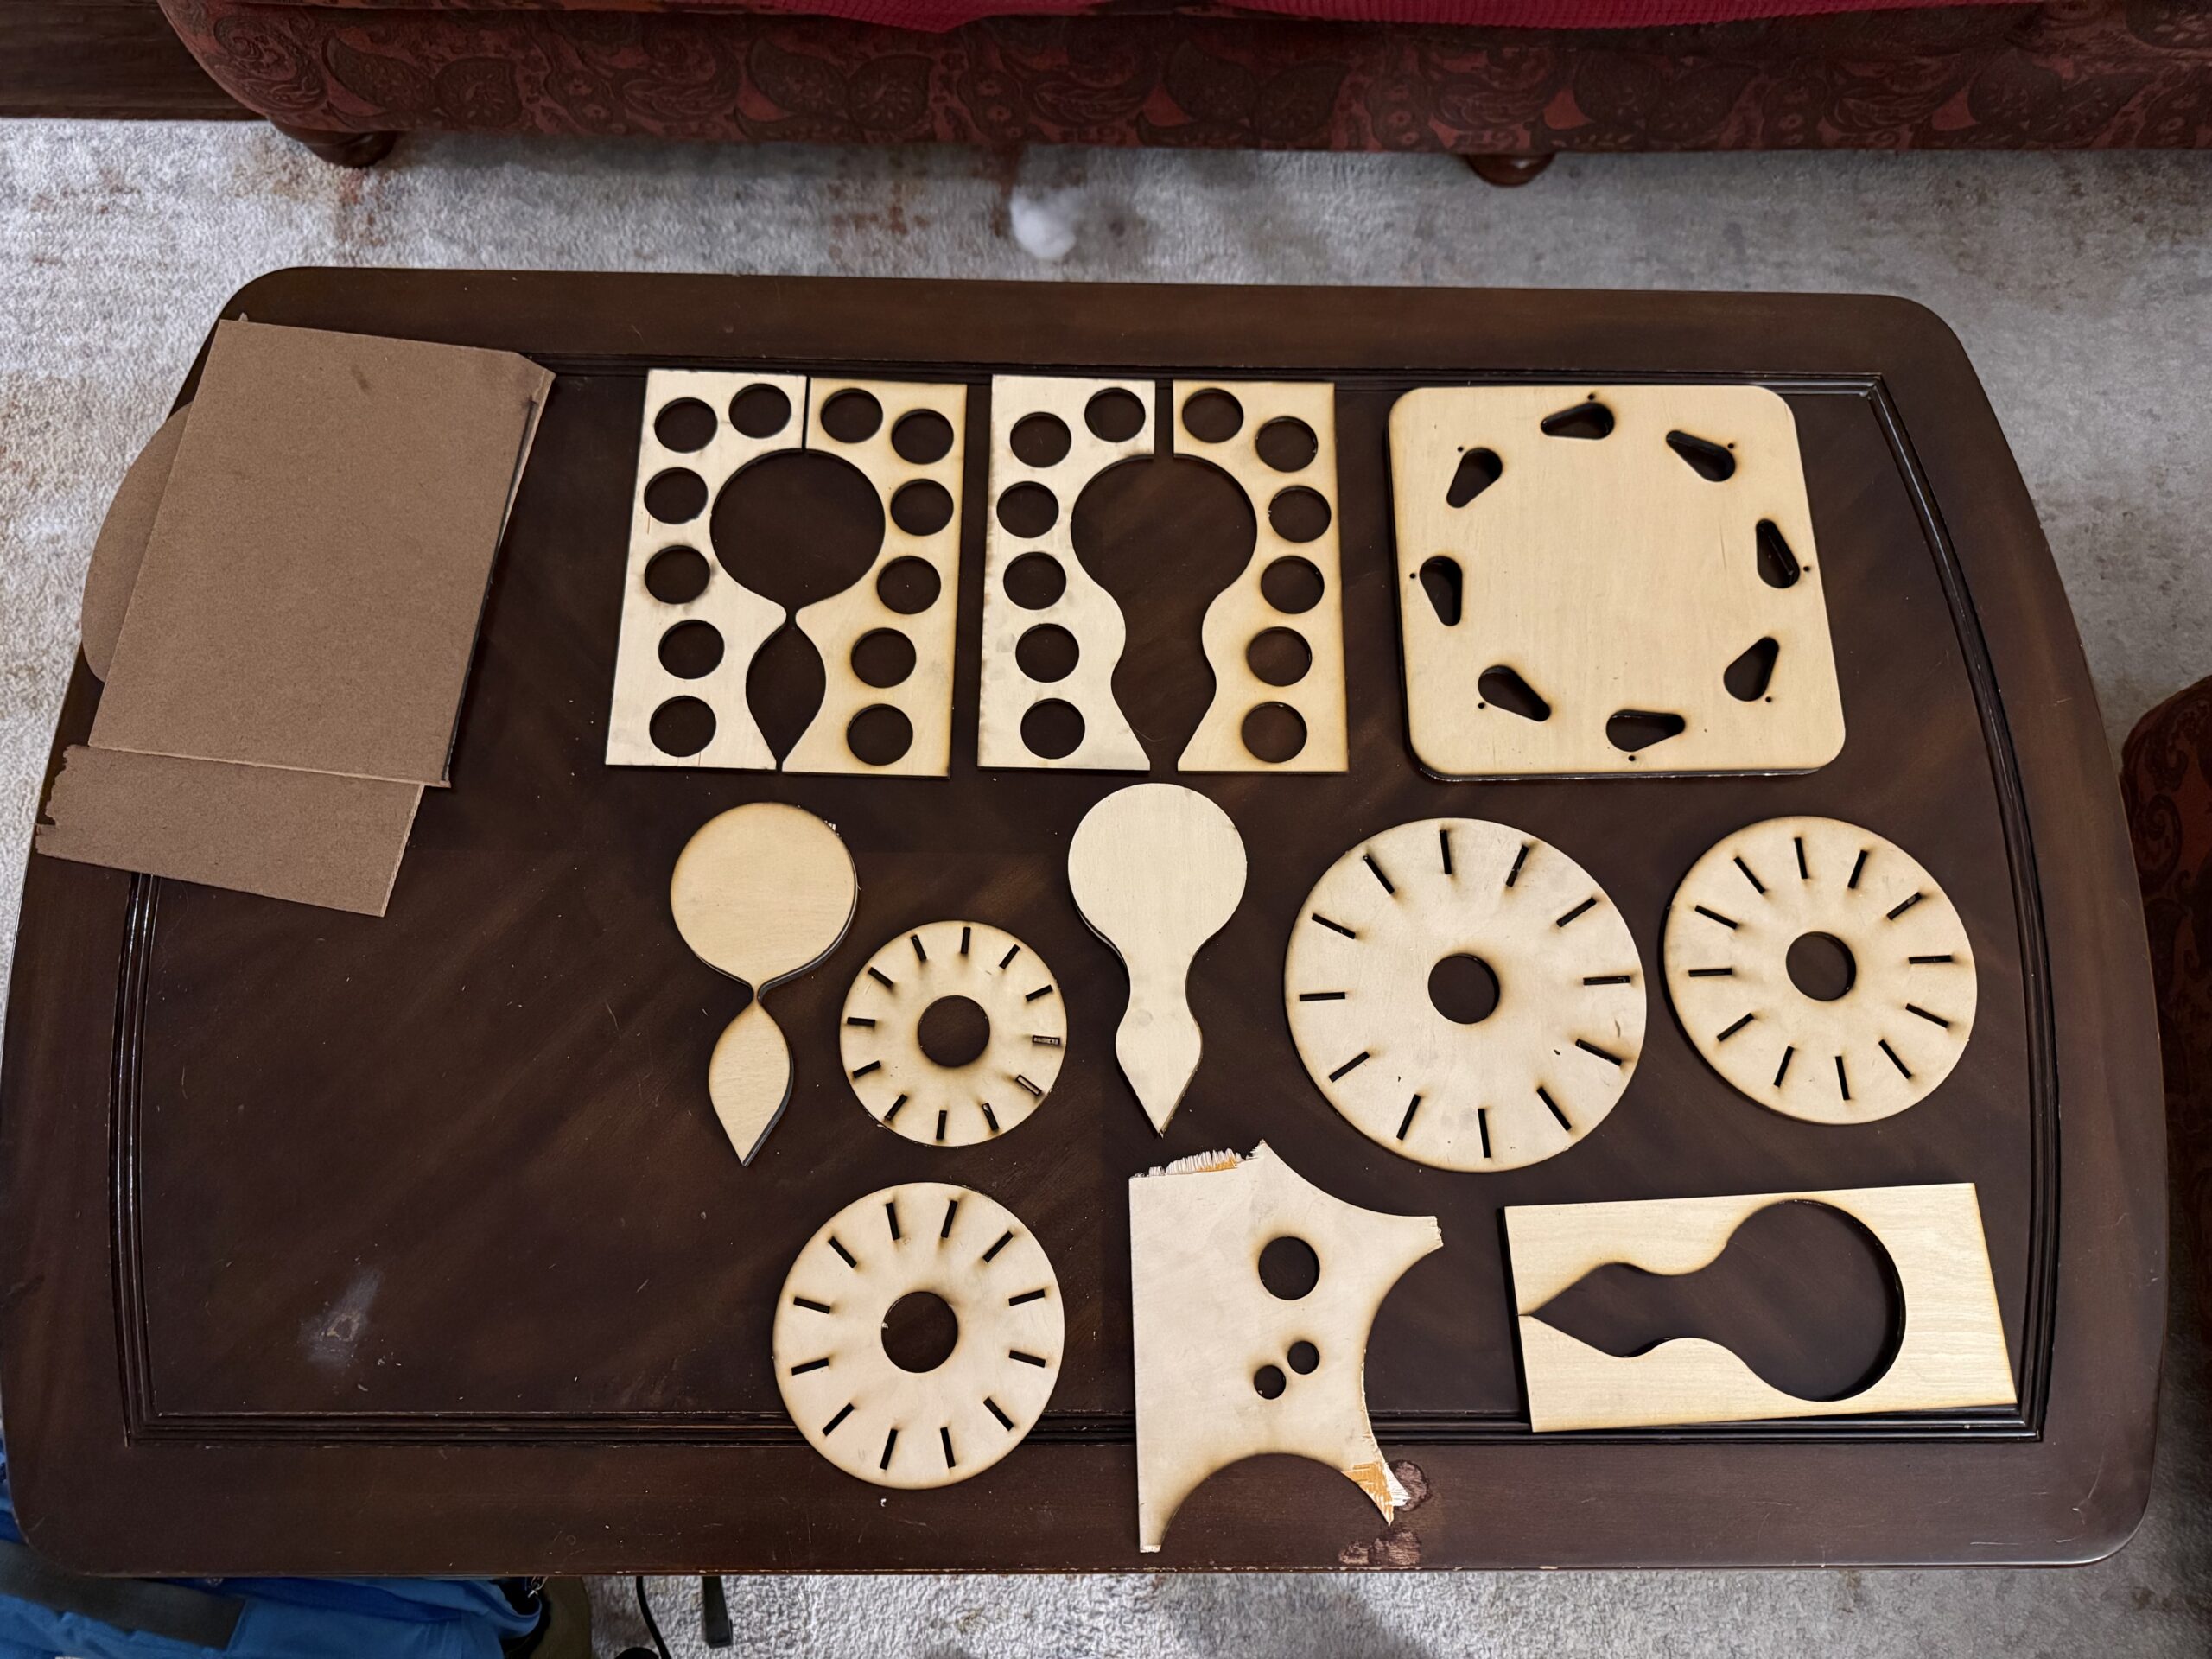
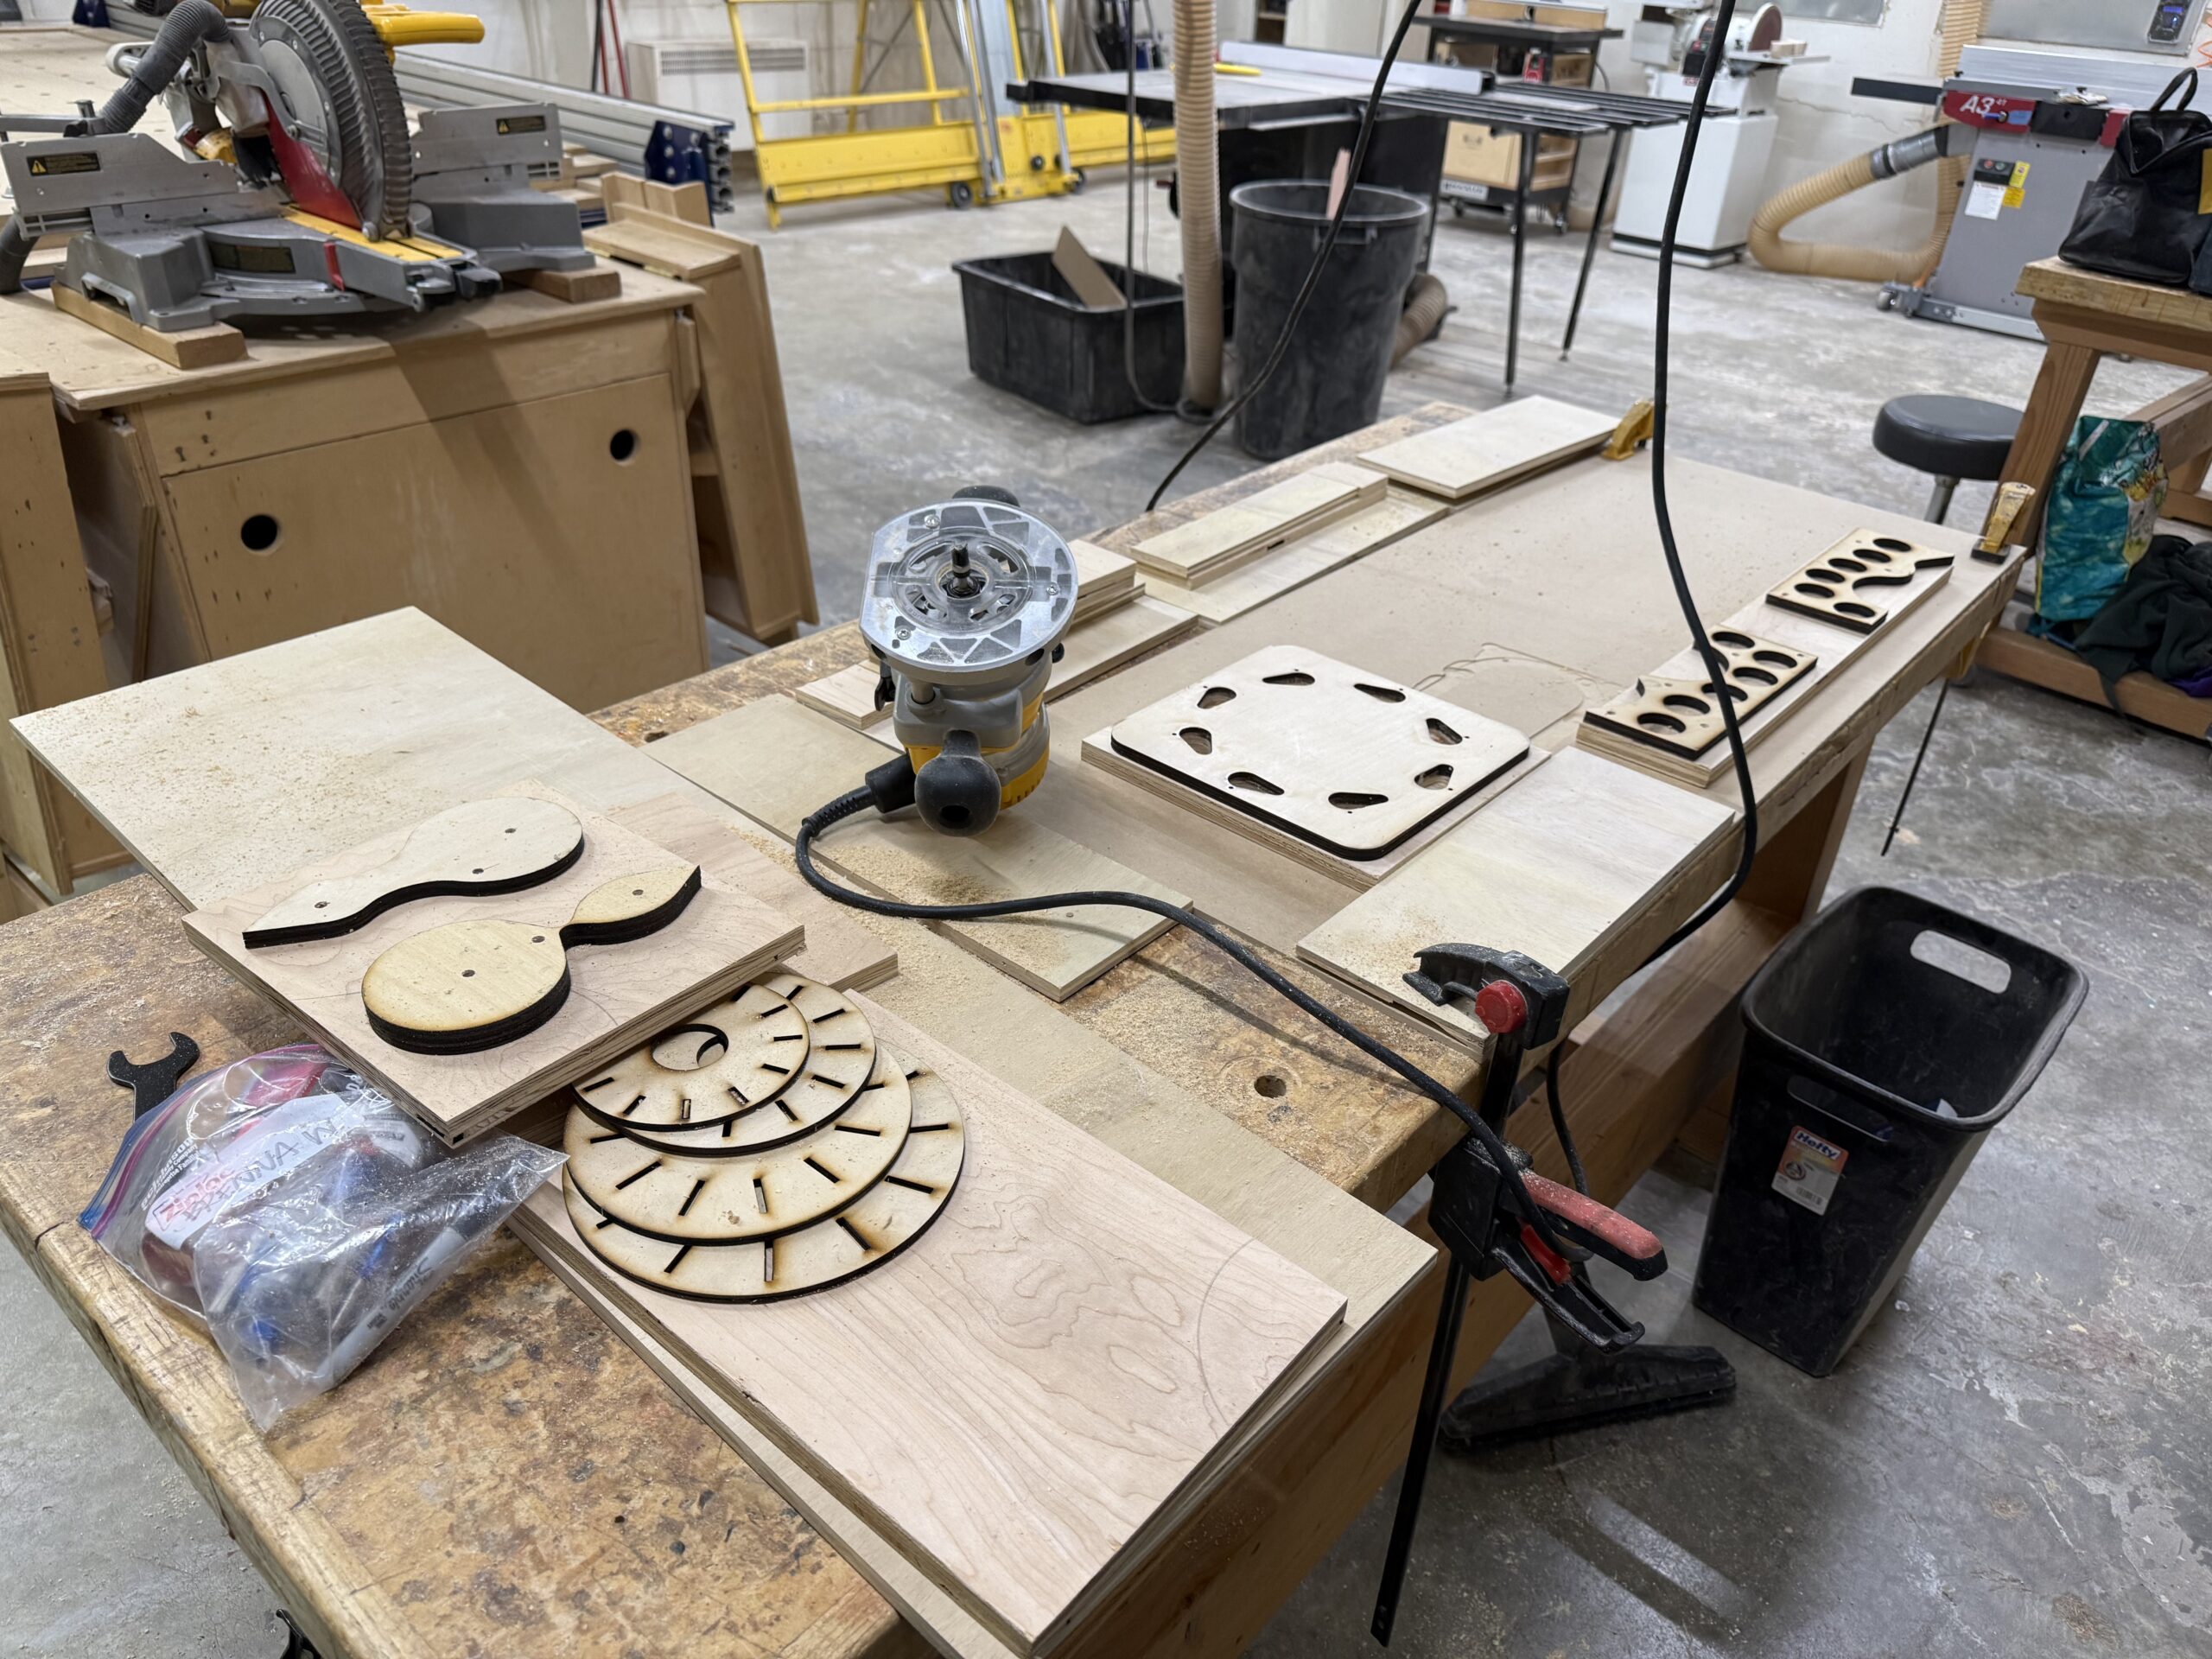
As shown above, bending usually requires some kind of mold to clamp to. I made several molds of the shape I wanted, along with a backup design in case the first didn’t work. In hindsight, I wish I had tested the first shape earlier in the process before making all of them.
The inner radius was too aggressive for this size. I think it would work if I scaled up the overall dimensions, so something for the future.
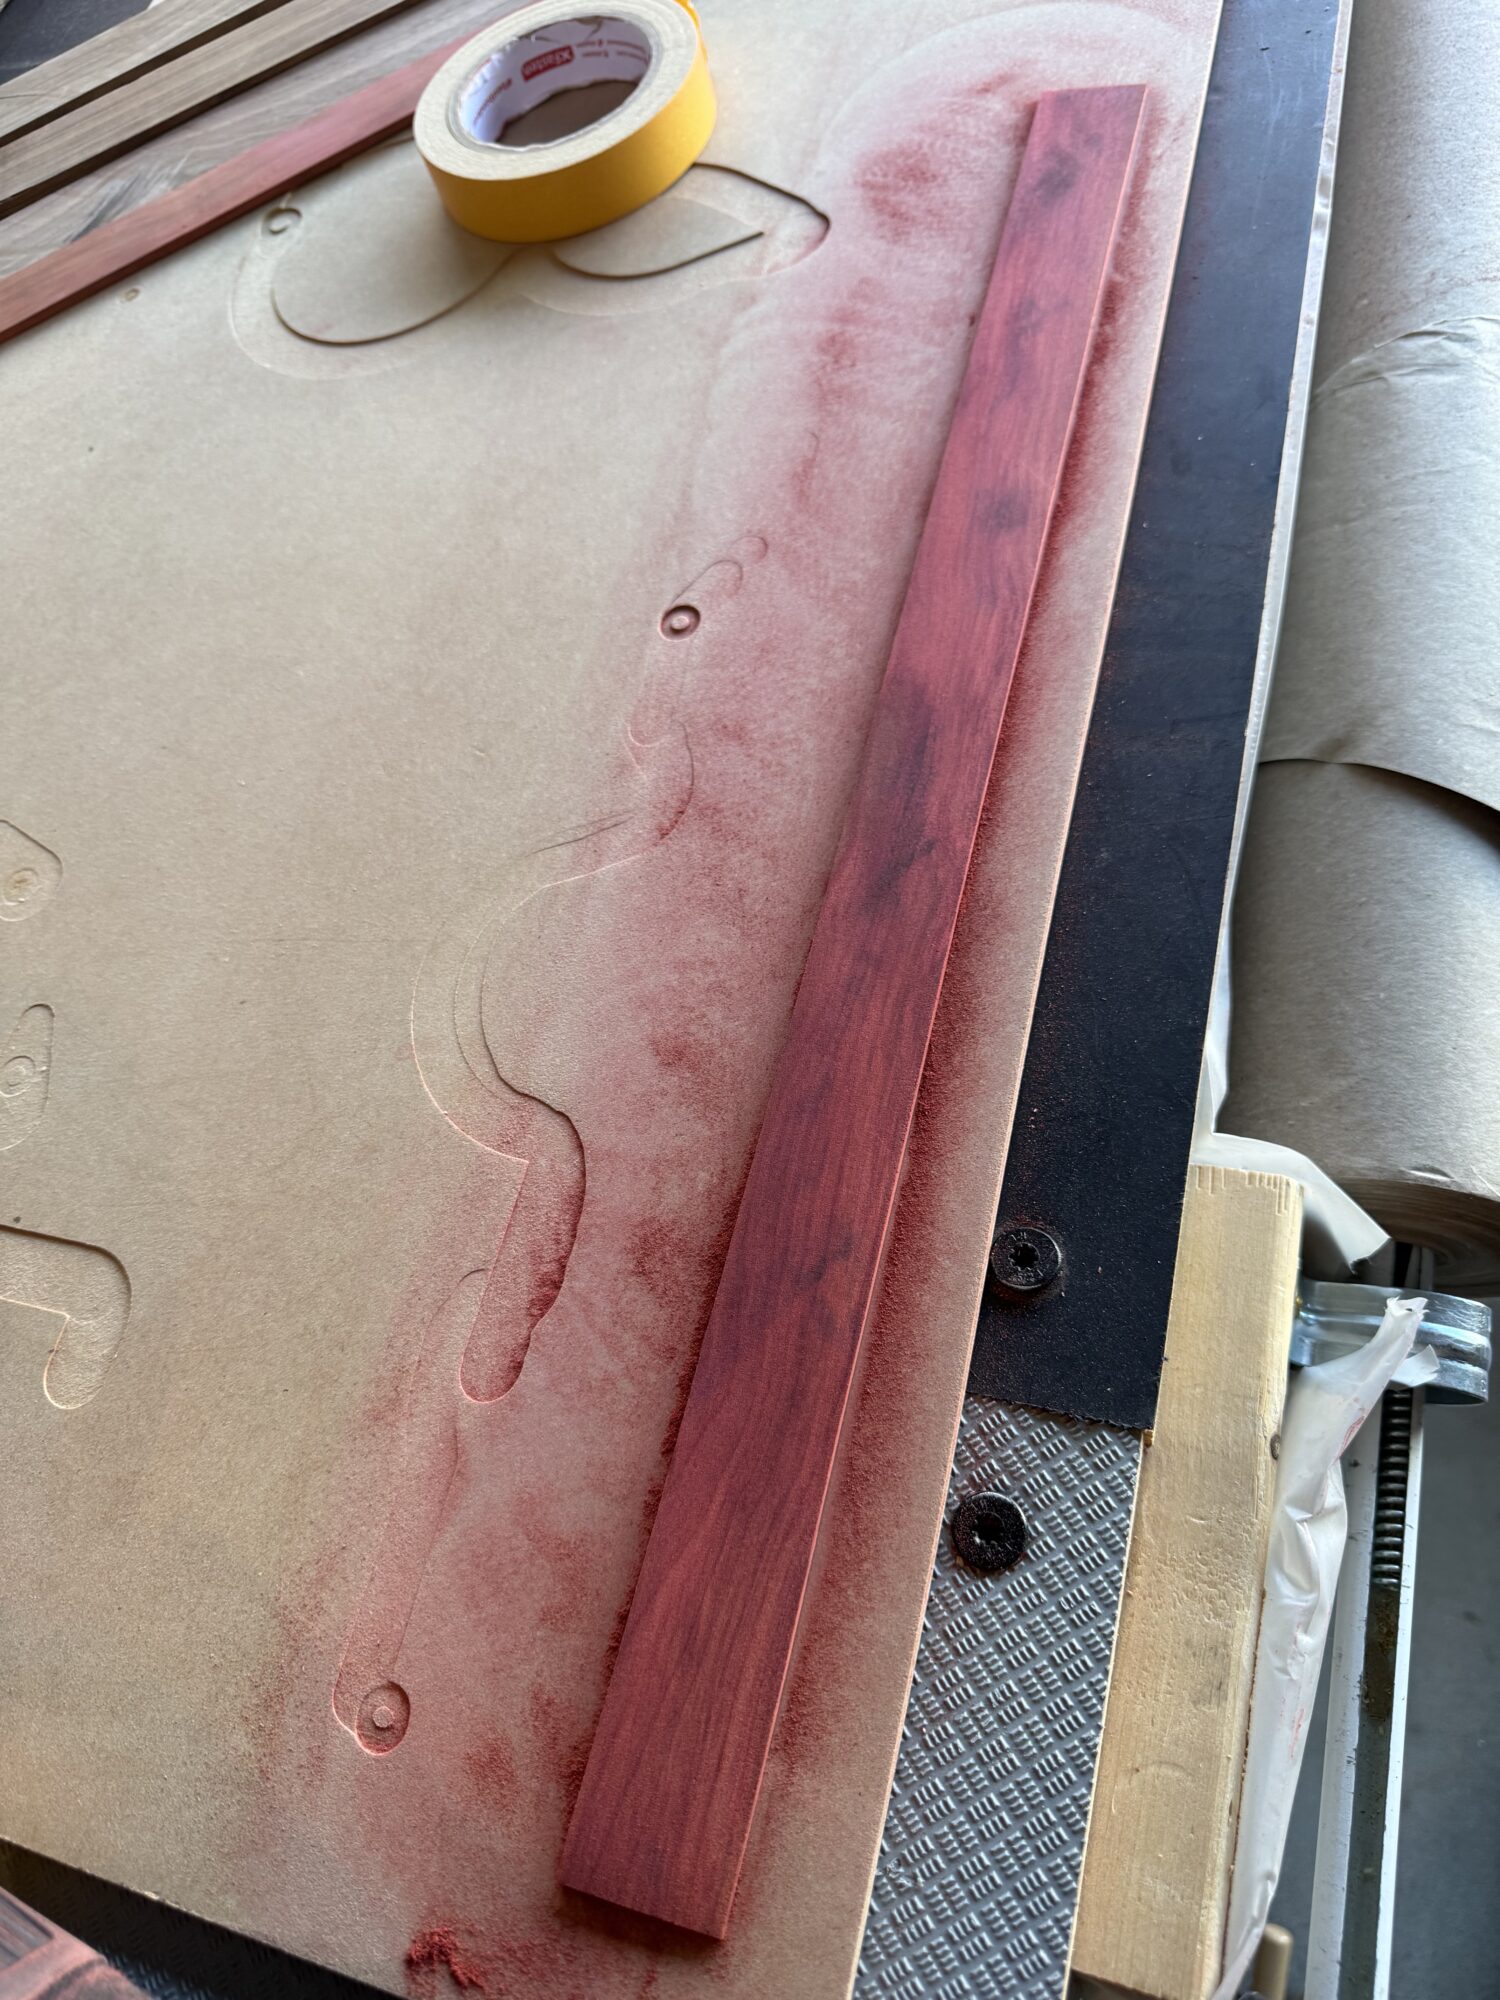
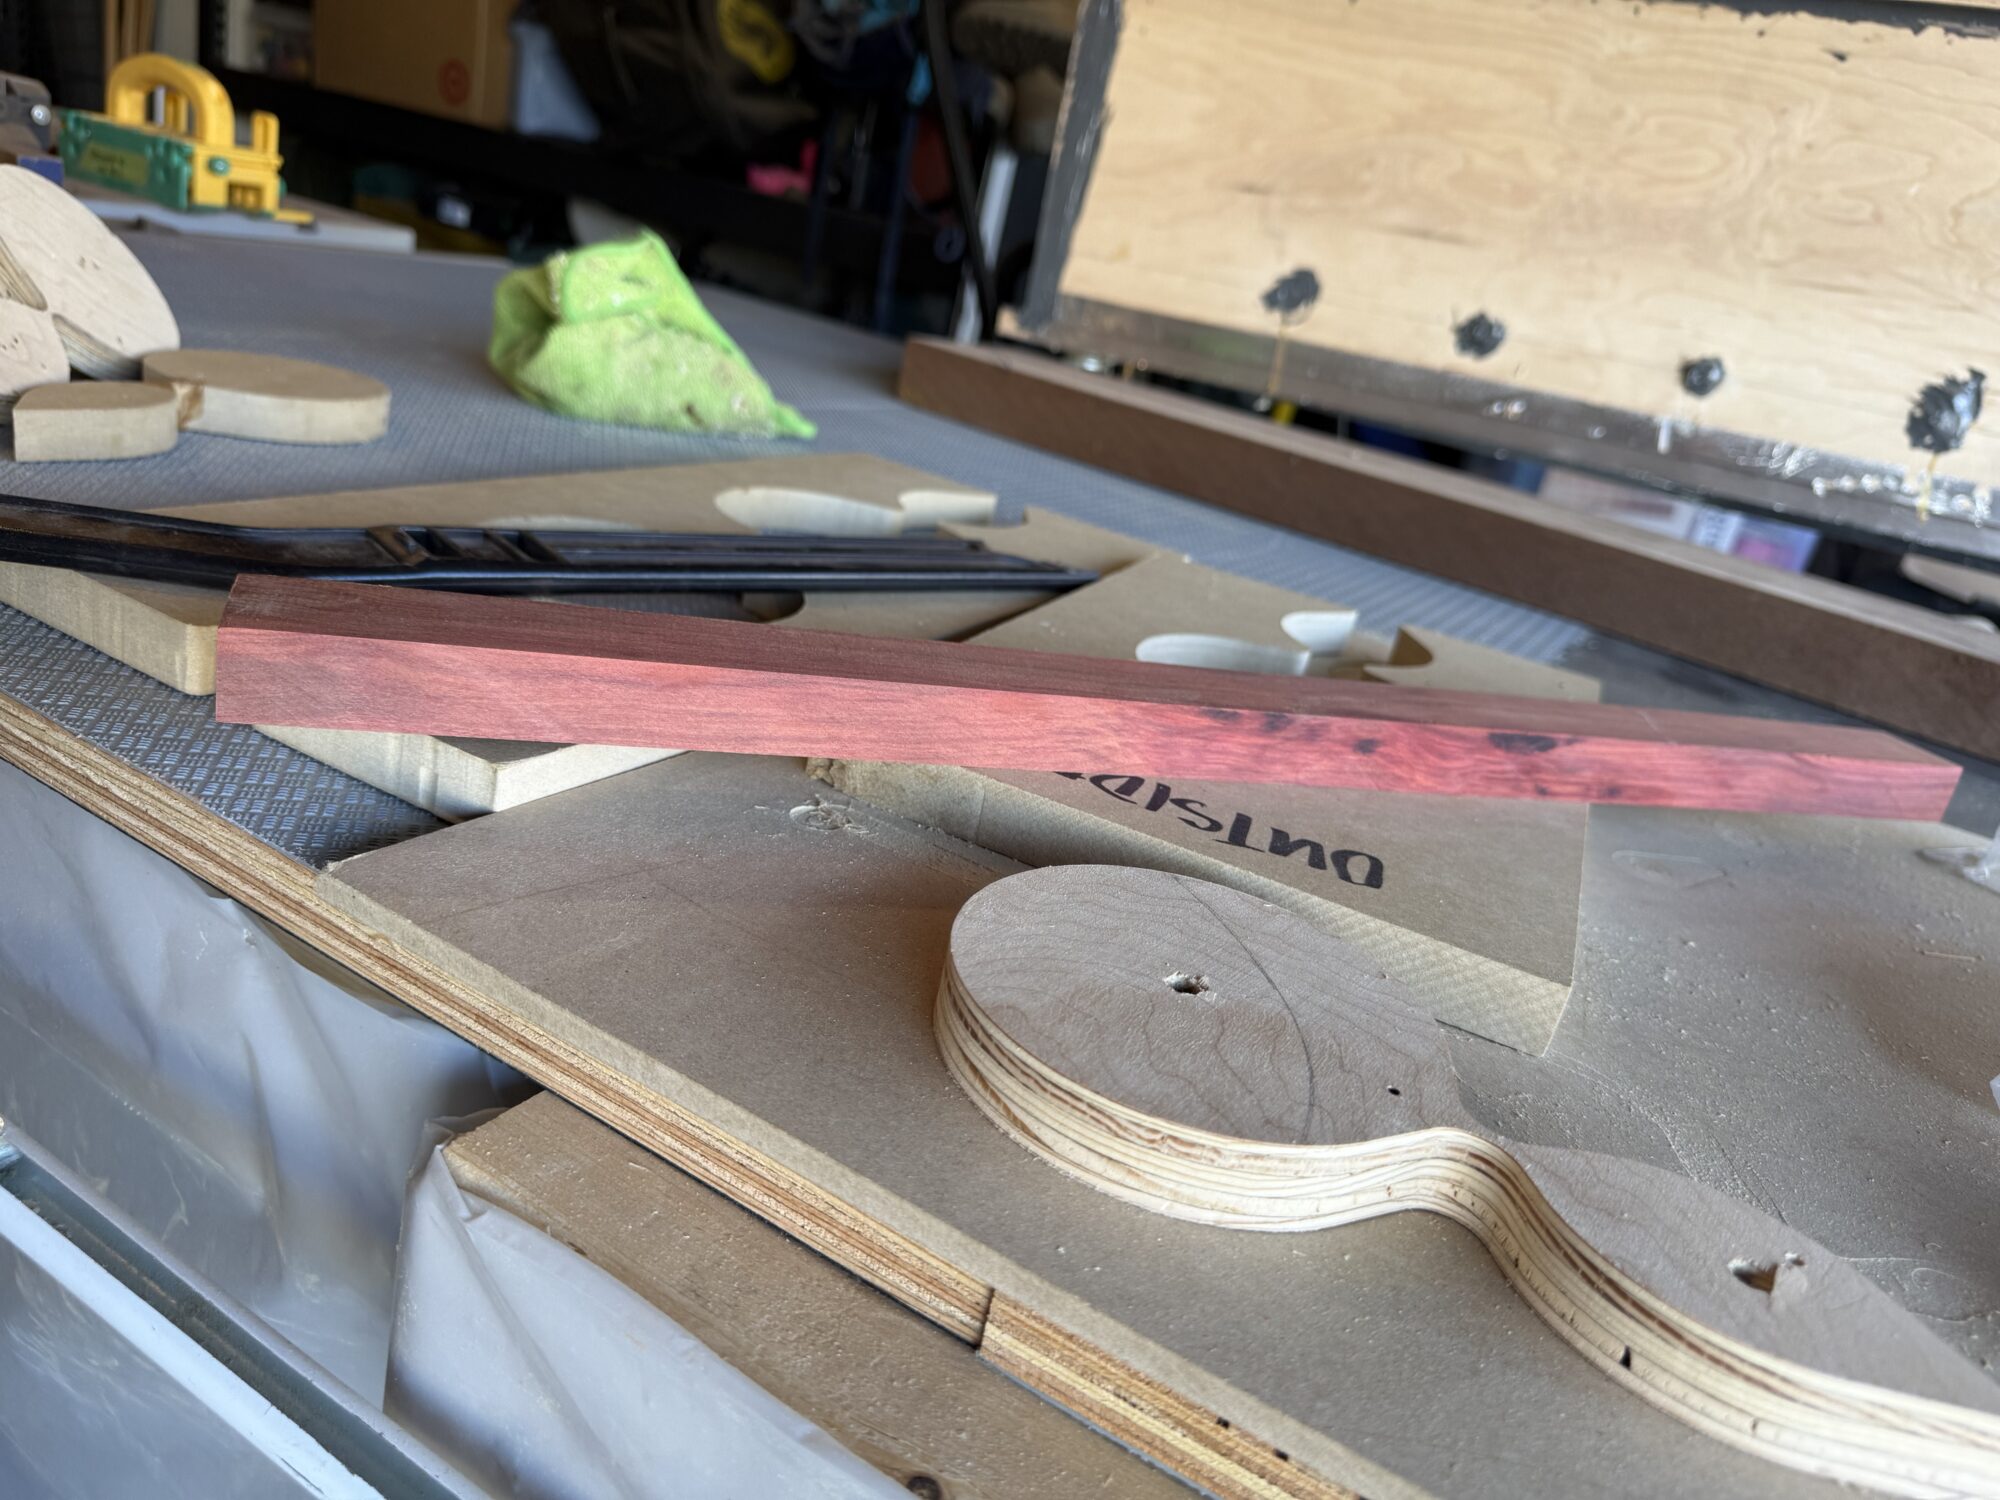
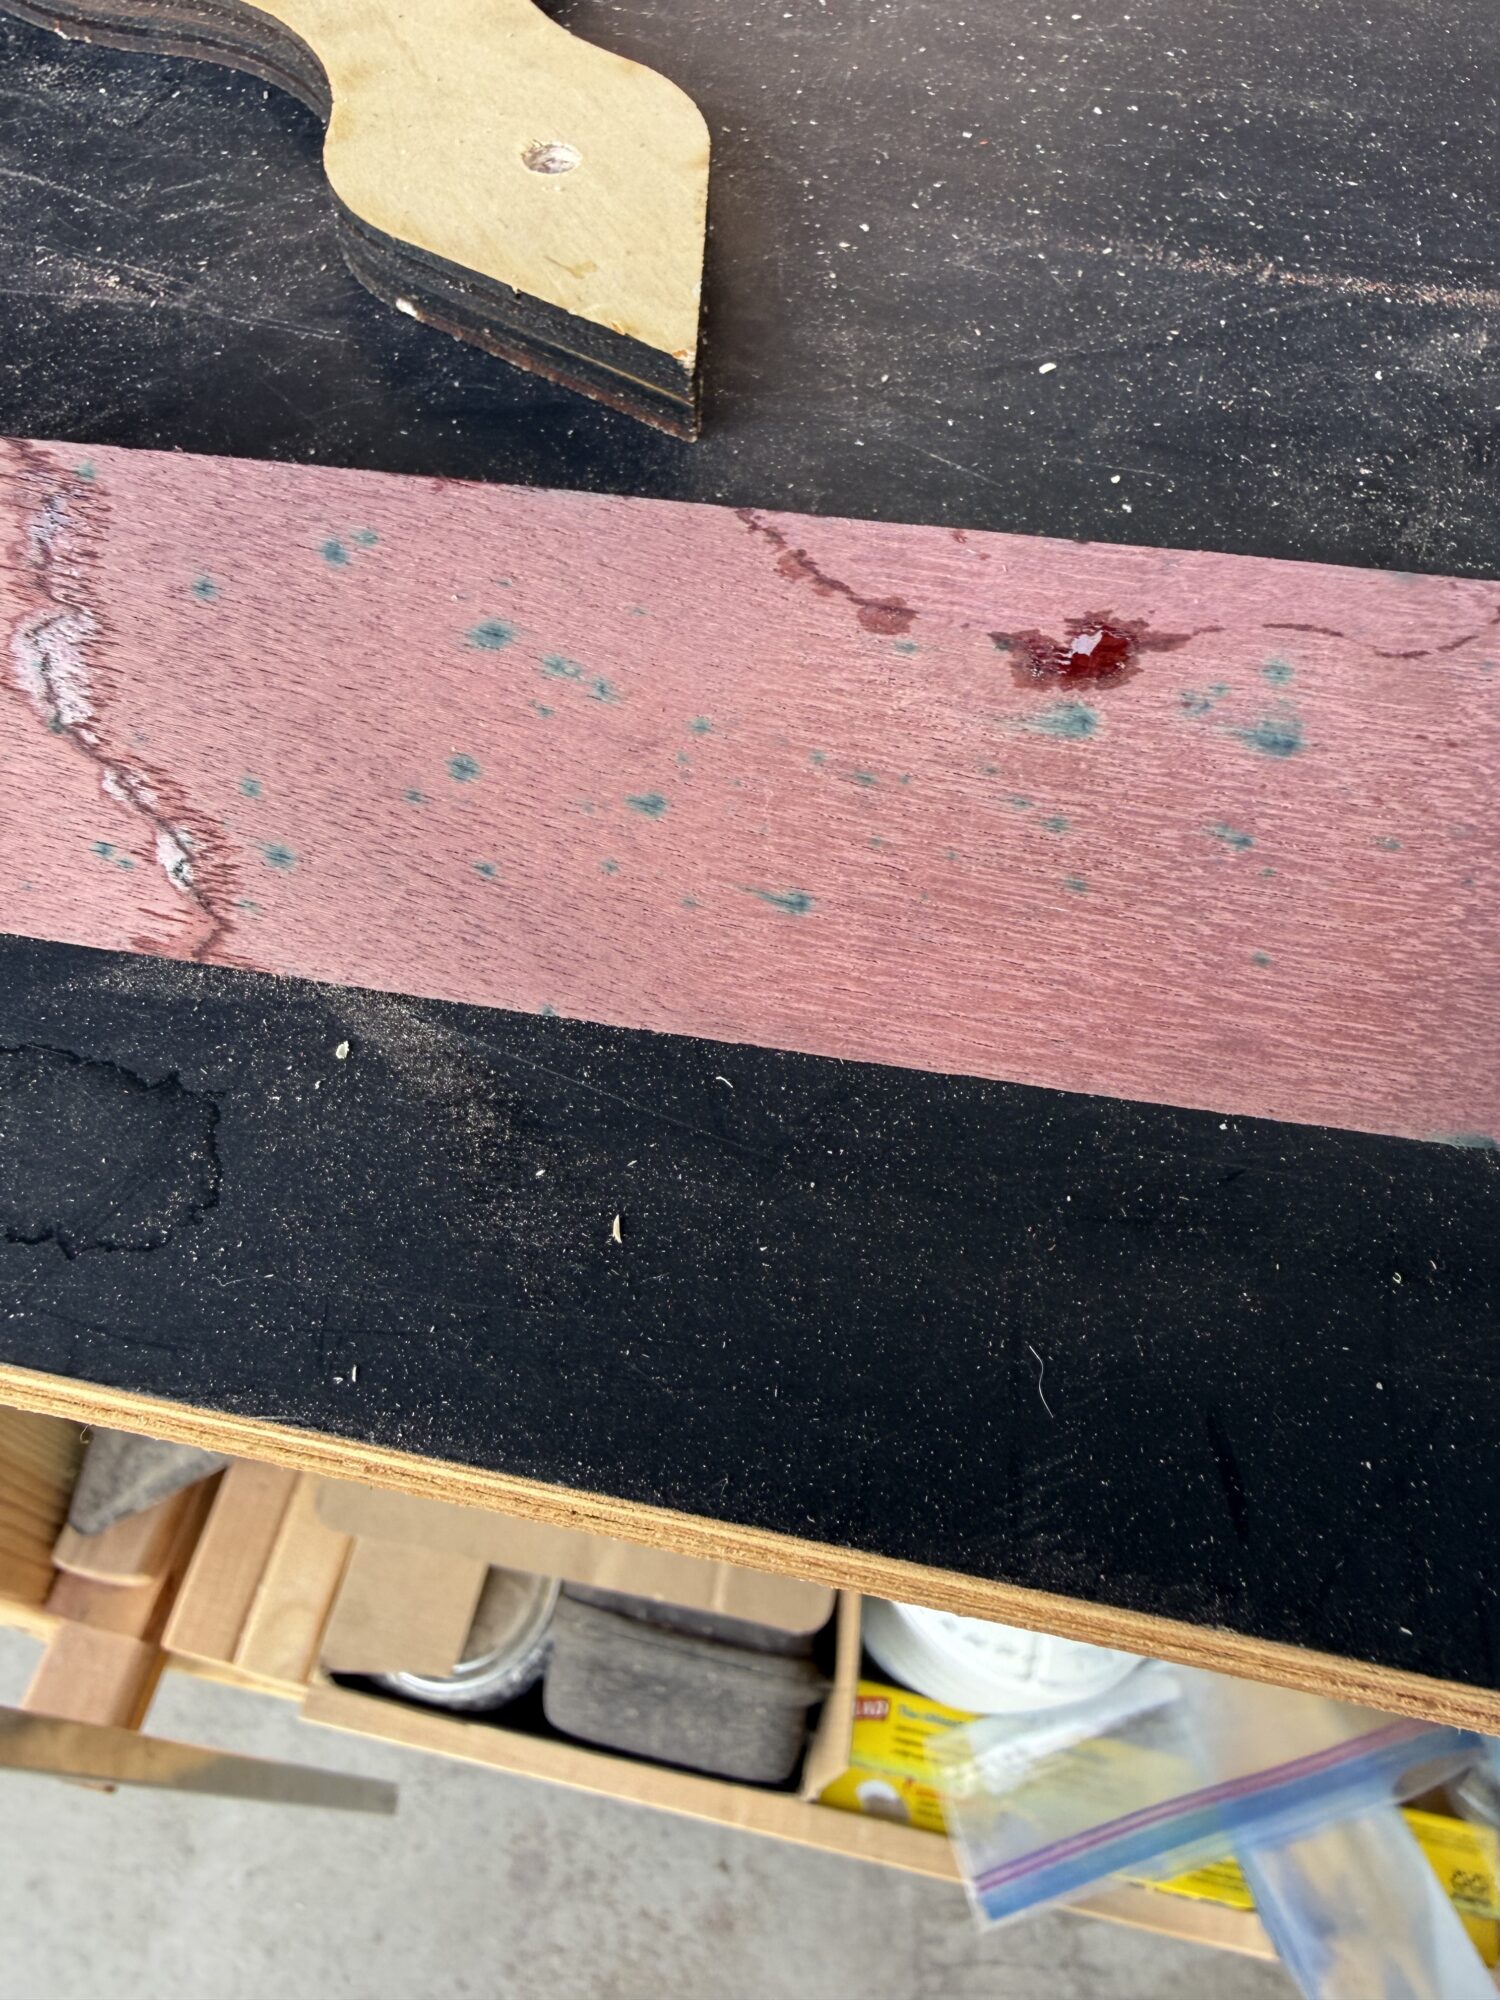
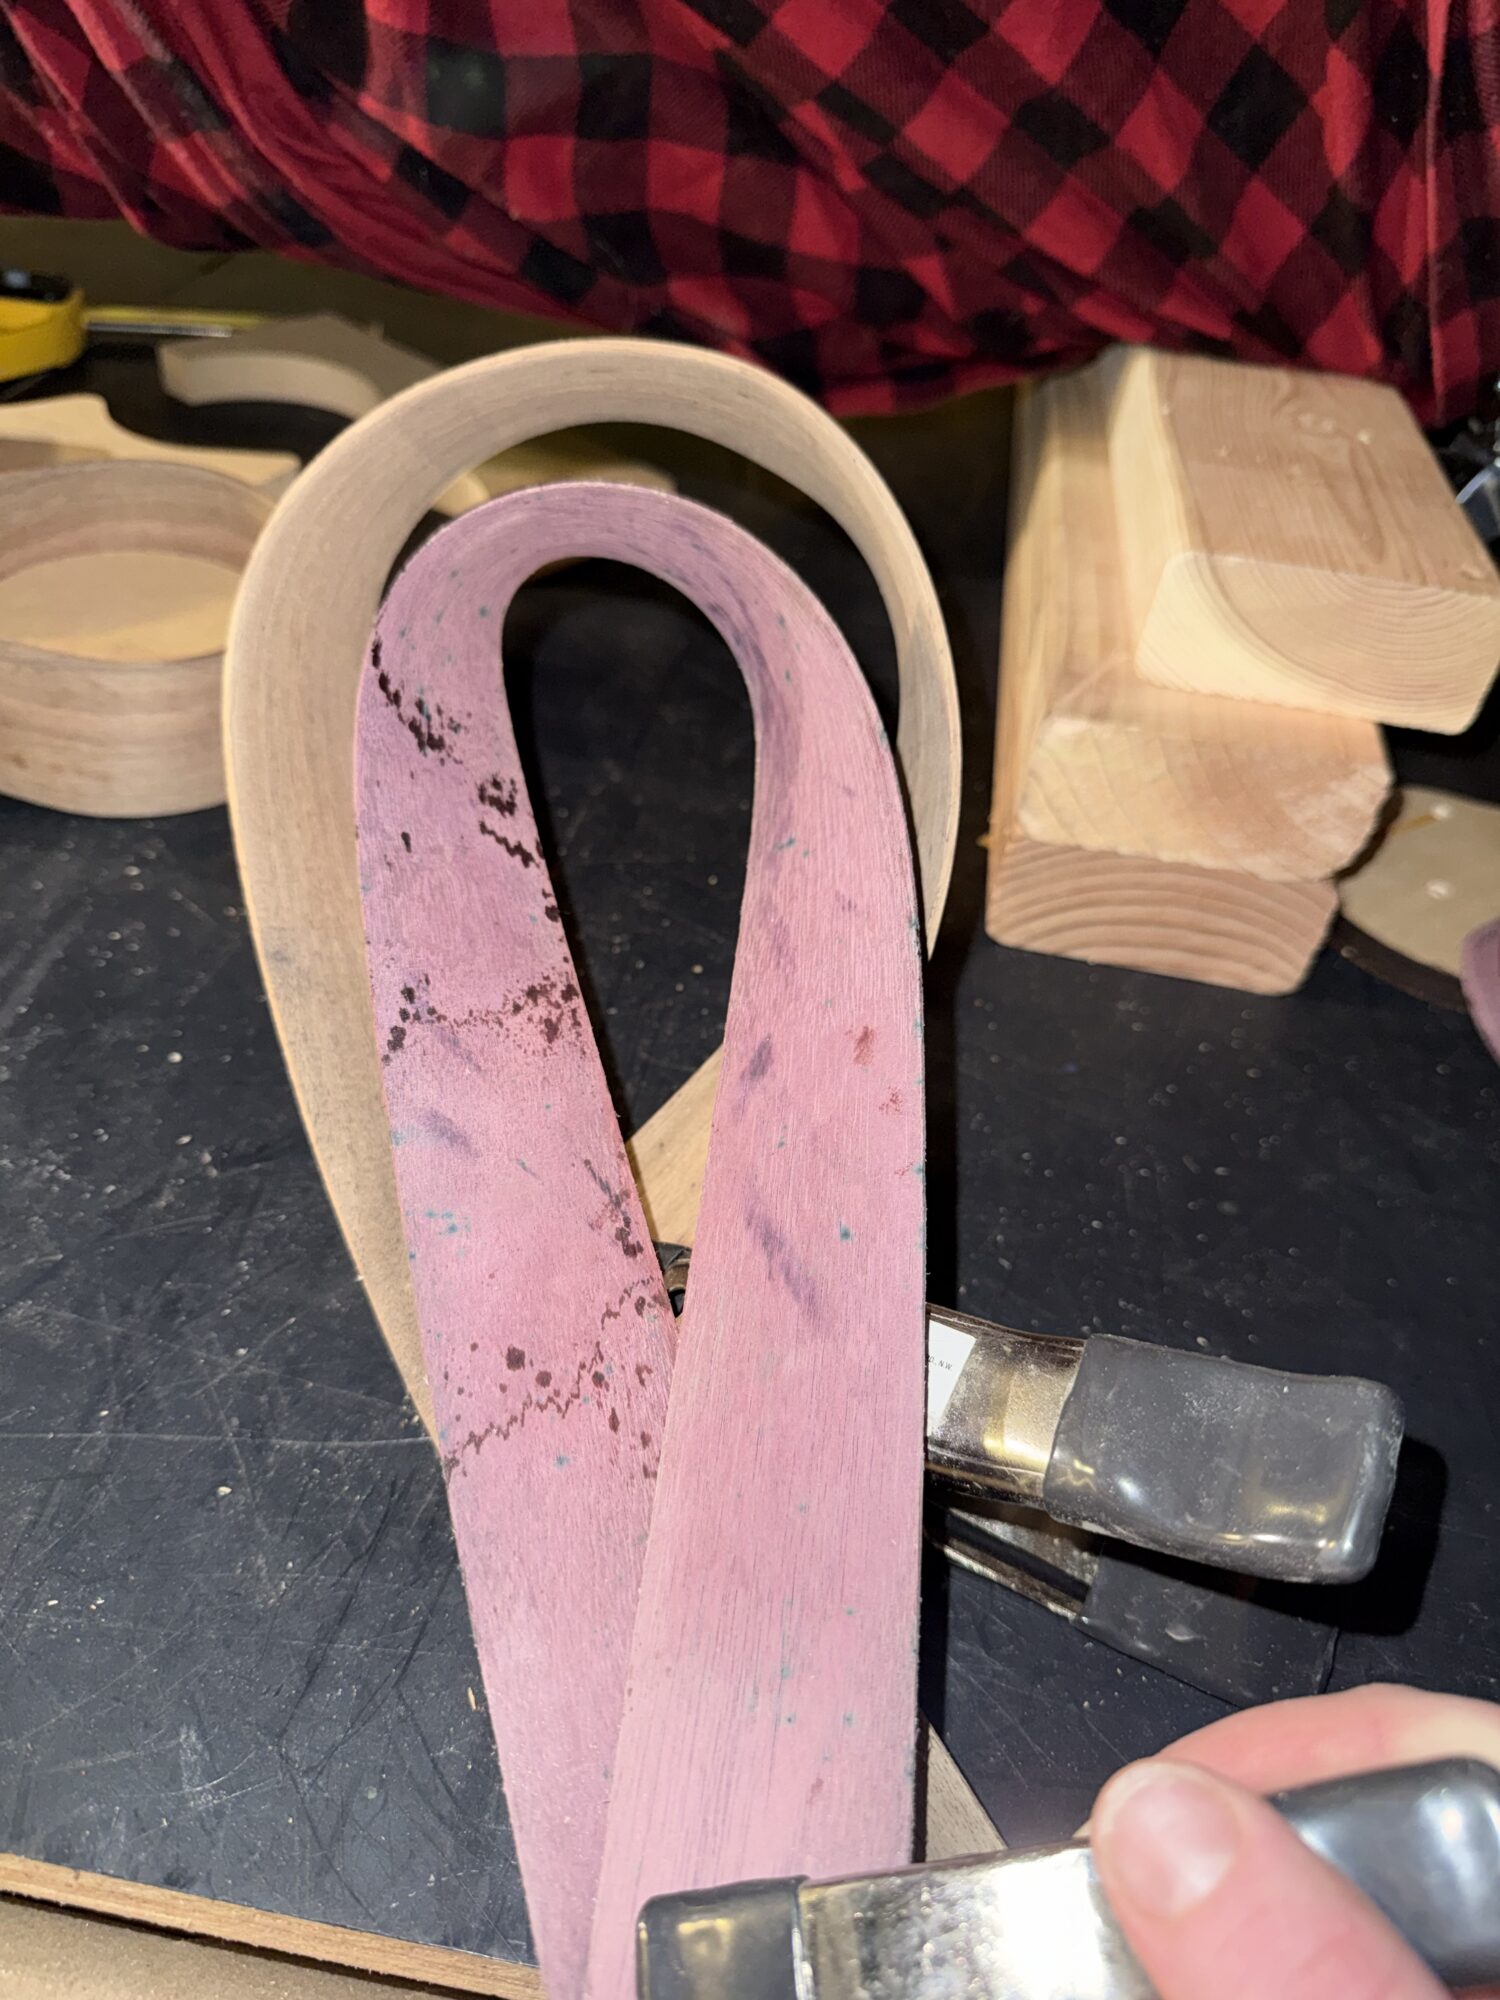
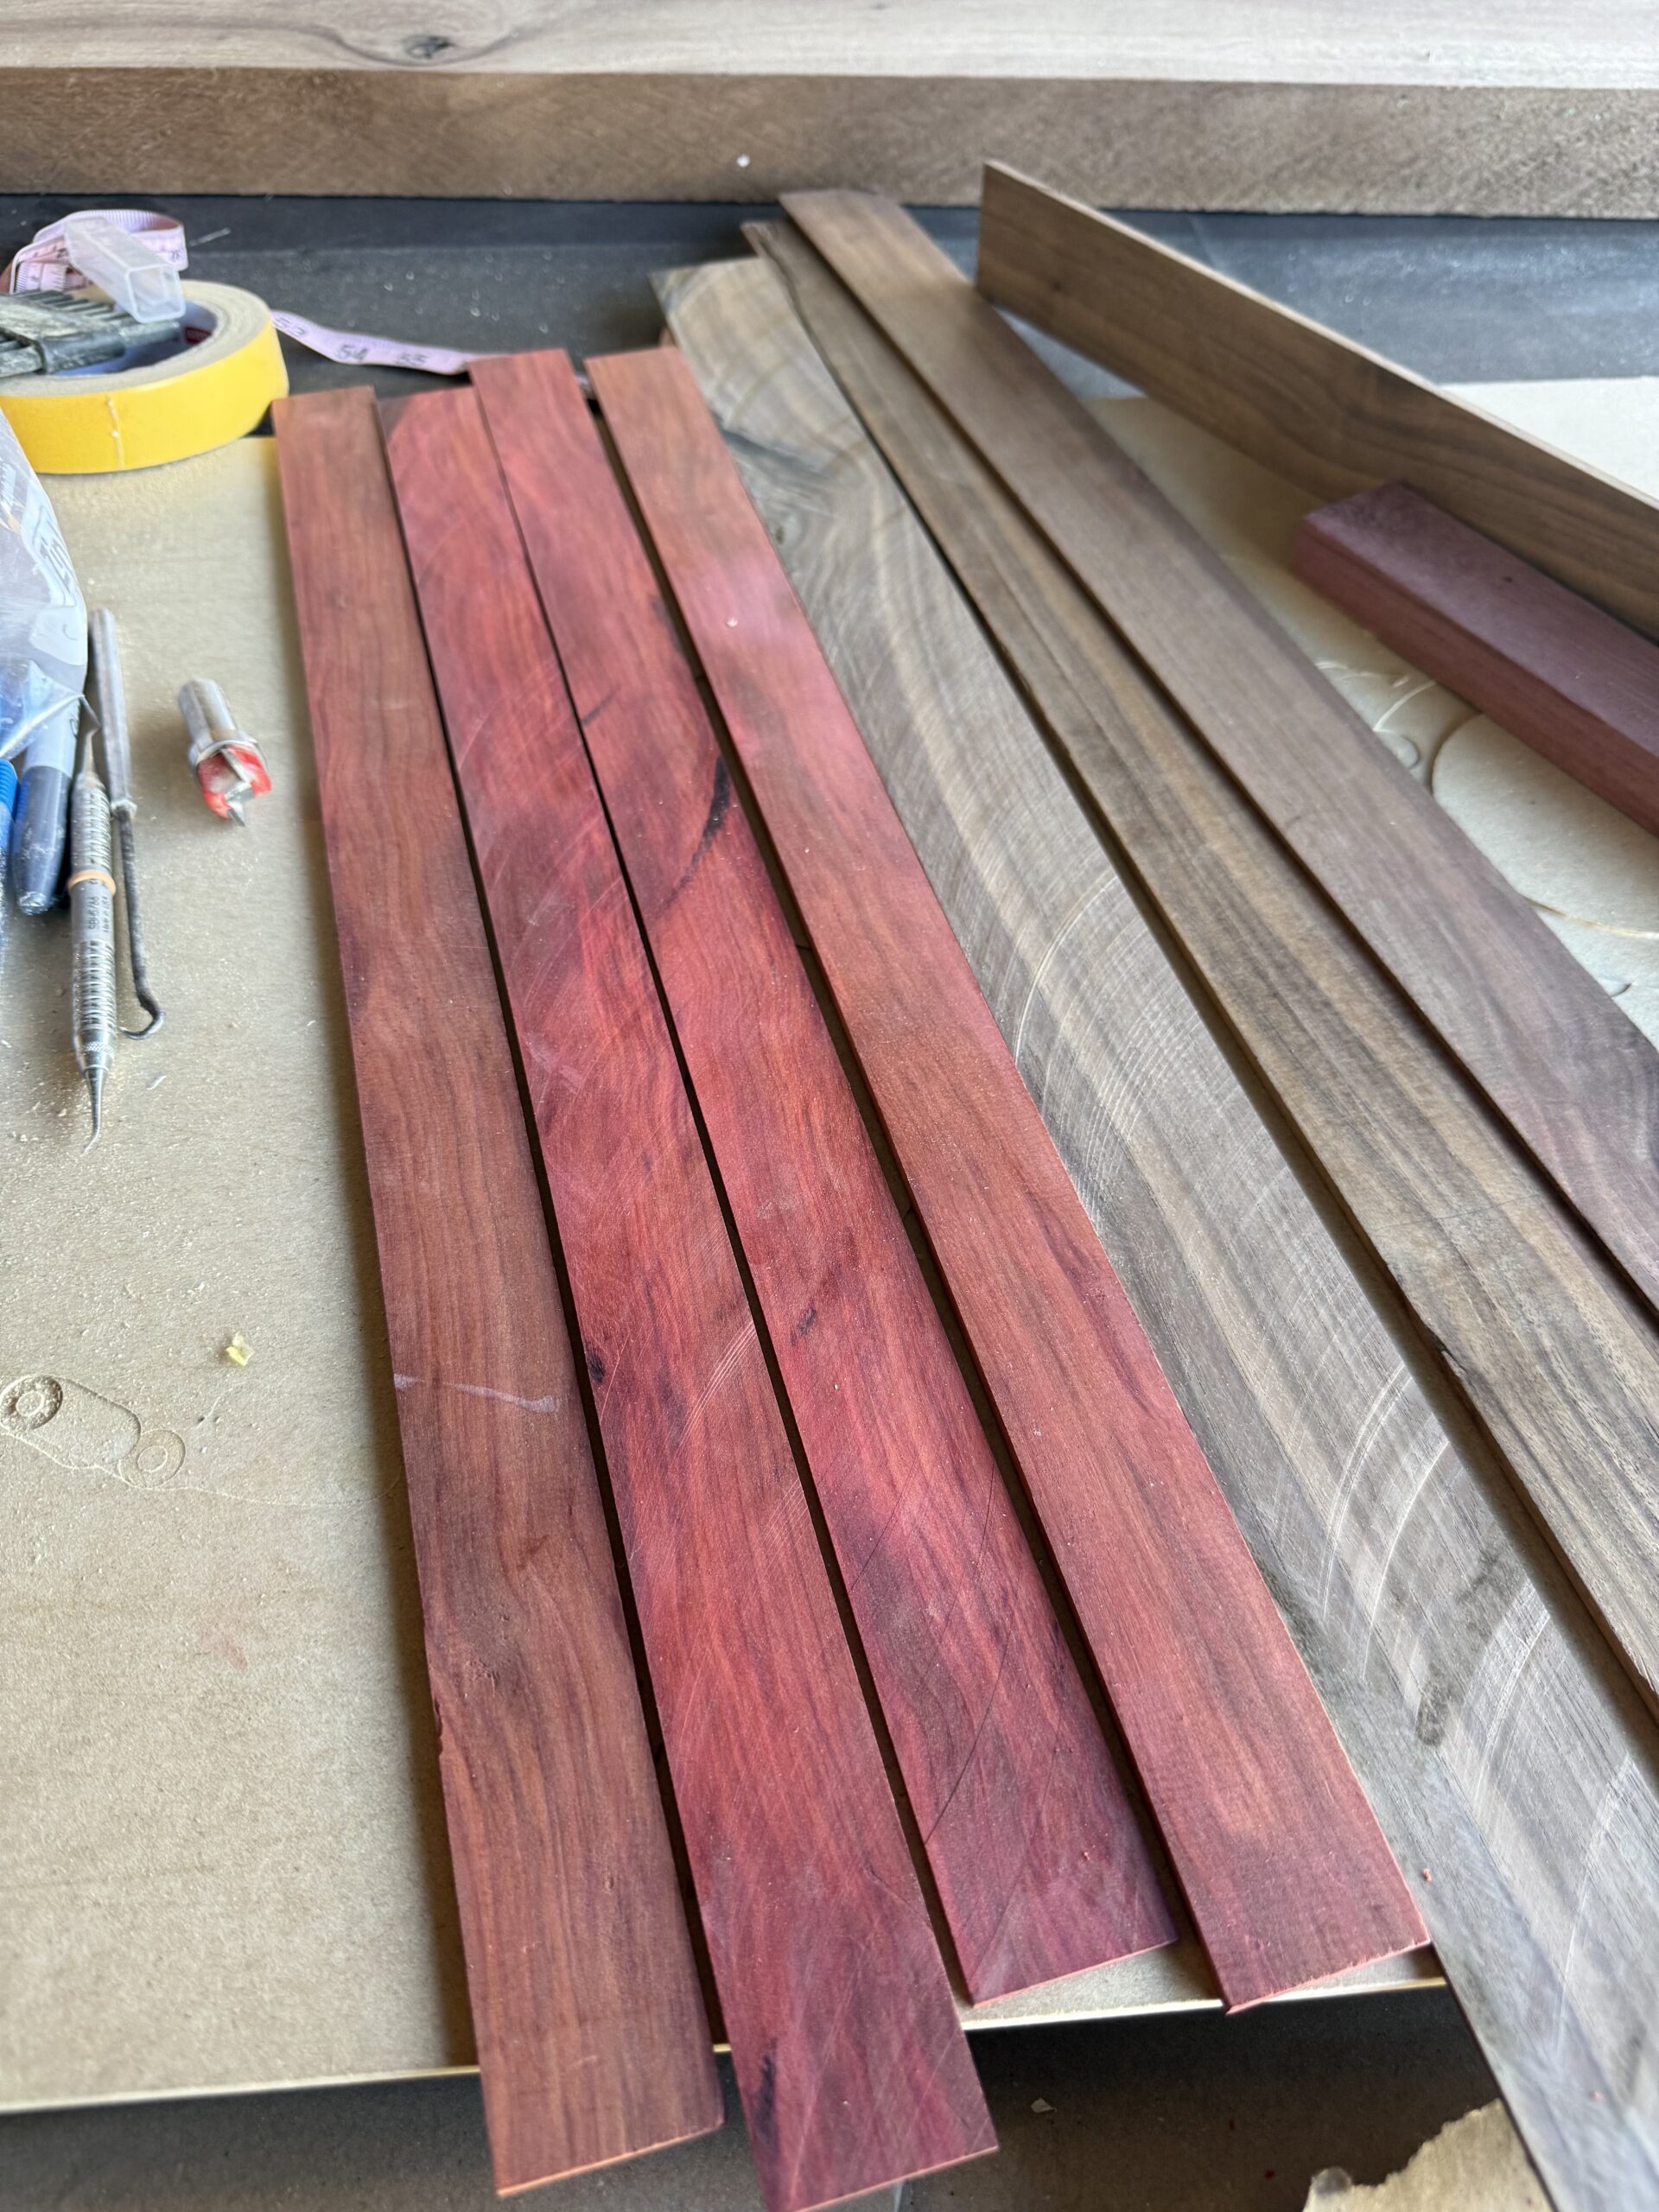
The purpleheart wood developed odd blue discolorations after steaming, and the soak wasn’t enough to overcome the effects of kiln-drying. In the end, I went with walnut.


Building and Finishing
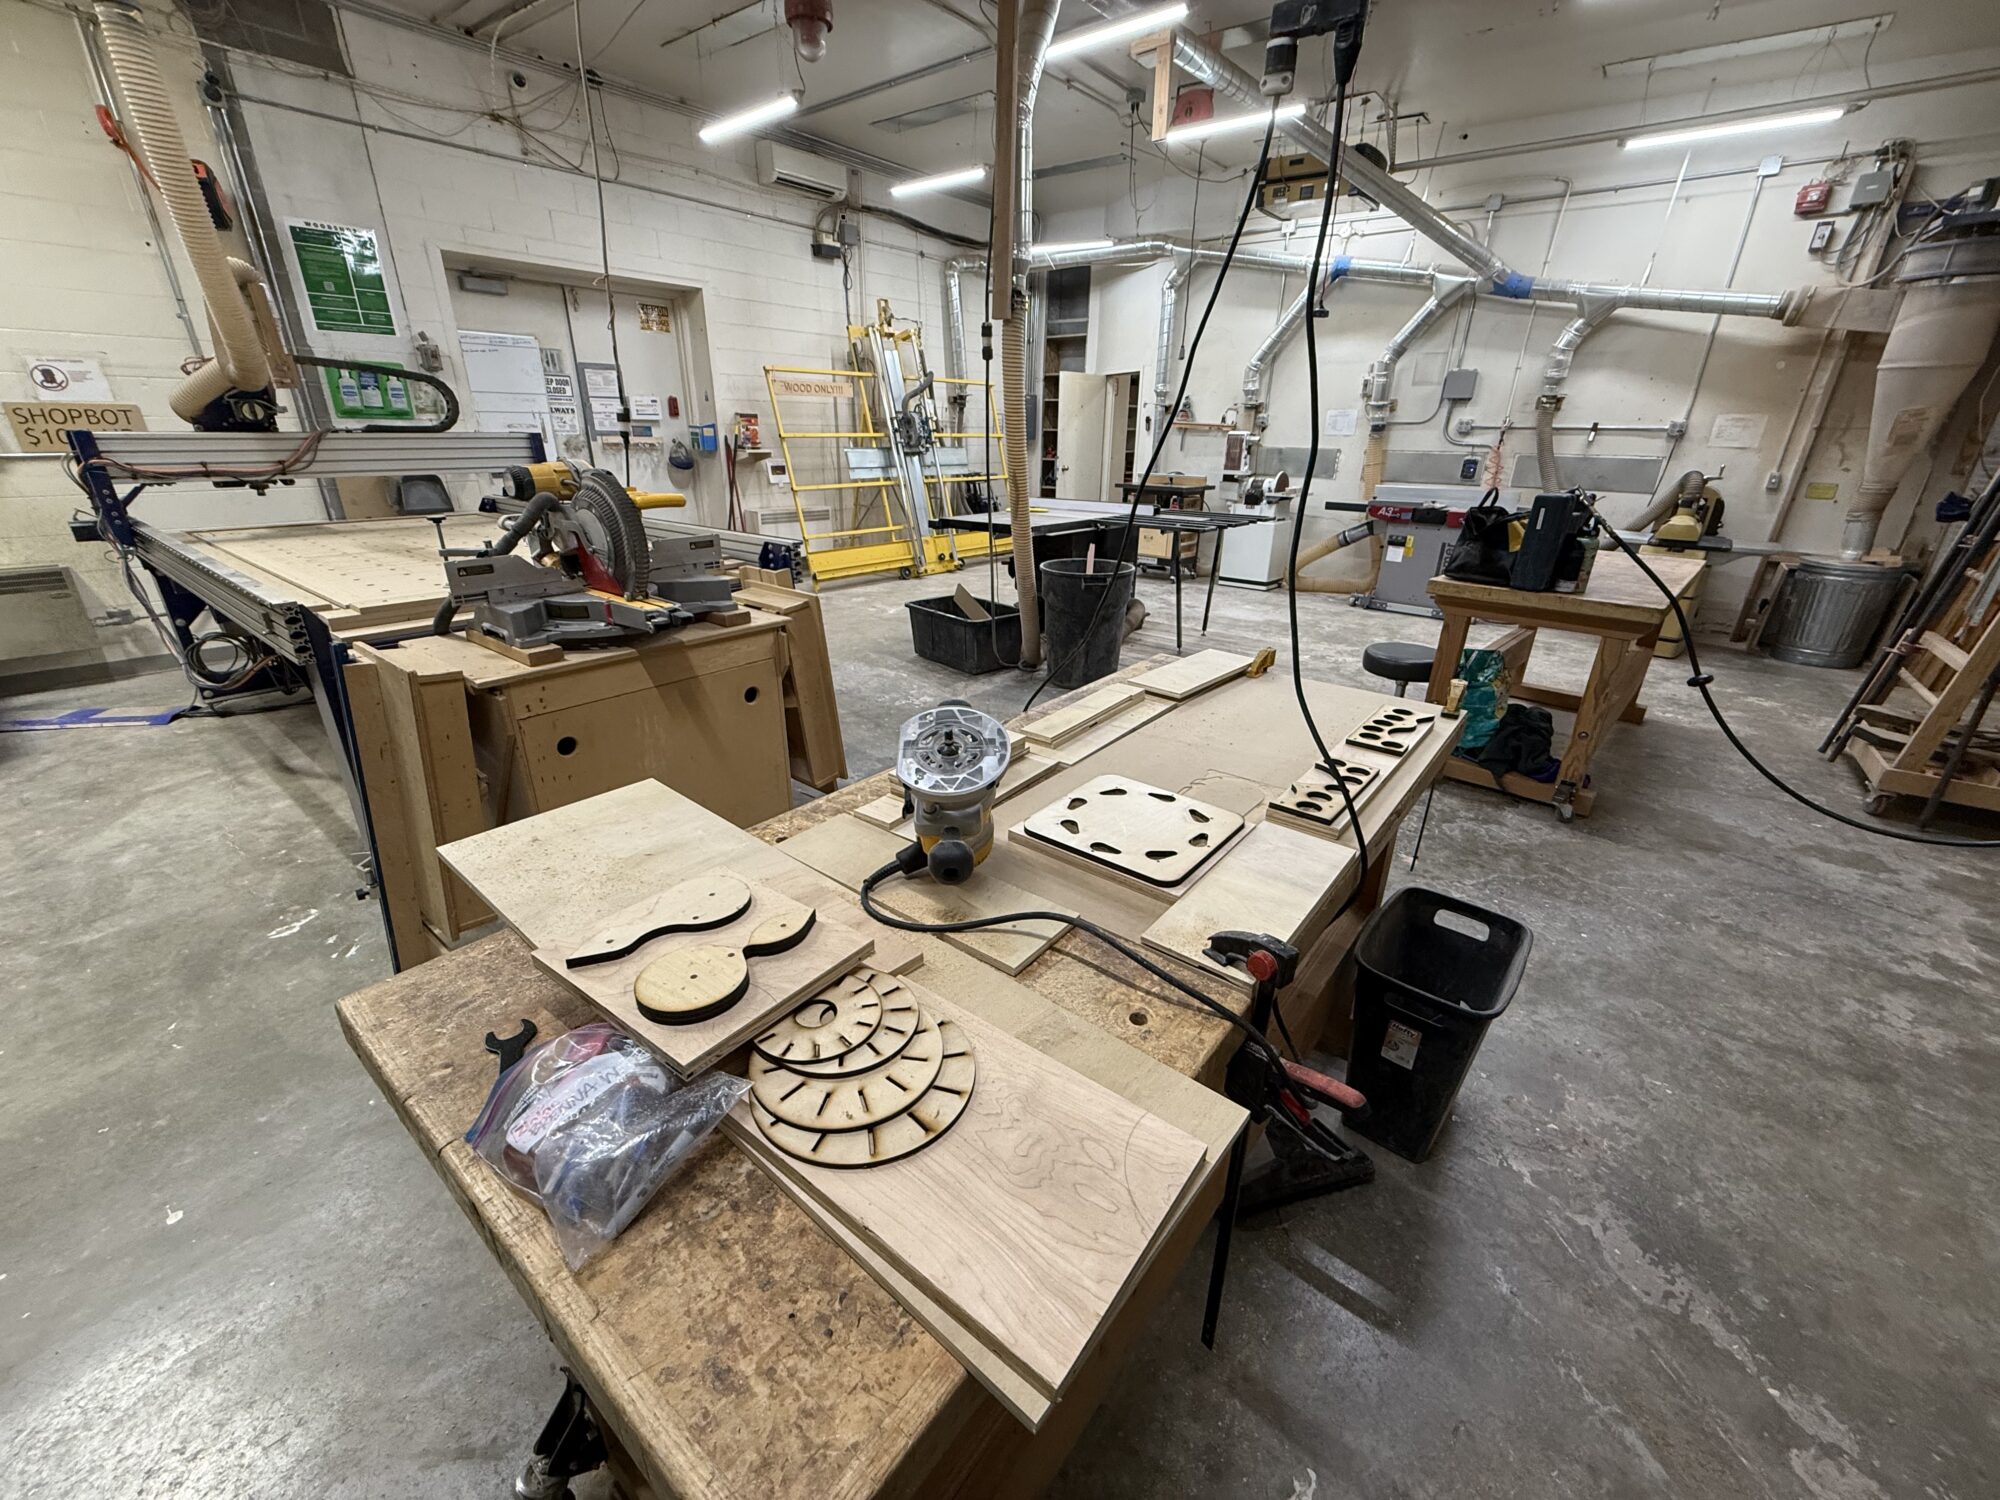
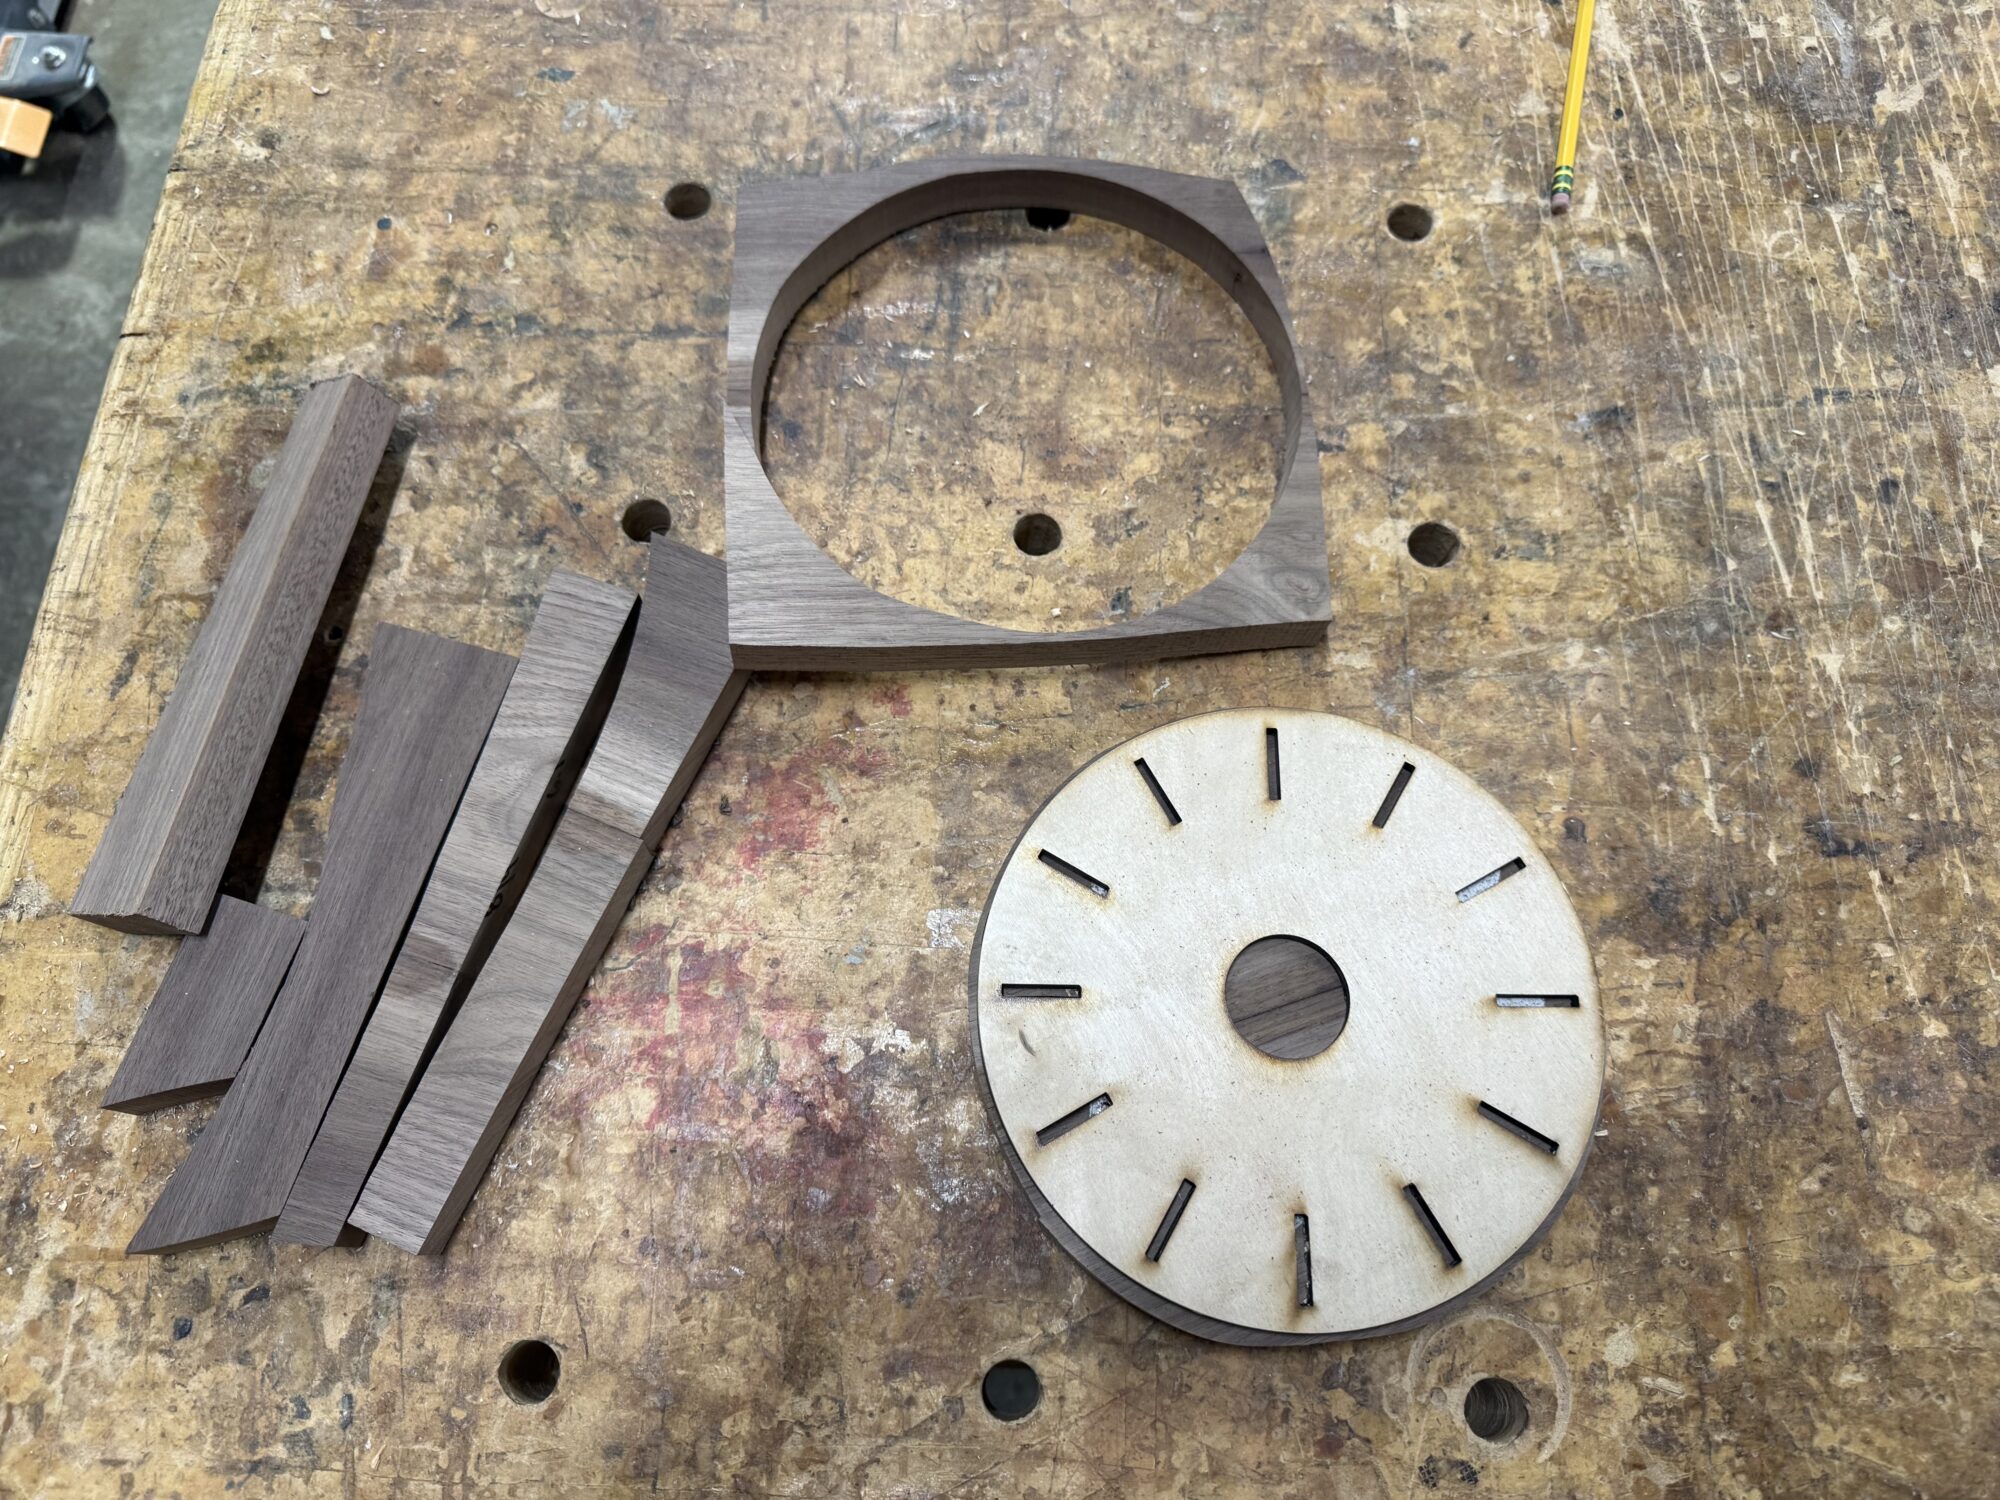
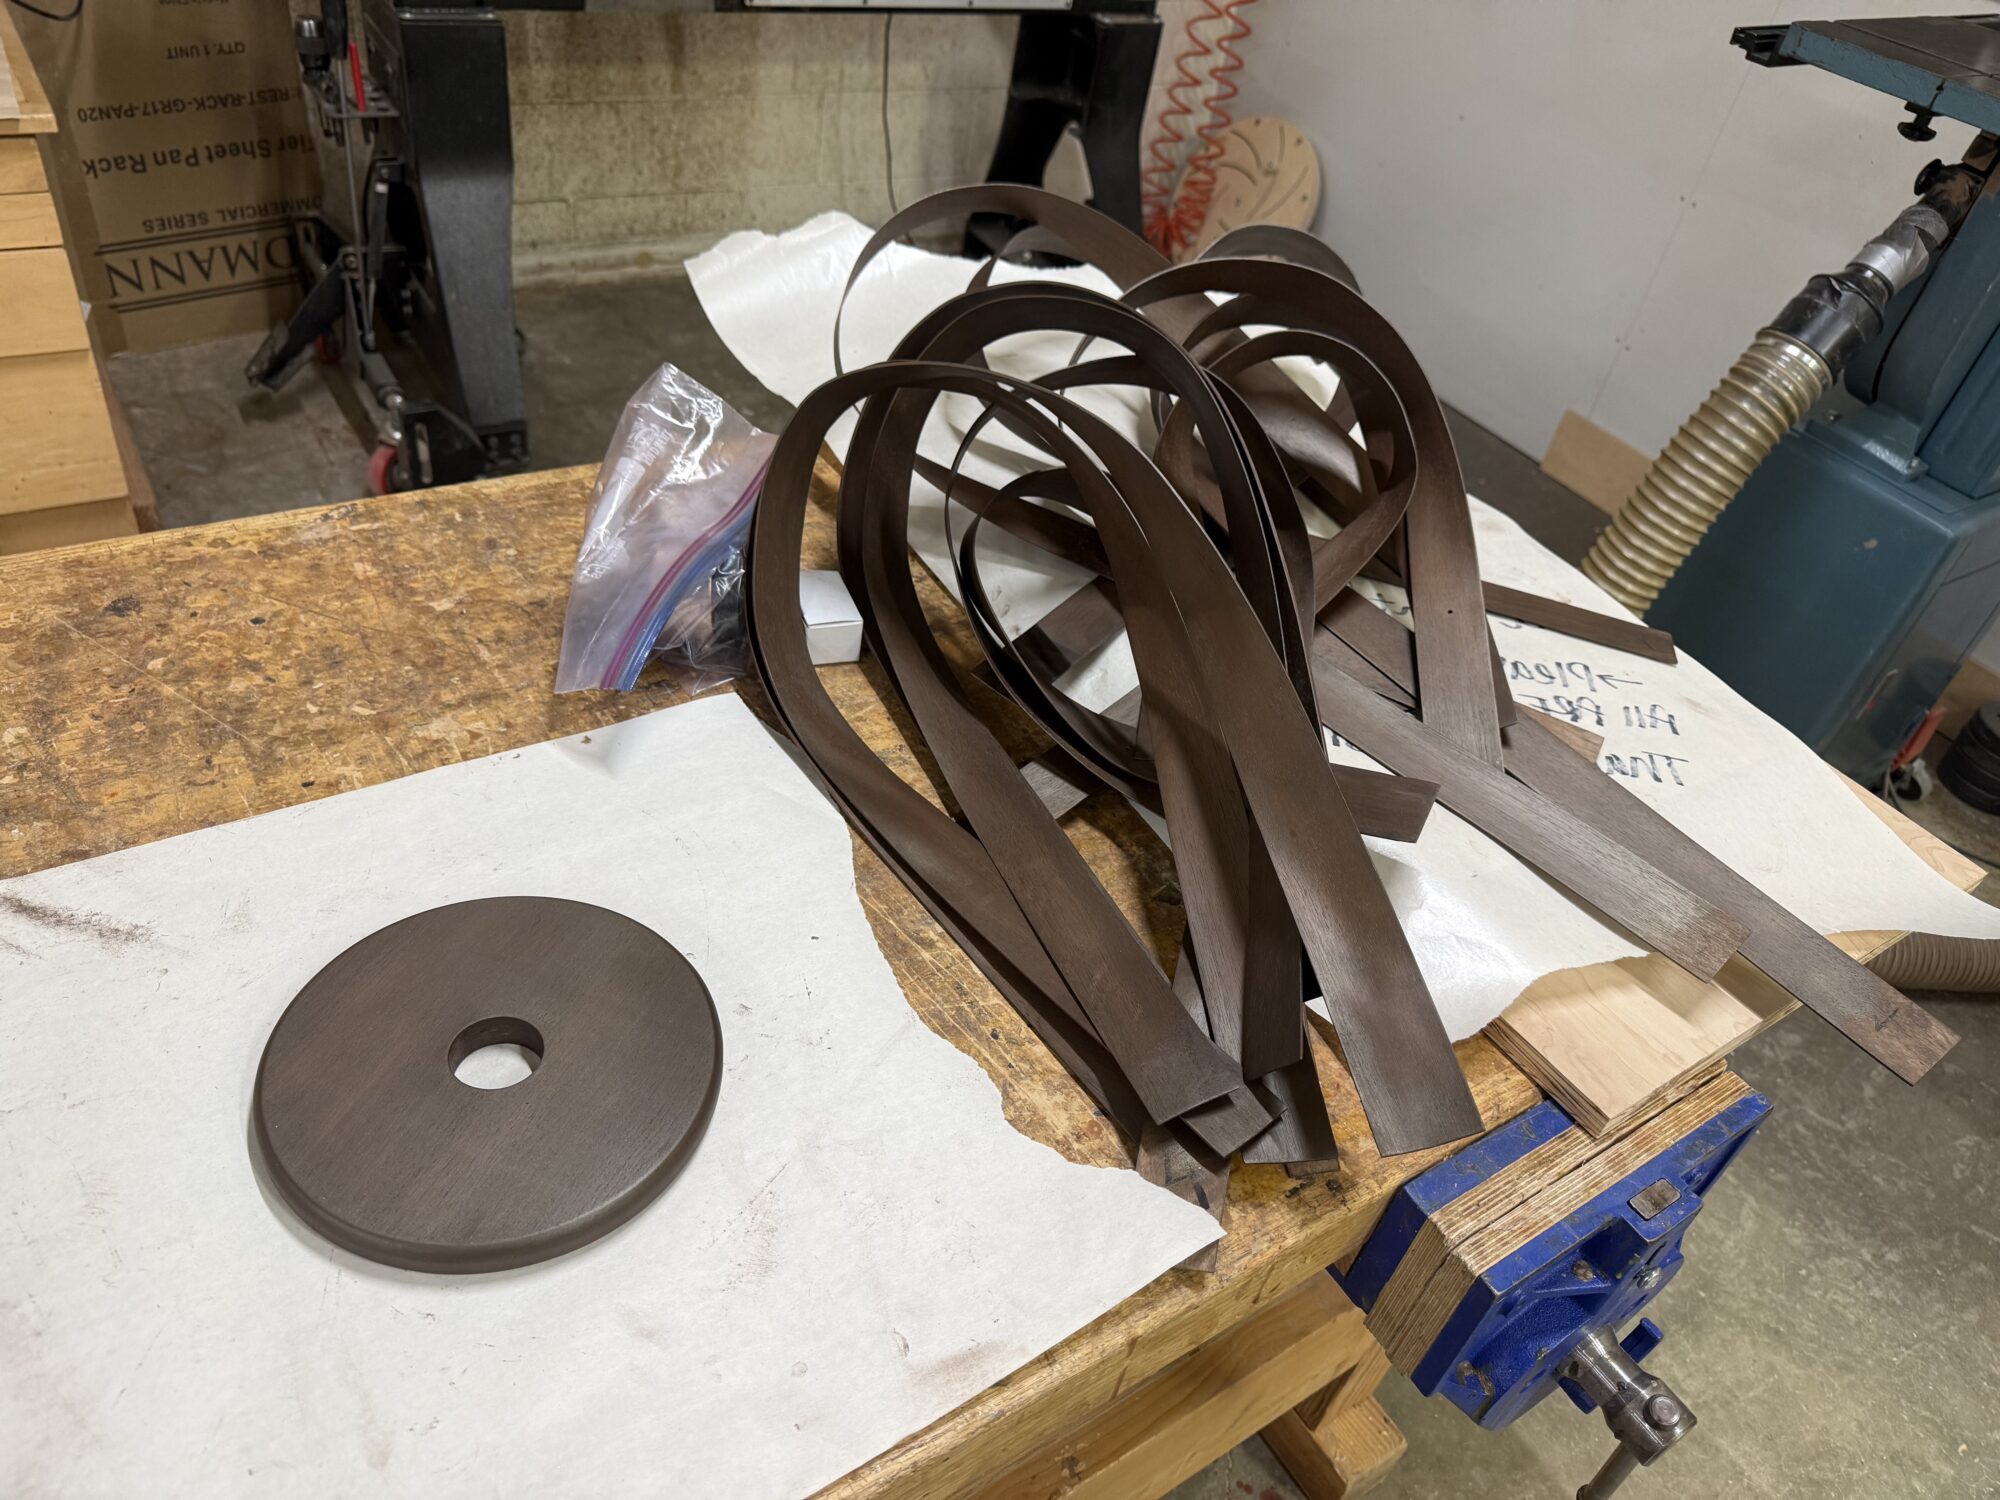
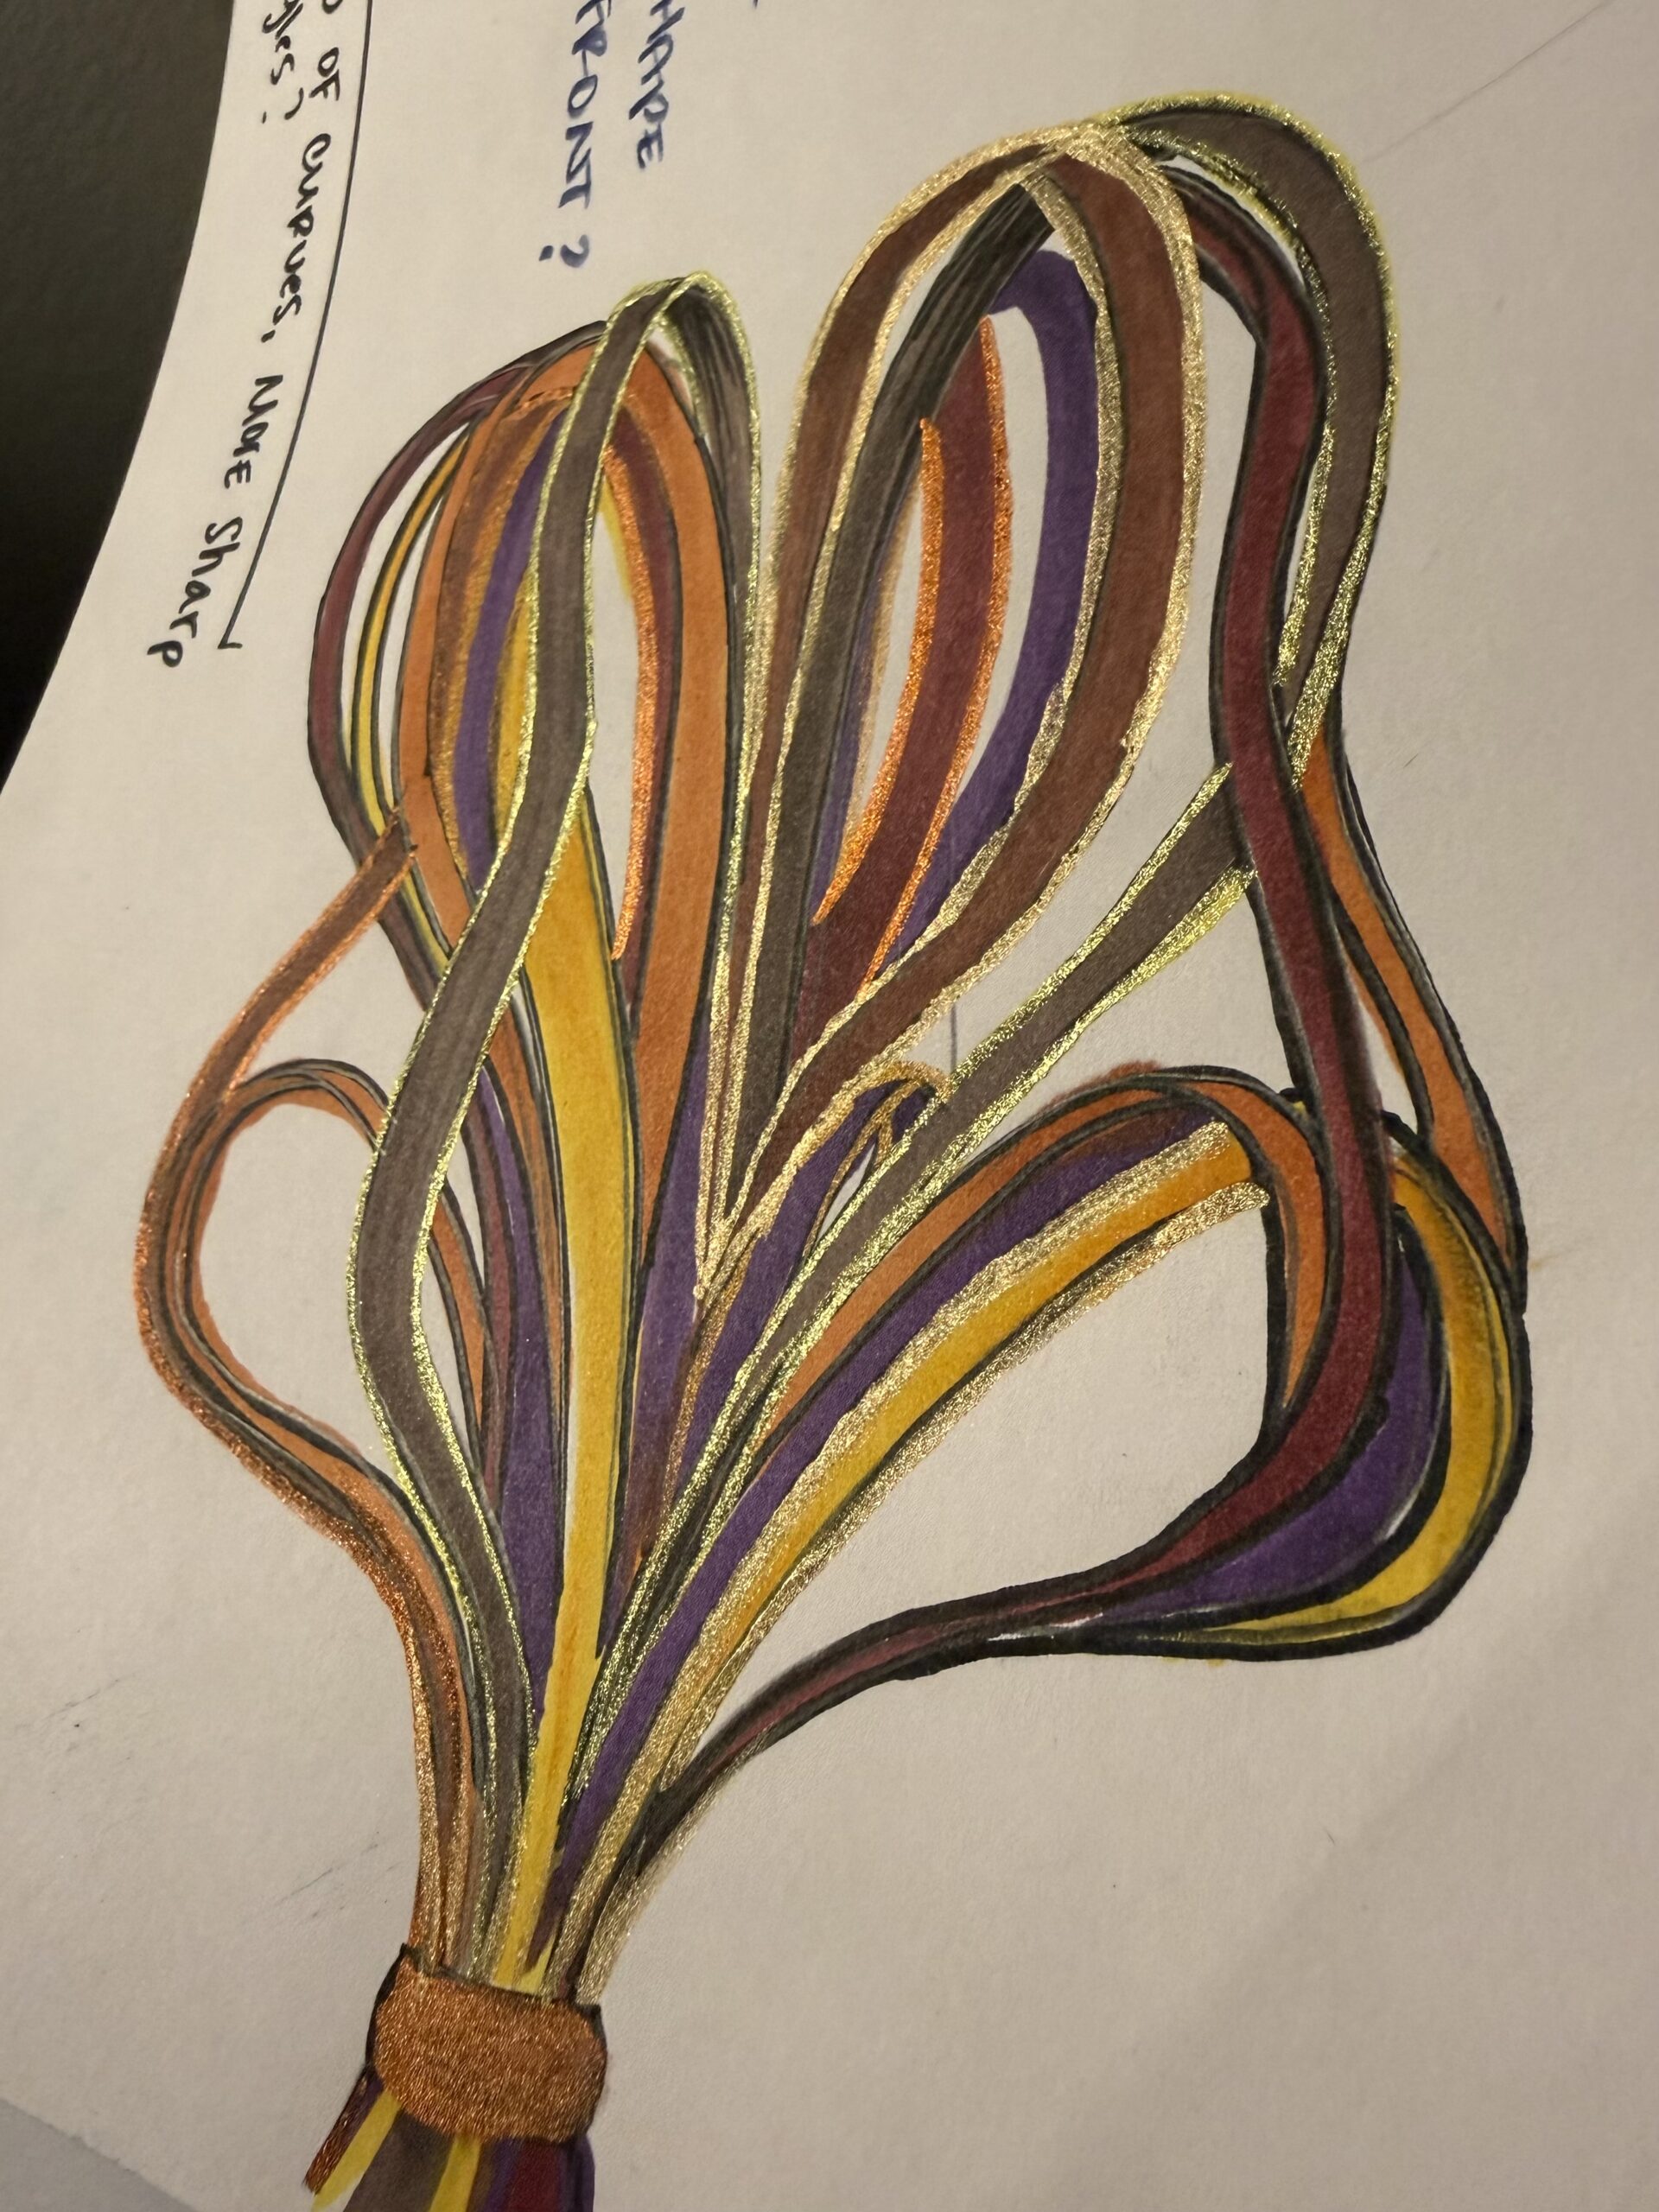
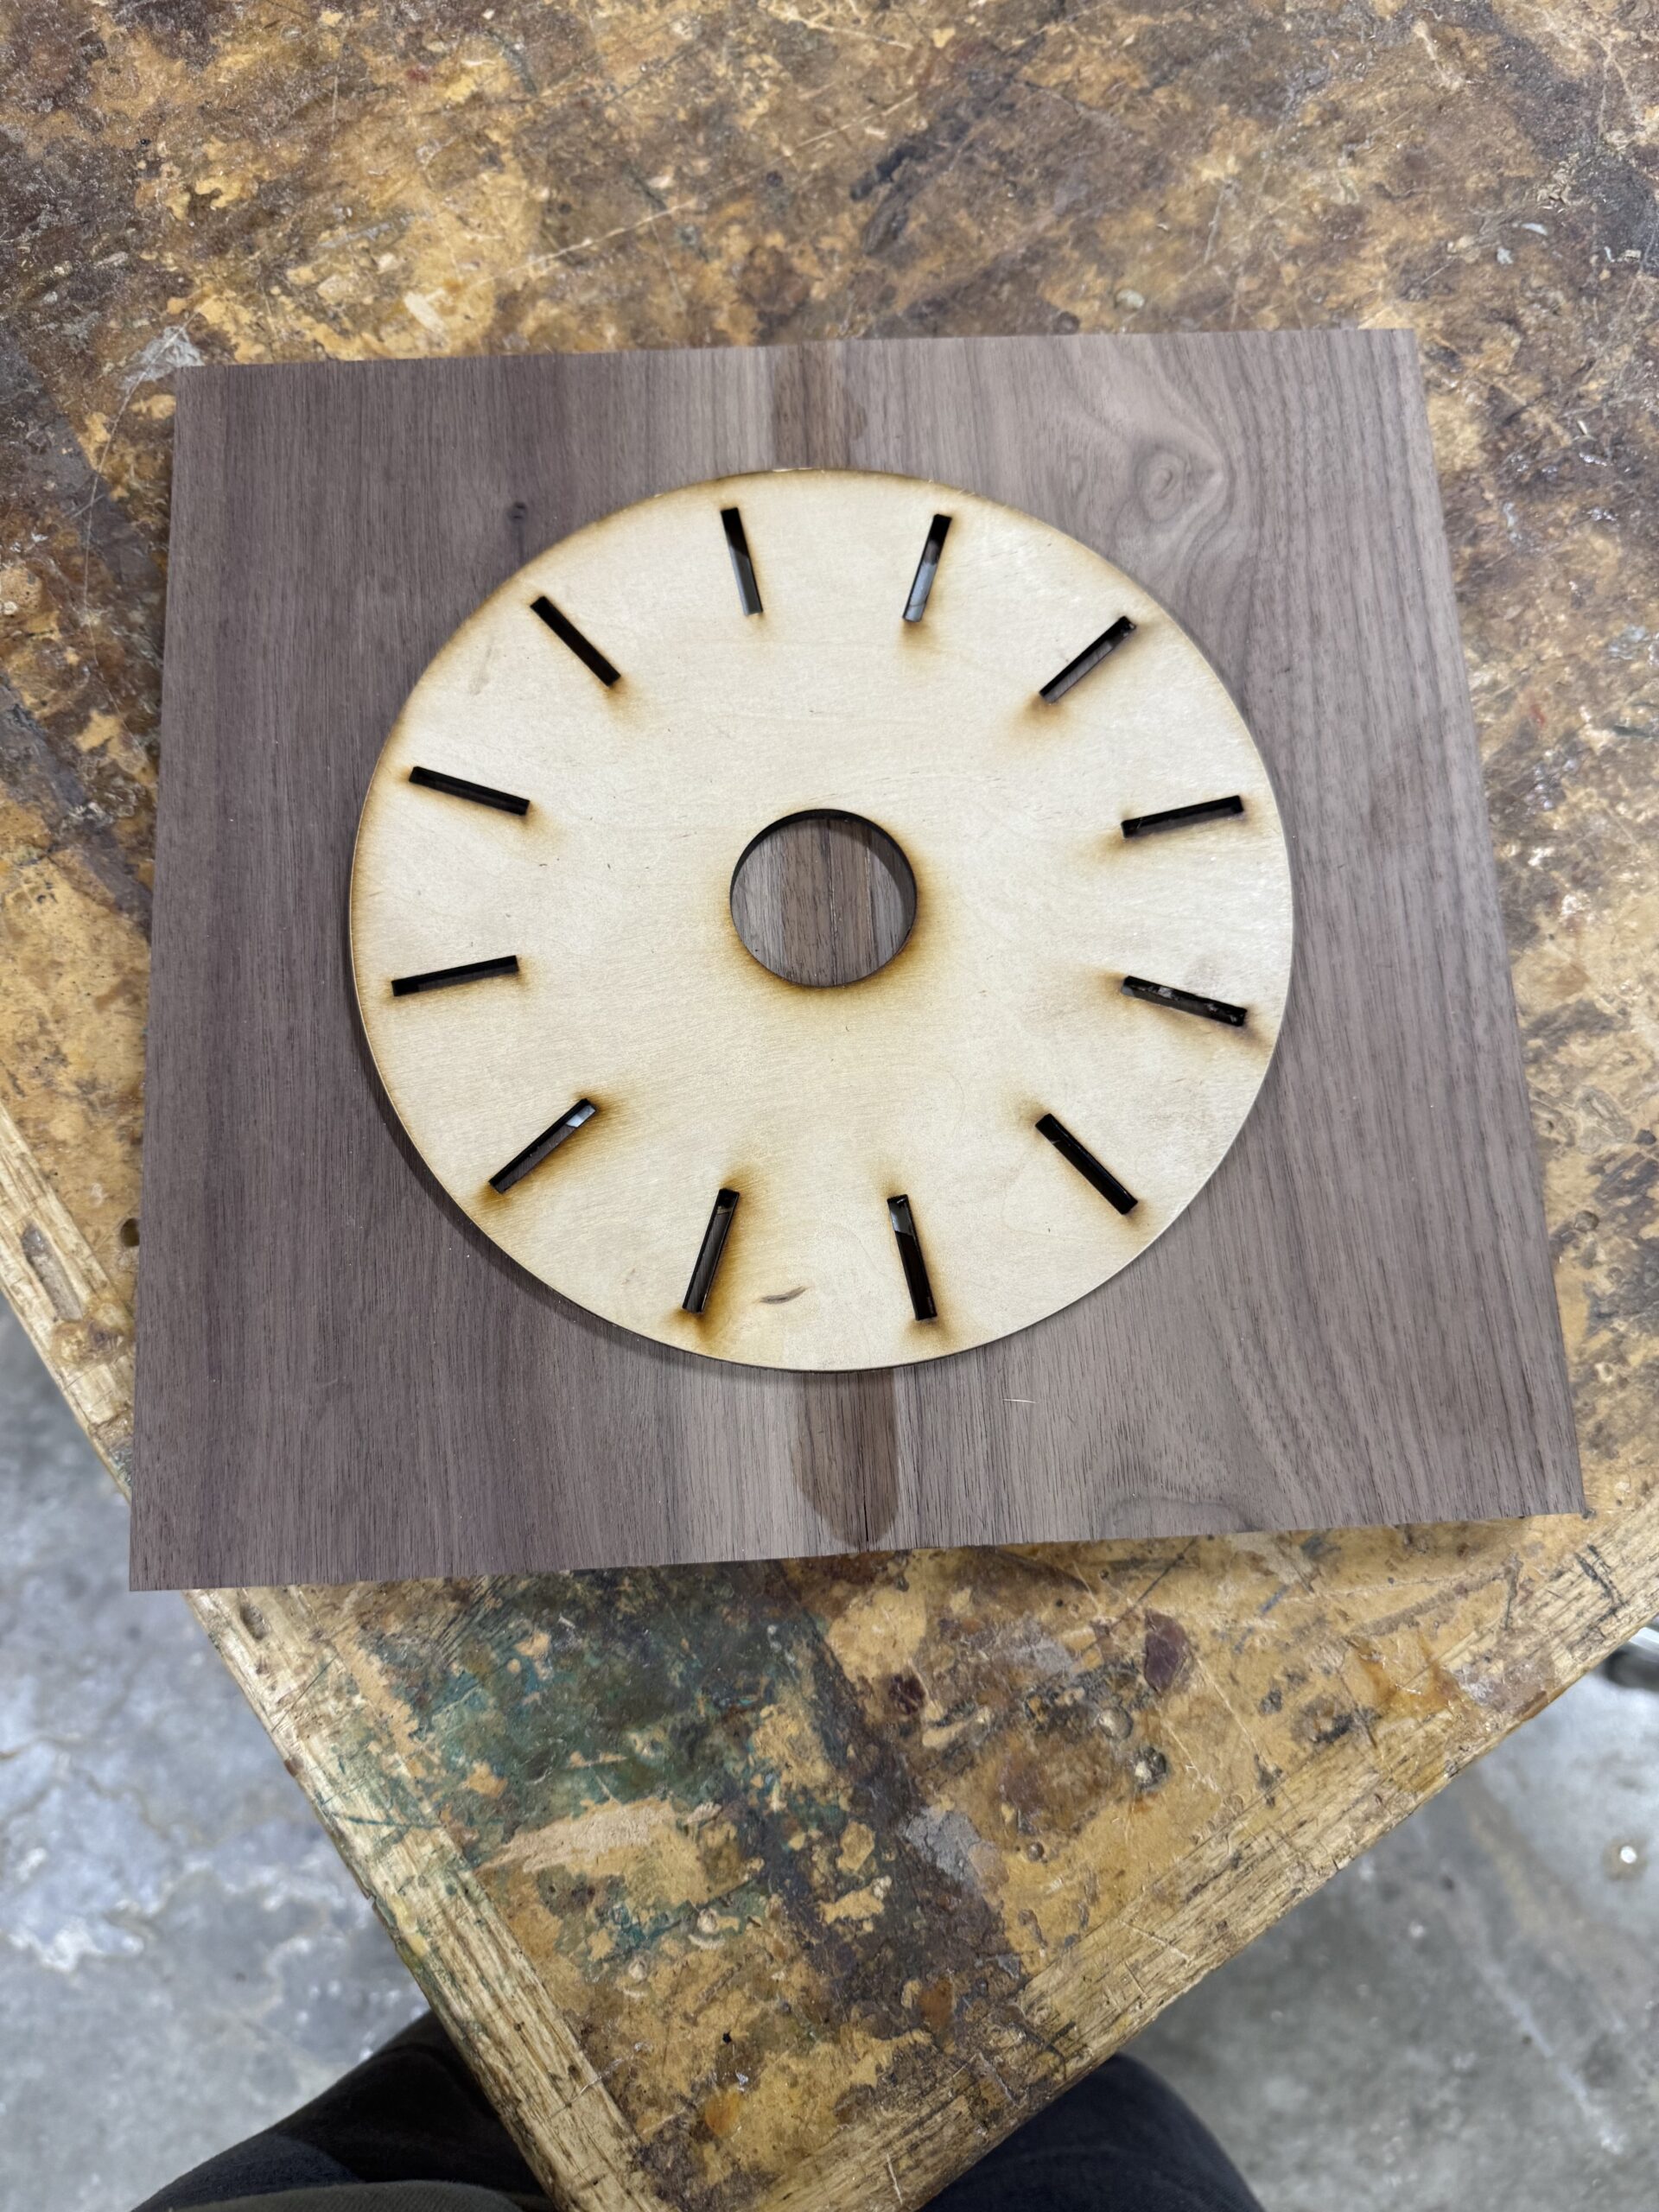
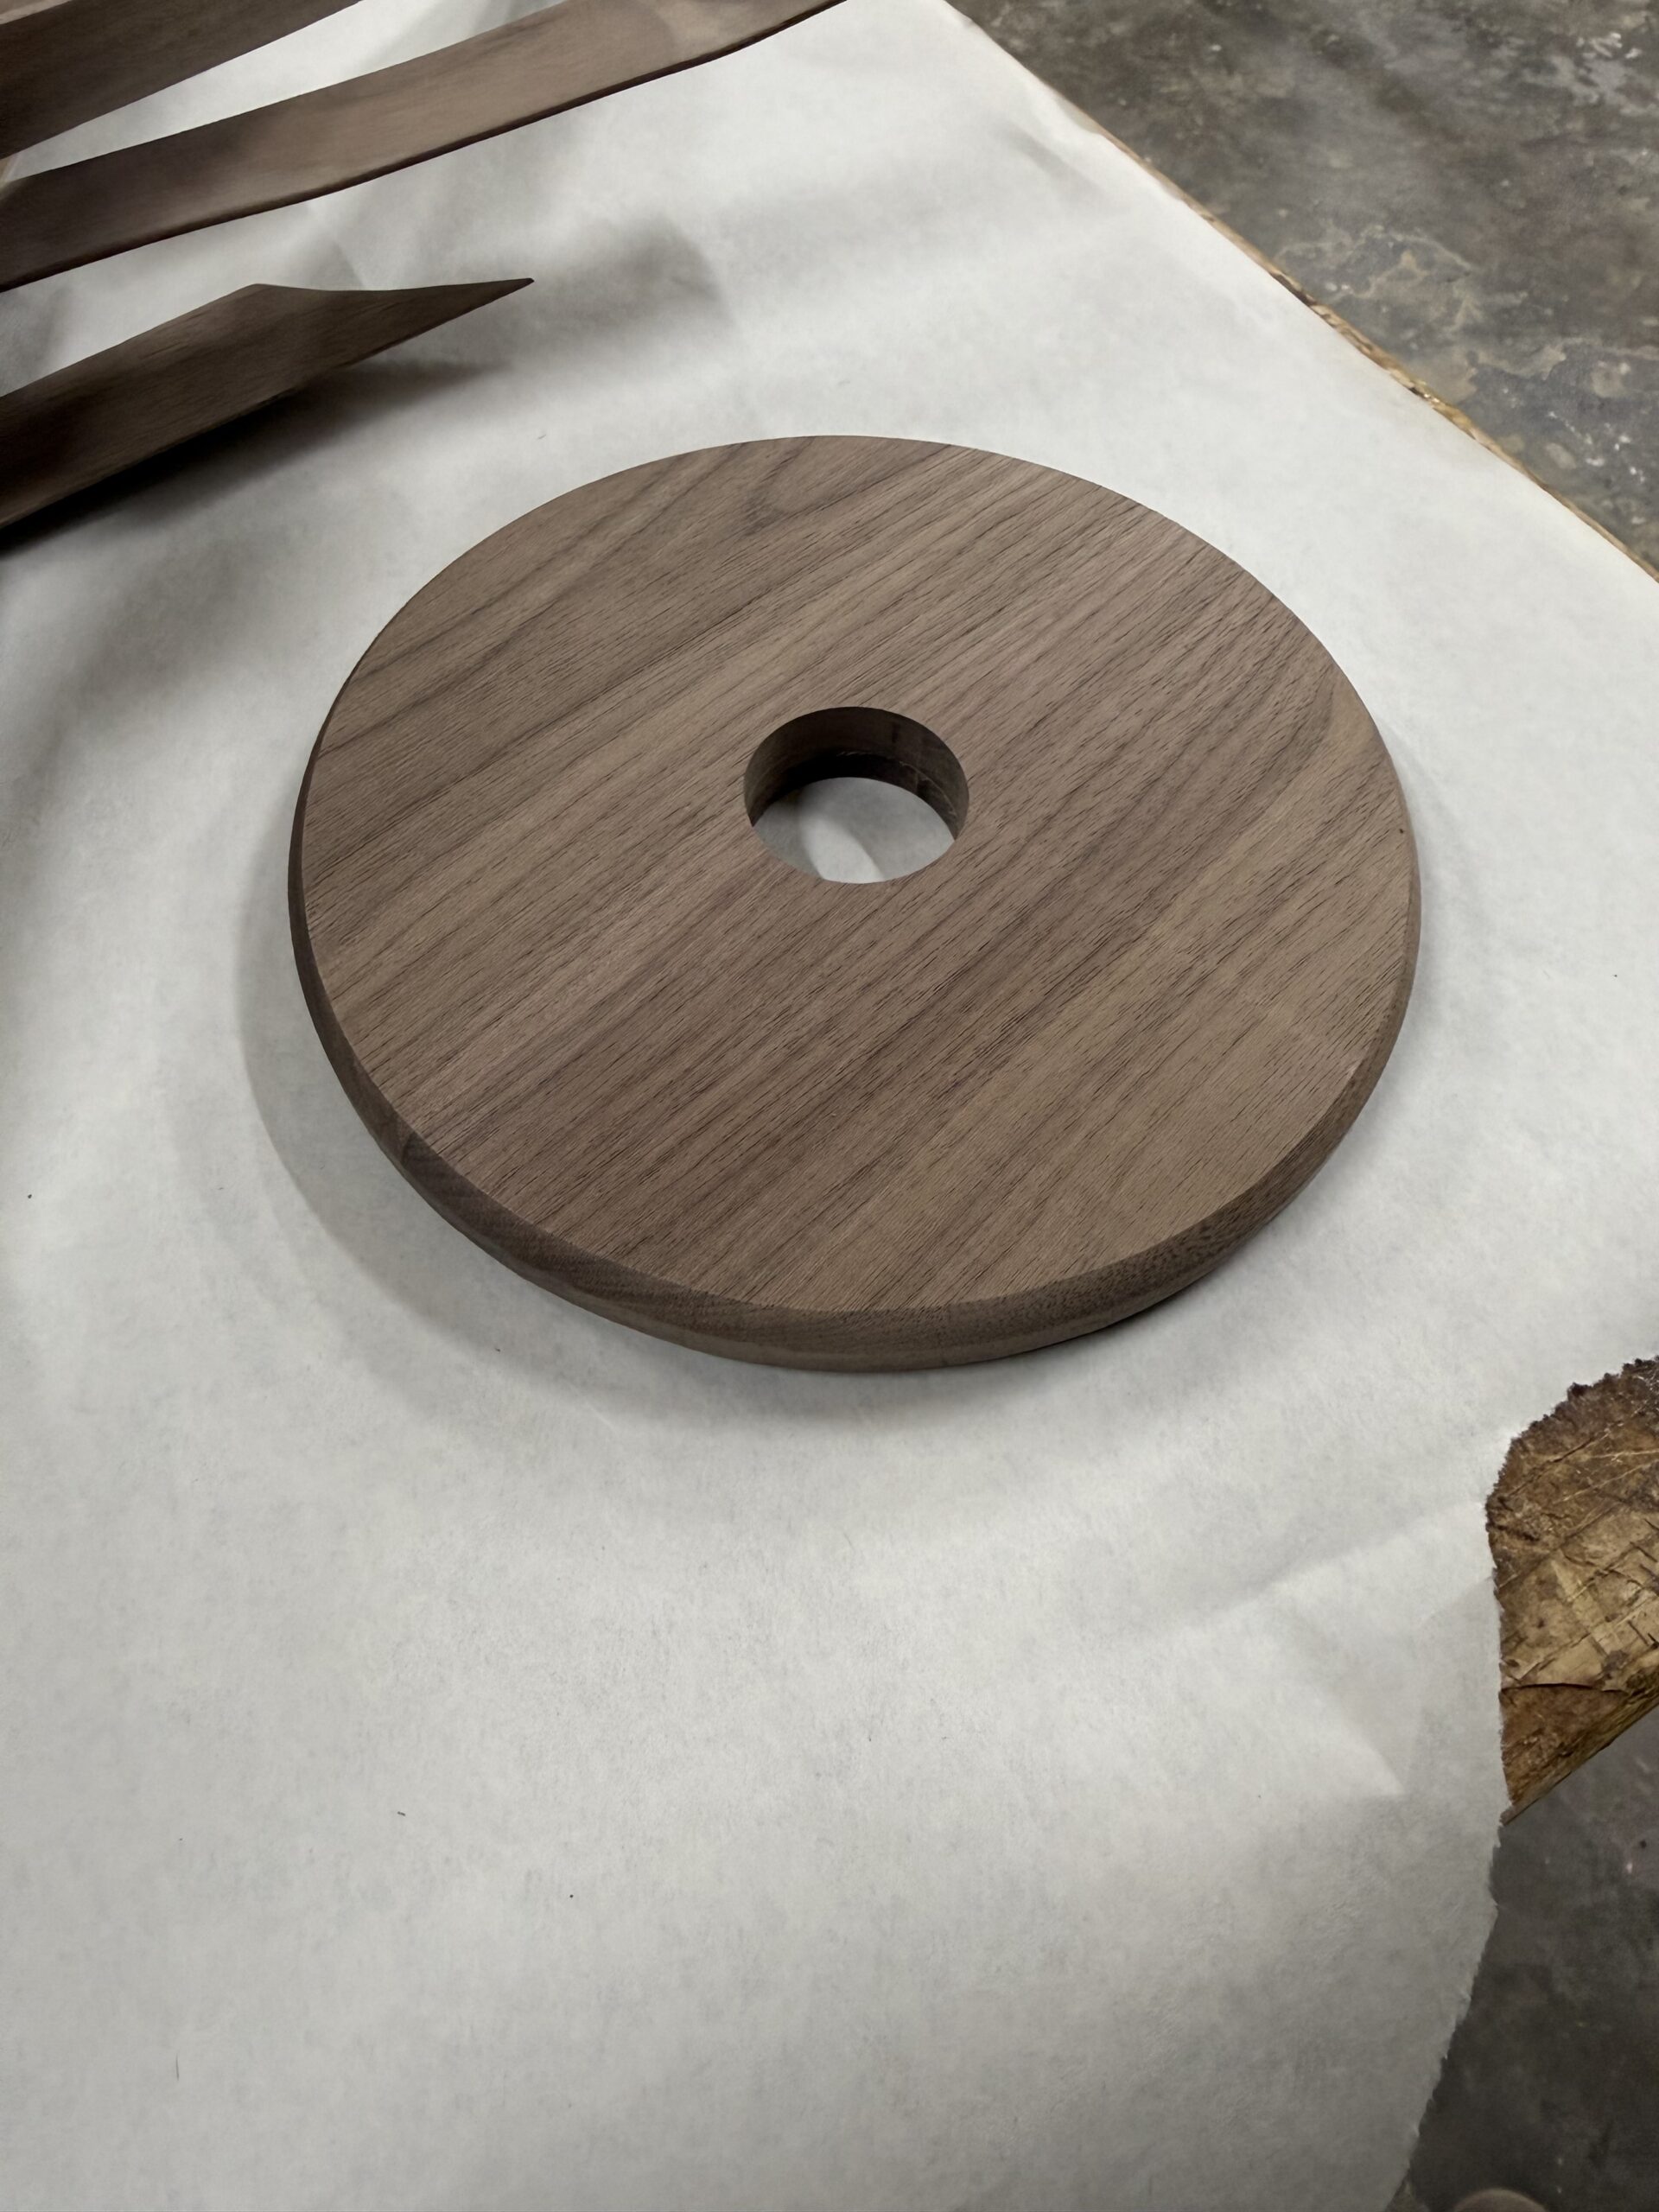
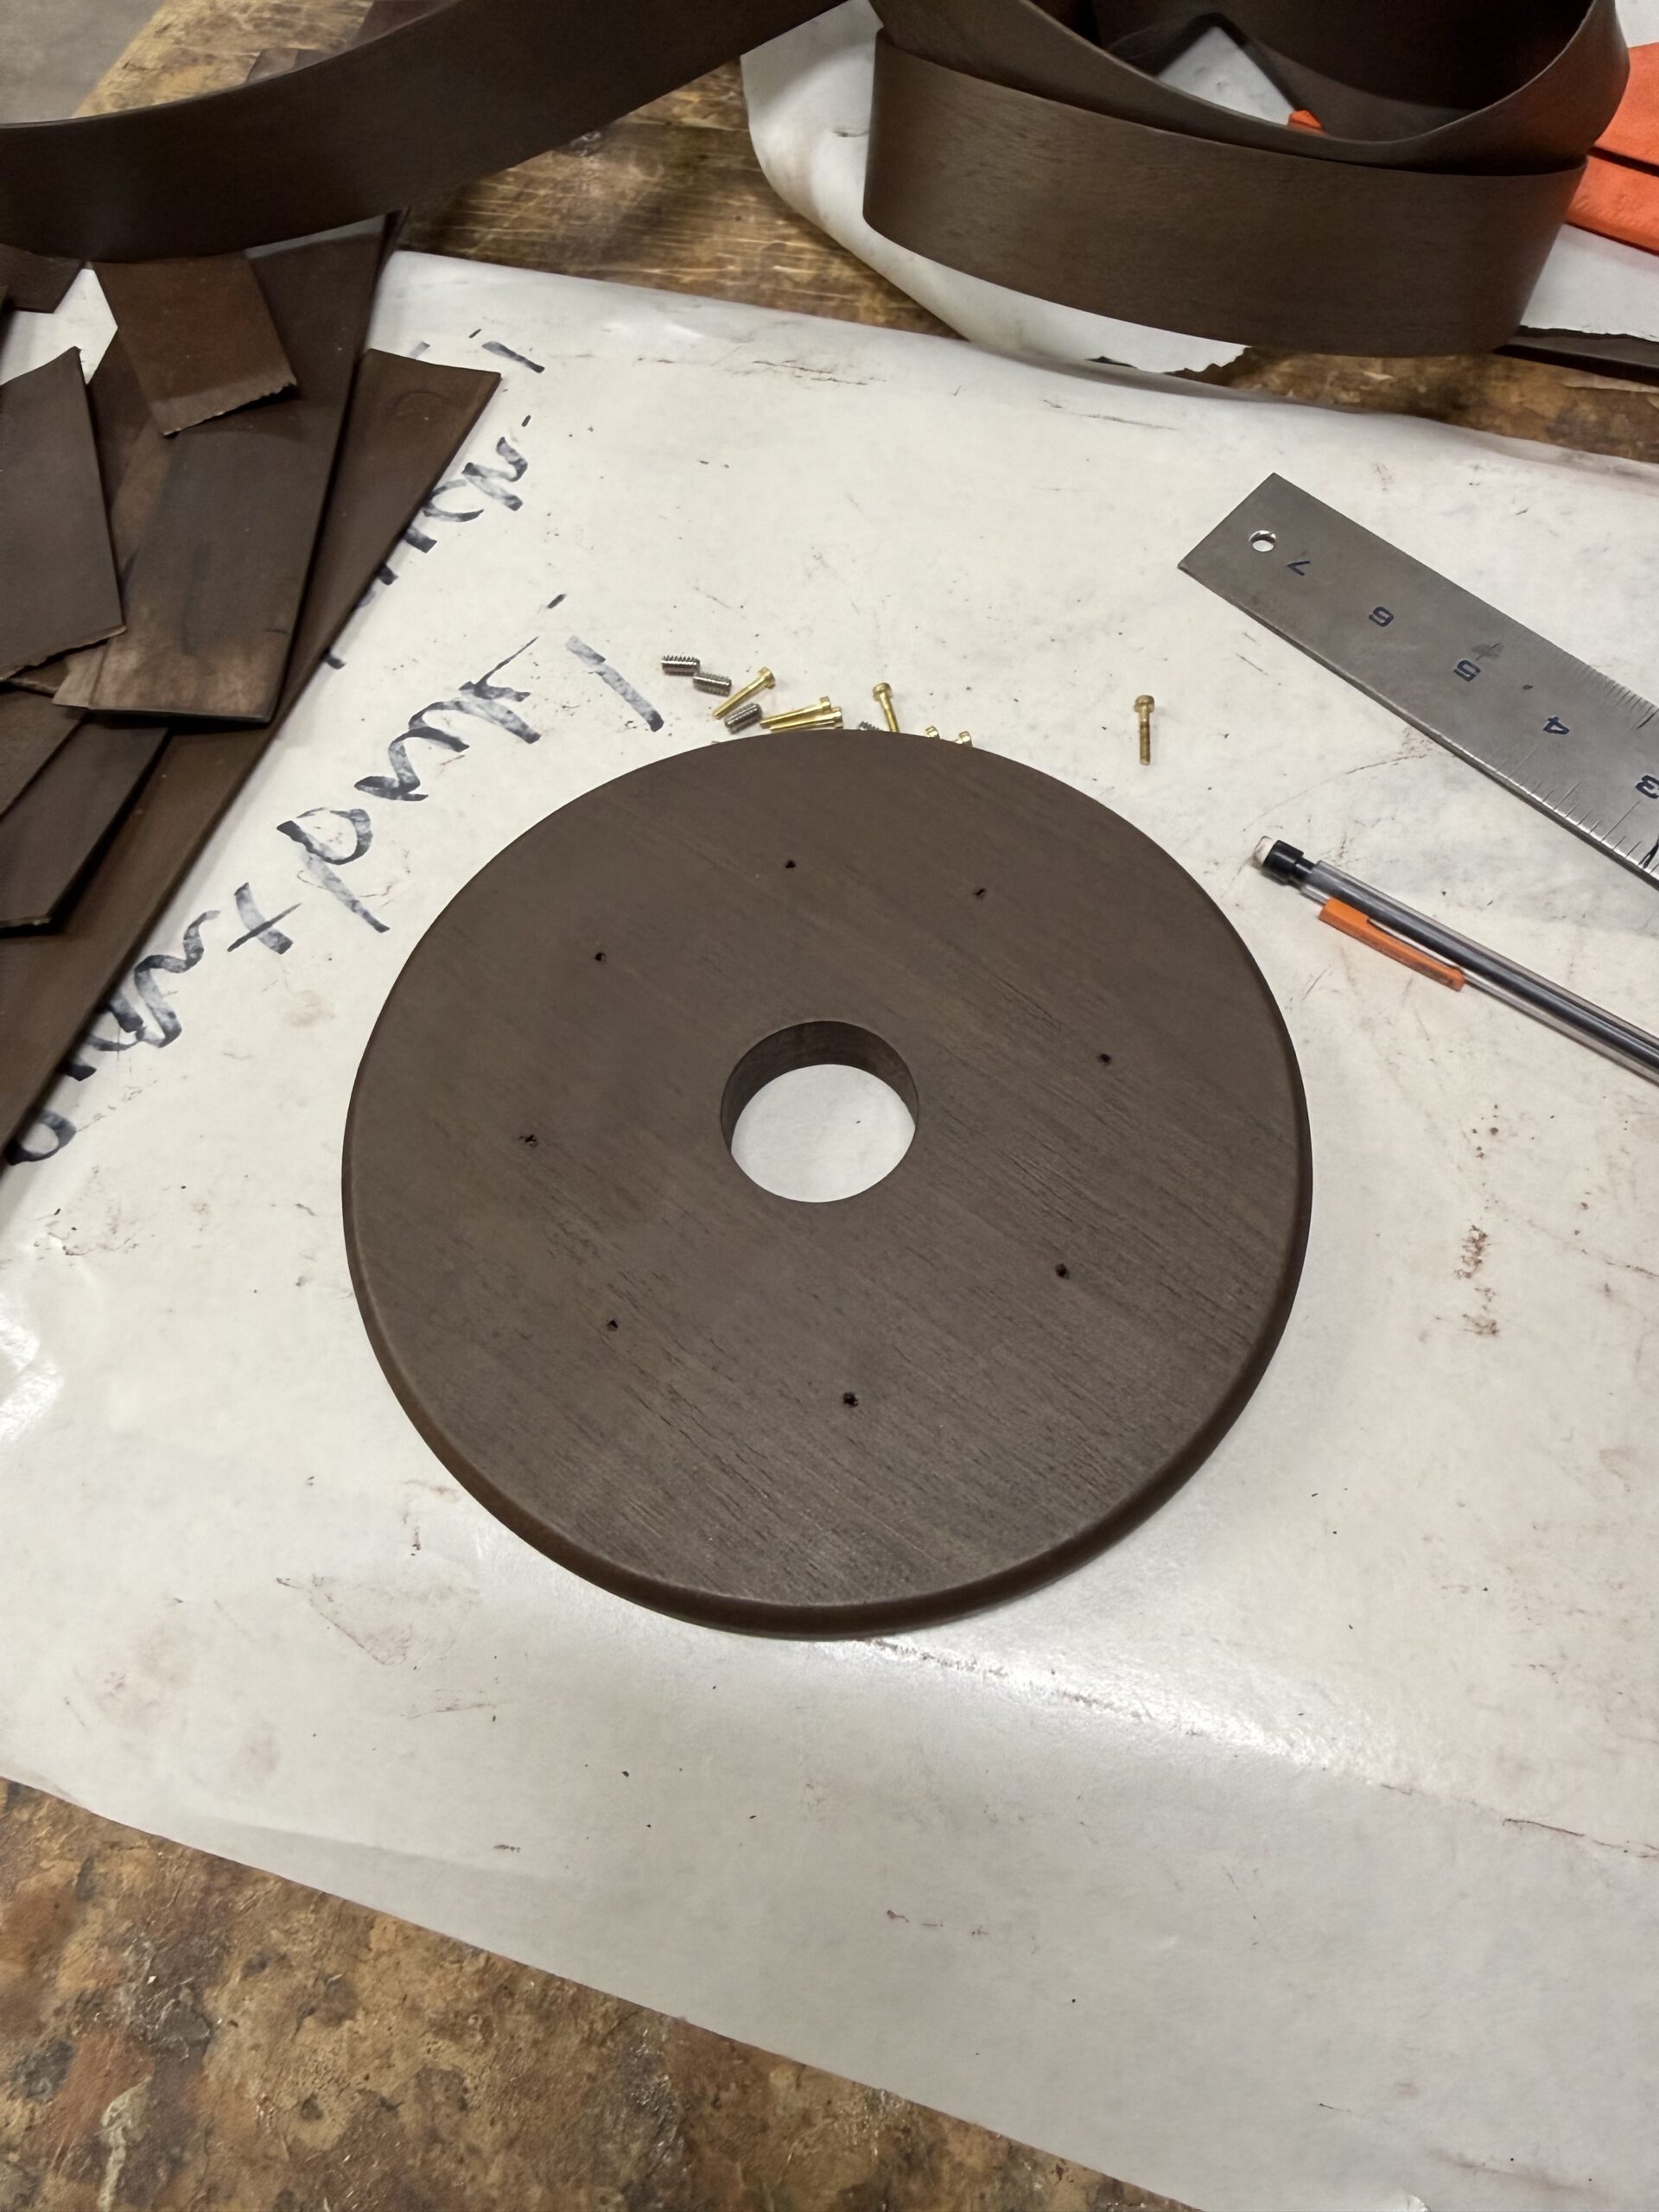
Building the base was very straightforward, and it was the only part of the lamp that was seamless.
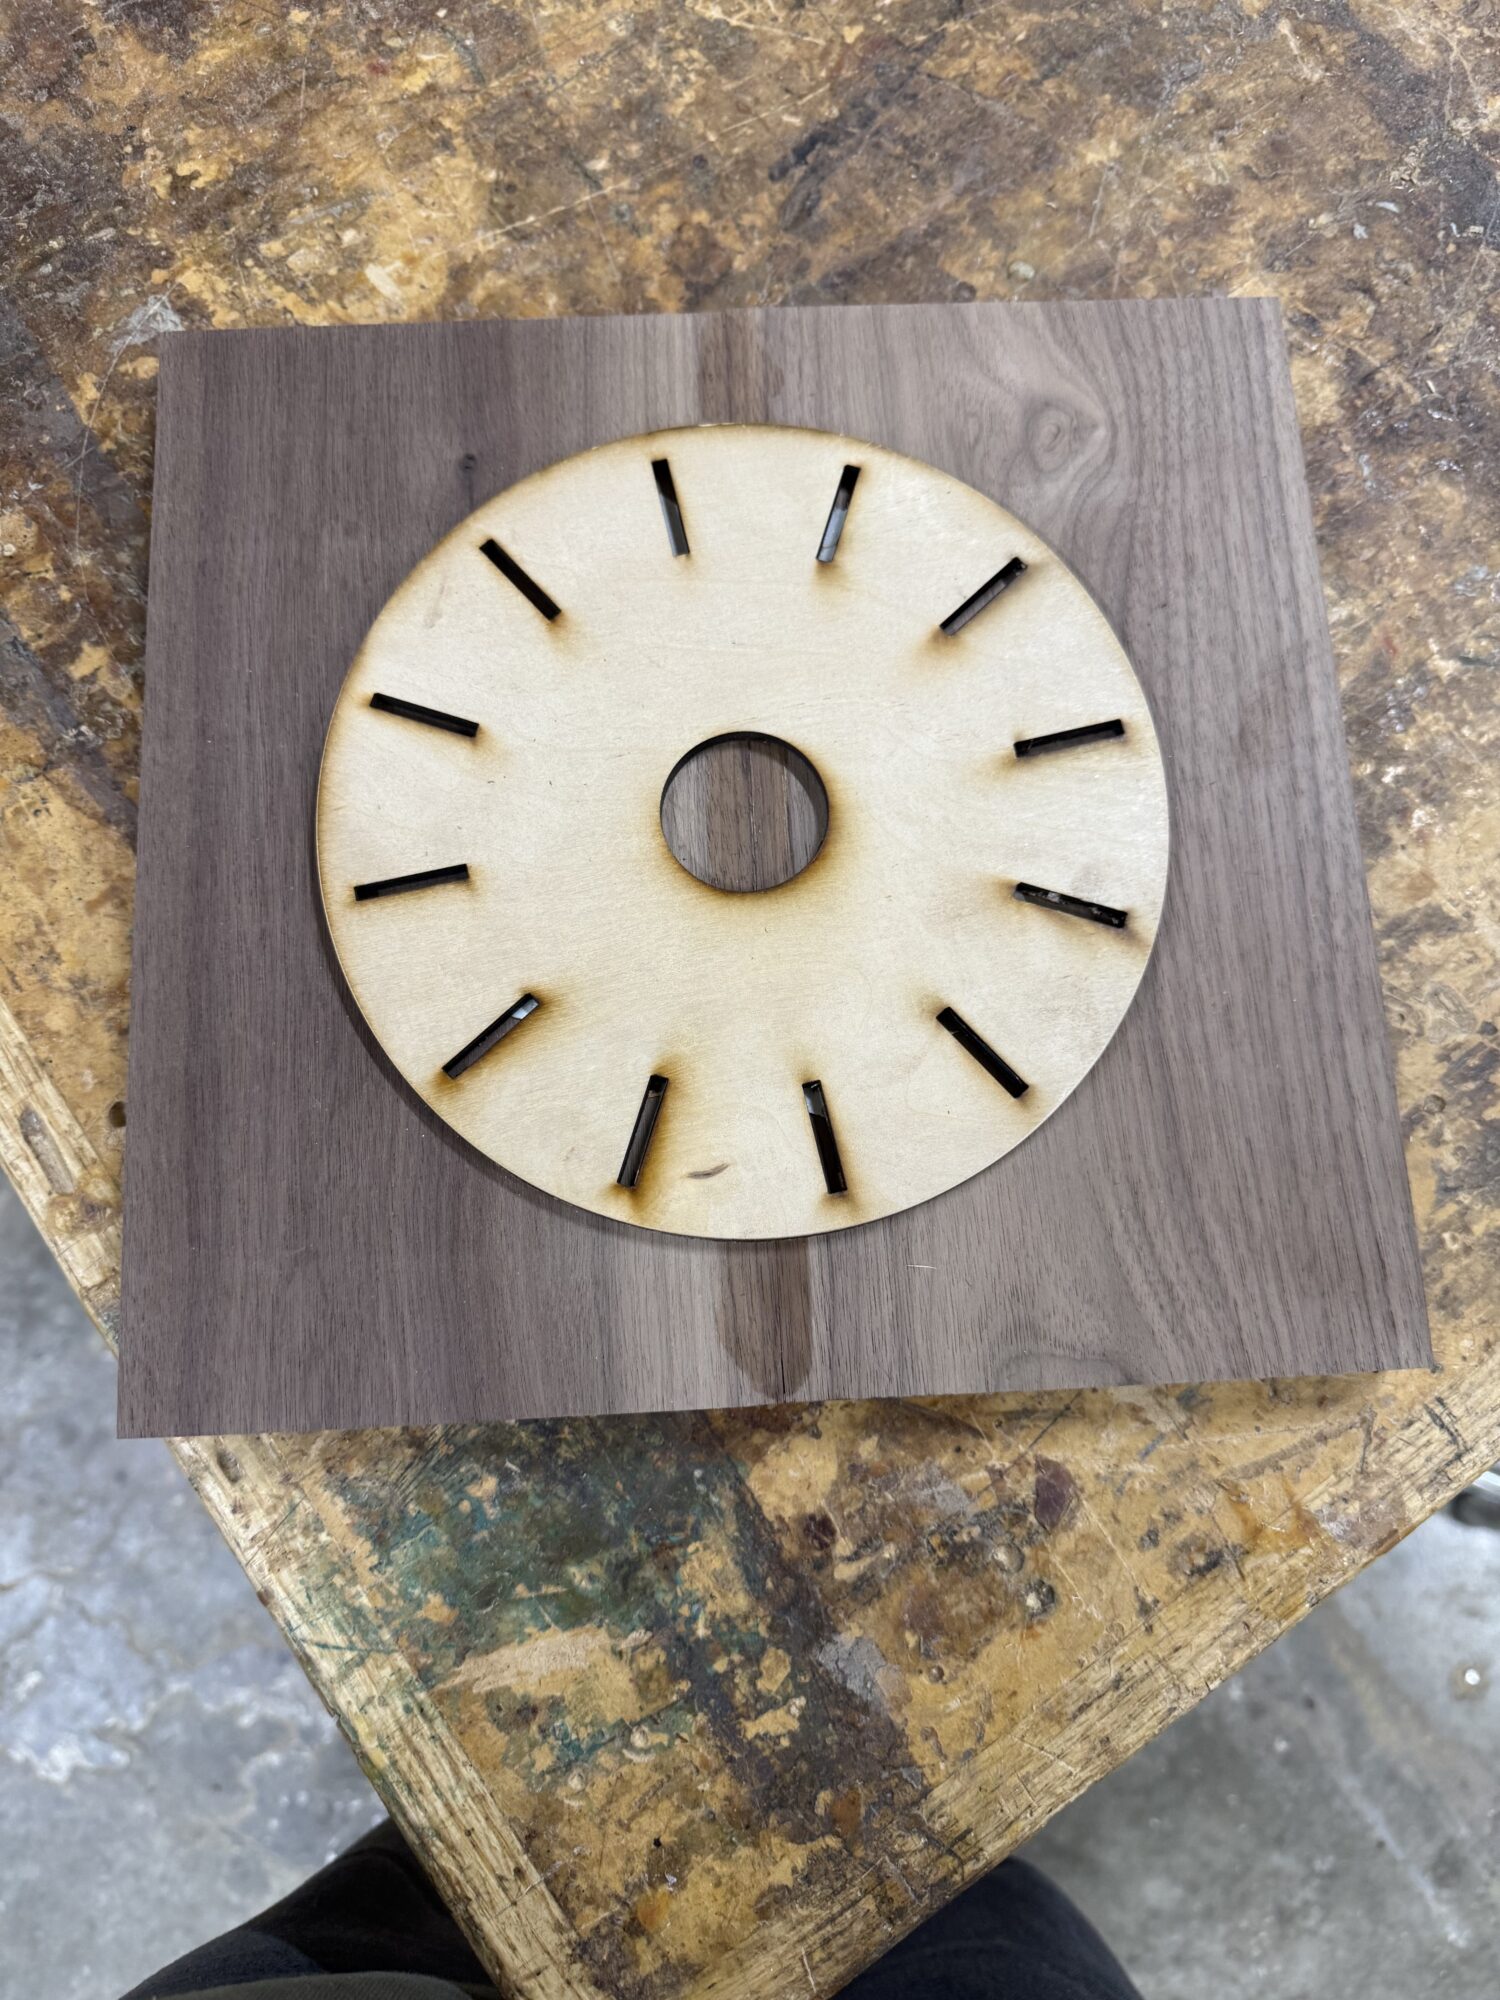
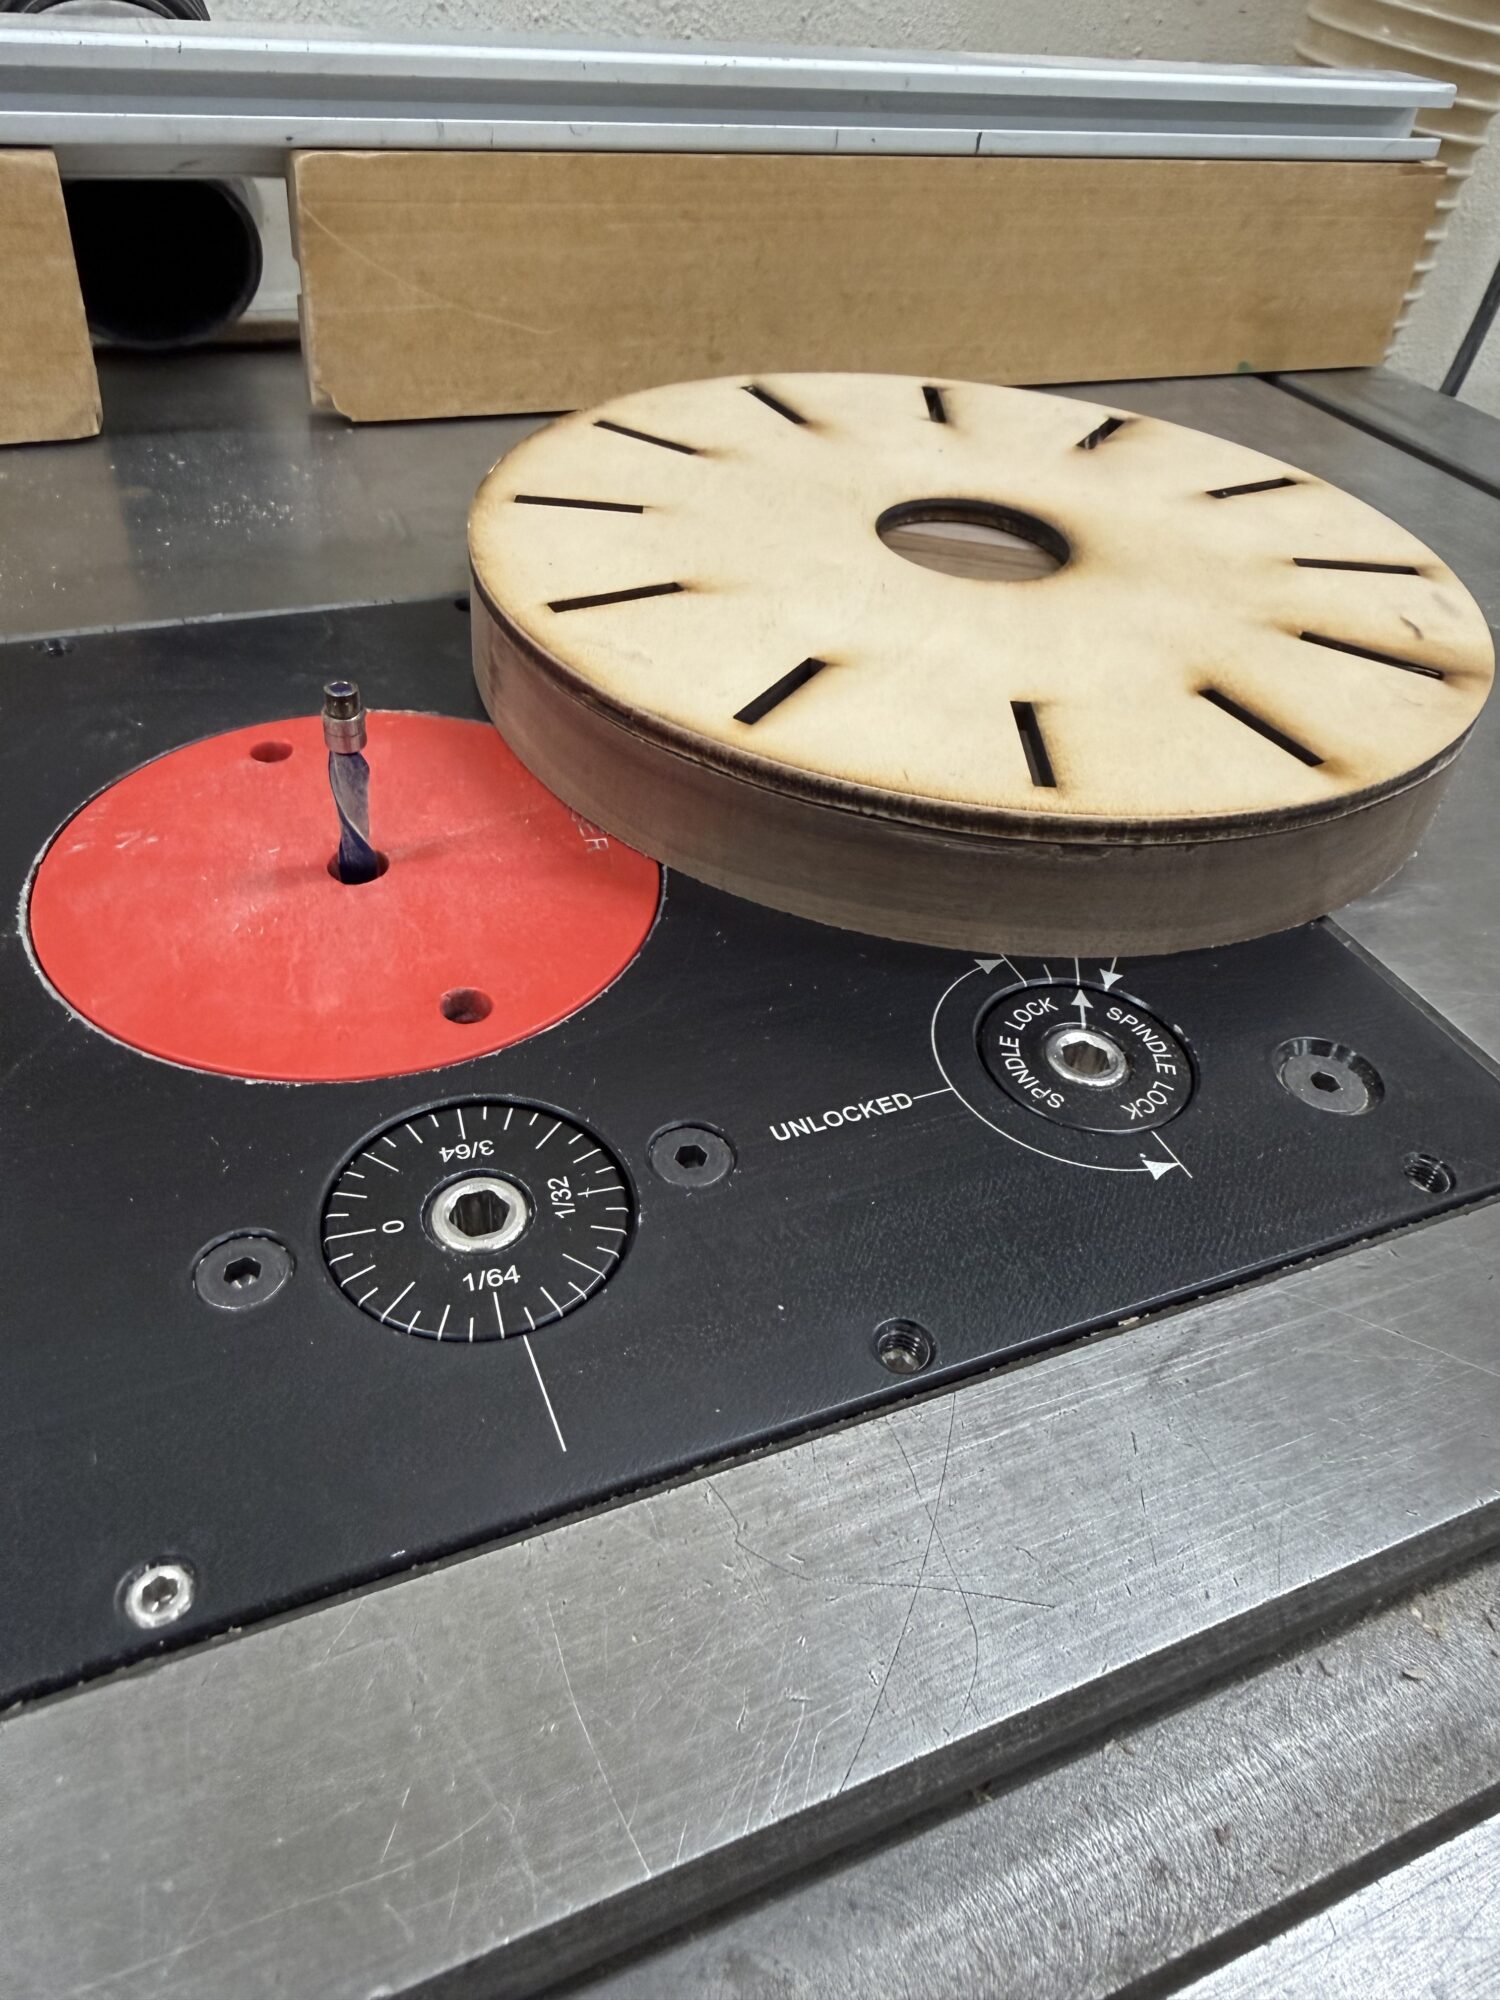
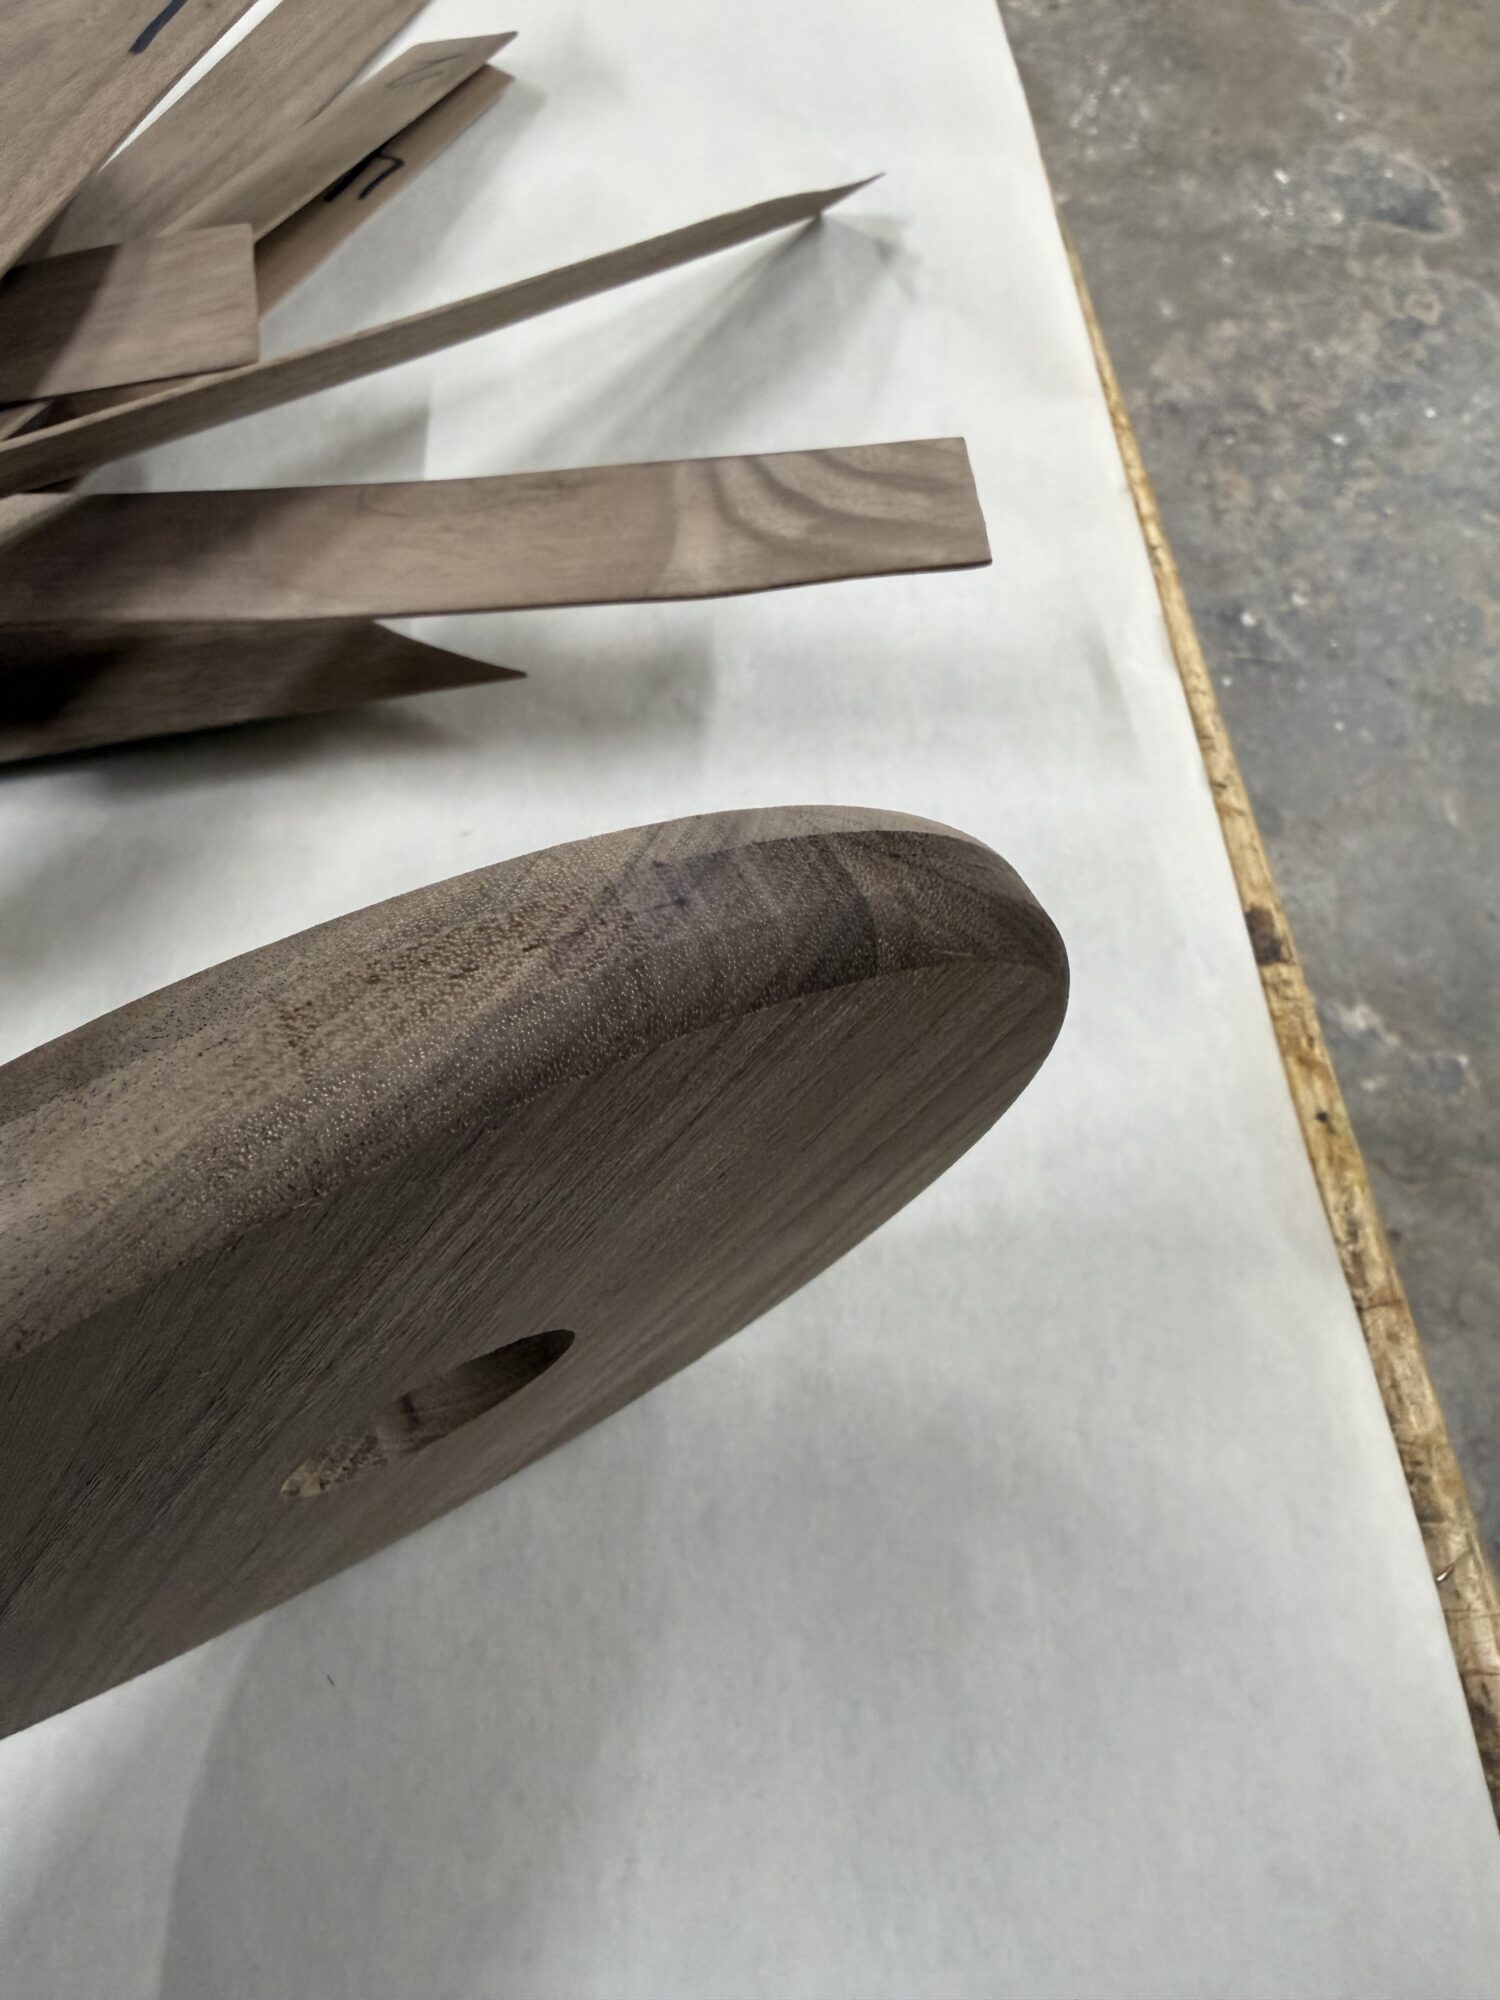
I cut a piece off the end of a board I had and cut it again, vertically, on a band saw. I ran them through a drum sander until they were the same height and glued them together. I taped the laser-cut template to the glued-up piece and rough-cut the edges around it. Afterward, I used the table router with a flush bit to get the final shape, then a corner-rounding bit for that nice finished curve.
I used the drill press to drill the center hole for the bulb.
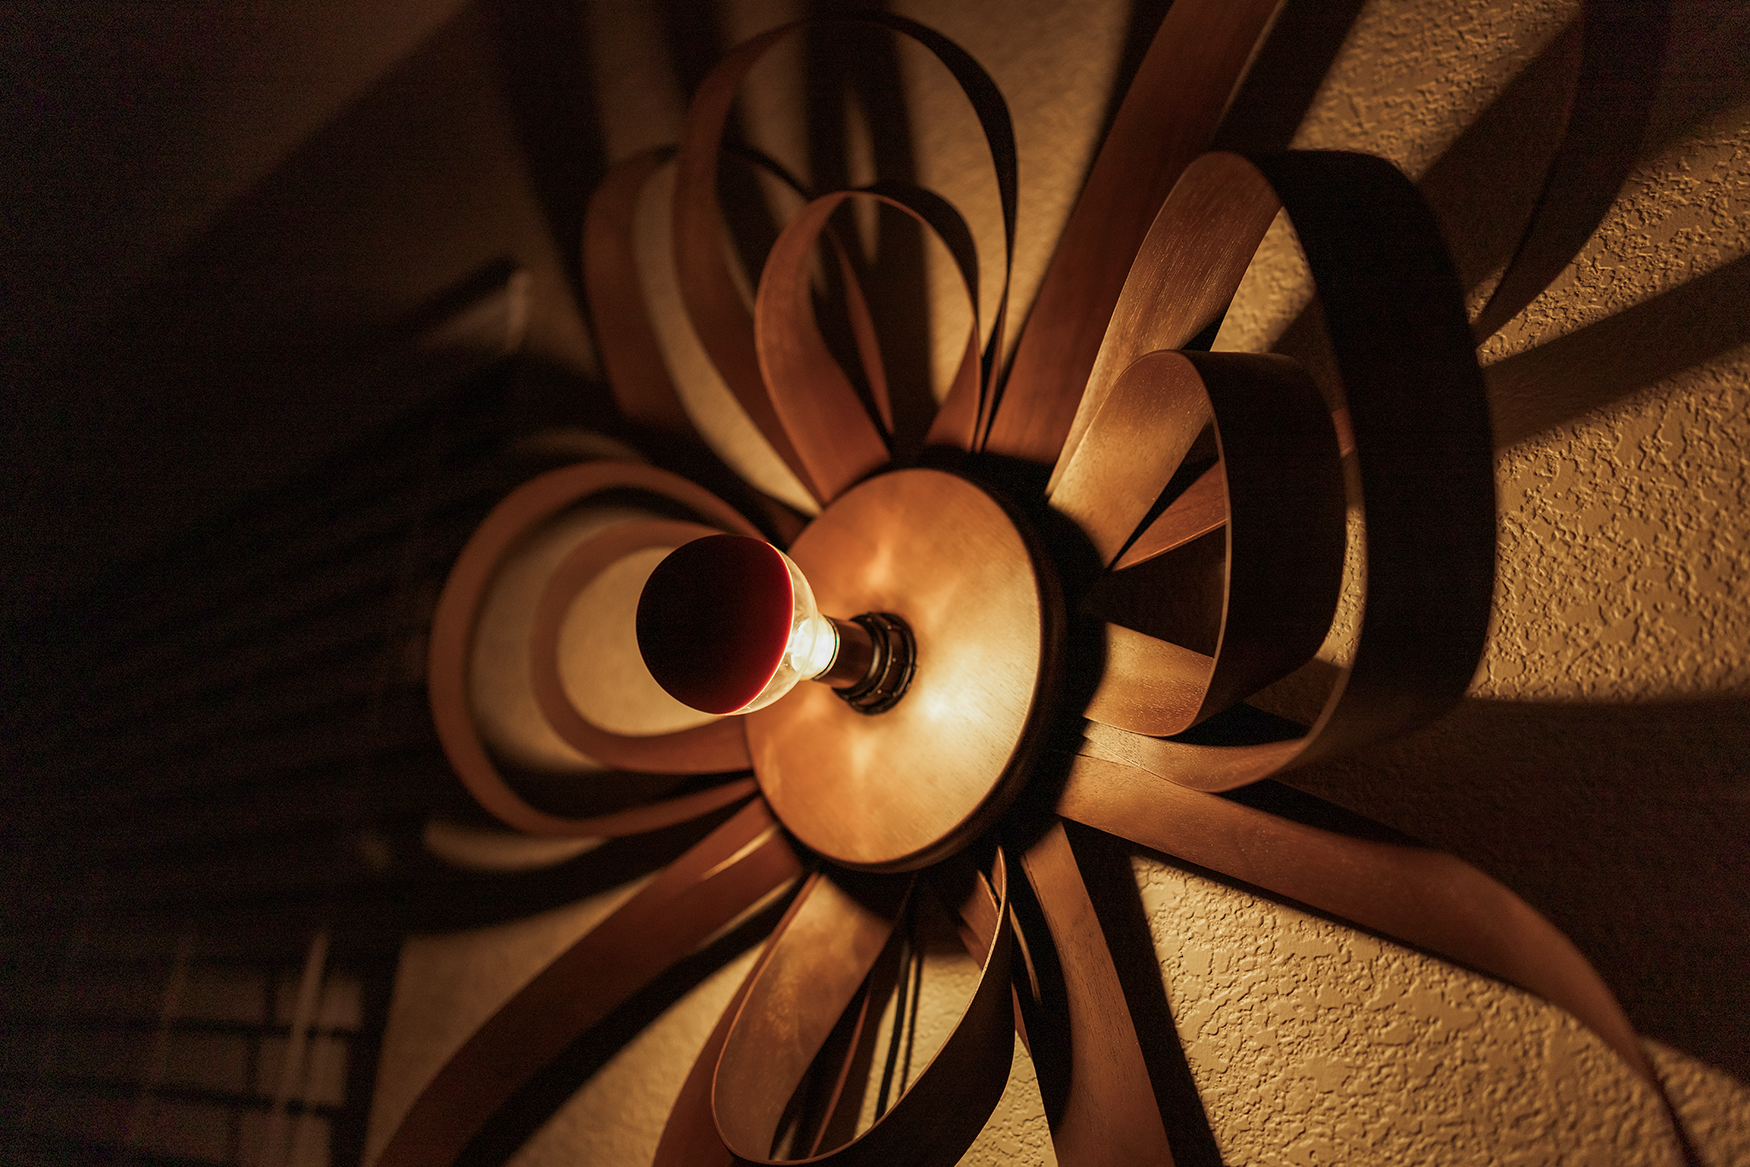
All pieces were finished with a combination of black furniture wax, followed by buffing in antique gold mica powder to achieve that Art Deco gilded look with spookier vibes.

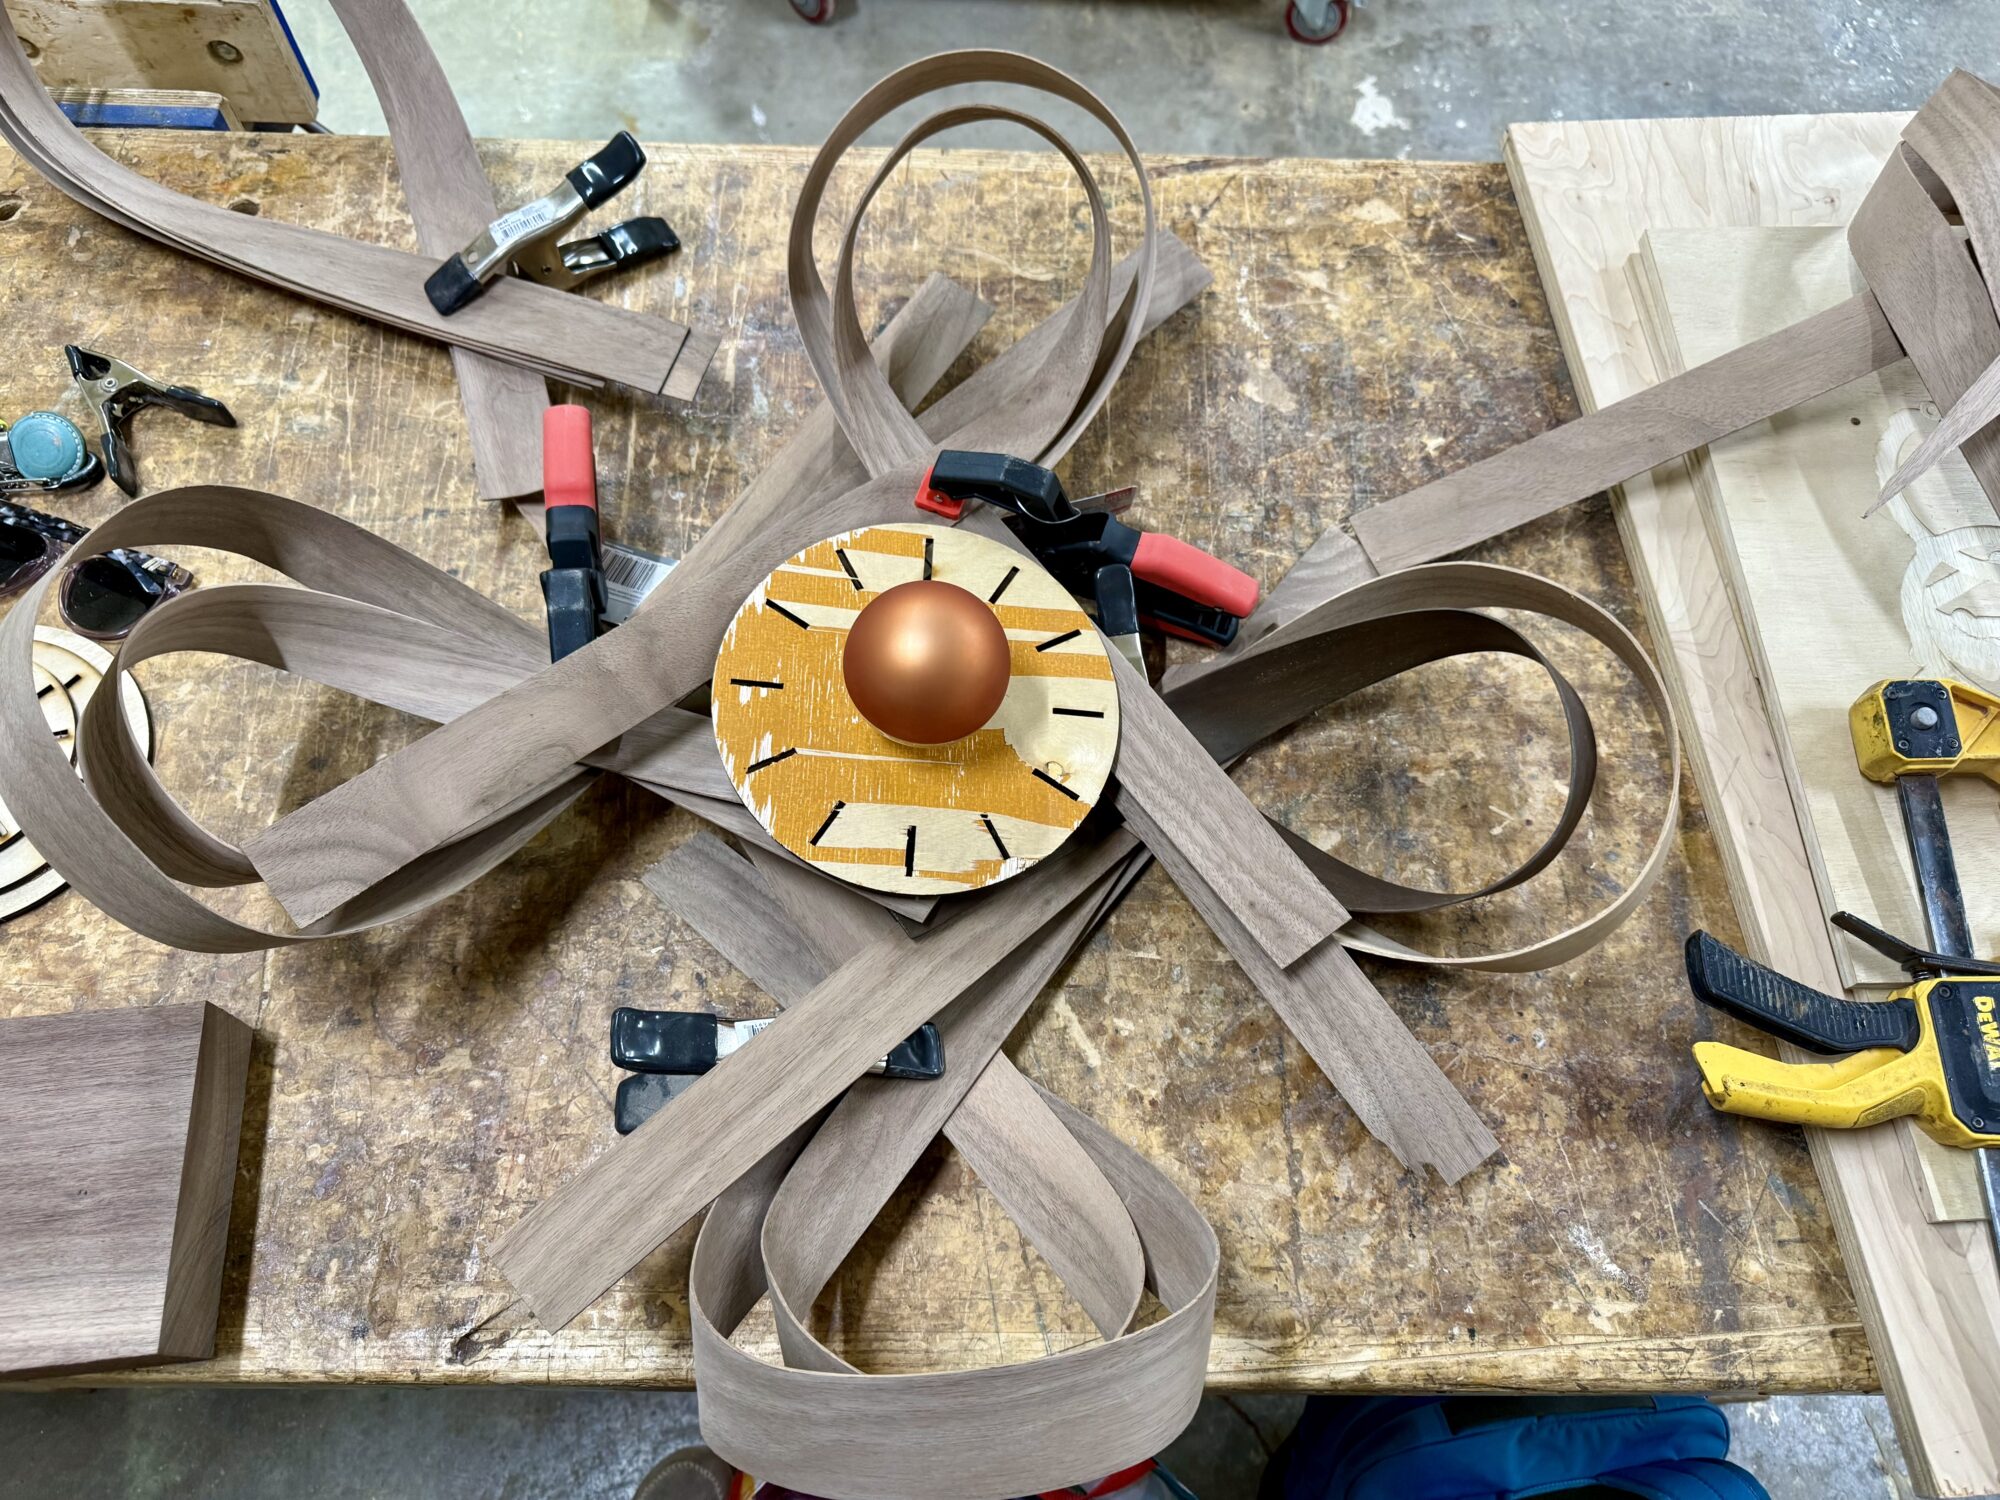
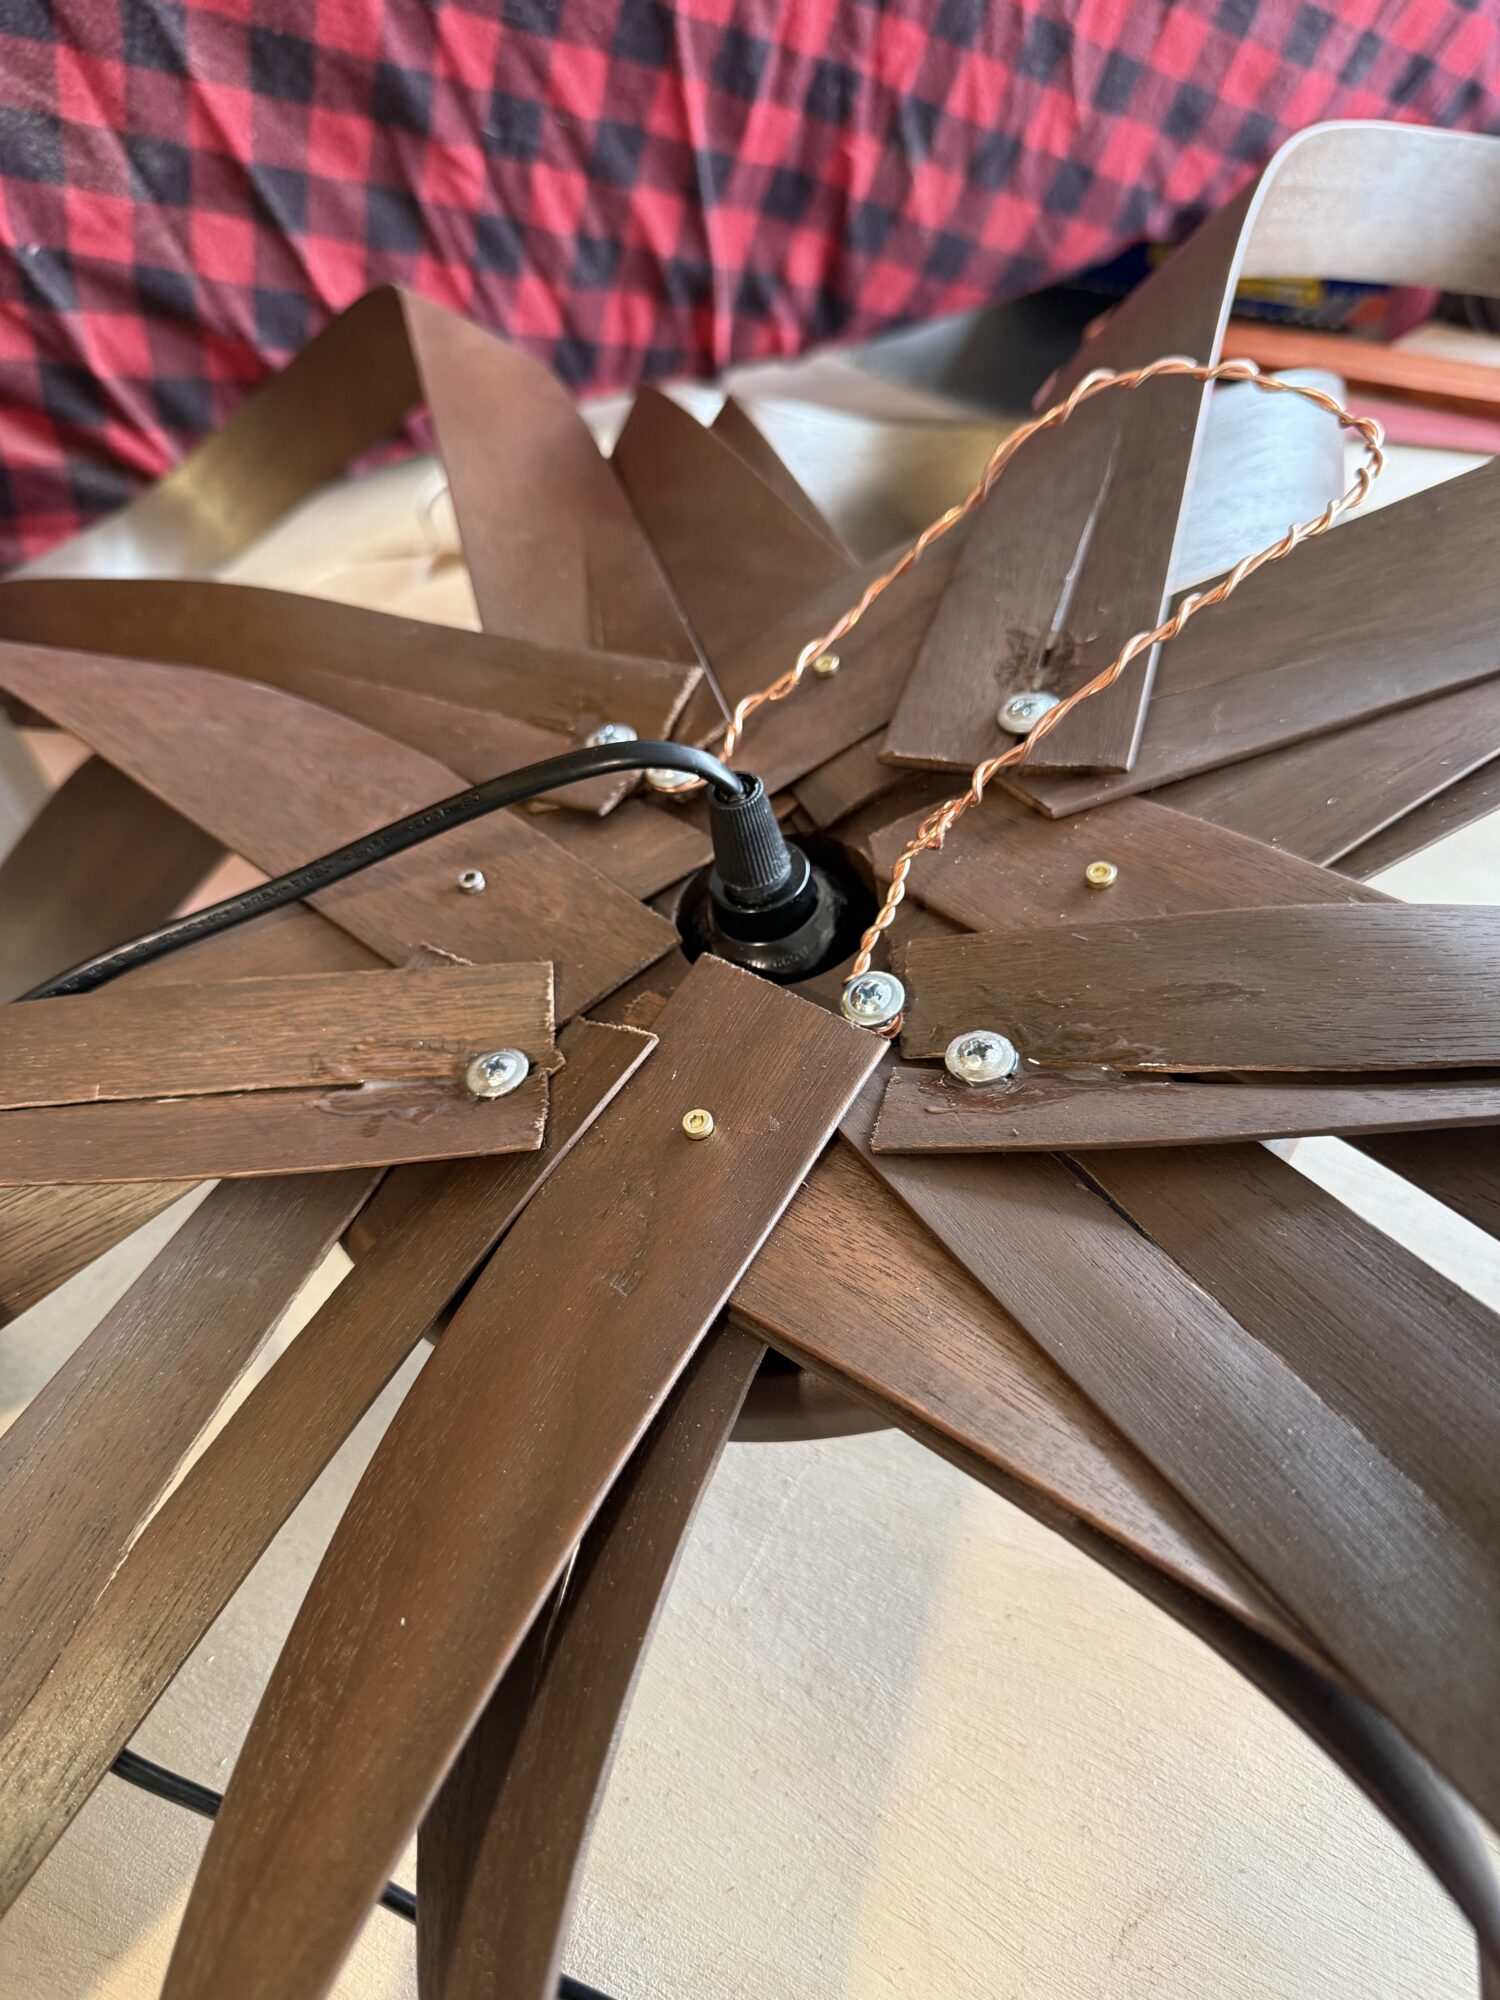
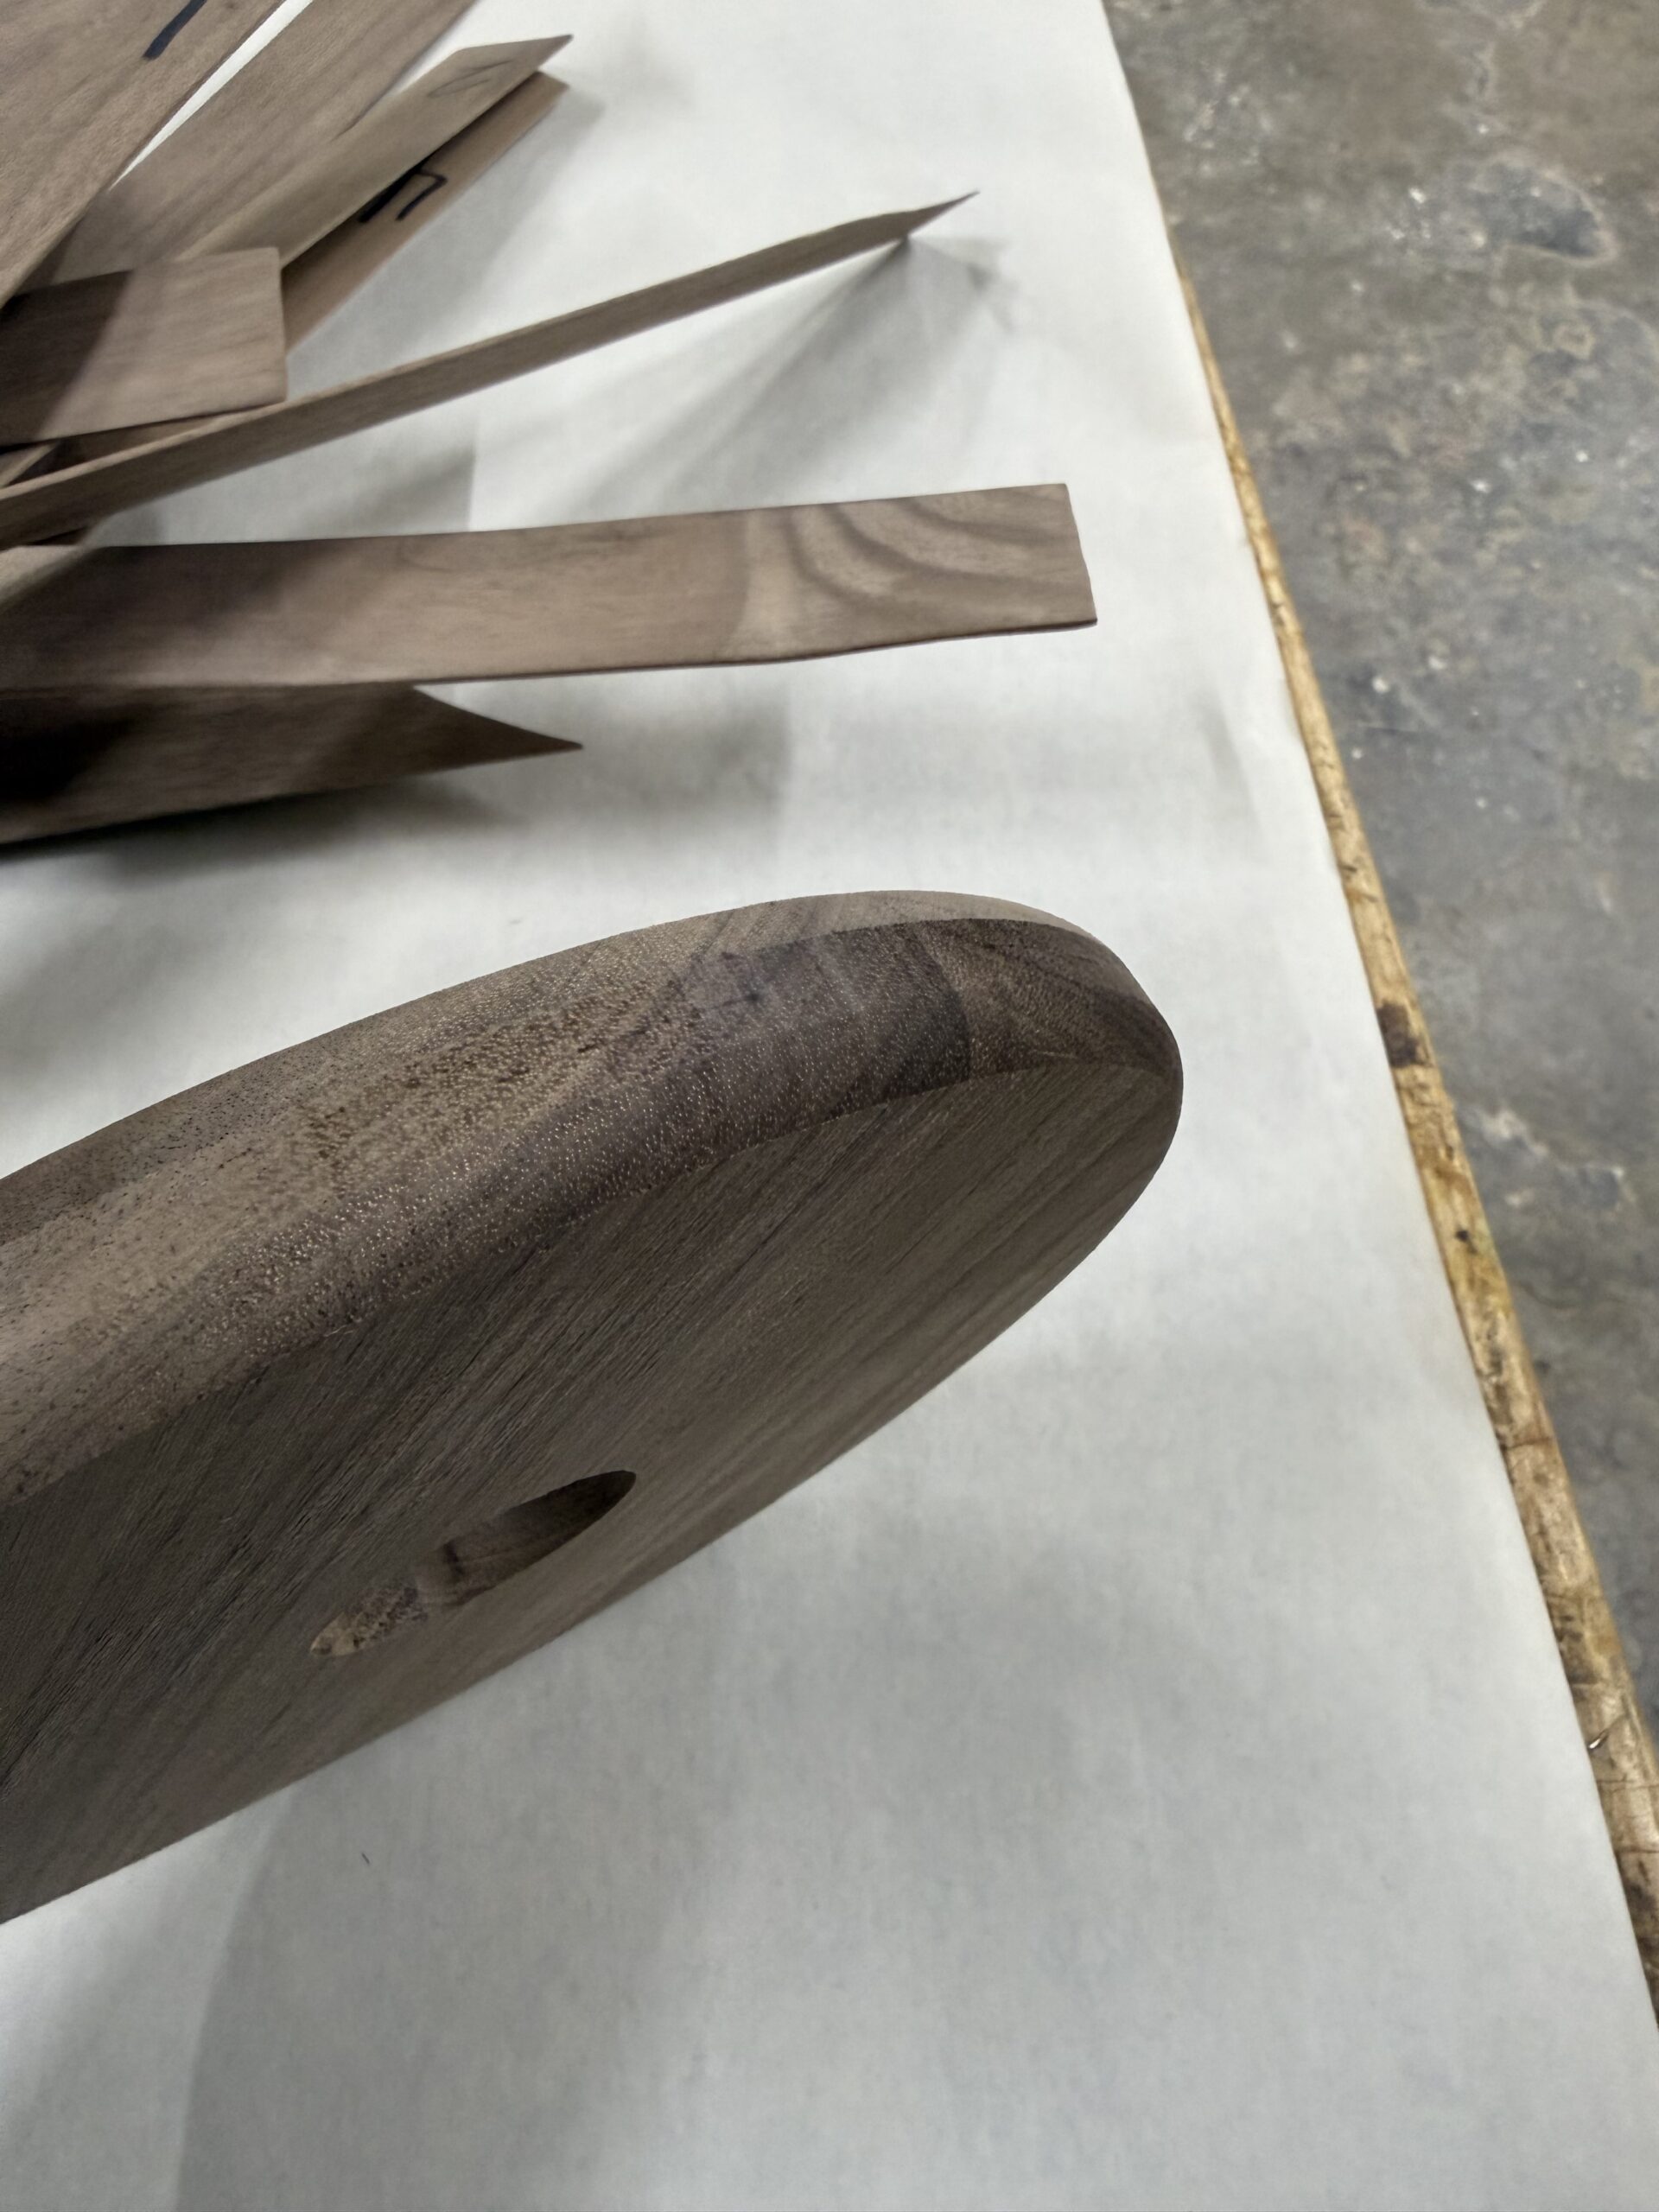
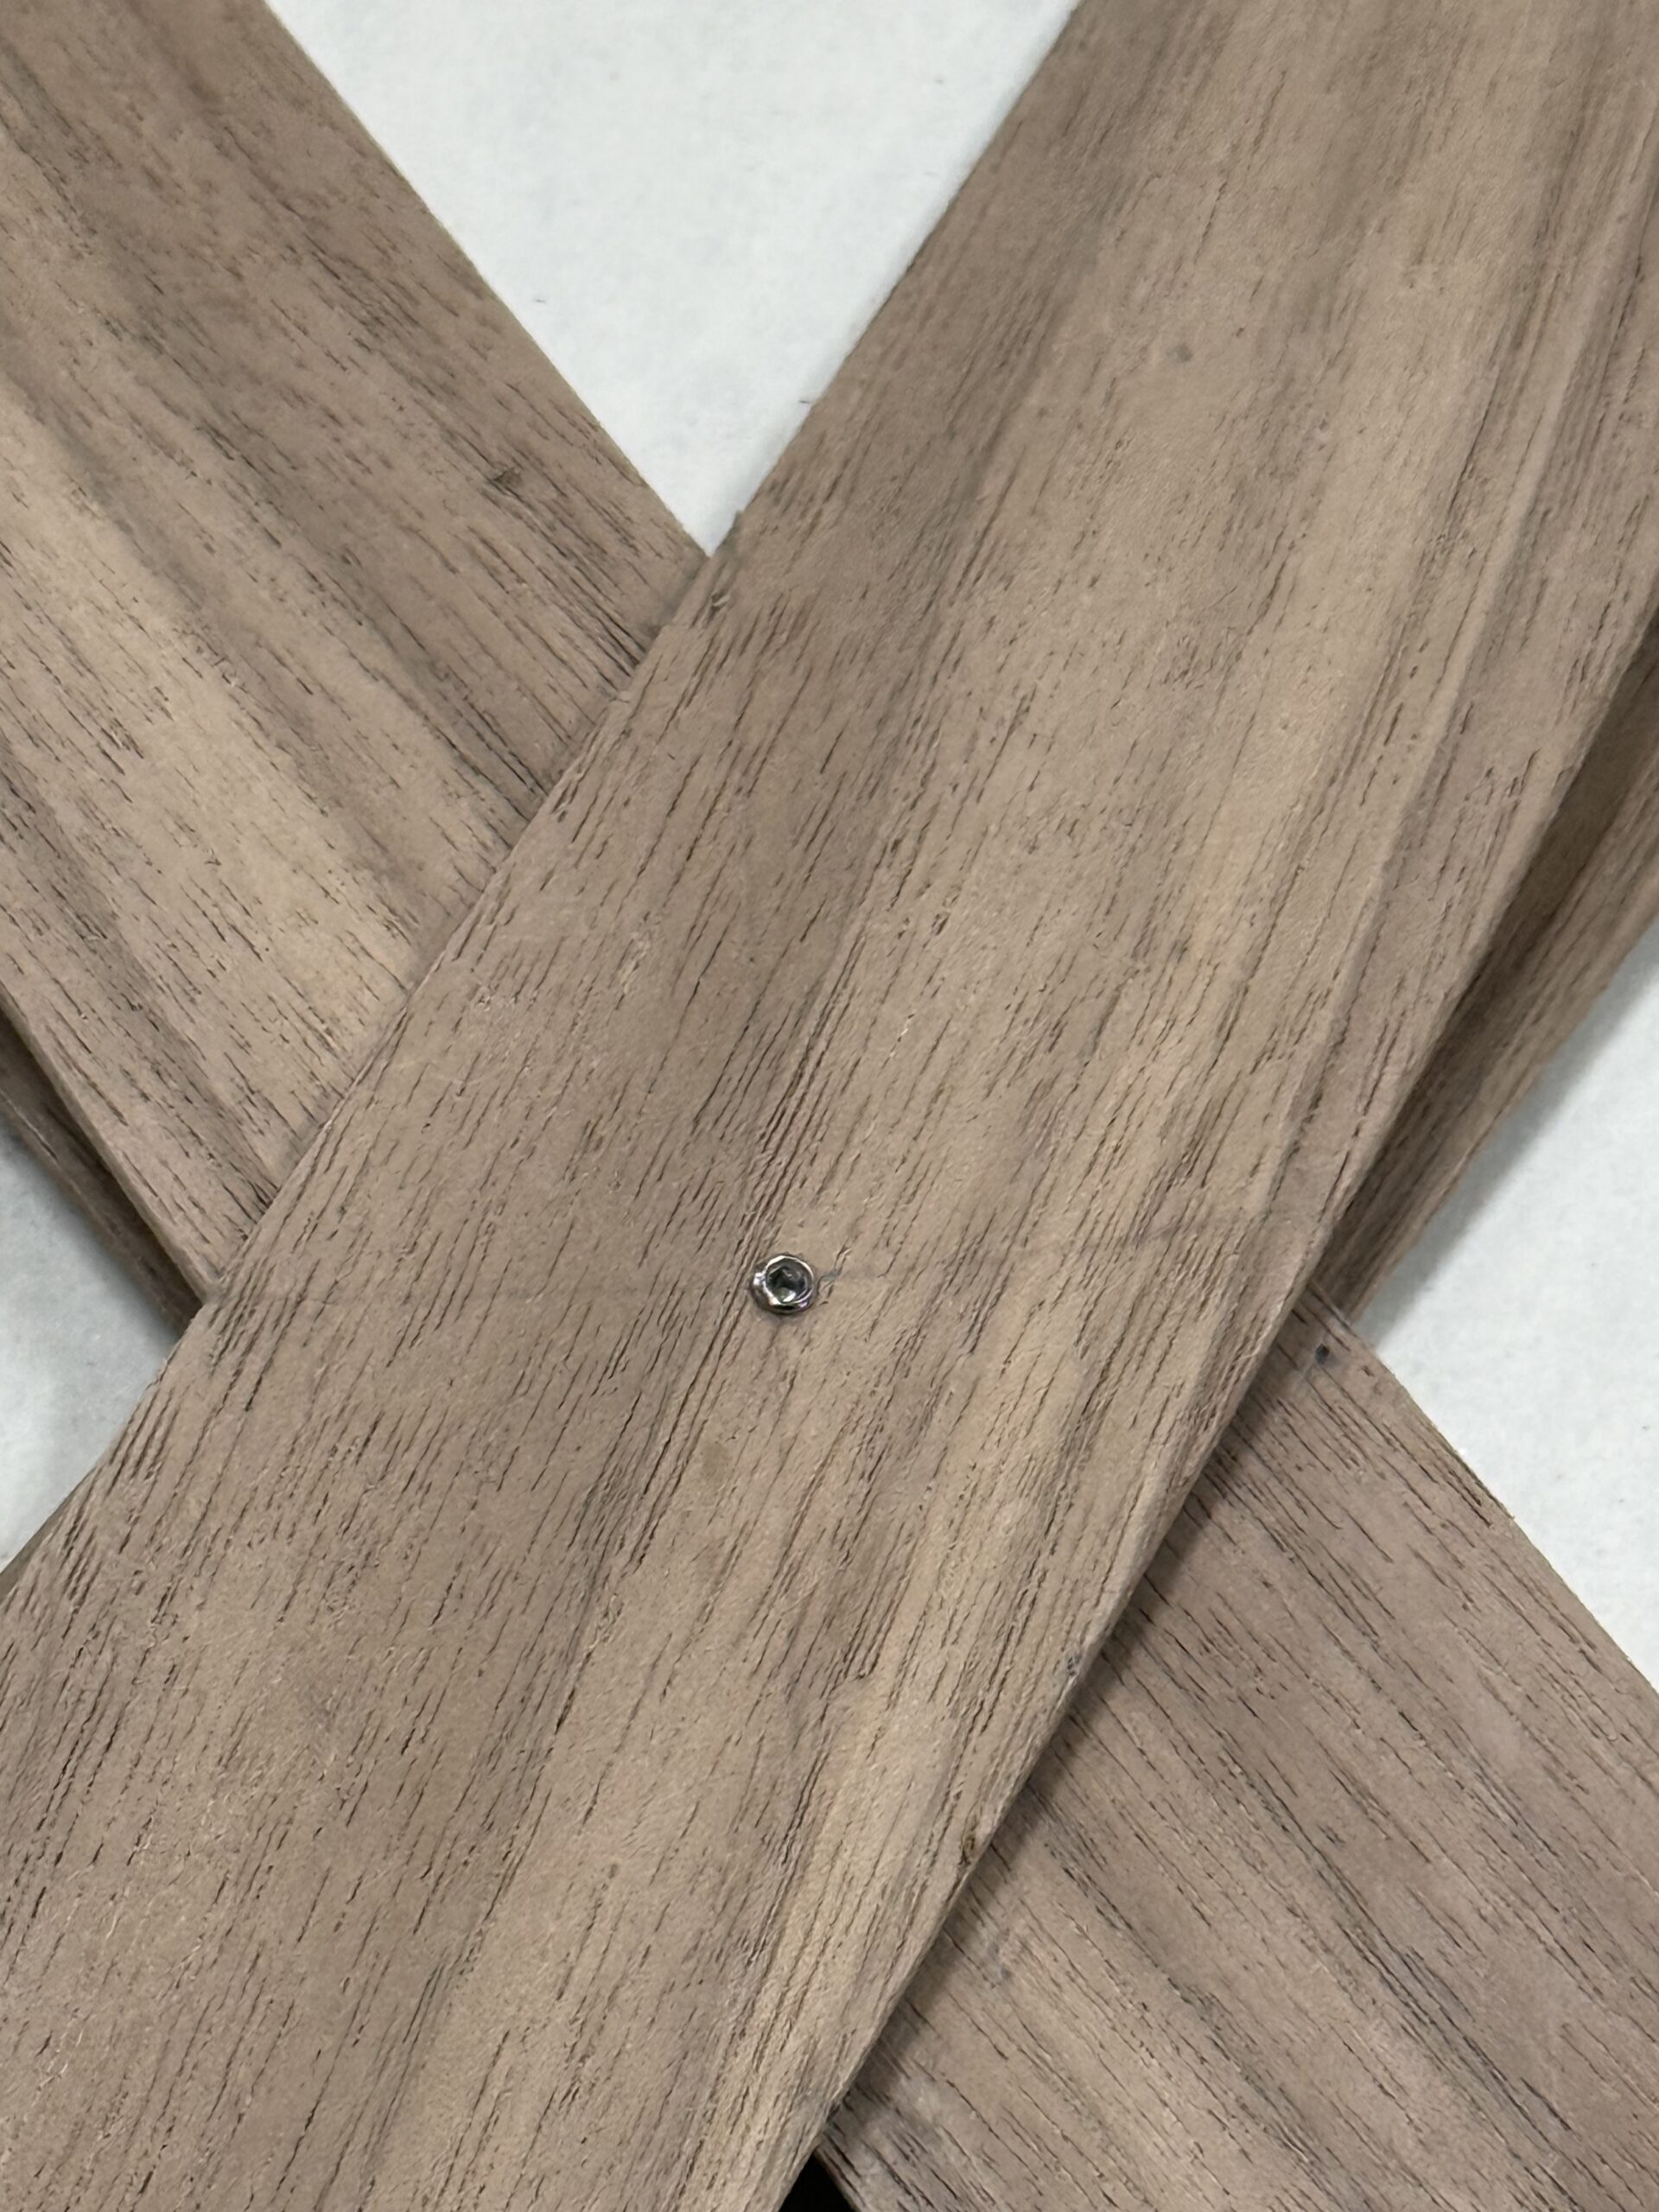
Assembling all the arms to the base was… not so straightforward. In the future, I would design a different attachment mechanism or add another piece to sandwich the arms in place and hide that hot mess.
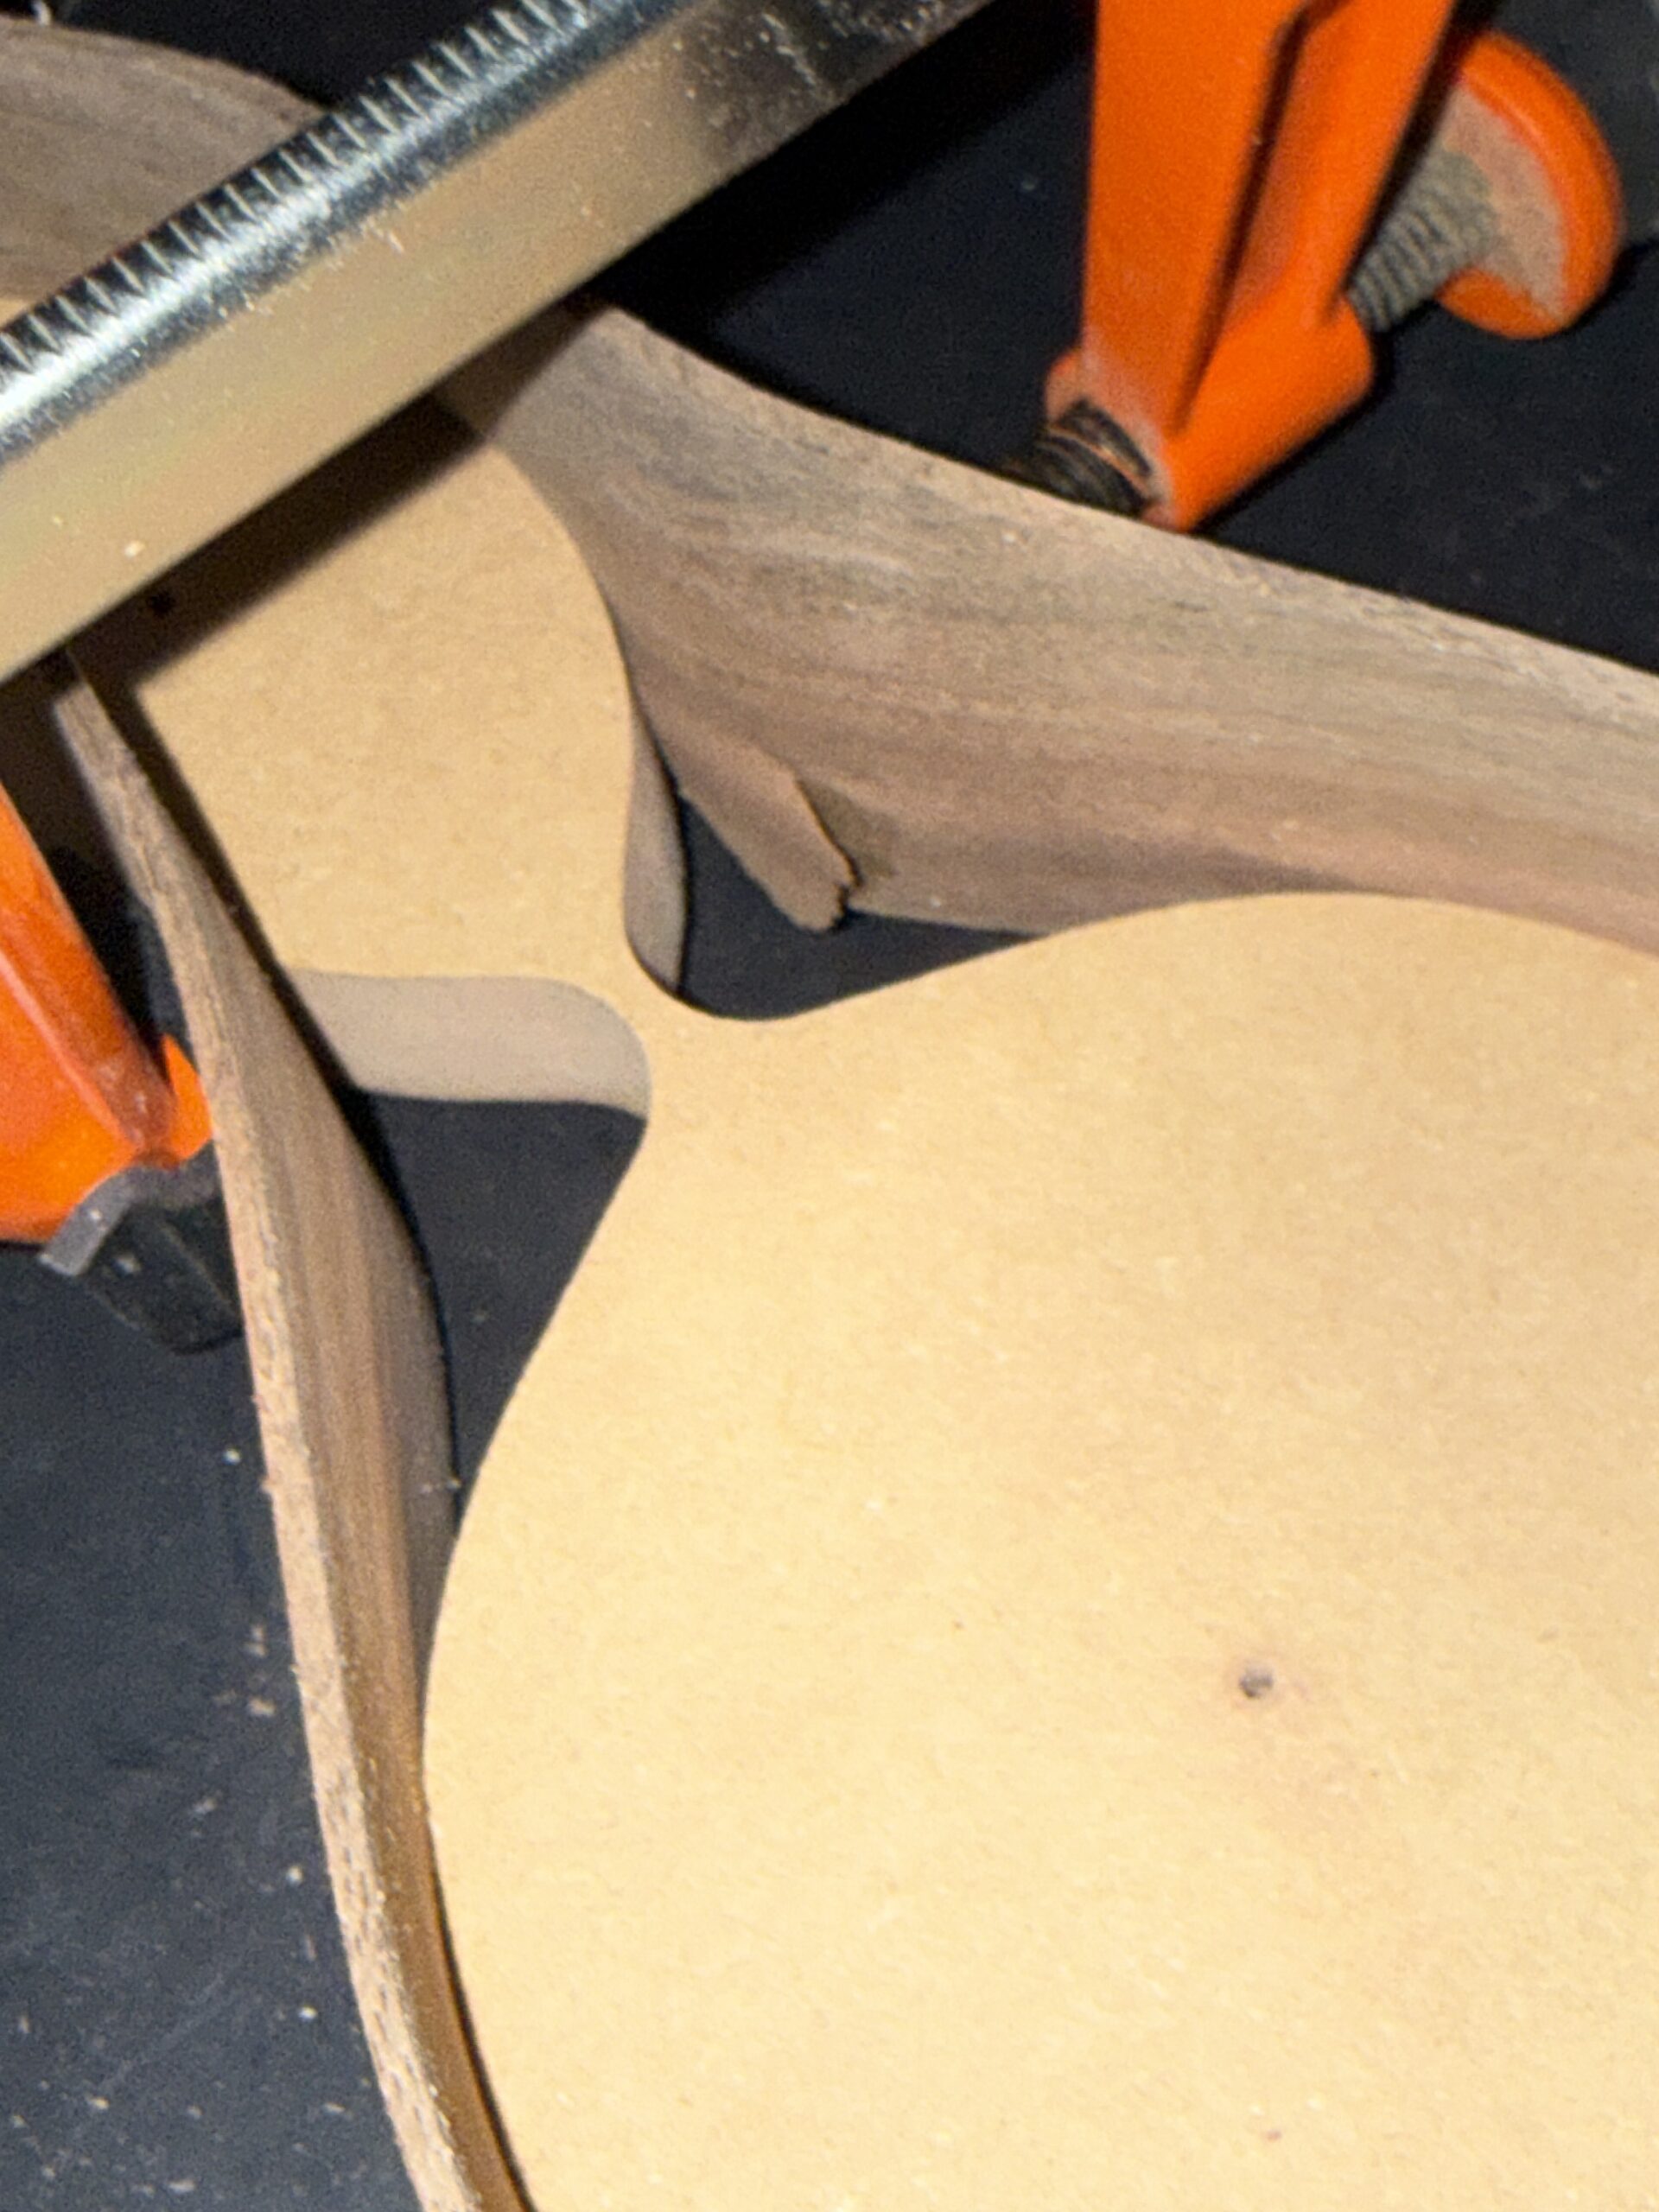
Steam-bent pieces are fragile, and I unfortunately broke a few of them. The cracks weren’t bad enough to scrap the whole piece, though, so I’ll chalk it up to being part of the spooky Art Deco aesthetic of being stagnant in time and old.


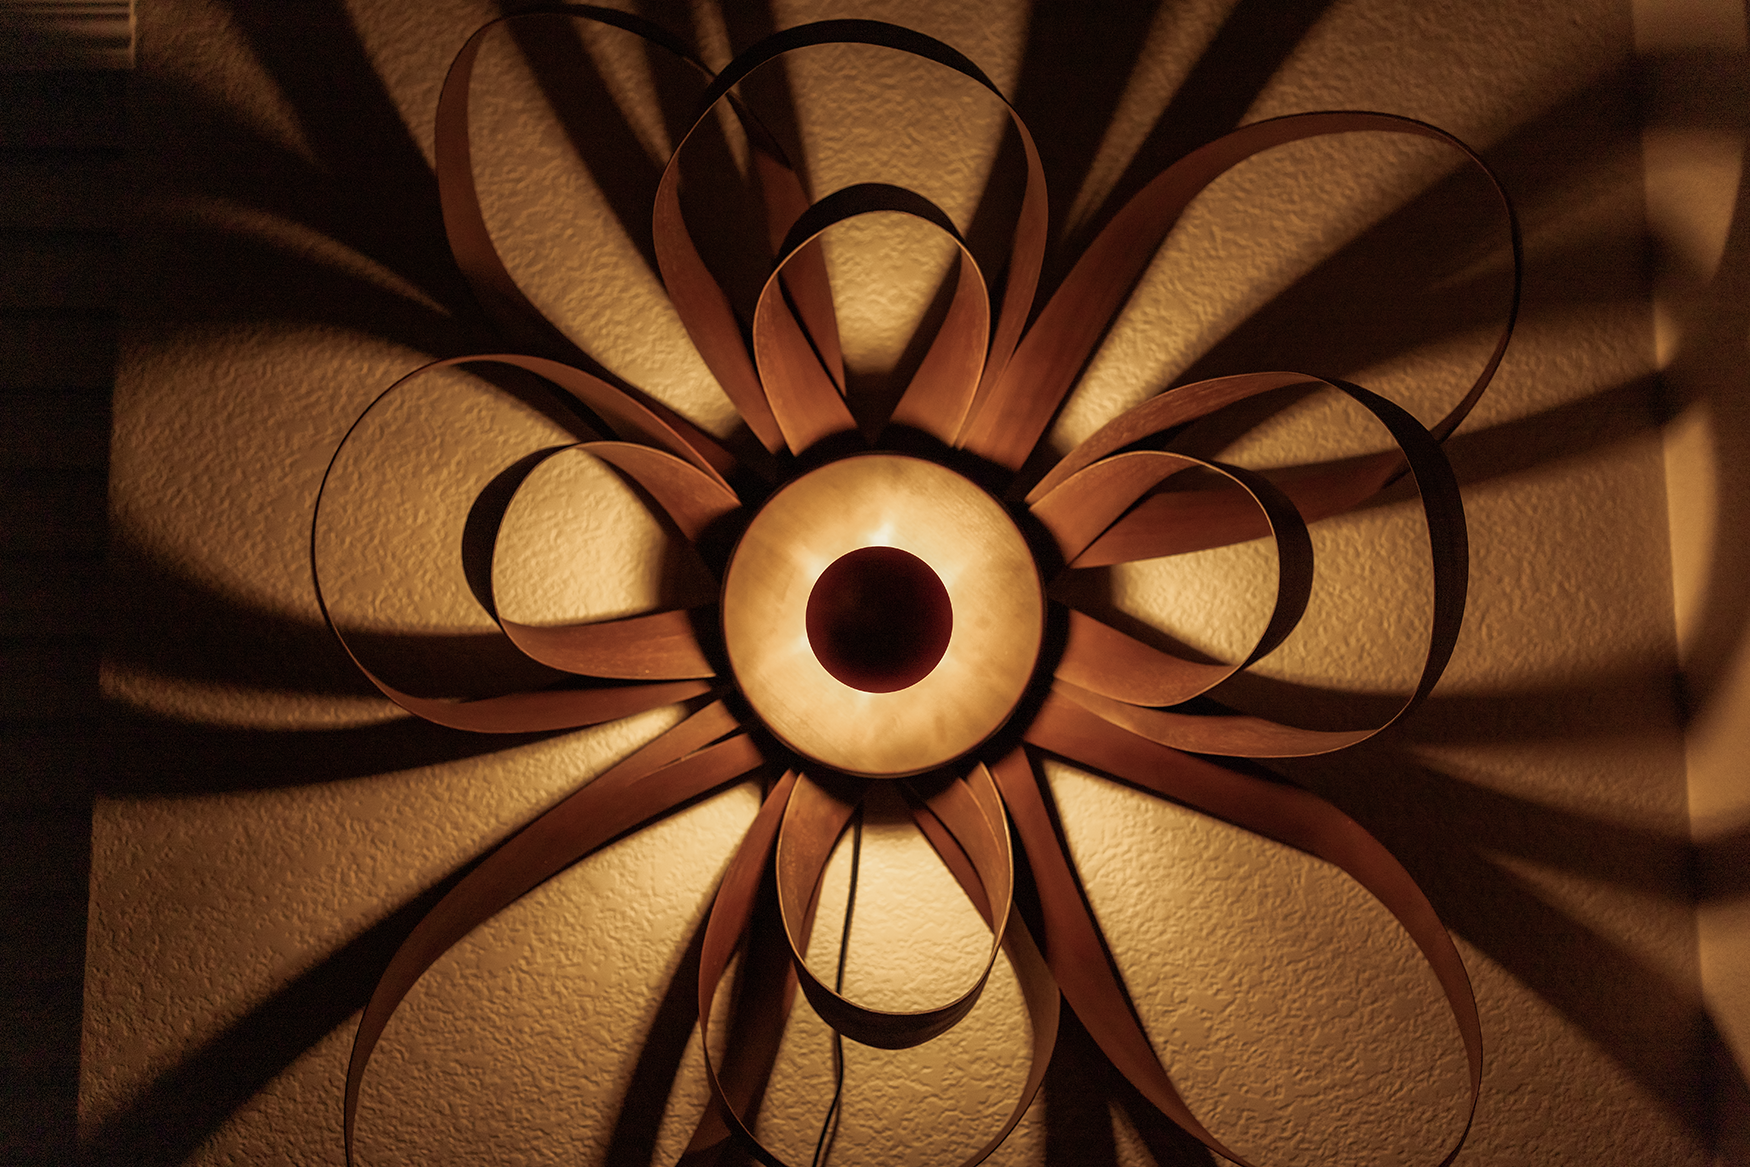
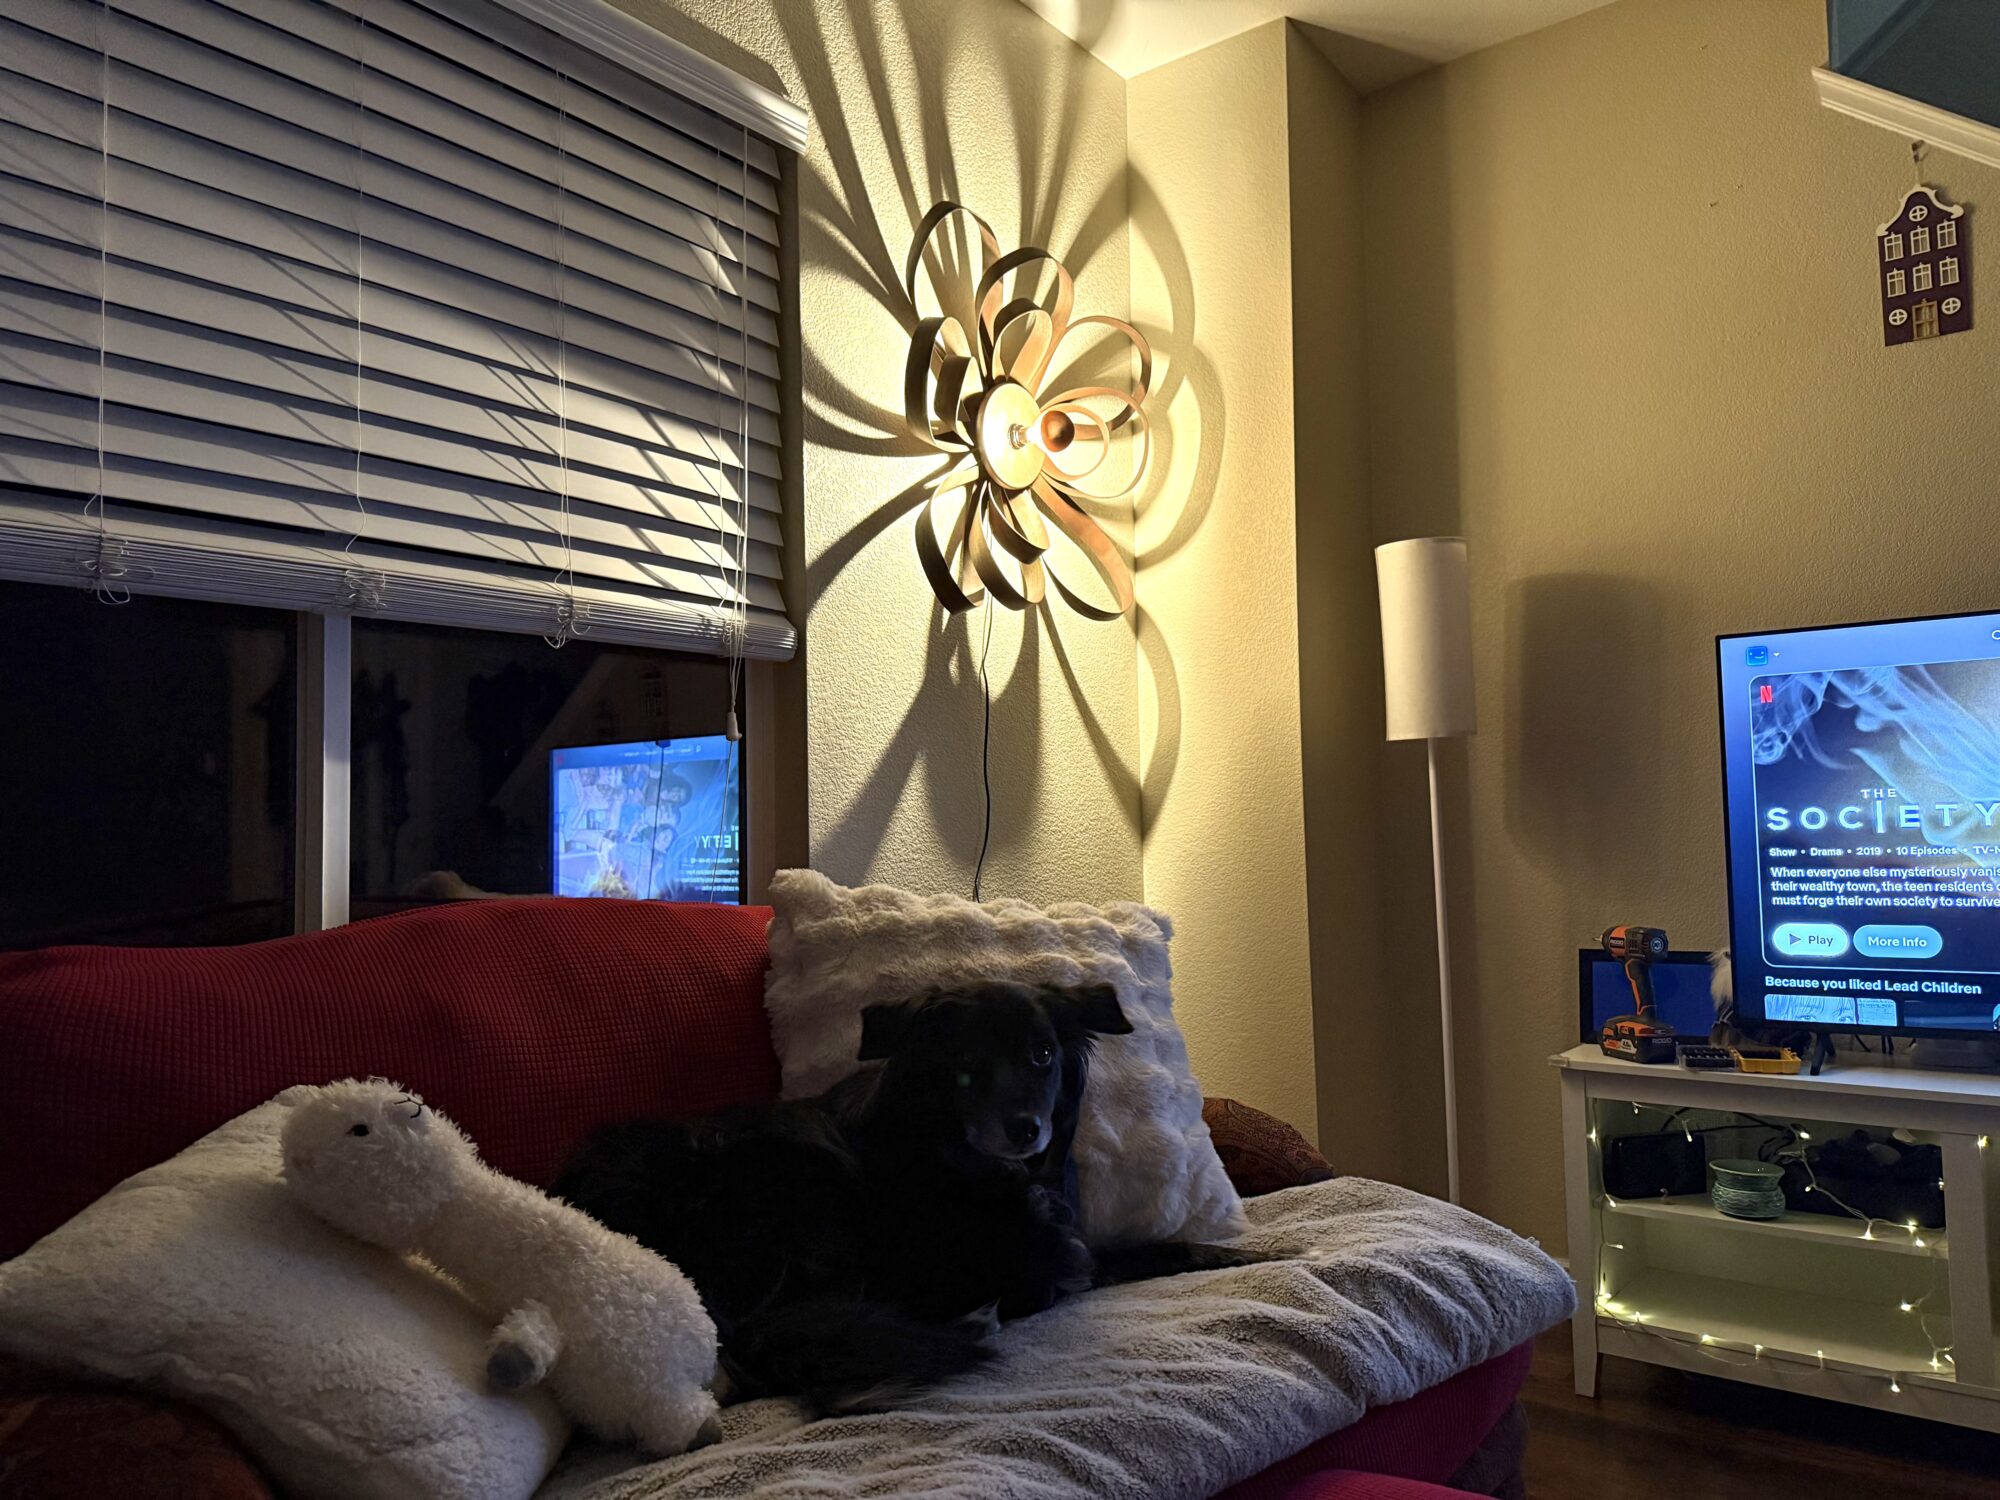
It has its flaws, but we love it on the wall in our house. It stays on and acts as the living room night light.
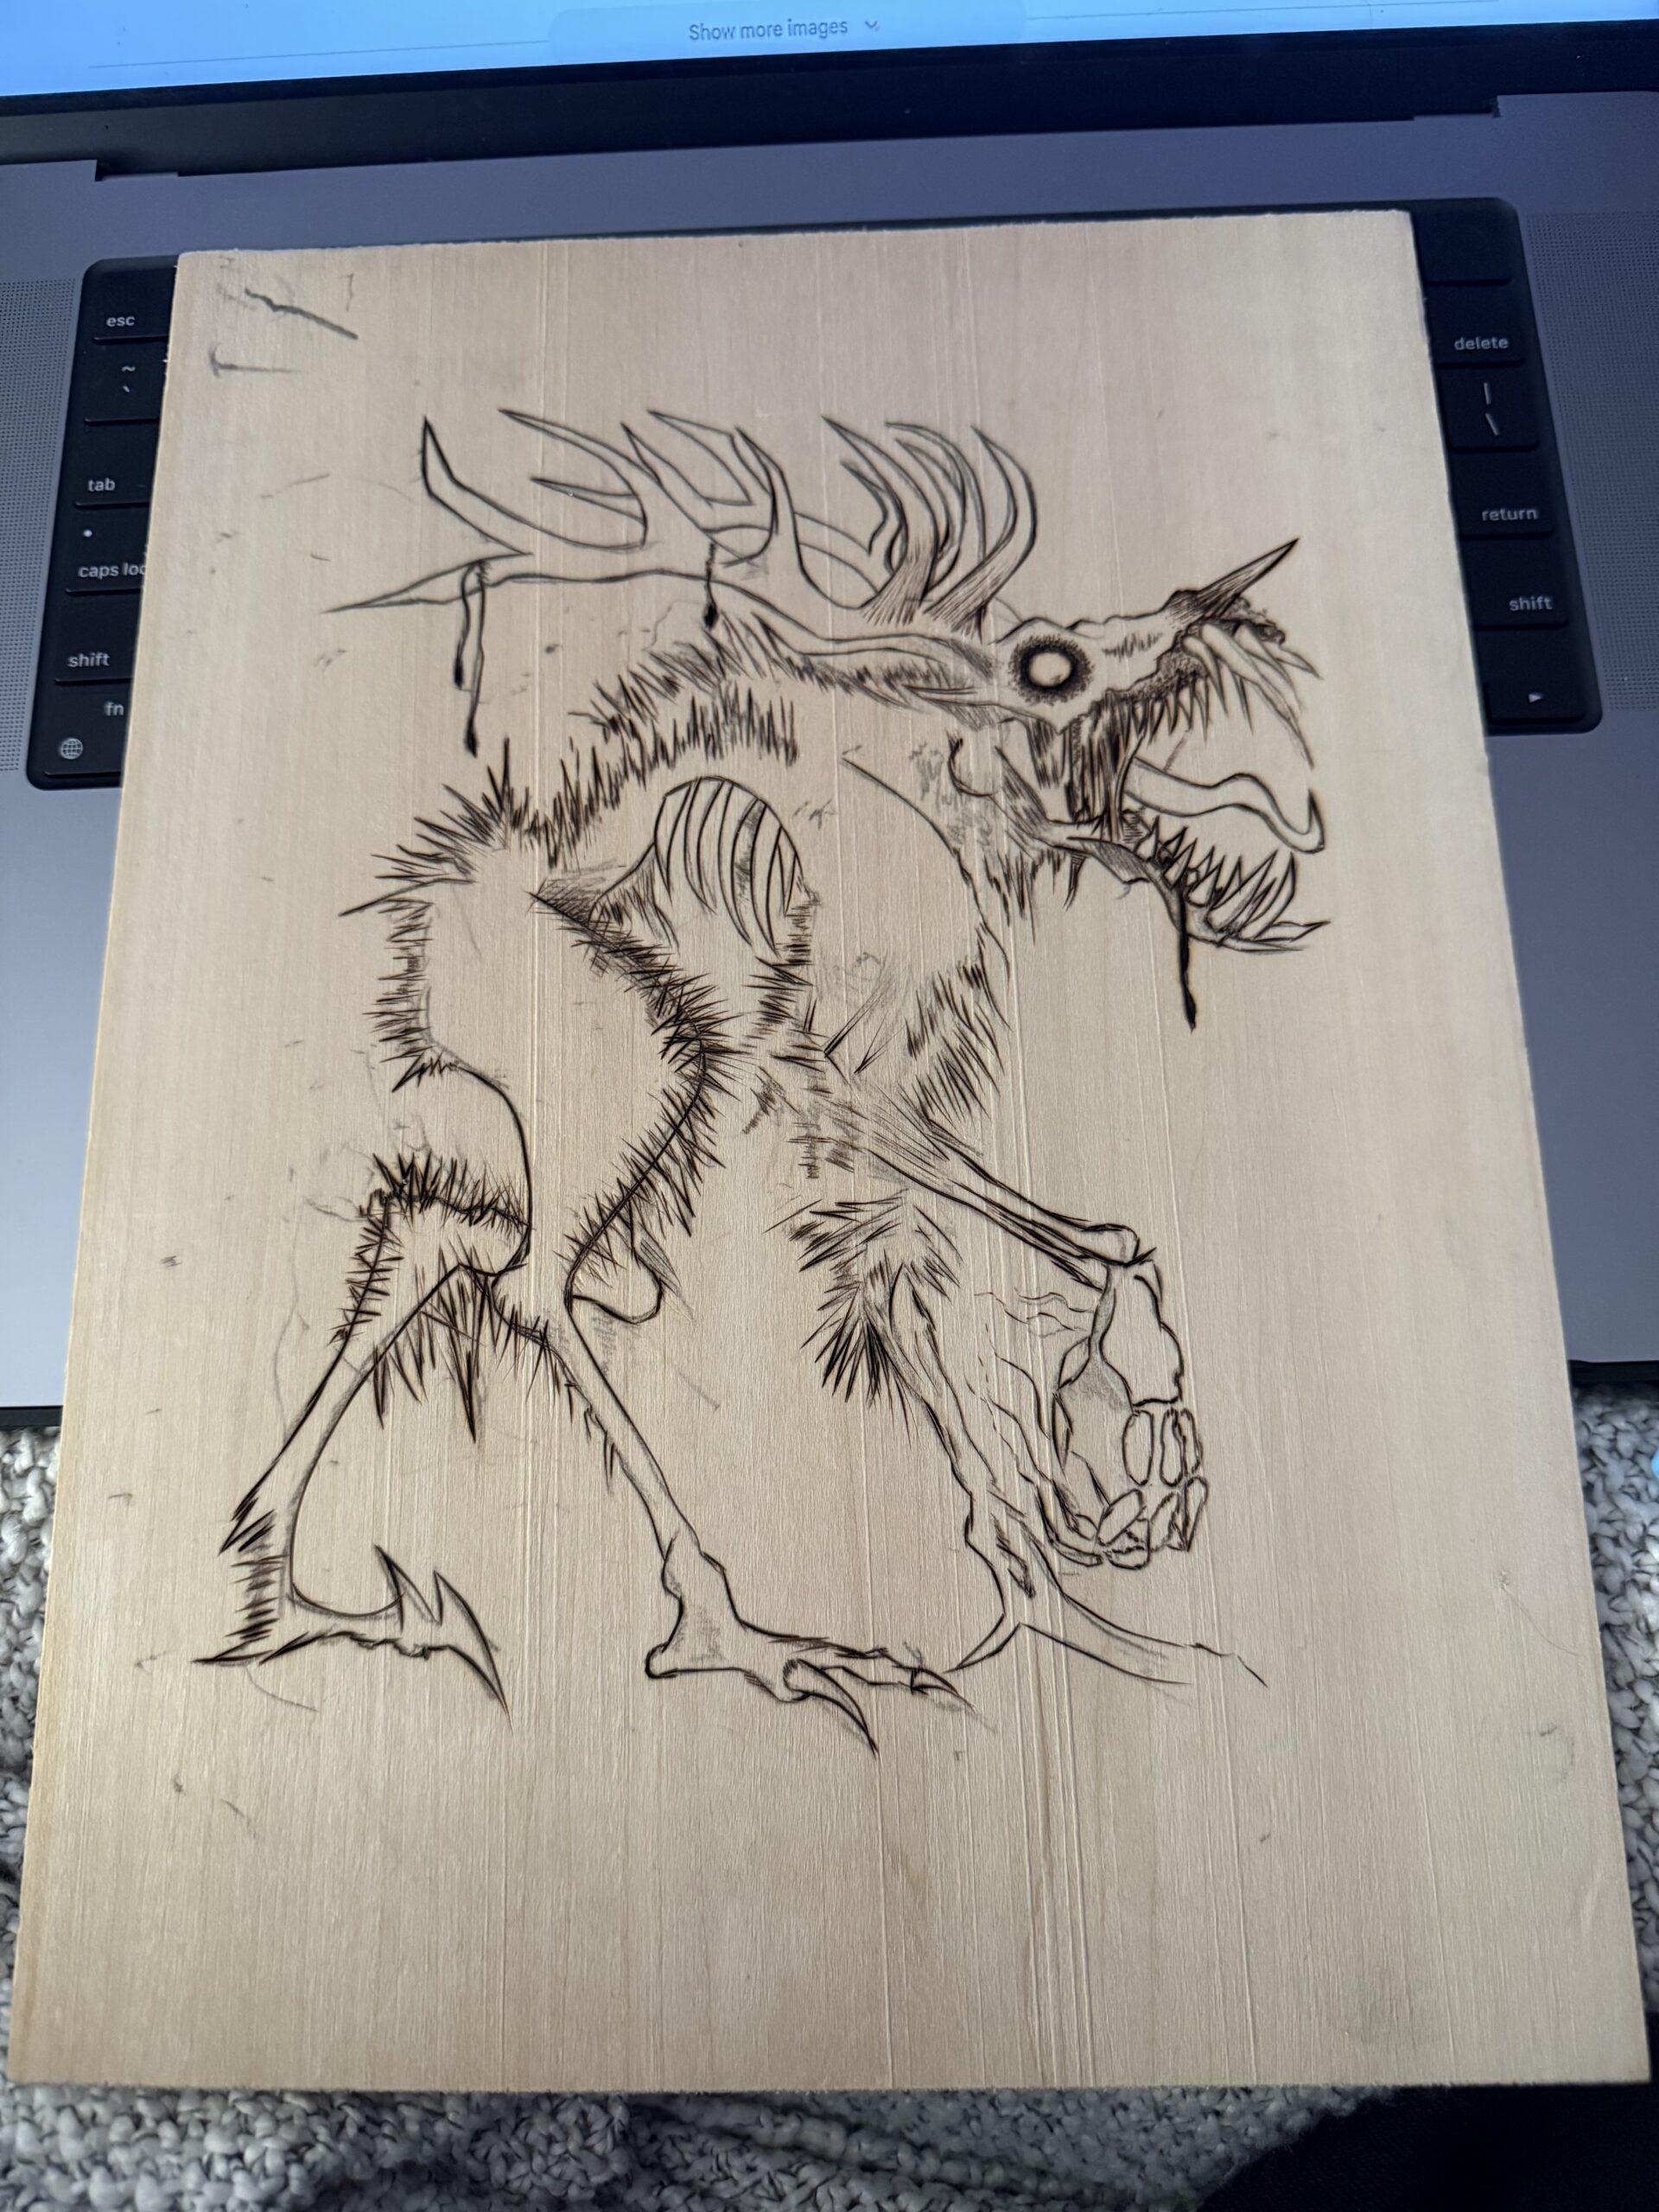
I didn’t get the wendigo I wanted, but I got harsh shadow lines that align with the dark Art Deco aesthetic I wanted. It’s a cool piece, and my cousin wants me to make her one next.