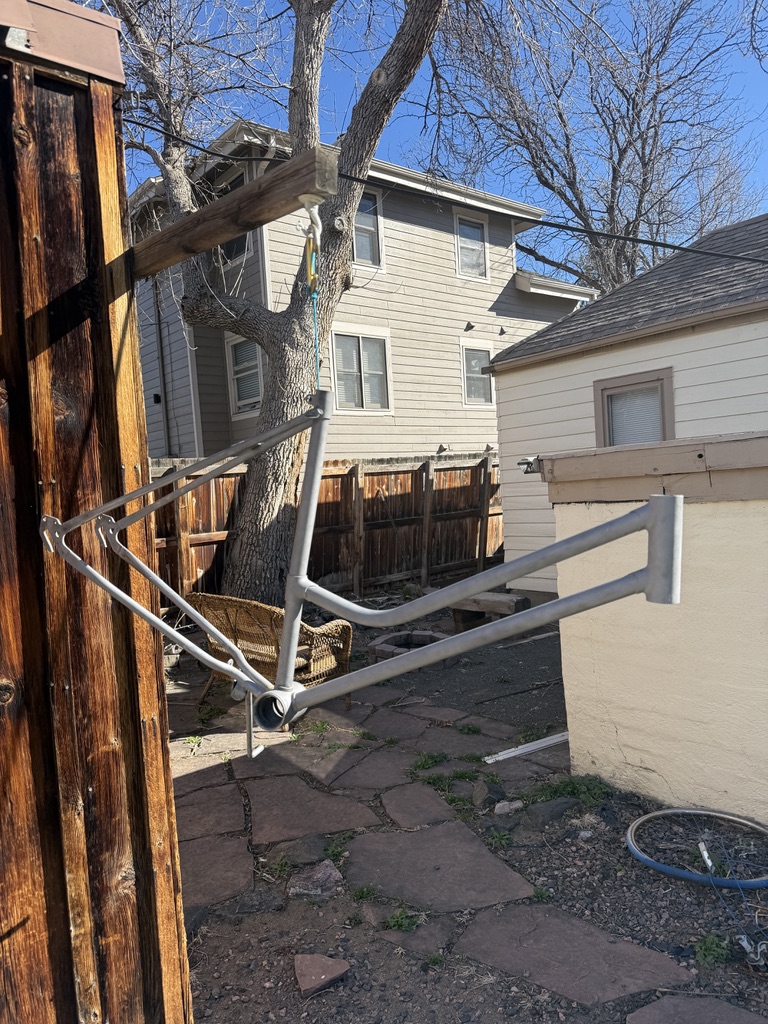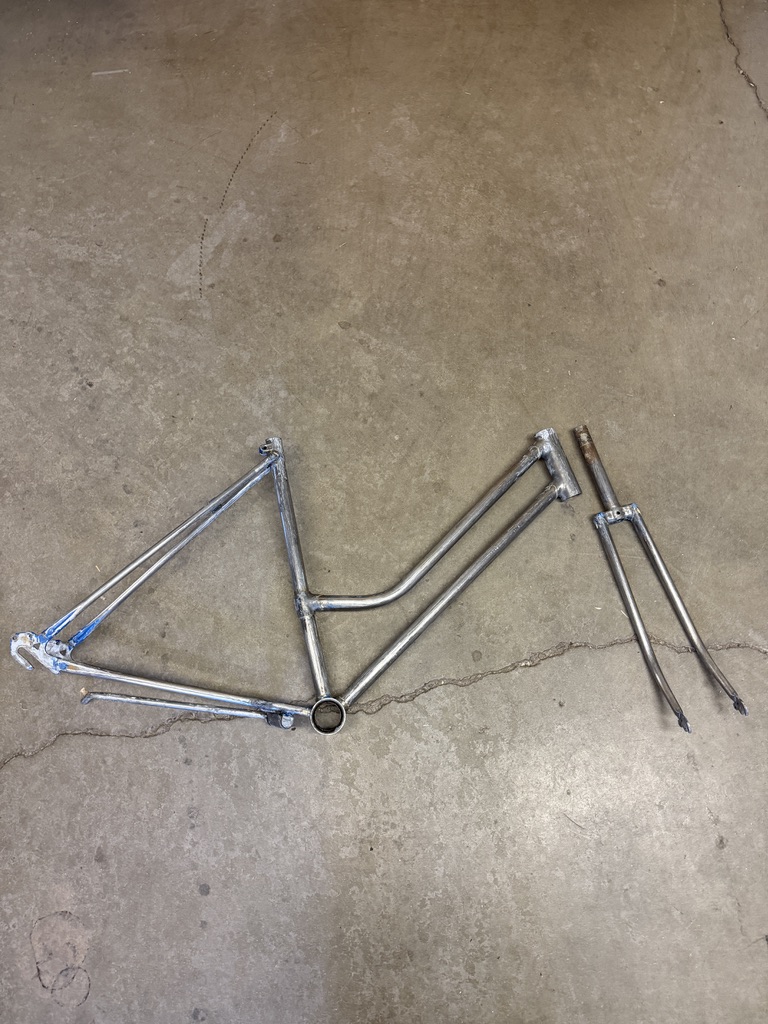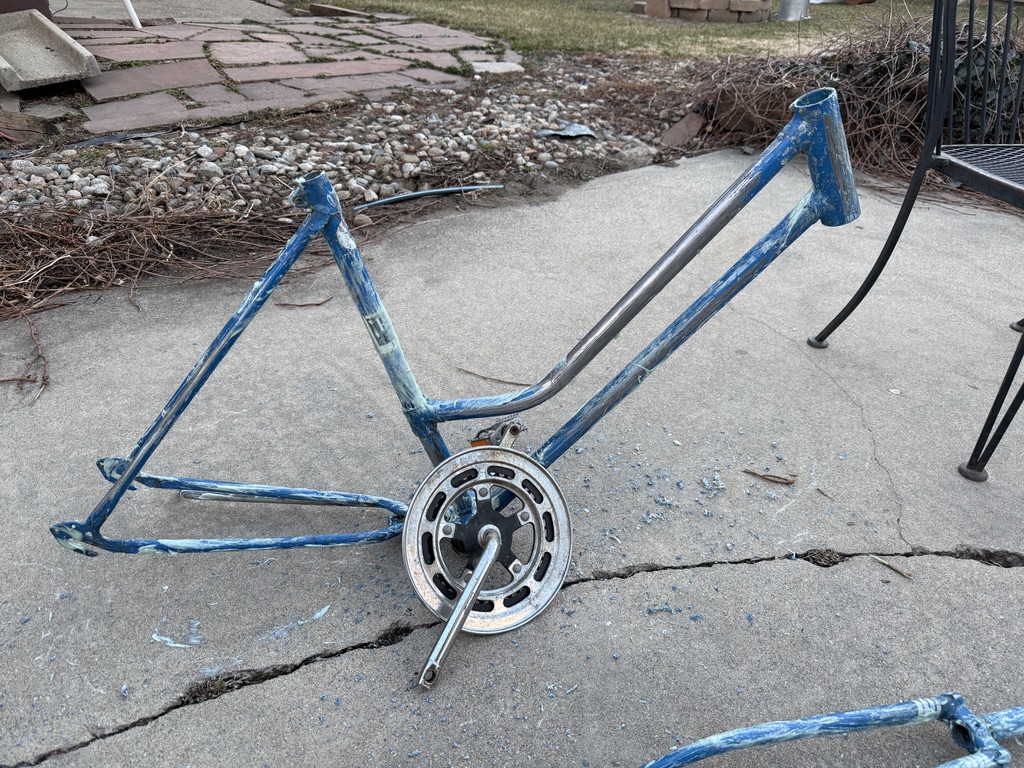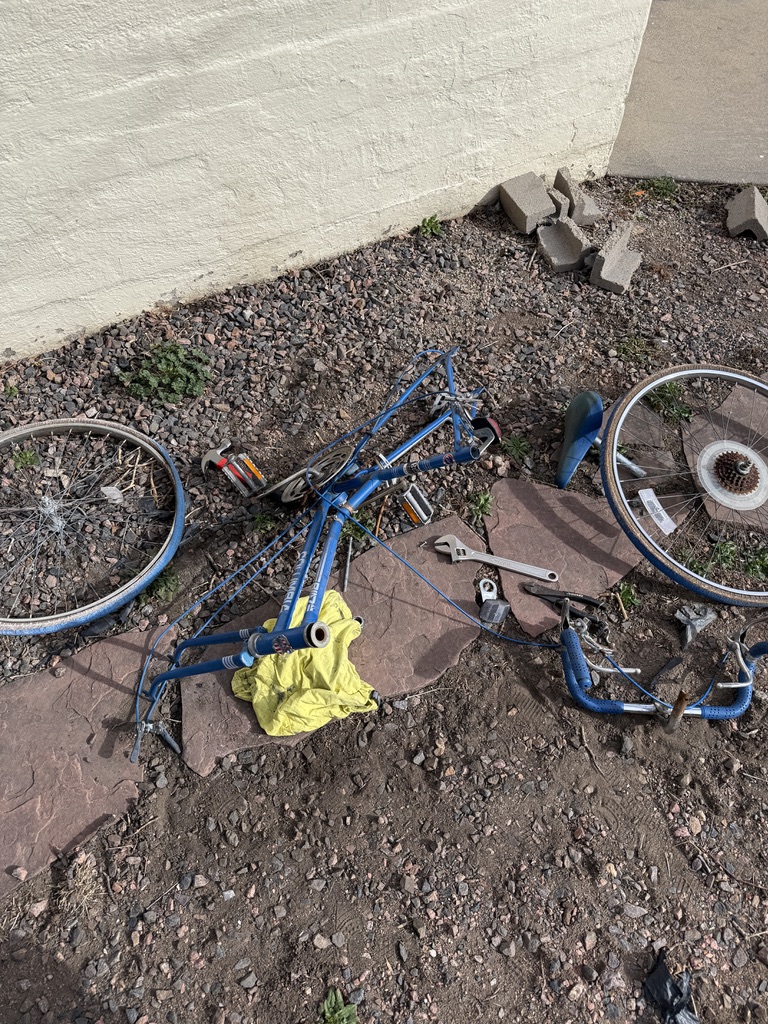
For my Aesthetics in Design graduate class, I painted a bike frame. A few weeks before the final project details were released, I found an abandoned bicycle with a “free” sign on my street. The groupset was completely wrecked (I think it was from the 70’s), but the frame was in good condition. I disassembled all the components and began stripping the paint. Getting the frame cleaned down to the bare metal was a painstaking task. It required several layers of paint stripper over several days and a lot of manual labor. After stripping the paint, I took it to a shop to get it sand blasted. I spent about 10 hours on prep alone! The old paint was really stubborn.
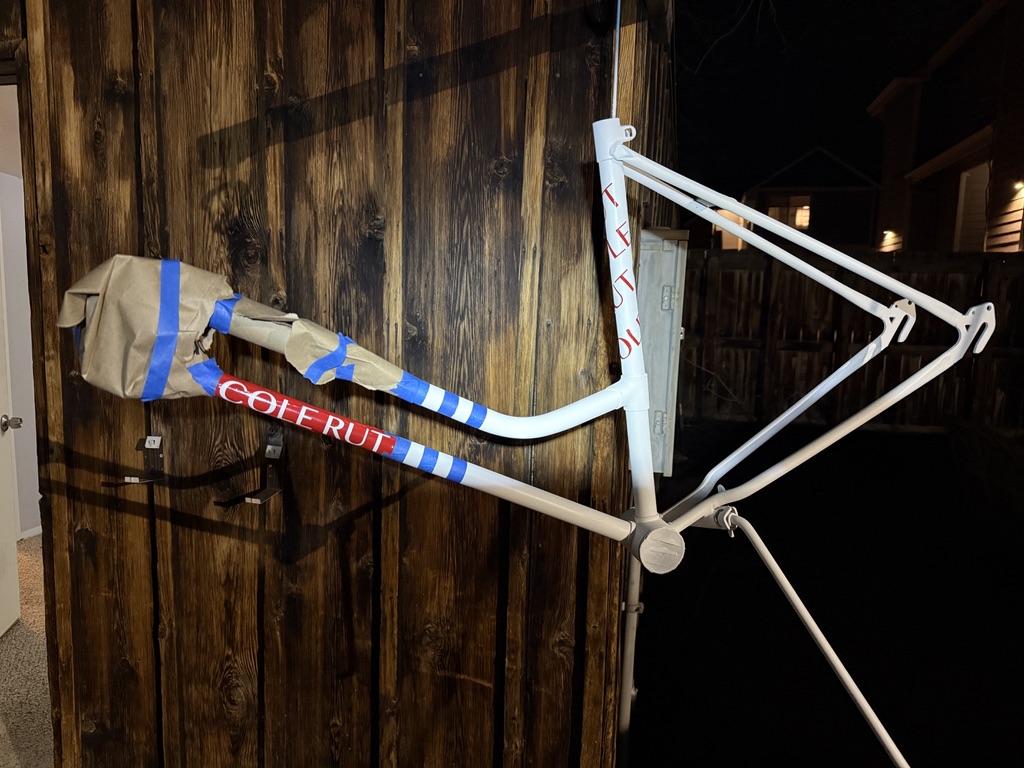
At the hardware store, I got a respirator, hook screws, paint stripper, acid brushes, steel wool, steel brushes, and metal scrapers. I also designed a paint scheme with BikeCAD, taking inspiration from paint jobs I’d seen online. I used metal primer, pink and white paint, and clear coat from Spray Bike. I tied paracord through the seat tube and installed hook screws inside and outside our shed to hang the frame for painting and drying.
I also designed stencils for the downtube tag. I made dxf files and borrowed an acrylic adhesive cutter. I then removed the negative and add it to transfer paper to be applied to the frame during painting.
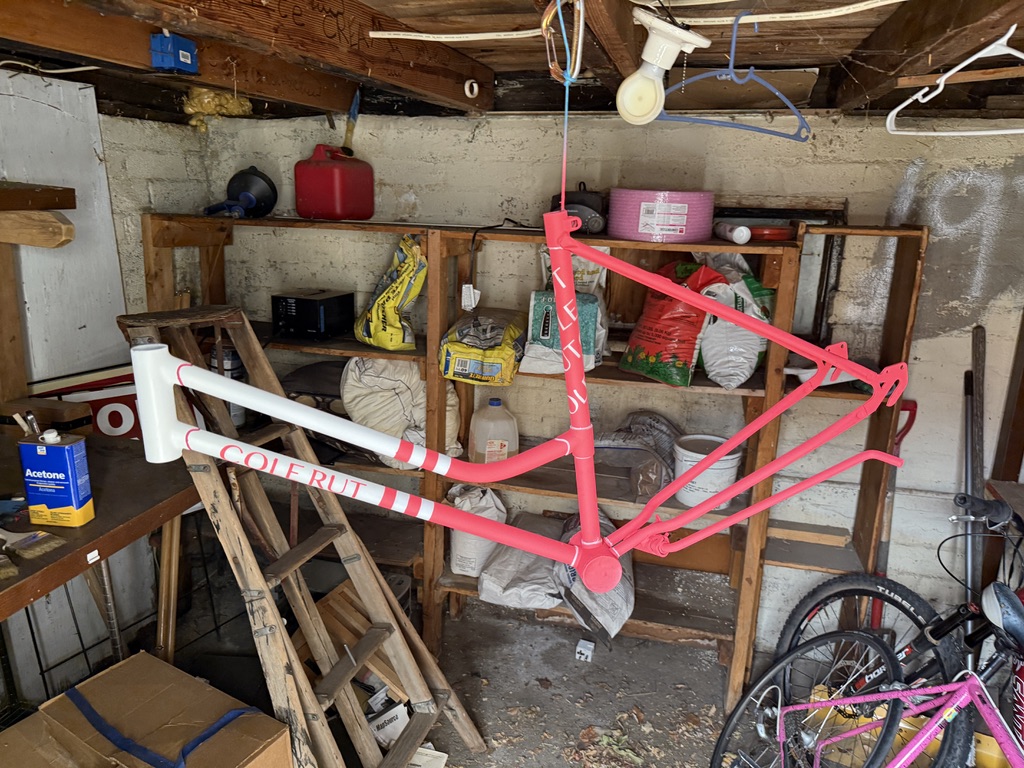
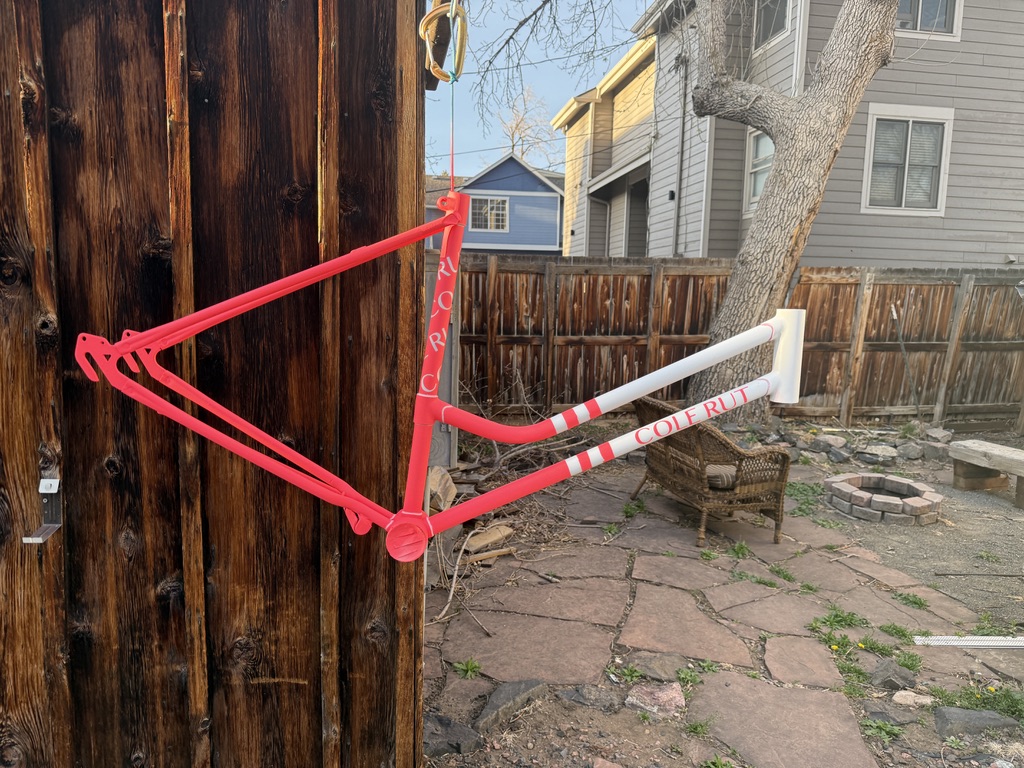
I did 1 layer of primer, 4 layers of paint (2 white, 2 pink), and 4 layers of clear coat for a glossy finish. This process took about 1.5 weeks because I had to wait for each layer to dry. Then after 1 week of curing, the paint job is complete! This bike will be strictly for display, partly because I don’t want to buy new components and don’t need a new bike, and partly because I don’t want to ride a bike with my name on it (I didn’t know what else to put on it). This was a great test piece for my first time painting a frame, and I hope to do it again in the future.
https://api.unrulr.com/public/posts/vanilla-dividing-aftermath/share