

For my final project, I’m sewing and embroidering a doodlecore embroidered skirt. My progress is okay? I’m been following my timeline plans, but the embroidery part is taking more time than I initially expected/planned for. However, I should theoretically finish the water-inspired skirt before the first day of critique. Probably. After that, I’ll be working on the lantern-inspired embroidery until the showcase.
Skirt Base
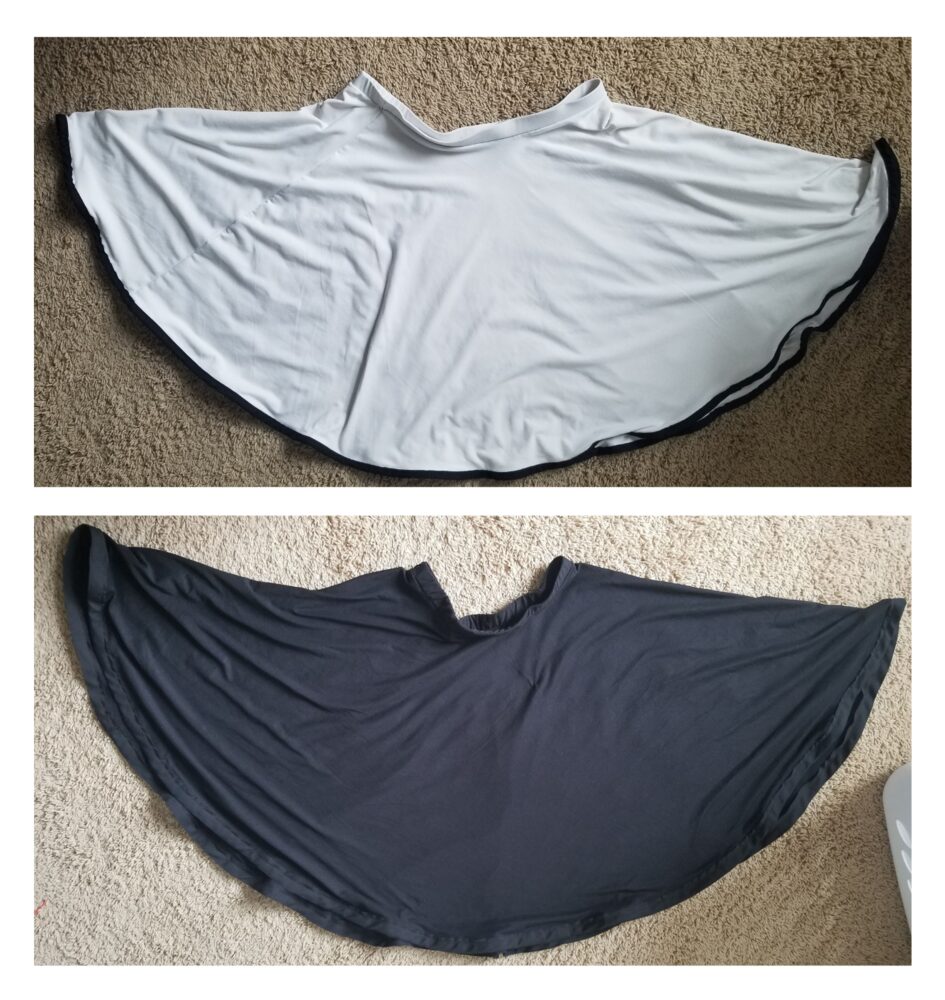
After designing the embroidery, gathering materials, and researching circle skirt patterns, I began by cutting my fabric into donut shapes. I started with the white circle skirt base because I knew that I had extra white fabric compared to black. The waist was 4 inches in radius and around 15-20 inches in skirt length. After trying it on, the skirt felt loose around the waist, so I decreased the waist radius by .25 inches or so for the black fabric.

Using the leftover edge fabric, I cut rectangular strips for each waistband. I folded and ironed each strip to prepare them for sewing. The process would help keep the fabric straight, decreasing the chance of crooked sewing.
Initially, I sewed the waistbands with a lot of seam allowance. I noticed that the seams weren’t as clean as I wanted. Since there was extra space, I just resewed the waistbands a little more in. Since I kept the round of seams, it was easier to sew because I had a guide. Then, I sewed the waistband onto each skirt.
After considering hemming options, I decided to use bias tape because it seemed easier than having to fold and sew a straight hem around a curve. Moreover, this option allowed me to add a black hem to the white skirt. I bought some extra wide black bias tape and sewed it around the skirt base.
There are a lot of imperfections with the skirt bases, but most of them are internal. The hem seams aren’t straight because I couldn’t figure out how to change the needle position. Moreover, I used brown thread for the machine sewing portions because I didn’t feel like constantly changing thread through the sewing process. However, the problems aren’t/shouldn’t be too noticeable.
Underskirt
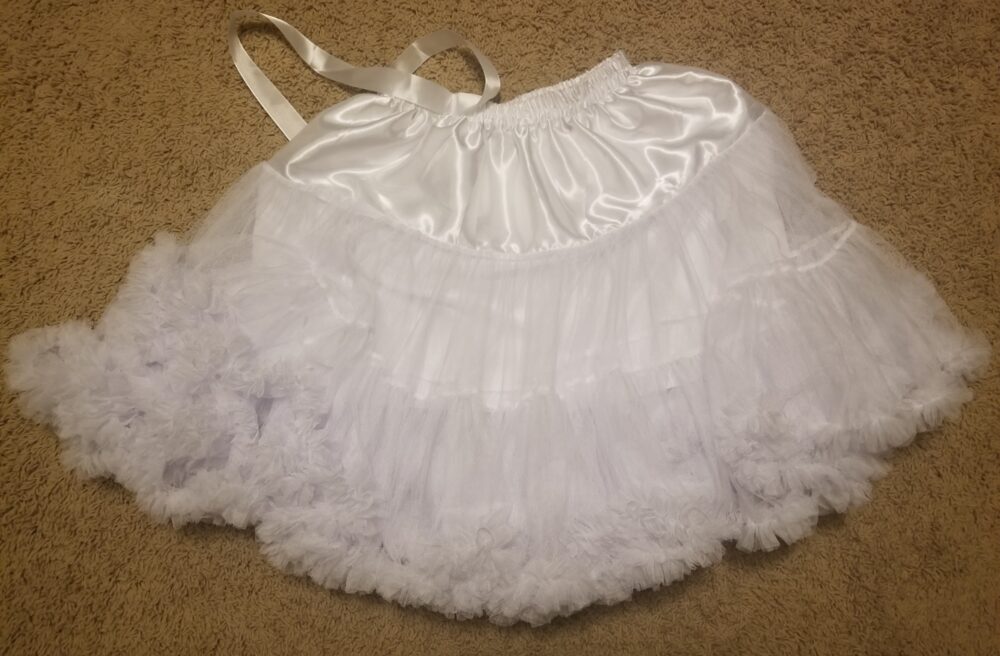
After sewing the skirt bases, I tried to sew a tulle underskirt. It turned out horrible. For my first attempt, I folded the tulle and tried to sew gathers on the elastic. It turned out pretty bad because I tried to cut corners in the process, so I scrapped that skirt. During my second attempt, I decided to commit to multiple layers of tulle gathers. While the progress was okay, it was tedious, and I couldn’t spend my time figuring out how to create an underskirt. Hence, I bought one. It twirls a lot better than the ones I made.
Embroidery
I started by learning that stretchy fabric isn’t a good choice for embroidery because embroidery on stretchy fabric often buckles or is too loose when it stretches. However, it’s still possible if you use embroidery stabilizer and stretch the fabric in a hoop. Since it’s such a large design, I’m using chain stiches and embroidering with 3 strands folded in half.
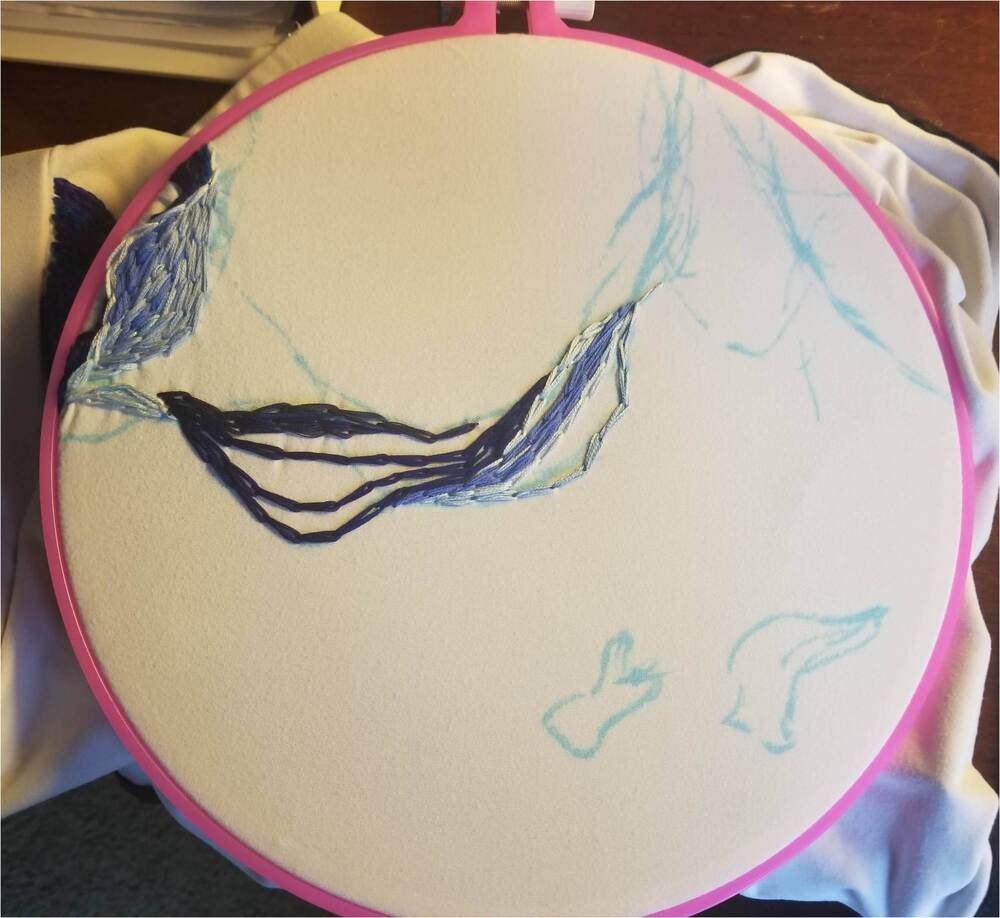
I sketched the final design on the skirt base and started embroidering the design. About 1/8 to 1/10 of the embroidery has been completed, but I should have the water-inspired design completed by the critique.
4 Comments. Leave new
This looks great! I love that you drew organic lines and are just following that with your project! Do you envision adding more colors or anything?
Absolutely! One of the later color concepts I had was blue/teal/green. Since I’m using so much embroidery thread and floss, I decided to do a general gradient of deep blue to lighter blue to teal blue-green at the bottom.
Hi Annie! It’s neat to see your progress after hearing about your project plans! I believe that you’ll be able to get it all finished in time and it will look great! I like the white skirt with the black hem! Have you felt your embroidery work is coming out close to what you initially planned? Good luck!
The embroidery has been going well. As I’ve continued embroidering, I learned/made small adjustments to my progress such as leaving more gaps between the embroidery in the hoops. It has definitely changed since the initial plans because I’ve changed the color scheme by including multiple colored floss.