
For my final project, I decided to make a Scandinavian modern TV stand. The initial design I settled on was heavily influenced by the “opposite” aesthetic that I chose- Brutalism, as it incorporates a concrete overlay to create the appearance of a thick, overhanging concrete slab. In line with the Scandinavian modern aesthetic, I chose to feature light wood (fir and pine). This will contrast nicely with either the charcoal dust-infused concrete topping, or the painted exterior if I decide to go that route.

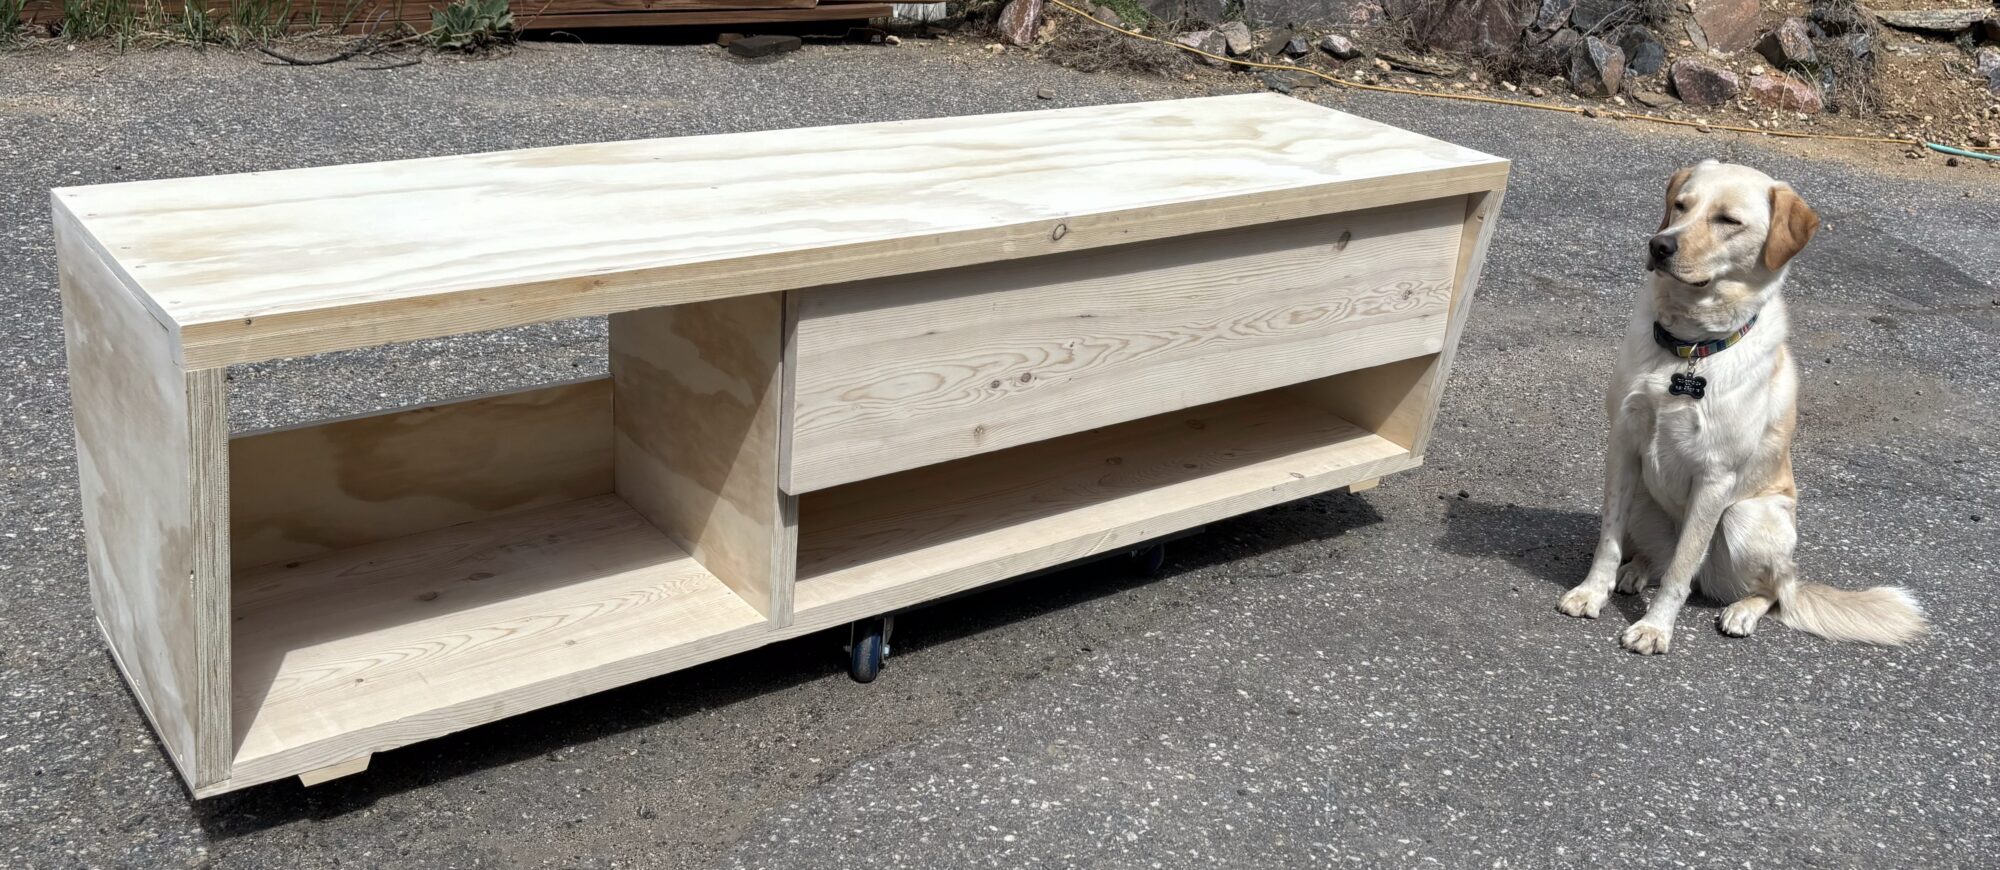
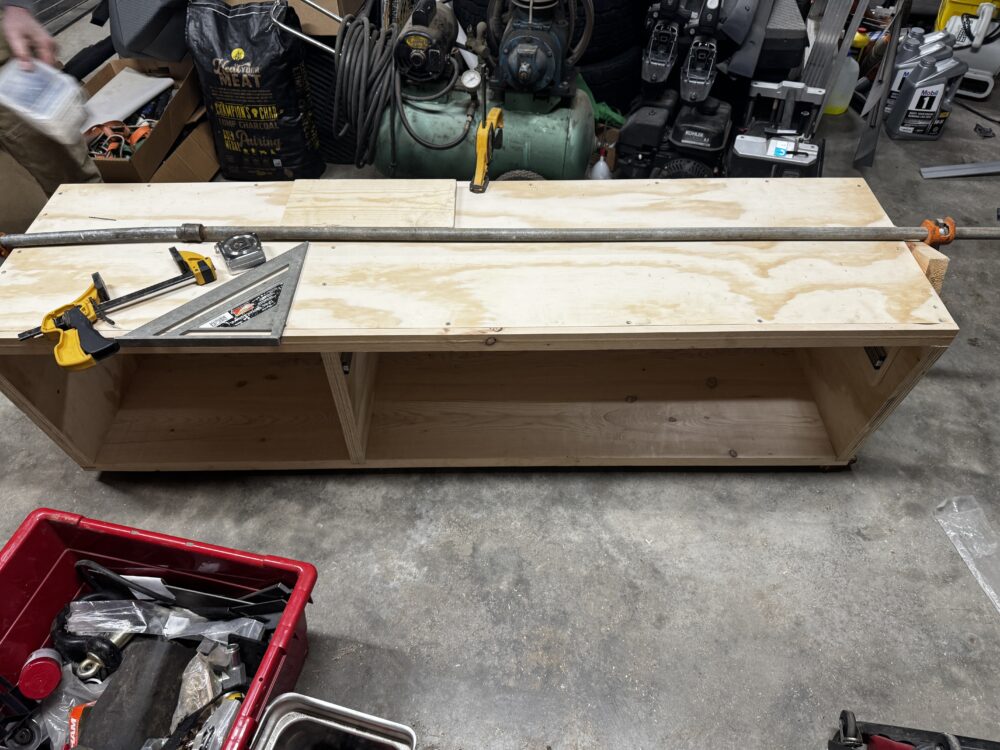
The completed TV stand woodworking, without finishing or sealing.
This post outlines the first two weeks of woodworking progress, and will not include the drawer making process. That will be outlined in the Final report.
I began the project by drafting the project on paper, followed by some initial CAD work. This initial CAD model was done in a single part, with different appearances applied to different extrusions (no merging was used, so there were multiple solid bodies). This was followed by another iteration of the design in Solidworks, this time with different parts for each wooden piece that needed to be cut.
Following the design preview presentation, I received the following feedback, and decided to integrate it into my design:
- An asymmetrical design was favored over the one I presented
- The white drawer plate looked tacky
- The concrete idea overlay could be:
- Difficult to achieve well
- May look out of place in my space
This led to another iteration of the design in Solidworks, this time with the above design changes in mind. This new design looked very similar to the one I had initially sketched on paper, and fit my vision of a Scandinavian modern TV stand much better than the previous iteration. I still decided to test the concrete overlay for the exterior surfaces, but started to think about what the design would look like if painted.
After the final design was chosen, the individual pieces were laid out on a standard (48”x96”) sheet of plywood. This led to some adjustment of my dimensions, as well as new joinery to save cost and prevent the need for a second sheet. This design has a few key features including:
- Extensive use of rabbet and dado joints to help keep things squared up
- A back plate to help keep corners square at the base
- A top rail to help keep the top flat, and the top corners square
- A front lip that will help to add the appearance of a thicker top layer and keep the top sheet square.
All of these design changes greatly helped to improve the manufacturability and assembly process of the TV stand’s frame design, especially since I had such easy access to both a table saw and a Dado blade. Additionally, the top lip will help to cut down on the wood cost and weight, and the back plate will help to cover any loose cords or baseboards behind the TV console.
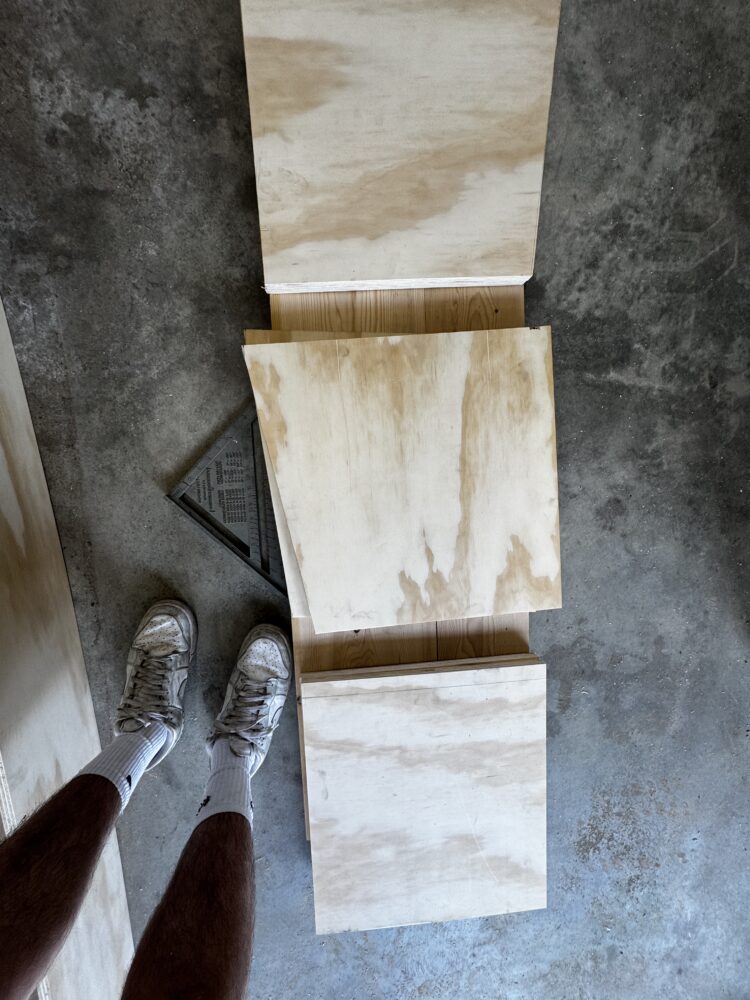
The first step of the manufacturing process was ripping the plywood and cutting the boards down to size. This was particularly difficult for me, as my circular saw was broken, so the large ¾” thick plywood needed to be ripped on the table saw. All of the smaller clearance cuts were then made using either a jigsaw, japanese hand saw, or a combination of the two. Note: the clearance cuts will be shown later in the blog post.
Vertical wall sections laid on top of baseboards.
After this, the dado and rabbet joints were cut into the fir baseboards, to aid in strength and alignment. These were fairly simple to cut on the table saw, but required two passes, as the maximum thickness of the dado cutter is ¾”. Following this, the surfaces of the fir boards were planed to clean up the edges, and then joined together along their long edge using wood glue and toe nailed deck screws.
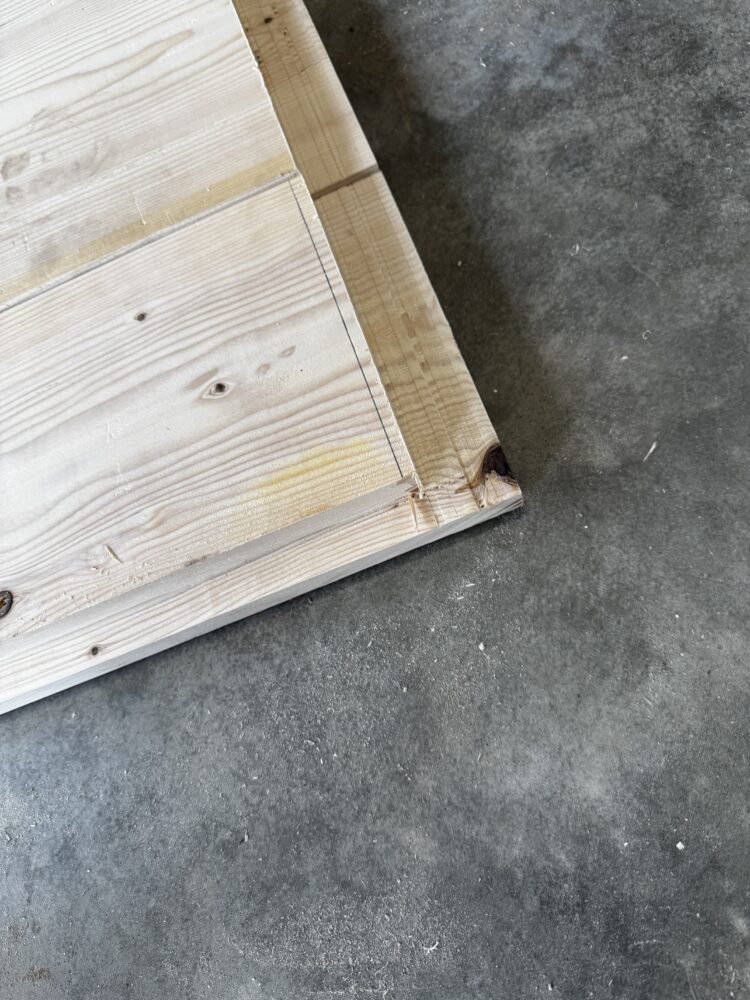
Rabbet cuts made on the Fir Baseboard
While the base was drying, the vertical boards were glued and screwed together. All of the flush edges were planed and then belt sanded. A third layer was added to the rightmost wall, so that the drawer slide could be offset from the wall of the TV stand. Both drawer slides were mounted 5” from the top of the walls.
A lengthwise rabbet cut was made on one of the long strips of fir to act as a front fascia/lip for the top board. This was then clamped, glued and screwed to the top sheet of plywood. This process was exceptionally difficult, as this particular part of the plywood sheet had a ton of warping. 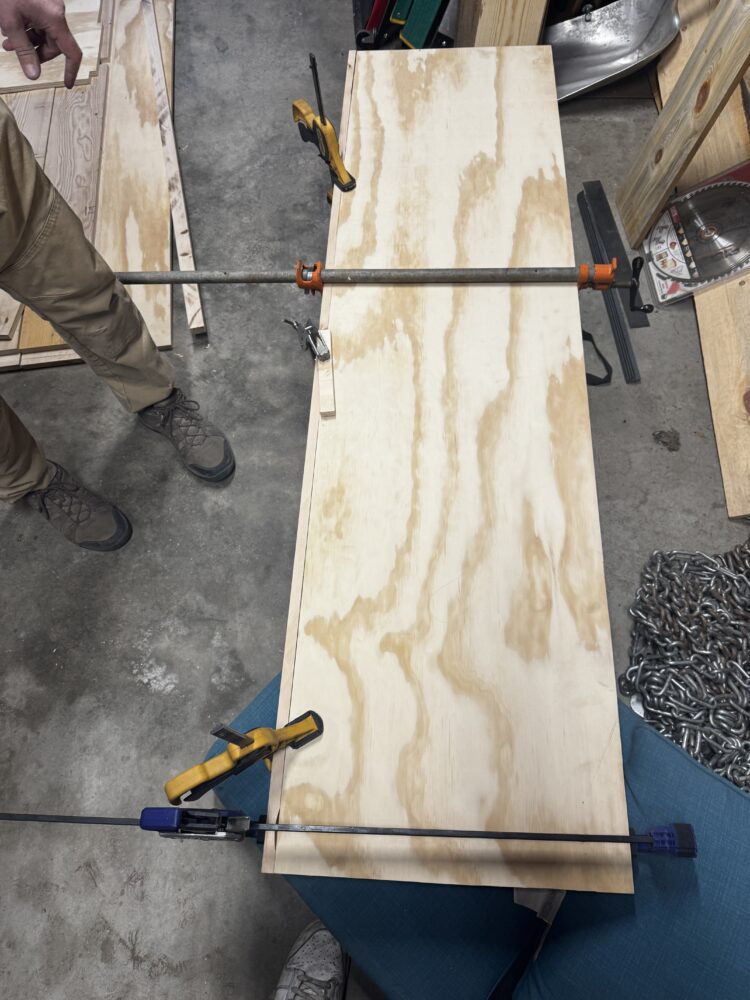
The clamped top sheet and front lip
After everything had dried, the vertical components were glued and fastened into place using deck screws. These components were then pushed square using a fir top rail.
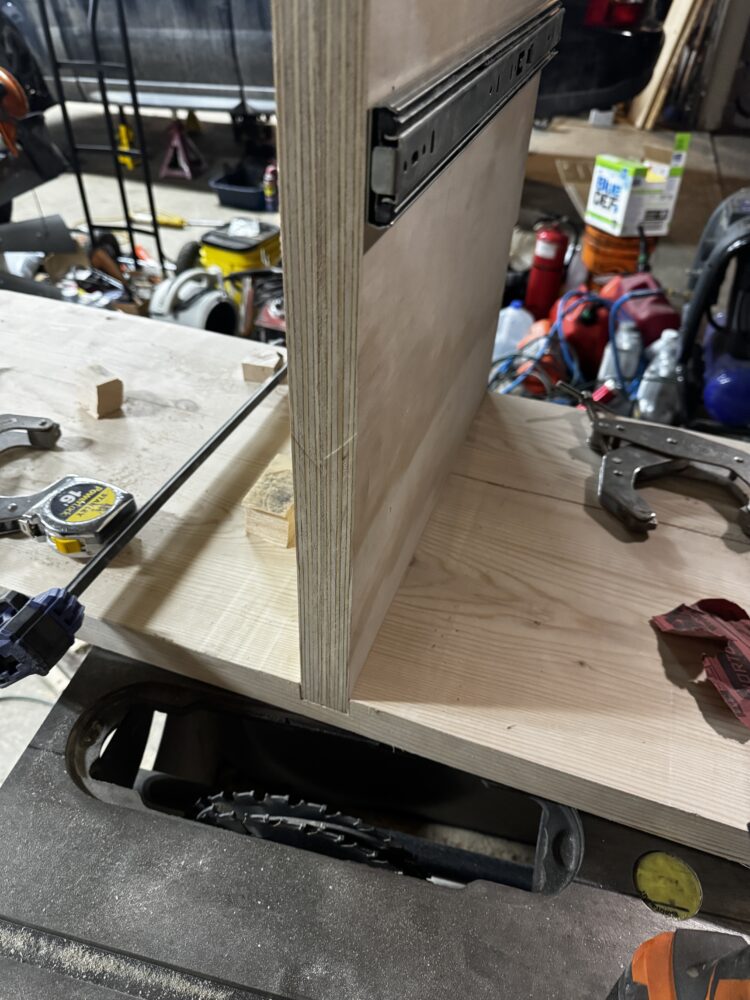
The dado joint on the middle wall
The top rail mounted on the right wall. Note how the slide is offset on this side.
Top view of top rail. Note the rabbet and clearance cuts for the rear strip.
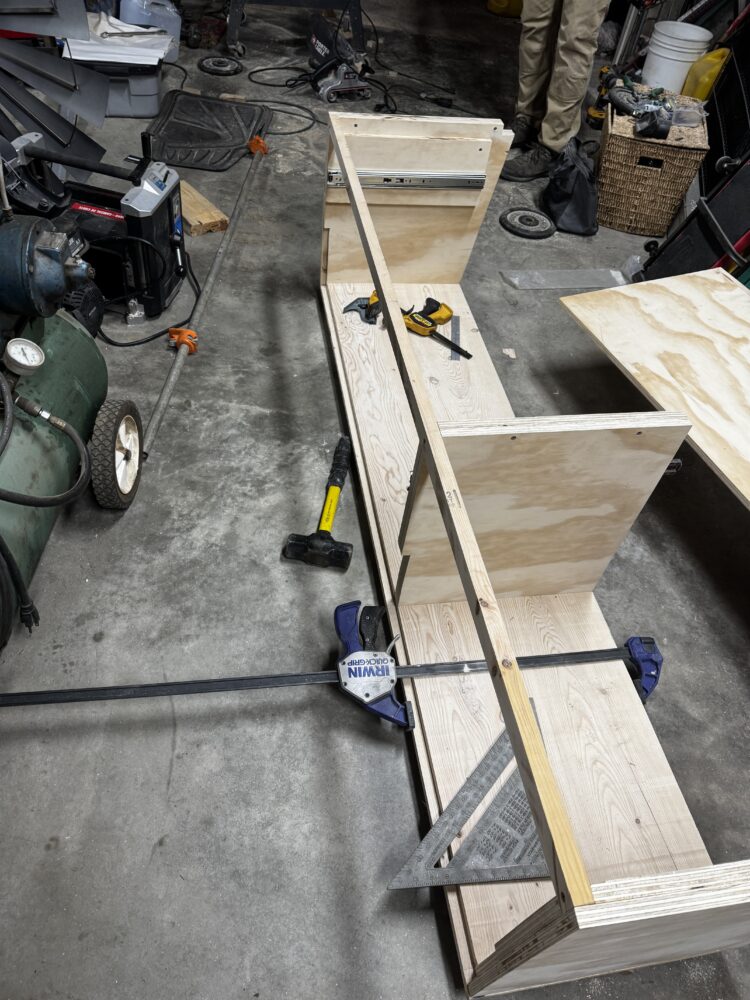
The top sheet and lip were then dropped on top, and fastened using a few screws in the corners. The entire table was shifted to be square using clamps, and about 20 screws were used to fasten the entire assembly together tightly.
The top sheet clamped onto the frame.
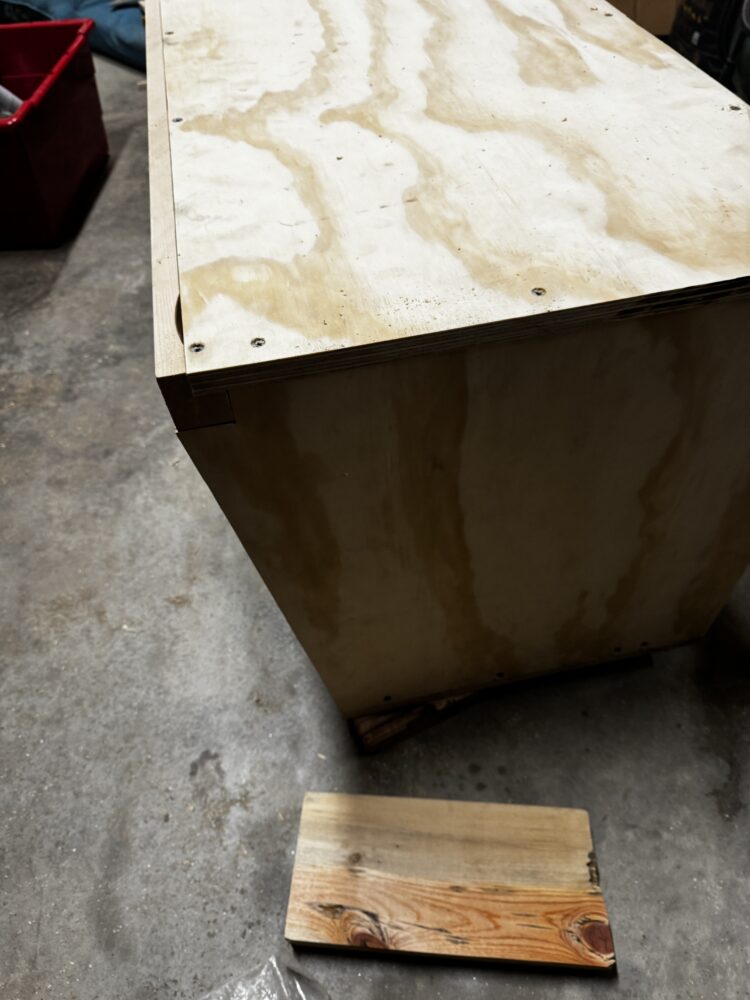
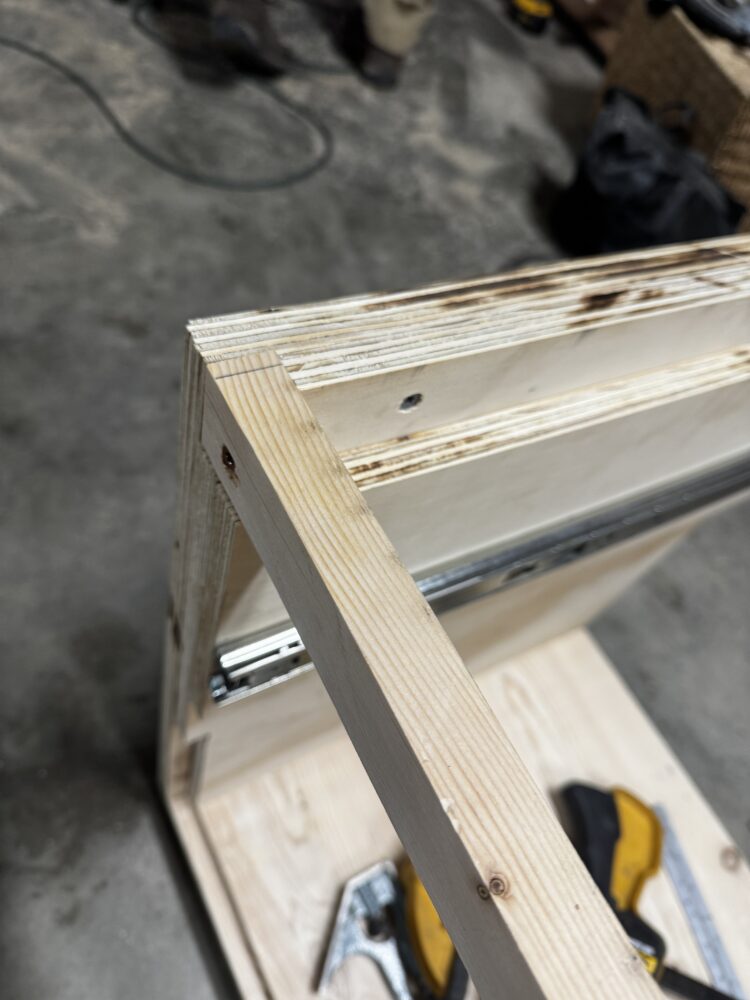
One of the corners, showing the front lip, and how the top fits together.
The final step of this process was attaching the 8” runner along the rear. This was a somewhat painful process, as the board had to be cut down two times to fit properly, and one of the clearance cuts on the left wall was too narrow to make the plywood flush.
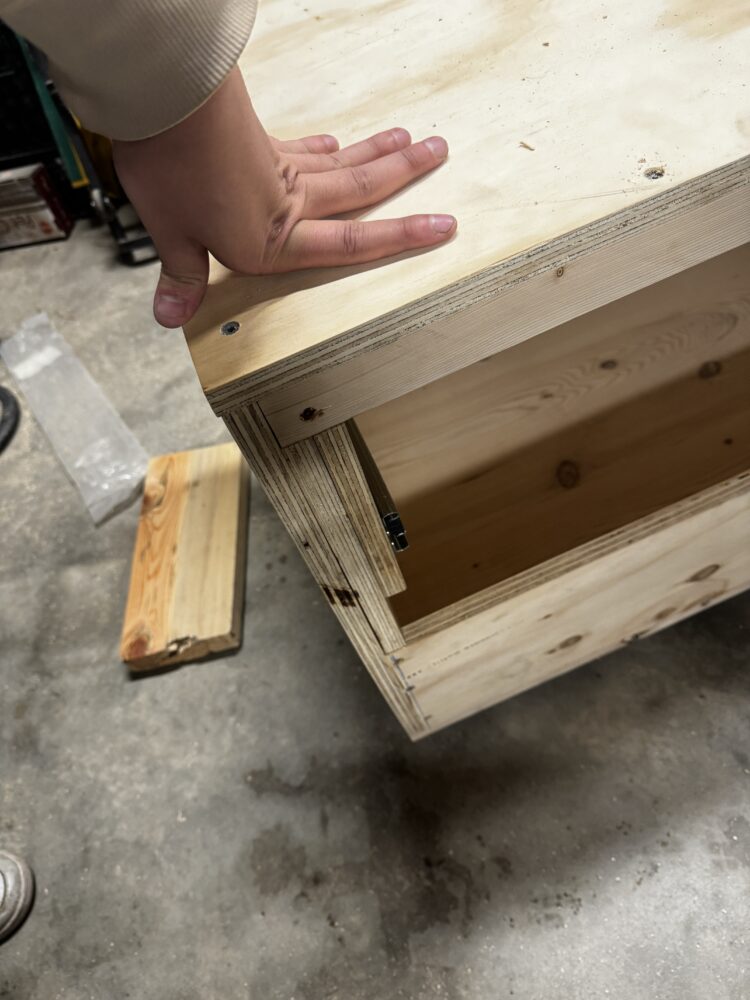
The rear runner can be seen installed here.
The next steps are:
Creating the drawer and stuccoing, painting, and finishing the artifact.
4 Comments. Leave new
This looks amazing! I love the aesthetic and the design, like the small angular details on the front that give it a unique, personal look compared to mass-produced Scandinavian furniture (I’m thinking Ikea, lol). This is something I would buy, or draw inspiration from to make my own. For context, I’d love to know your previous experience with woodworking and building things like this, since based on the seemingly professional assembly of this piece, I assume this isn’t your first woodworking project. I also highly suggest signing this with your name/date or marking it in some way so people in the future know who made it and when, wherever it ends up, since this is something to be proud of! Congrats on an amazing project!
Hi Zoe,
Thanks for your comment – I will make sure to mark it somewhere so I can remember when I made it. As for my woodworking experience, I have some volunteer/repair-level experience with woodworking, but most of it is doing carpentry or framing. I’ll make sure to add some of that to the context of my final report!
This is a really cool project! I love the overall shape/layout you went with for your final design. Do you plan on finishing the wood a darker color, or something different like painting or sealing? Excited to see the finished product!
Hi Bryce,
I ended up sealing all of the solid wood parts (baseboards and drawer) using a clear varnish, and painting all of the plywood pieces with a very dark matte gray enamel paint.