
Project Timeline
Timeline Overview:
Ideation (Weeks 1–3):
-
-
Explored inspirations, designed three separate CAD files:
-
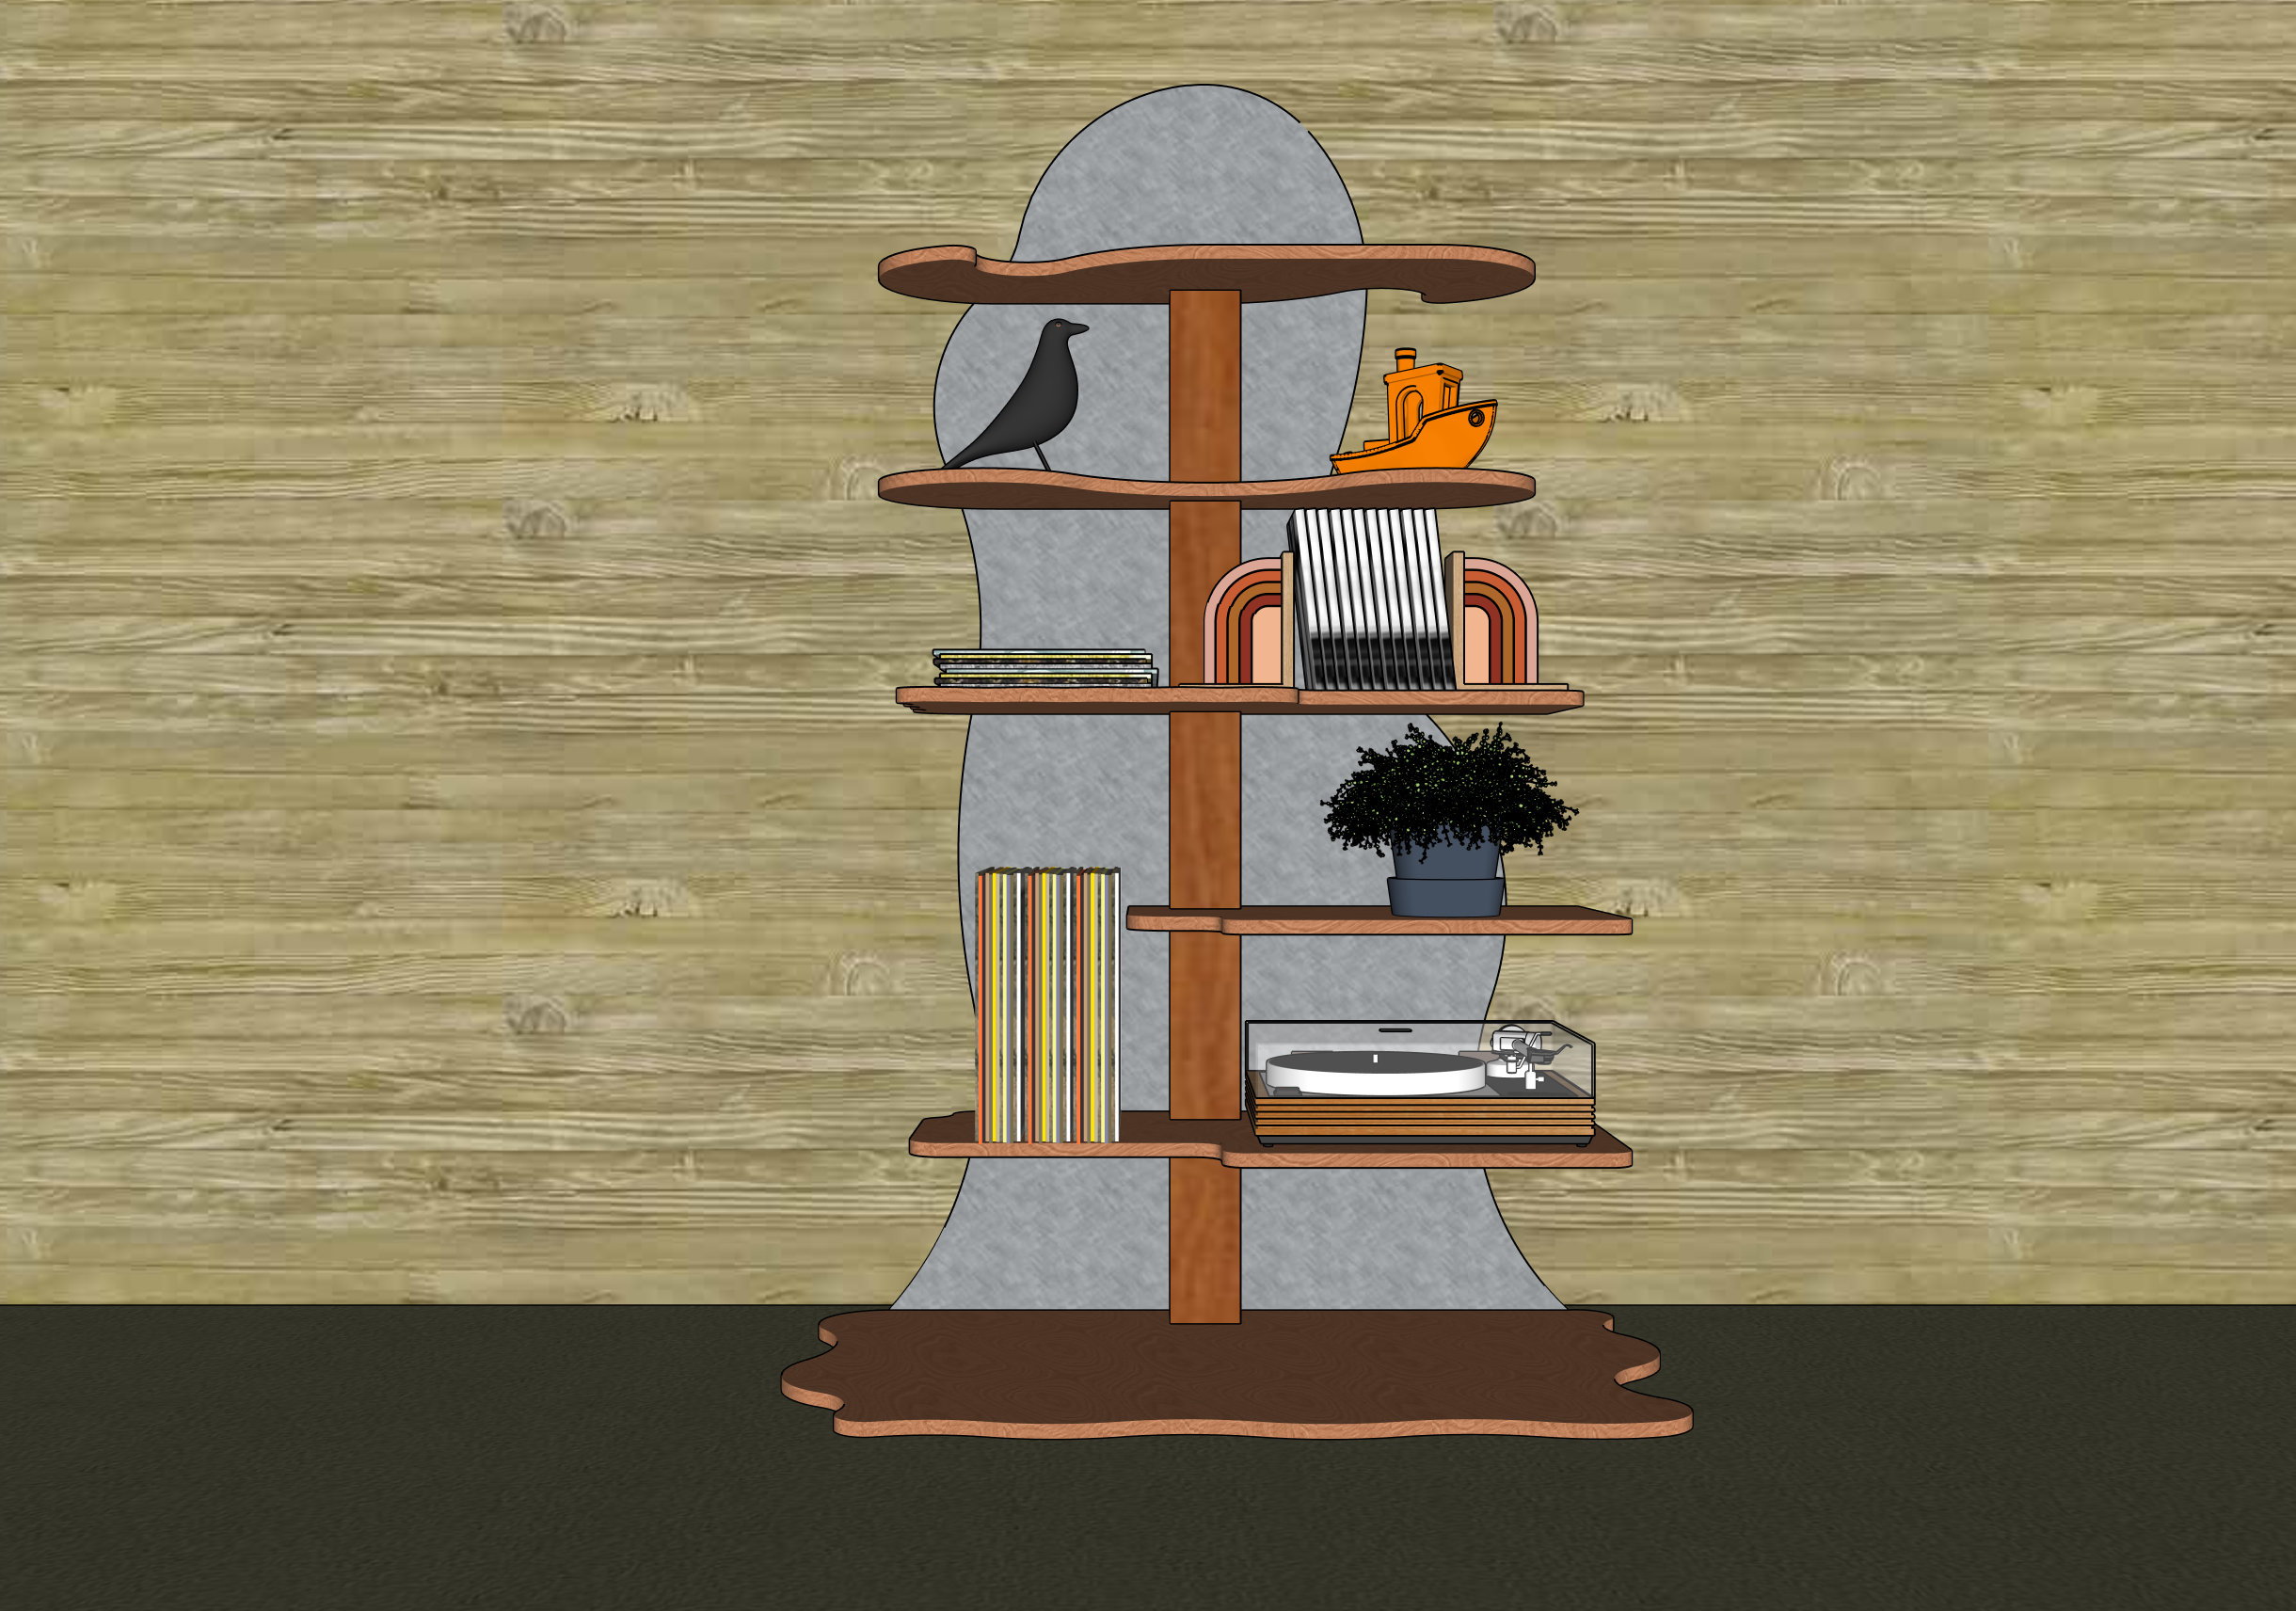
A spinal column shelf with movable shelves
-
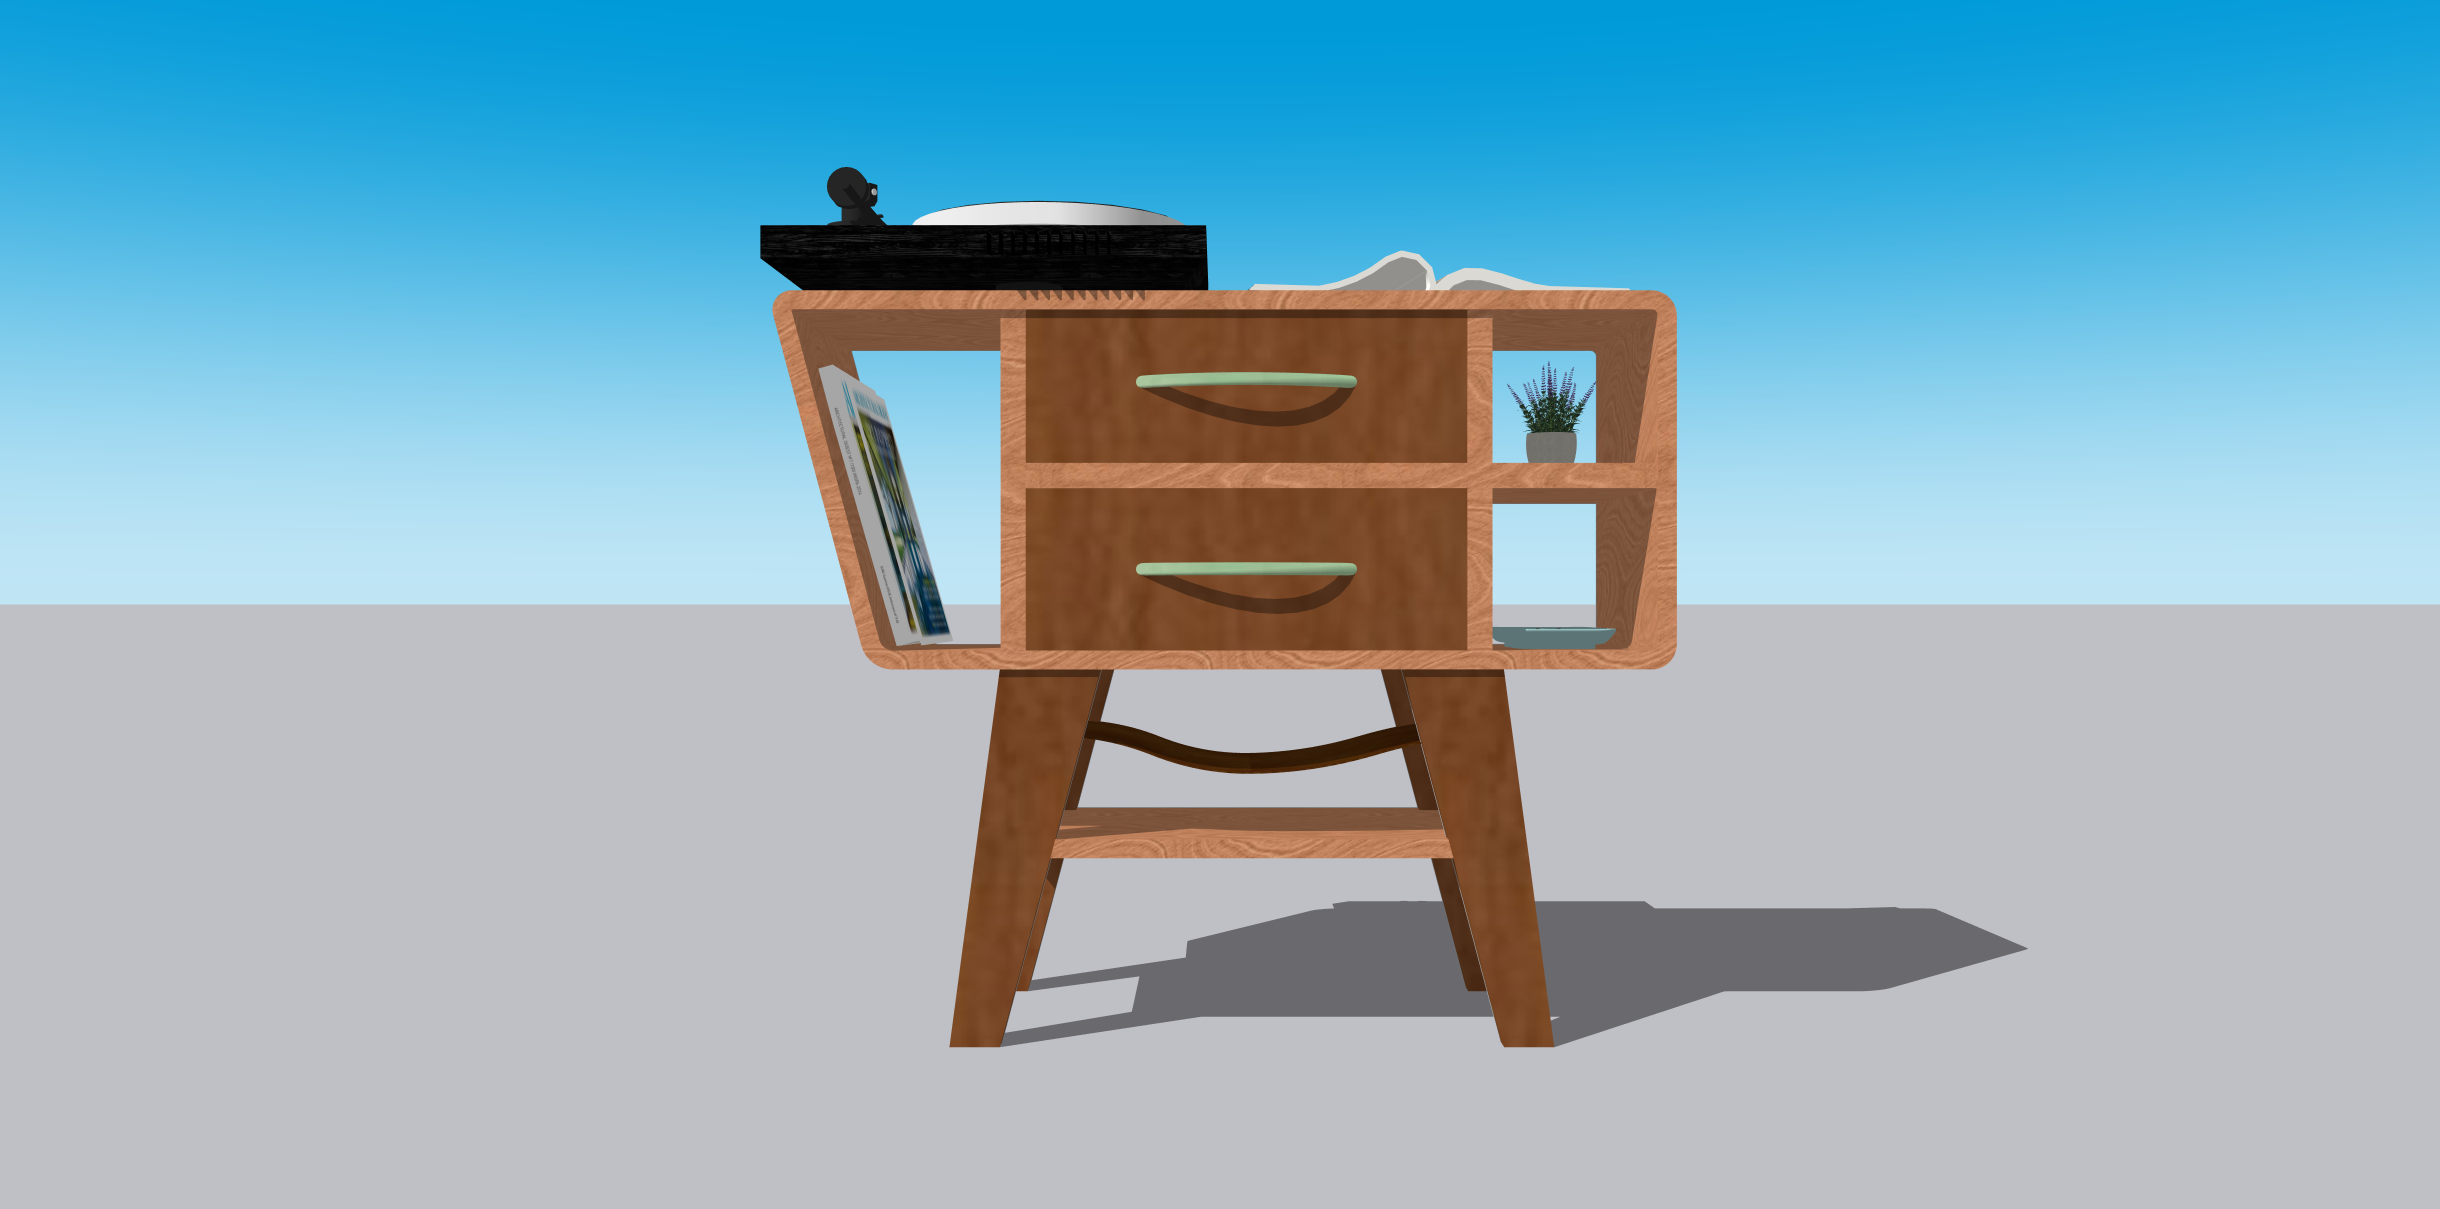
An entryway table with kerf-cut corners
-
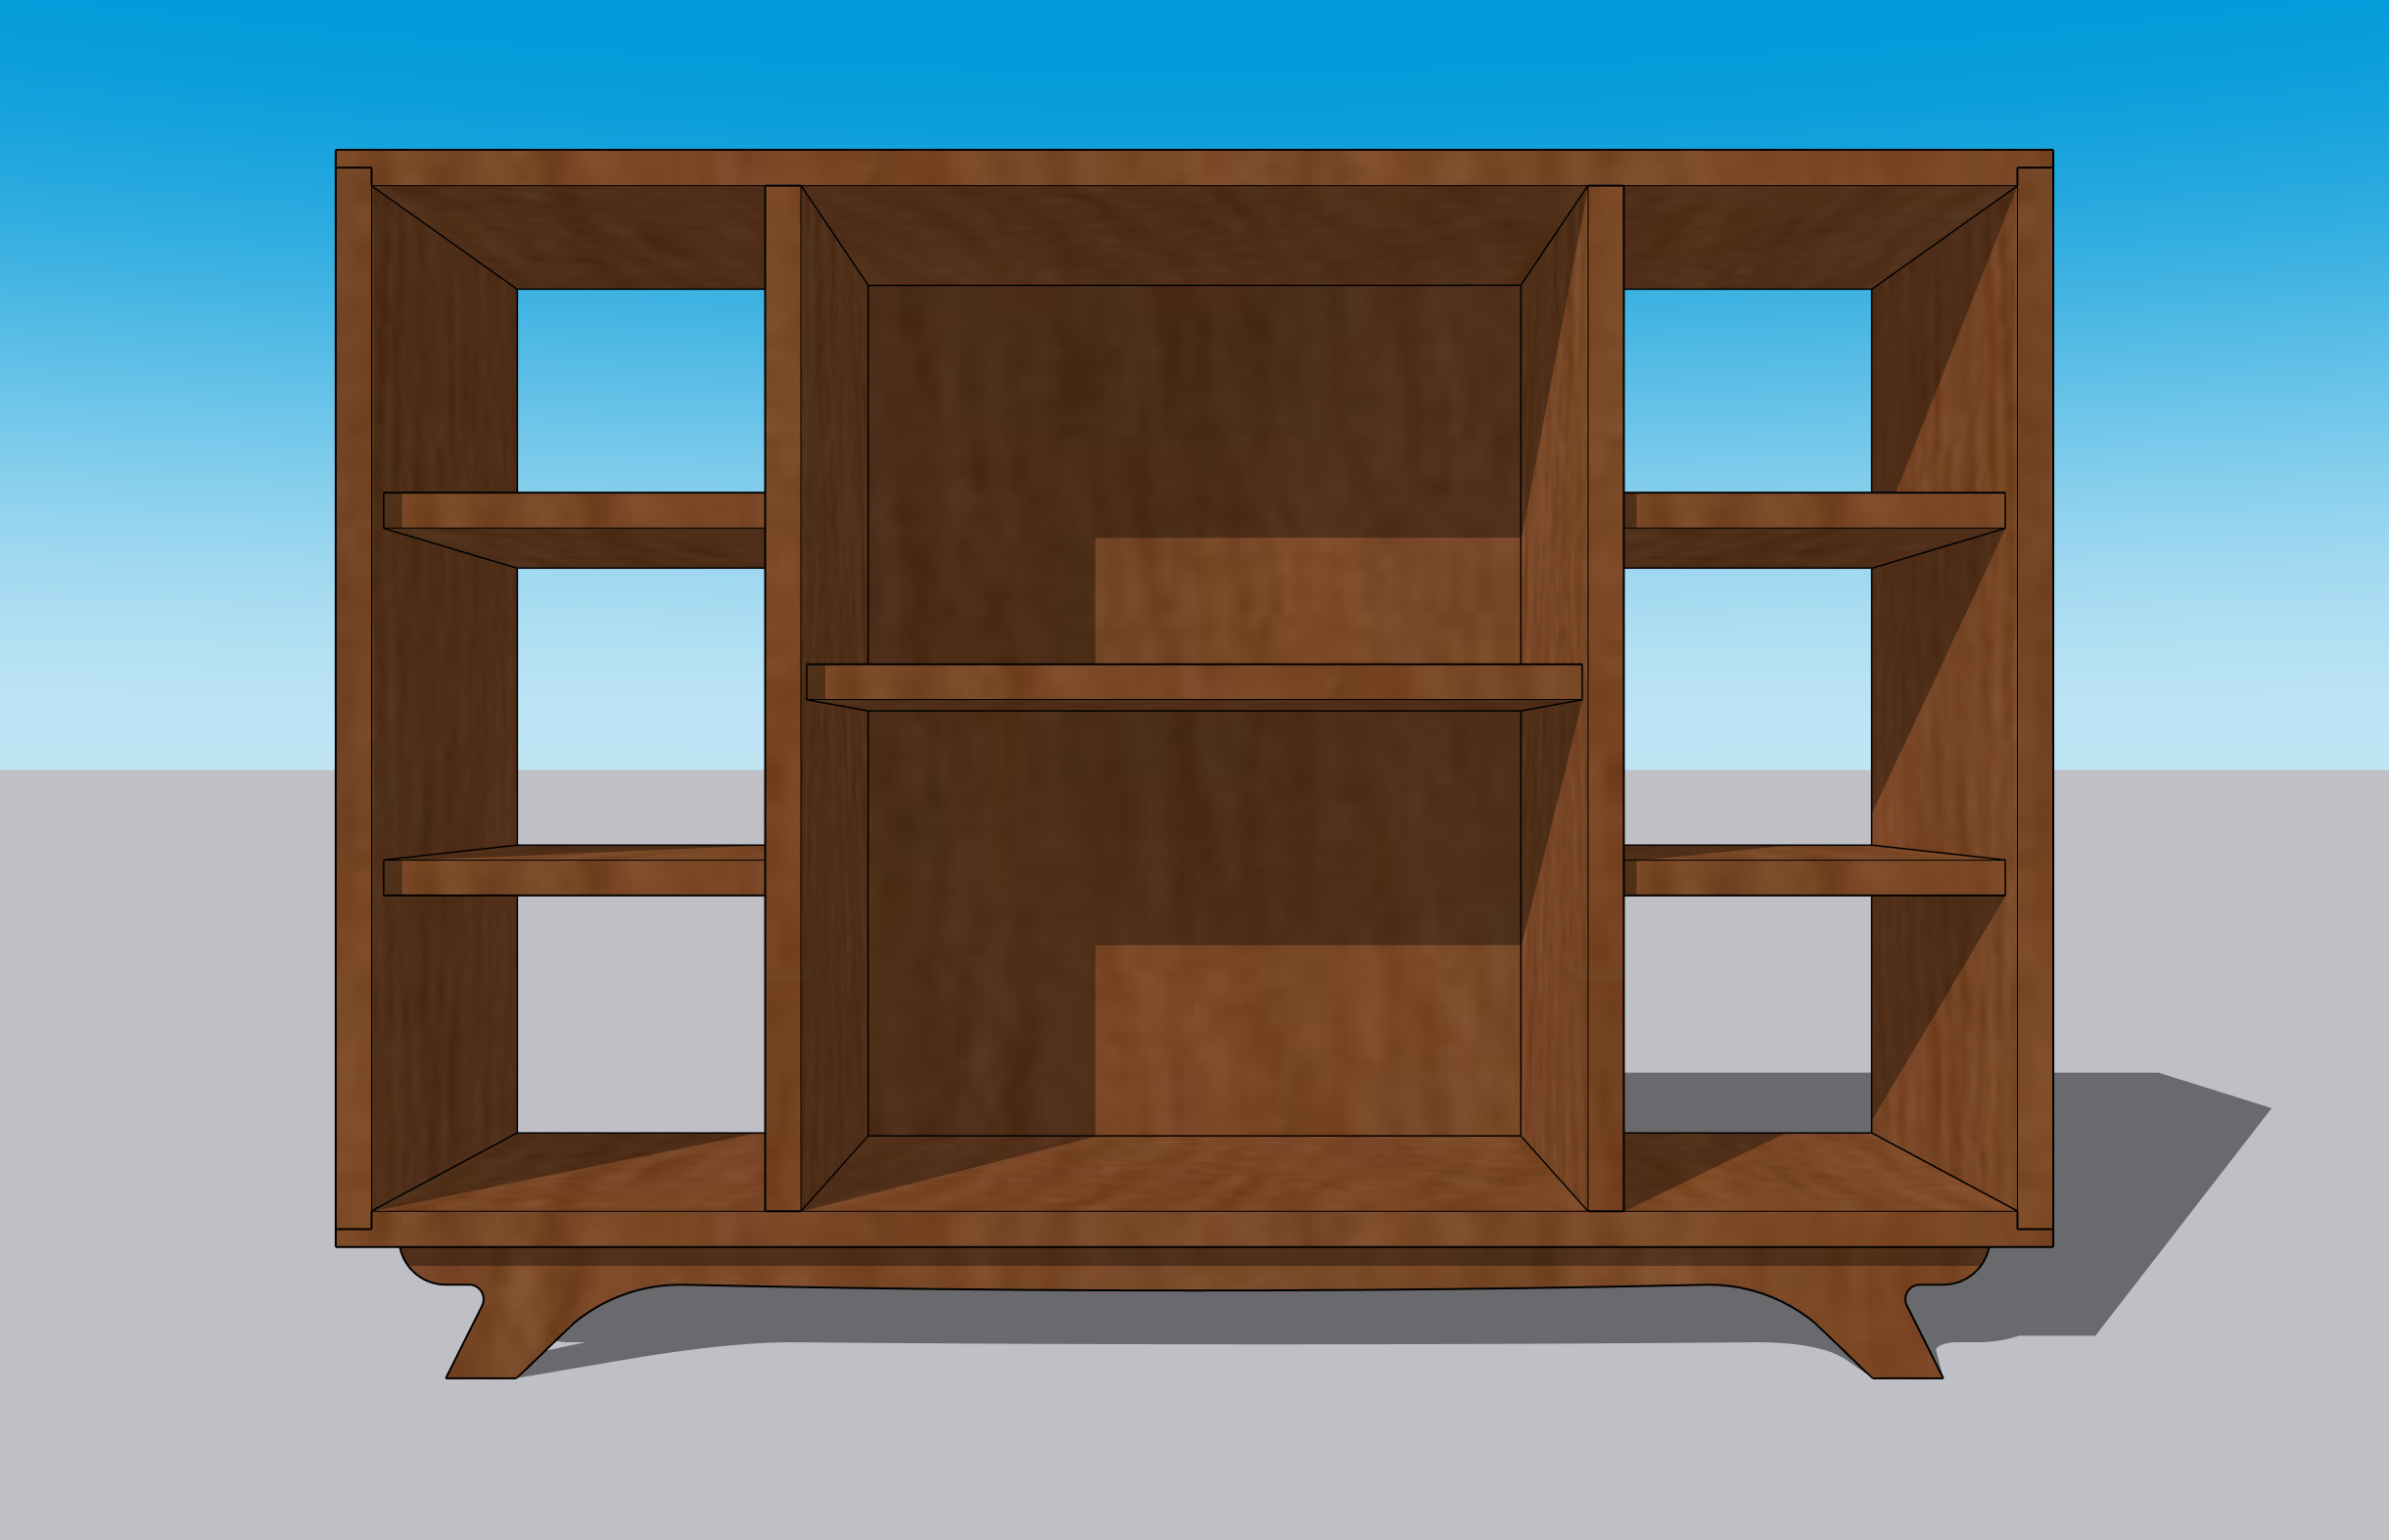
Final iteration: a hip-height, mid-century modern inspired bookshelf
-
-
-
Prototyping (Weeks 3–8):
-
Built cardboard and 3D printed prototypes to test proportions, joinery, and leg designs.
-
-
Material Shopping (Week 8):
-
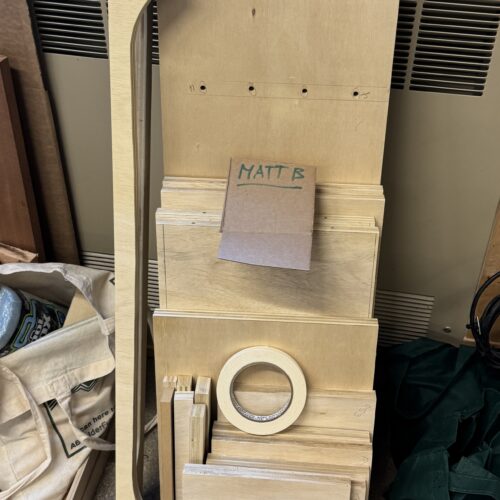
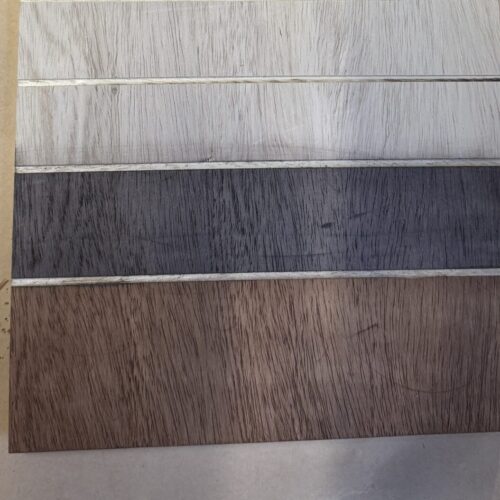
Researched local lumber yards, ultimately purchasing 1/4” sande birch plywood from Home Depot due to pricing and availability.
-
-
Fabrication (Weeks 8–11):
-
Full construction phase including cutting, joinery, sanding, staining, and assembly.
-
-
Finishing (Week 11):
-
Final staining, polyurethane finishing, and detailed sanding.
-
-
Documentation (Ongoing):
-
Process photos, videos, and reflections collected throughout.
-
[Image Center: Timeline graphic showing phases with dates (weeks) and arrows connecting stages]
Detailed Fabrication Process
Step 1: Material Preparation
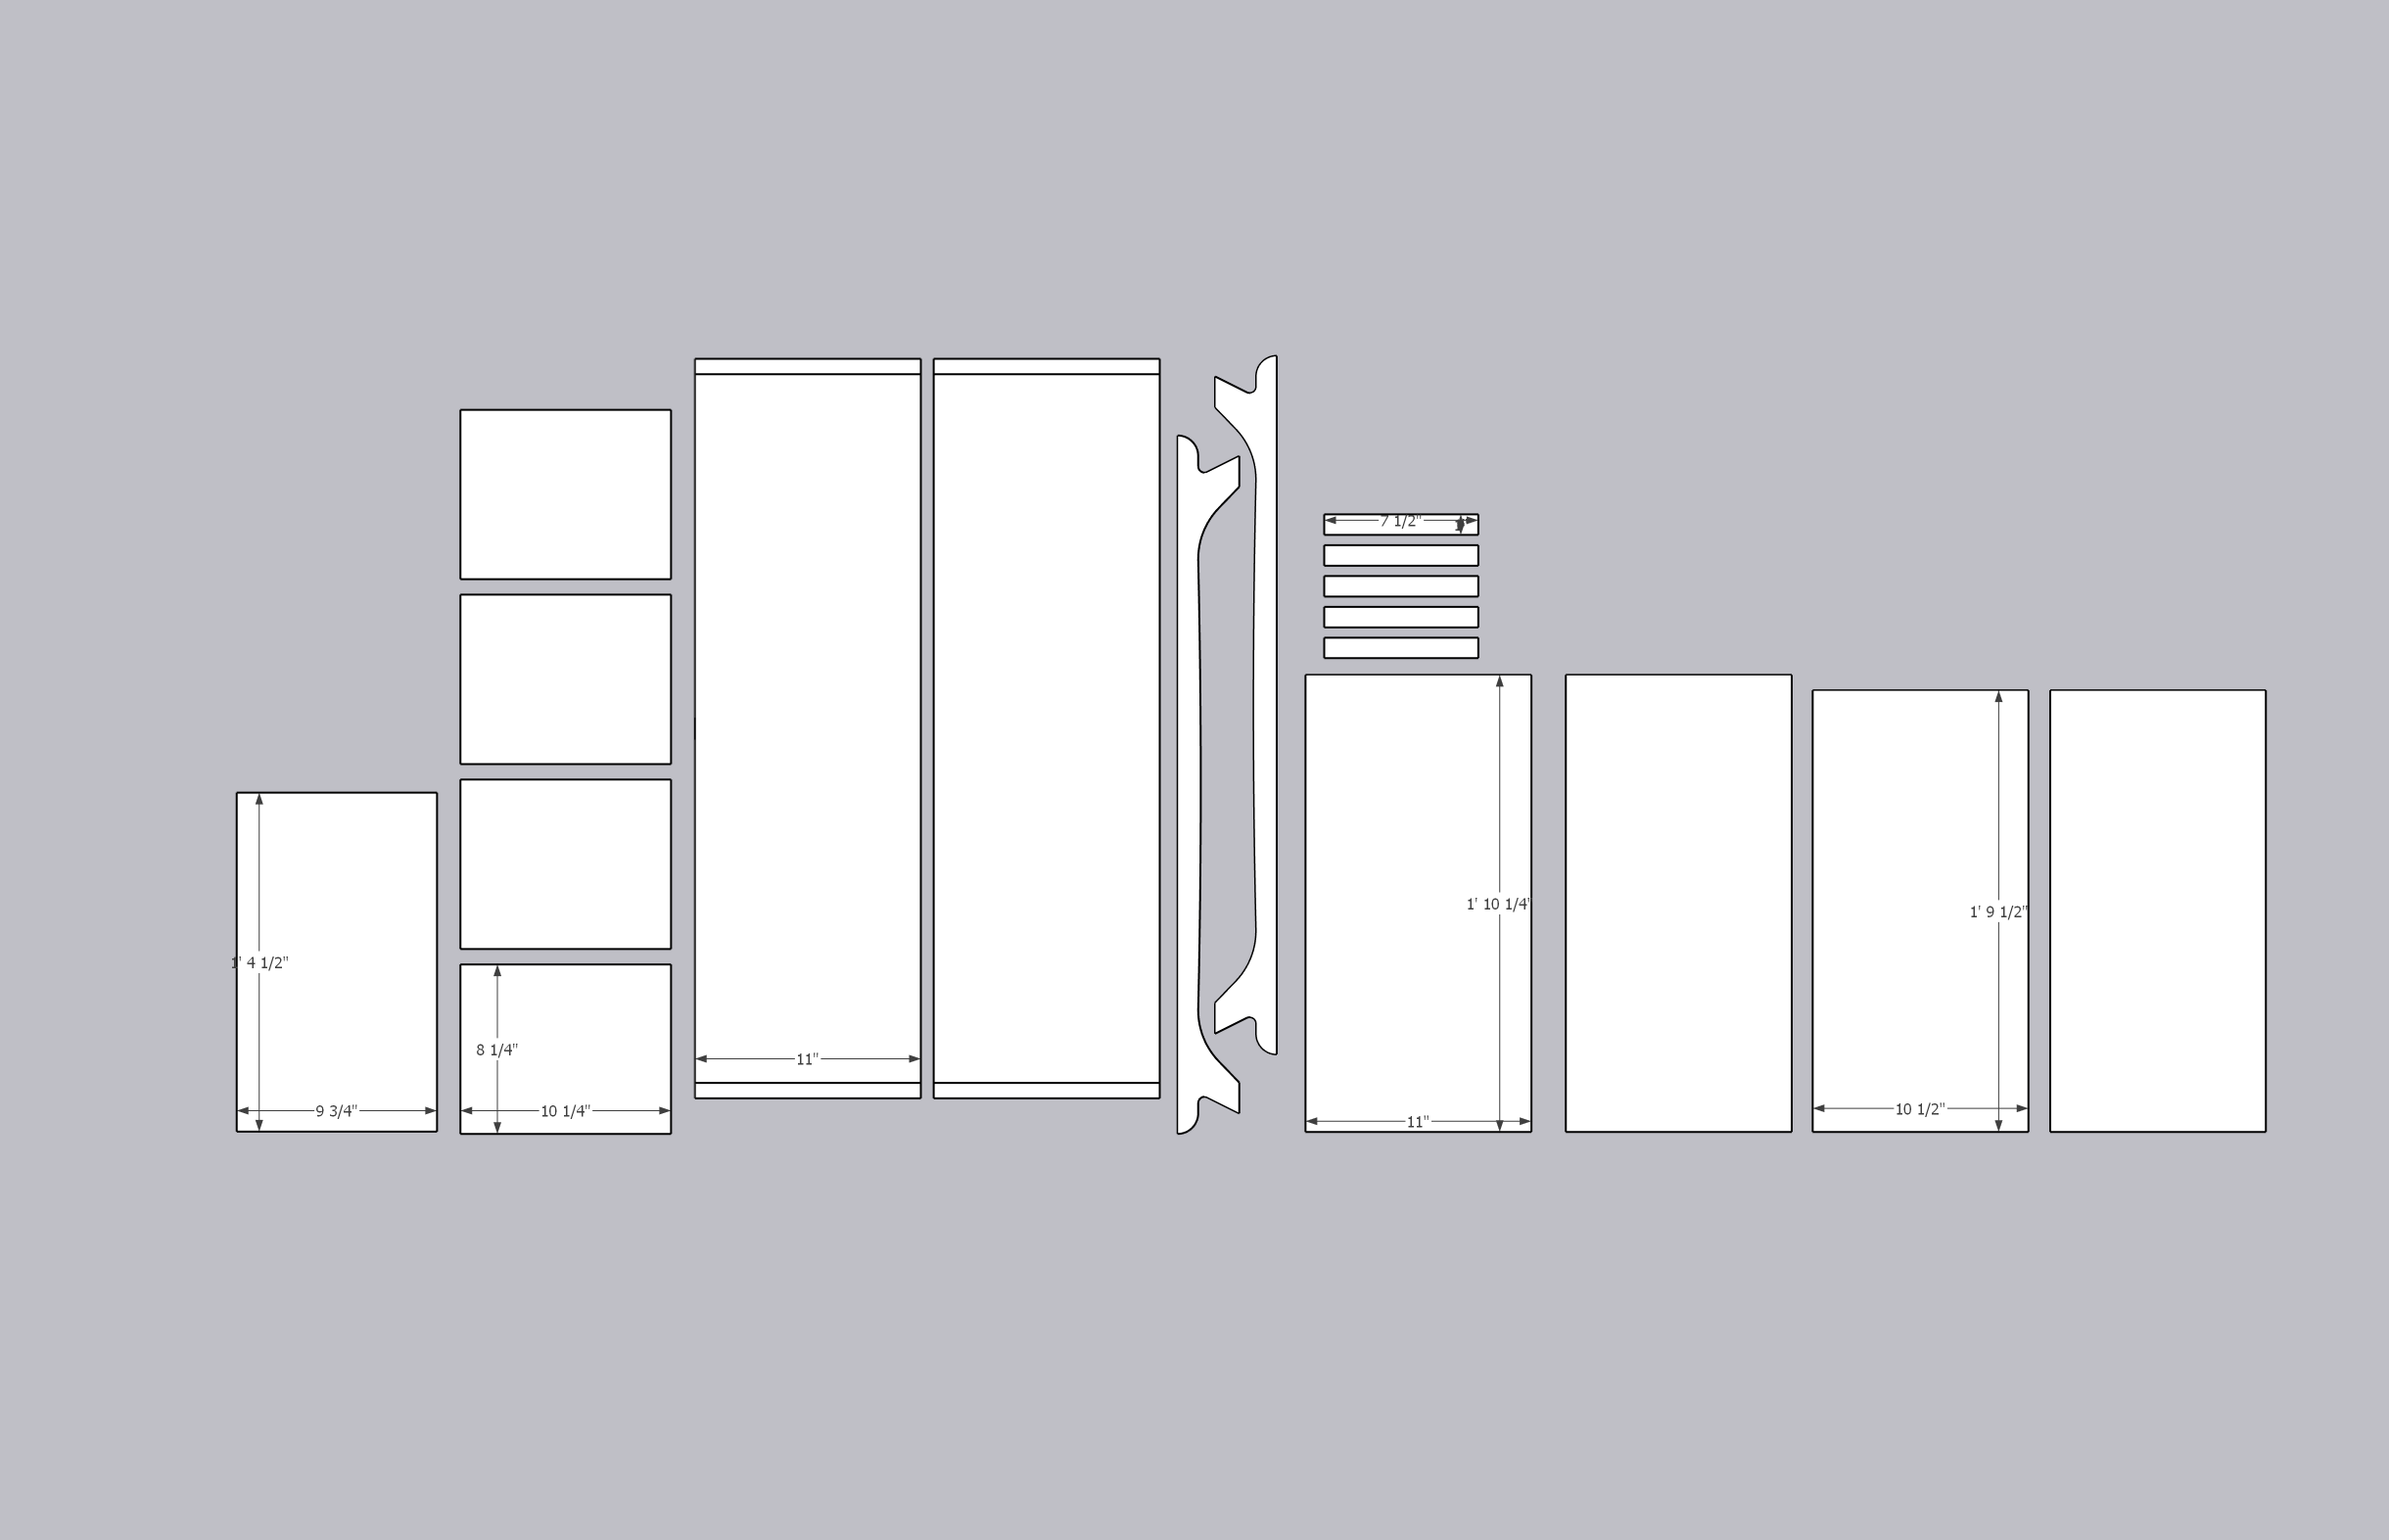
I started by ripping the full 4’x8’ sande plywood sheet in half using a track saw, making it more manageable to work with in the BTU Lab. I laid out all my bookshelf components digitally using SketchUp to ensure efficient cuts and minimal waste.
Step 2: Panel Cutting
Using the table saw, I cut all major pieces to size, carefully ensuring straight and square cuts.
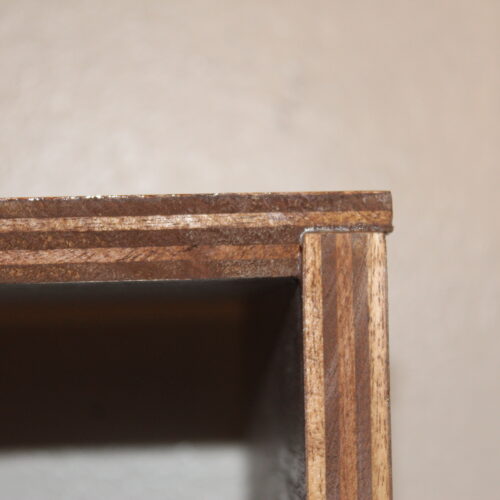
Step 3: Rabbet Joinery
I lowered the table saw blade to about 1/8” height and made multiple passes (four cuts per edge) to form the rabbet joints on the top and bottom panels. After roughing them out, I cleaned the joints with a chisel to get clean, crisp edges.
[Image Center: Photo of cutting rabbet joints on table saw]
[Image Right: Photo of chiseling rabbets clean]
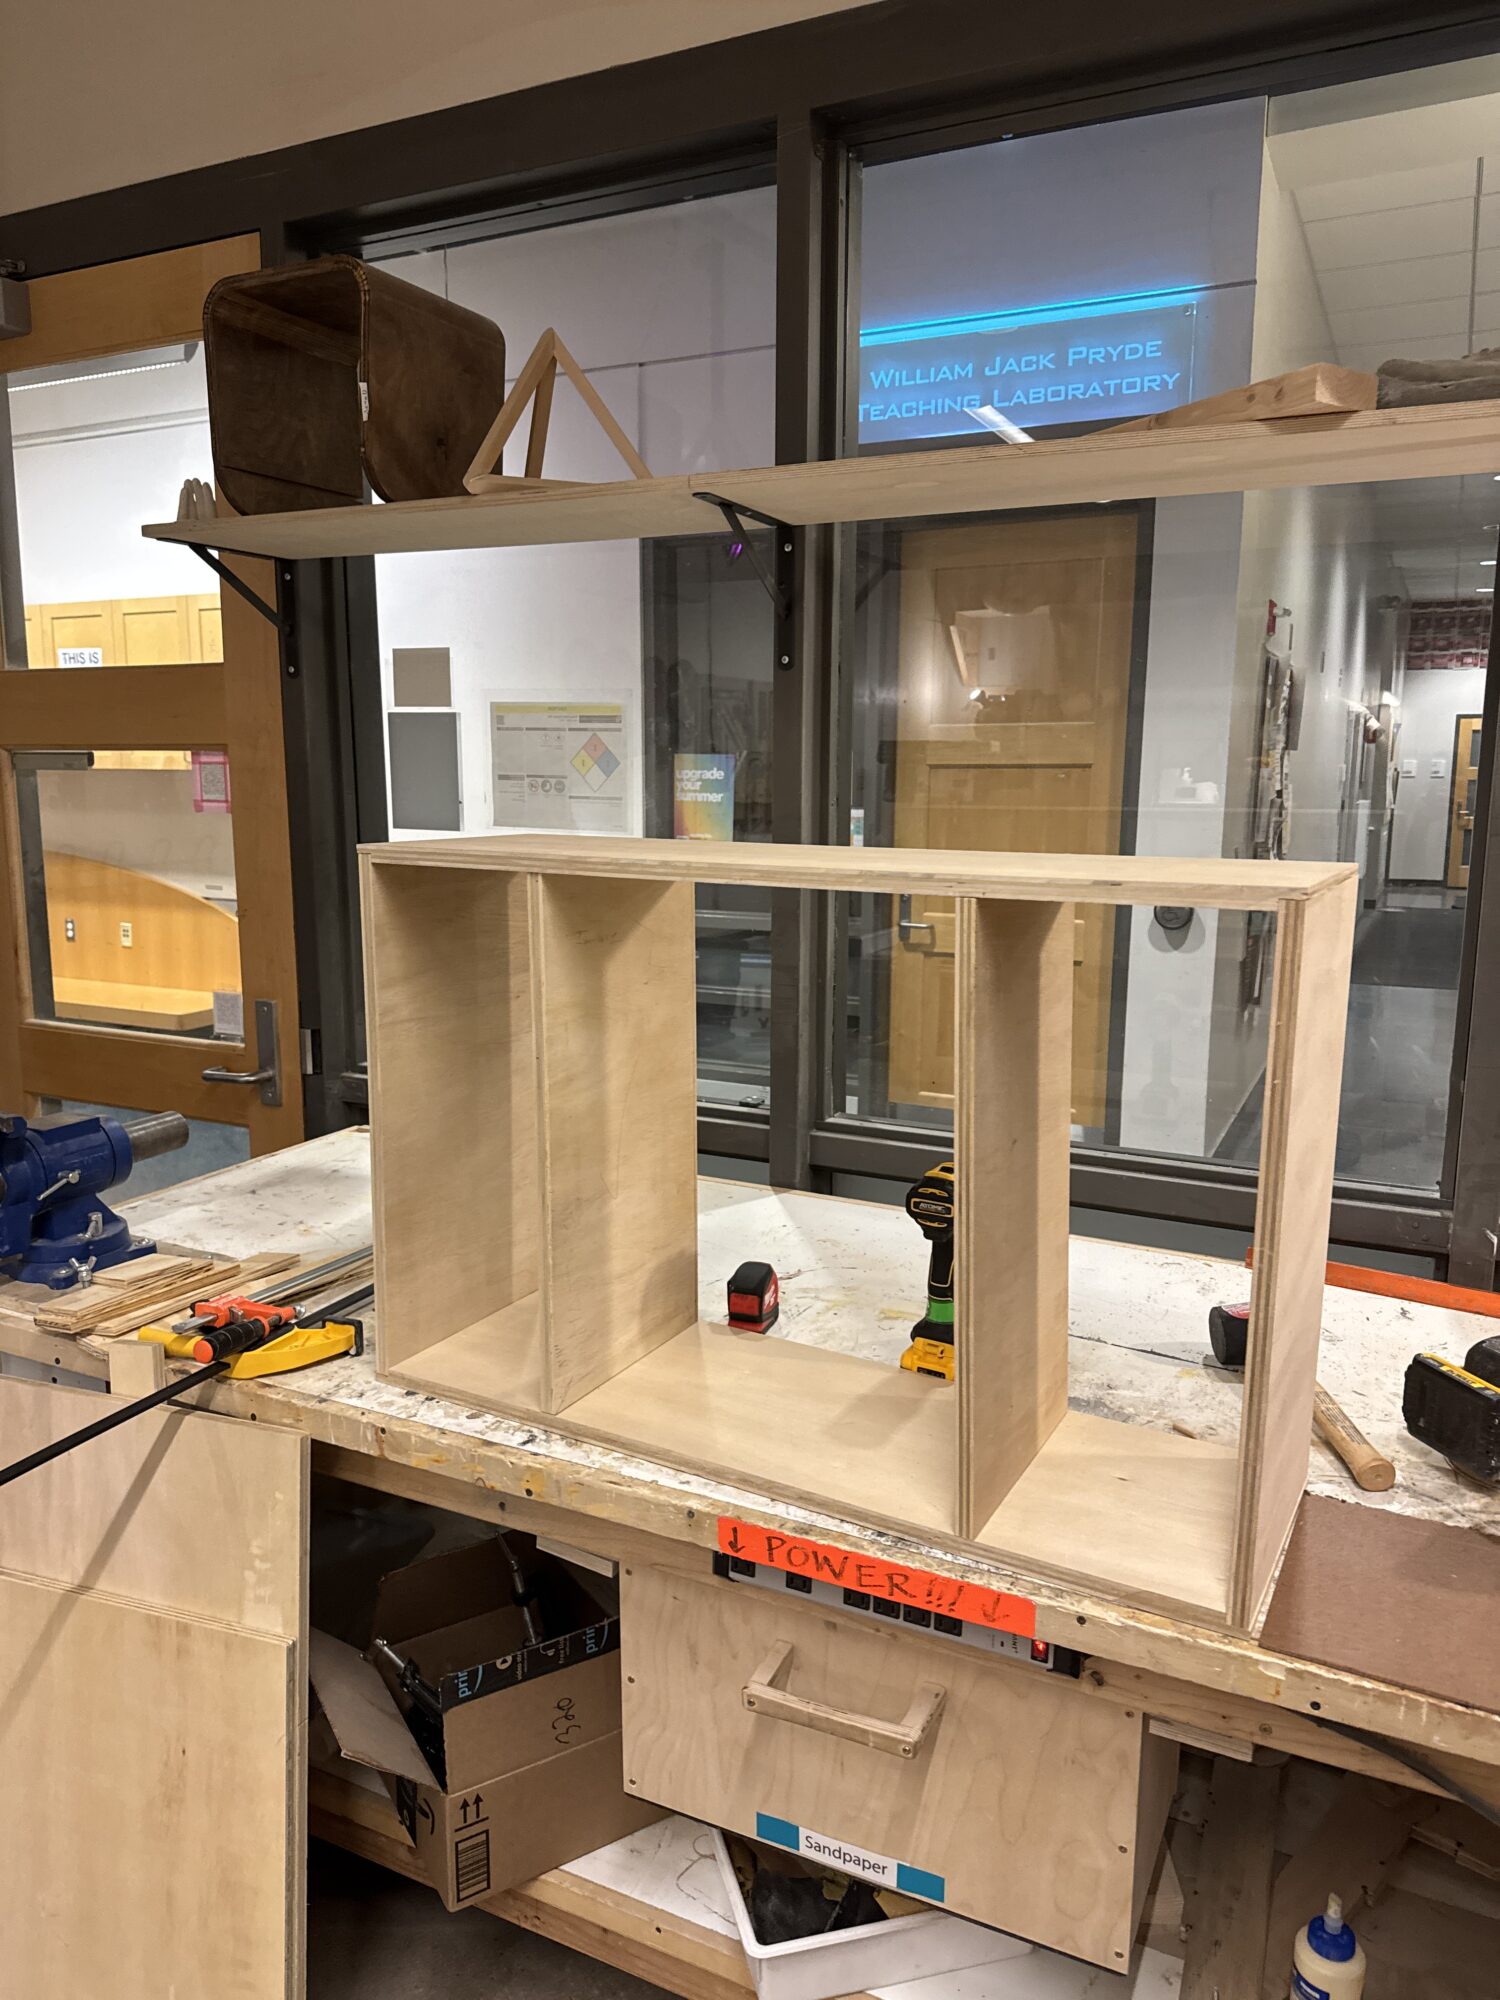
Step 4: Dry Fitting
Once the rabbets were ready, I dry-fitted the perimeter pieces (top, bottom, and side walls) to check alignment and fit. I also adjusted the inner wall pieces to match the assembled frame dimensions.
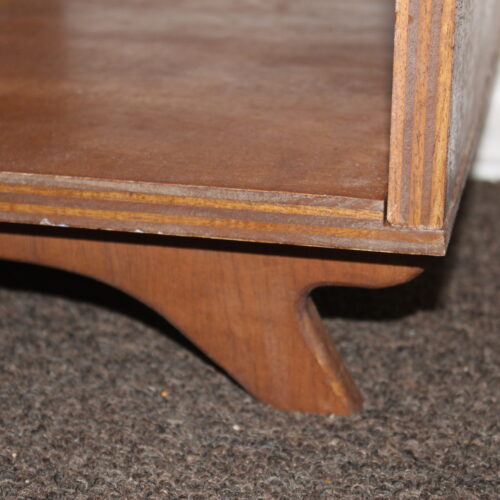
Step 5: Leg Fabrication
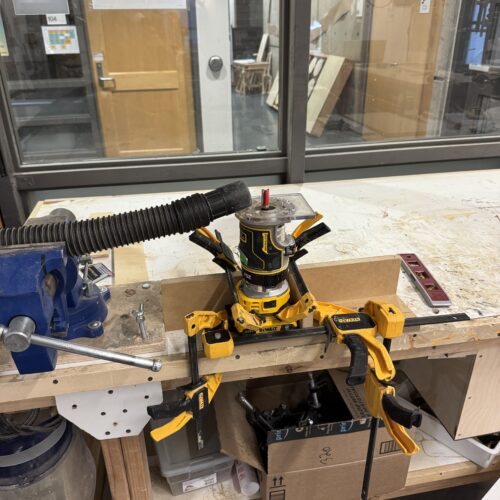
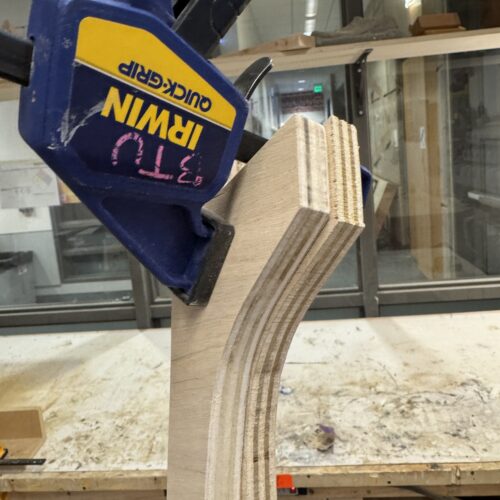
I laser cut a single template piece for the bookshelf legs. Using the bandsaw, I cut rough outlines proud of the final shape, then flush-trimmed them to perfection using a palm router and a flush-trim bit on a makeshift router table setup.

After shaping, I used the palm router again to add a 1/4” roundover fillet to the edges of the legs, giving them a smooth, soft aesthetic typical of mid-century modern furniture.
Step 6: Sanding
Sanding was a major part of the process:
-
Hand-sanded tricky edges first with 100 grit.
-
Orbital sanded flat surfaces progressively:
-
80 grit → 120 grit → 160 grit.
-
Step 7: Staining
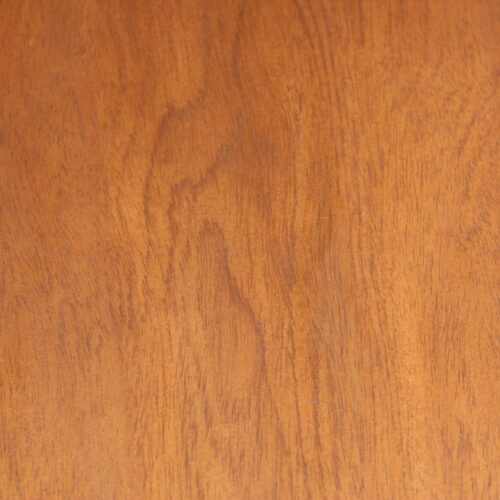
I hand-wiped Varathane Espresso oil-based stain across all surfaces. This took about 2 hours, ensuring full coverage without blotchiness. I let it dry for around 3 hours, doing minor touchups where needed.
Step 8: Finishing
After staining, I used a foam brush to apply an oil-based gloss polyurethane coat. I allowed it to dry overnight, then lightly sanded the surface by hand with 600 grit sandpaper for a silky smooth finish.
Step 9: Assembly
Final assembly involved:
-
Aligning and gluing the perimeter frame using wood glue and clamps.
-
Screwing and gluing legs into place.
The final piece came together steadily, and once assembled, I let everything cure fully before moving it into my room.
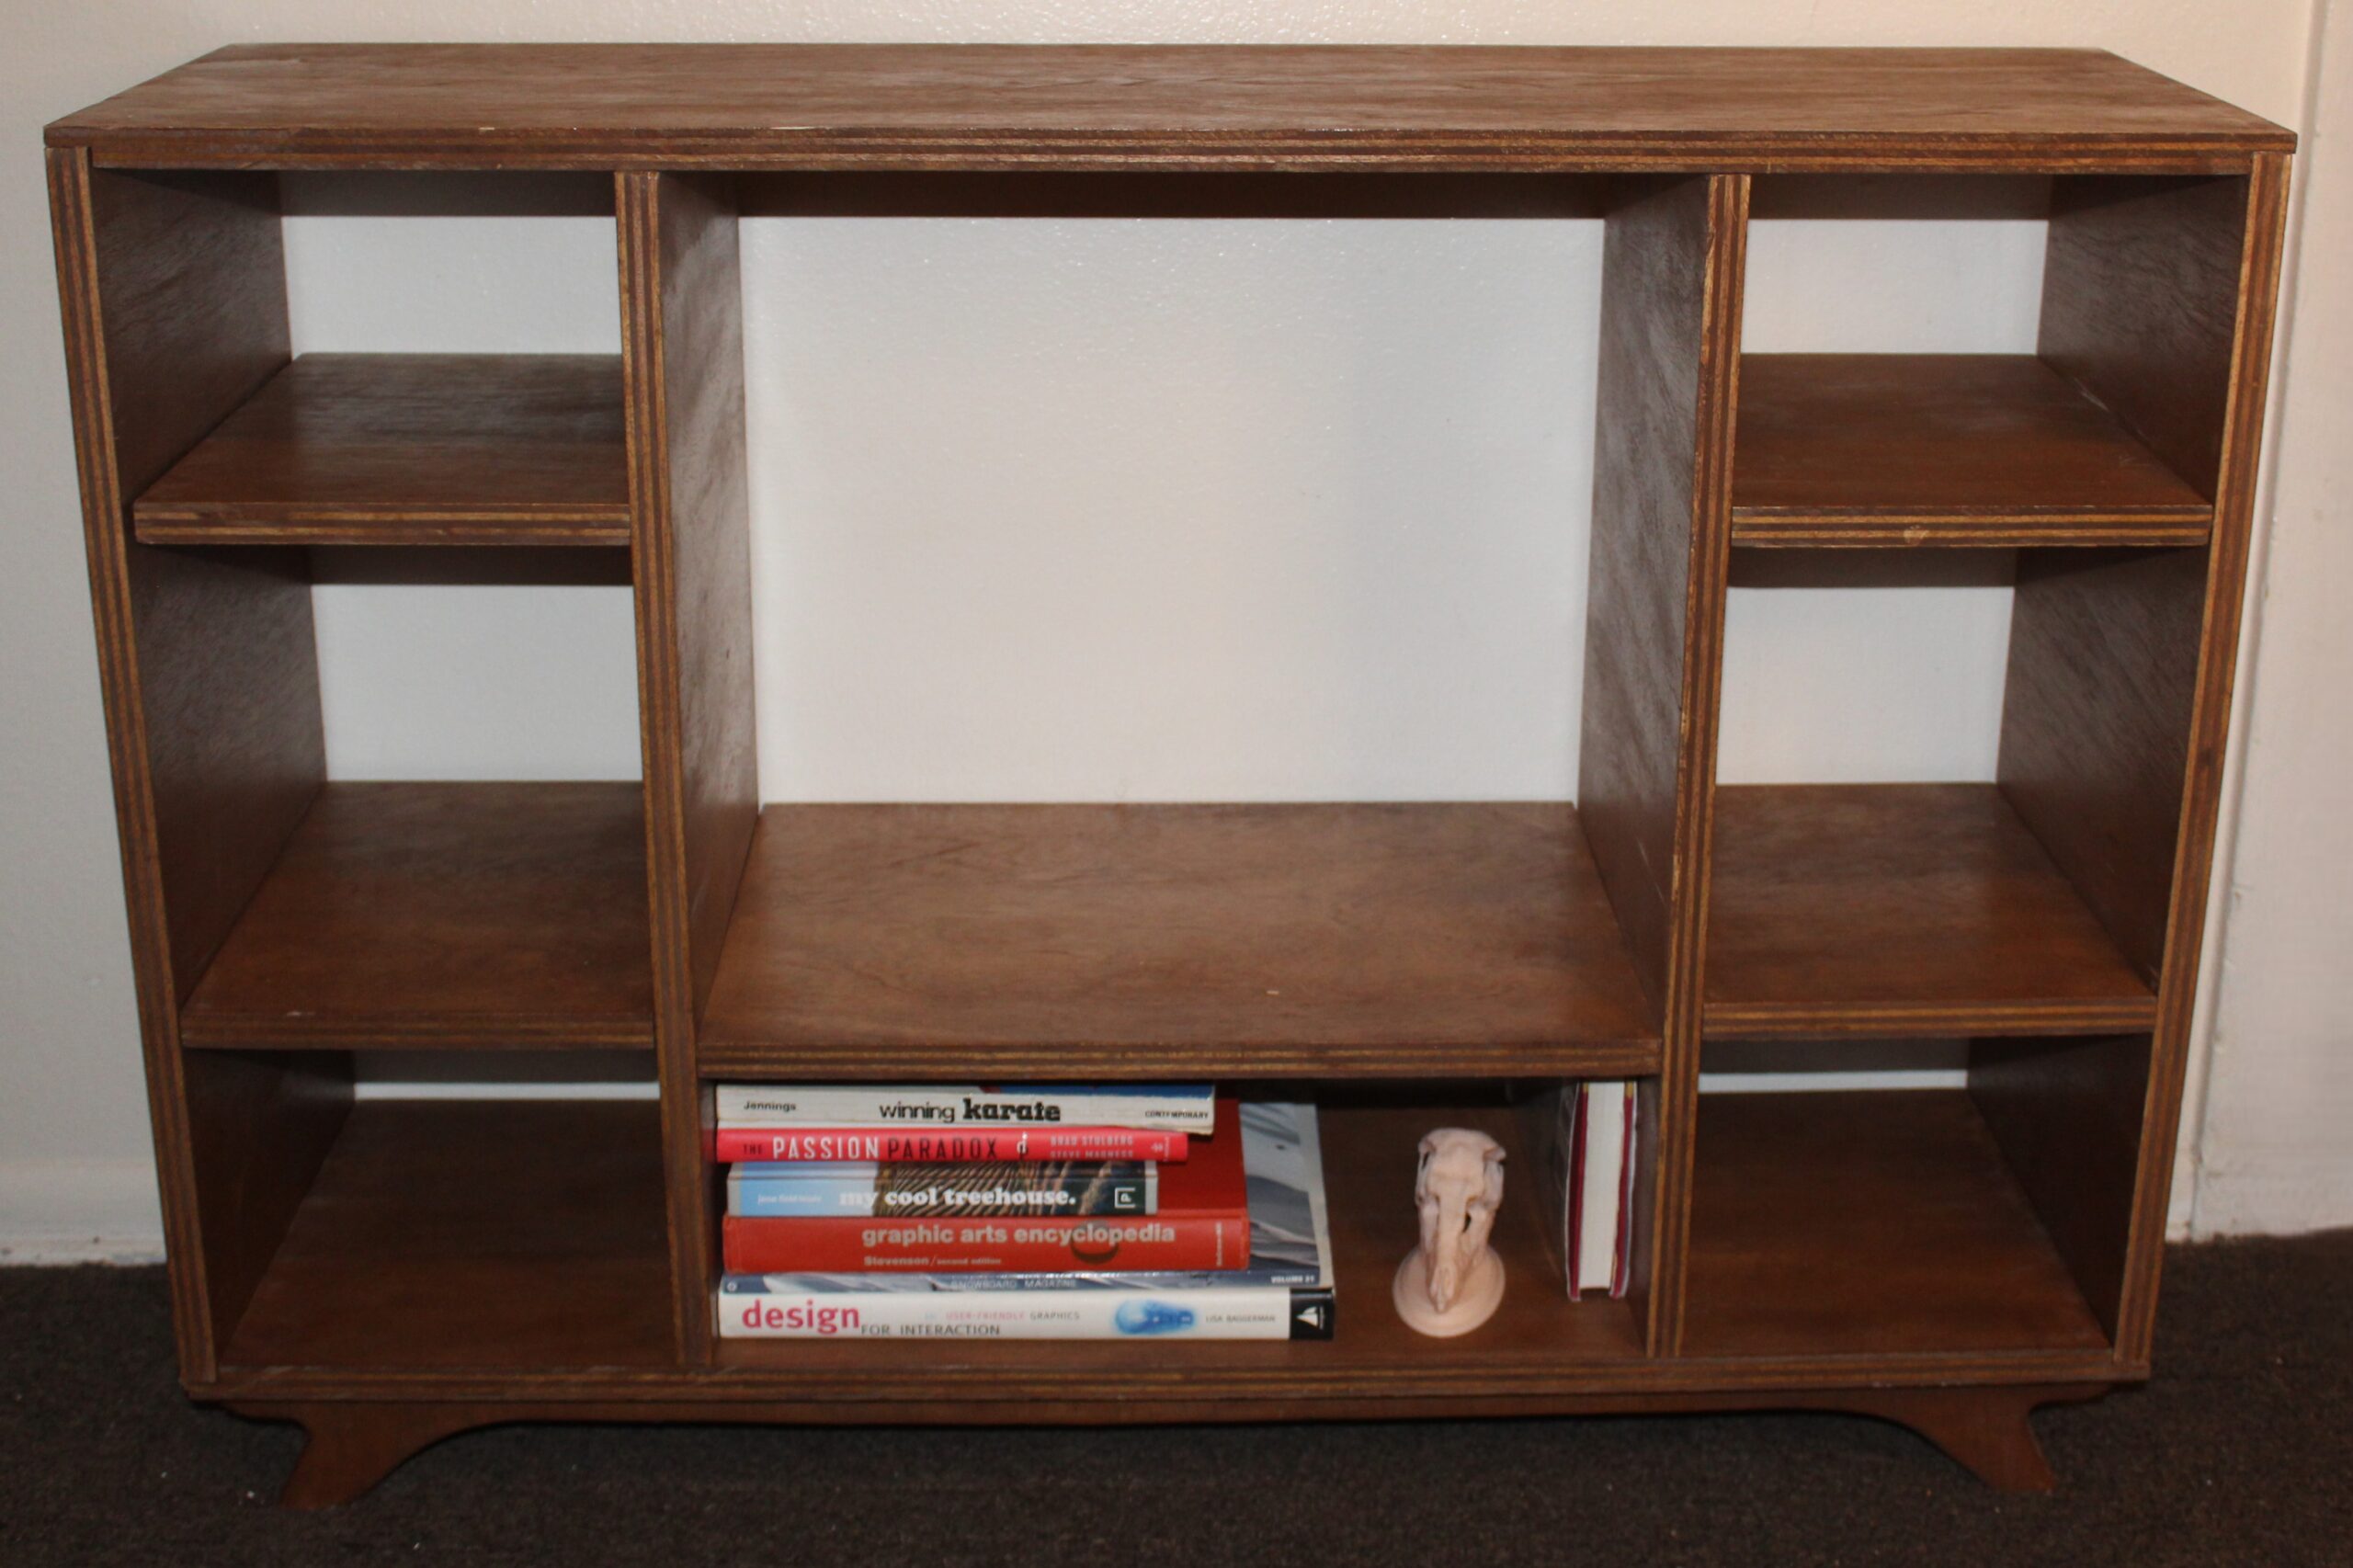
Conclusion and Reflection
Reflecting back, my bookshelf evolved quite a bit from my original idea. I began with grand plans for movable shelves and intricate adjustable parts, but practicality and time constraints forced a simpler, more elegant solution.
The final bookshelf:
-
Captures the mid-century modern aesthetic I was aiming for: clean lines, warm tones, rounded details, and smooth tactile finishes.
-
Feels solid and functional, even though I didn’t achieve all of my original functionality goals (no sliding shelves or drawers).
 What I’m proud of:
-
The clean edges and flush-mounted legs make it feel intentional and crafted.
-
The stain finish brought the plywood to life, giving it richness despite its affordable materials.
What I would change:
-
I wish I had used real hardwood. It would have provided better durability, richer visual depth, and would have made clean edge work easier.
-
I also would have spent more time precisely planing and trimming pieces to get flawless joinery.
Future of the Piece:
Today, the bookshelf sits in my bedroom, filled with books, records, and trinkets. Over time, I imagine the look will keep evolving as the contents change—exactly how I originally envisioned it.
2 Comments. Leave new
Hi Matt! This project is beautiful and seems very intentional. It fits your chosen aesthetic very well, and it seems like something you will use long term. Is there anything you would improve on in your original design? Great job!
Hi Matt, great job on this project! It is clear how much attention to detail you took with this. I really like the leg shaping and finishing processes you did to reflect your mid-century modern aesthetic. You also did a great job with the overall craftsmanship on this and were able to stick to your initial design intent. The only recommendation I have is perhaps putting some pads on the legs to keep it from scratching the floor. Good work!