
After figuring out the table to build, I began mapping out the timeline to construct the project. It was planned to be completed in 4 weeks. The wood was to be bought the week 4/5, the board assembled and cut 4/5-4/9, the board sanded 4/14-4/18, edging and staining, 4/28-5/2, and the legs fully cut/assembled/sanded/stained 4/29-5/6.
At the start of the project, I picked up 2 slabs of cherry wood from a lumber yard. I choose this wood because it was the most reasonably priced. but still had the quality I was looking for in terms of strength. Additionally, as I would find out, Cherrywood is the easiest to work with.
Before we got started, I had to map out the size and dimension of the wood table. As it would turn out, I unfortunately did not have enough wood to make it circular, so I had to transition to a rectangular base at the top.
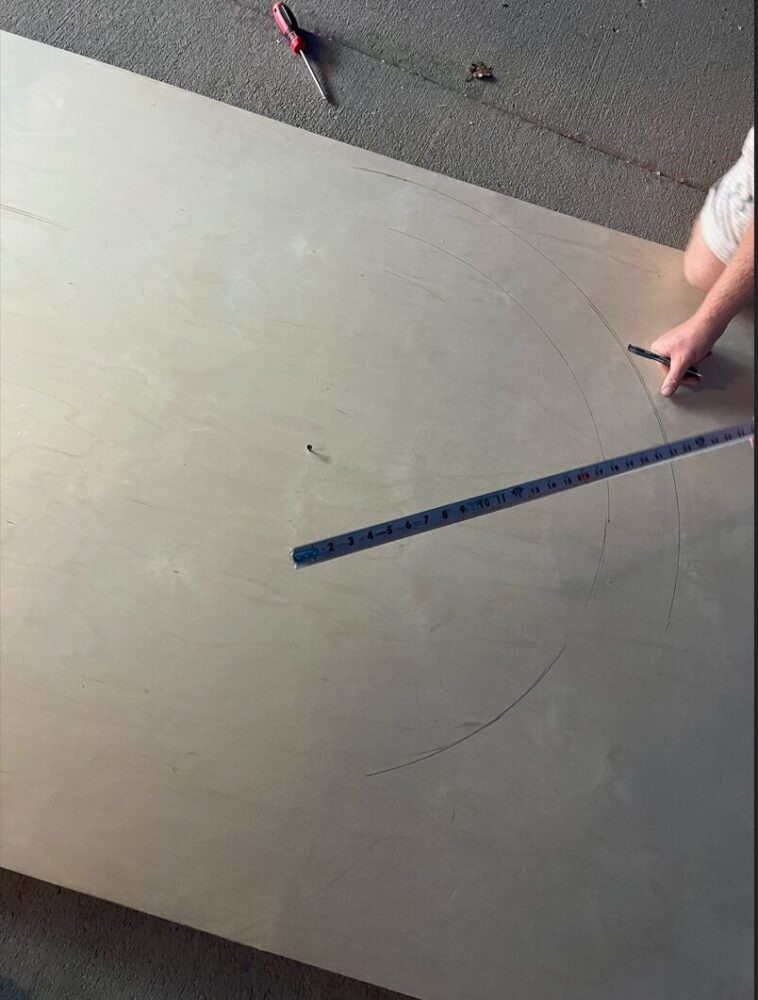
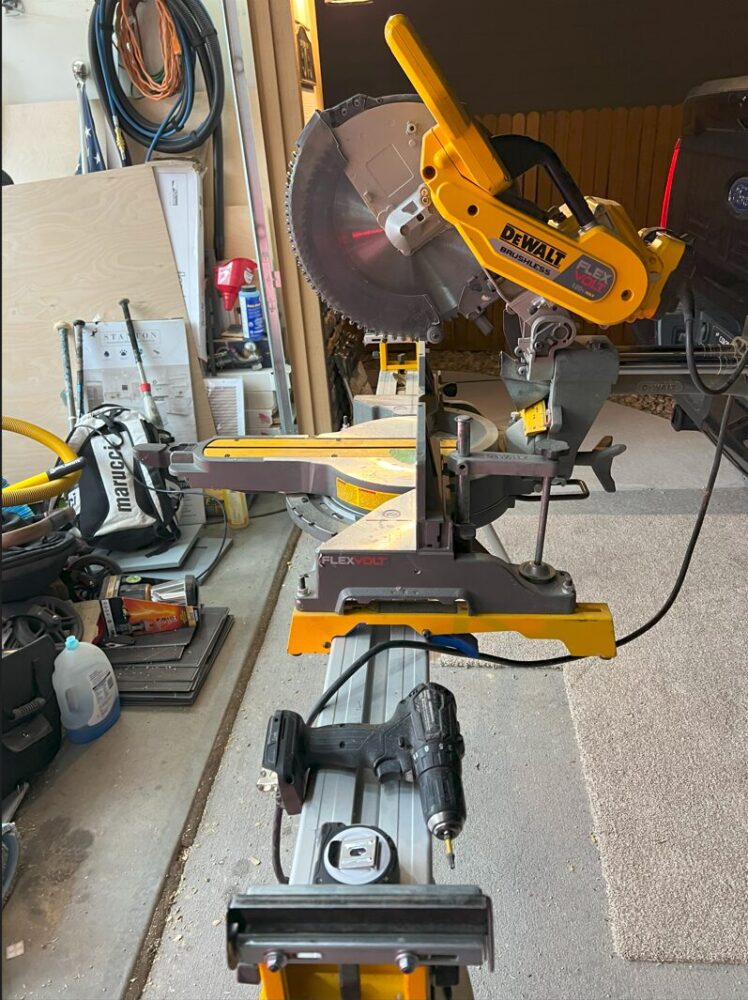
After figuring out the dimensions, I cut the top boards to length using a miter saw. The middle board is in the picture that will be seen below will appear longer as I initially thought of doing an oval instead of a rectangle.
From there I ran the boards through a planar to make sure all the different boards are level. I did probably 6 total passes, flipping back n forth between each side. I believe overall, we took down a .25 of the woods thickness.
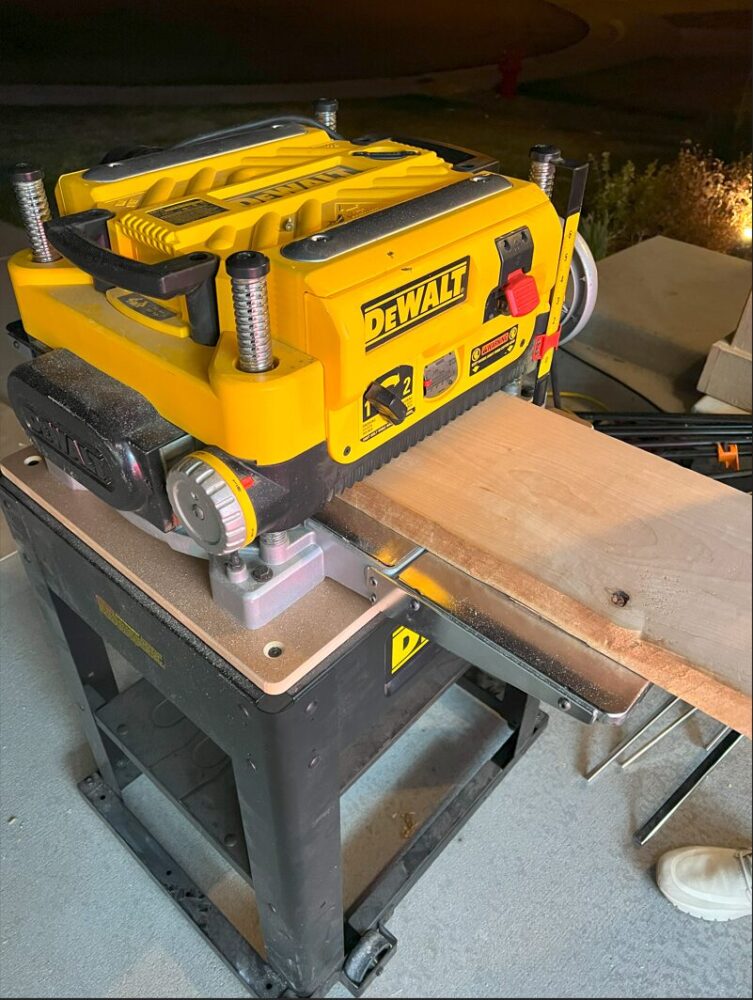
One issues that we had was some of the teeth were potentially chipped. You can see where they dug into the wood below. This overall did not affect the planning of the wood.
I 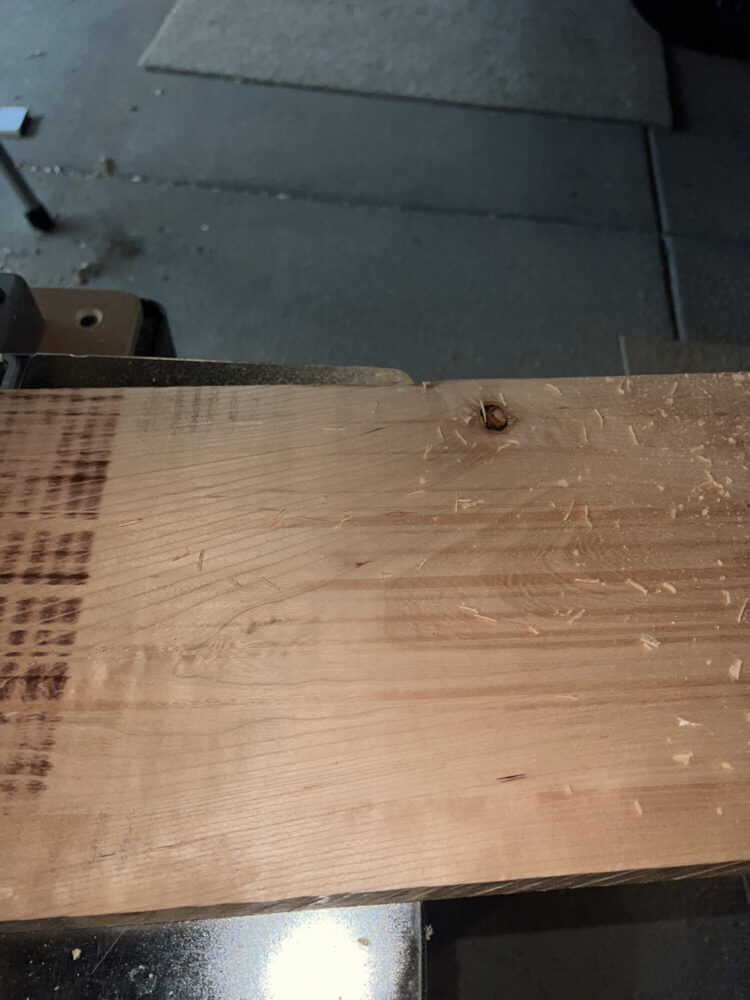
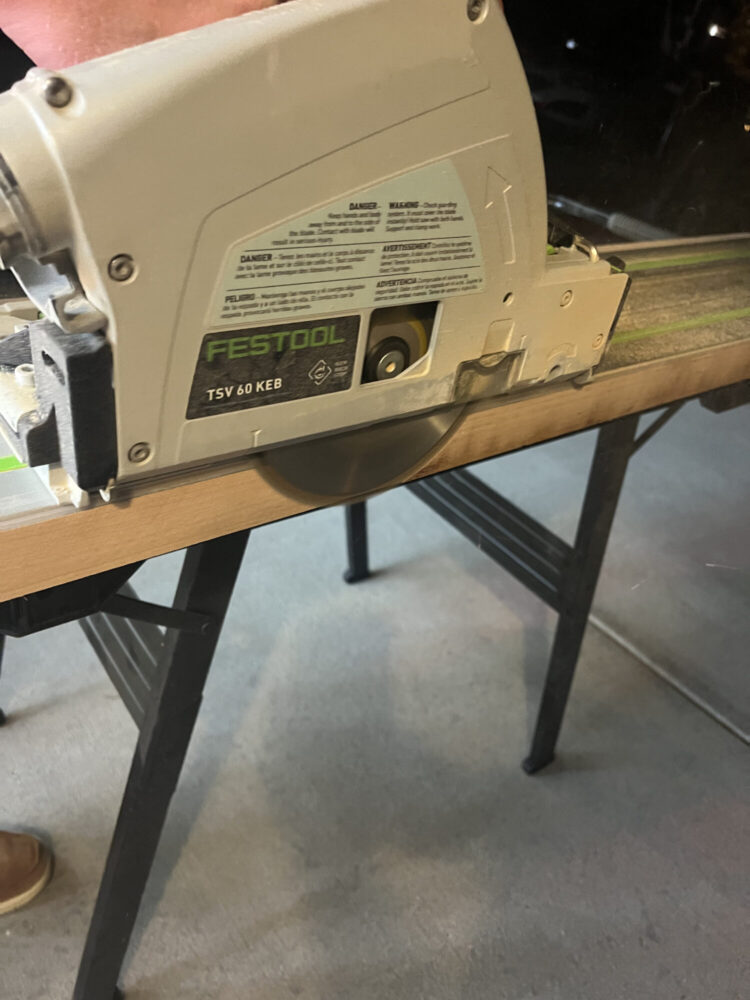
After planning the wood, we took a trac saw to both sides of the wood to make sure the wood was straight. We did several passes on both sides to ensure this was the case.
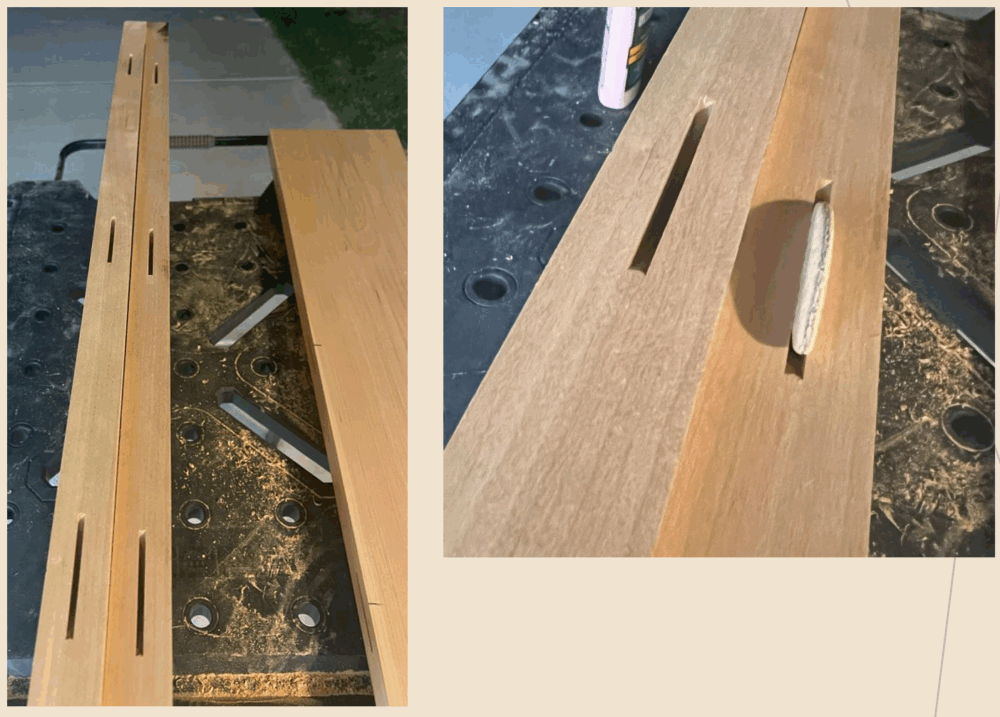
After the board were flattened and straightened out, I just a biscuit joiner and biscuits to align the wood together before it was glued using wood glue.
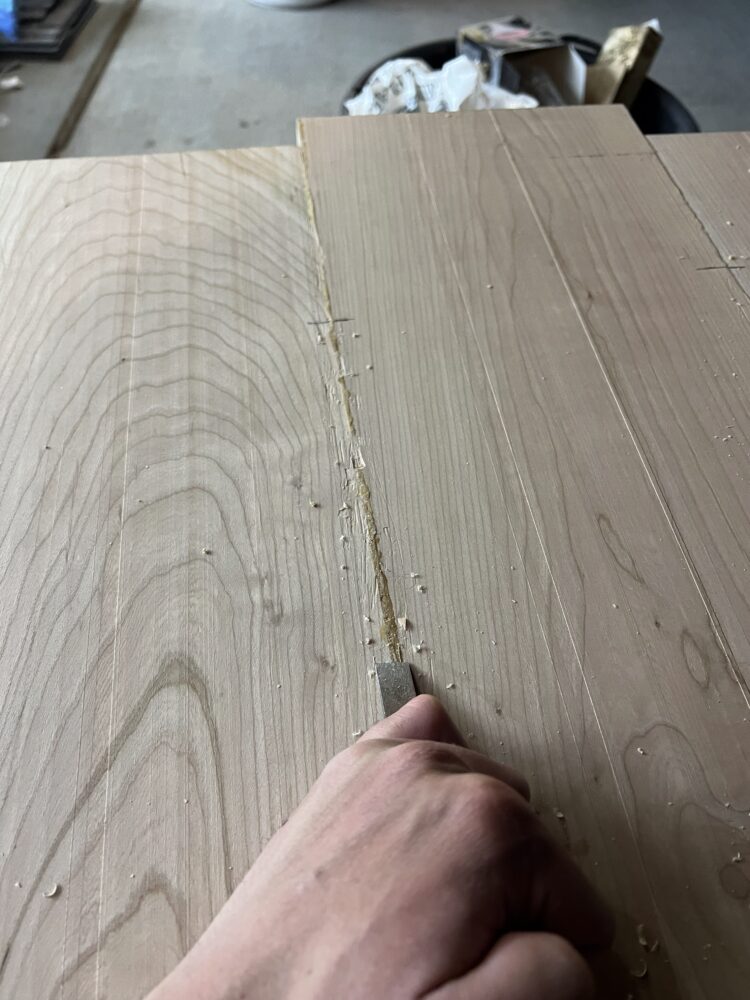
Once the glue full dried, it had to scrap the excess. Unfortunately for me, all three boards were offset which led to much sanding.
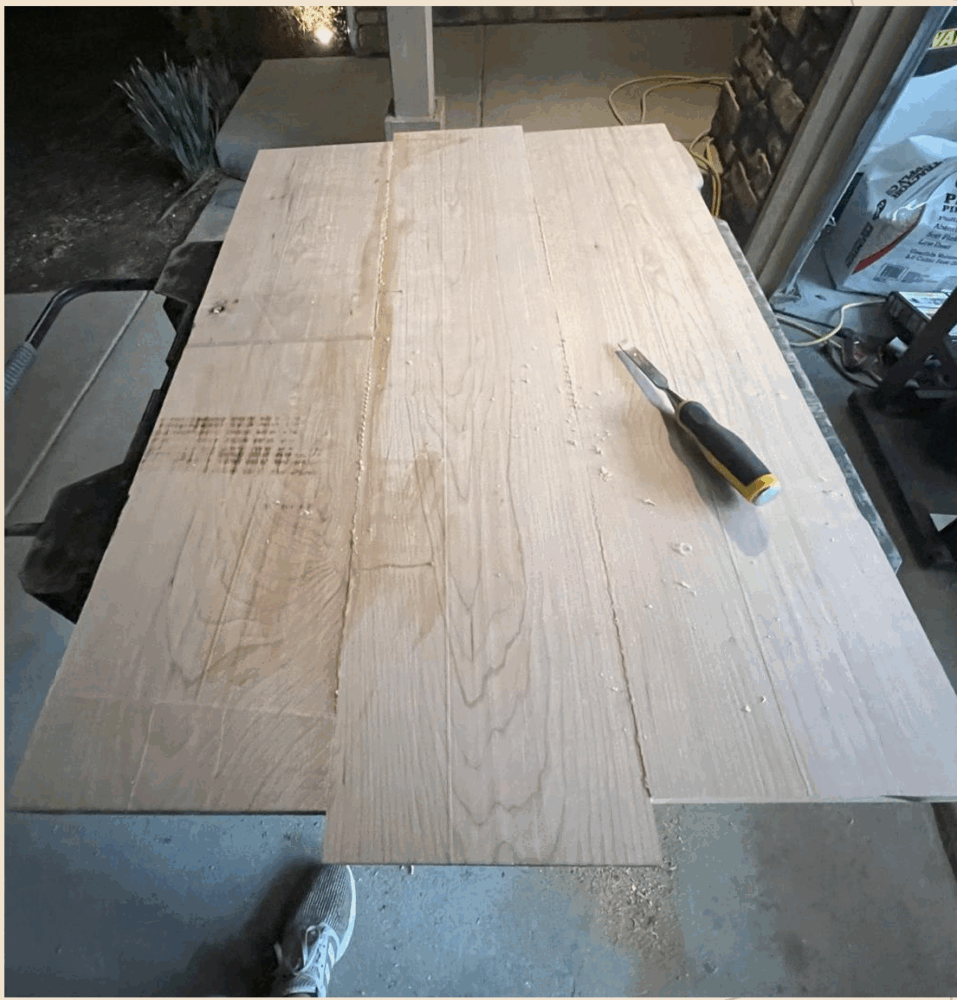
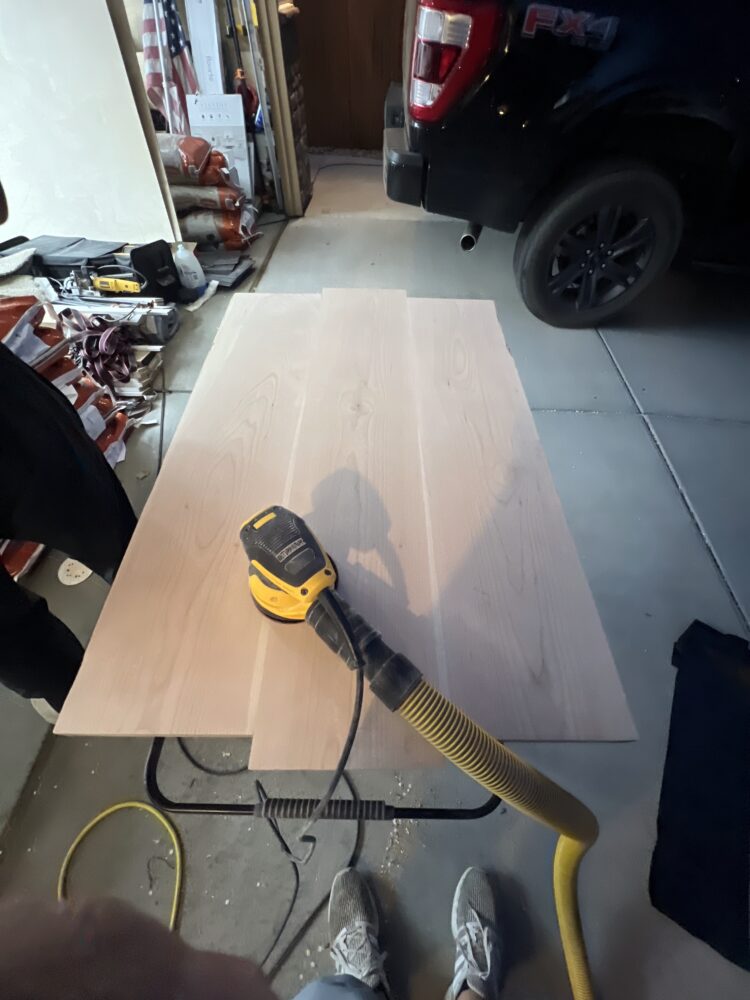
In order to level the top and bottom of the board, I had to grind the boards down with 40 grits first, 120 grit 2nd, then finish with 220. Unfortunately, while working in the dark, I did not see that I did not sand deep enough with the 40 grits (see blow), so after 3 whole evening spent, I had to start begin the whole sanding process over again.

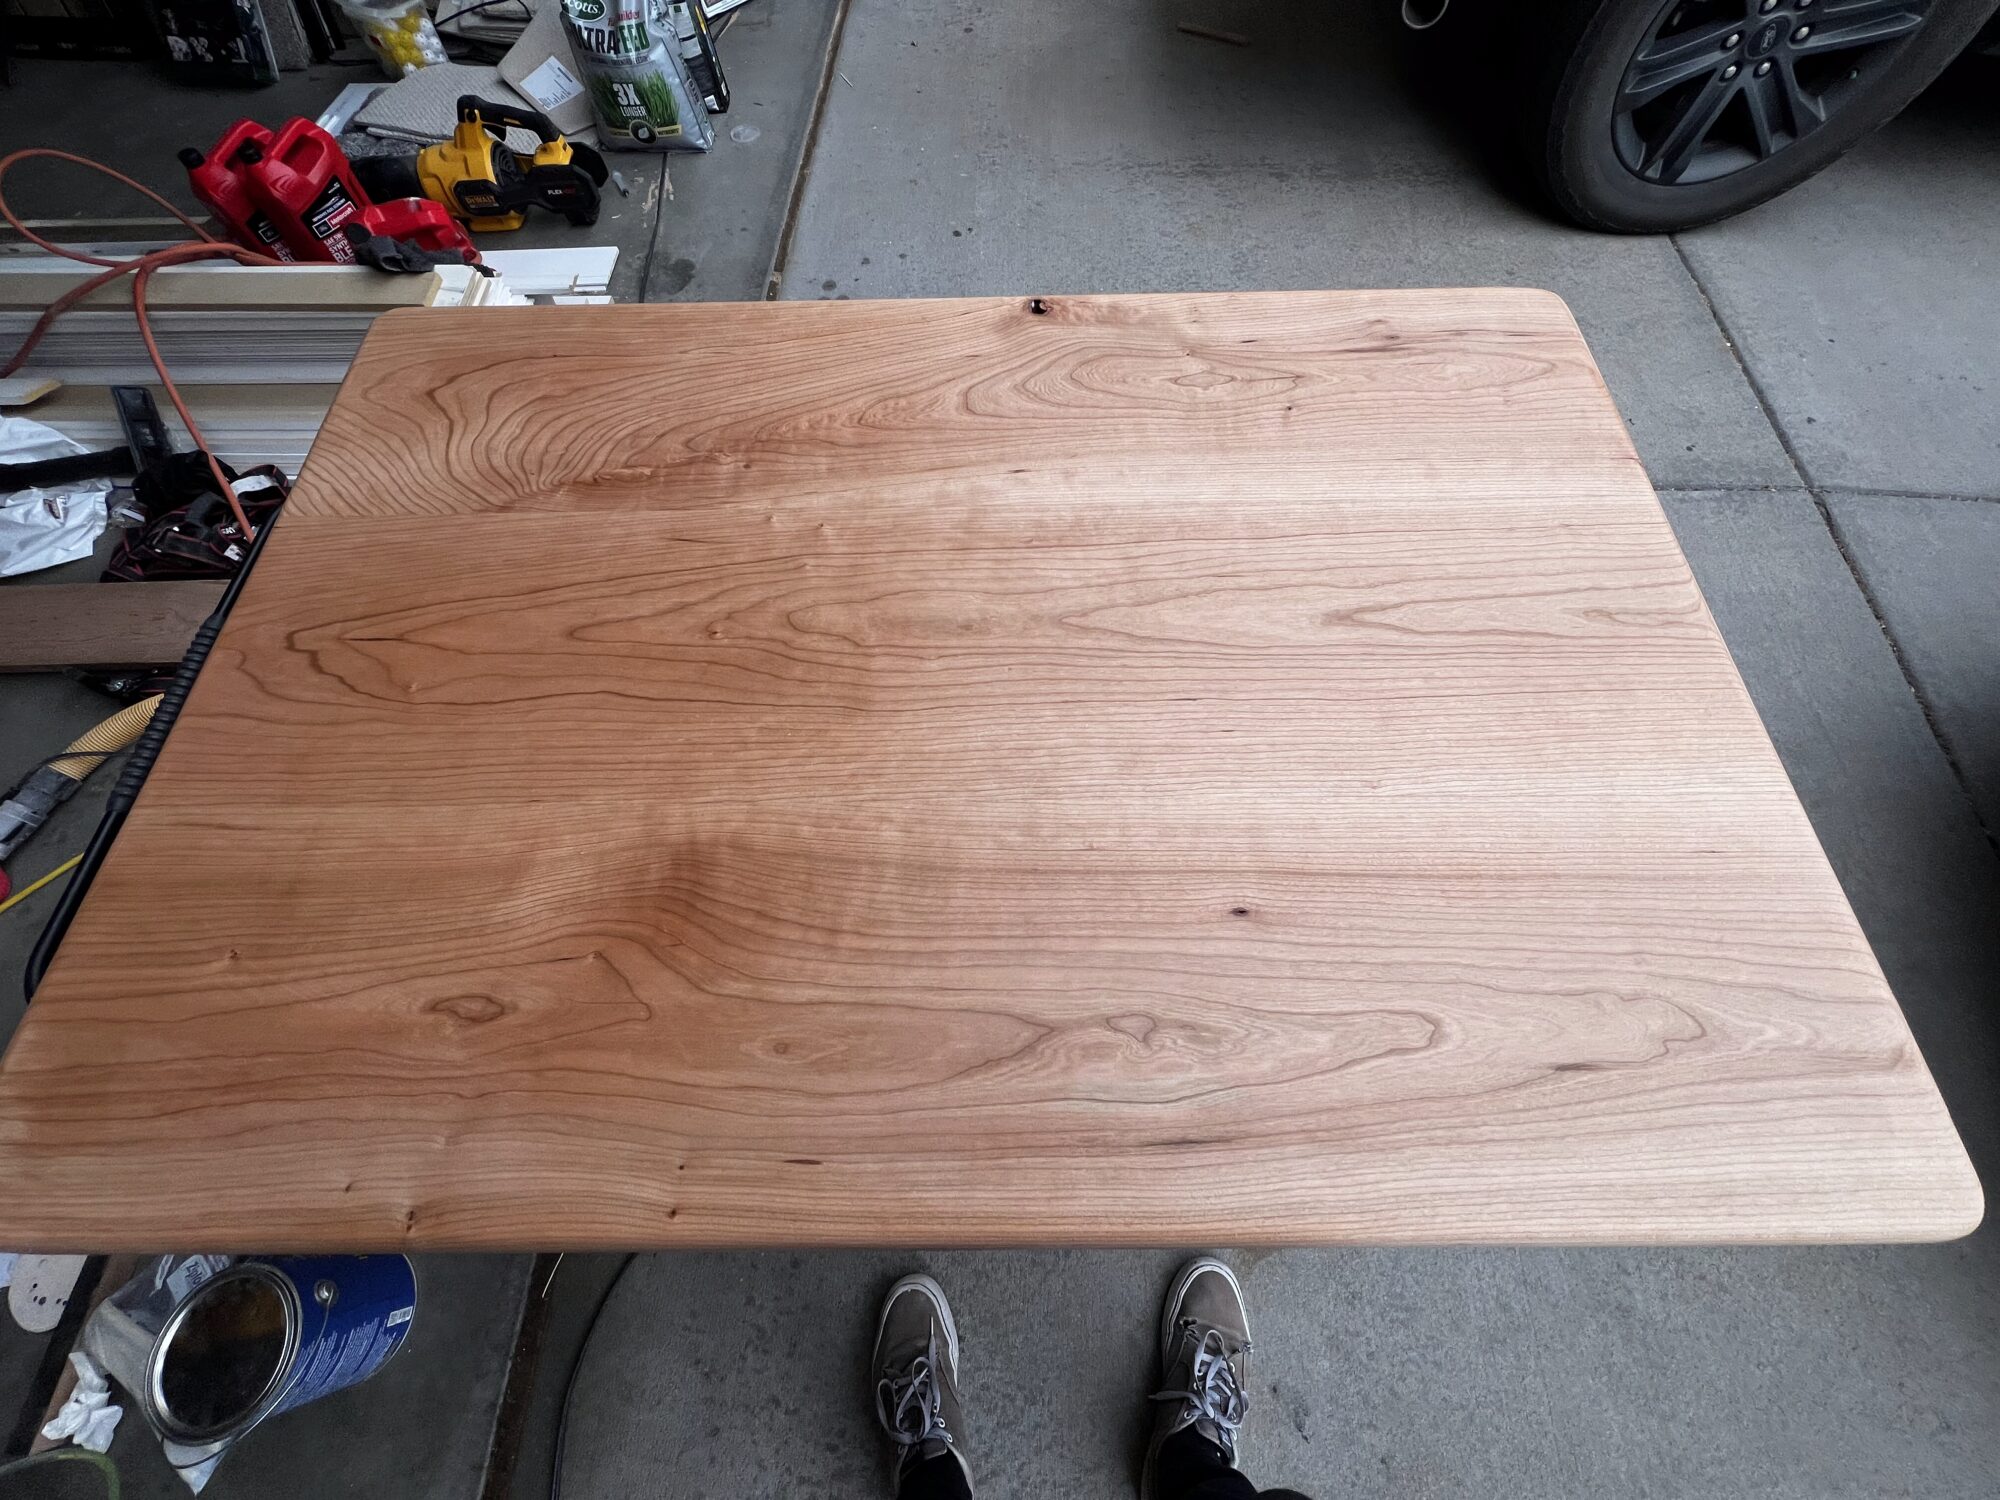
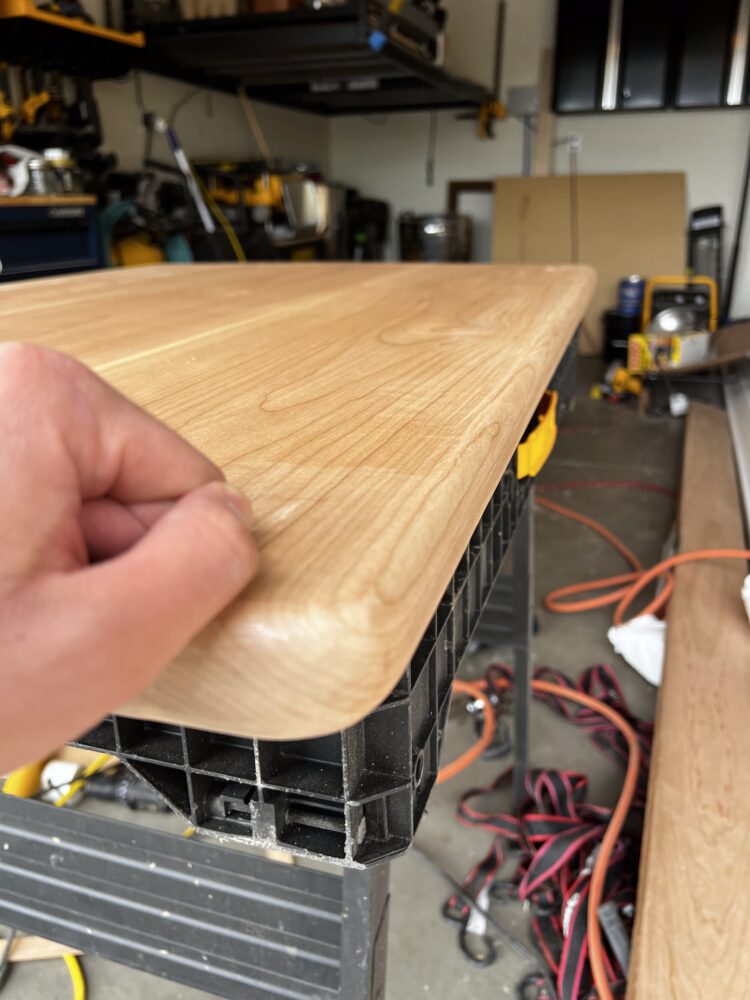
It was very disappointing and moralizing; however, I was able to get it down the following week. After it was completed, I used a router to fillet the edges as seen below. Once this was sanded, I was ready to stain the board.
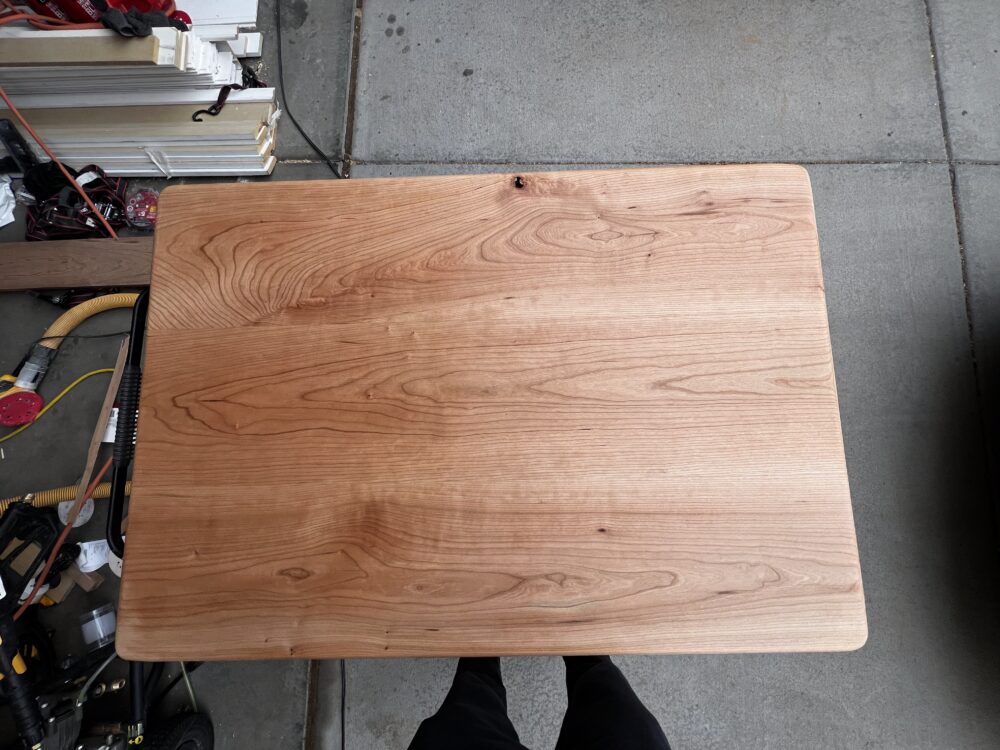
I used a stain with a matte finish. I did 3 coats on each side. Every coat took 2 hours to dry, so this ended up being a multipul day process
This is unfortunately where I ended. I would like to make the legs out of the 85 dollar cherry wood plank I bought, but for time’s sake, I am going to order legs and see if they fit. If not, I will attempt to make the legs out of wood over break.
2 Comments. Leave new
Hey Matthew! This is an awesome project and you did a great job despite the many challenges you faced. I think the stain you chose was a perfect tone and fit your aesthetic very well. I am excited to see how the legs you ordered turn out and to see the final project at Expo!
Hello Matthew! This is a very professional looking project, and I am amazed by the level of craftsmanship that went into this coffee table. How did you make the decision on the type of stain that you wanted? Did you have any major challenges along the way such as warping of the wood? I look forward to seeing this project during Expo!