
For my final project, I am focusing loosely on the reminiscence theme. Since a lot of my childhood is surrounded by stained glass, I wanted to do something with stained glass and/or have the stained glass look.
I am making a glass terrarium. I want to use mixed materials like glass, and wood to make sure the terrarium is leak proof and has some stability especially at the bottom. I think it’d be a nice look as well to have glass and a darker wood to compliment each other.
My design functionalities are:
- Creating the over structure:
- Using a wood base and wood sides to create a general stable structure for the terrarium.
- Have glass panes on the sides of the box to cover all the sides except the front facing one.
- Making of the stained glass look:
- After assembling the glass to the structure, I used stained glass paint to make a cool design to the terrarium.
- Moving part
- I want to add a door to the open section with hinges so it can open/close
Inspiration
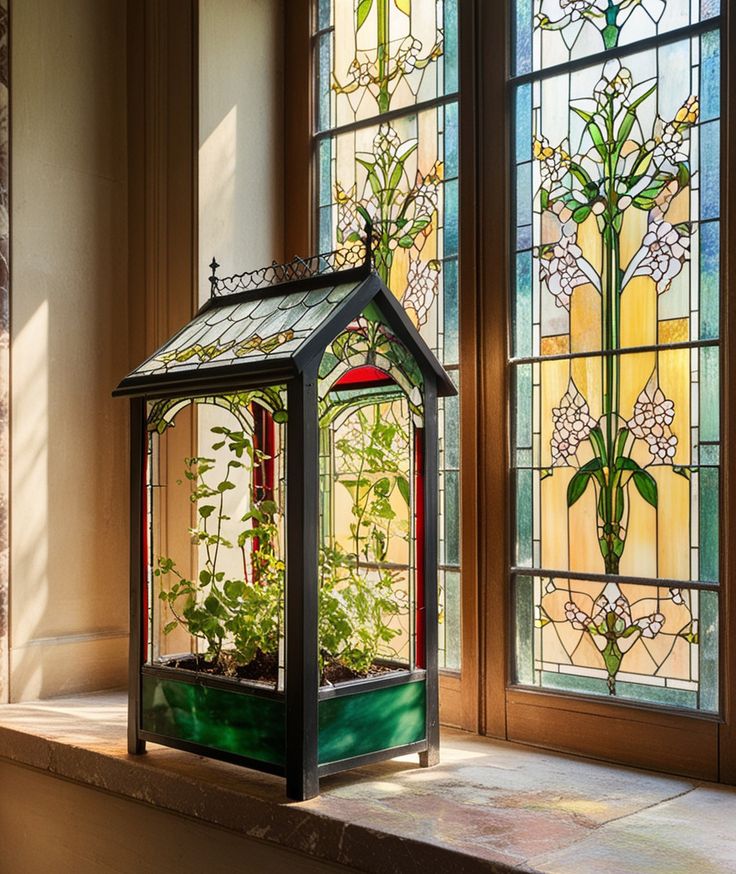
Figure 1: Terrarium
Here is my inspiration and what I wanted to capture in my terrarium.
Progress
Starting off with my plans, I made a 3D model of how I wanted my structure to look like:
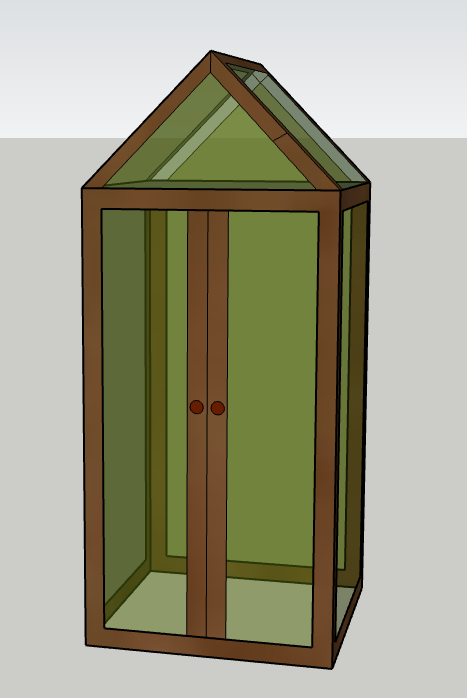
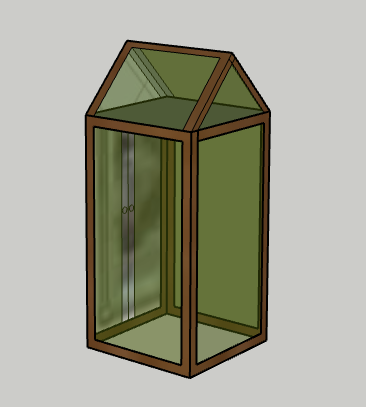
Figure 2: 3D Models
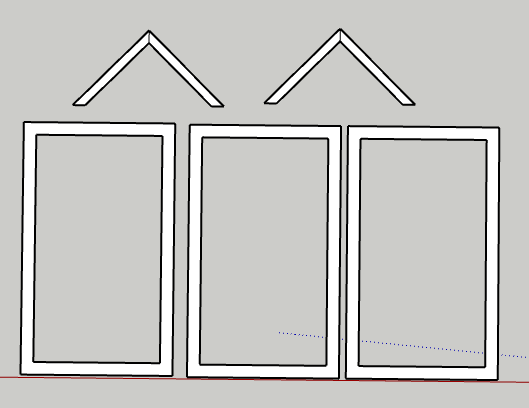
Figure 3: 3D Models pt. 2
In Figures 2 and 3, I planned out how I want my terrarium structure to look. I did a more simple design to add decals to the other sections of the project.
Metrics:
Frame: 4.5in x 6in
Roof: 4.5in x 2in
Door: TBD
Here are the materials I bought (Figure 3):
- Wood sticks
- Glass paint
- Glass
- Glue
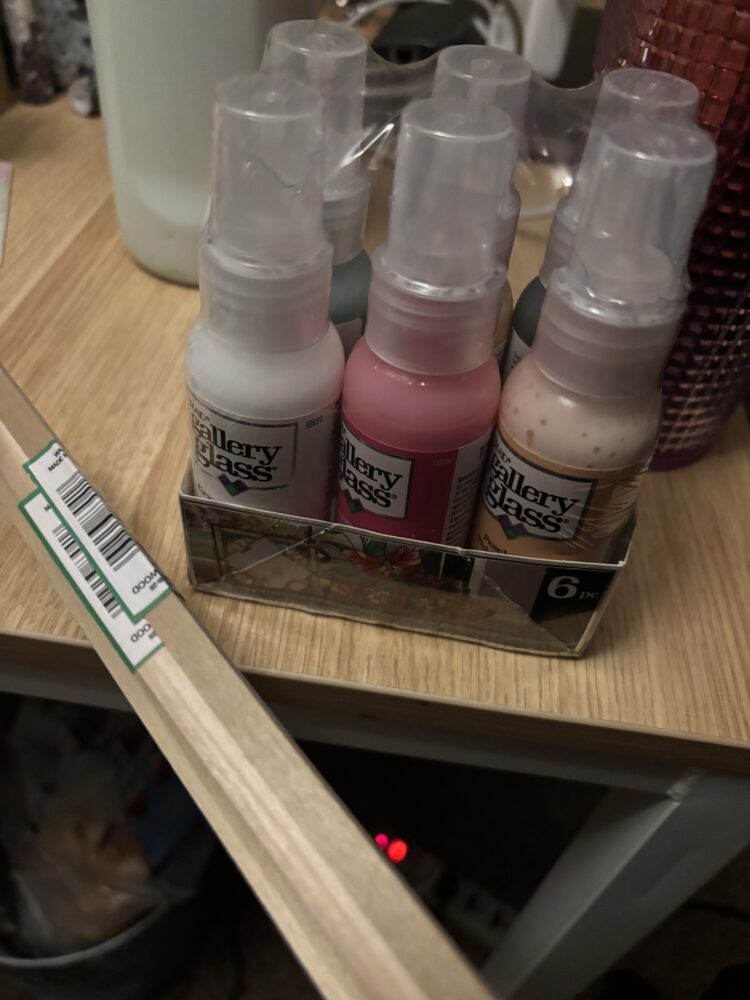
Figure 4: Materials
After measuring and understanding the frame and sizing of my project, I went to the wood shop to cut up the wood pieces into the right sizes. I then went to McGuckin’s and cut up the glass to the sizing of the structure. At first, I planned to find glass pieces to build my frame around it, but I decided it would be easier to plan out my design for more flexibility. I used glass paint to paint designs on the glass. I freehanded the pattern, Figure 4 shows how it looks wet.

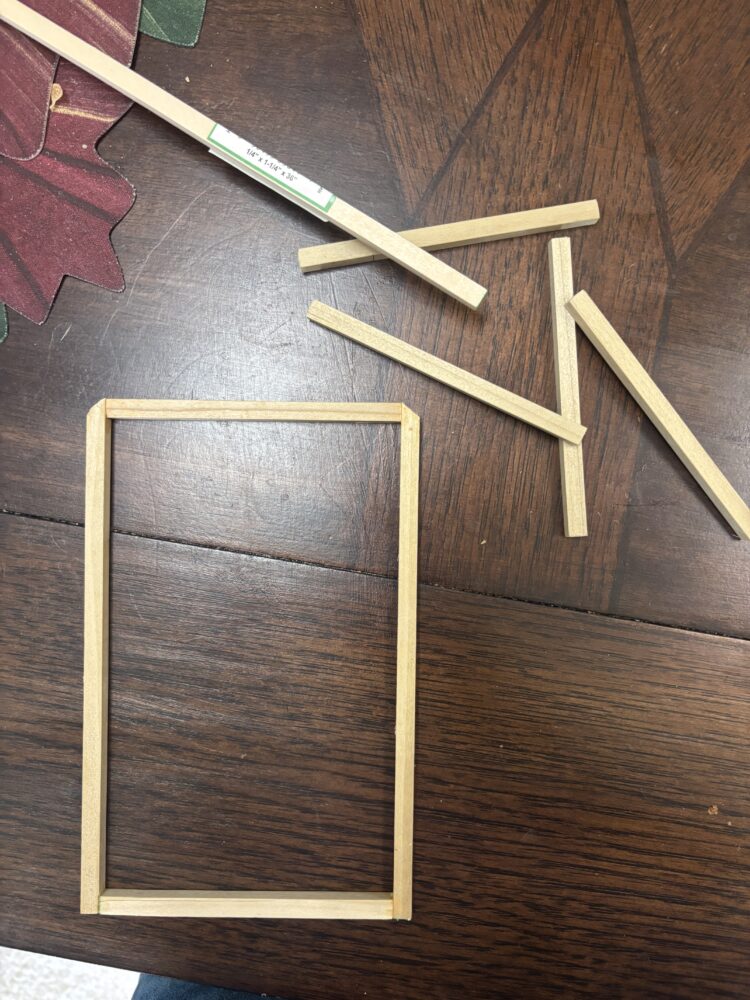
Figure 5: Glass Paint Figure 6: Wood Progress
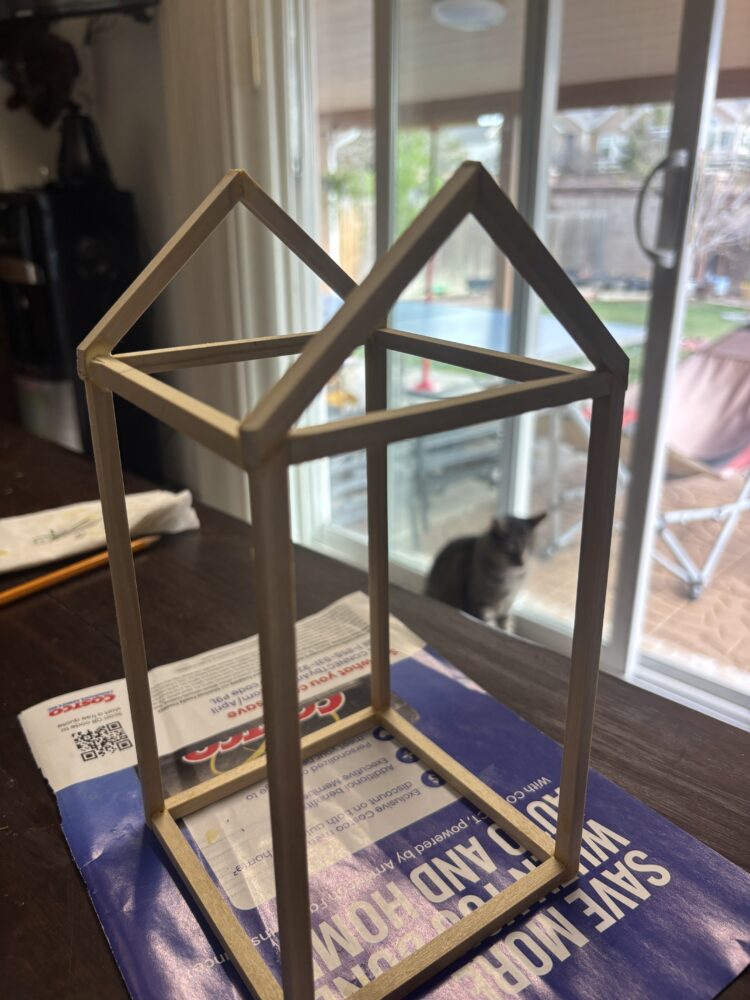
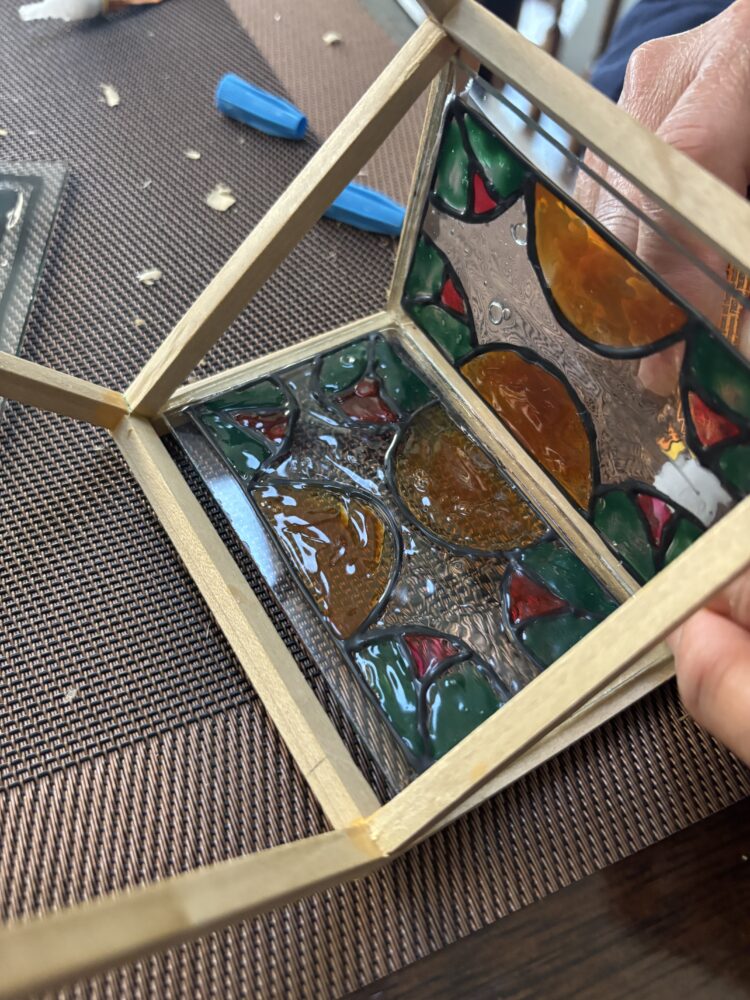
Figure 7: Assembling Figure 8: Assembling pt.2
After attaching the wood pieces with wood glue, the structure was looking pretty solid. I then fit the glass pieces into the frames, some parts of it like Figure 8 had a few gaps because of how the wood fit together. I am not very satisfied with it, but it is a terrarium so there is room for space because air should be able to enter the model.
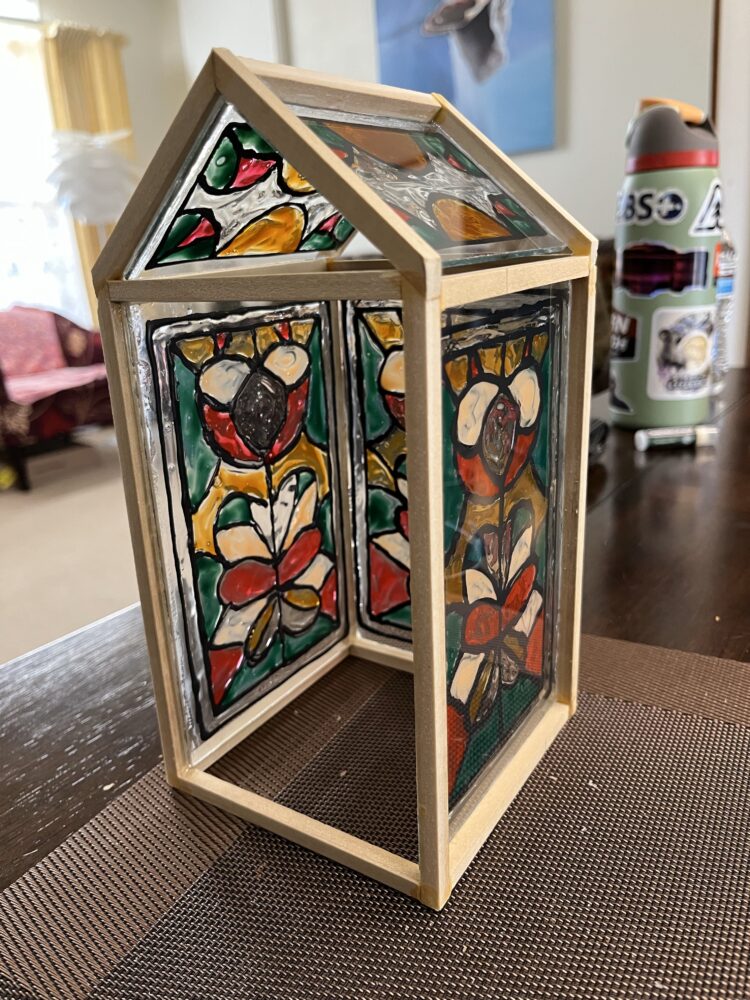
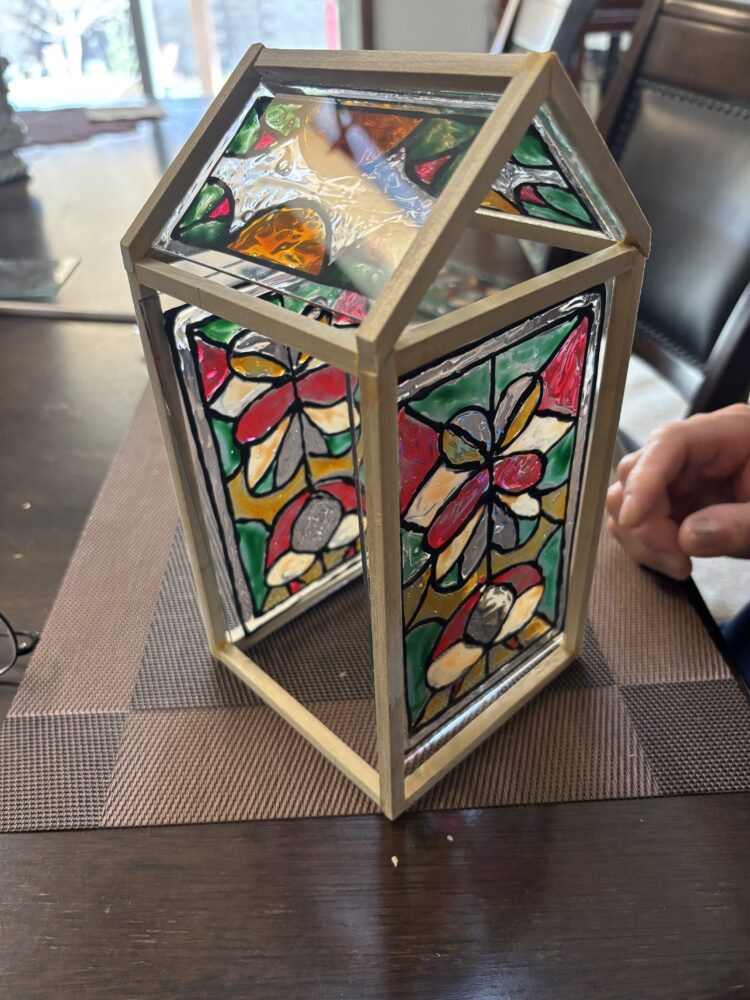
Figure 9: Structure Figure 10: Structure pt. 2
Here is the structure in progress in Figures 9 and 10. I like that I left out the hollows in the top roof section so there is air for the plant to live inside.
Continuation
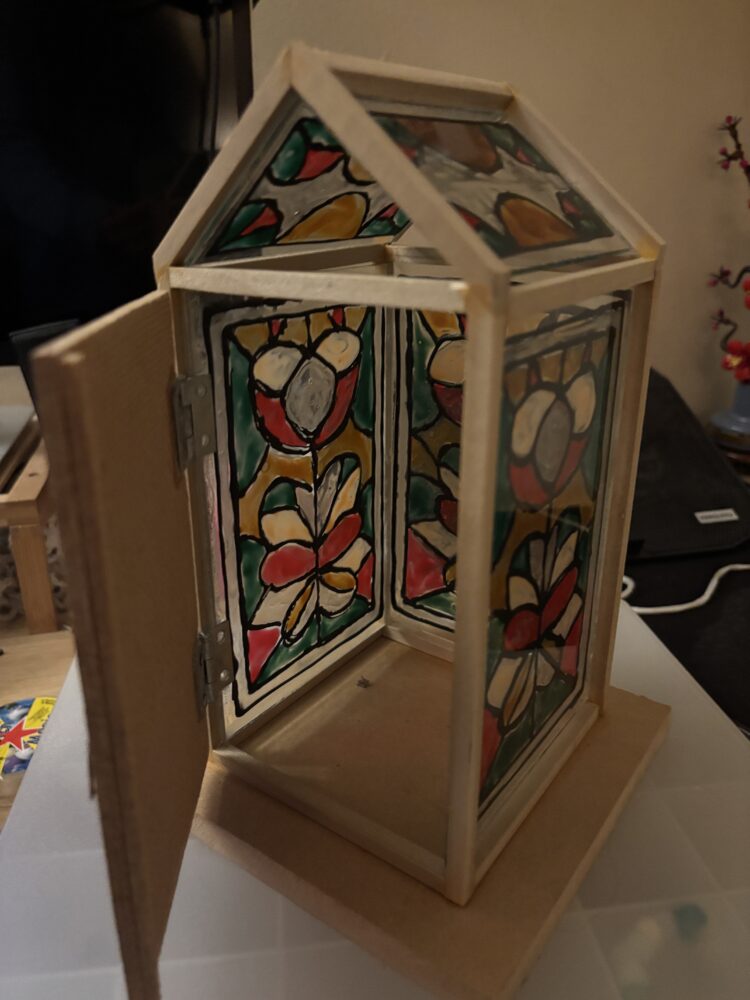
Figure 11: Structure almost complete
After adding the hinges and a wooden door, I also added a wooden base to the structure (Figure 10). This created some stability to everything. I wanted to add a wooden door to change up the textures of the model. I then sanded down my model so it had smoother edges, and painted my wooded door for a cleaner look (Figure 11 and 12).
Figure 11: Final Form Figure 12: Final Form
Sources
Figure 1: https://www.pinterest.com/pin/2603712281523382/, via Pinterest