Timeline of the Design Process
Creating my final artifact—a handmade clapperboard inspired by Classic Hollywood—wasn’t a strictly linear process. It involved a lot of back-and-forth between exploration, trial, and hands-on learning. Here’s a breakdown of my design timeline:
| Phase | Dates | Key Activities |
|---|---|---|
| Exploration | Feb 20 – Mar 3 | Researched vintage film equipment, gathered inspiration images, and studied 1940s–50s set design. |
| Skill Acquisition | Mar 4 – Mar 10 | Practiced with woodcutting tools, painting techniques, and hinge installation. |
| Shopping | Mar 11 – Mar 13 | Found reclaimed wood, white acrylic paint, chalkboard paint, brass hinges, and screws. |
| Looping | Mar 14 – Mar 24 | Revised the clapper dimensions, scrapped lettering attempts, and reworked visual elements. |
| Fabrication | Mar 25 – Apr 10 | Cut and painted wood, assembled the hinge mechanism, and completed the piece. |
| Documentation | Apr 11 – Apr 25 | Took step-by-step photos, compiled sketches, and wrote my process and reflection. |
Fabrication Process: Bringing the Clapperboard to Life
My design challenge began with a simple question: how do I create something functional that also reflects a visual and emotional aesthetic I care about? I’ve always been drawn to objects that feel like they belong to another era, especially items with a cinematic or storytelling feel. The clapperboard, a symbol of filmmaking history, felt like the perfect intersection of function and nostalgia.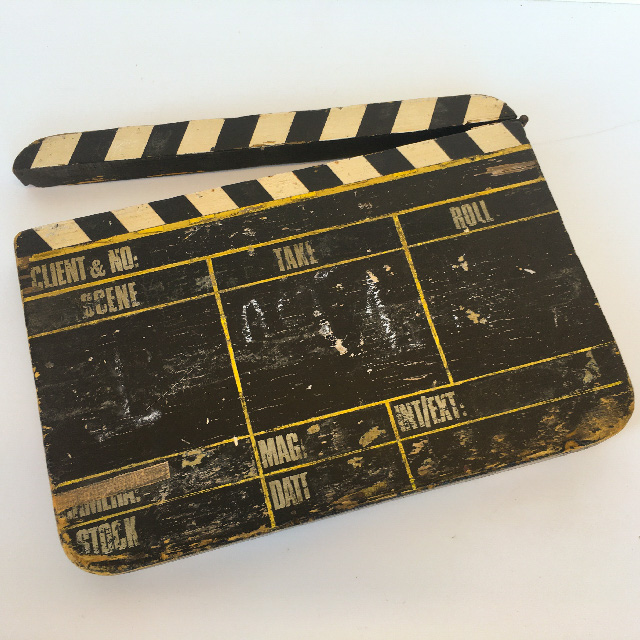
Step 1: Material Selection & Planning
I started by sourcing materials. I knew I didn’t want to use brand-new lumber—the project would feel too sterile. So I found a worn, slightly bowed piece of wood with a visible grain and some imperfections. It had a kind of lived-in look that reminded me of old studio props.
I also picked up a small container of matte black chalkboard paint for the base, white acrylic paint for the clapper stripes, and some simple brass hinges from a hardware store. Everything else—like screws, sandpaper, and brushes—I already had.
Step 2: Cutting & Sanding
With measurements sketched out in my notebook, I used a miter saw to cut the wood into two main pieces: the board base and the top arm for the clapper. I sanded both pieces down, not to perfection, but enough to make them safe to handle and slightly smoother while still retaining that aged feel.
I left some rough patches and nicks in the wood because they gave the piece more character. A pristine, glossy finish didn’t fit the Classic Hollywood mood I was going for. This was meant to feel like it had been used on the set of an old black-and-white noir film, not pulled out of a factory last week. 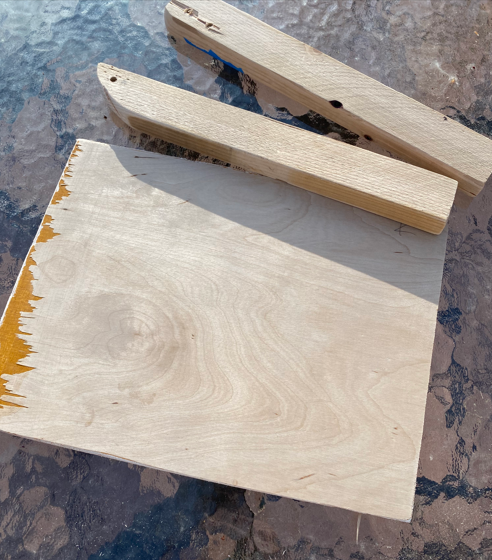
Step 3: Painting
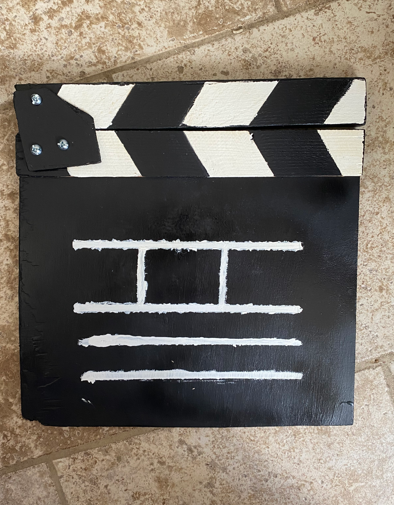
For the base, I applied two coats of chalkboard paint to get a rich, matte black finish. It dried with a slight texture, which actually enhanced the vintage effect. Originally, I had planned to add painted text—labels like “Scene,” “Take,” and “Director”—in a hand-lettered font. But when I attempted it, I realized how hard it was to get clean, legible lettering with a brush on a rough surface. After several tries and some frustrating results, I pivoted.
Instead of forcing a flawed execution, I decided to leave the base unlettered. It still had the look of a clapperboard, and the simplicity ended up working in my favor. It felt more timeless this way—less like a replica and more like an object that had a life of its own.
For the clapper arm, I taped off diagonal stripes and filled them in with white acrylic paint. The lines weren’t perfectly even, but that worked for me. That imperfection mirrored the handmade charm of props from the pre-digital filmmaking era.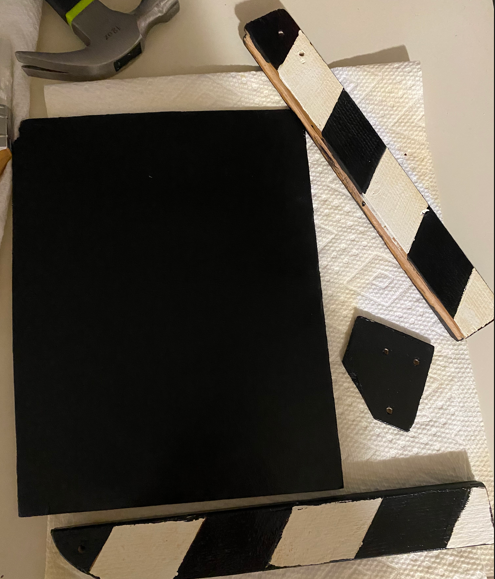
Step 4: Hinge Mechanism
Attaching the clapper arm was the trickiest mechanical step. I had to align the hinges just right so that the top piece could swing with ease but not wobble too much. I used wood hinges for both function and appearance—they added a touch of vintage warmth compared to plain steel.
After marking the positions, I drilled small pilot holes and carefully attached the hinges. A few trial-and-error adjustments were necessary to get the motion smooth. Eventually, I got the satisfying clack sound that gives the clapperboard its name.
Step 5: Final Touches
Once everything was assembled, I gave the clapperboard a once-over with fine-grit sandpaper around the edges to make the wear feel natural. Then, I sealed the painted surfaces with a matte clear coat for durability without losing the vintage look.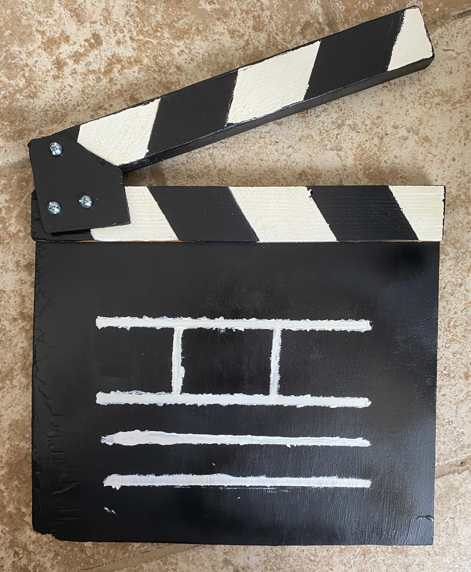
Conclusion: From Idea to Artifact
Looking back, my original plan was a bit more ambitious than what I ended up with—but not in a bad way. I had imagined a fully labeled, clean-lined prop with crisp text and smooth motion. In reality, I created something much more aligned with my aesthetic sensibilities: a clapperboard that feels used, personal, and imperfect in the right ways.
The lettering didn’t work out, and I’m glad I let it go. Forcing that detail would have made the piece feel overworked. By focusing instead on strong visual cues like the painted stripes and worn texture, I captured the feel of Classic Hollywood more honestly. The piece now reads as something that could have been on the set of Casablanca or Sunset Boulevard, rather than a decorative knockoff from Etsy.
In terms of what I’d do differently, I might explore stenciling or a vinyl cutter in future projects to achieve cleaner lettering. That would’ve let me keep my original concept without sacrificing execution. I also wish I’d tested the hinge placement more before final assembly—while it works well now, getting there took longer than expected.
As for what happens to the clapperboard next—it’s going to live on my shelf, near my desk. It’s both a prop and a reminder. Not just of old movies, but of the design journey itself: making choices, pivoting when needed, and embracing imperfection as part of the final aesthetic. It fits into my larger design philosophy of casual, lived-in objects that tell stories. It’s a small tribute to a big era of creativity.