

Fabrication Process
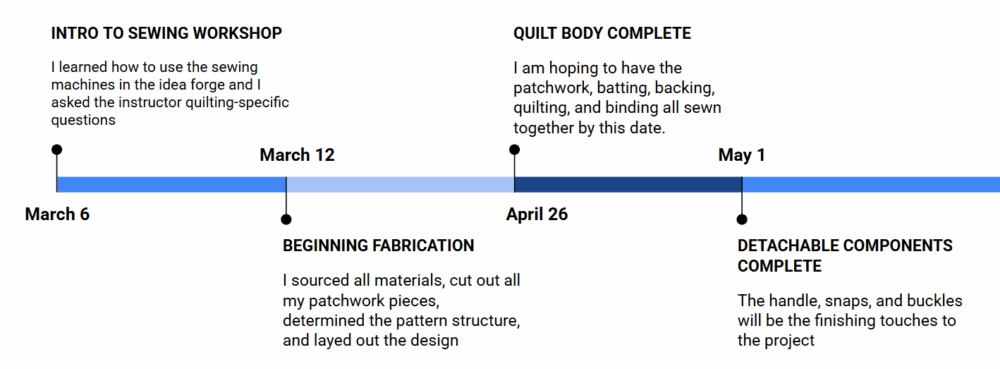
Below is an image of my fabrication timeline. Compared to my original planned timeline, this one ended up getting shifted back by a couple weeks, which was anticipated. I’m glad I budgeted for more time than expected. One of my biggest takeaways from this project is that quilting is a very time consuming process! No wonder the main demographic of quilters is retired people.
Now I’d like to dive into the details of all the steps I took to complete this quilt. There were so many components, learning processes, and methods that went into making it. Everything from preliminary research to final stitches played a role in the success of my design.
- Project inspiration and planning. I knew I wanted my quilt to be indoor-outdoor to match my personal aesthetic in both environments, so I targeted the dynamic components of the quilt to fulfill this. I wanted to make a detachable handle for carrying the quilt, and I wanted to add snaps in the corners of the quilt to attach a waterproof tarp for picnicking purposes. I also looked up inspiration photos, developed a color palette, and picked a patchwork pattern.
- Quilt research. Since I had never made a quilt before and I consider myself a novice sewer, I did extensive research into the quilting process and materials. I learned the names of each layer and other associated vocabulary. I also found out which machines and tools would be the most helpful in this project.
- Sourcing materials. I went to Joann to buy some fabric and snaps. I also went to Art Parts to gather additional fabric, some webbing for the handle, and two plastic buckles. Finally, I went to McGuckin to purchase the waterproof tarp.
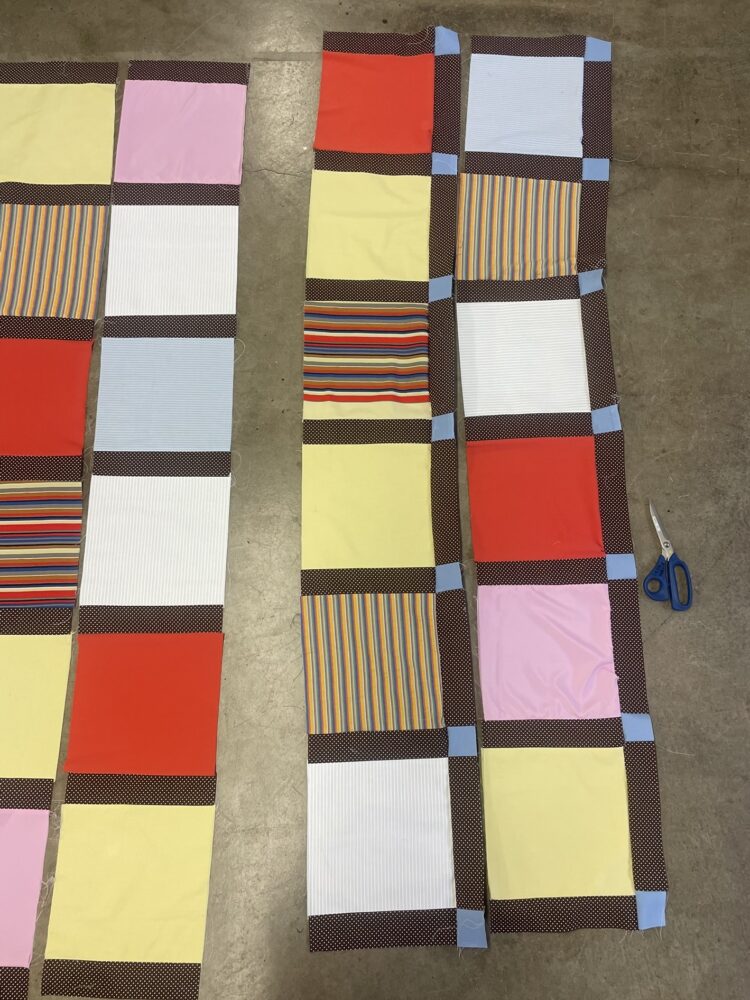
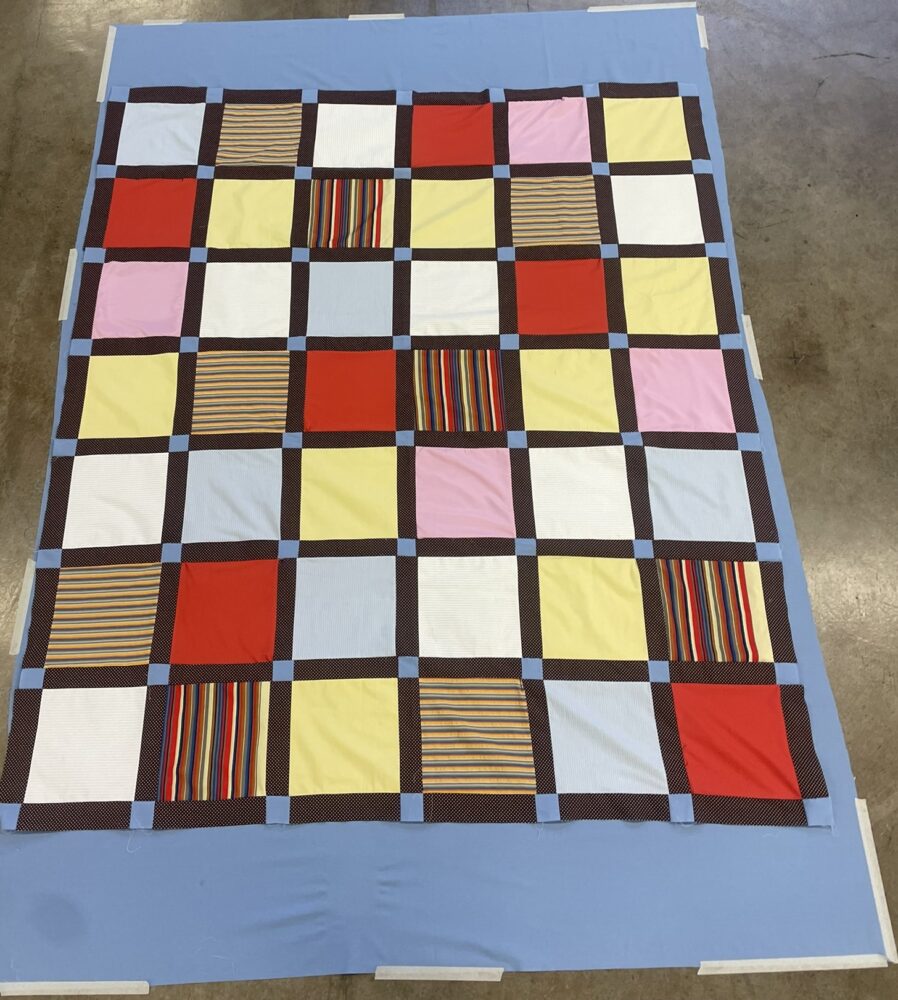
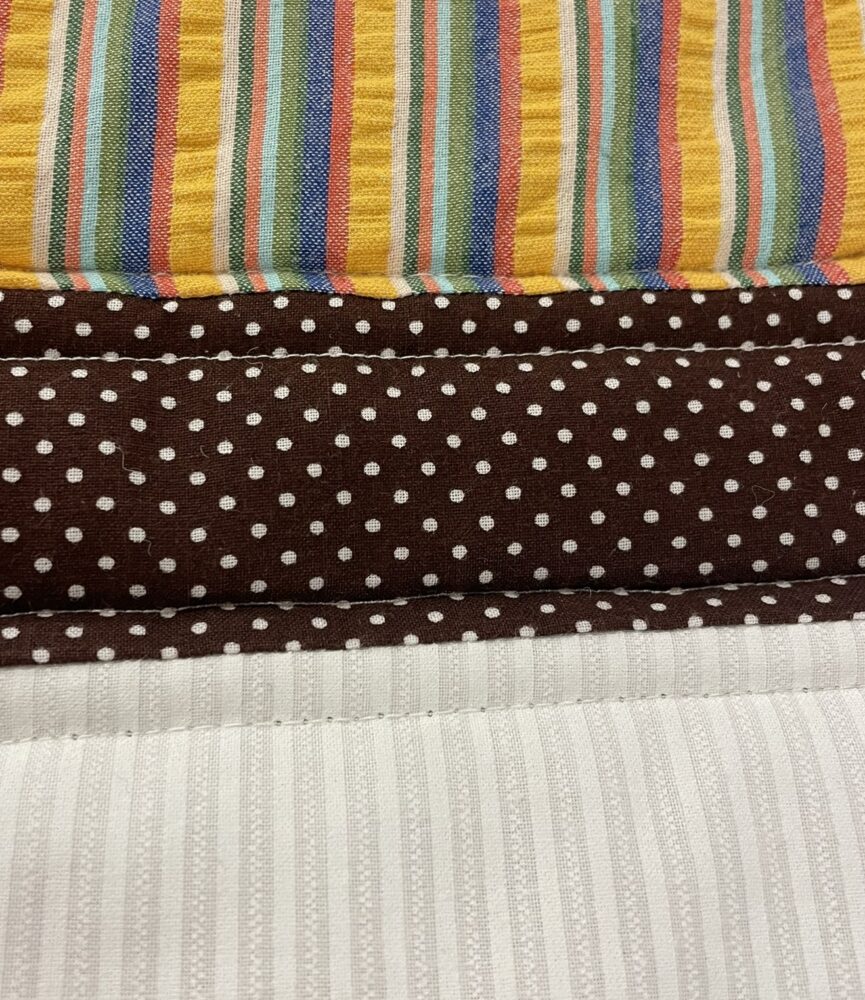
- Cutting out the patchwork pieces. I measured and cut 42 10″ x 10″ squares, 56 2.5″ x 2.5″ squares (blue fabric), and 97 10″ x 2.5″ rectangles (brown polka-dot fabric)

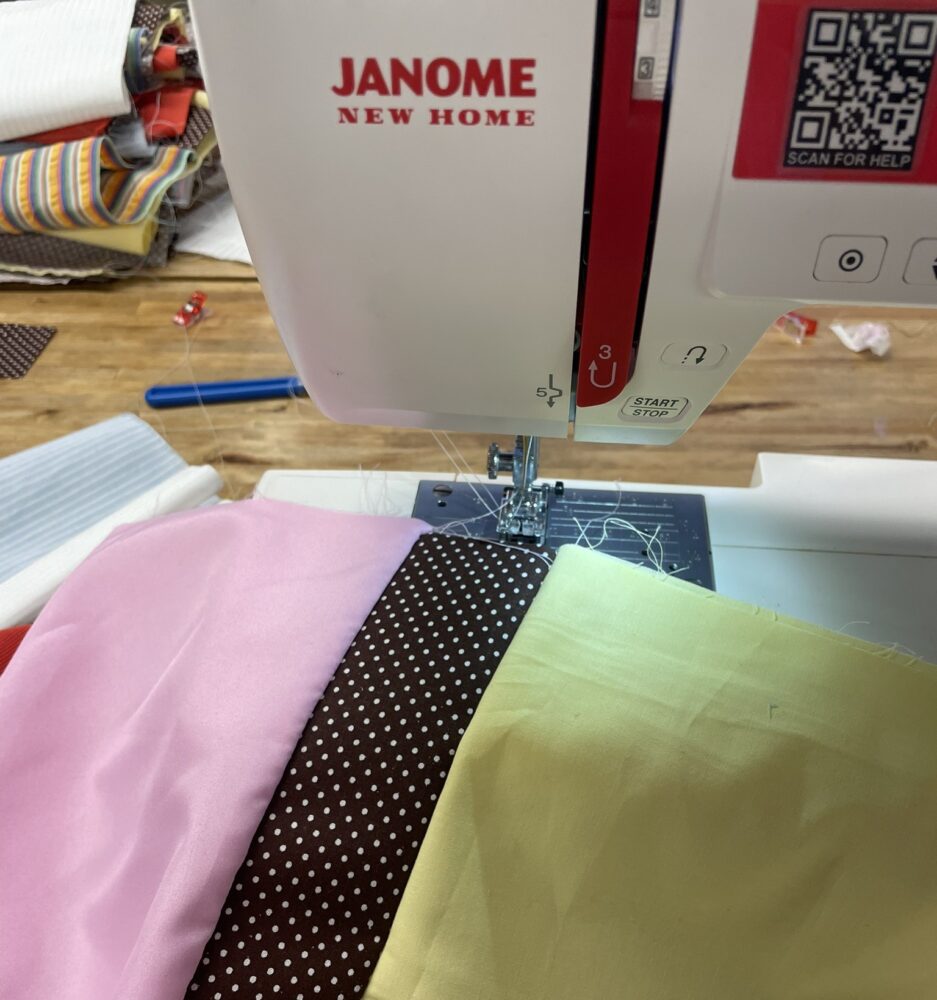
- Sewing the pieces into rows. This was 8 rows of small blue squares and brown polka-dot rectangles and 7 rows of 10×10 squares and brown polka-dot rectangles.
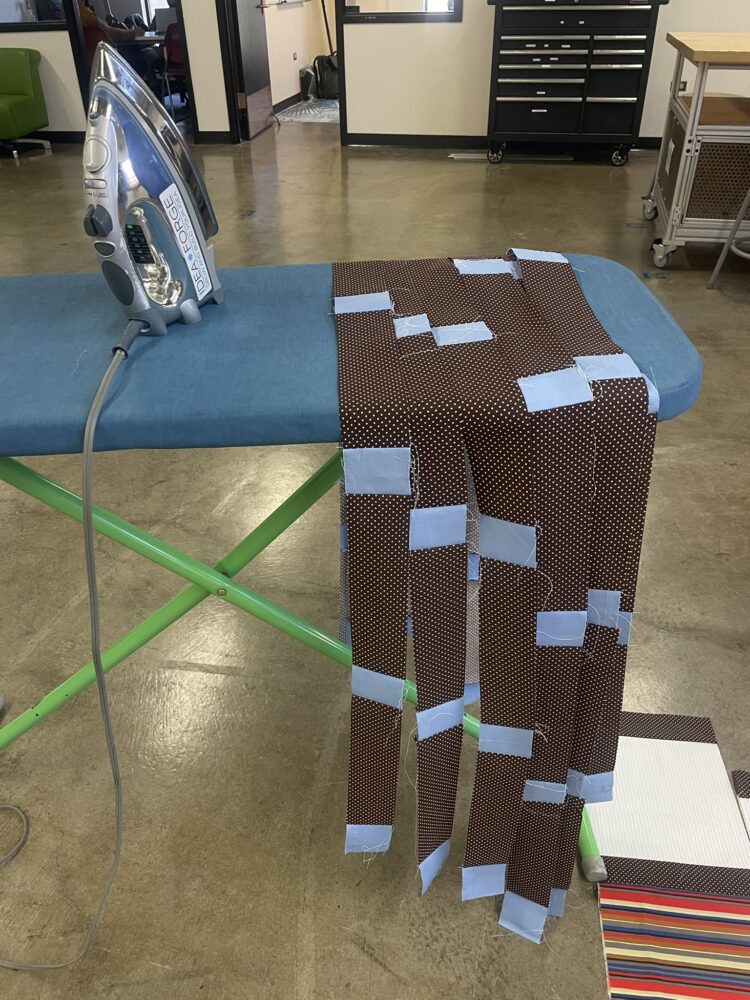
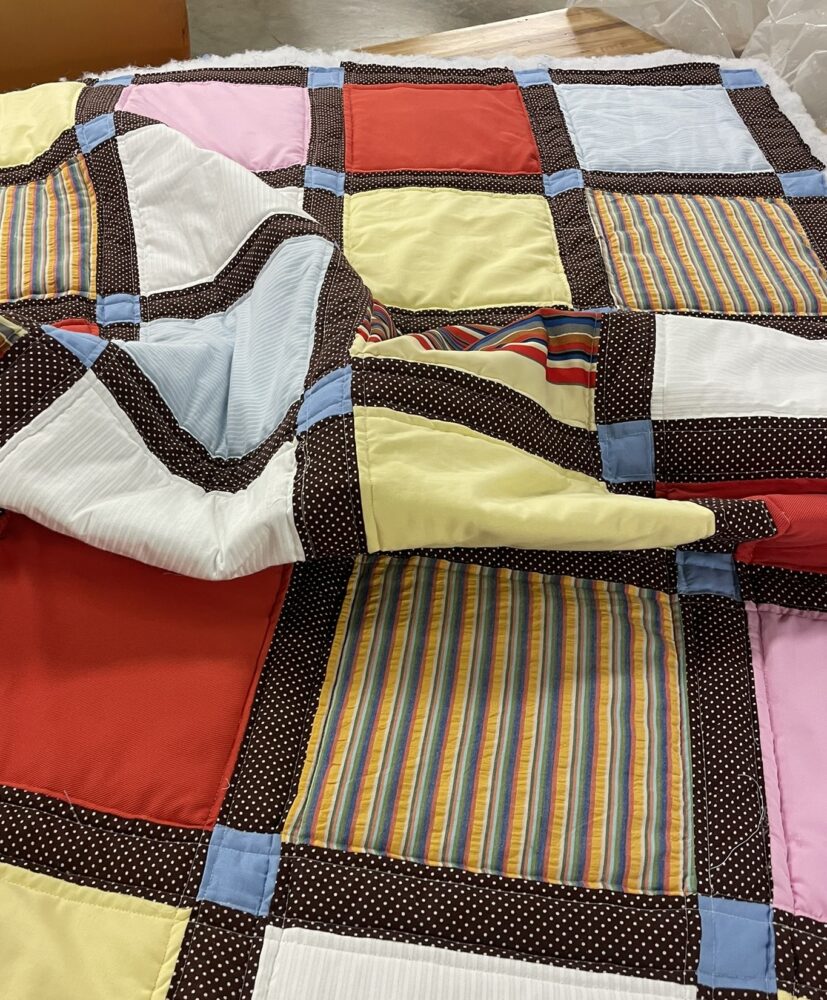
- Sewing the rows together. Joining all the rows together resulted in the complete patchwork layer. I also ironed out all the seams to ensure crisp lines.
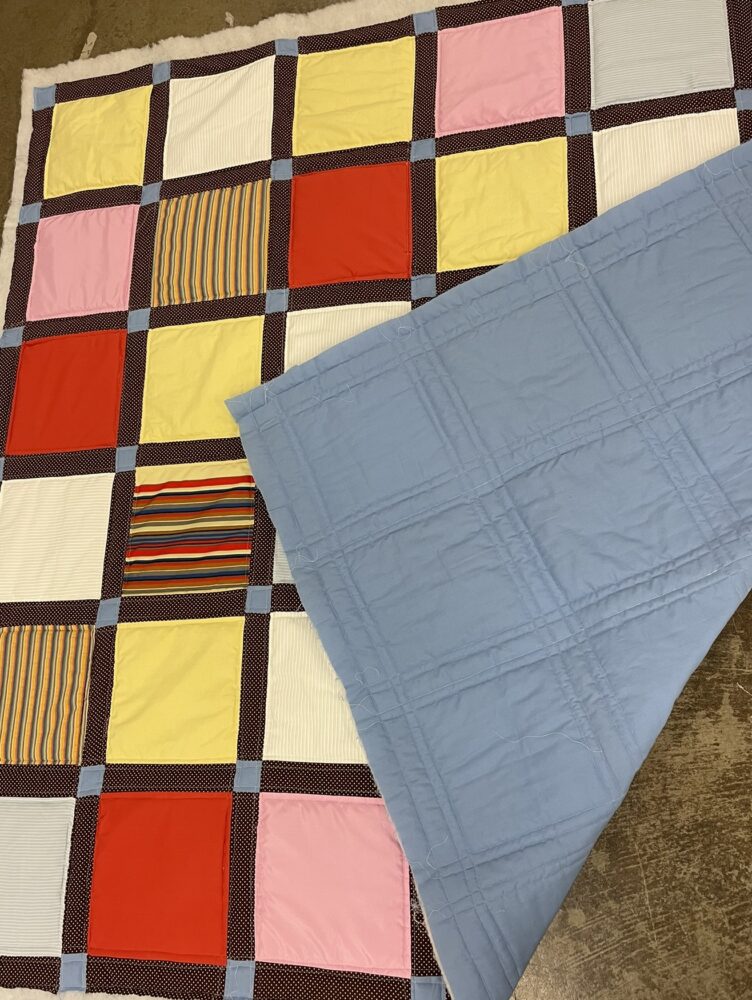
- Cut the batting layer and the backing layer to size. The batting is the fluffy material and the backing is a solid piece of blue fabric.
- Make the “quilt sandwich” and apply basting spray. The basting spray allows all three layers to stick together temporarily to avoid bunching during the quilting step.
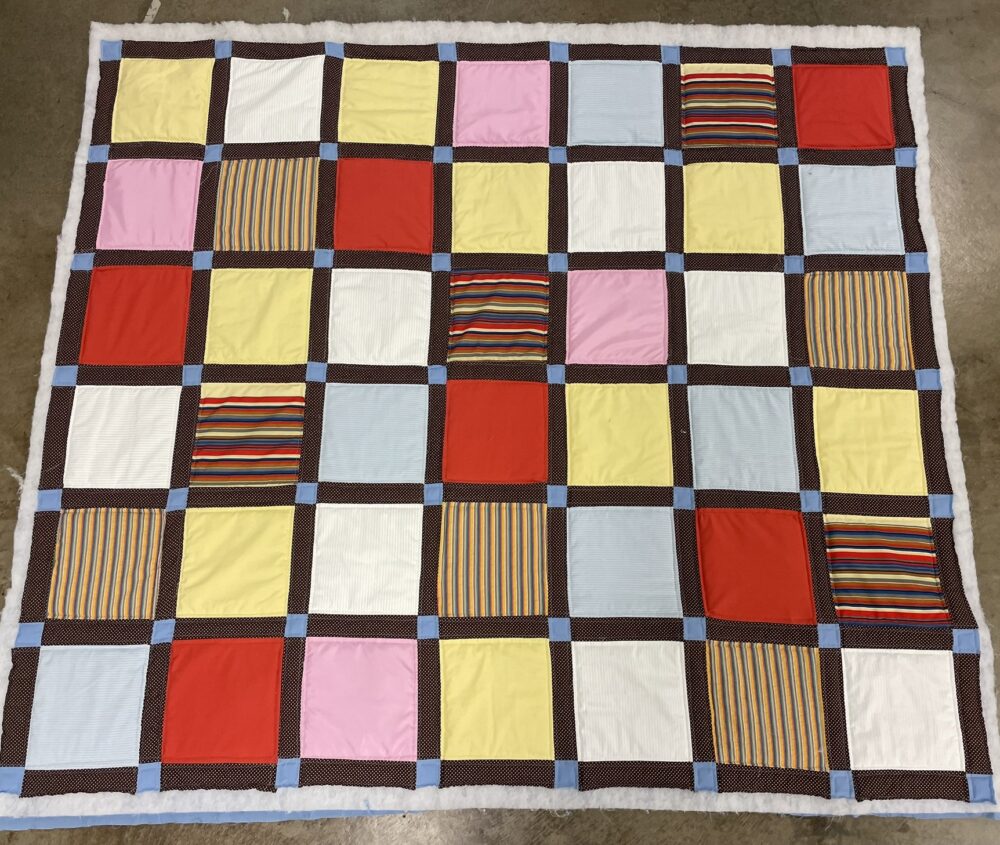
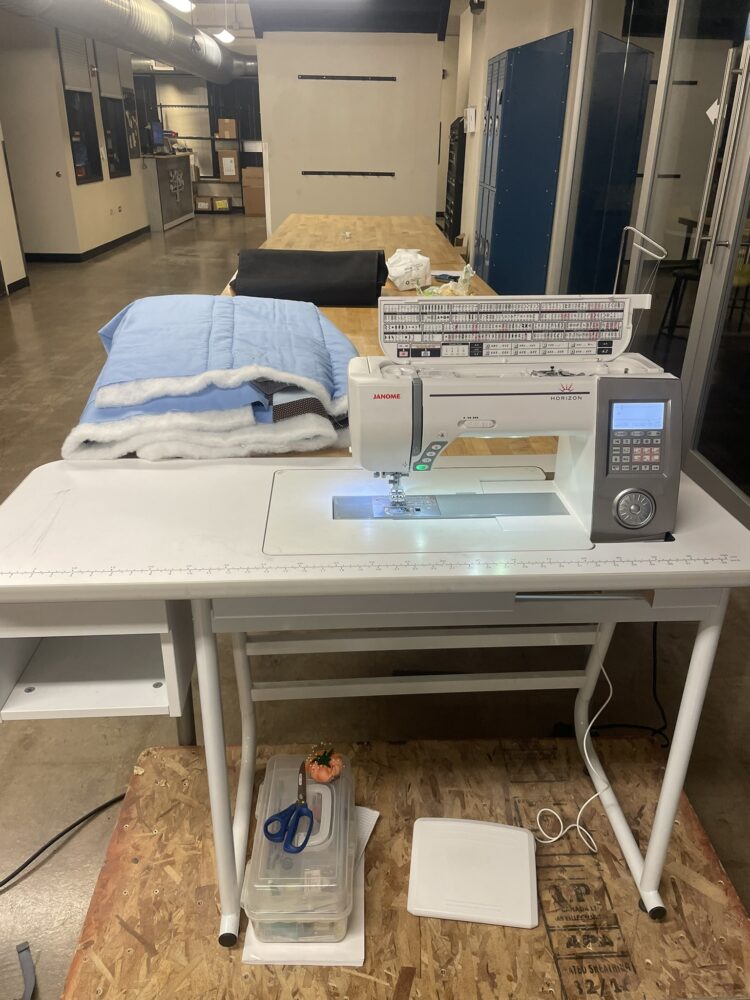
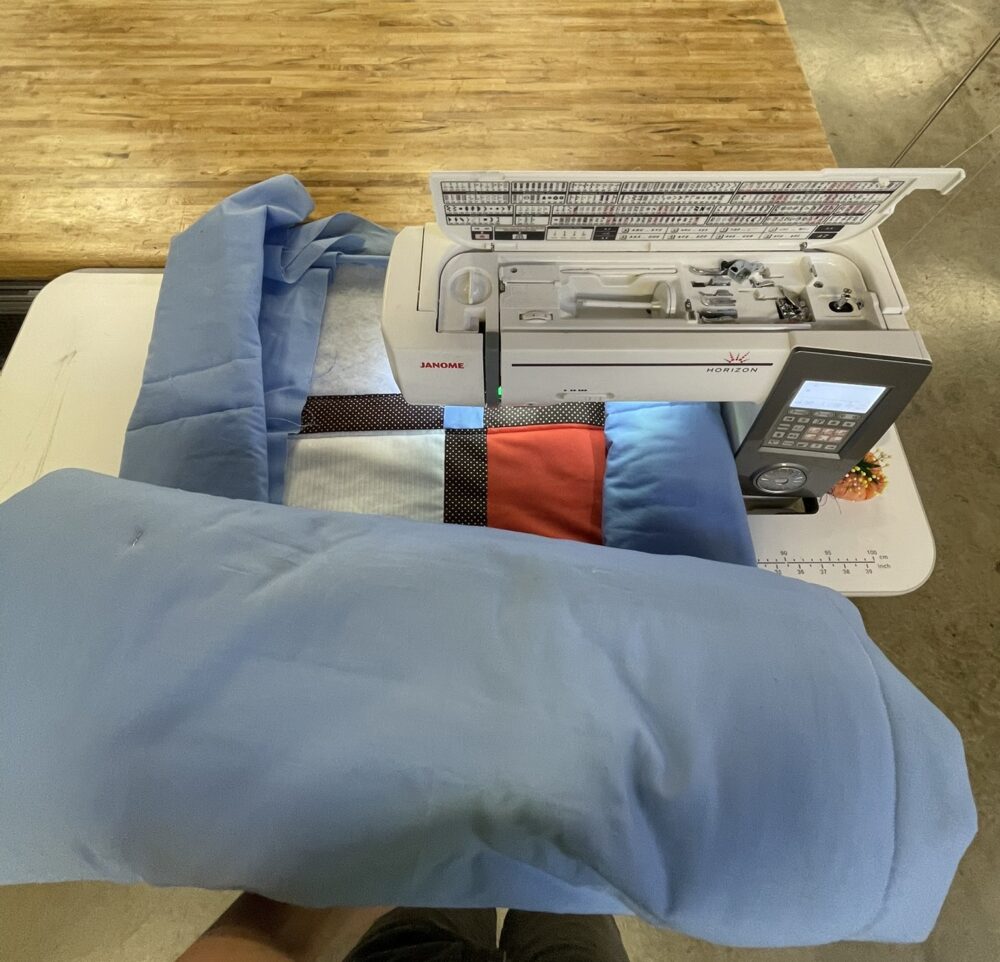
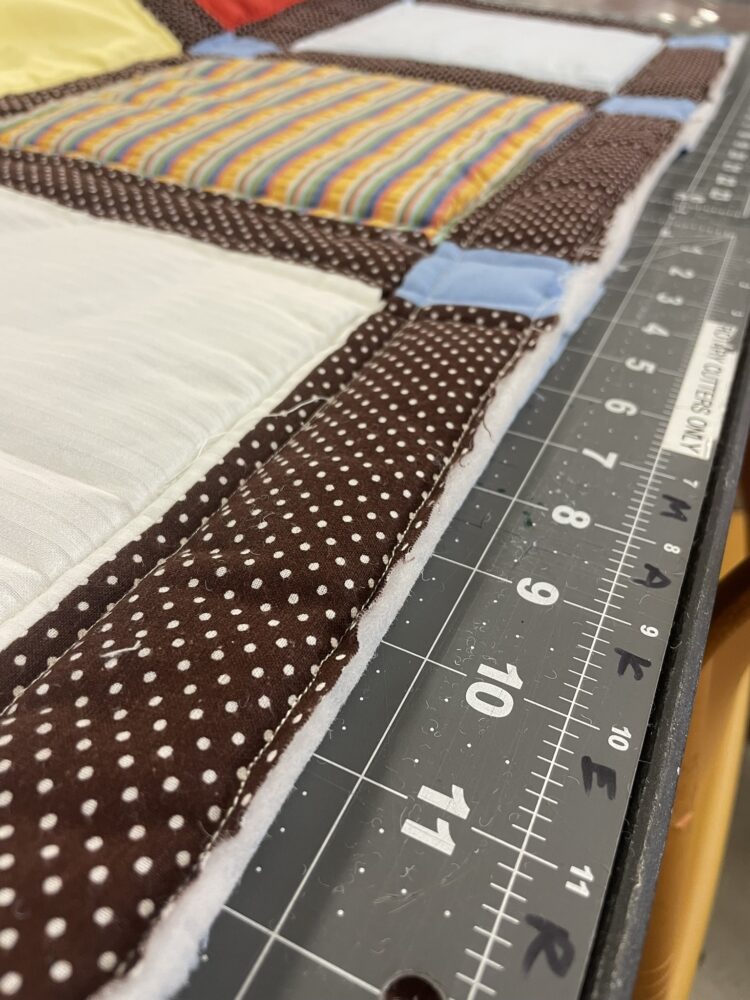
- QUILT the quilt. This means stitching decorative patterns through all three layers. I chose a straight line quilting design. The long-arm sewing machine made this step much easier, as it is crazy difficult to wield all the fabric at once and feed it through the machine. An additional essential part of this step is the walking foot, which helps keep the layers gathered properly to avoid bunching while quilting. The quilting step probably took at least 12 hours total.
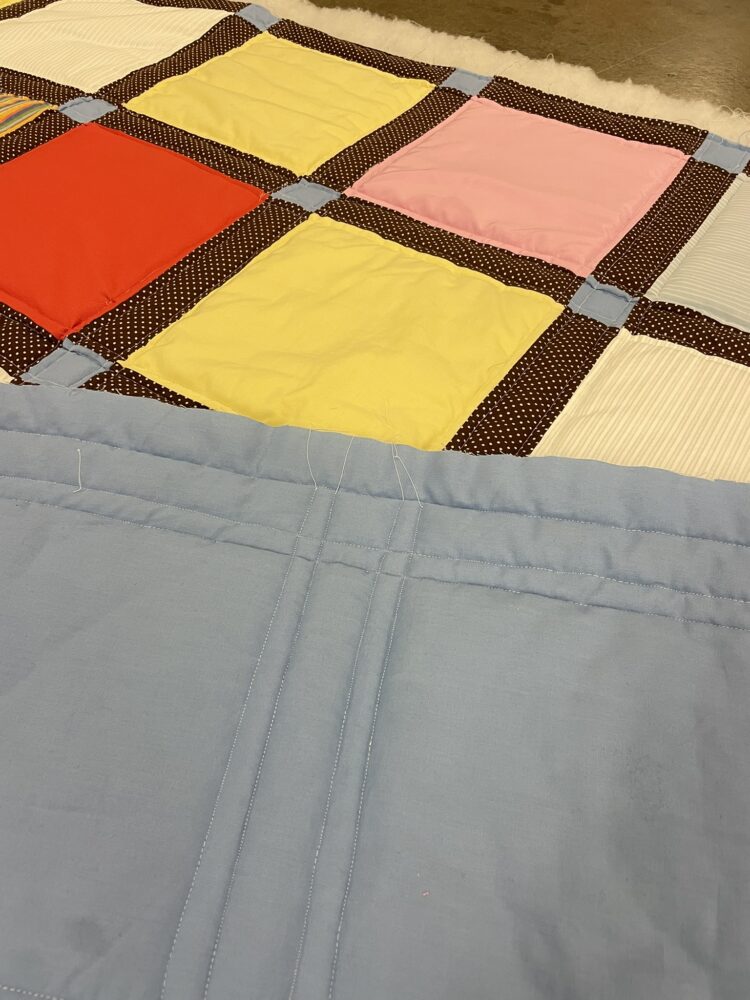


- Create binding strips. These are pieces of fabric that go along the border of the quilt to hide all the raw edges and give it a clean finish. To make the batting, I first had to cut strips of blue fabric and sew them all together. There was a lot of ironing involved as well.
- Trim all the excess batting and backing around the edges and bind the quilt. I first sewed one edge of the binding to the back of the quilt, then the other edge wrapped around to the front side of the quilt.
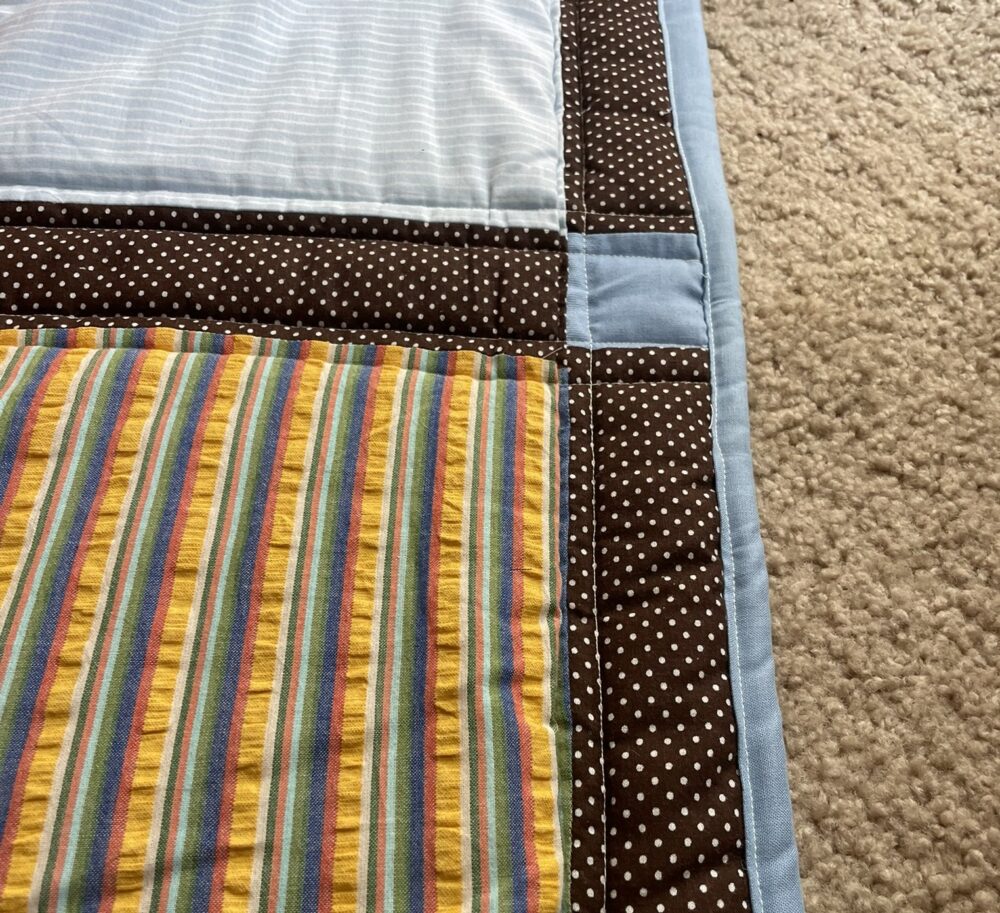
- Miter the corners. This step involves precisely folding the fabric and sewing it in place to get crisp corners. Many quilters consider this the hardest step.
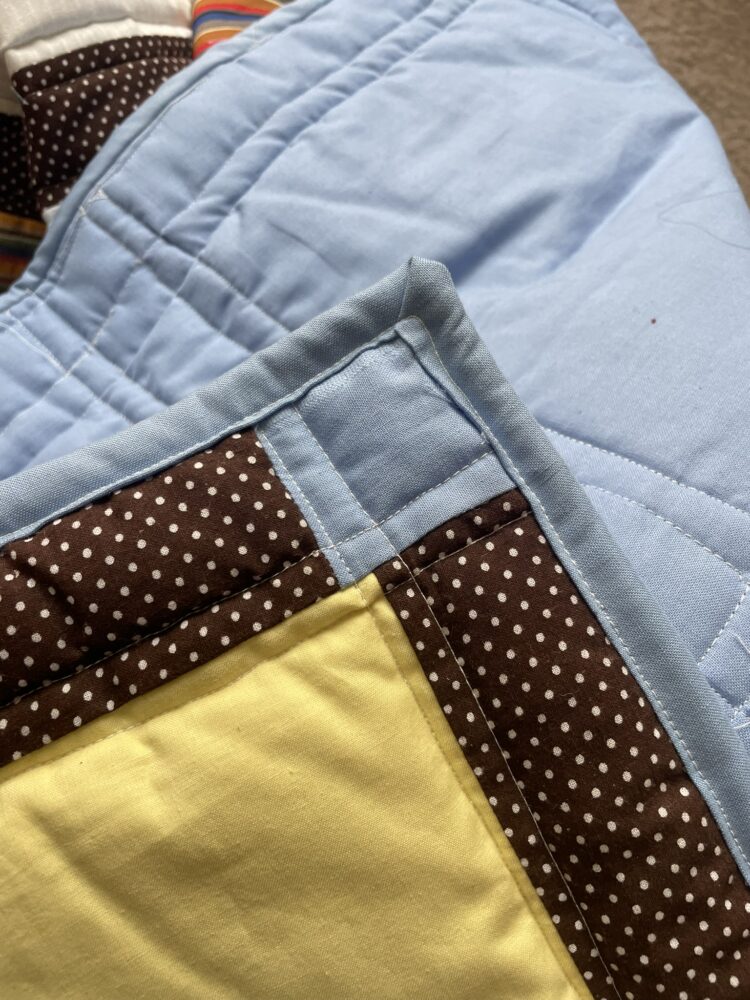
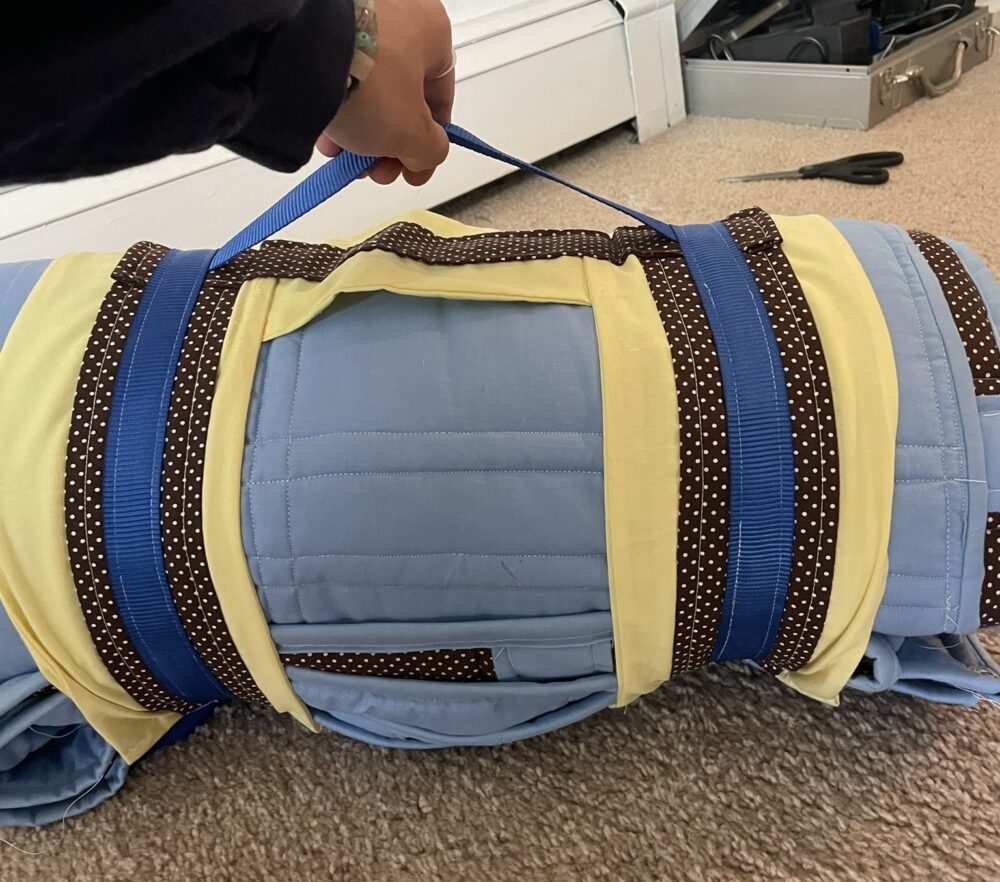
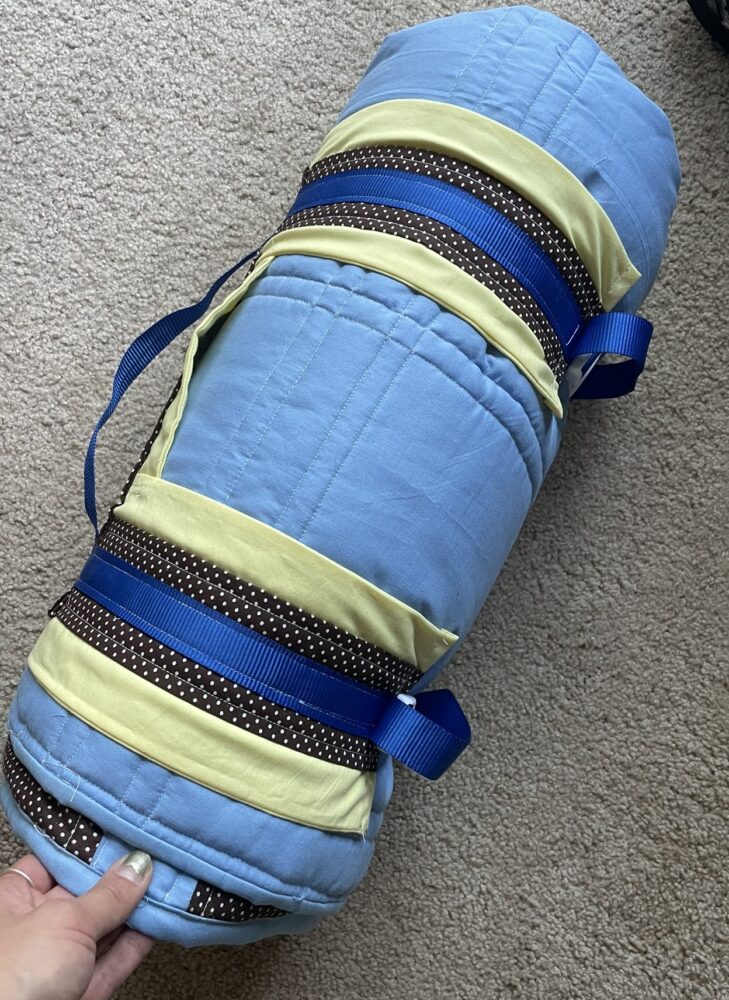
- Admire the finished quilt. Woohoo!
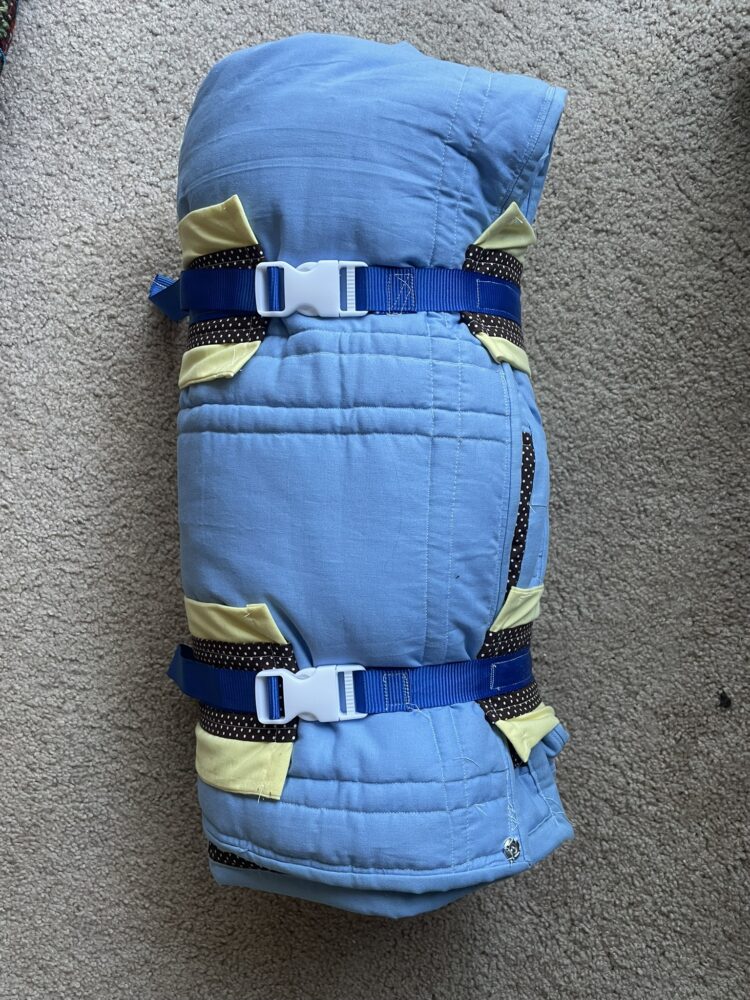
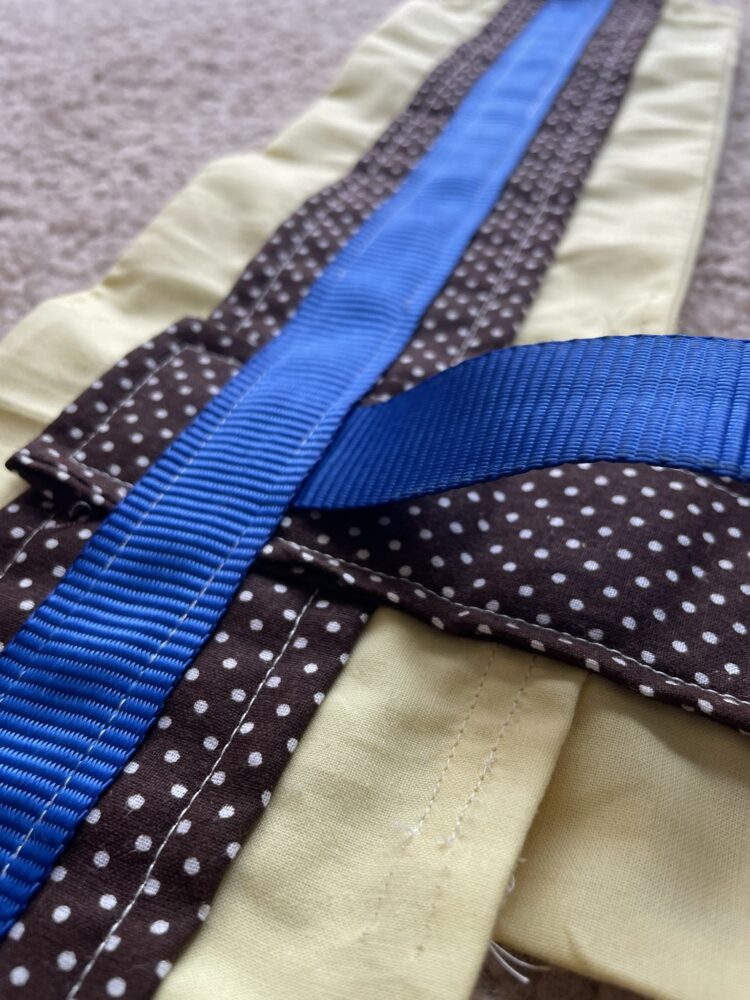
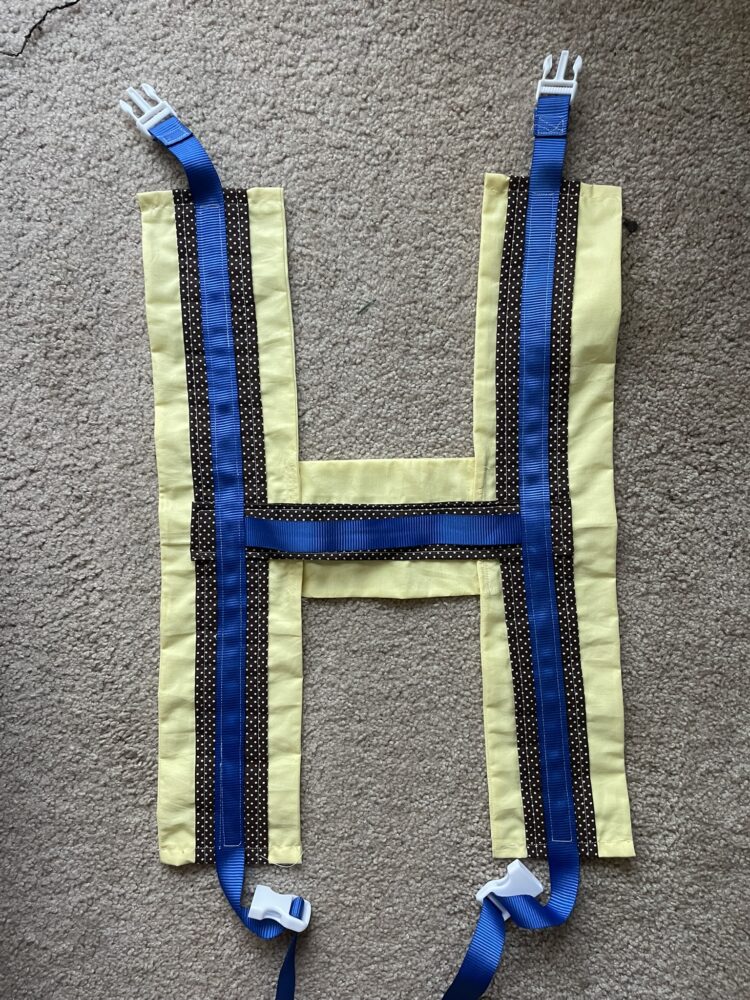
- Create the detachable handle. I used scrap fabric to create a layered H-shape design. Once the shape was created, I attached the dark blue webbing and the plastic buckles.

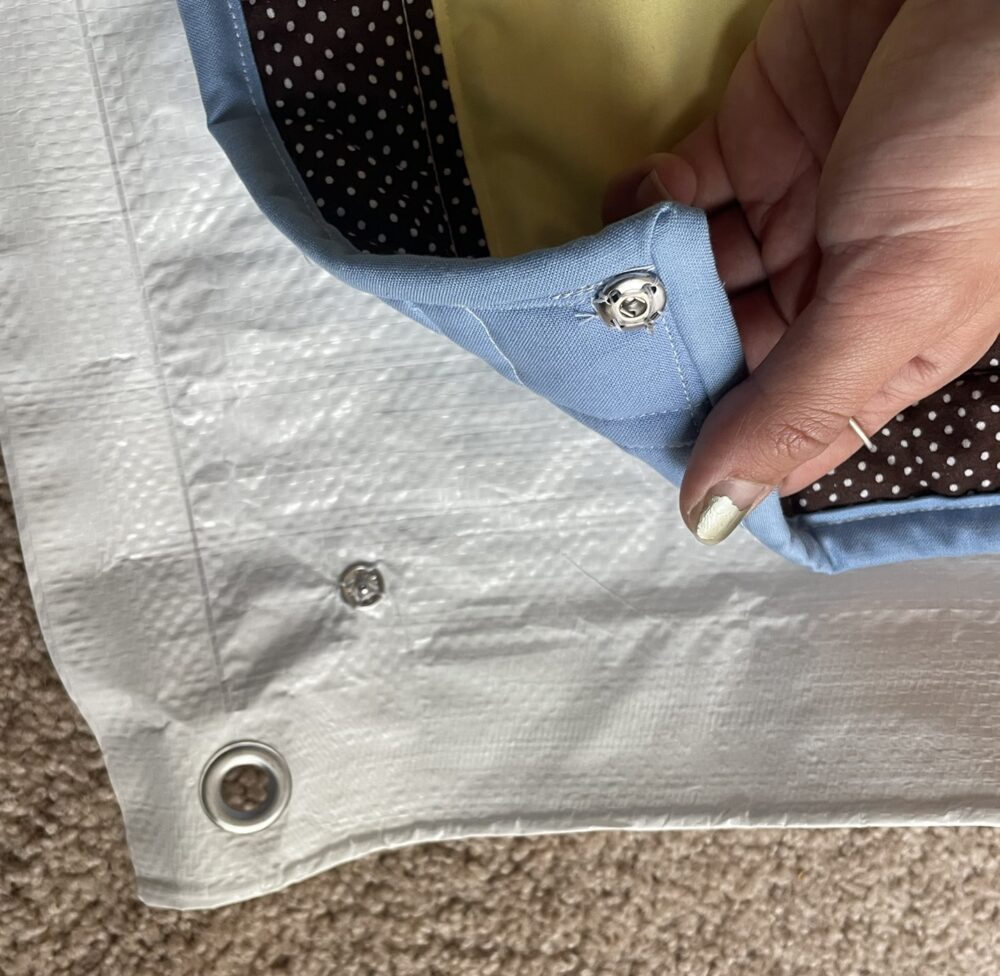
- Cut the tarp to size and sew on the snaps to both the tarp and the quilt
Challenges Along the Way
For me, the hardest part was the quilting stage. There were so many stitches to be made and since the quilt is so large and heavy, it felt like it was fighting against the sewing machine. There were a couple instances where I had to use the seam ripper and redo some stitches, which consumed a lot of time. My quilting lines are definitely not perfect and the fabric experienced some mild bunching and bubbling, however, as a whole, the quilting design turned out very well. Another obstacle I faced involved differences in the fabric textures I used. For example, one of the fabrics was very stretchy and another was silky/slippery, and others were cotton. This meant that when I was sewing together all the rows in the patchwork design, it was difficult to get the corners of the squares to line up perfectly. In the future, if I were making a similar quilt, I would buy a pre-made quilt cake (a stack of perfectly cut 10×10 squares of all the same fabric type) to help with the precision issues when quilting.
Reflection
Reflection
I’m definitely proud of the work I’ve done, despite all the extra time I poured into the quilt. It has made me gain respect for quilters and other people who are master sewers. I think my design definitely fits my intended aesthetic and I followed my fabrication plan pretty closely. In the future, I would love to play around with different colors and patterns because the possibilities are endless. One of my main takeaways is that there is a clear push and pull between craftsmanship and time. You have to sink a lot of time into a quilt if you want perfect stitches. Nonetheless, it was amazing to see my vision come to life! I’m so happy that the quilt is huge, colorful, playful, and fulfills its intended purpose with the detachable components.
Image credits: all images are my own
1 Comment. Leave new
[…] the precision issues when quilting. Below are some images of the final product. Read more about how I made the quilt and how I fulfilled my aesthetic […]