

Timeline:
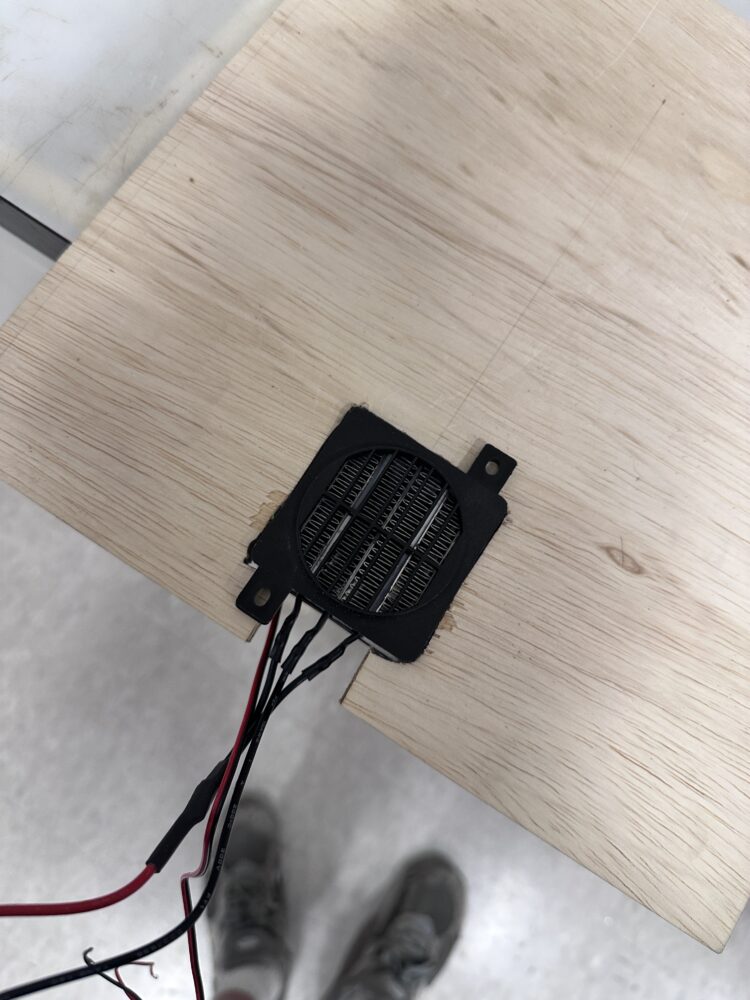
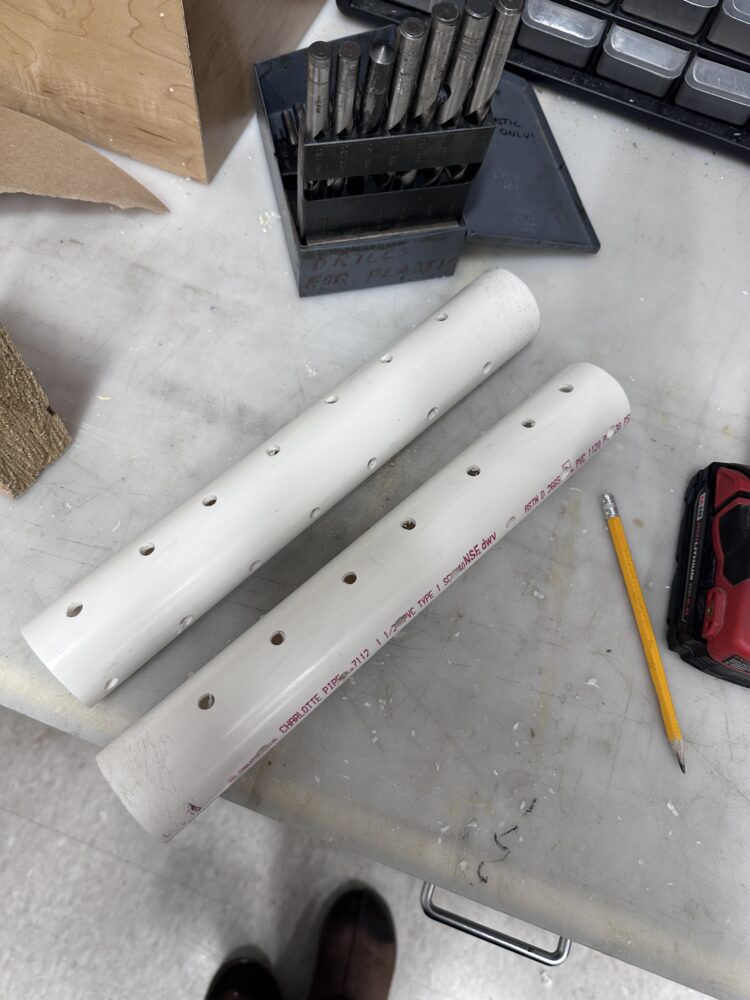
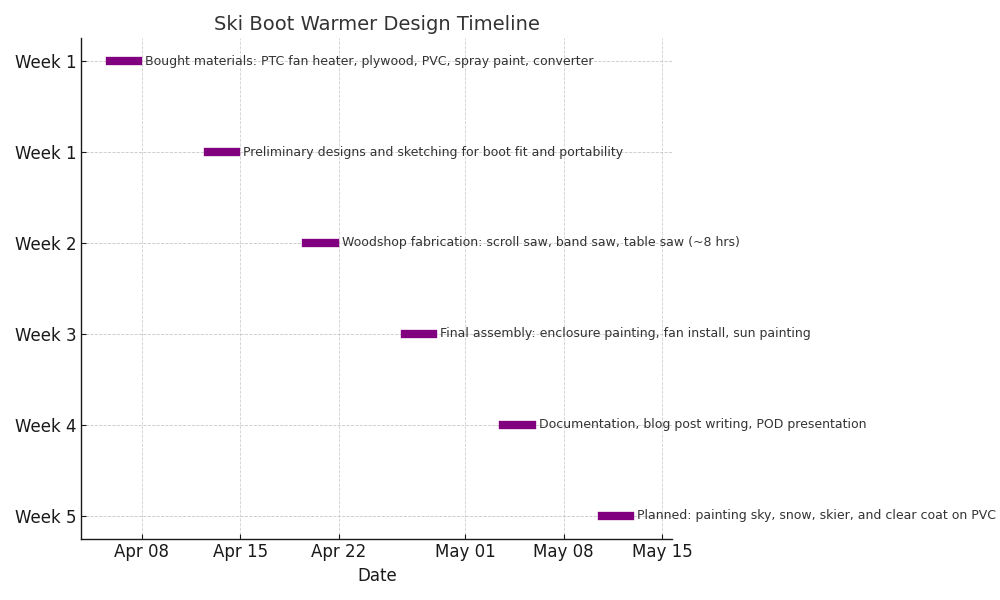 The timeline above outlines the five-week process behind designing and building my retro ski boot warmer. In Week 1, I purchased all necessary materials—including a 12V PTC heater/fan, plywood, PVC, and a power converter—and began preliminary sketches to size the enclosure for portability and proper boot fit. Week 2 focused on fabrication, where I spent around 8 hours in the woodshop refreshing my skills on tools like the scroll saw, band saw, and table saw. In Week 3, I completed final assembly, which included painting the enclosure, installing the fan, and adding the sun detail to the front panel. Week 4 was dedicated to documentation: writing blog posts, compiling photos, and presenting the project to my pod. In Week 5, I plan to finish the aesthetic elements—painting the sky, snow, and skier scene—and seal the PVC with a clear coat to preserve the artwork.
Fabrication Process:
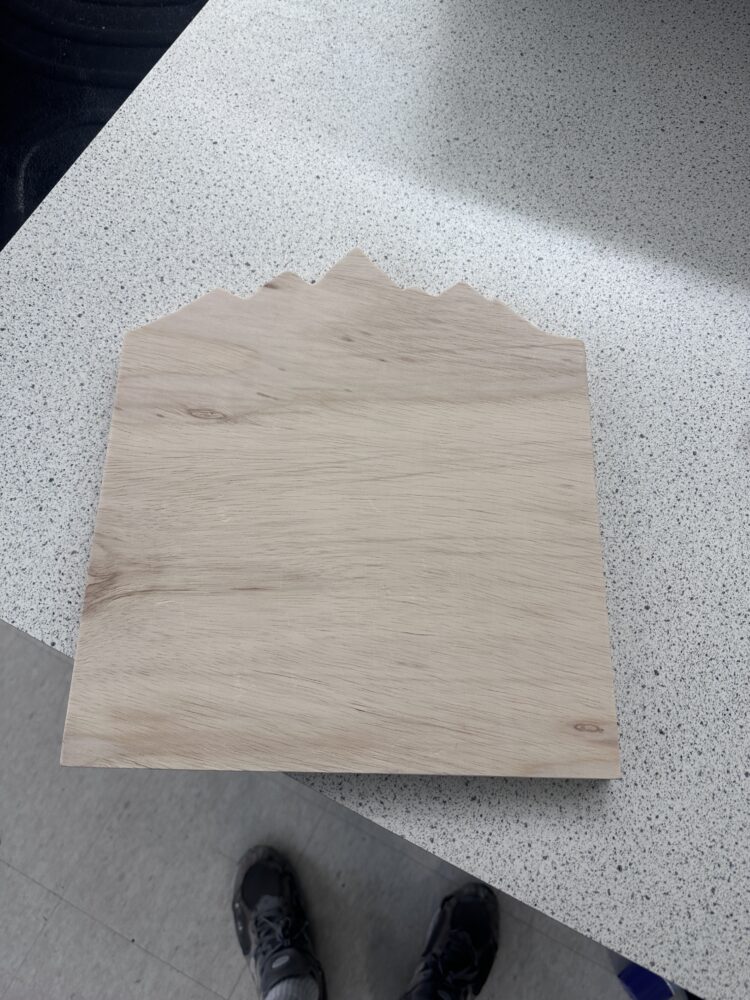
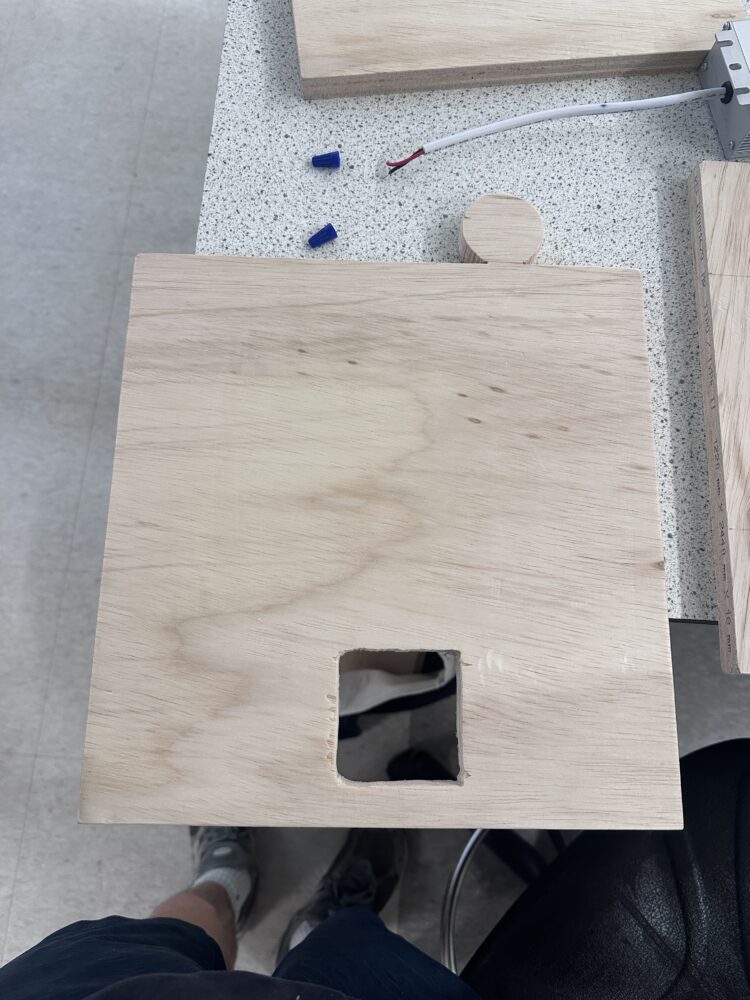
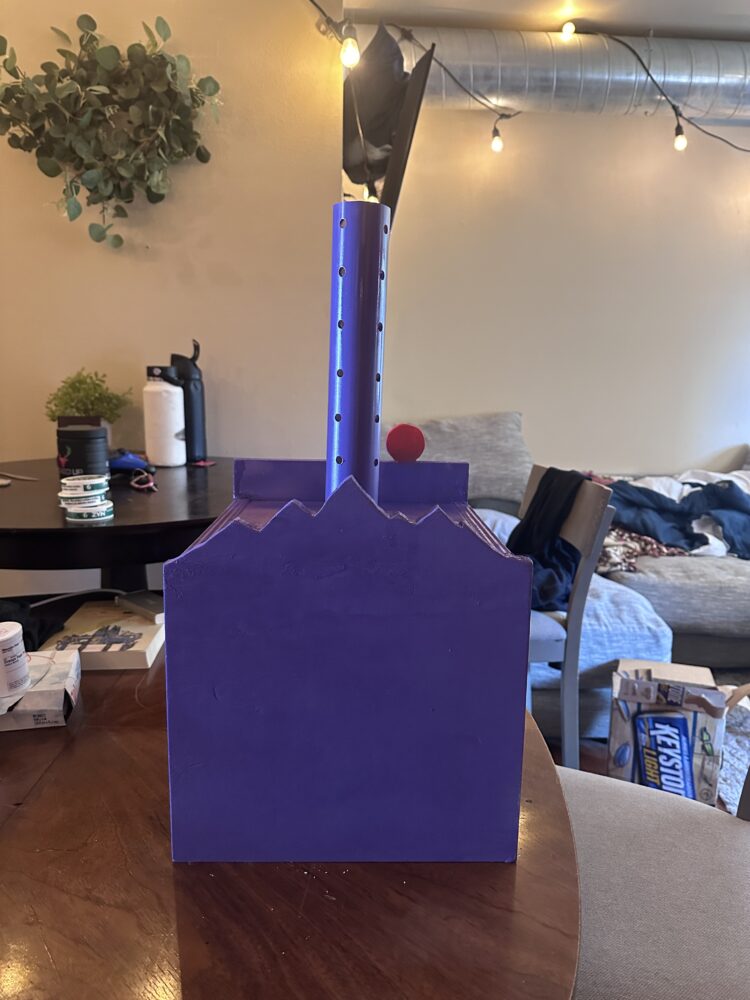
The fabrication process for my retro ski boot warmer began with precise planning and measuring. I started by tracing out the dimensions of each box panel on a 2’x4’x¾” plywood sheet. I accounted for the necessary overlap to ensure that the side panels would flush correctly when clamped and glued. I cut four 12″ by 10″ rectangular panels—two for the sides, one for the top (which would hold the PVC pipes), and one for the bottom. For the front panel, I added 3 extra inches of height to create a stylized mountain silhouette, and for the back panel, I added similar height to include a sun cutout. I carefully planned the placement of the sun so it would rise just above the mountains, but I later realized that the extra height on the back panel wasn’t actually necessary—the visual separation worked fine without it, due to how our eyes perceive depth. This turned out to be a helpful lesson in visual design vs. structural need.
Looking back on this project, I’m really happy with how closely the final product matched my original vision. From the start, I had a clear mental image of what I wanted this ski boot warmer to look like—bold, clean, and nostalgic—and the end result stuck almost exactly to that plan. The shape, the colors, the cutouts—everything came together the way I imagined. While I didn’t deviate much in terms of design, my timeline ended up tighter than expected, and I finished with less time to spare than originally planned.
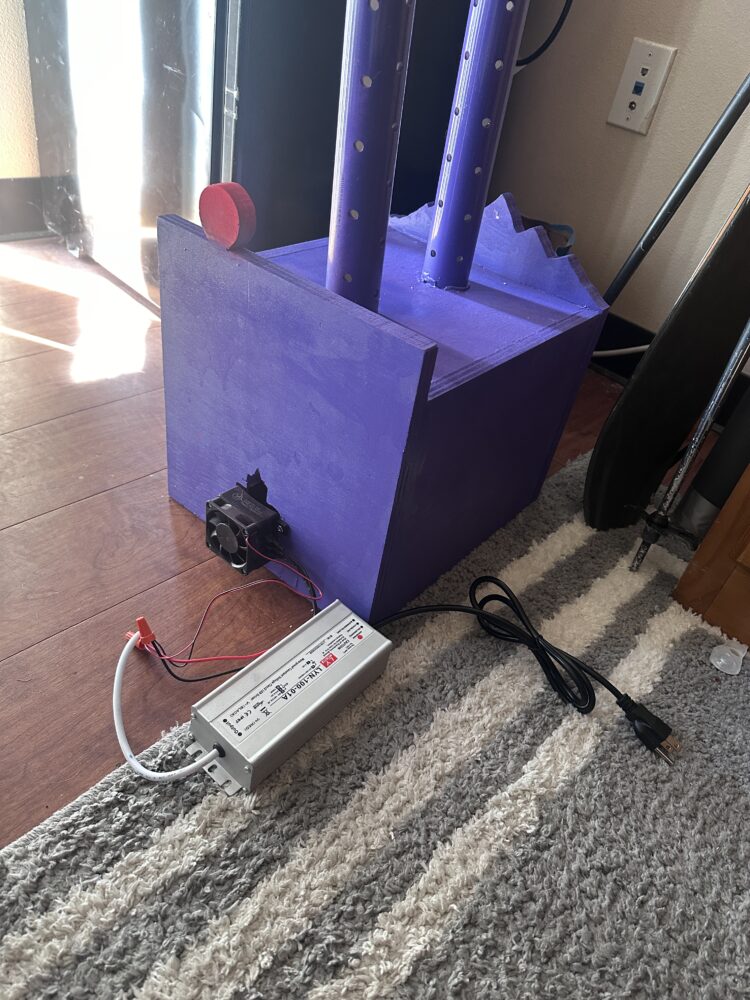
There are still a few finishing touches I’d like to make. One thing I wish I had done differently was adding an enclosure for the AC/DC converter. Right now, the power block is a bit chunky and awkward to manage—it hangs loosely outside the box, making it harder to carry around neatly. I picture a small housing built onto the side or bottom of the box with a cutout for the wall prong, which would have helped contain the wiring and maintain the clean, intentional look I aimed for.
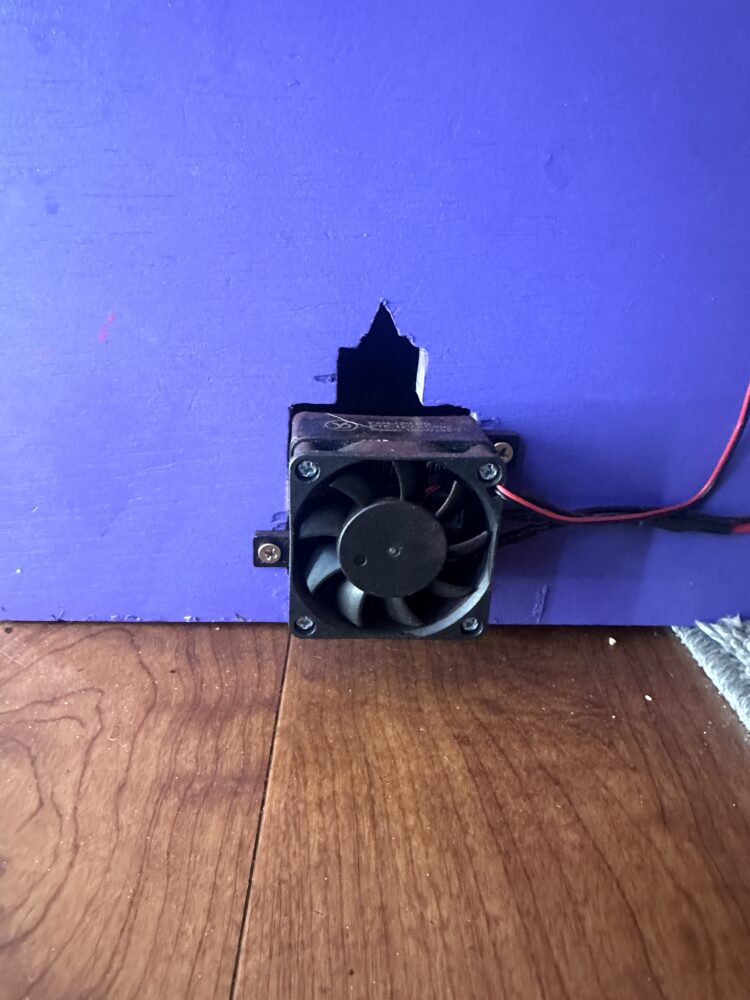
Beyond that, I plan to patch the small cutout above the fan using thermal caulk to tighten the overall look and reduce heat leakage. I also want to paint diagonal neon stripes on the side panels and add a skier decal across the mountain cutout, topped with white snow details to push the retro ski aesthetic even further. To preserve the finish and prevent paint transfer or cracking, I’ll spray a clear protective coat over the grape purple paint.
This project has been a really rewarding mix of design and hands-on fabrication, and I fully intend to keep using it for years to come. It’ll be a staple on ski trips—something that not only dries out my boots but also stands out as a fun, personal piece of gear with a story and style all its own.
(AI used to assist writing)