
Over the past couple of weeks, I’ve made solid progress on my retro-inspired ski boot warmer project. The overall goal of this design is to build a simple, effective boot warmer that channels the bold and nostalgic visual aesthetic of 1980s ski culture—think neon colors, stylized mountains, and gear that looks like it was pulled straight from an old ski lodge. While the final product is still in development, I’ve completed the early stages and am right at the point where I’ll begin gluing and assembling the enclosure.
Material Sourcing and Design Planning
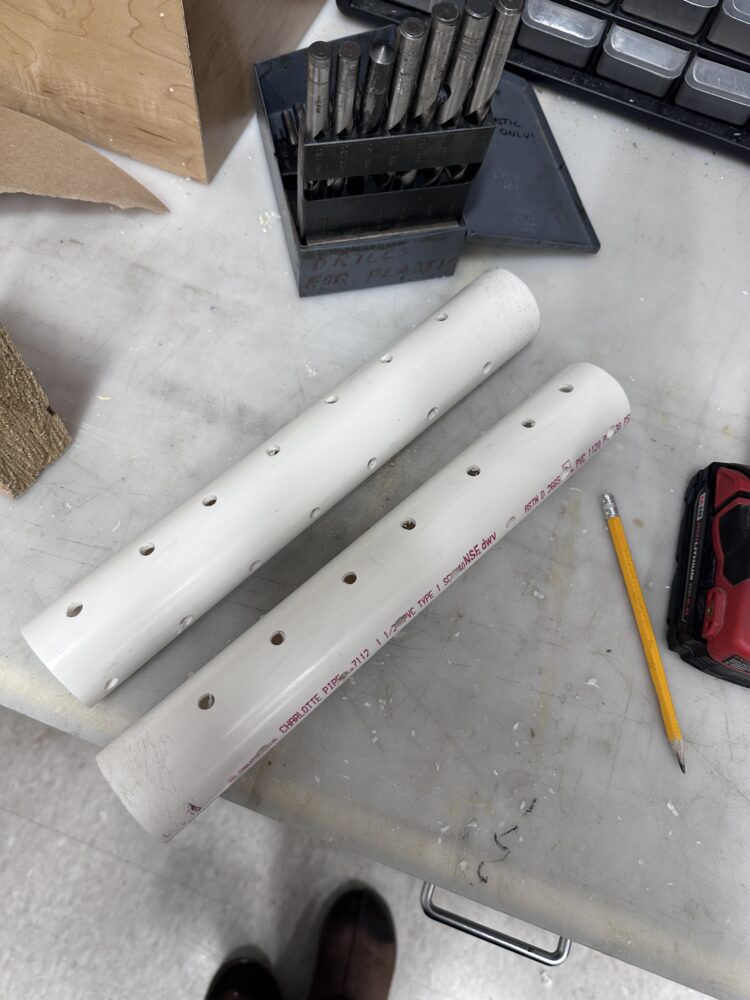
I began this project by sourcing the core materials: a 2’x4’x¾” plywood sheet for the enclosure, two PVC pipes to deliver warm air into the boots, a 12V PTC heater/fan combo (purchased on Amazon), and a 110V AC to 12V DC converter. I also picked up grape purple spray paint and neon accent colors from Home Depot for the final aesthetic finish. My design is fairly straightforward: warm air will be pushed from the fan, through a sealed box, and up into the ski boots via the PVC pipes. While many DIY boot dryers follow this basic form, I’m focusing heavily on visual character and building something I’d be proud to keep out in a ski cabin or garage.
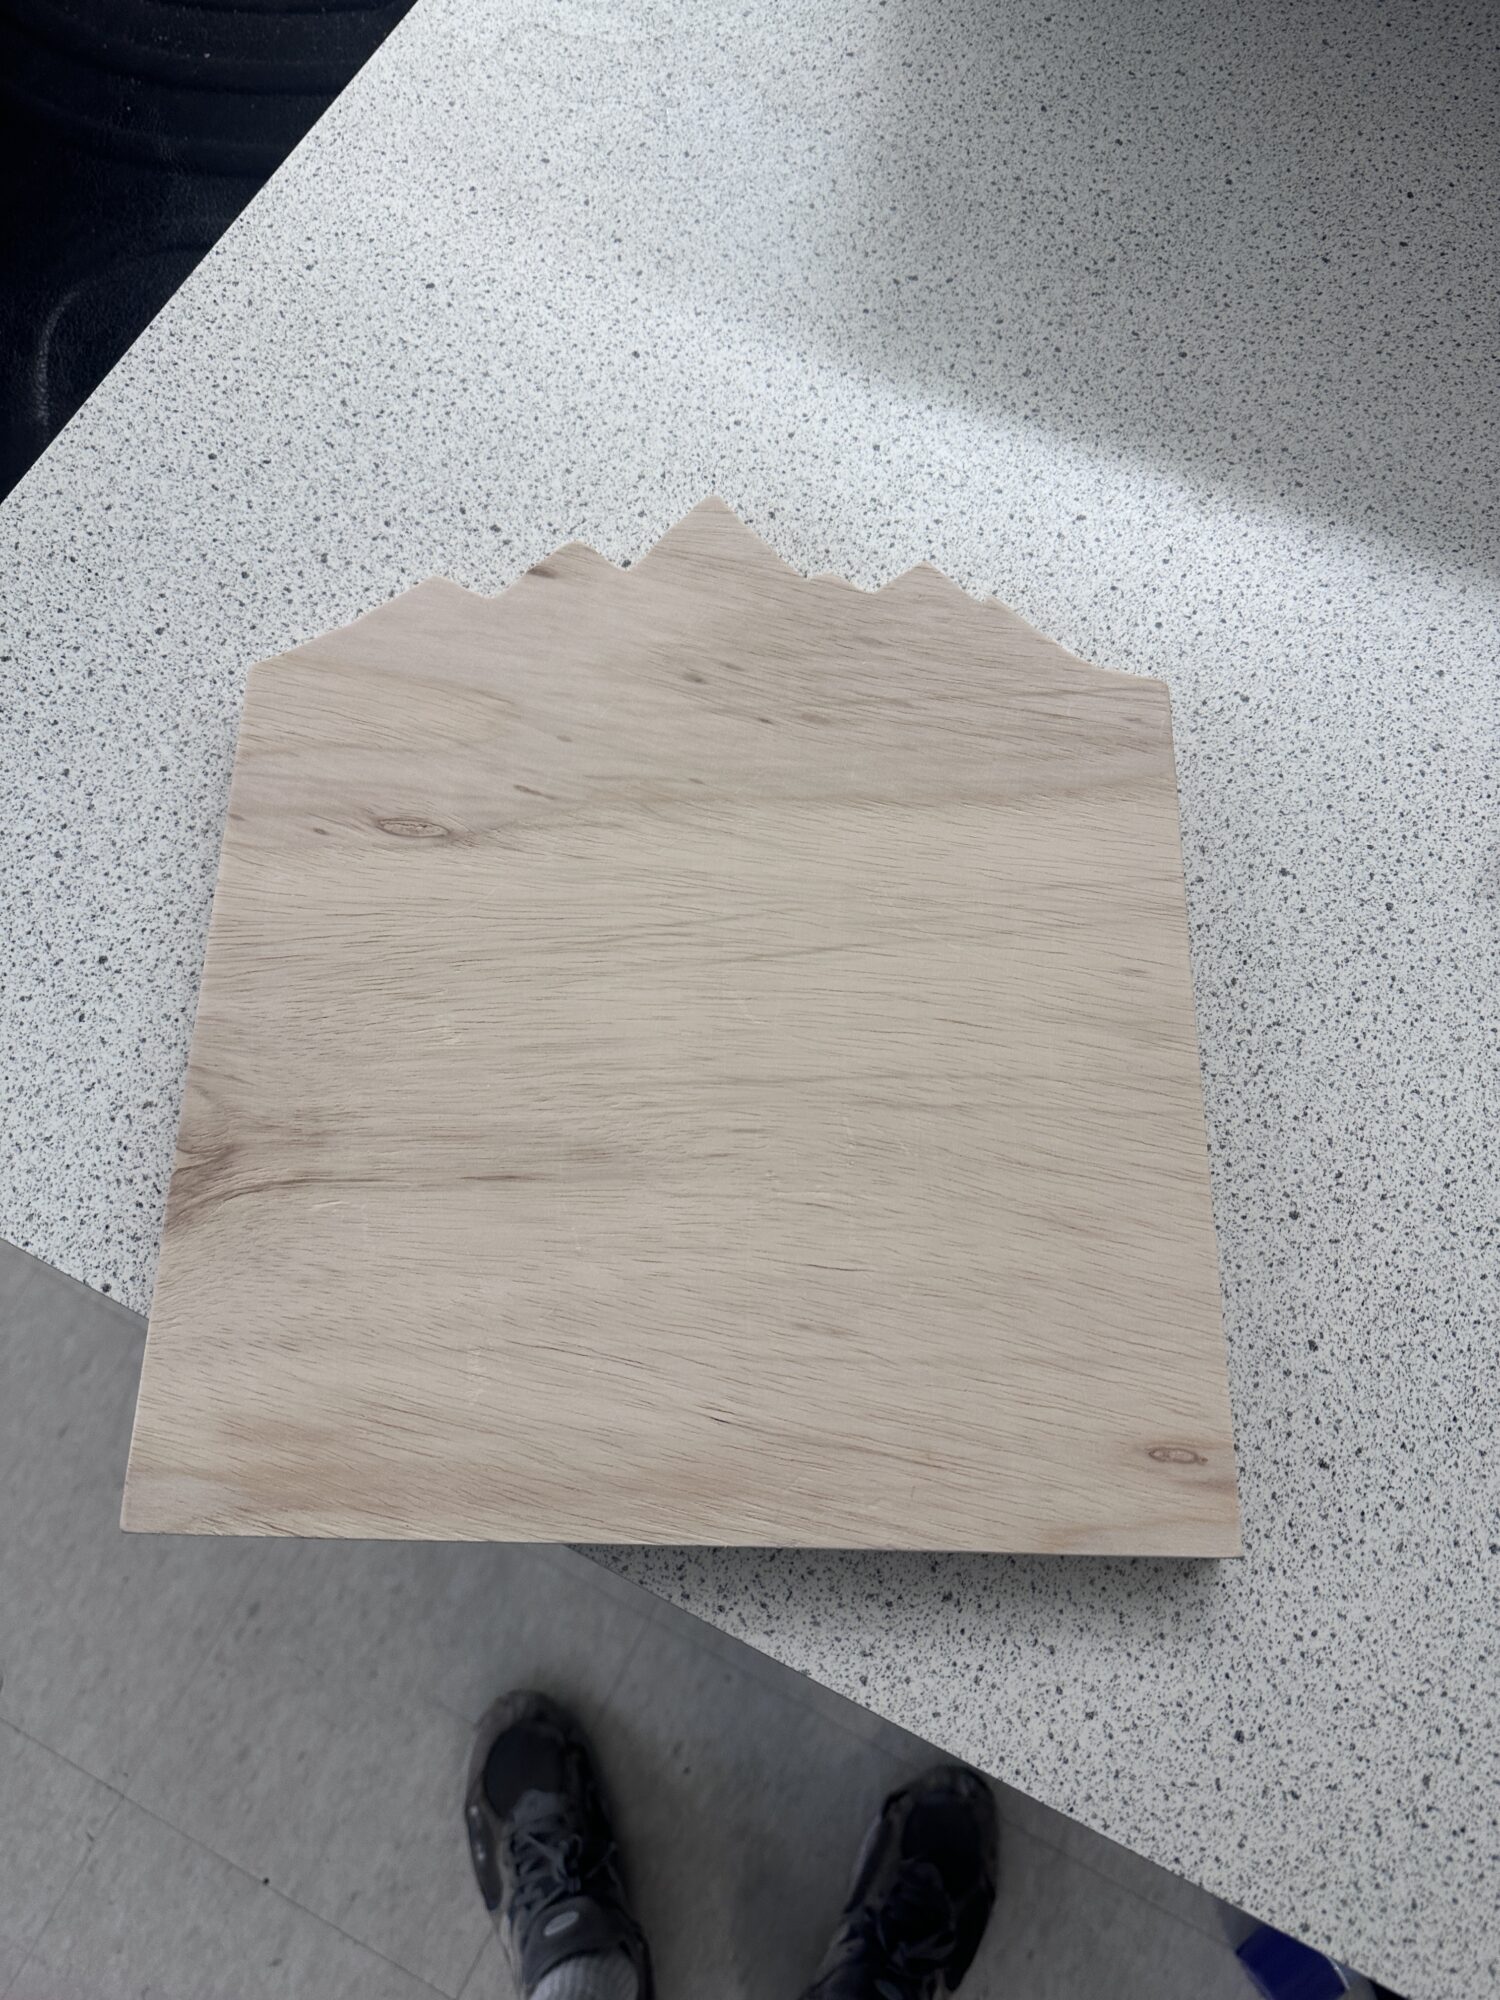
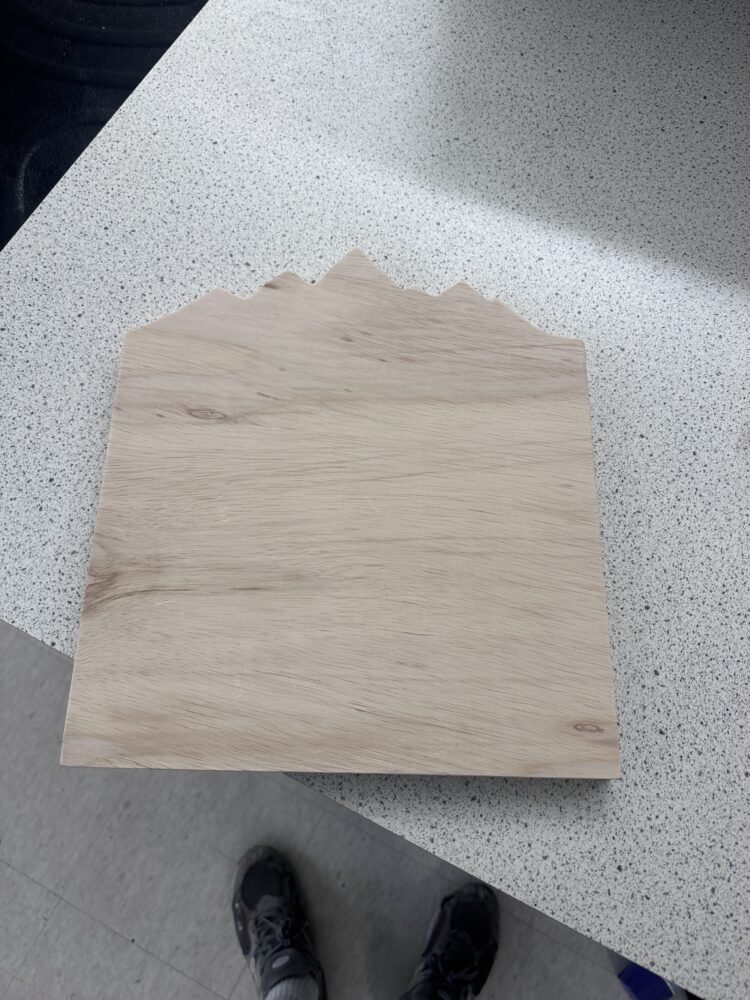
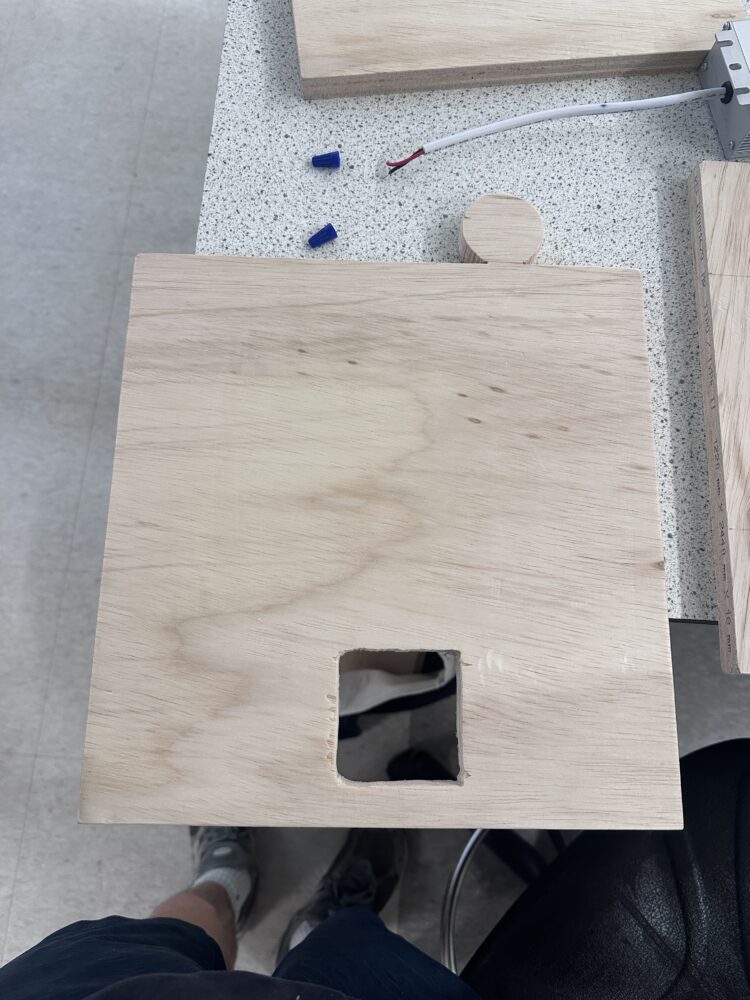
Before cutting, I sketched out the basic geometry of the box and began visualizing how I’d incorporate my retro aesthetic. I knew I wanted a clean rectangular form, but to make it stand out, I planned for some bold design elements. On the front panel, I sketched out a jagged mountain silhouette, and on the rear panel, I reserved space for a circular cutout to represent a rising sun. I want these to be accented later with neon paint and possibly a skier decal mid-air over the mountains.
Cutting and Shaping
With the sketches complete and dimensions marked, I headed into the woodshop to begin fabrication. I used a table saw to cut out four 12″ by 10″ panels: two sides, one top (which will hold the PVC pipes), and one bottom. For the front and back panels, I added extra height—about 3 inches—to accommodate the decorative mountain and sun cutouts. Using a scroll saw, I carefully cut the jagged mountain shape into the front panel. Then, I cut out the circular sun on the back panel. The sun was a bit tricky; I hadn’t tightened the saw blade fully, so the edges came out rough. I corrected this with careful sanding to smooth out the shape.
The most technical cut was the fan mount on the back panel. I traced the heater fan, drilled pilot holes at the corners, and used the scroll saw to cut a tight square. This step took patience, especially since I wanted the fan to fit snugly without excess air leakage. I also used the drill press to cut two evenly spaced holes in the top panel for the PVC pipes.
Next Steps
With all the wood pieces cut and shaped, I’m now ready to move into assembly. The next step will be gluing and clamping the box together, followed by installing the electronics and beginning the painting process. I’m excited to see this come together visually—and I think the retro ski lodge vibe will really start to shine once I begin painting.
3 Comments. Leave new
hi ben, Love the retro ski lodge vibe you’re going for with this project! The mountain and sun cutouts are such a cool touch, and I can already imagine how great it will look once it’s painted. Excited to see it come together!
This is a great idea for a project, and I really like how it’s not only functional or aesthetically pleasing, it’s both. I think the retro ski vibe is very specific and it certainly evokes a lot of imagery in my mind so I can’t wait to see how you bring that to life.
This is such a creative blend of function and retro flair, I like how much thought you’ve put into the visual character, especially the mountain and sun cutouts. Can’t wait to see it painted and fully assembled! Good Luck.