
INTRO
And now for the “How” of my Competition Road Bike Final Project. Planning was a large part of this project. Creating a list of goals and how to accomplish them was very important to achieve a final design. Below is a tentative plan I made back when I was presenting my Design Preview back in March.

FABRICATION
The fabrication process started of with the most important step, research. As I mentioned in previous posts, there is a large bar of entry for road bikes. These are very complex and intricate artifacts of engineering, each little piece being a well thought out and perfectly produced. At the start this project I had no idea of this, and threw my self into the deep end with out knowing it. This step took the longest, but after it, everything ran smoothly because I learned so much. If a problem came up during assembly, I could easily fix because of the time I took to research it.
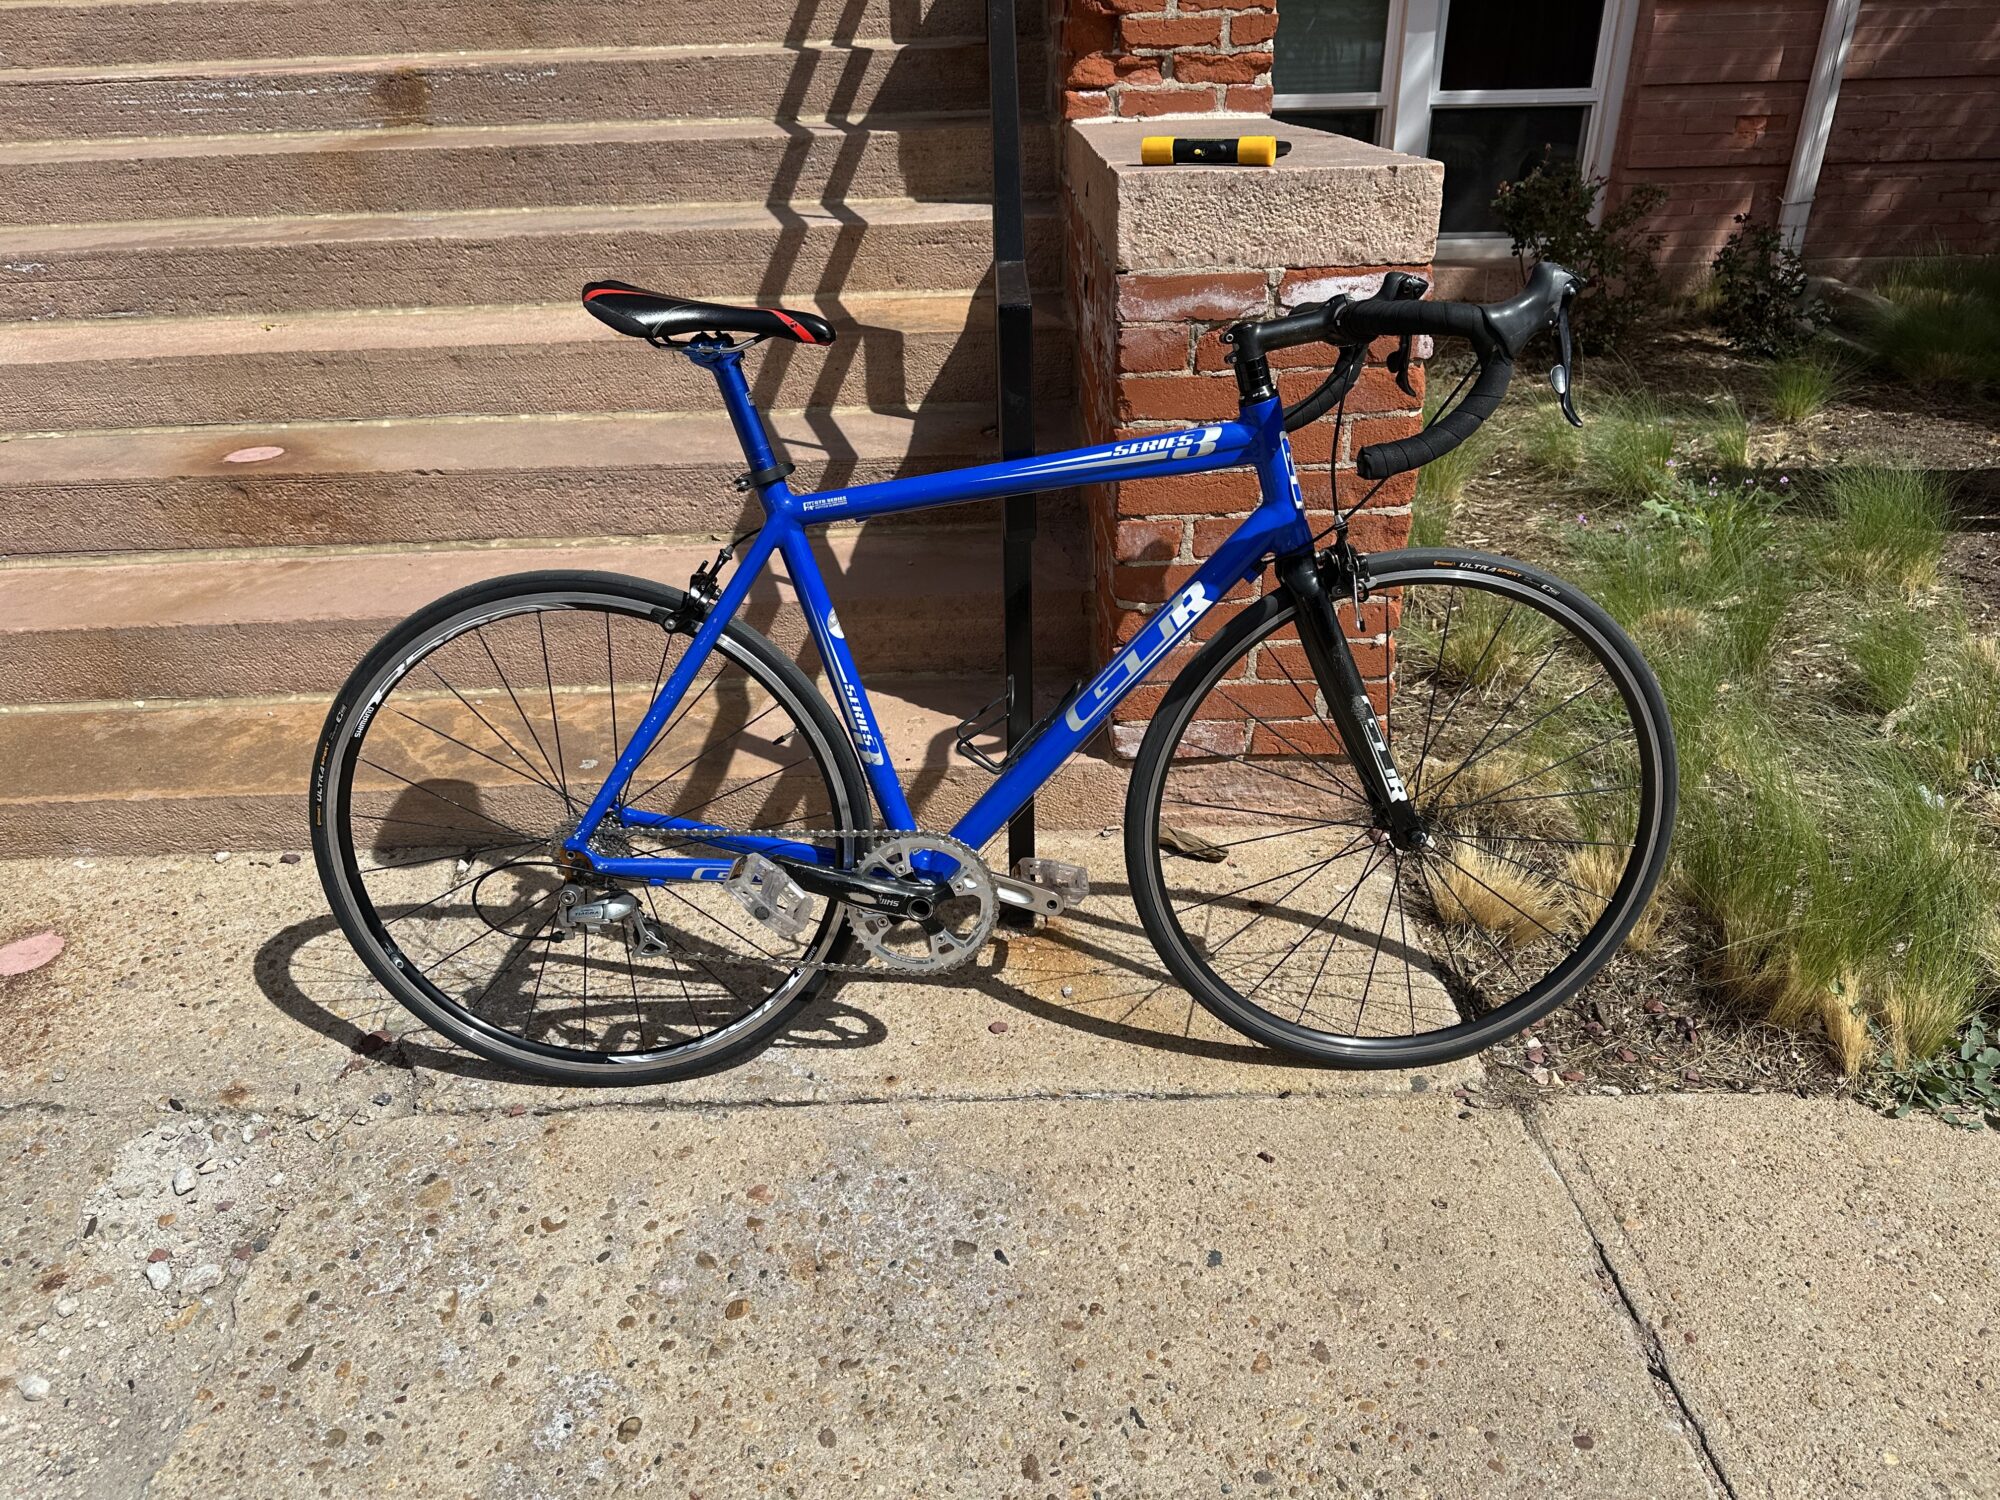
After ordering the parts, Assembly began. I had purchased everything with my budget in mind. Everything had to fit under the $150 limit I set up for myself. This is also required a large amount of knowledge. There is definitely an art to trying to figure out where it’s okay to spend aa little more money and where it is okay to step back and purchase a cheaper part, all with the idea of optimizing quality. I then picked a warm sunday afternoon, set up the bike outside.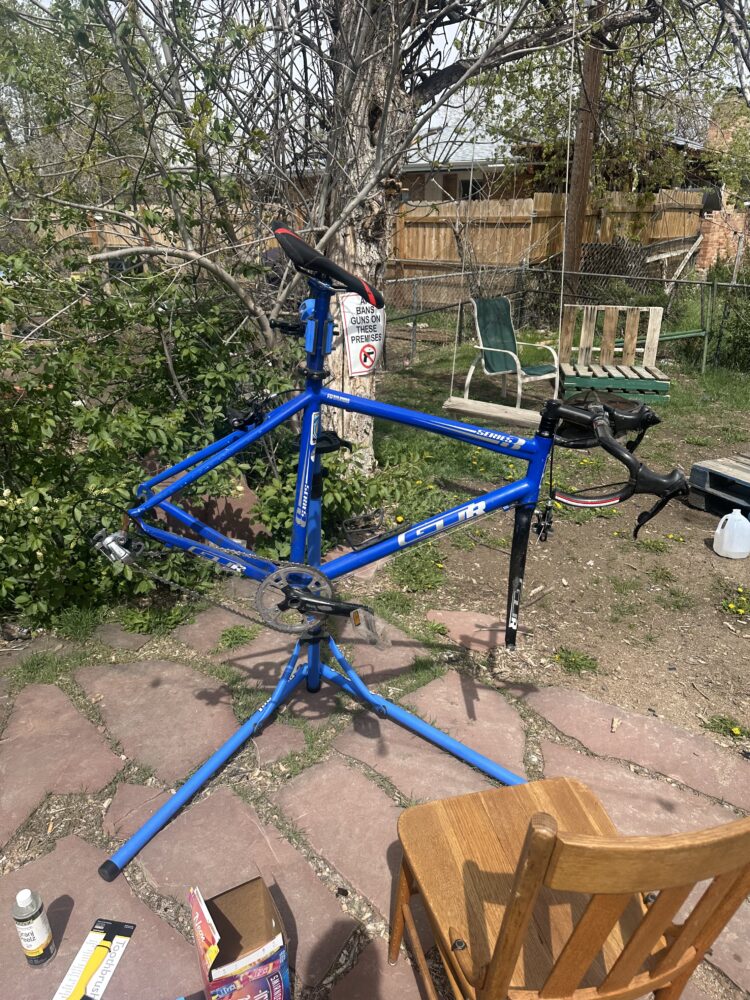
Said bike on said afternoon
The whole process of assembly was smooth and shockingly fun. It’s surprising how rewarding it is make tinker away at a project for a day. I first cleaned the bike frame and chain, using a combination of a water based degreaser and then a scrub of dish soap. Then onto the wheels where I clean the wheel base and spokes, applied rim tape, set in the tire and then the inner tube. Put the wheels on, adjusted the brakes and rear derailleur. And for the final step, applied a new coat of handle bar tape.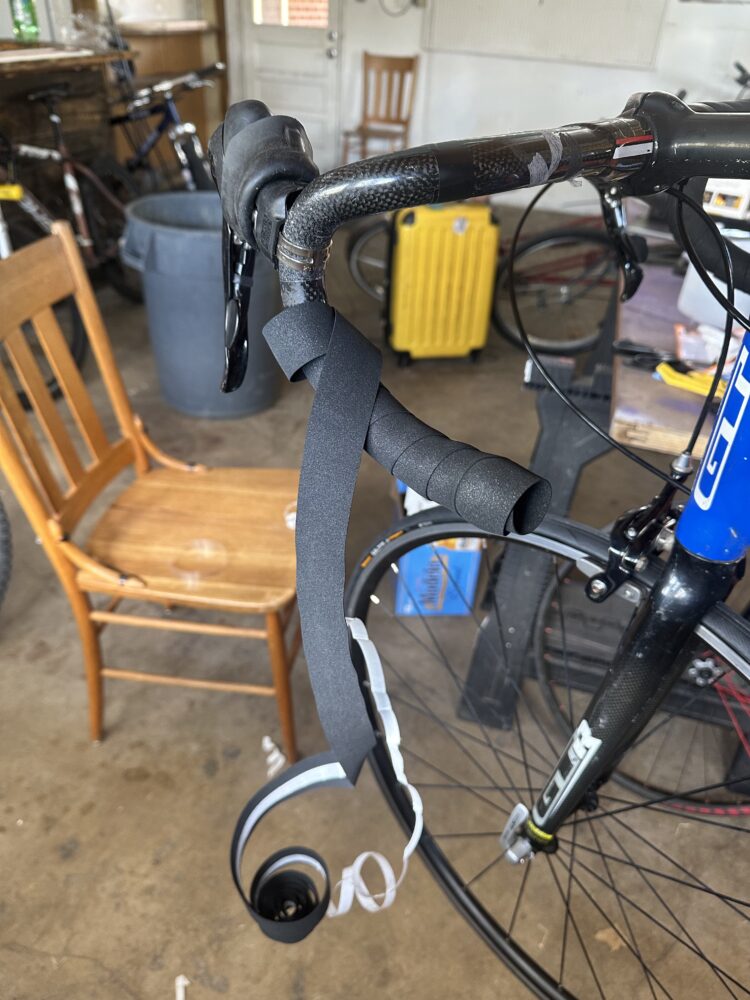
Handle bar wrapping
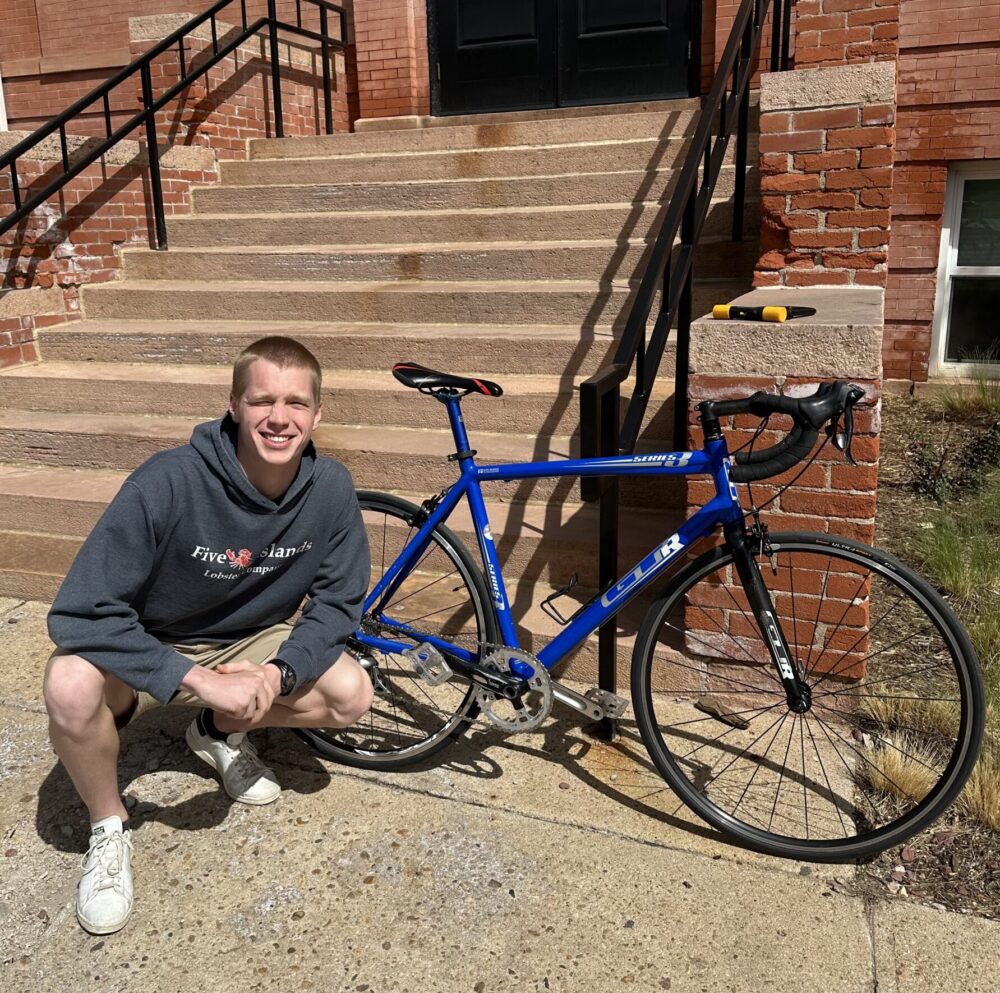
Finished product with a happy rider
CONCLUSION
After all of that, we were left with the final product, and in my opinion it turned out great. The bike handles well and looks like a stellar. The washing of the frame and chain really does make everything sparkle and the colors pop. There were a lot of things that had to be scrapped or changed during the length of this process. I was originally hoping to go for a entire paint job of the bike, but as the deadline grew closer I realized how unfeasible this was, So ultimately I left the original blue finish on. For the future, I plan to renew some of the other moving parts for this bike, the crank shaft and inner spindle could be replaced, later though when I have a wider toolset. Overall though I’m very happy with the final product of this bike, It came together well and allowed me to learn a lot about an area of engineering I’m particularly interested in.